廢文開箱王又來了,這次要介紹的是Ozone Strike Battle Spectra RGB,也就是Ozone Strike Battle的RGB版。
採用的是純正Cherry RGB軸,目前看到上市的好像只有紅軸,可惜沒有茶啊啊啊!
所以只好選了紅軸,同時這也是小弟的第五把RGB鍵盤。
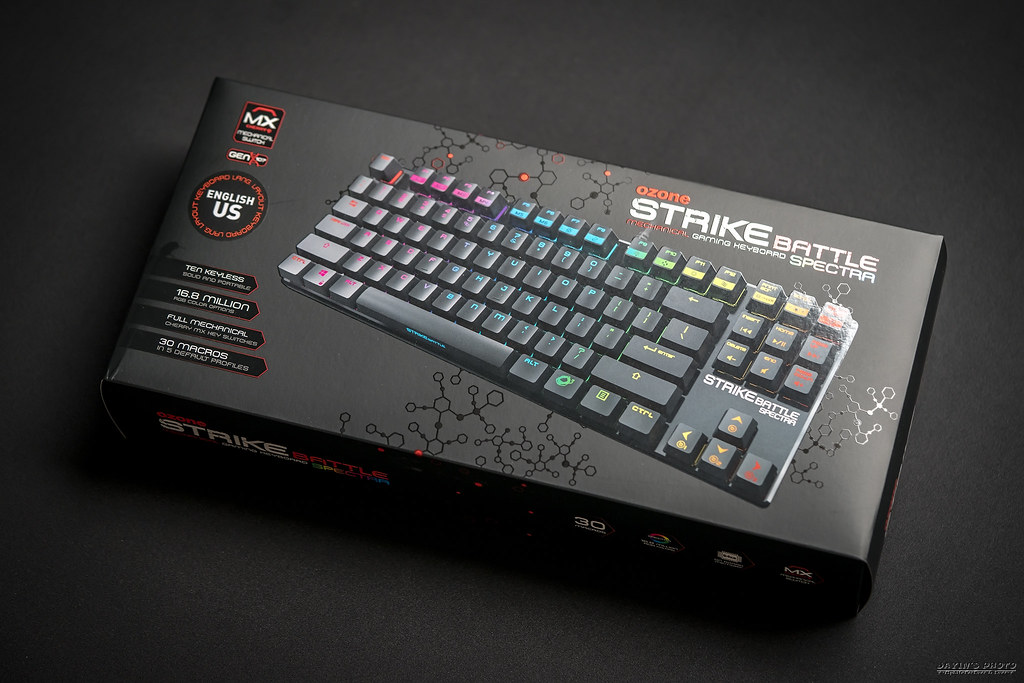
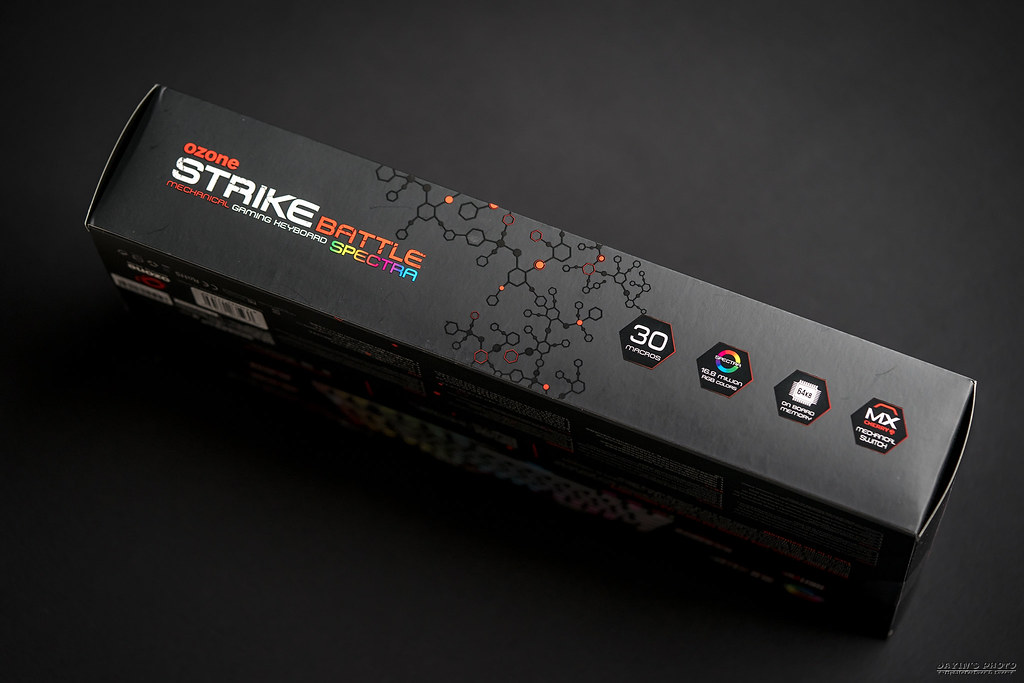
▼外盒,一眼望去就可以看出來是電競啊雞逼鍵盤,鍵盤的外貌也可以看出來。
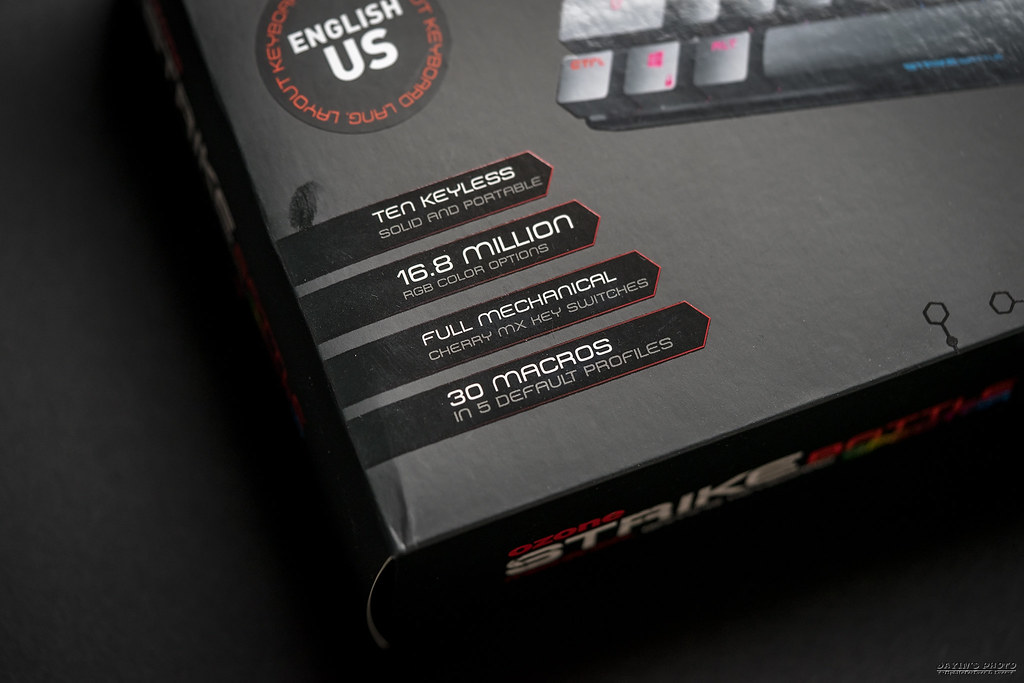
▼左下角有標示出規格:TENKEYLESS(80%、87鍵)、1680萬色、櫻桃機械軸、30組巨集。
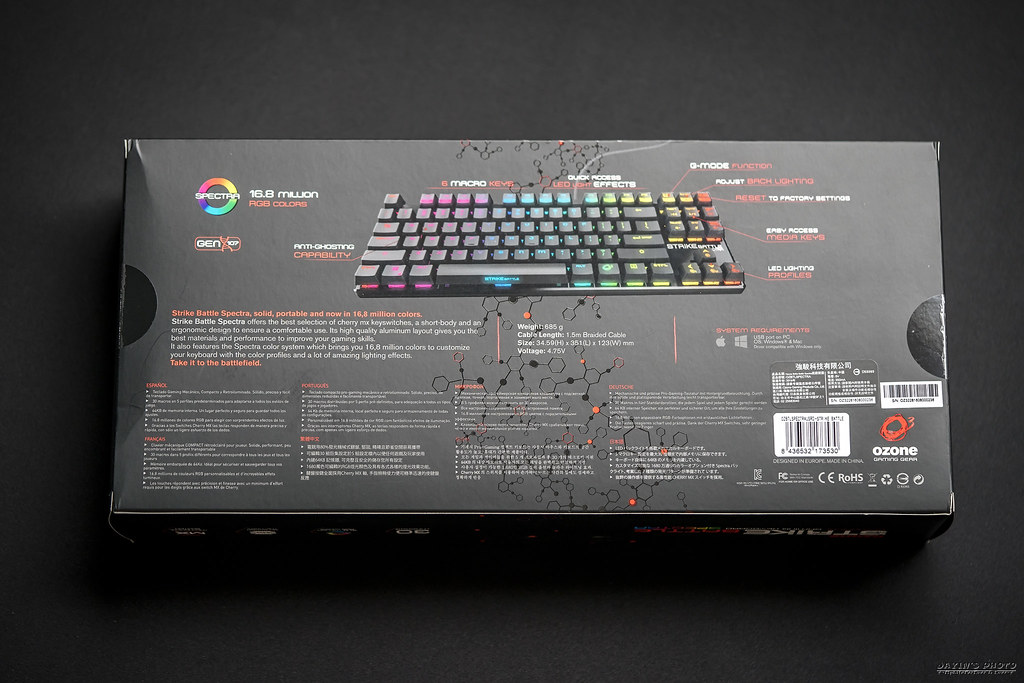
▼背面同樣也有點出了特點,Anti-Ghosting、G-Mode、支援windows/Mac。
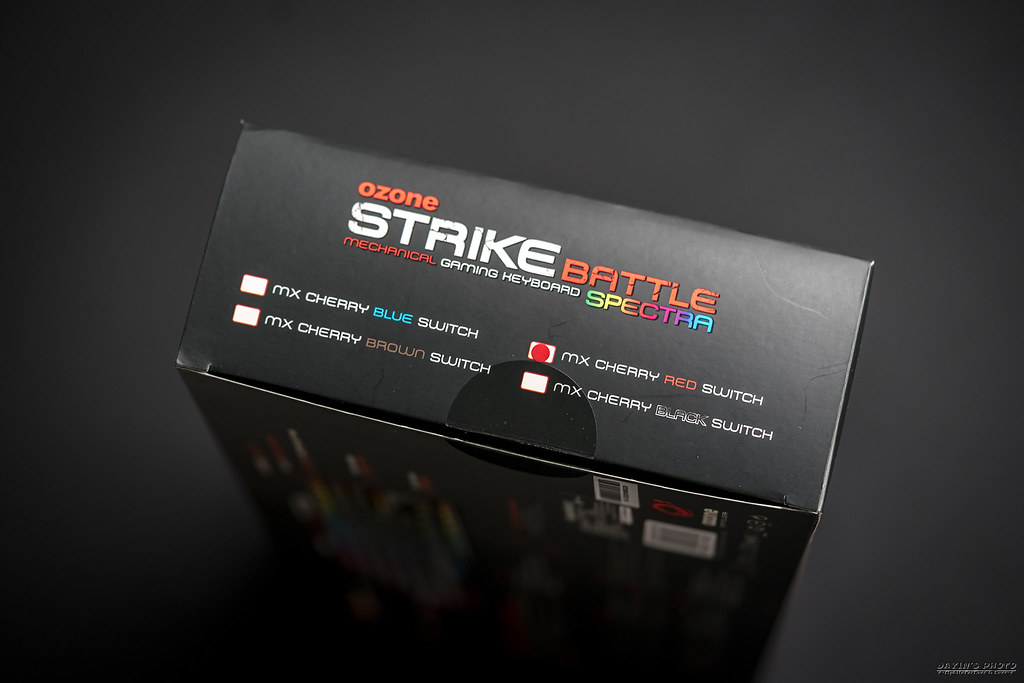
▼盒子側邊寫明有四種軸,但上市的好像就只有紅。
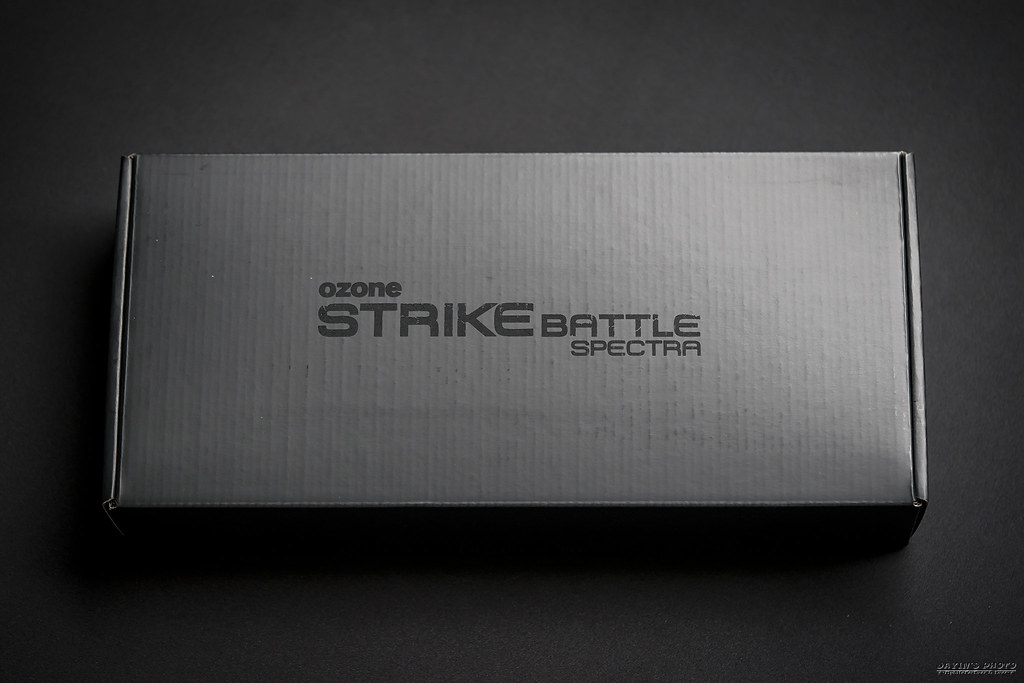
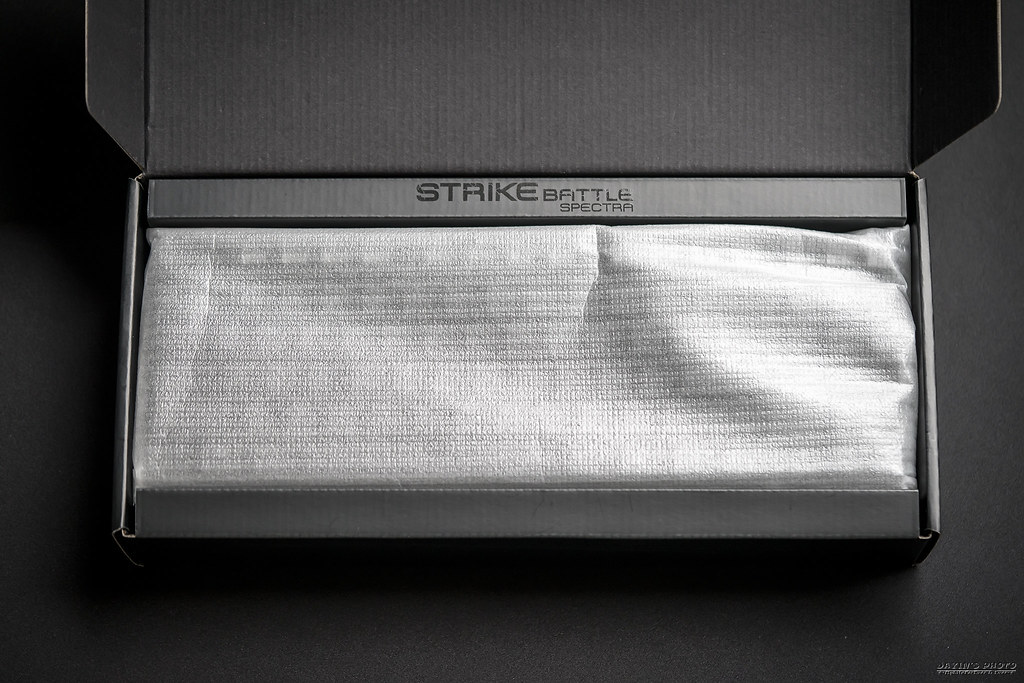
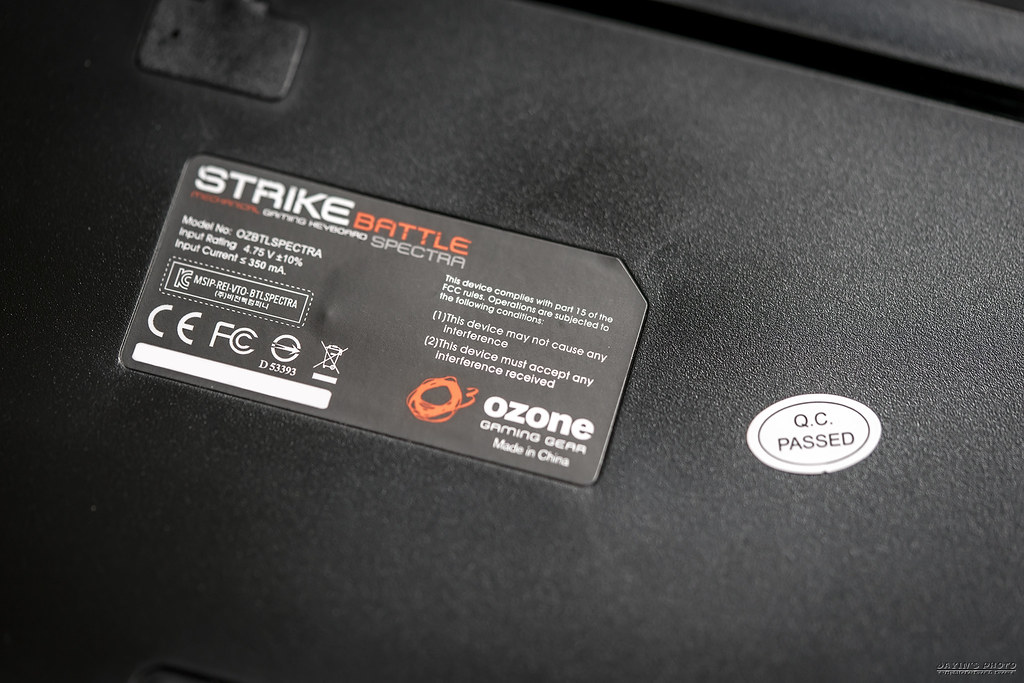
▼內盒,型號就是STRIKE BATTLE SPECTRA。
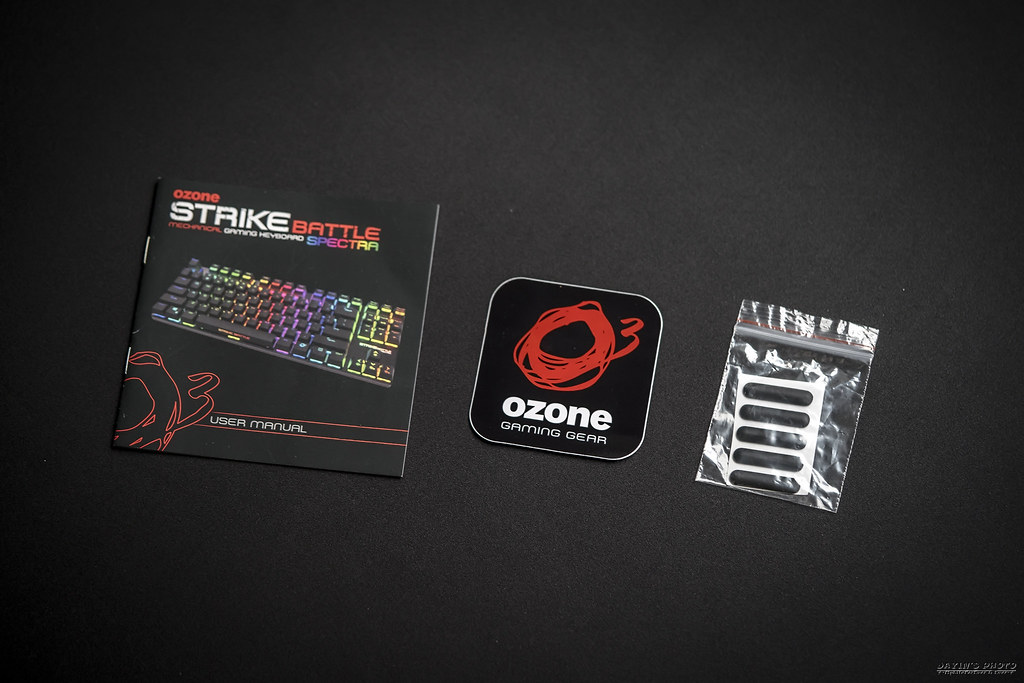
▼先來看一下附件,由左而右是說明書、OZONE貼紙、贈送的五個止滑墊。
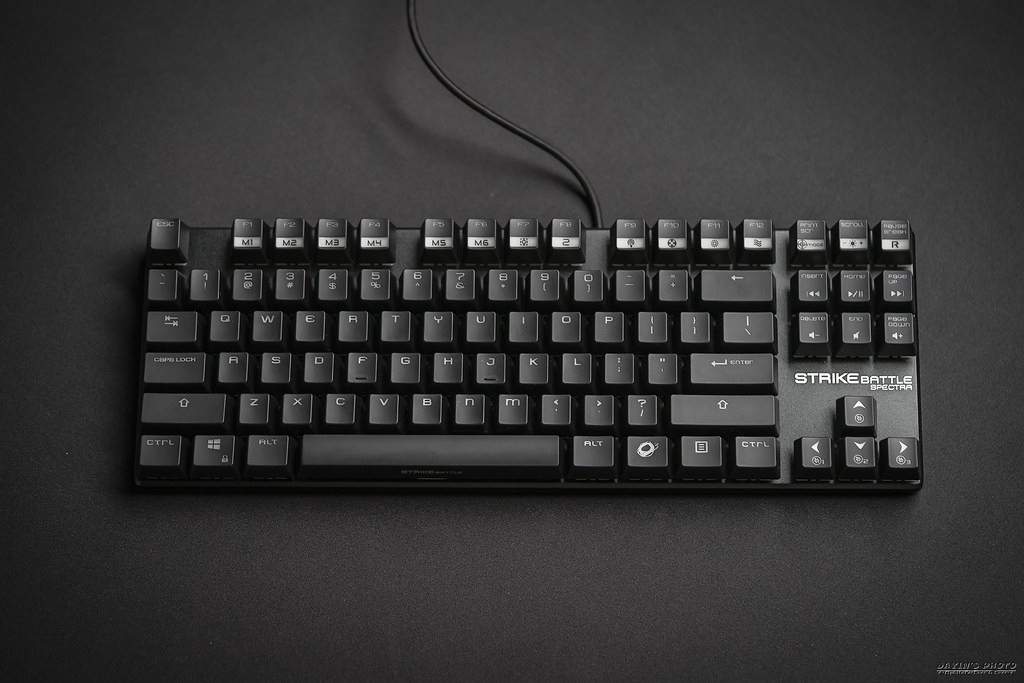
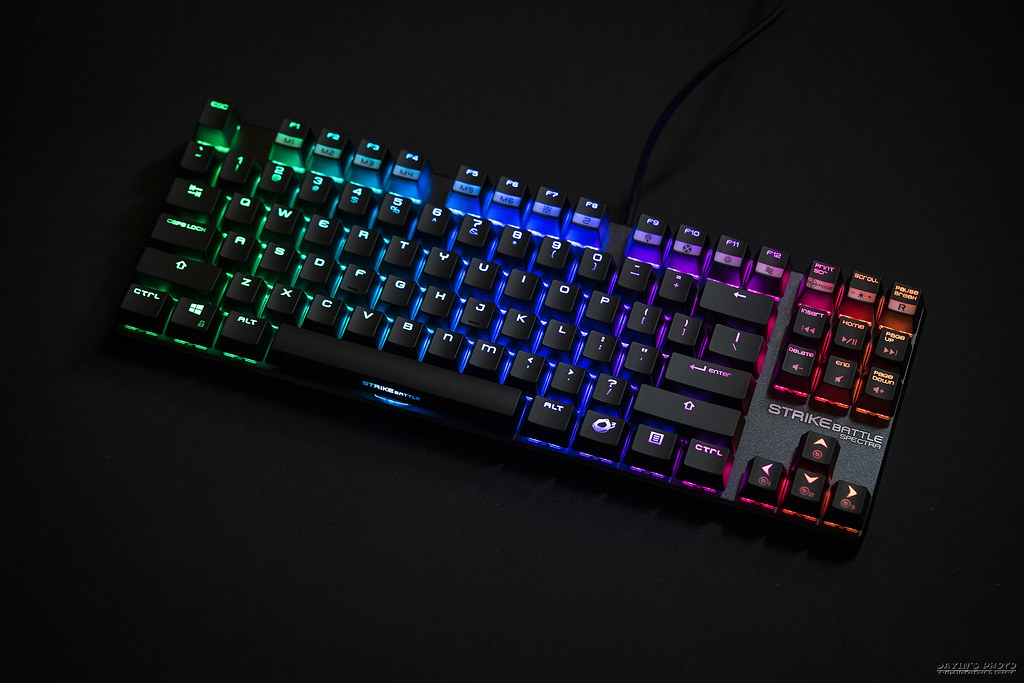
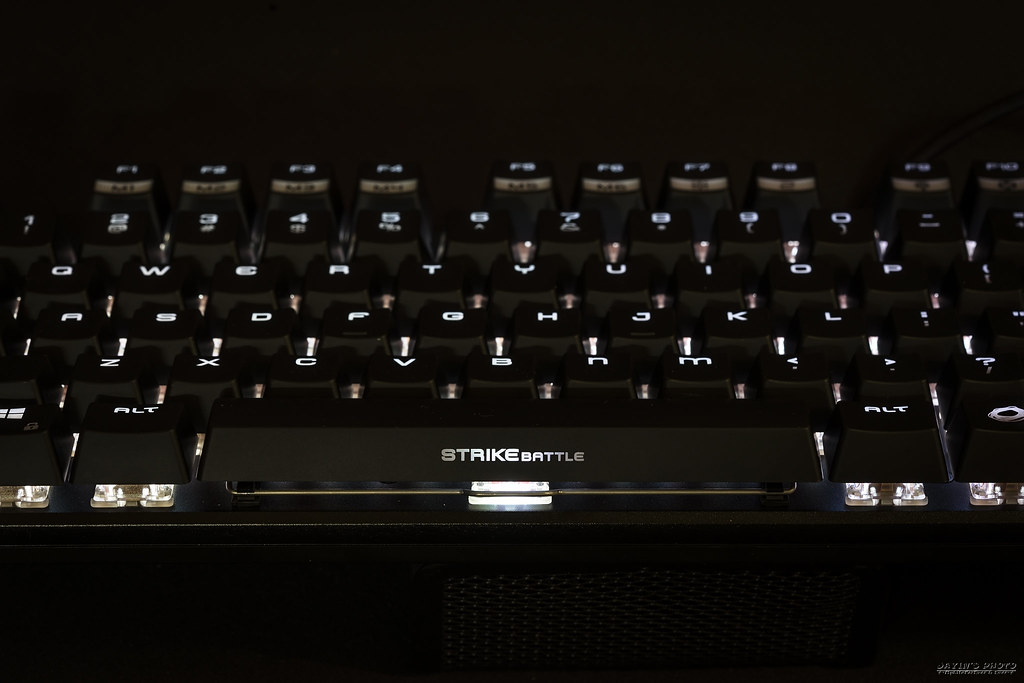
▼鍵盤本體。承繼了strike battle的特點,就是鋁合金無上蓋,可惜一樣沒有鍵線分離。

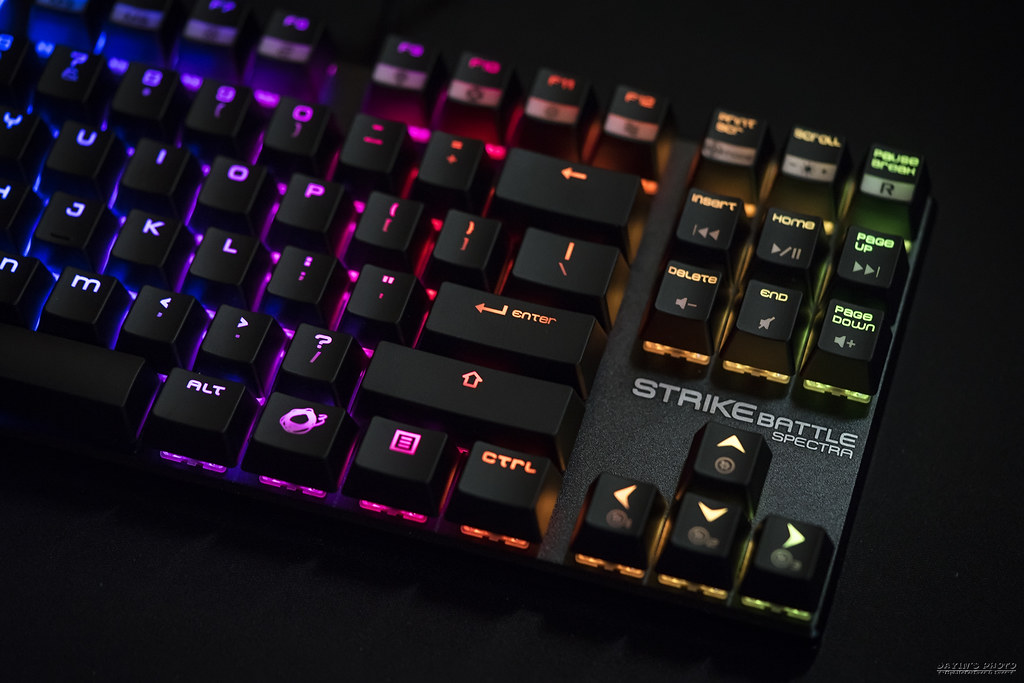
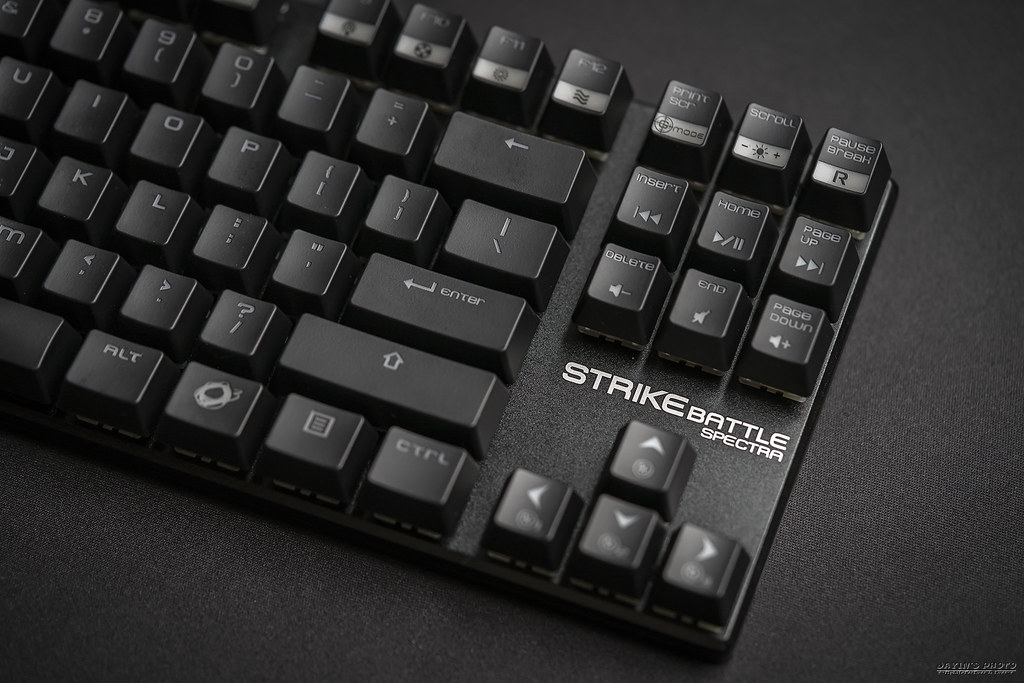
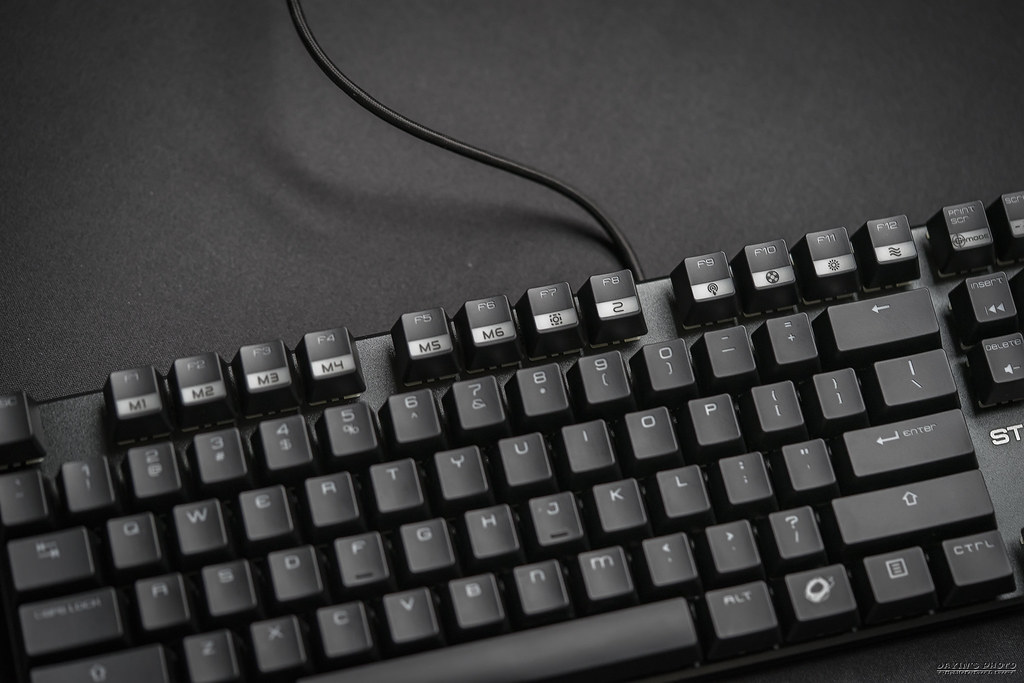
▼方向鍵上方同樣加印了鍵盤名字。
▼鍵帽是ABS雷雕透光鍵帽。
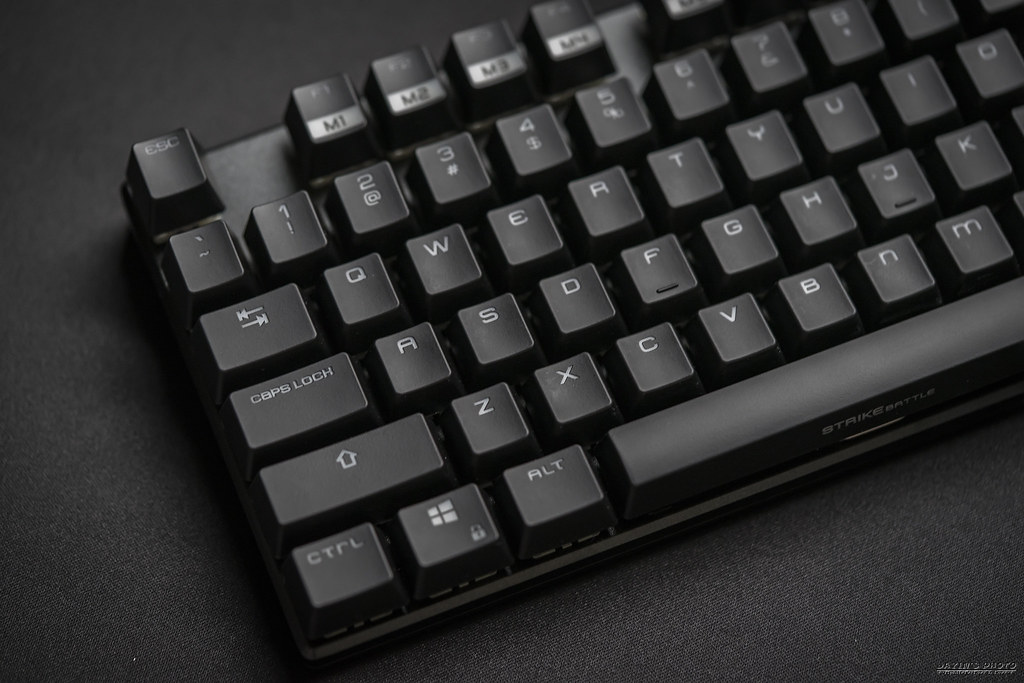
▼最上排的F鍵區,F1-F6是巨集鍵、F7-F12則是六種內建背光特效。
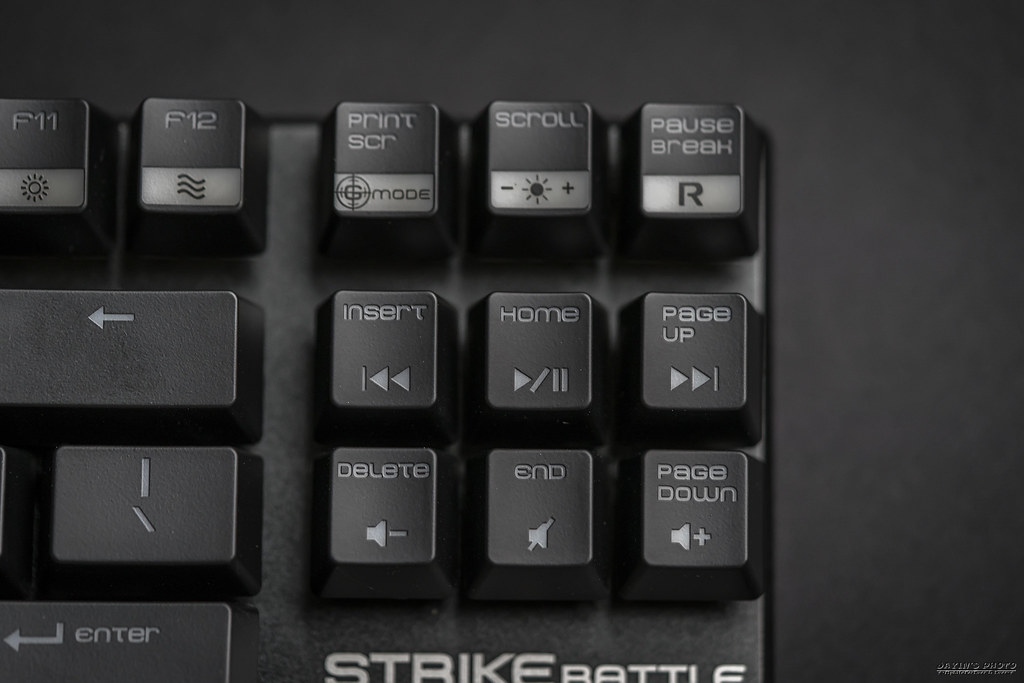
▼編輯區的部份,最上面是G-Mode、燈光亮/暗調整、恢復原廠,六塊肌則是多媒體控制。G-Mode最主要的功能就是鎖win鍵及printscreen鍵。
▼背面,總共五個小止滑墊,剛好跟附贈的數量一樣,提供給user替換。
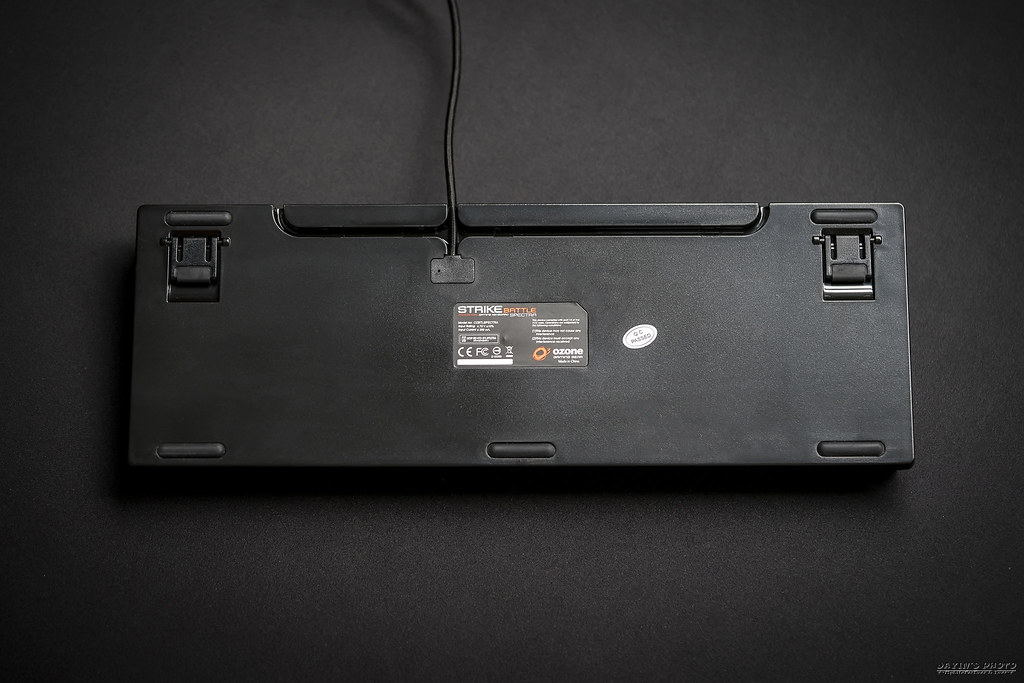
▼腳架張開的高度,同樣也有止滑墊。
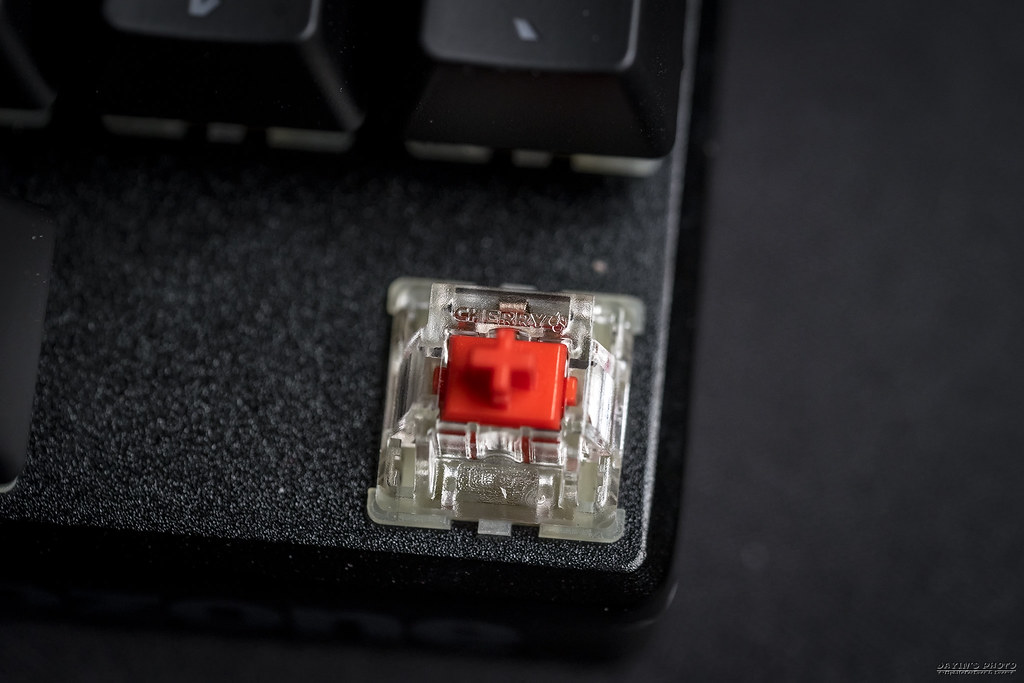
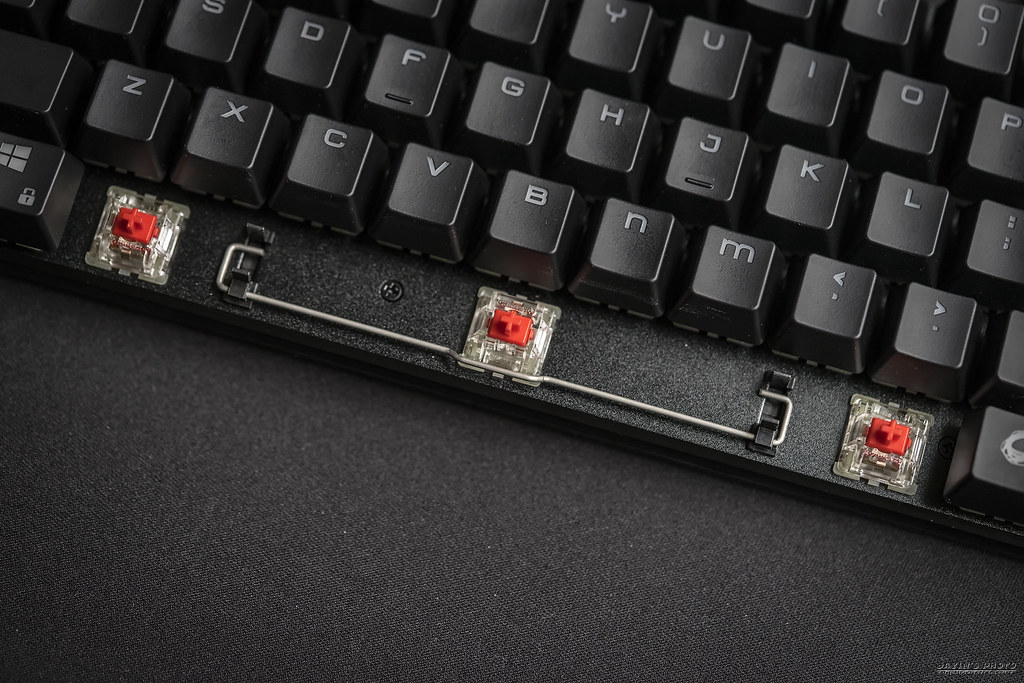
▼採用的是有純正德國血統的cherry RGB軸,我個人對櫻桃軸是沒有信仰,不過相對來說還是比較沒問題的。
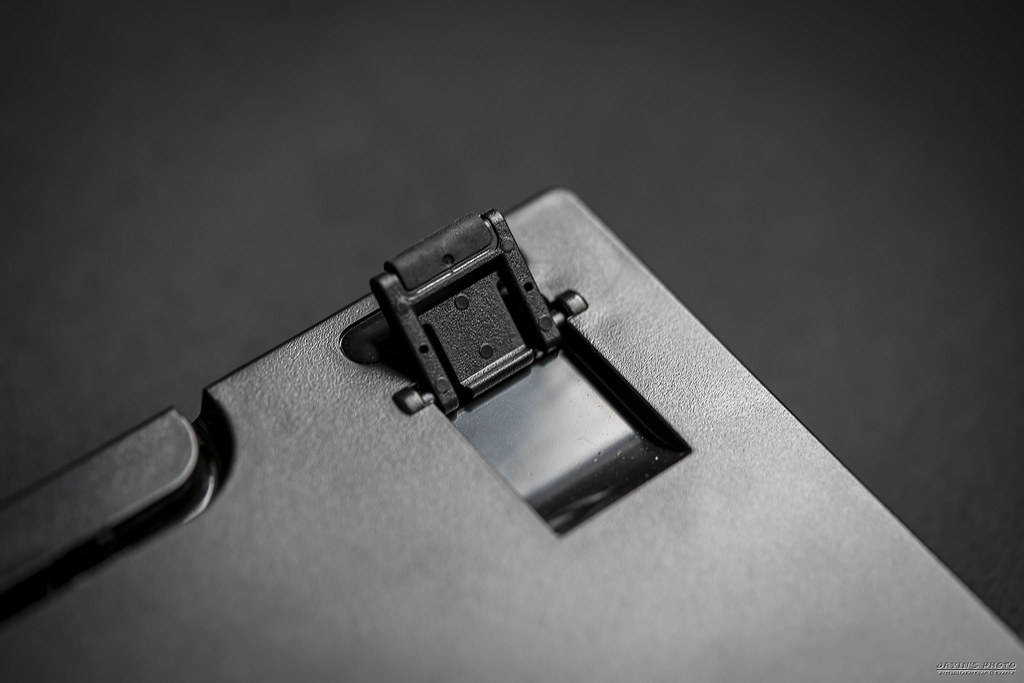
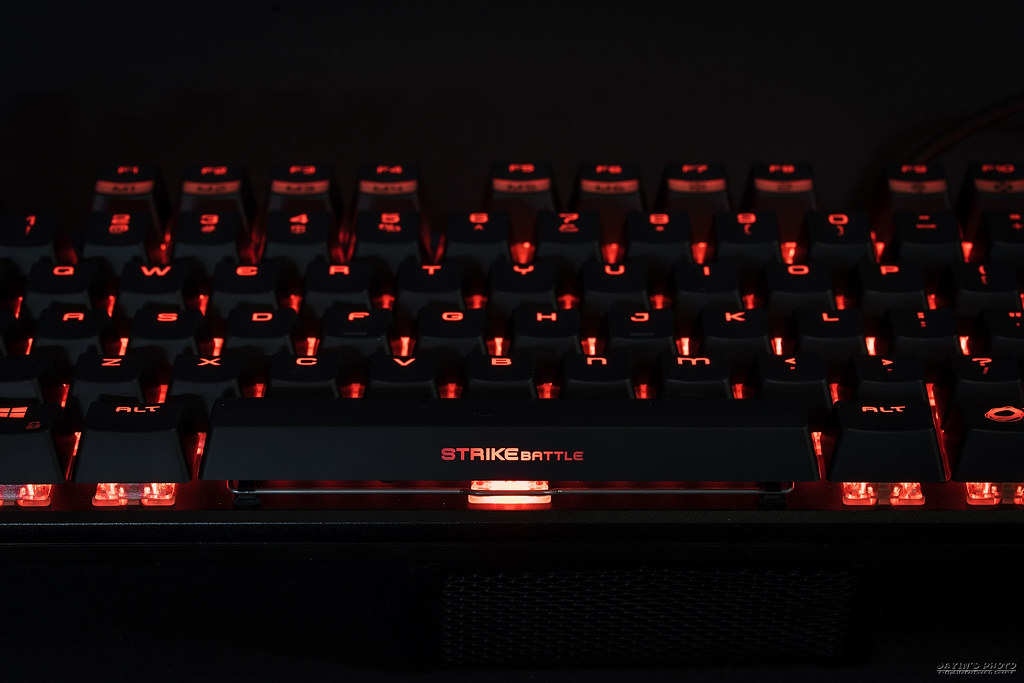
▼長鍵和Strike Battle一樣是使用平衡桿。
▼來看一下軟體介面,這是主畫面
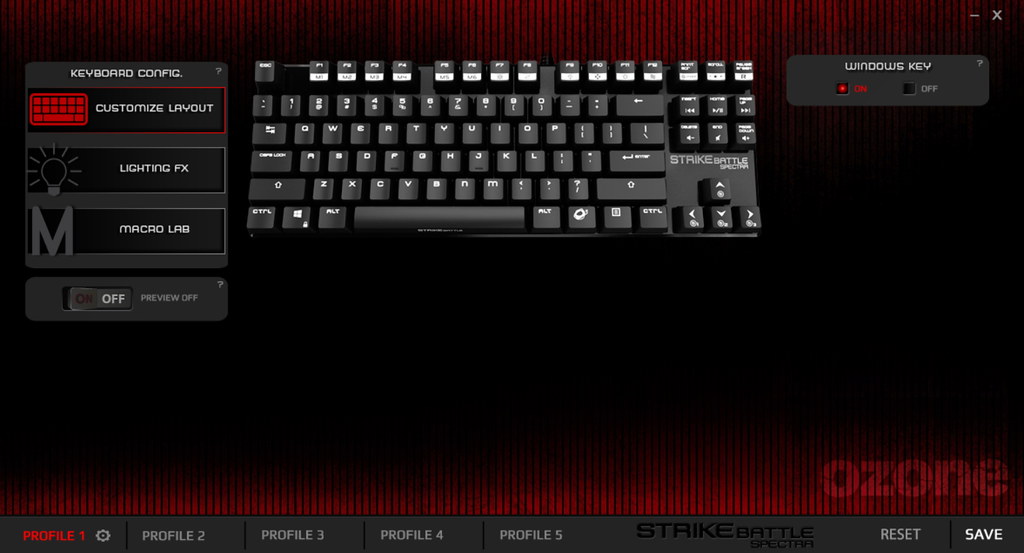
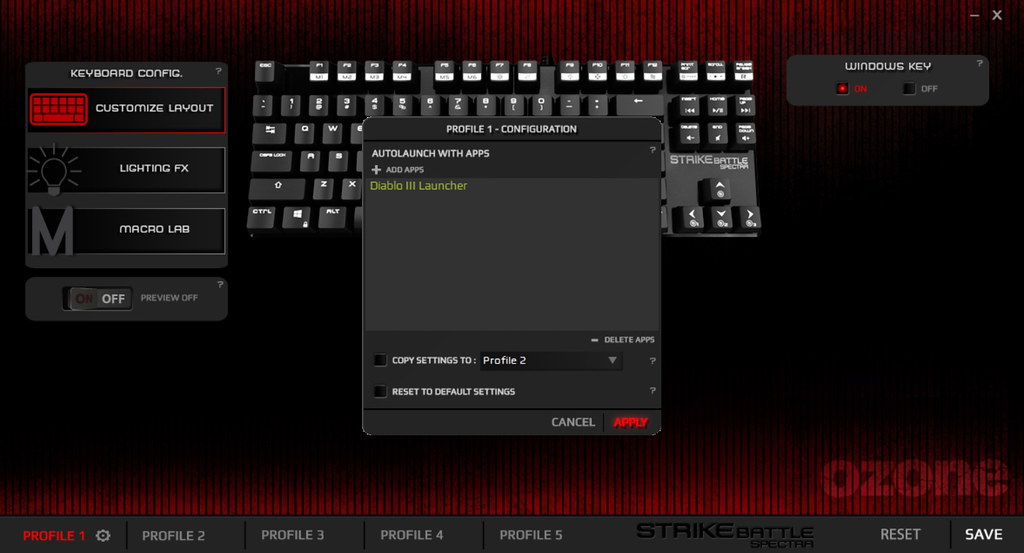
▼最下方可以看到有五個Profile,可以和遊戲或特定程式連動。
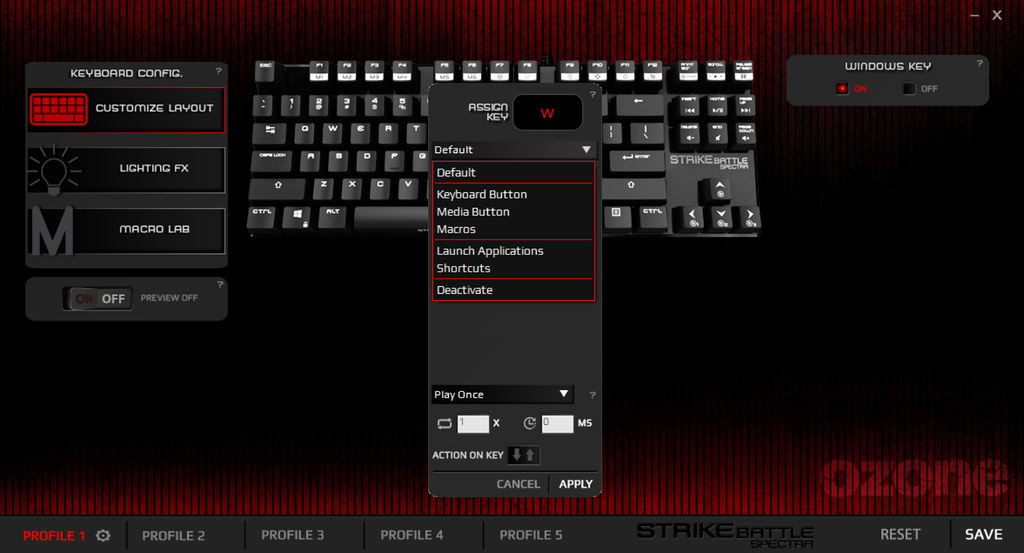
▼任意key都可以自定,例如我選了w,就可以有好幾種功能可以選擇。
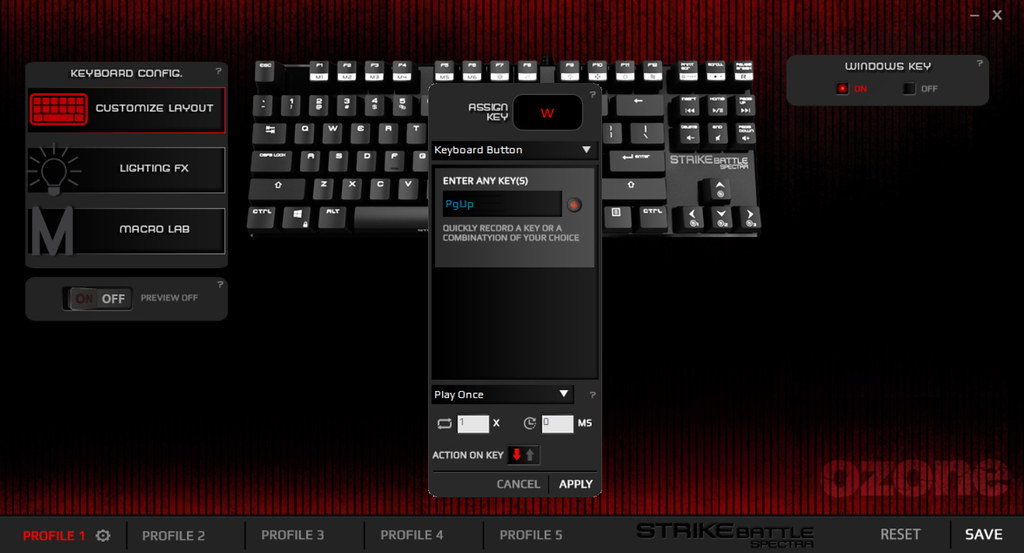
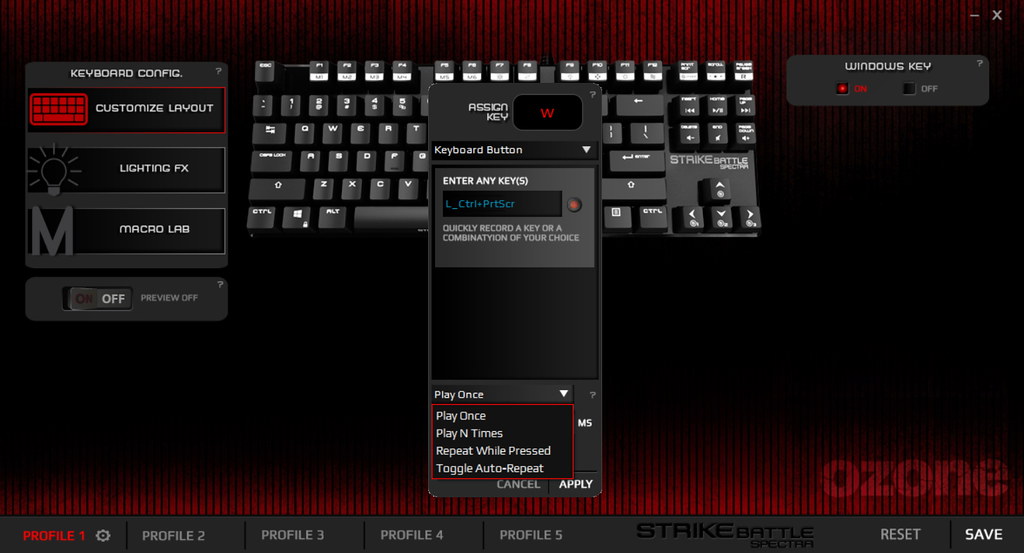
▼選擇Keyboard Button,就可以將此鍵自定義成任意鍵,如圖所示是pageup。底下可以選擇執行次數、延遲時間,還有一個特別的地方就是可以選擇在此鍵按下時觸發,或是放開後觸發。
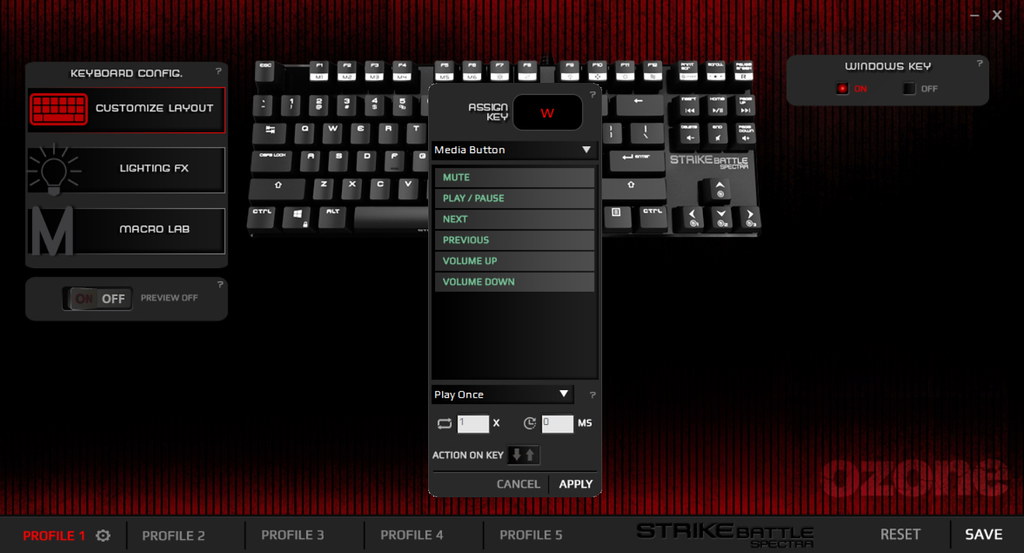
▼Media Button功能。
▼Shortcut功能。

▼Launch Application(啟動程式)

▼還可以直接把該鍵停用(Deactivate)

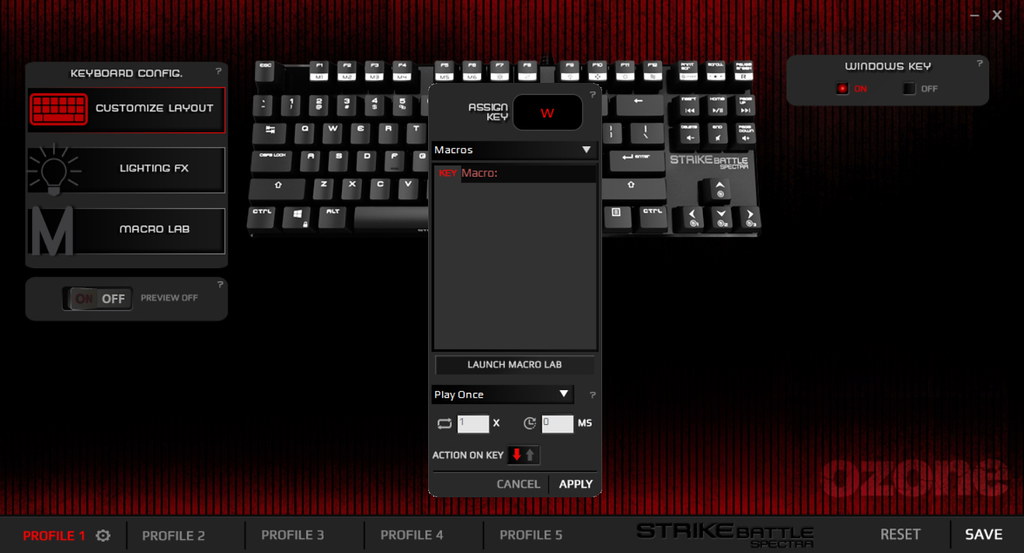
▼Macro,也就是巨集,這邊可以選擇已經設好的巨集

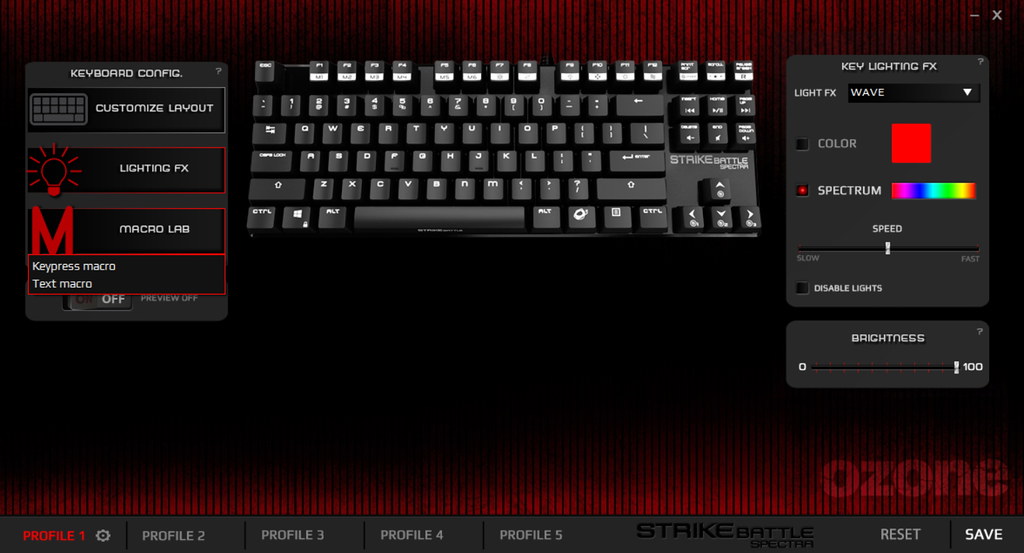
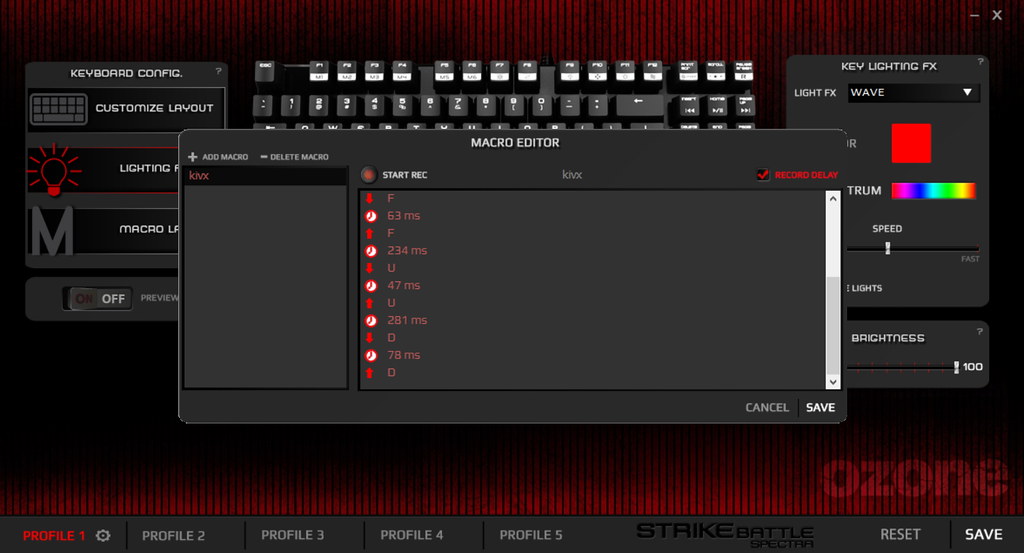
▼當開啟Macro LAB時,可以錄製巨集,可以選擇是記錄user輸入的鍵,或是直接記錄文字。
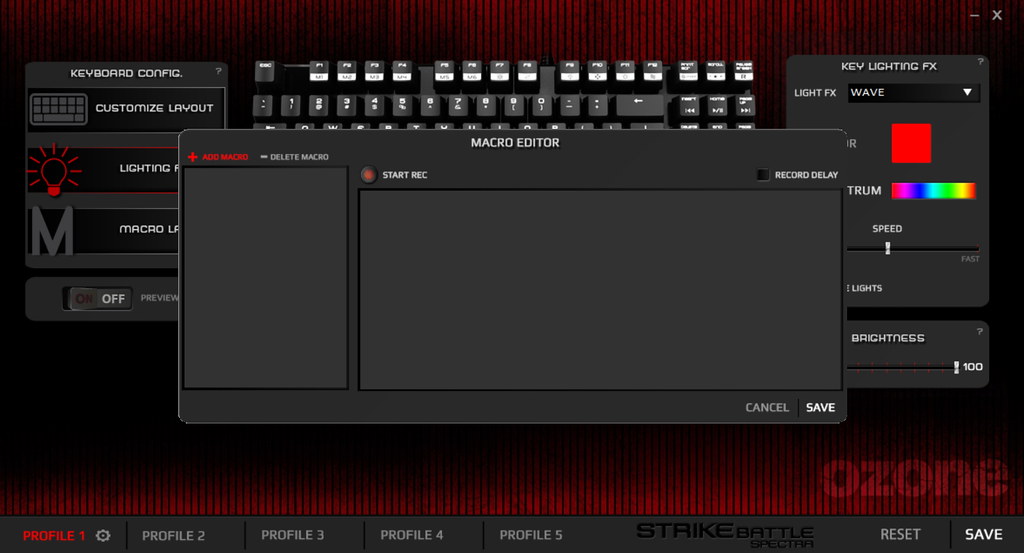
▼點選add macro,輸入該巨集名稱,再點start rec,就開始錄製了。右上的record delay打勾時會記錄每鍵輸入之間的間隔時間。
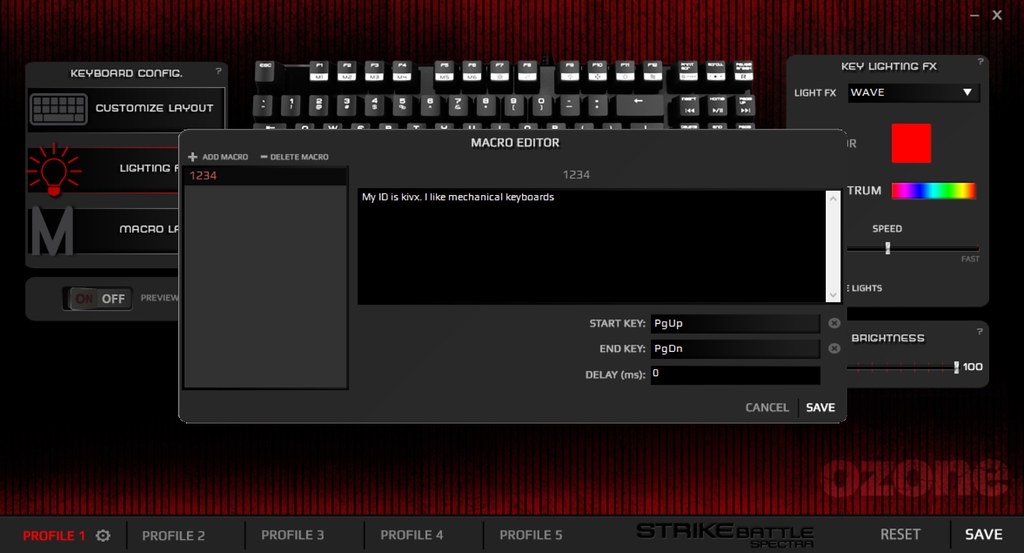
▼text macro視窗,可以自由輸入你要讓巨集自己"打出來"的文字。
▼觸發效果

▼Lighting FX頁面可以選擇內建的燈效
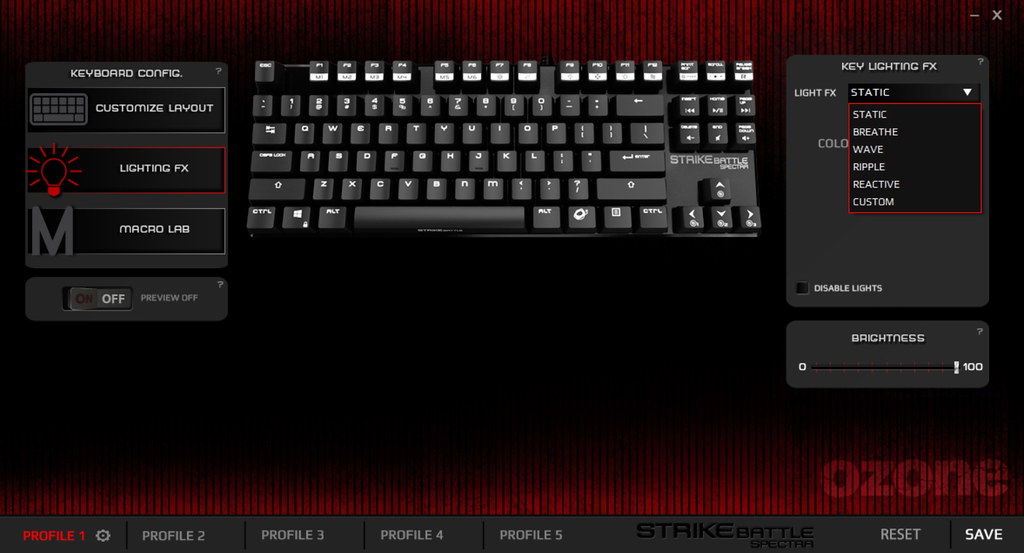
▼選擇custom的話可以對每個鍵定義燈色。其實不用軟體,只用鍵盤也能操作,這就請大家自己看說明書了

▼接下來就看一下發光照吧!
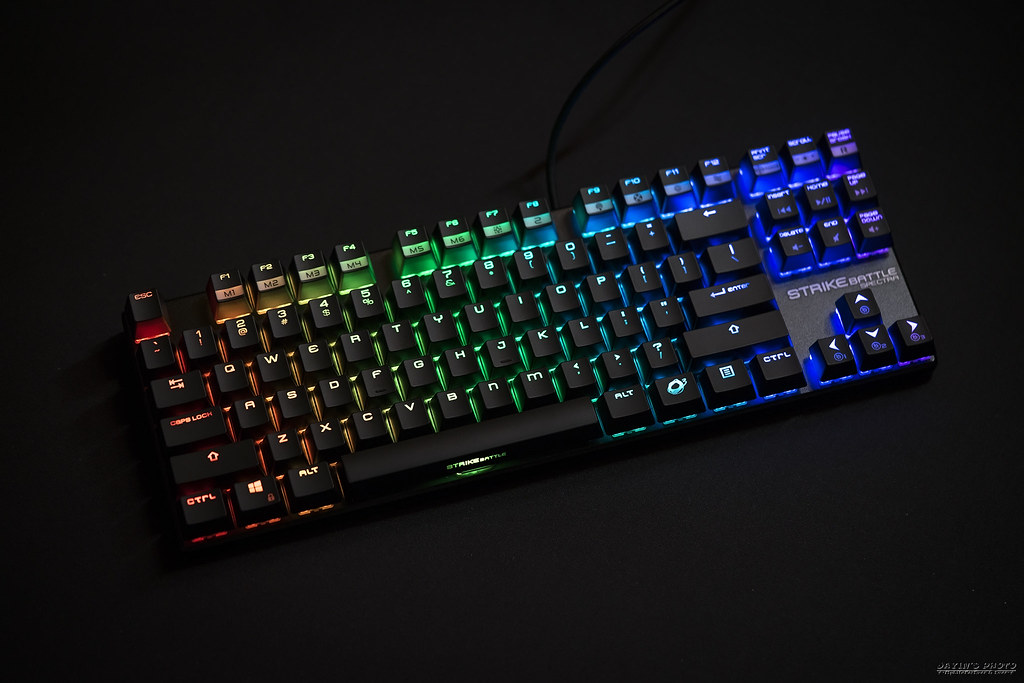

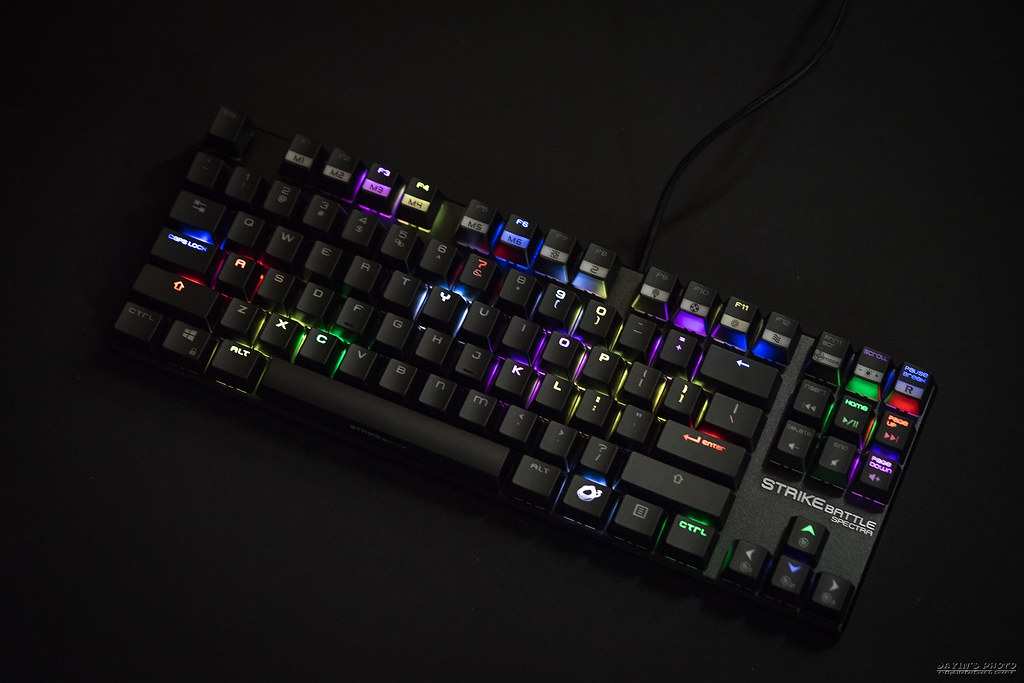
▼雨滴模式
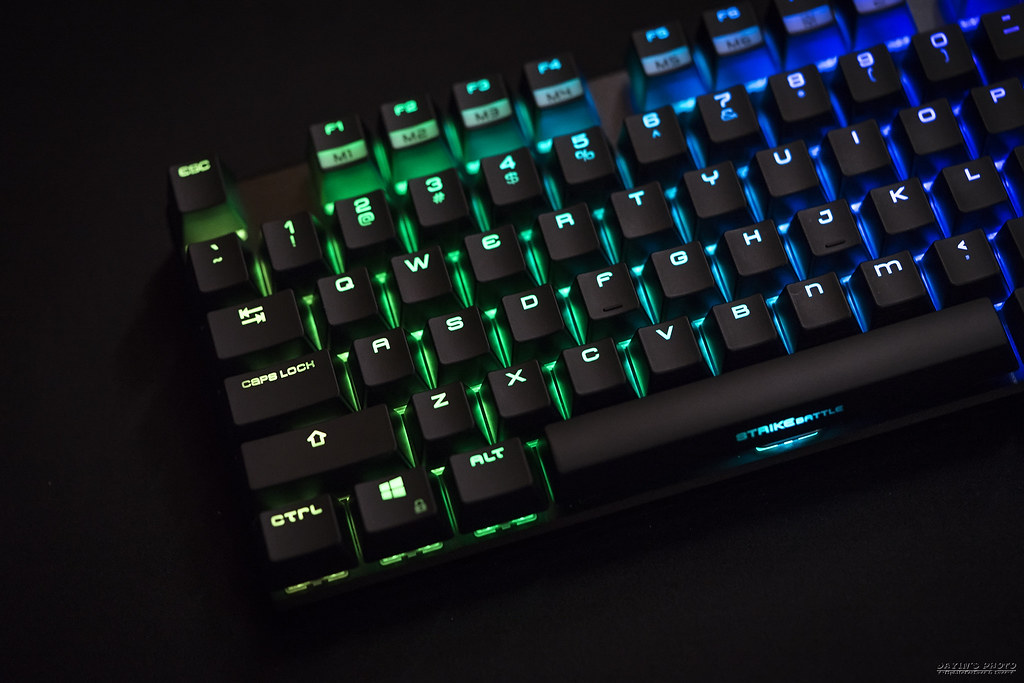
▼單色光
心得:
1. 鋁合金無上蓋、簡單俐落,適合不需要數字區的使用者。
2. cherry RGB軸,對多數人來說應該是好評,這算不算優點,其實也很難講了XD
3. 內建數種RGB燈效,雖然沒有像corsair或是razer那麼強大,但基本的都有。
4. 可錄製巨集,且有G-Mode可以鎖win鍵,以及五組可連動profile,適合遊戲使用。
5. 長鍵使用平衡桿,清脆不肉,唯空白鍵手感略澀及晃了些。
最後附上影片
A. 燈效展示:
B. 打字聲:
以上就是Ozone Strike Battle Spectra RGB的簡單開箱,
感謝閱文
沒有留言:
張貼留言