
這把鍵盤,記錄了幾位瘋子的熱衷,
曾幾何時,炙熱的雙瞳映出了我們的熱血。
《前言》:
忘了是多久前,我看到了韓國的金屬外殼鍵盤,Duck Orion 和 Duck Octagon,
心中的激動無法言語,想著,就是它了,我一定要收一把,
可是現貨的價格實在是轟動武林,驚動萬教!都二、三千RMB在賣的,實在是很難下手。
就更別提最驚人的OTD 360、356.2、456GT等了,幾萬元的自組套件!
雖然 Octagon v2,我有上了半車,可惜當時家裡突然有筆支出, 我就只好變成中離狗惹,
後來聽收到的人說其實Duck的金屬外殼工藝品質不太好,稍稍解了我的遺憾。
而中國近期在金屬自組套件上也是如雨後春筍般出現,如Matrix、Evil、BTF、Camp、Mira、FMJ等
除此之外,還有TGR、KMAC、Dolphin、RAMA、LZ、TX等,非常多金屬自組套件,
可惜台灣這塊似乎不太盛行。
我想主要是因為價格吧!
回到正題,而既然大家都出了,那我們是不是應該也來弄一個台灣版的?
於是我就和幾位大神:
icyskyz
kenlee168
Vere
Kira3628800
Miraclez
wpnada
Garwalkvc
aa89028500
amos5606
No44
Myan
Cxxxxxxxxxn 這位不想讓人知道,所以碼一下
一起弄了這把LSJ 80% 自組鍵盤套件出來。
包含PCB設計、底燈幾顆、外殼造型,LSJ LOGO設計、透光需求,外殼的材質、定位板的材質等。
中間當然是經過了很多次的投票表決,還有多次的打樣,才有最終的成品。
去年Ducky Pocket的發表會隔天,大家還特地去看了樣品的品質!
這邊最要感謝的就是kenlee168了,台灣陽極工廠這邊都是靠他去產線上盯著。
而從概念設計到最終成品,也過了一年了,有點漫長啊!
不過比起鍵帽的團購,算還ok的了,至少為了品質我們都是可以等待的。
「LSJ」,其實是「老司機」的意思,指的是經驗豐富,閱歷充足的識途老馬,可以帶人上車,或者說是入坑。
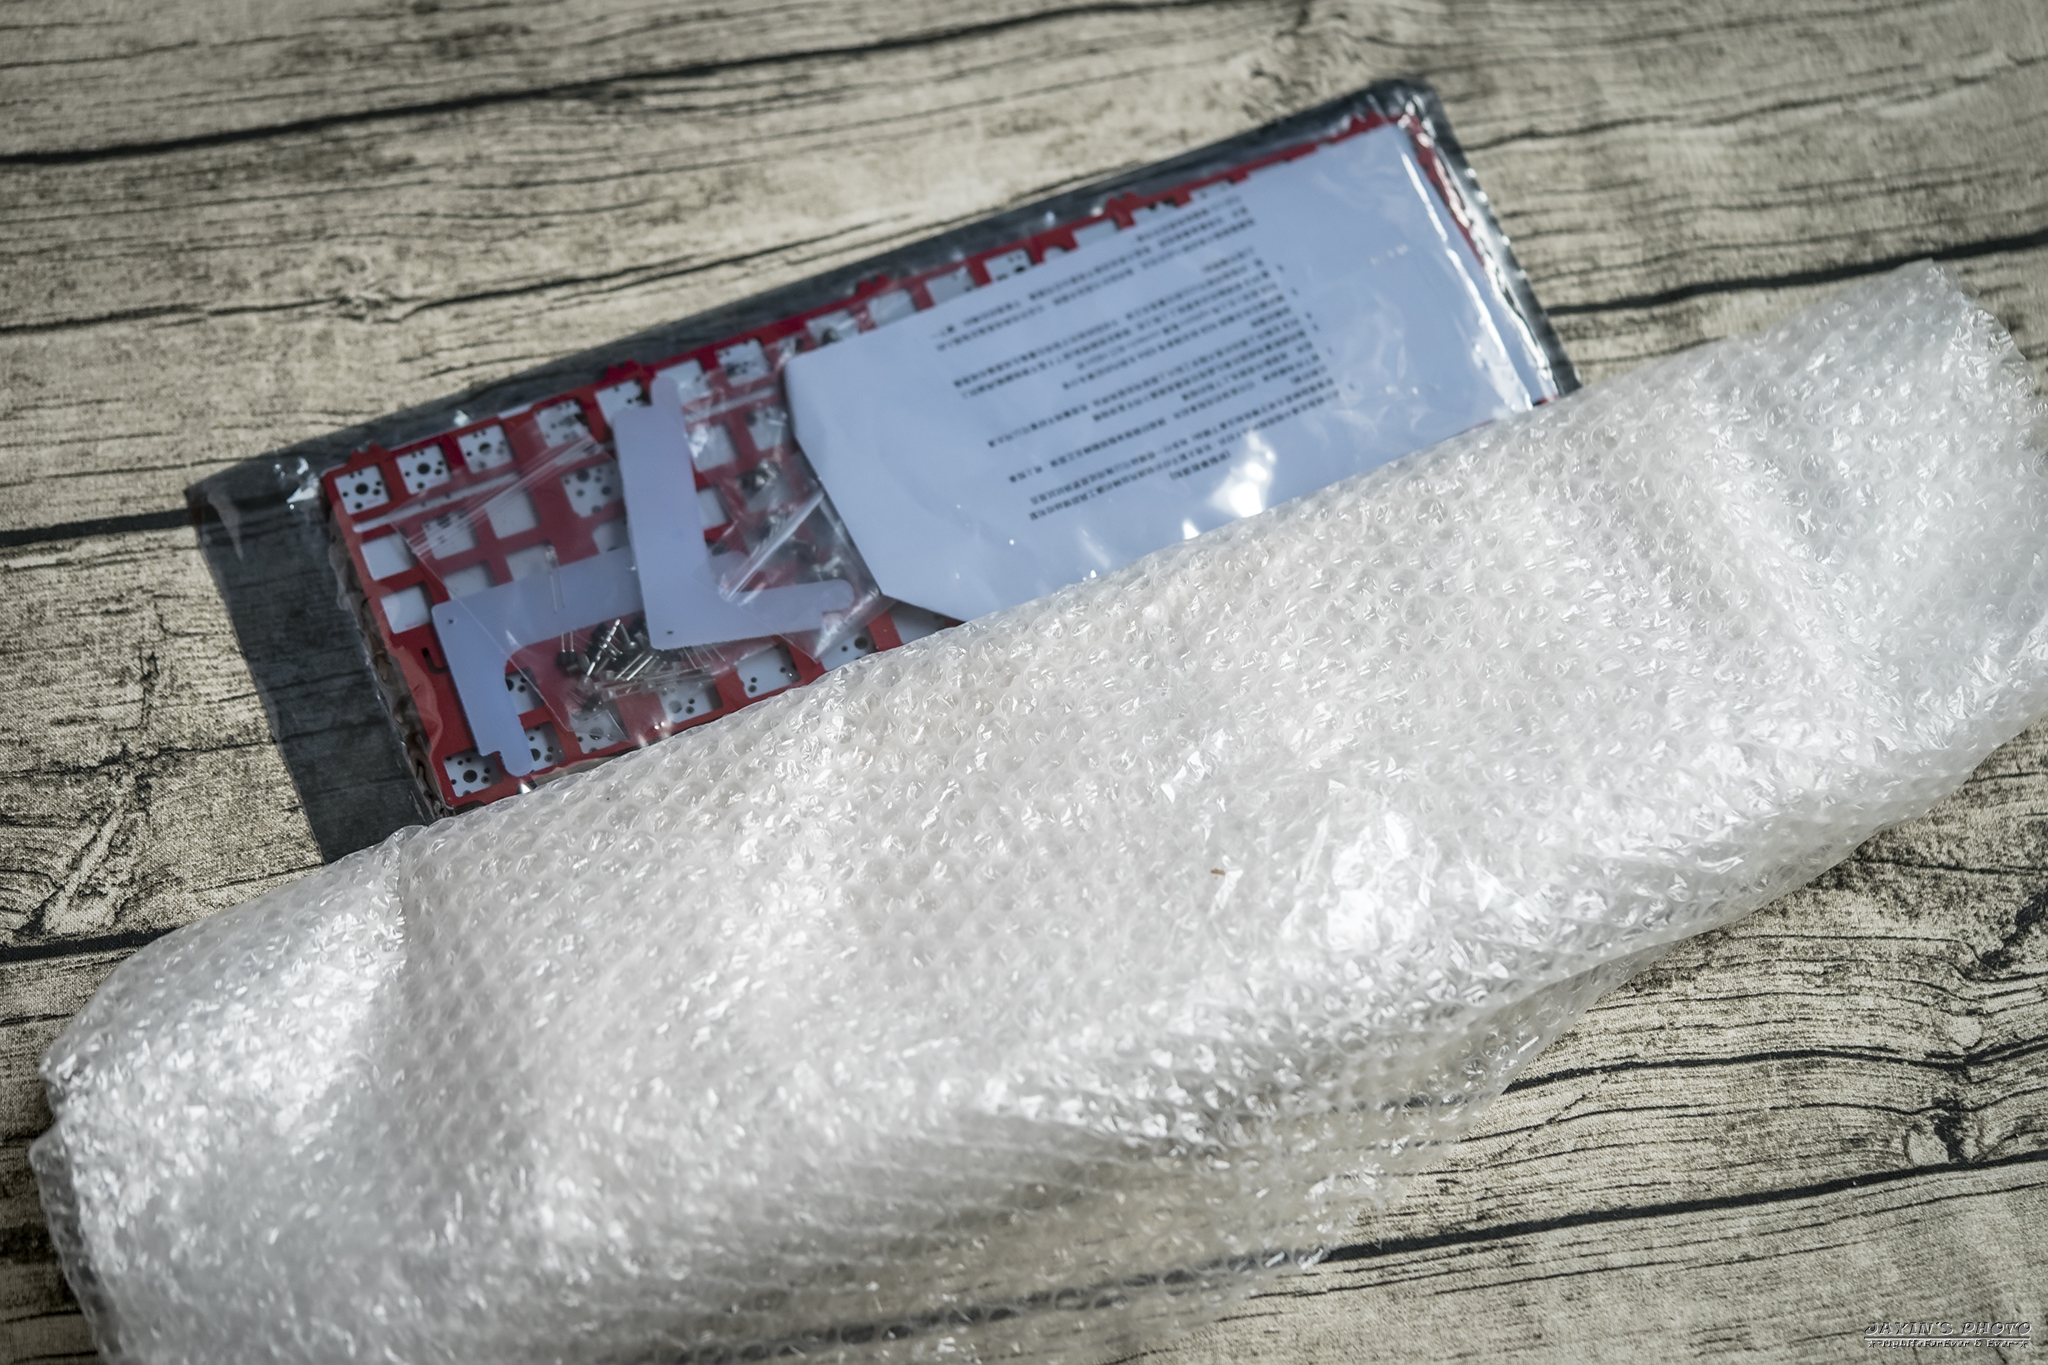
《開箱》
▼這個套件包含了PCB、定位板、鋁合金上下蓋、燈座。其它都是得自備的。
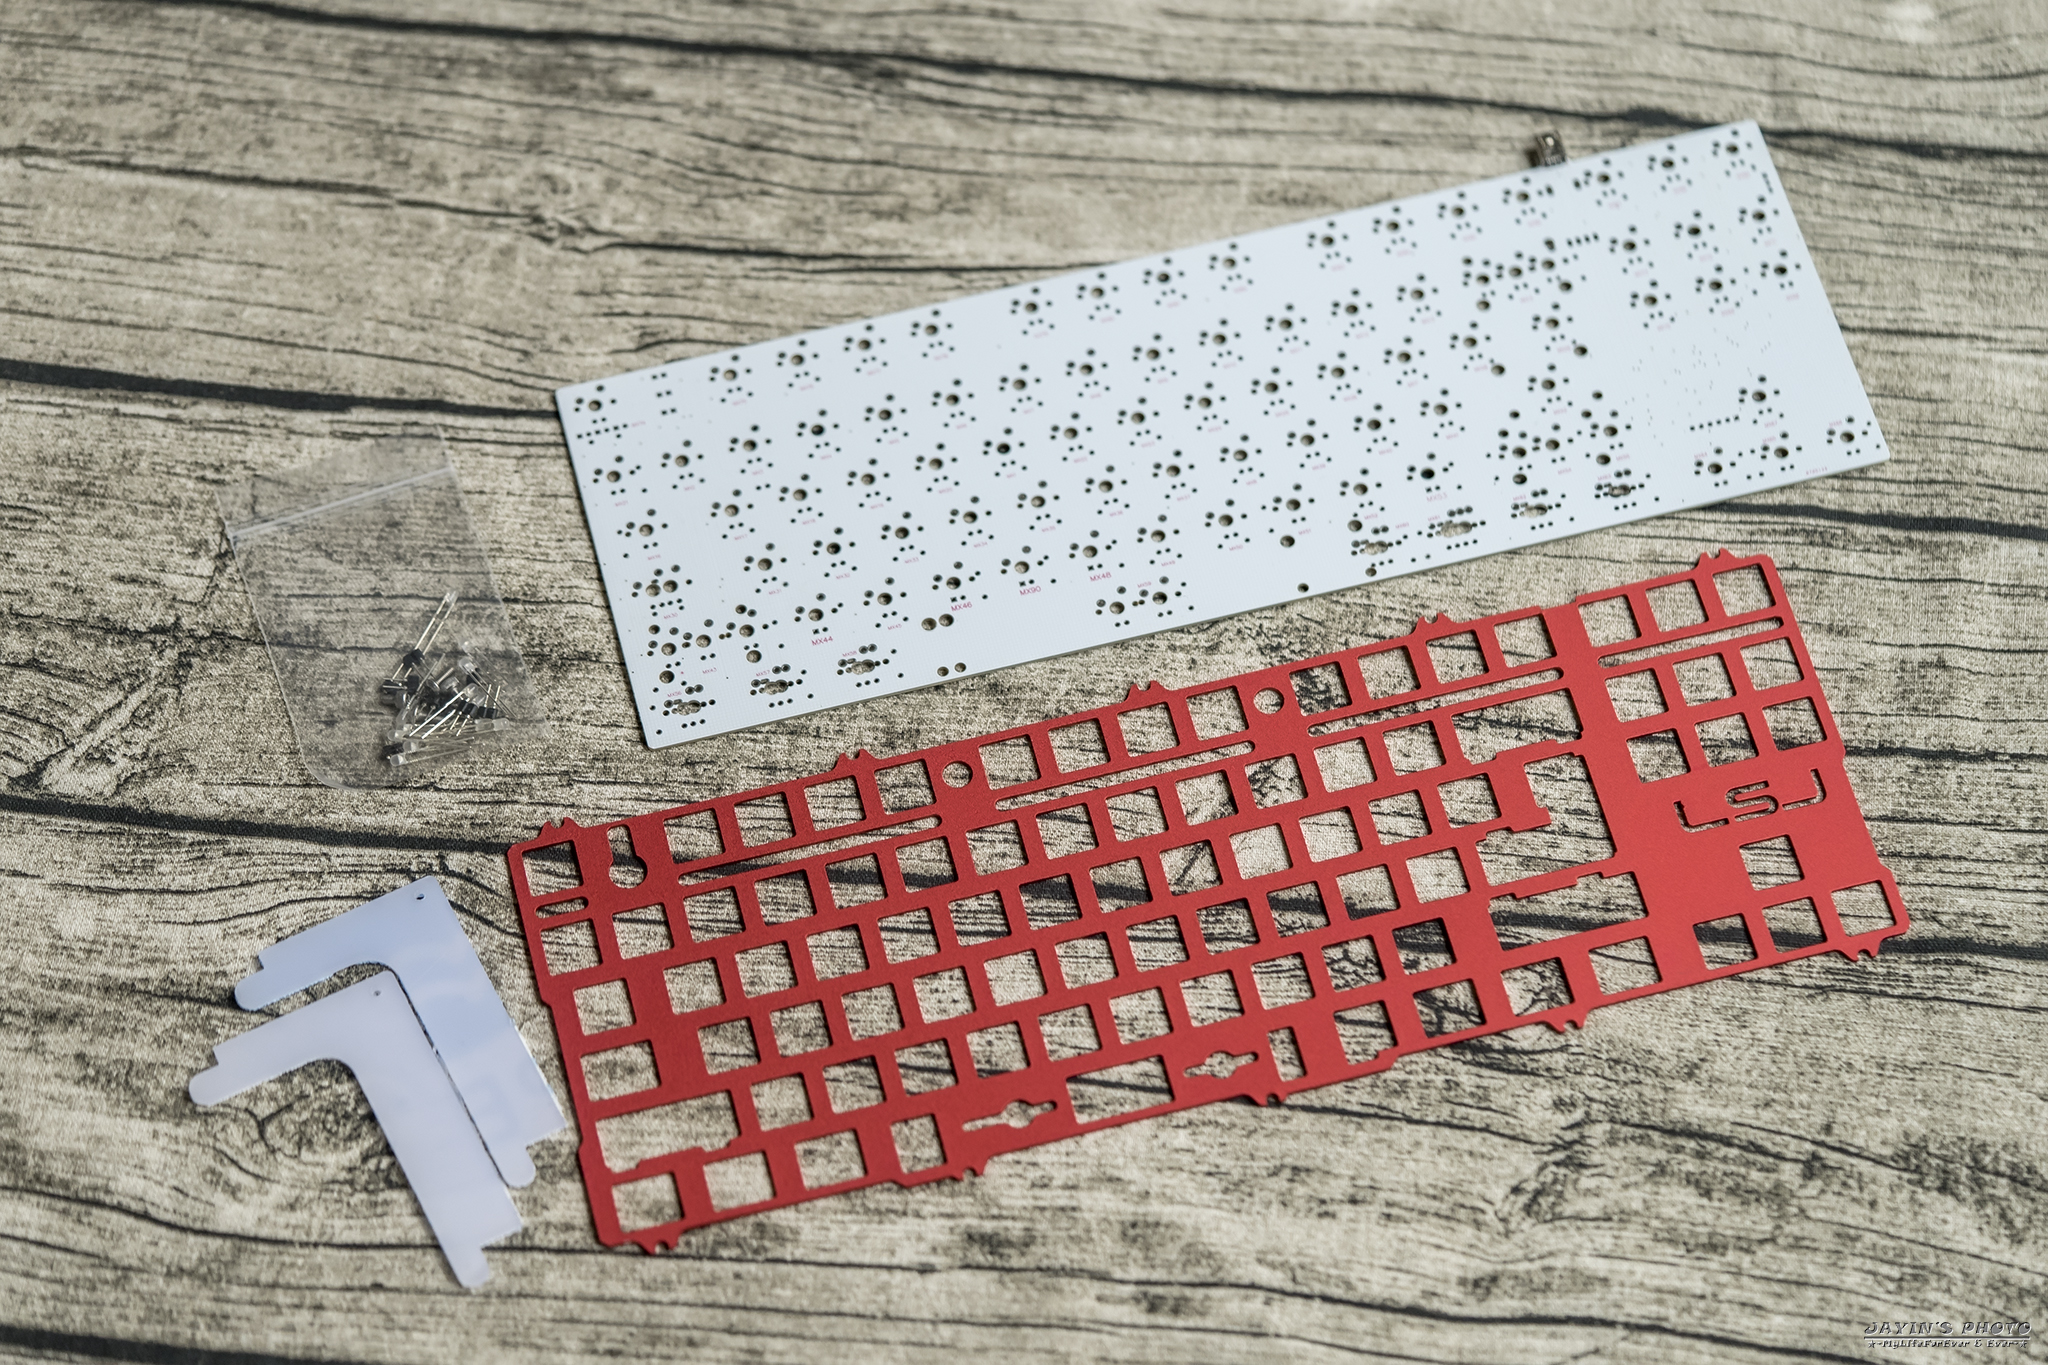
▼內部零件,白色的PCB、定位板我選了紅色的鋁合金,左上的是燈座及幾顆LED燈,左下的是均光板
燈座、LED燈、均光板的用途後面會說明。
▼定位板的設計採用鎖在上蓋的方式,所以上下各有五個鎖孔。可惜沒紫色的,不然應該挑個基佬紫啊!
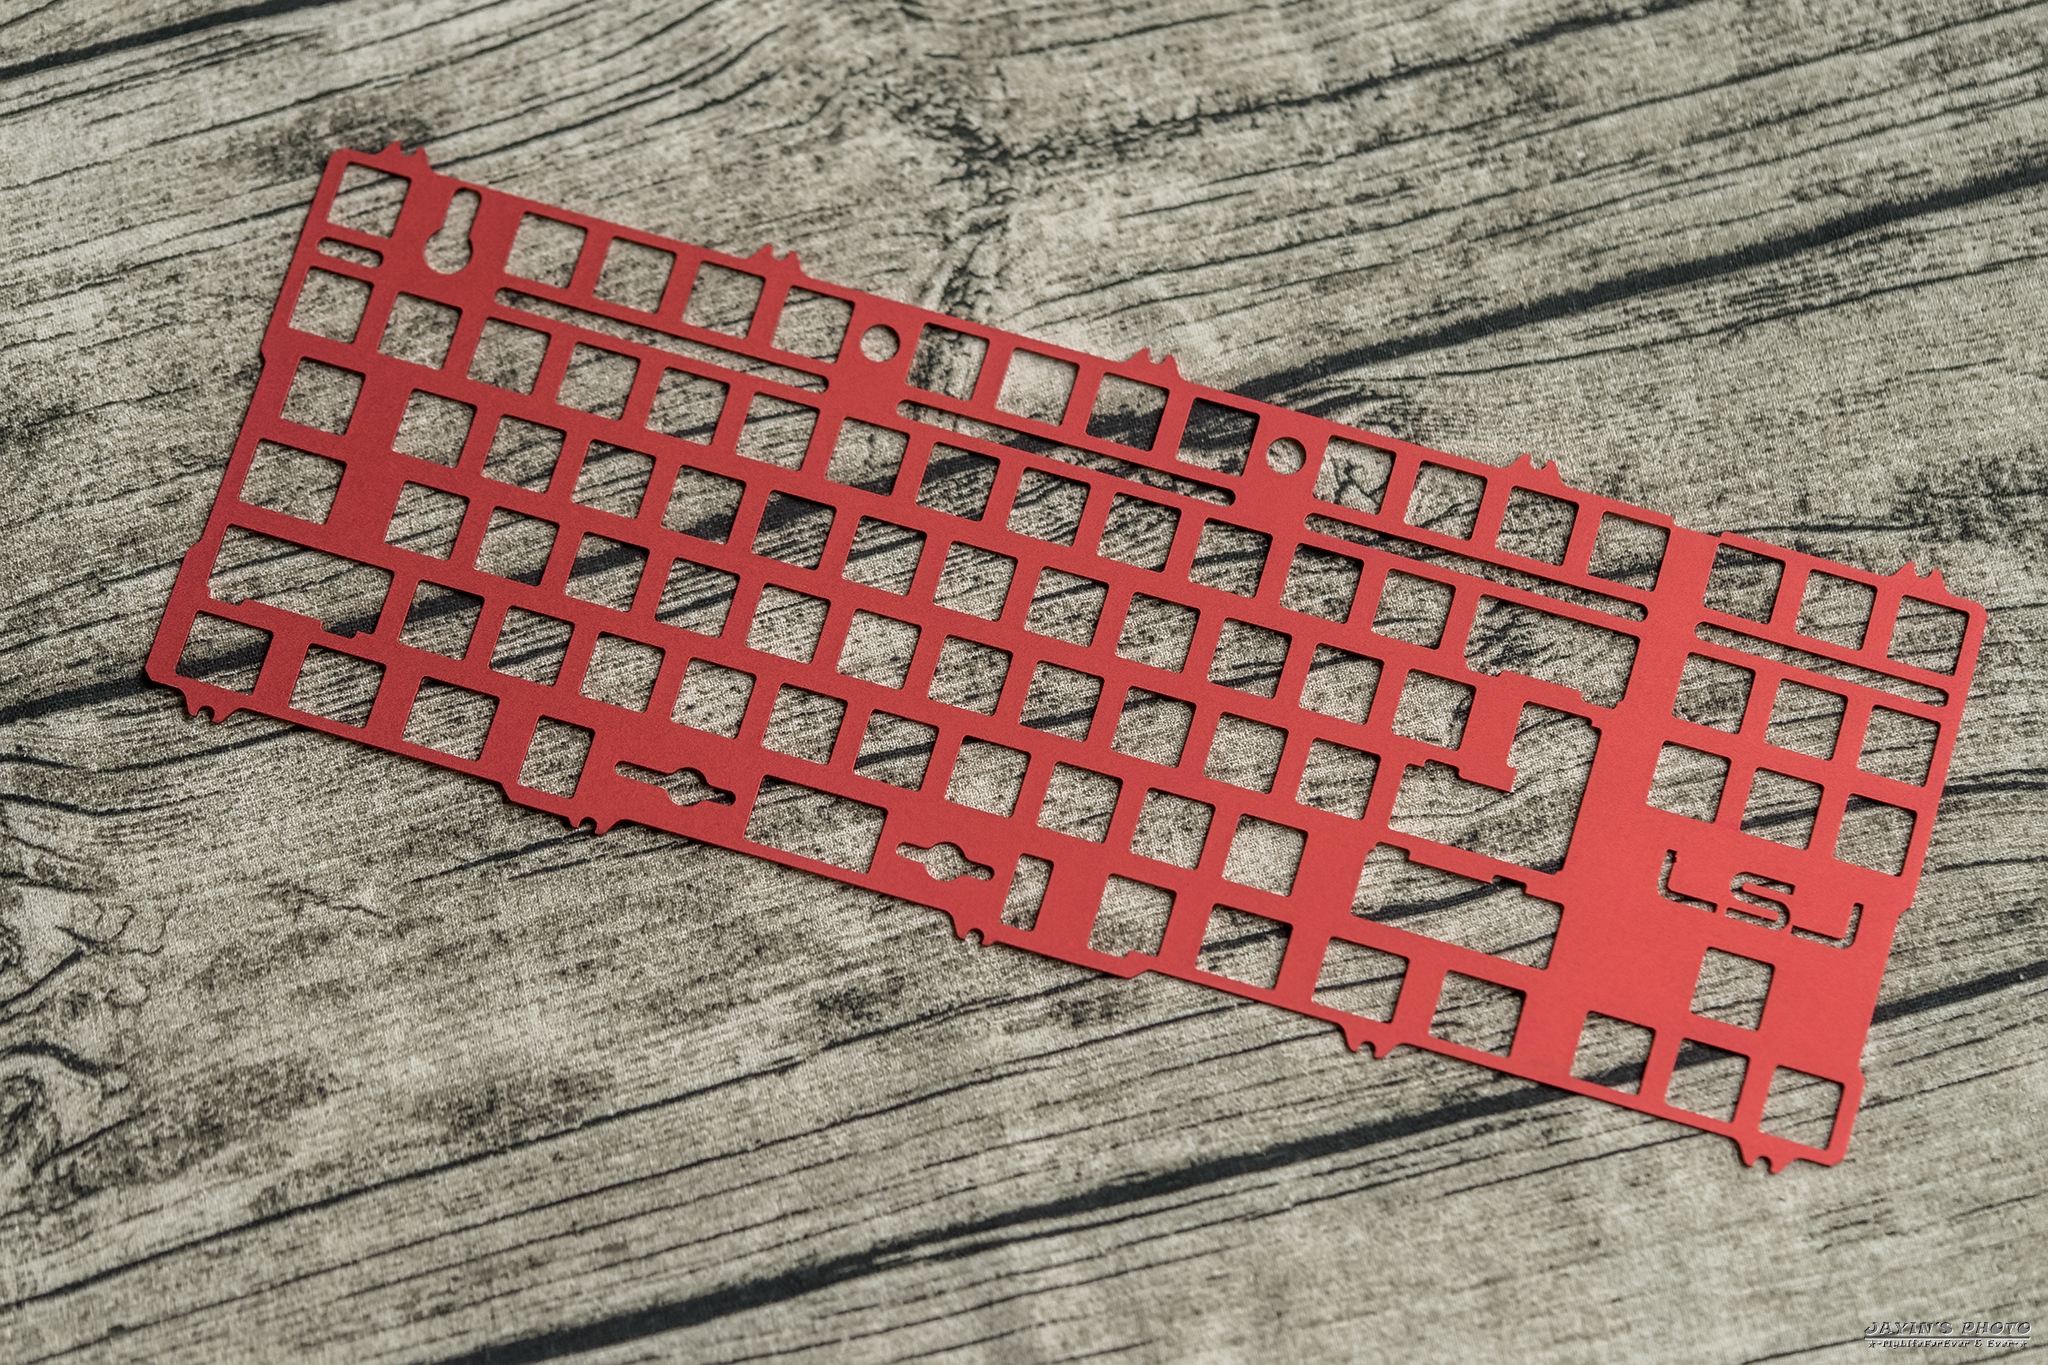
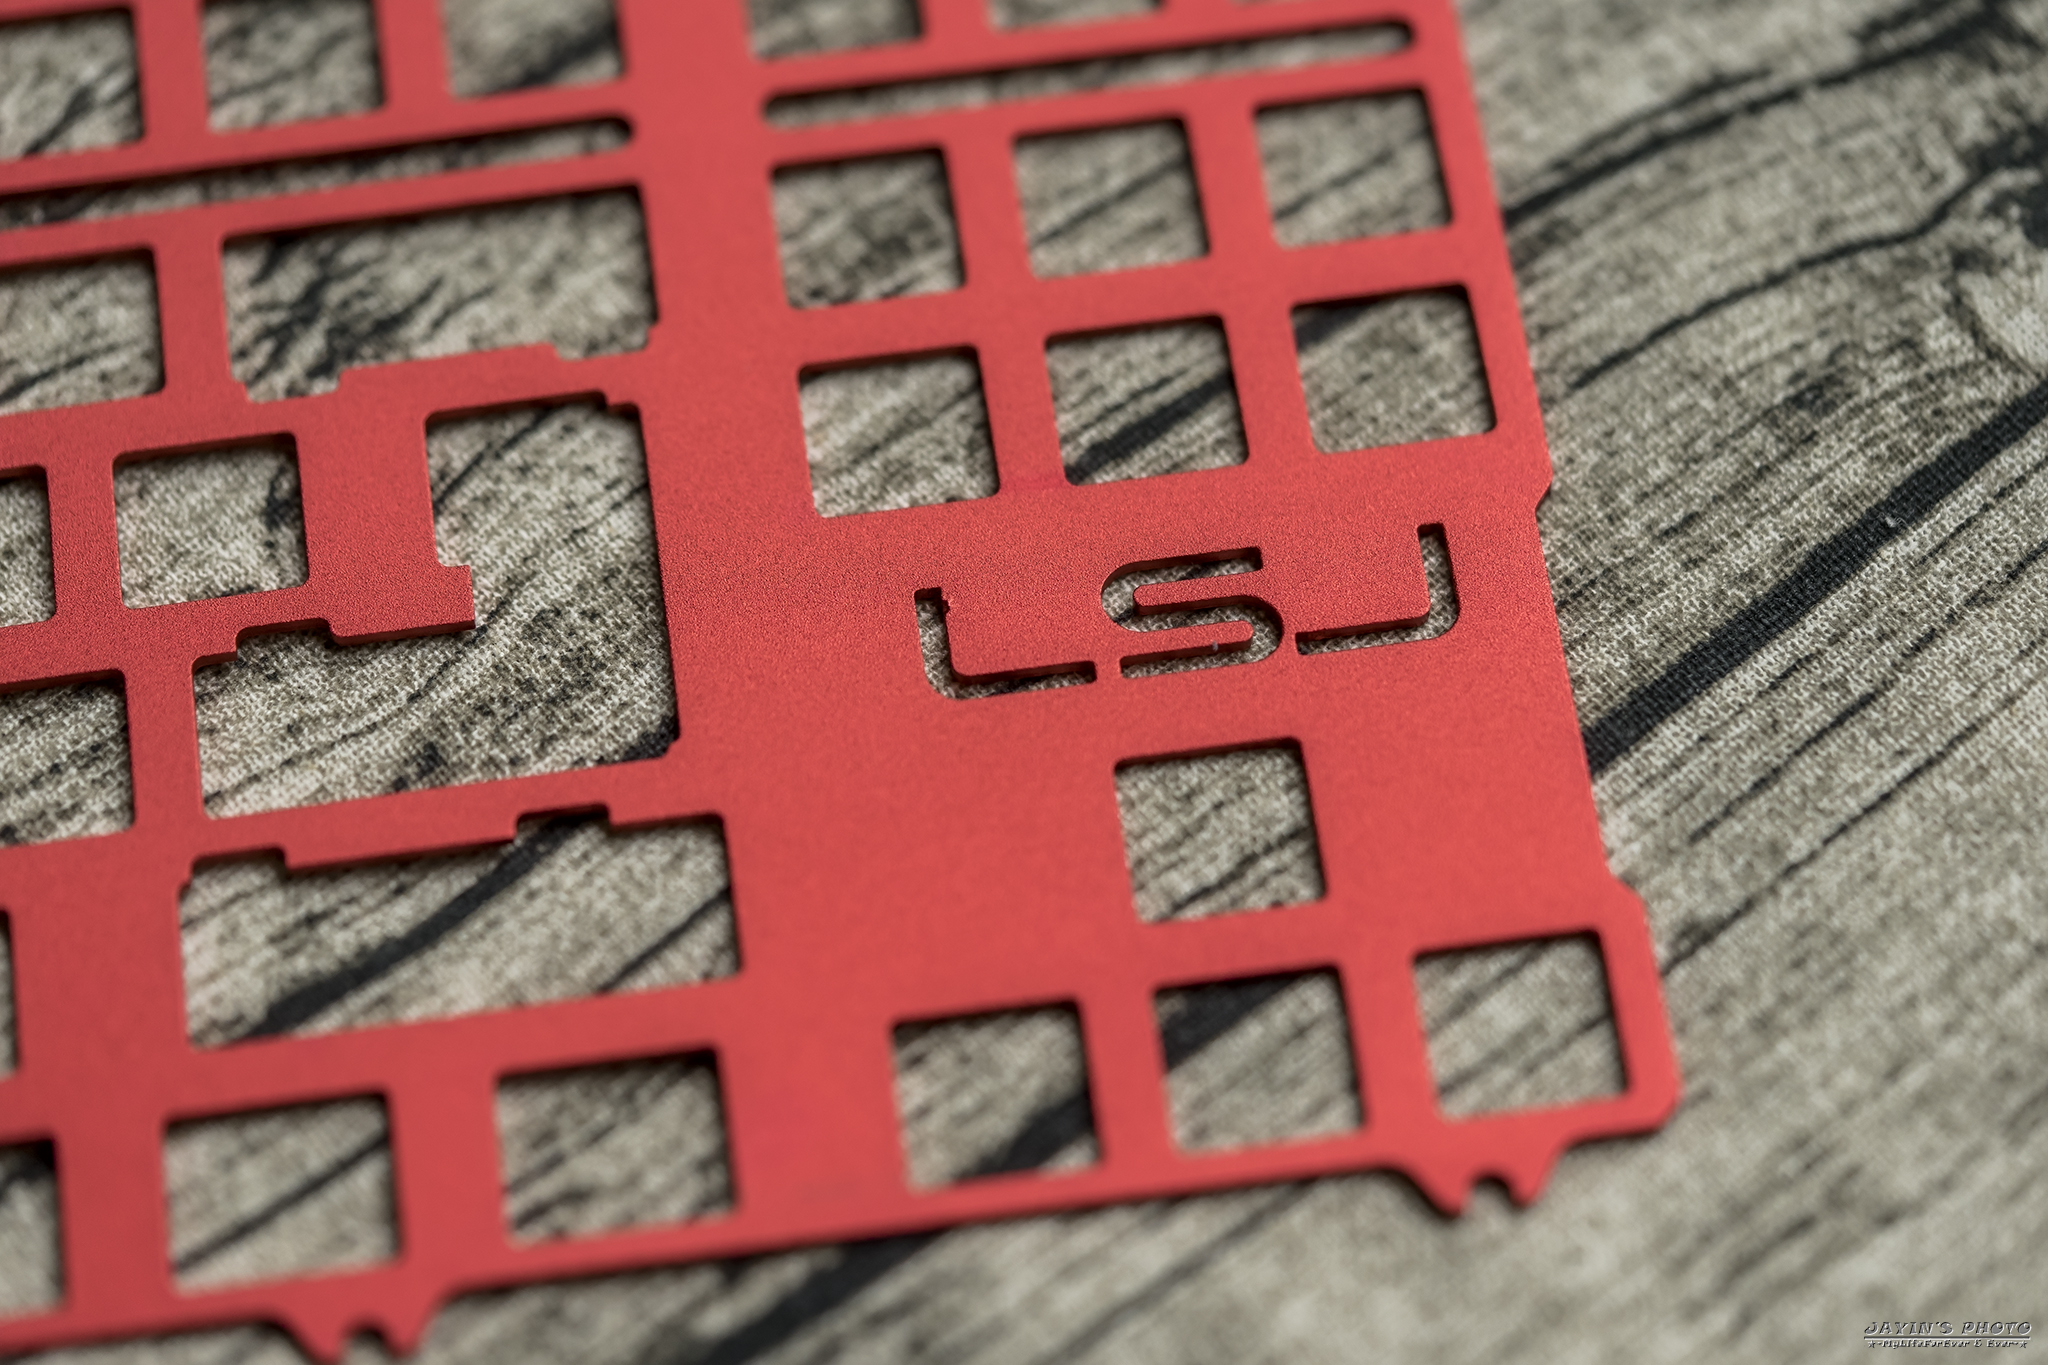
▼定位板上也要有的「LSJ」LOGO,我這張L被自己不小心弄了個小傷
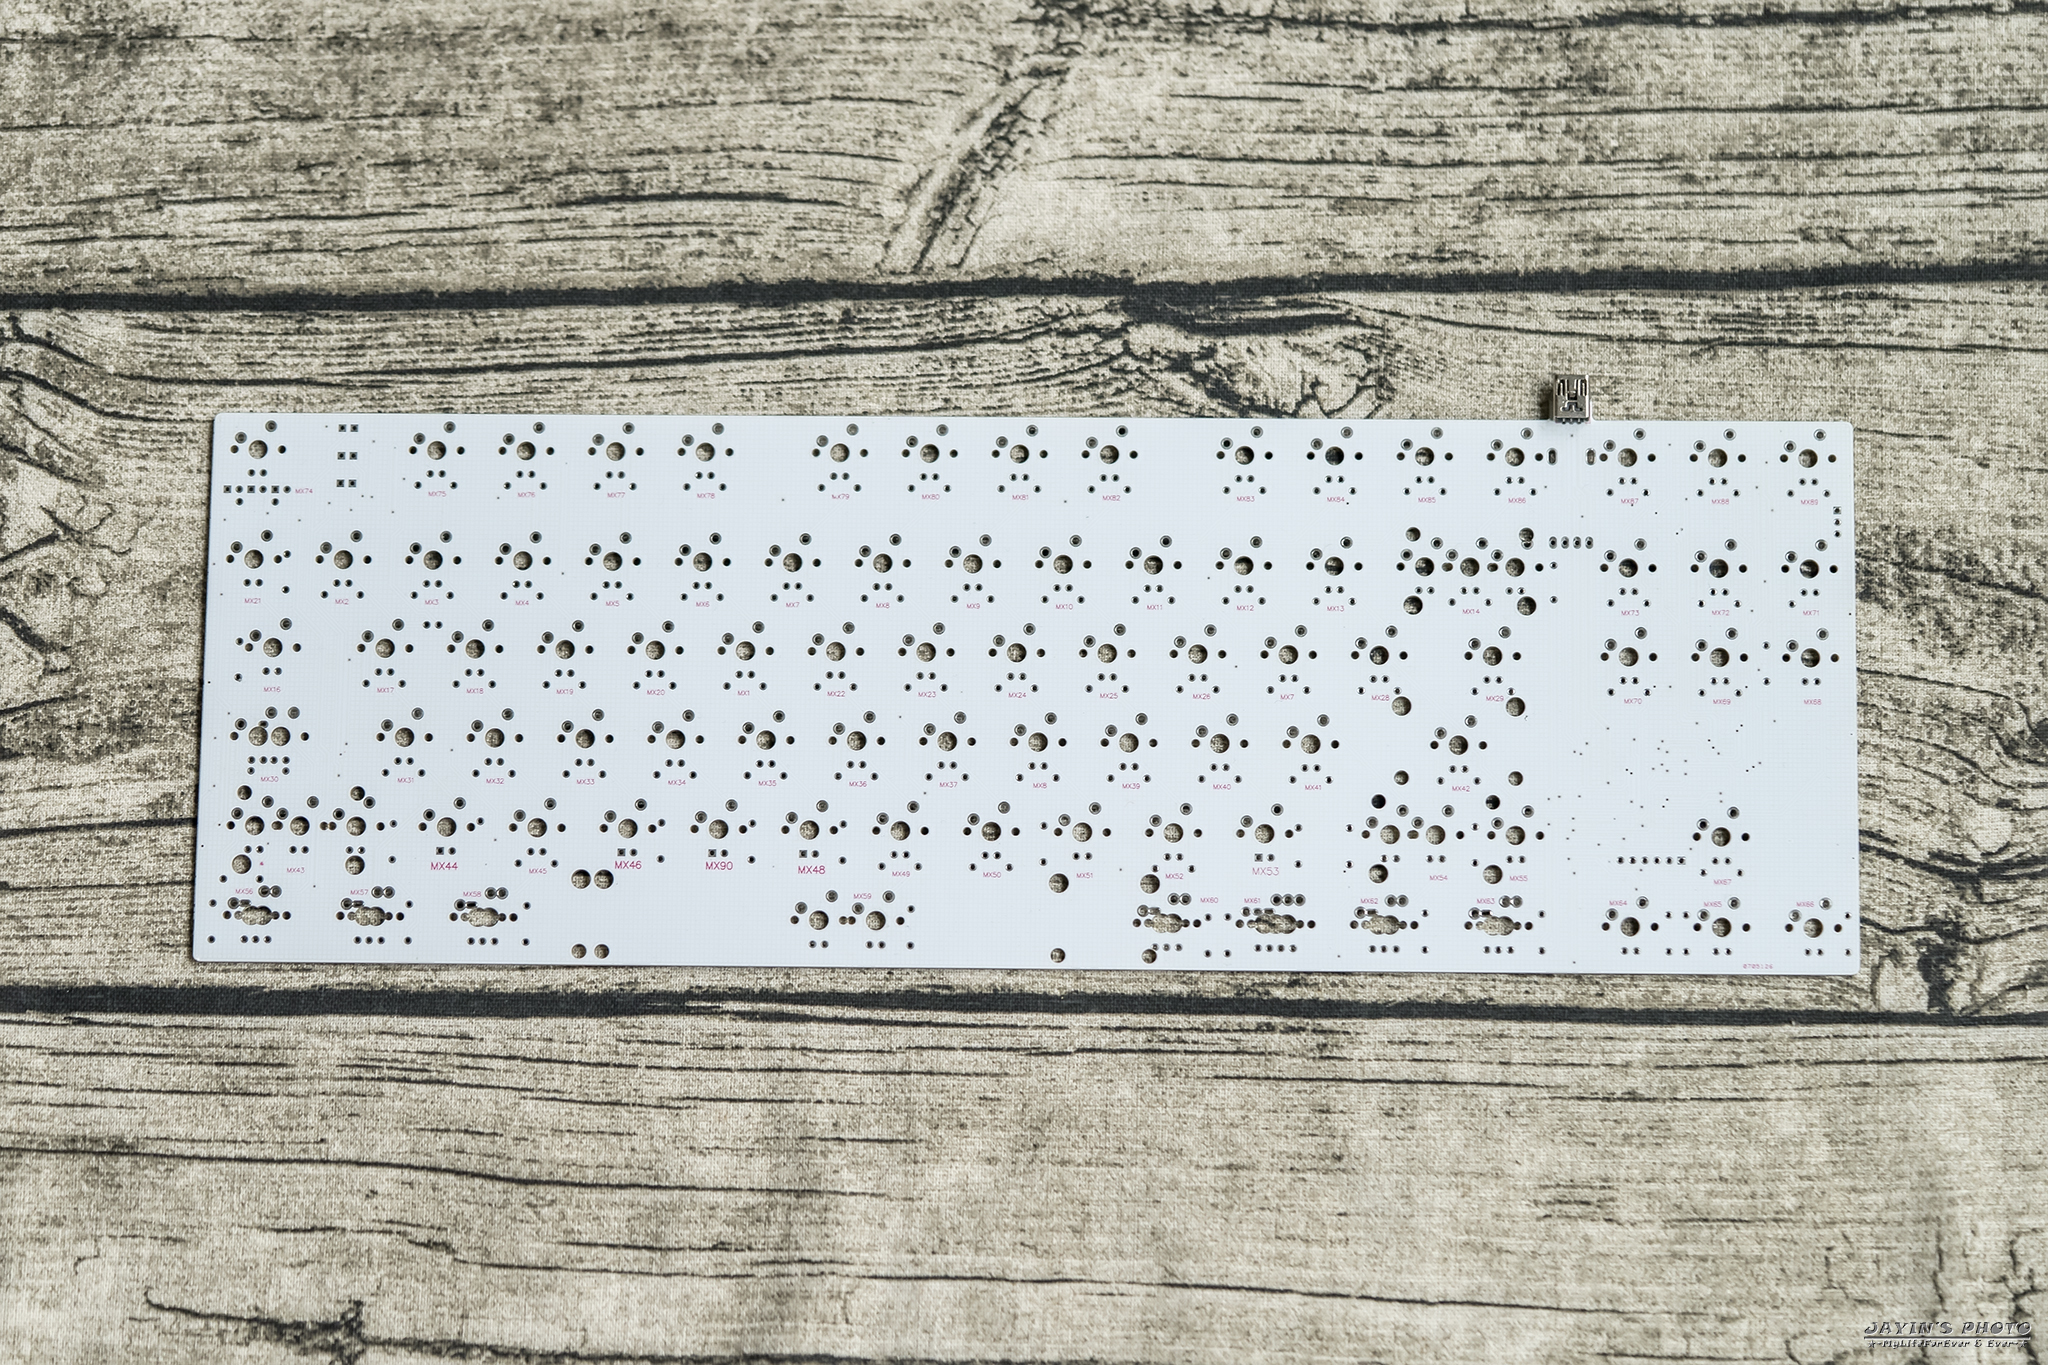
▼來看看PCB,PCB我們是委託中國的玩家幫忙製造的,長鍵均是可拆分、支援winkey/winkeyless,
刷機軟體是bootmapper client。
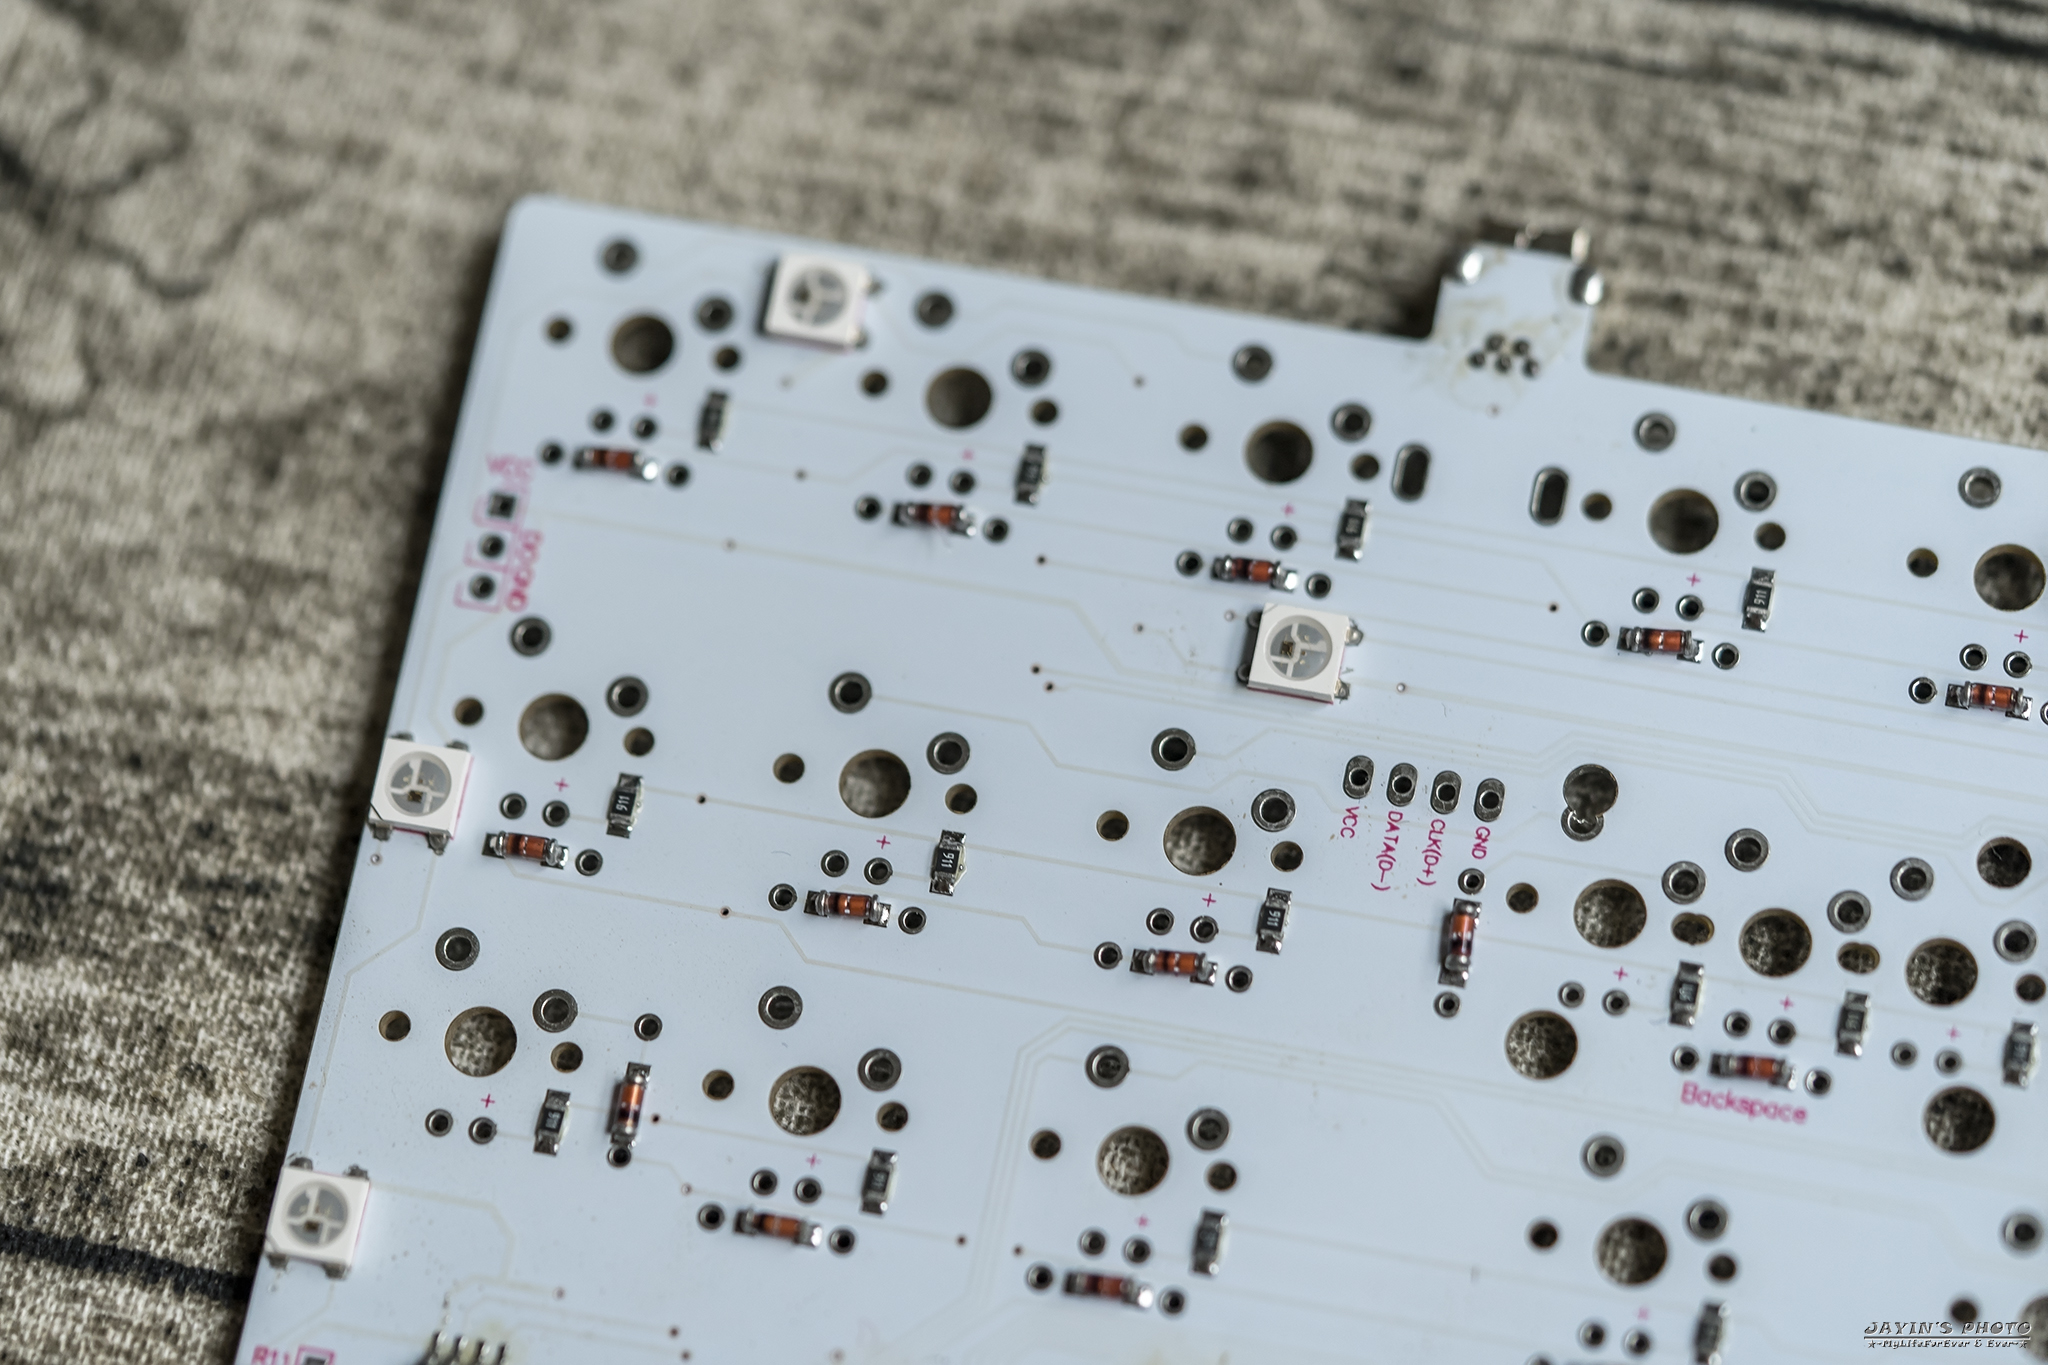
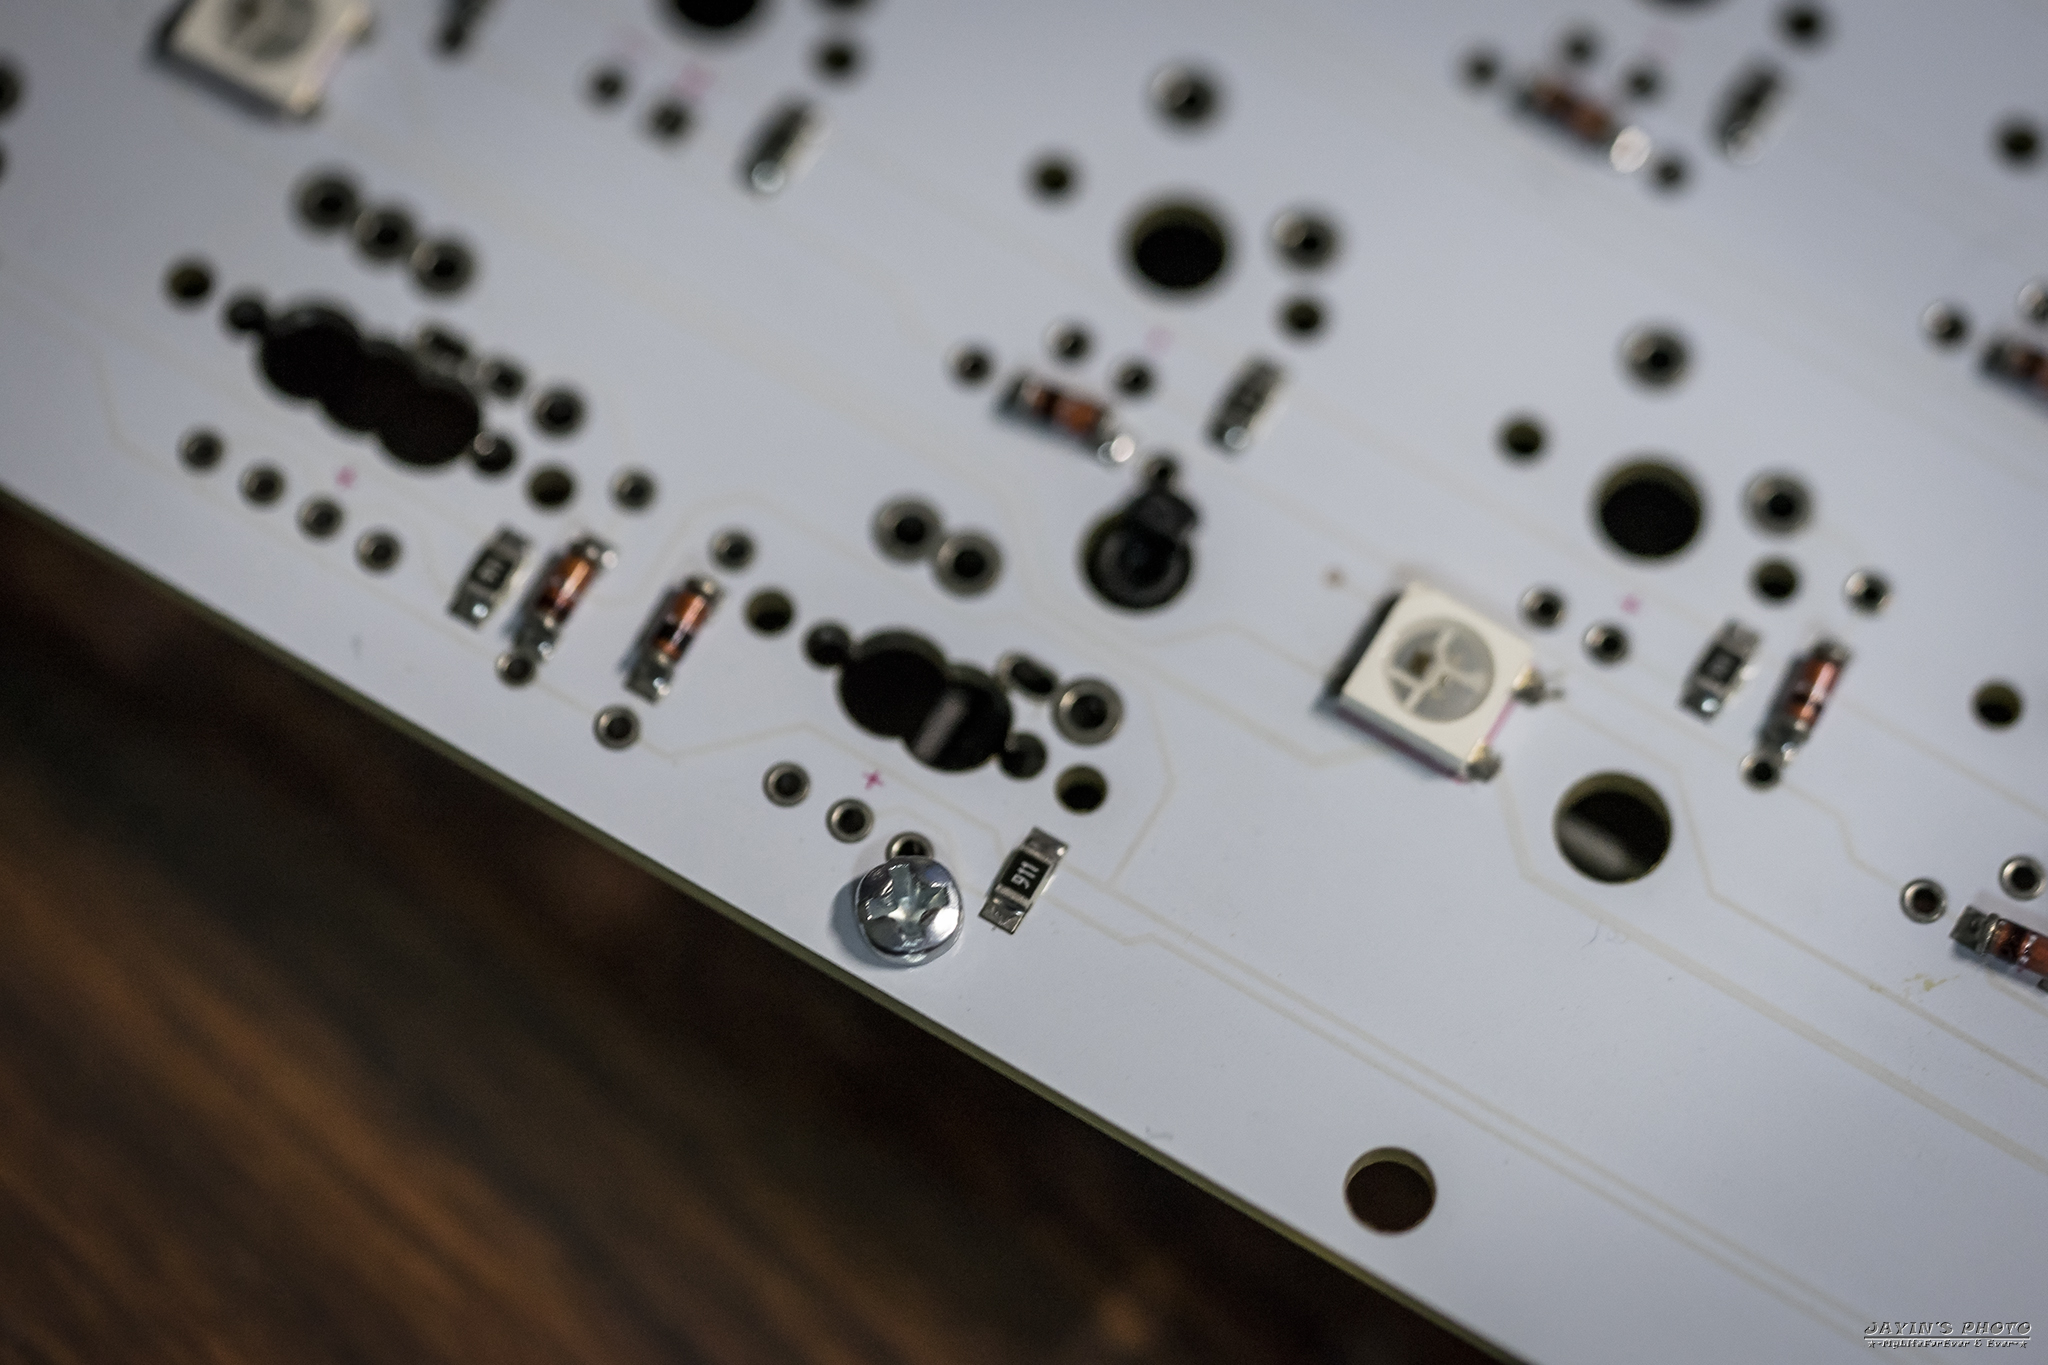
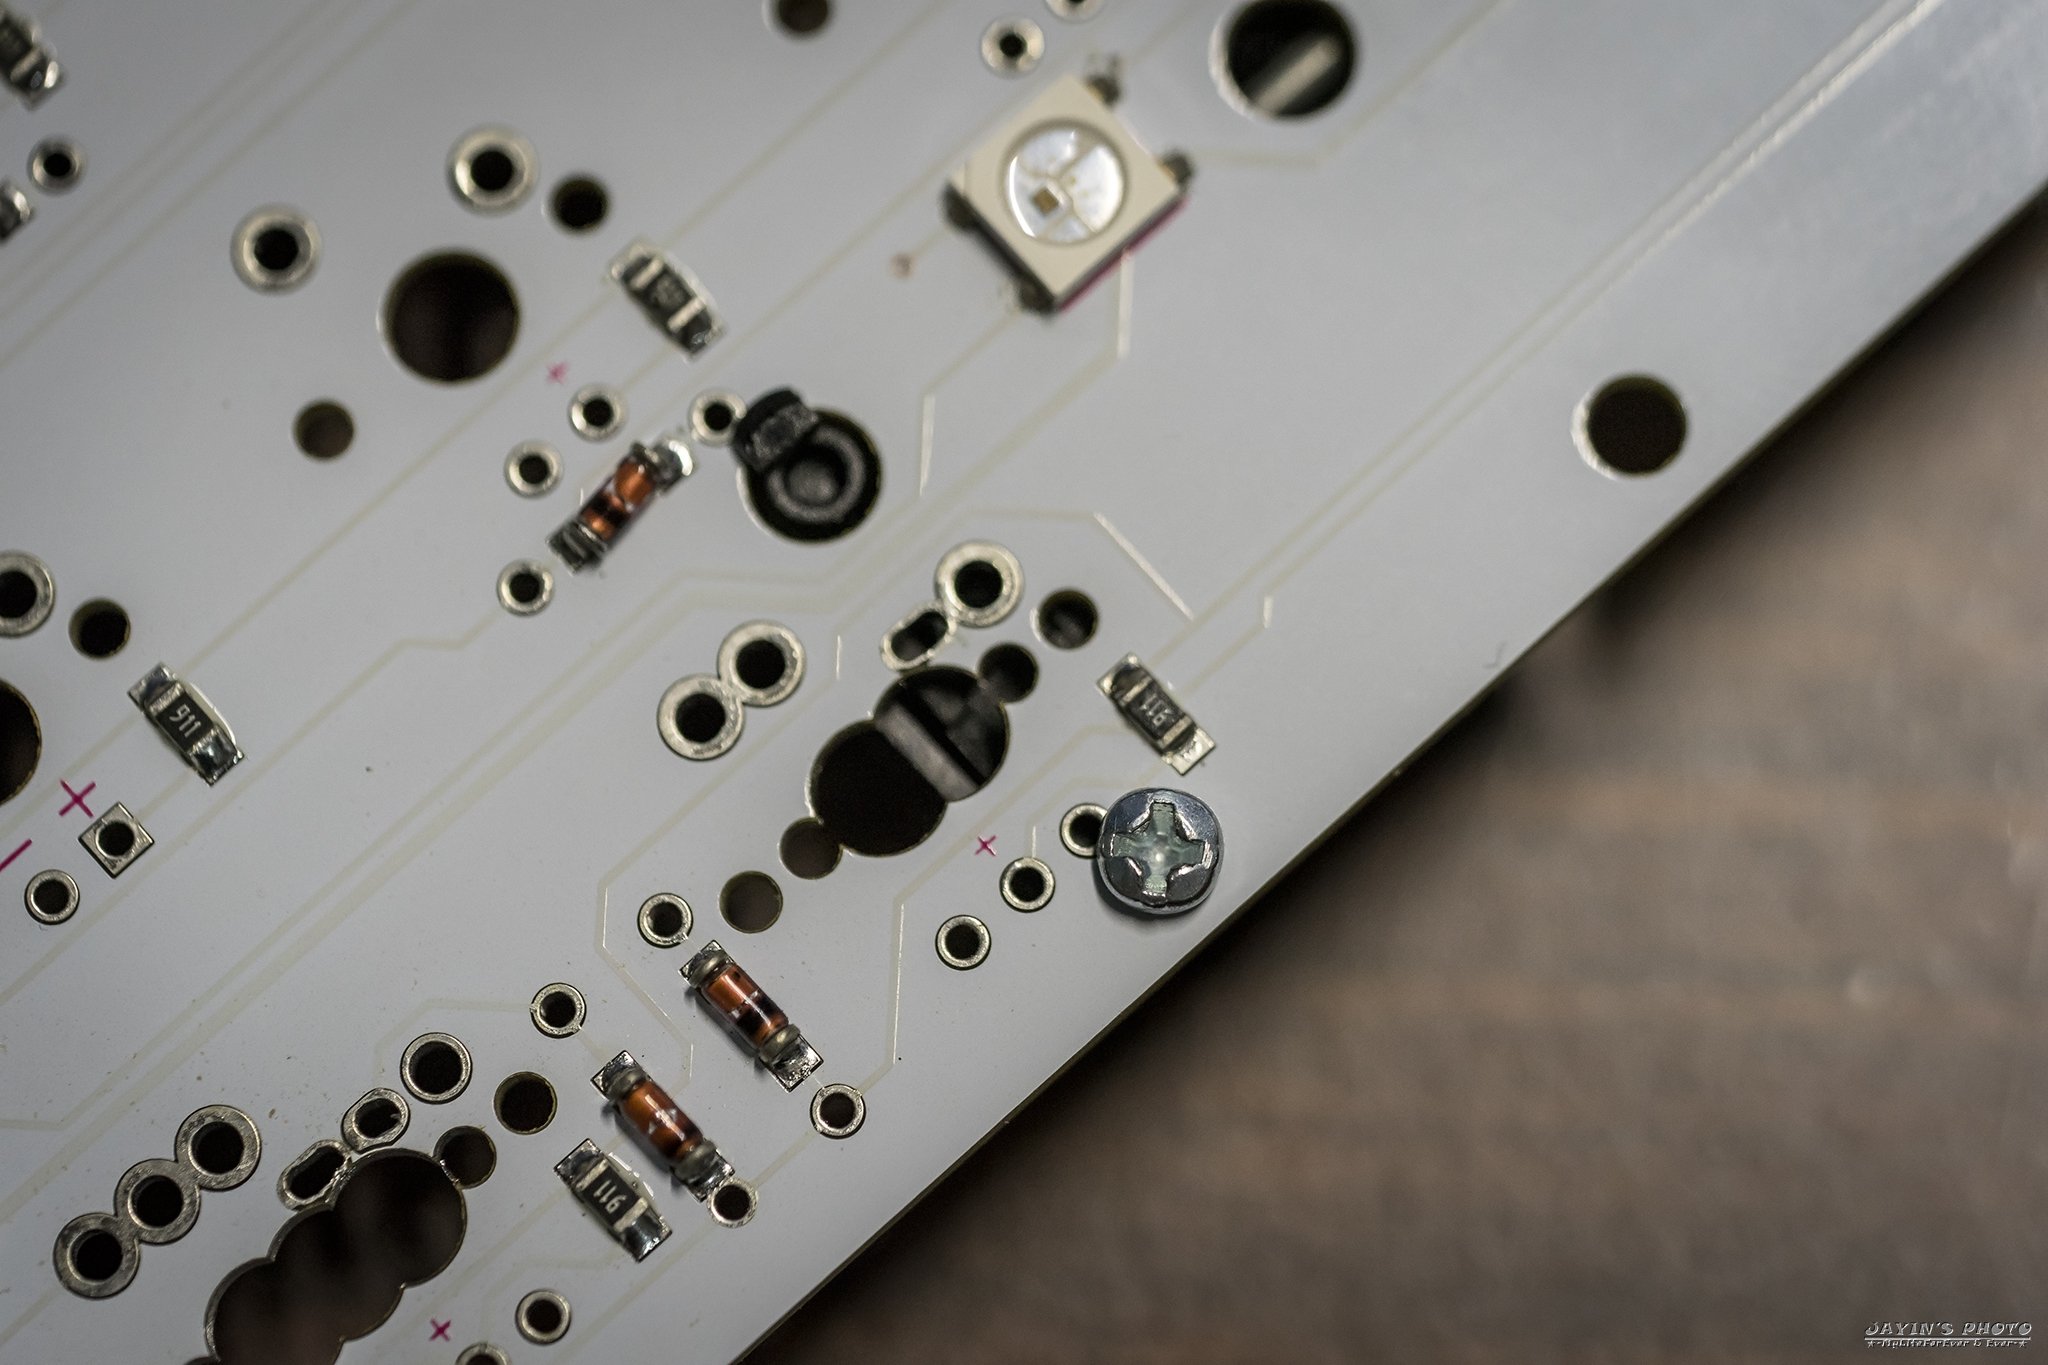
▼背面,可以看到有一圈RGB底燈,採用5050的SMD LED,軸燈則是使用下燈位的設計。

▼RGB底燈近拍,這塊PCB同時還保留了擴充IO
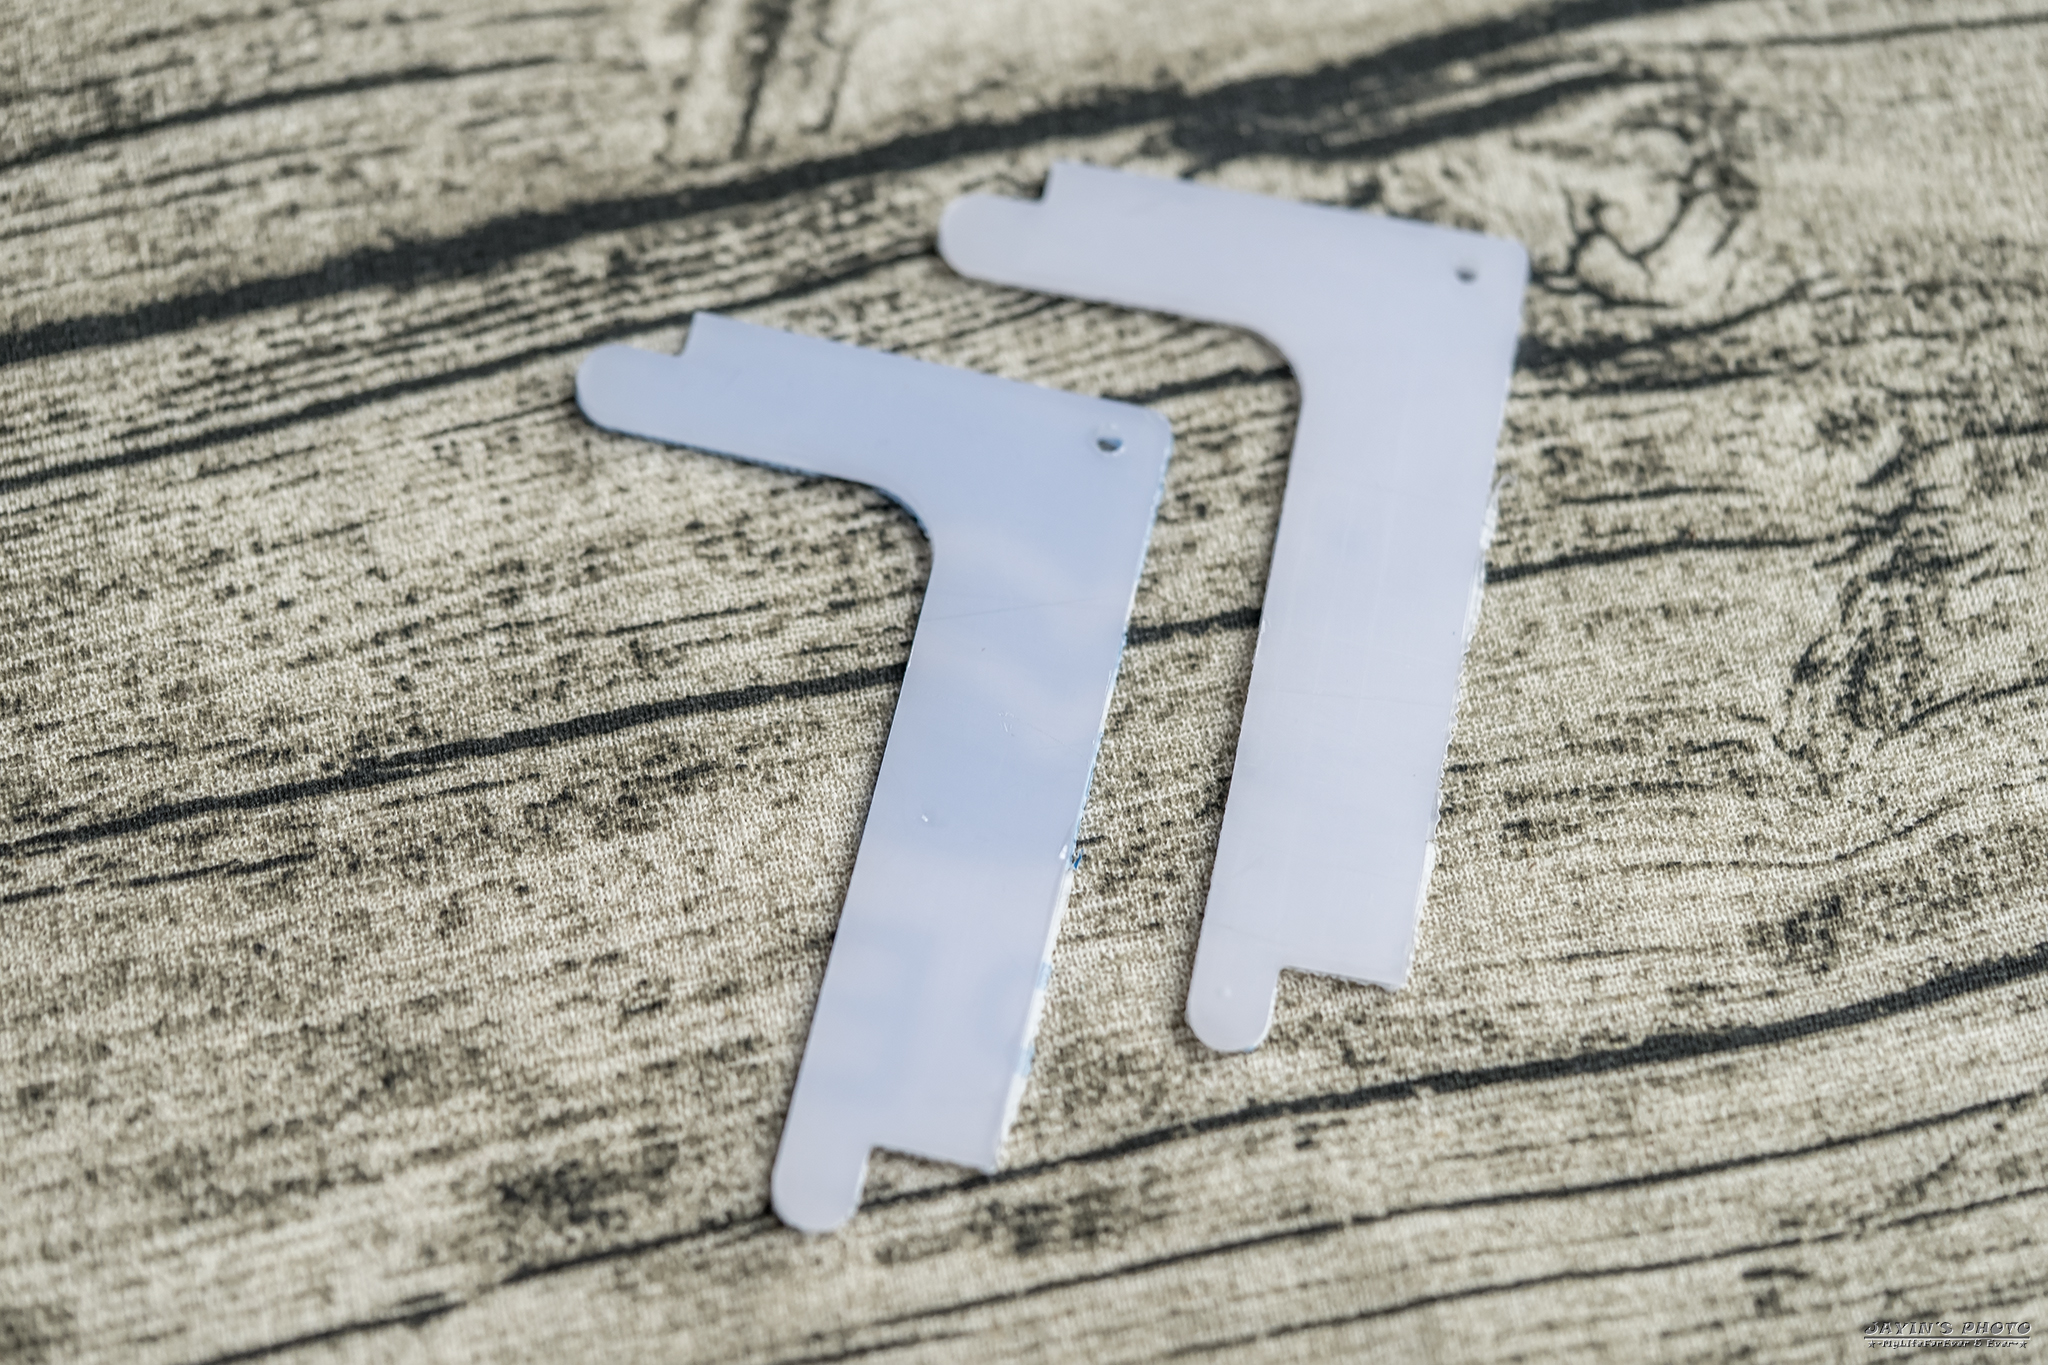
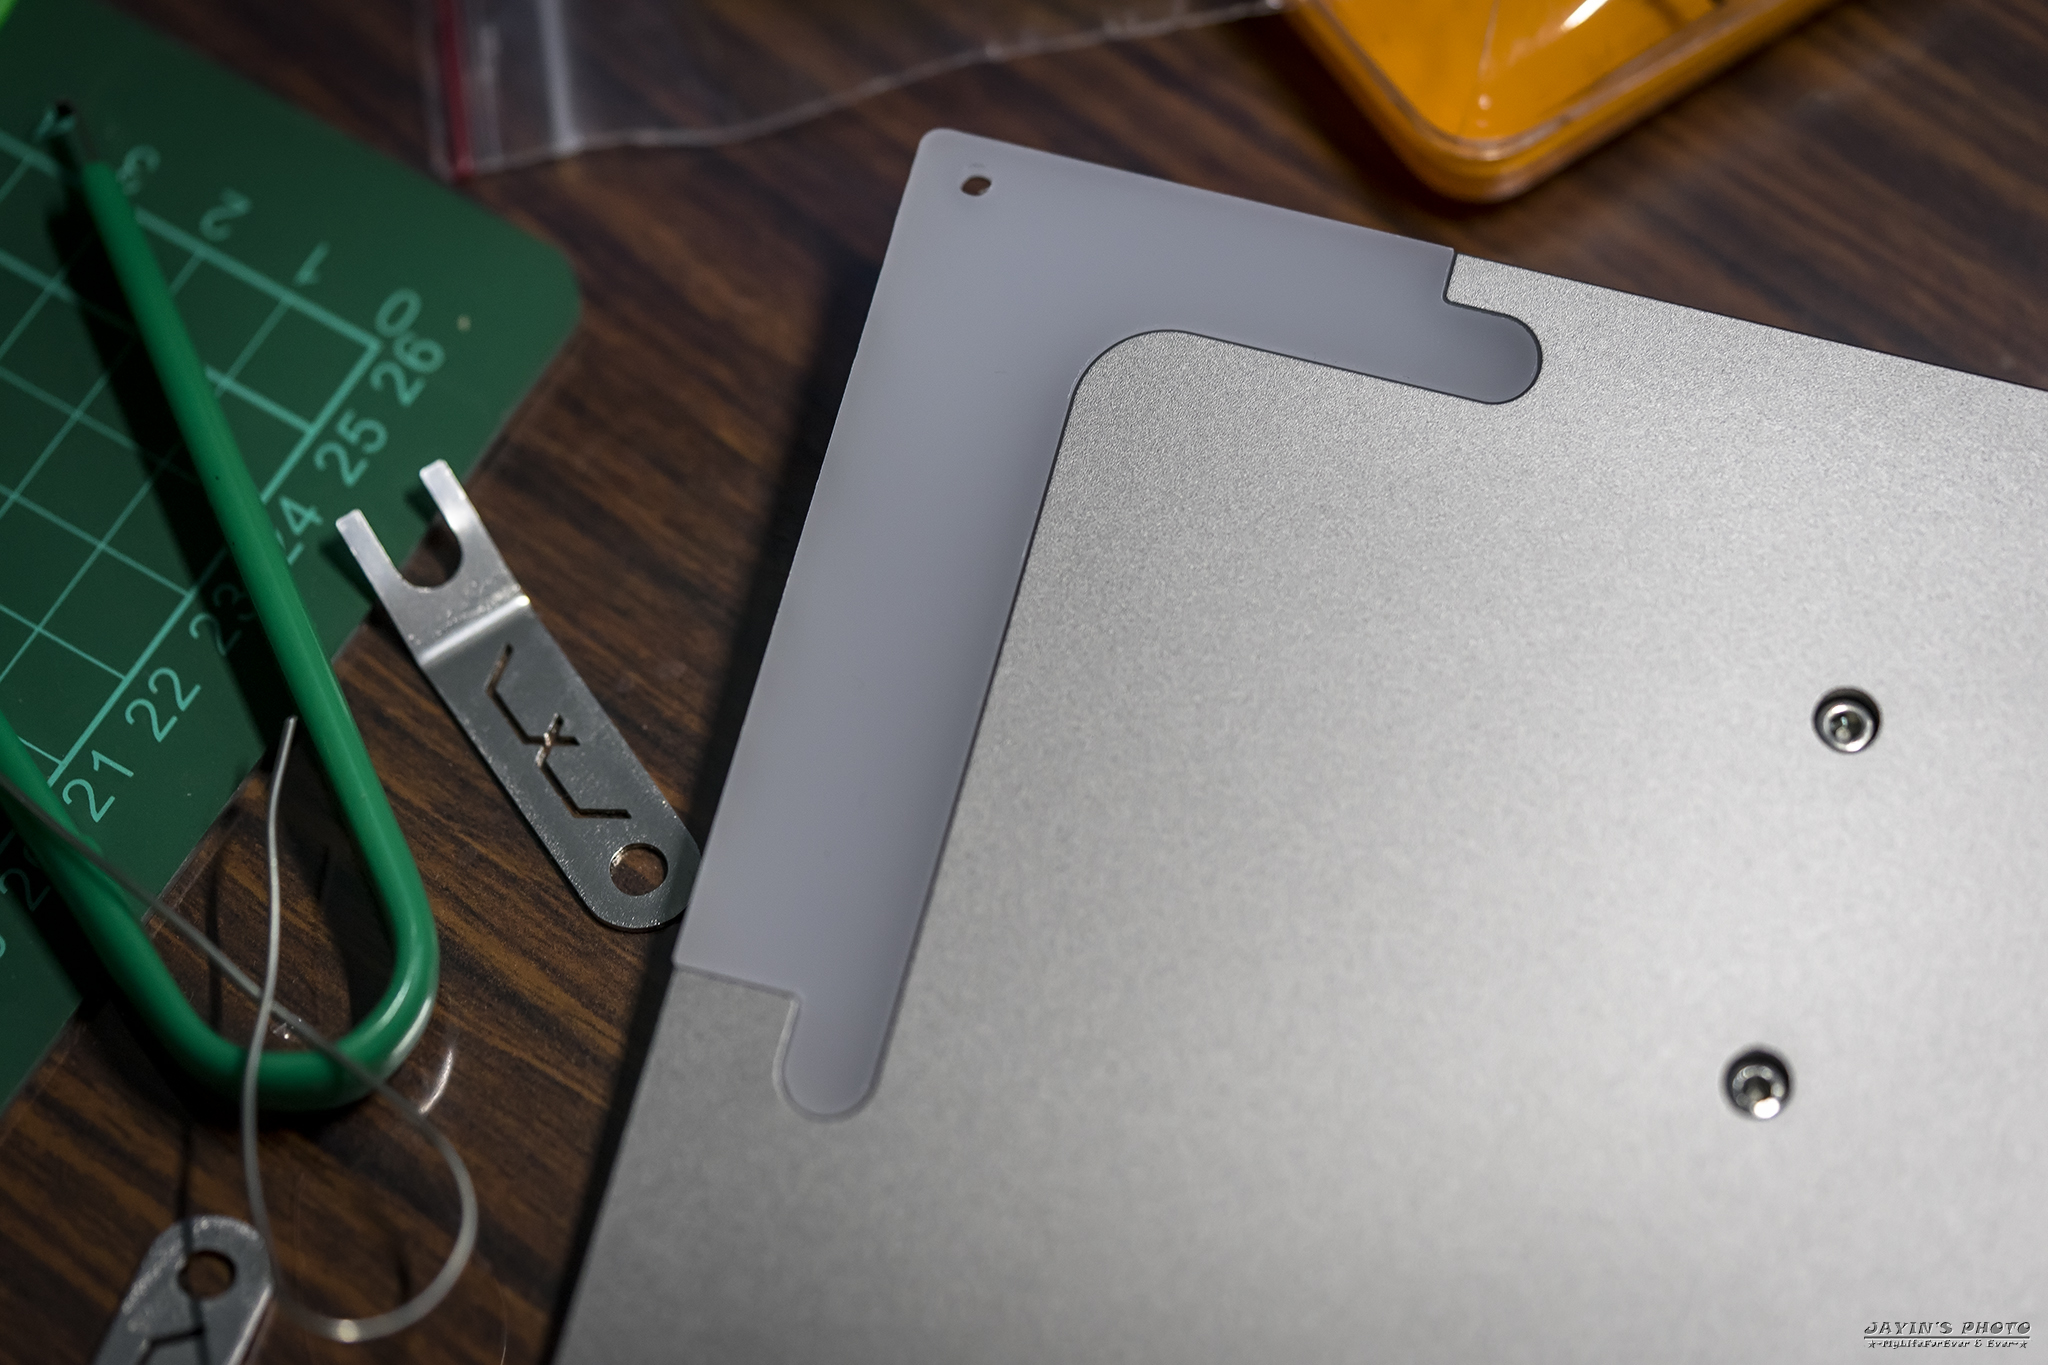
▼這兩片均光板,會用在外殼的夾層,外面有用膠膜保護,避免刮傷。
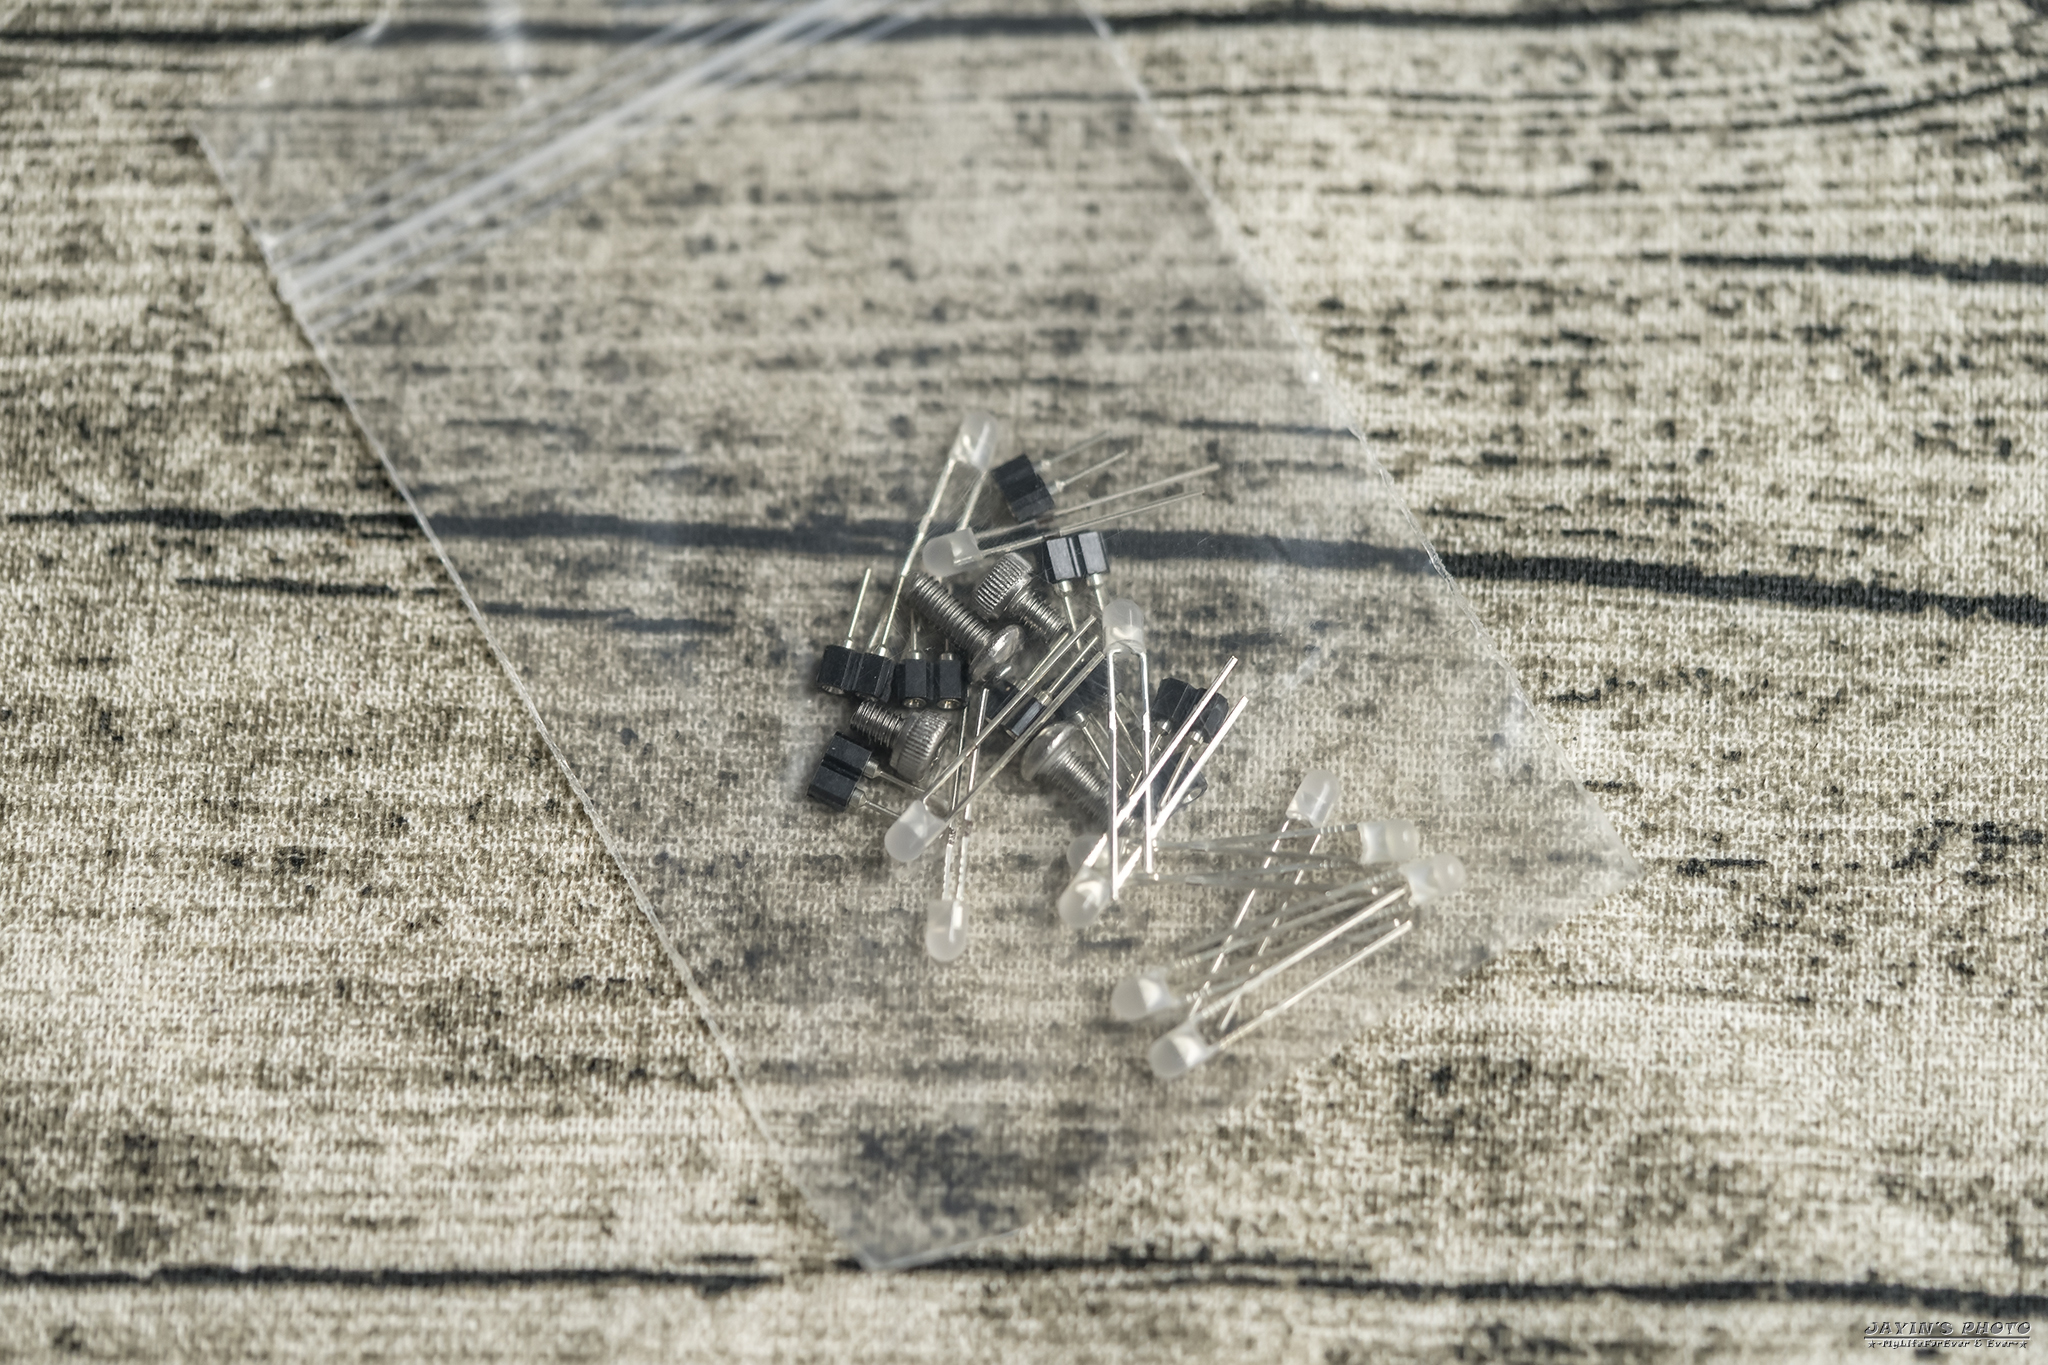
▼燈座及LED燈,還有備用螺絲。
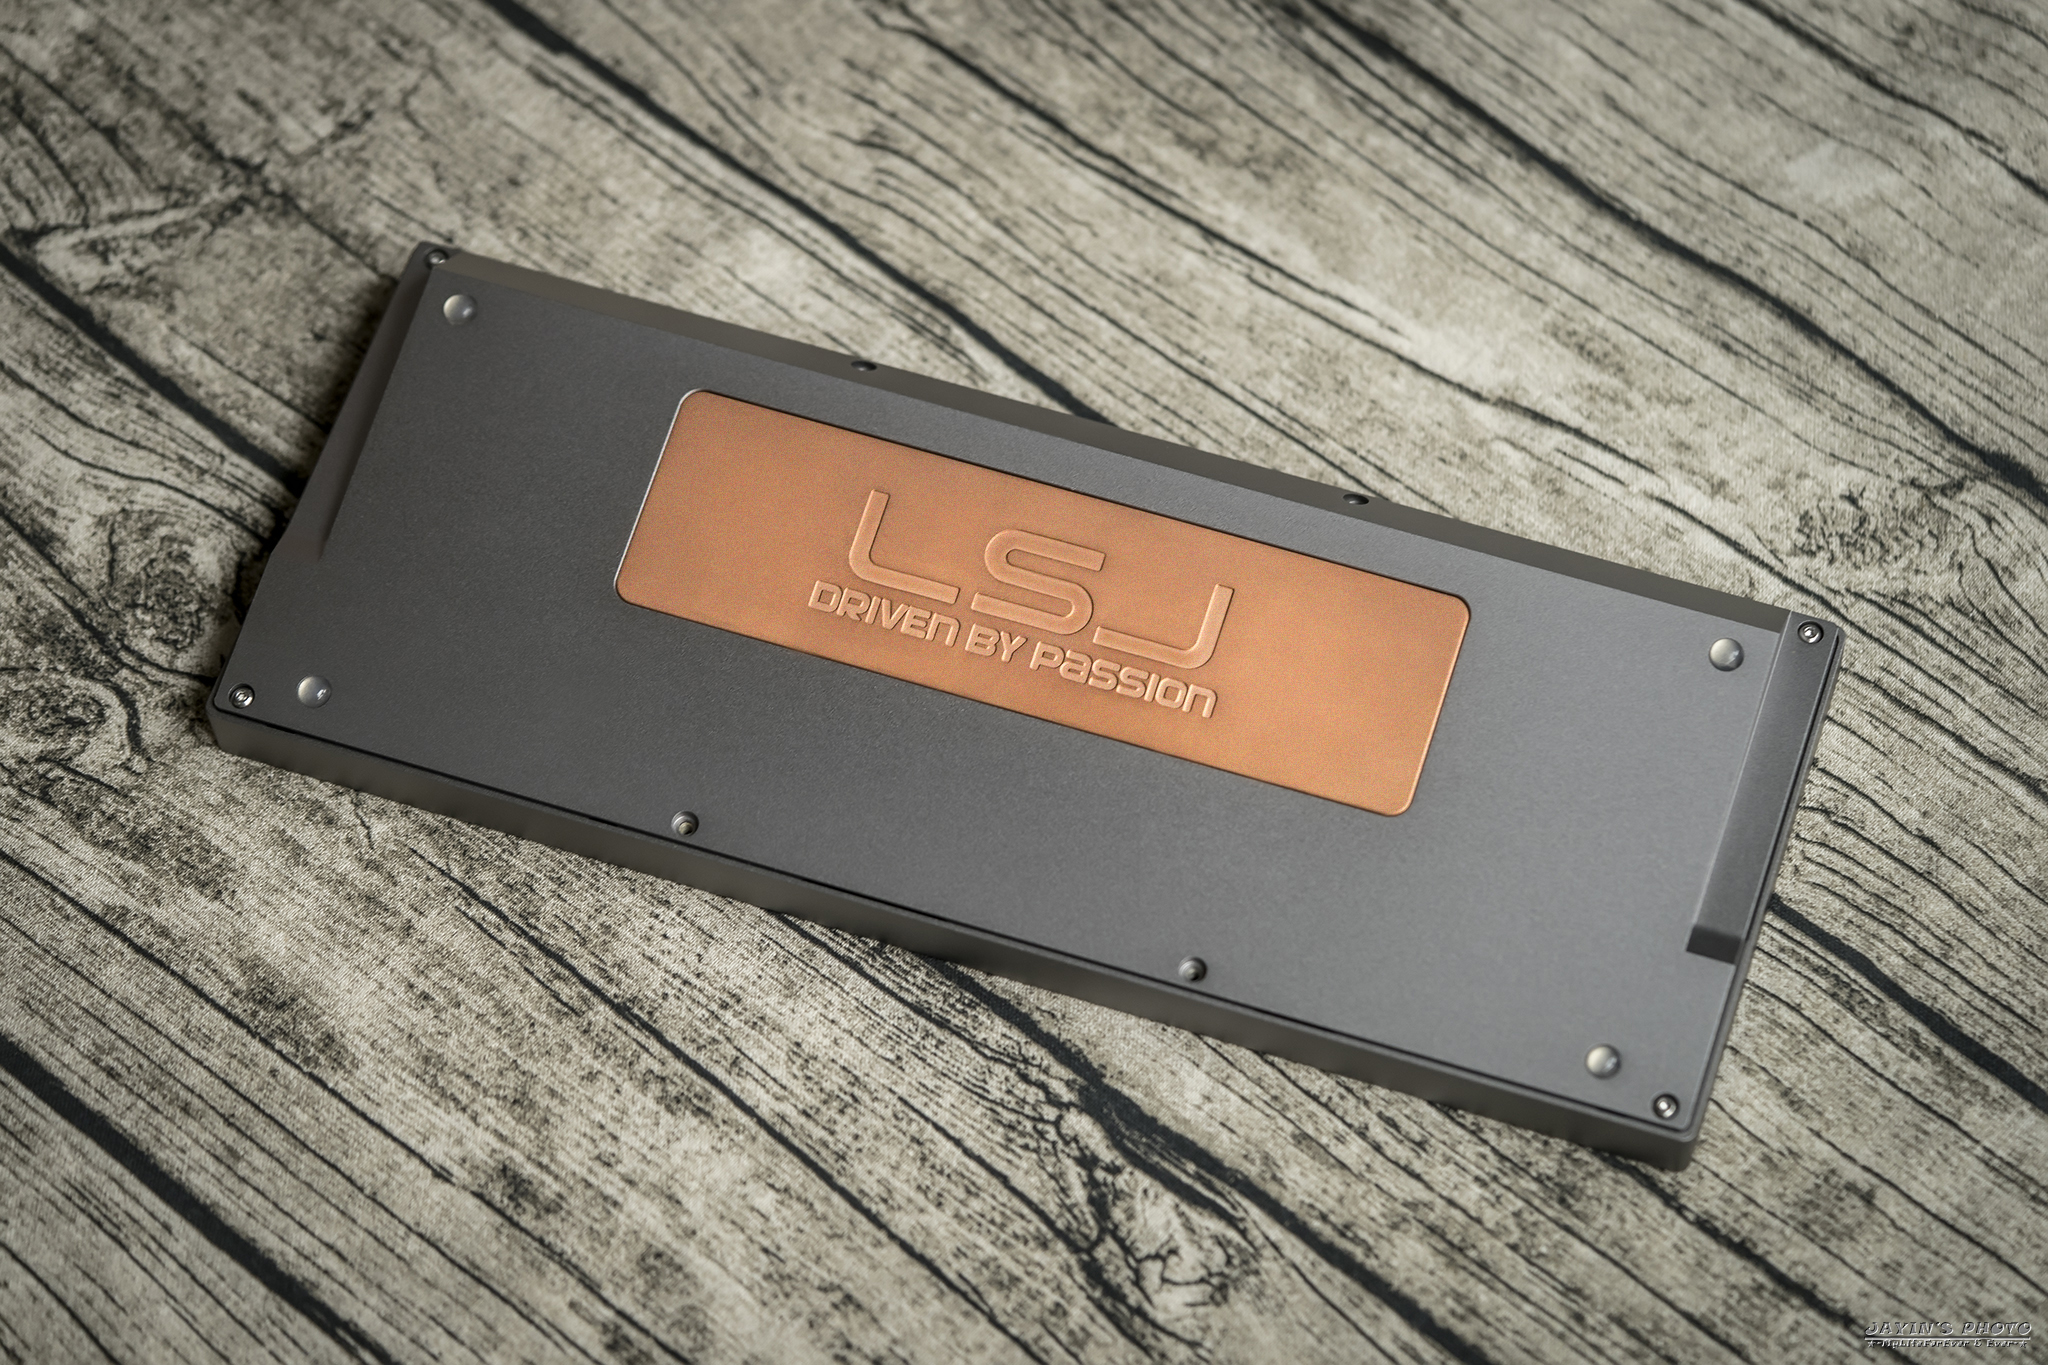
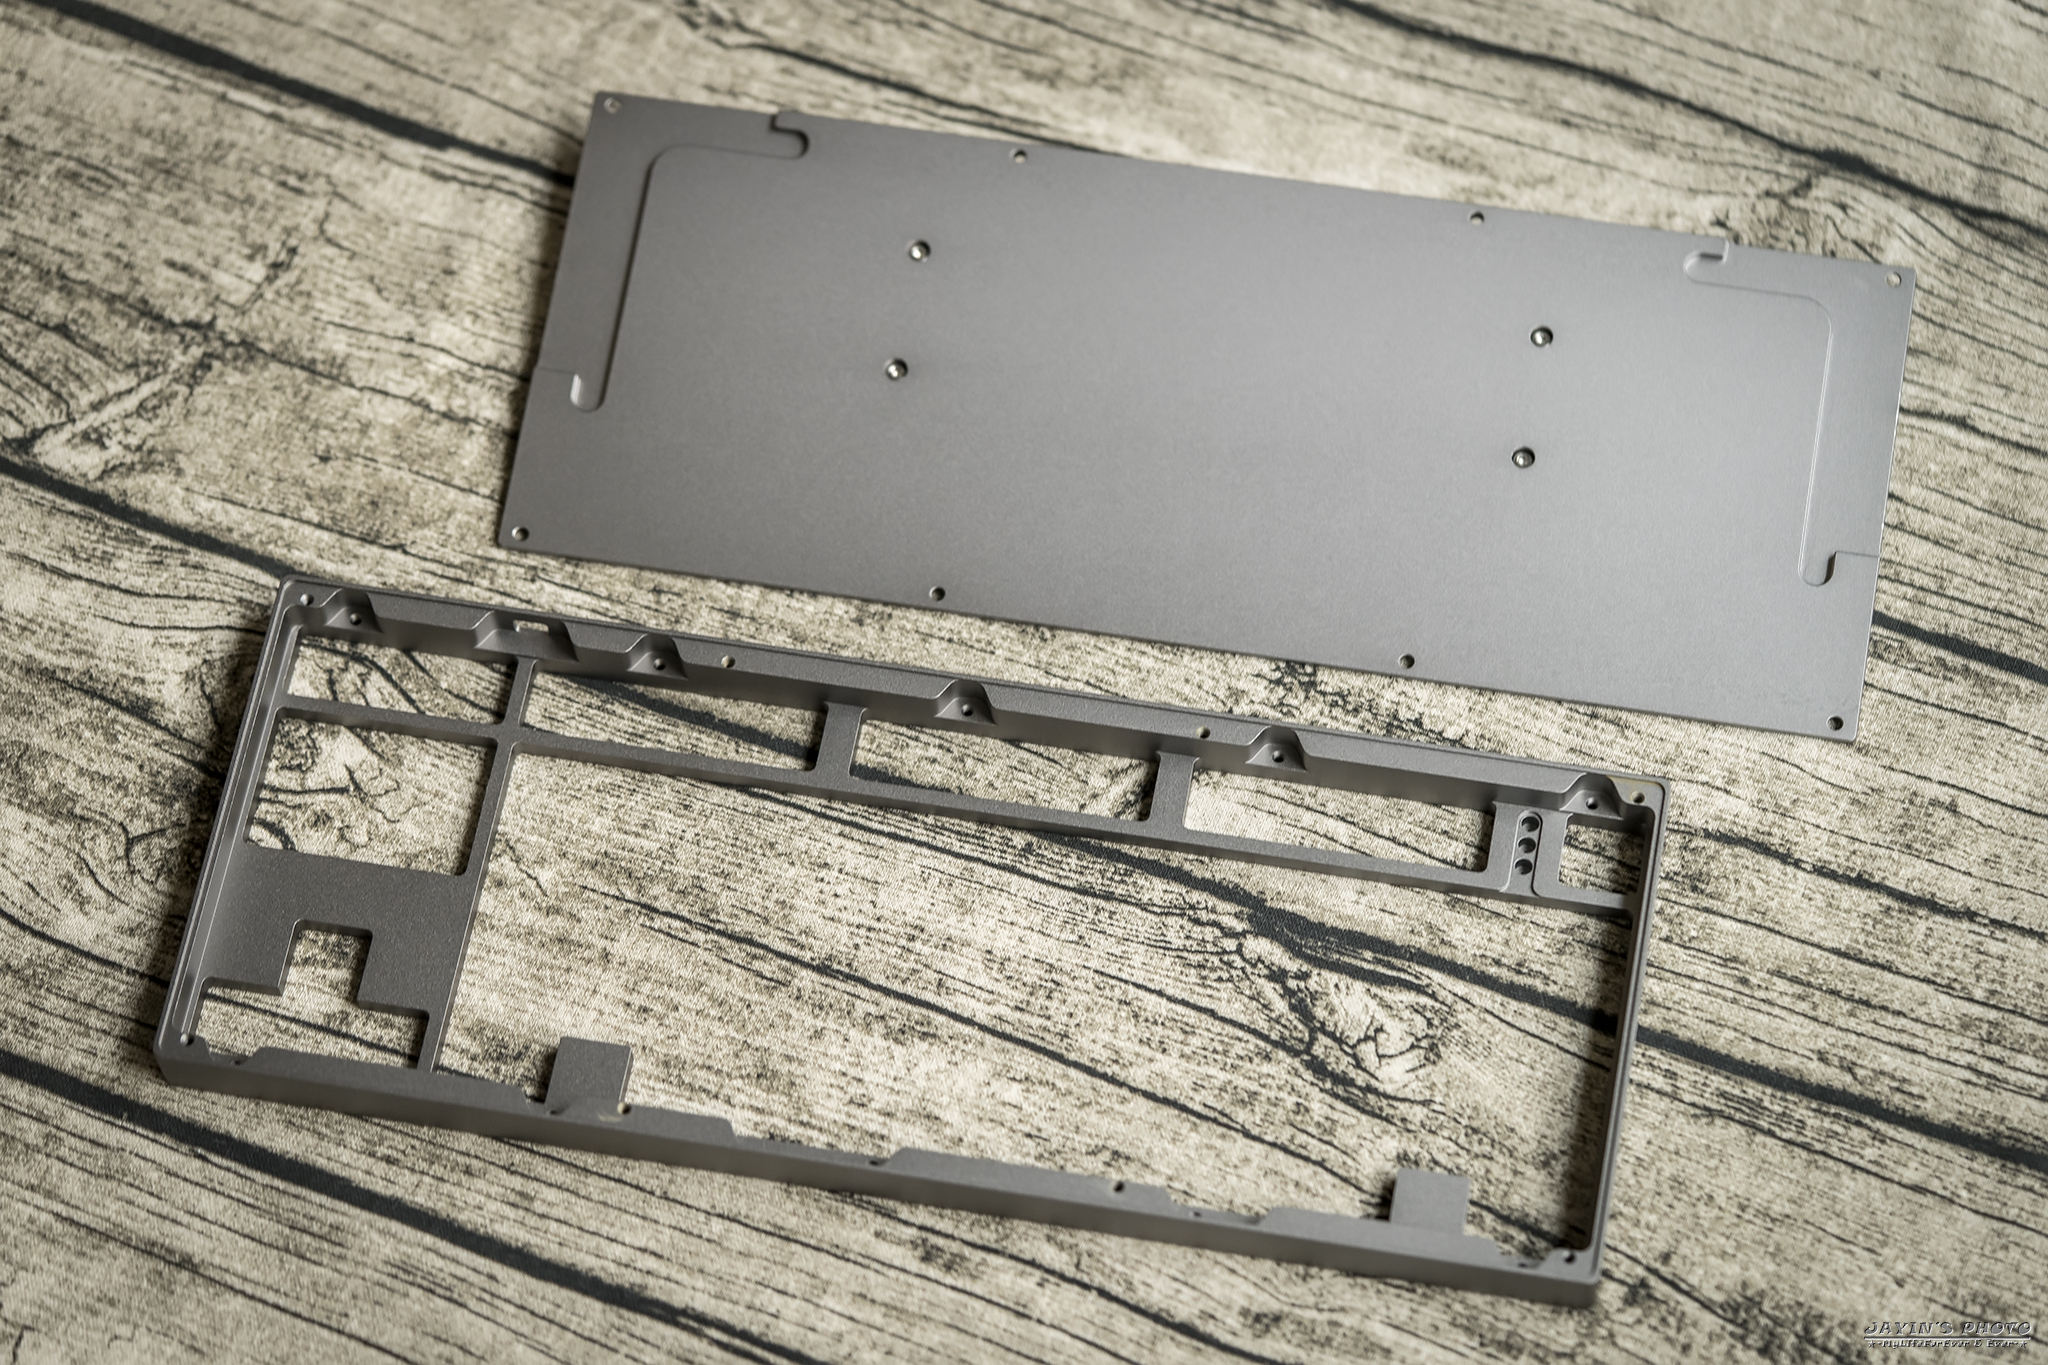
▼LSJ鍵盤本體,最早是想用7075鋁合金,可是做出來表面品質不佳,最後改用6061
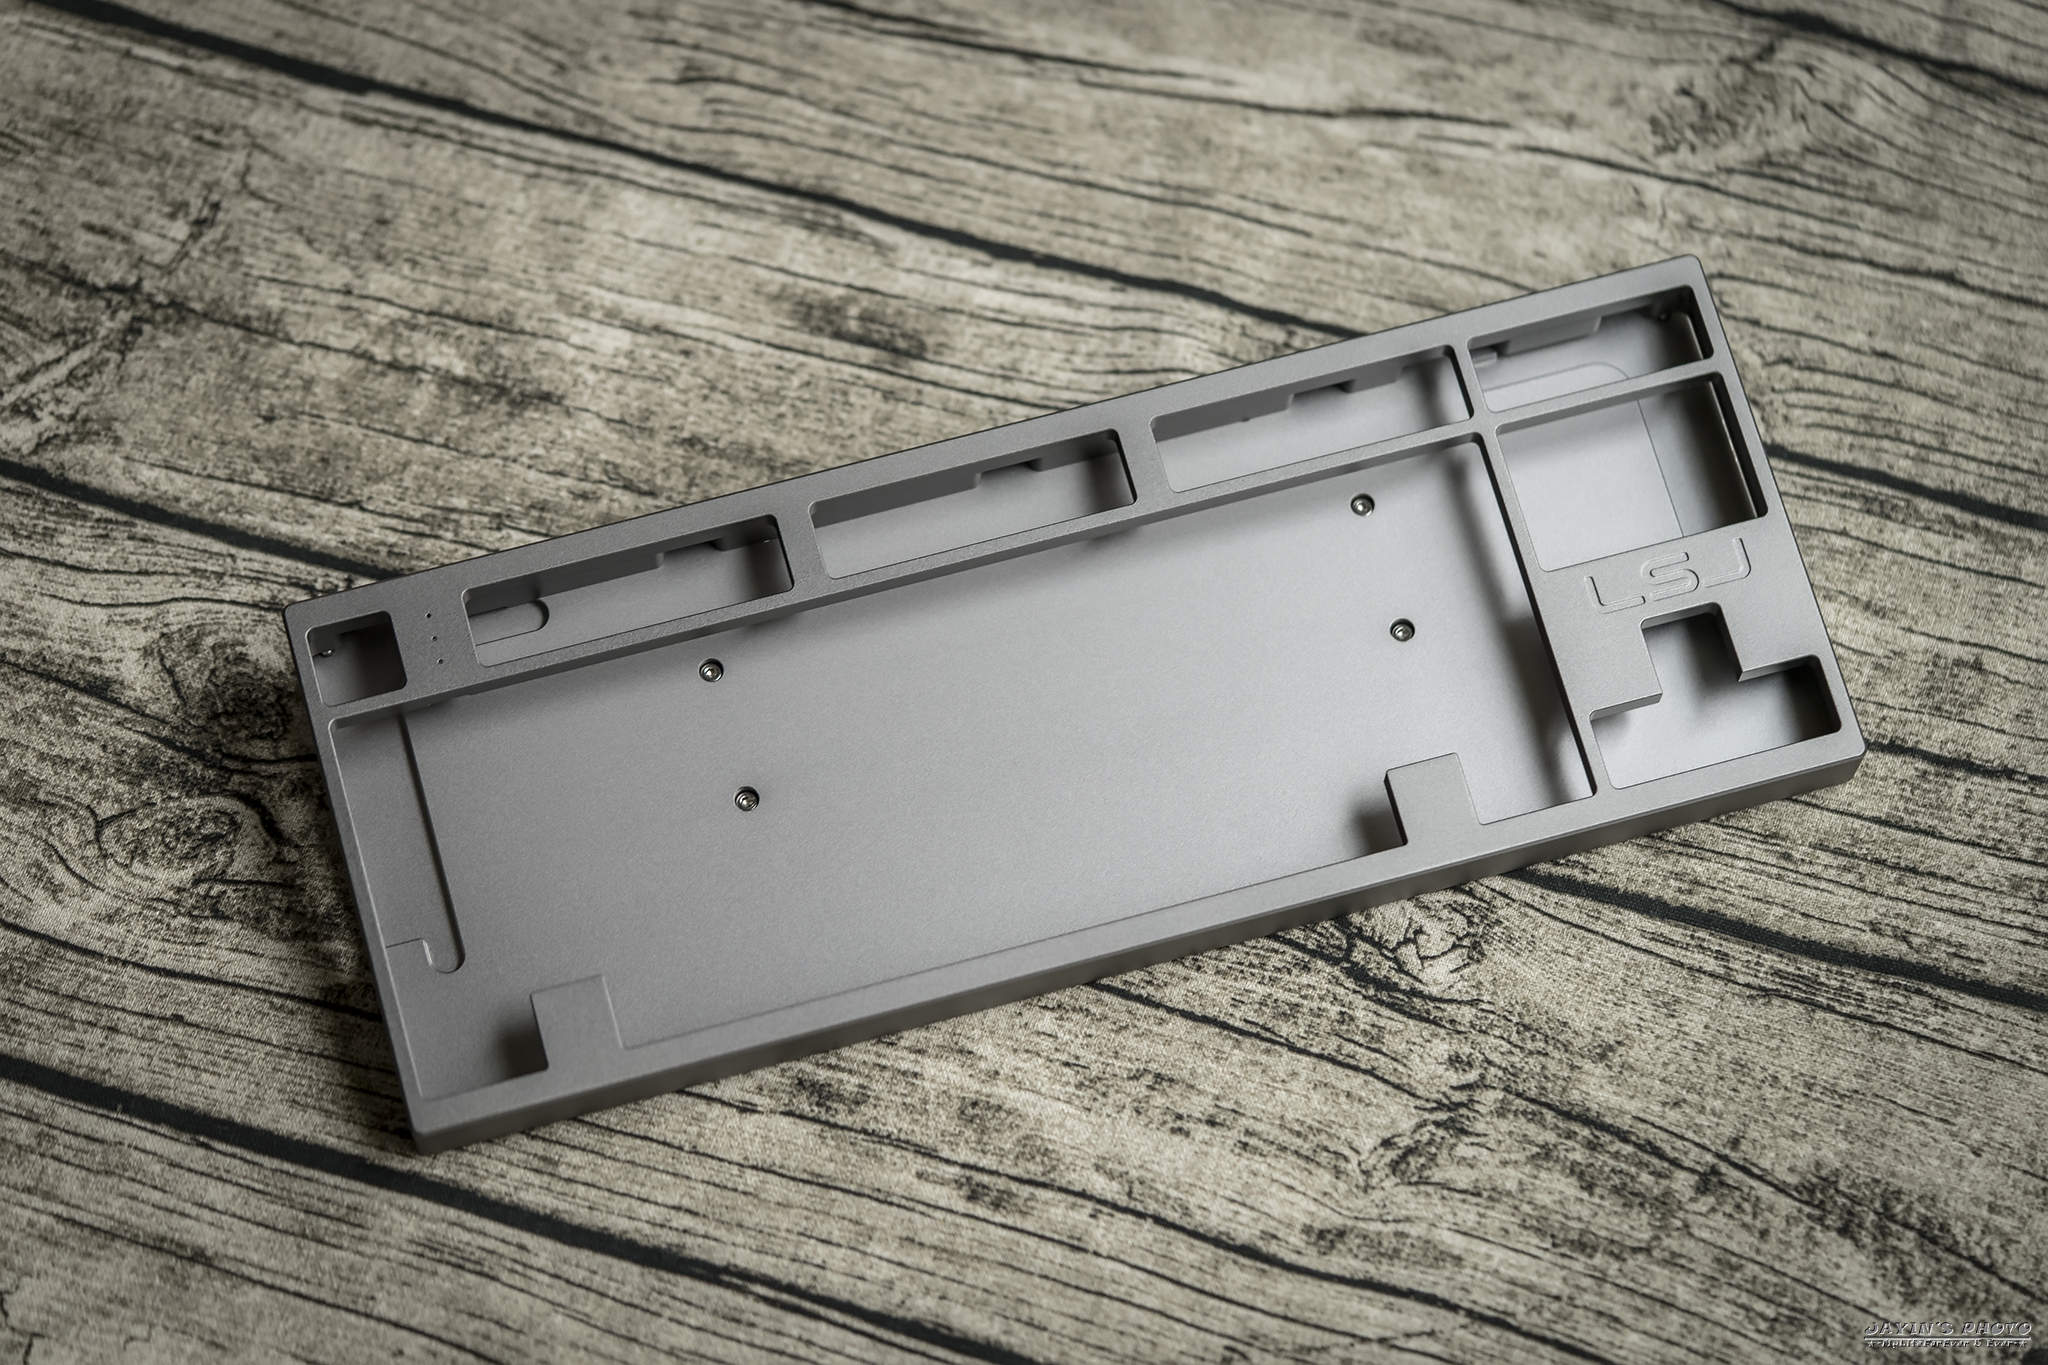
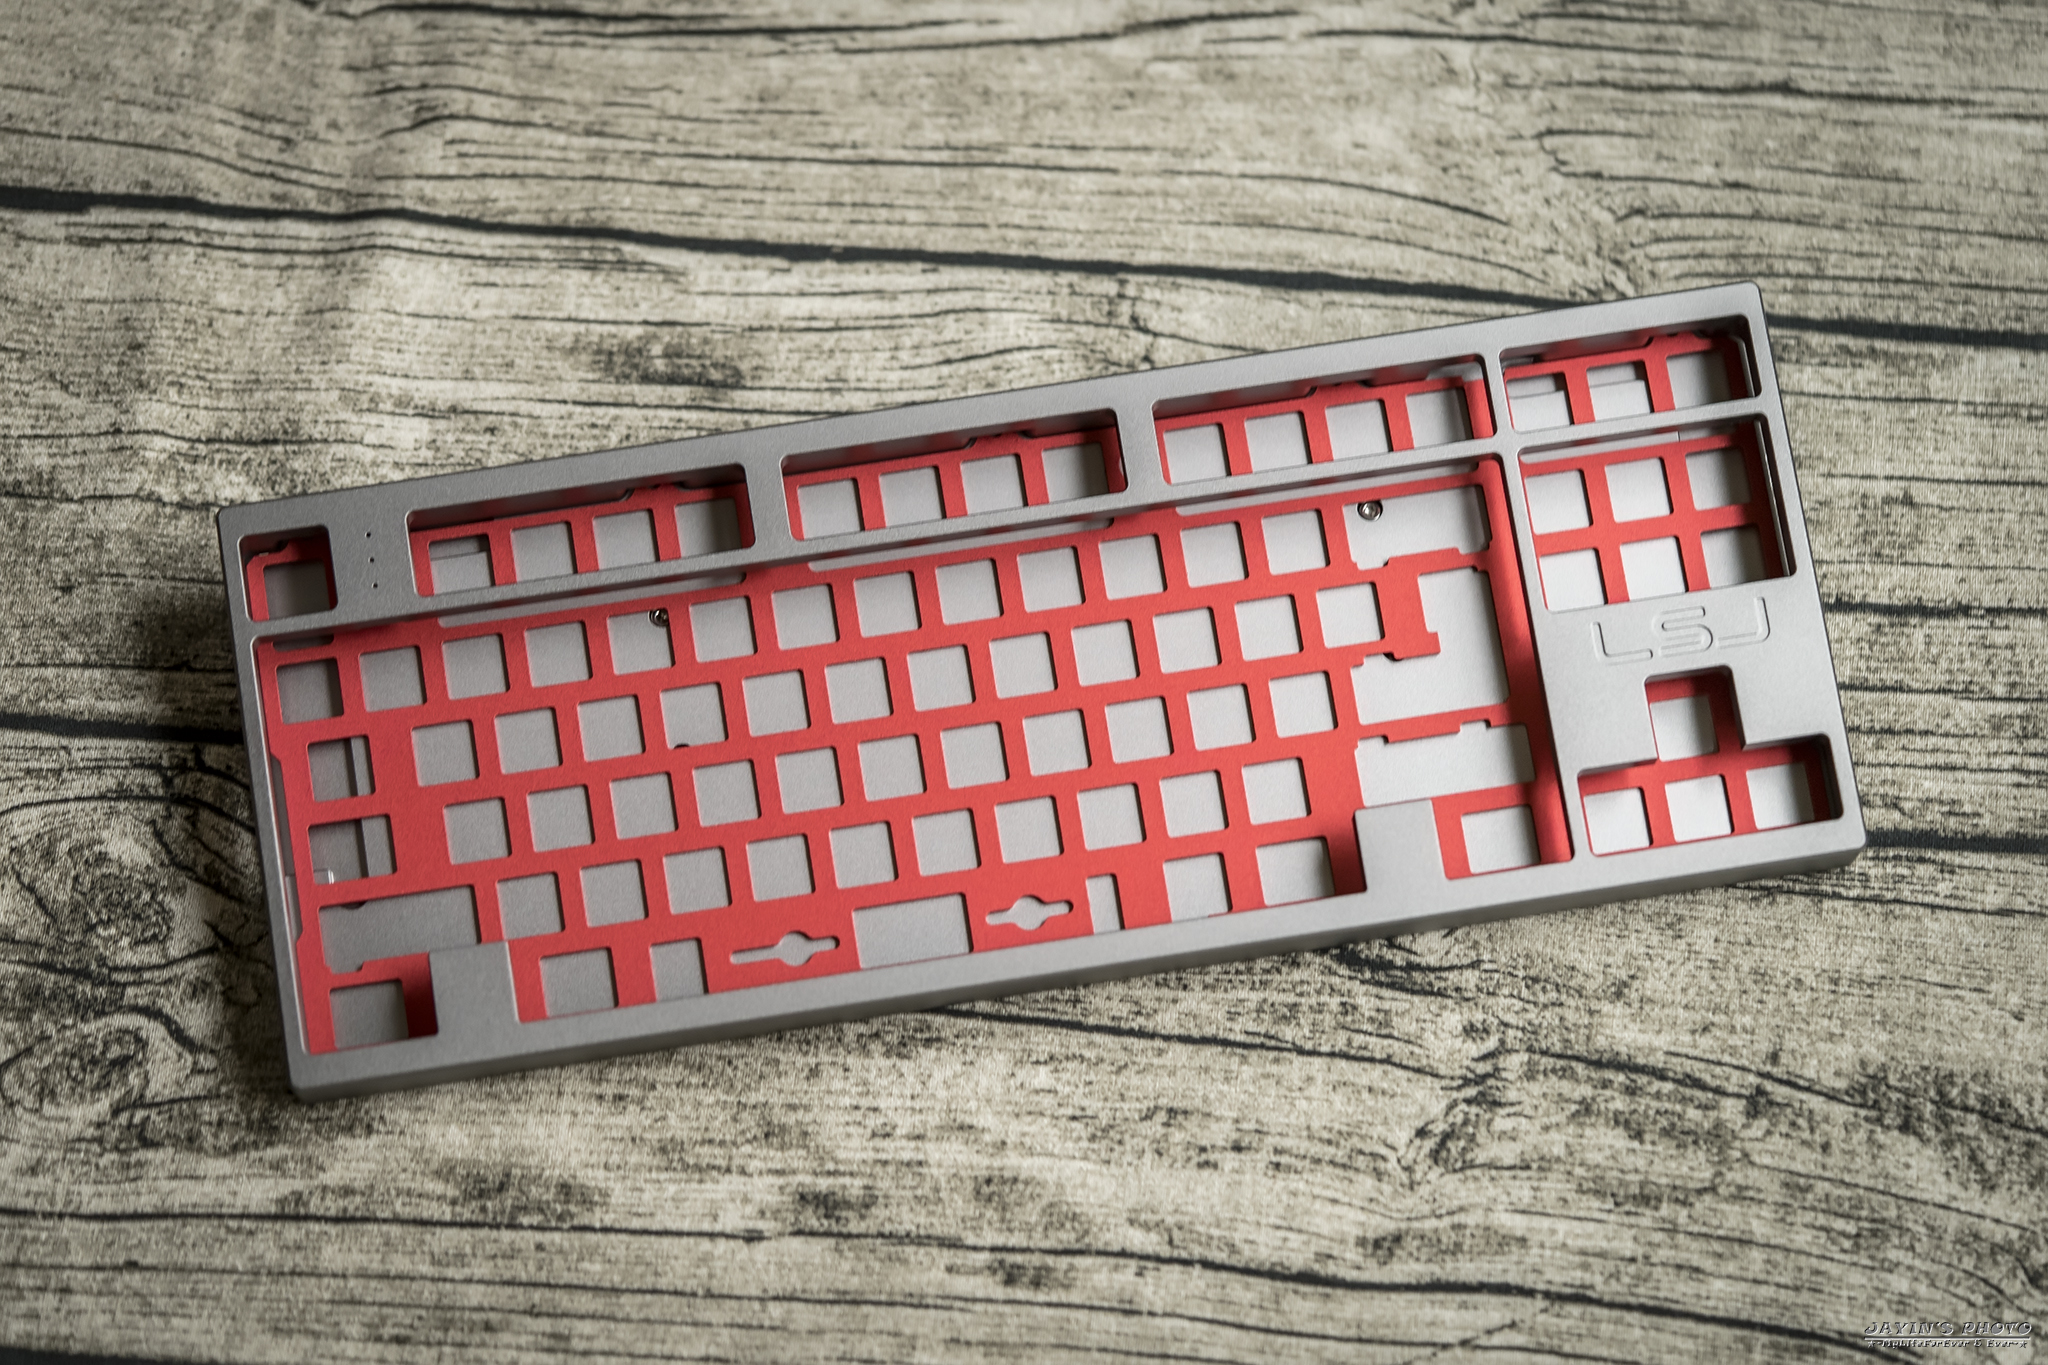
▼我本來是選了winkey款式,但出了些狀況,後來改成winkeyless的,顏色則是淺灰。
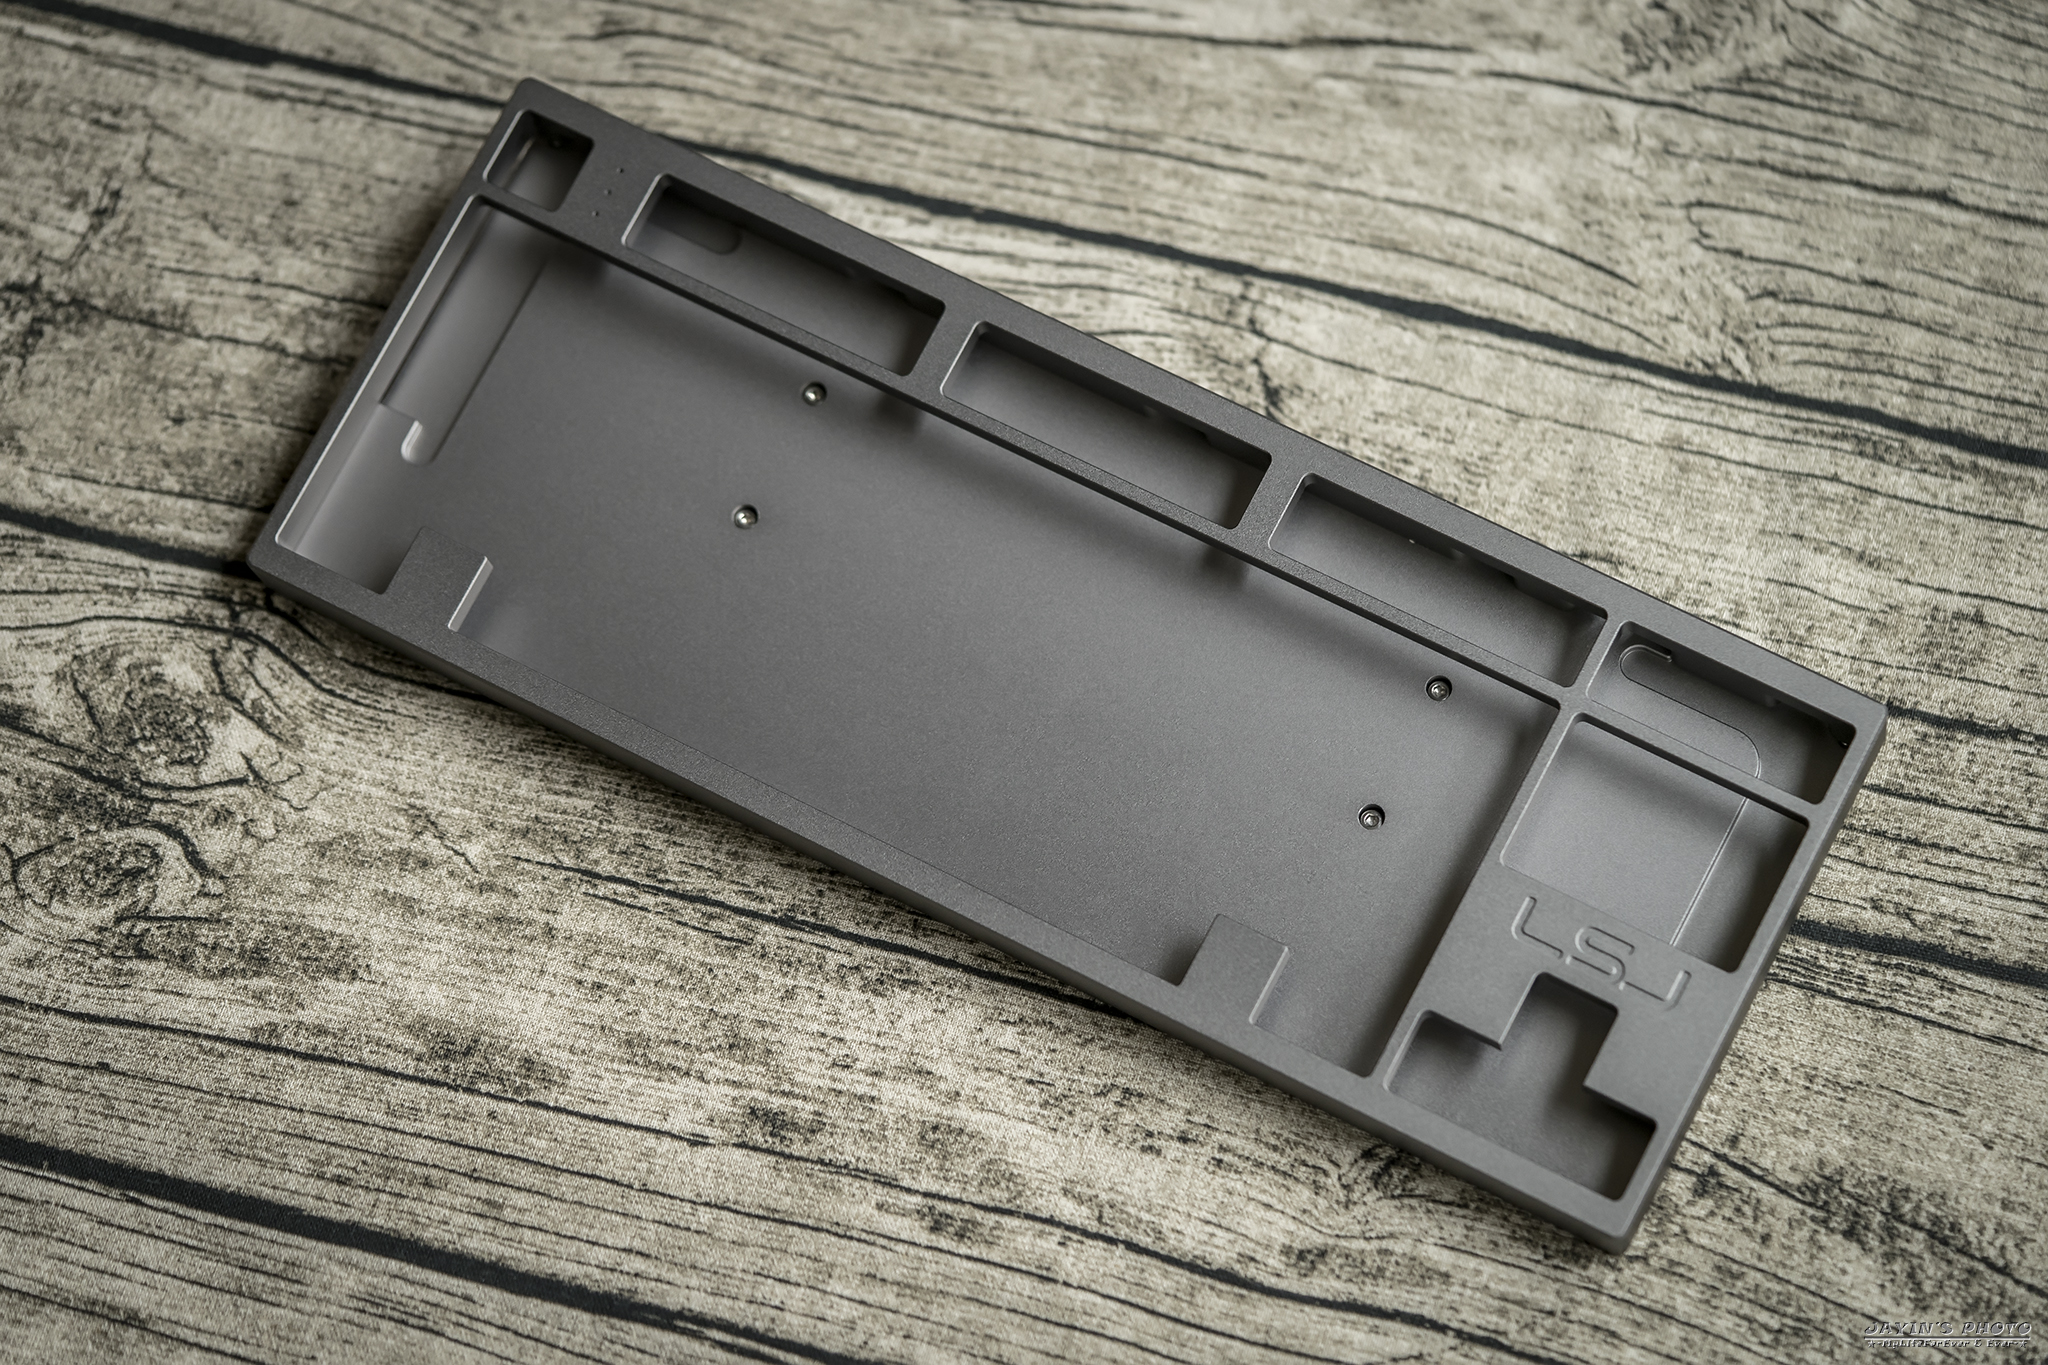
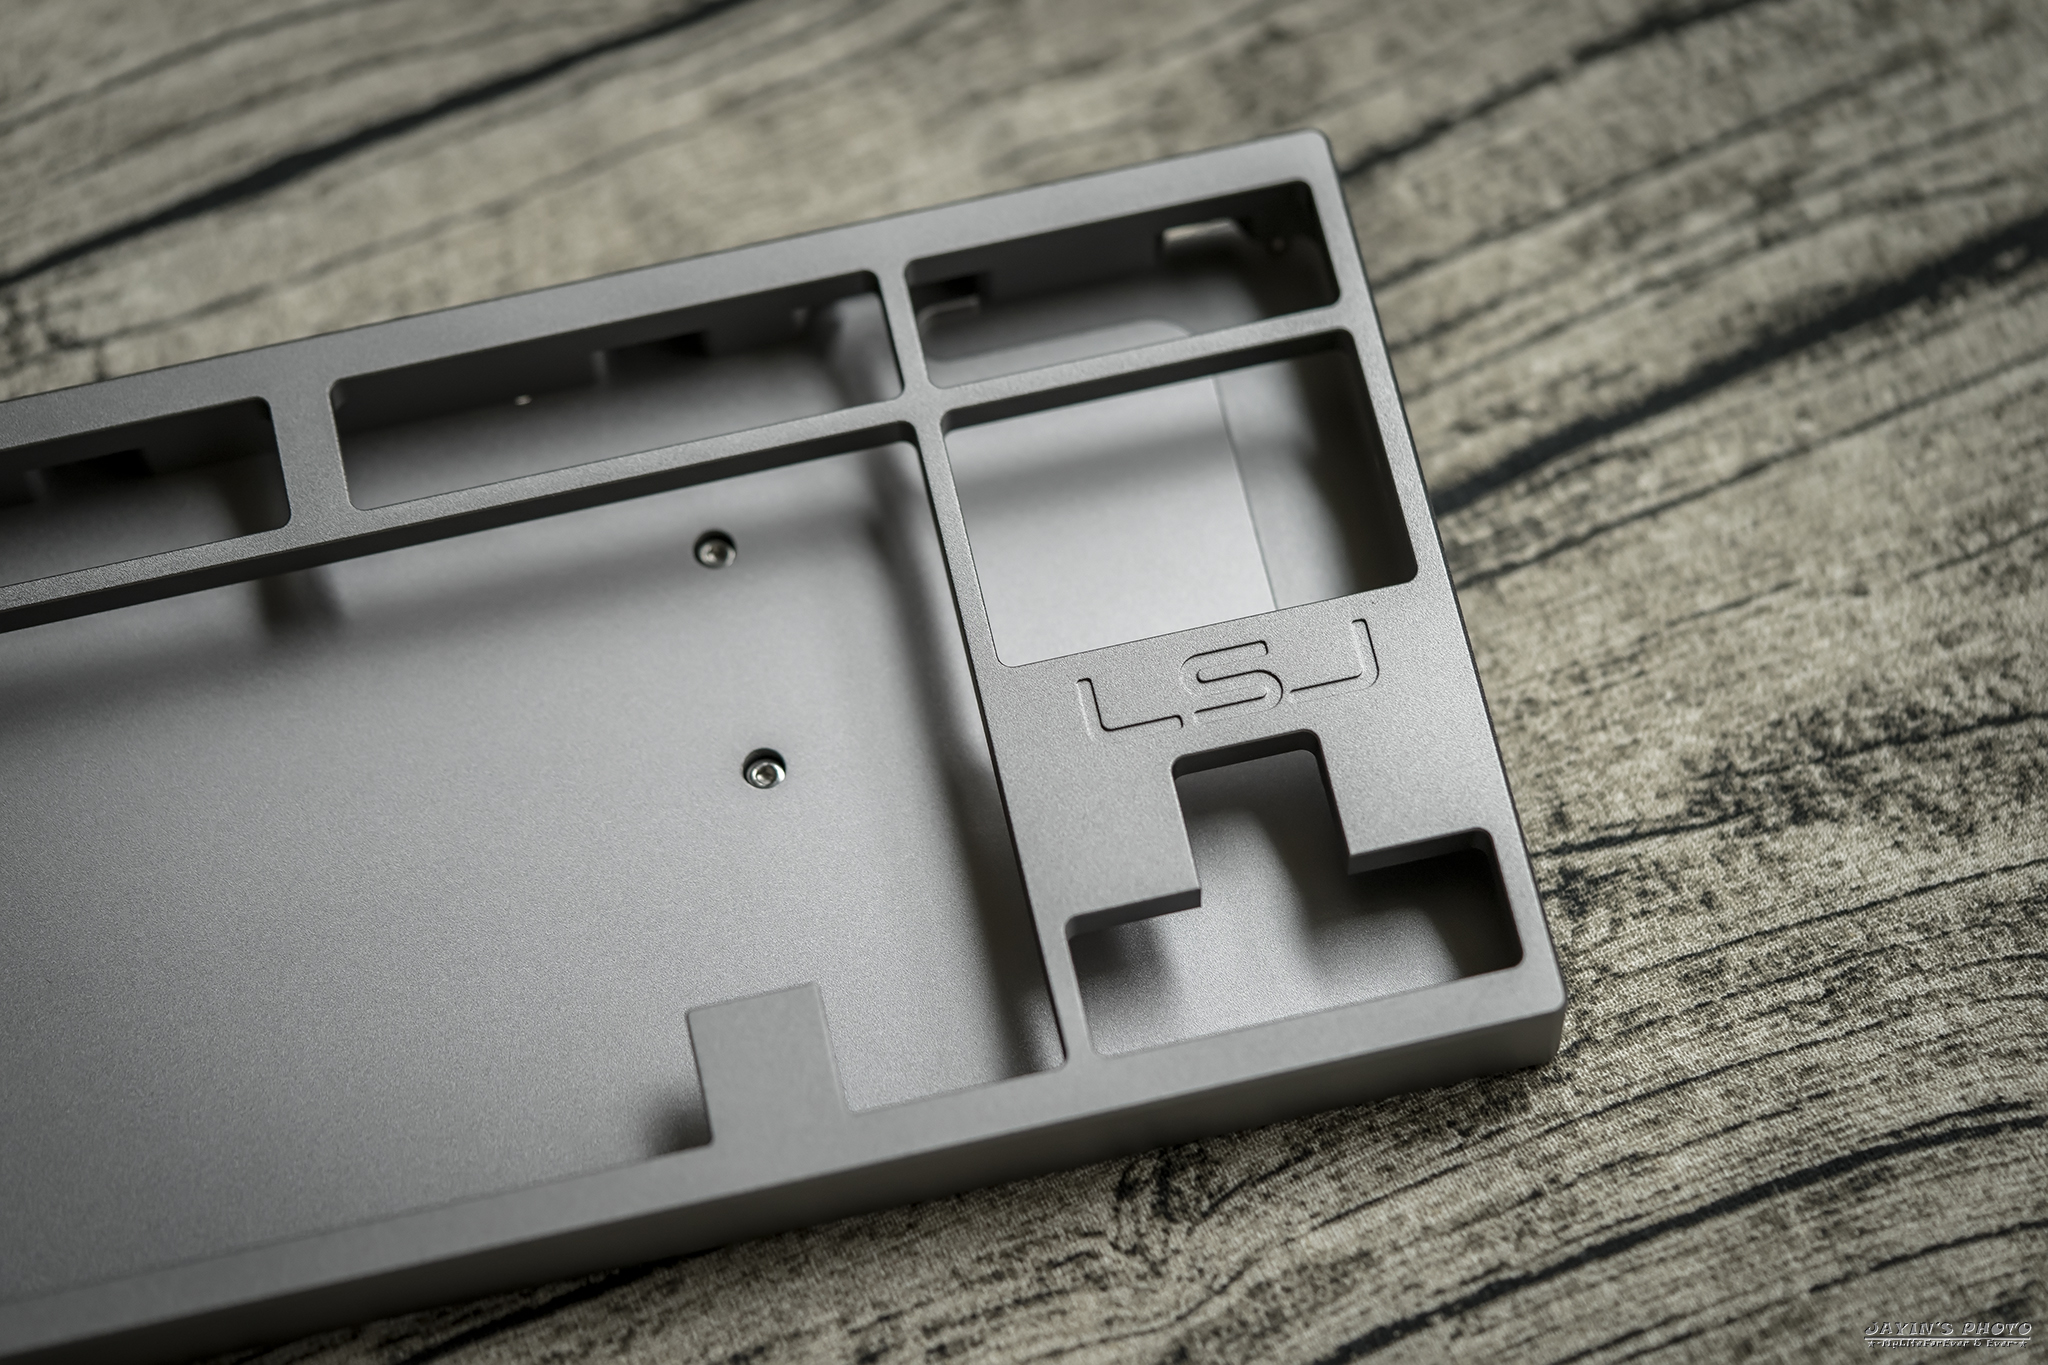
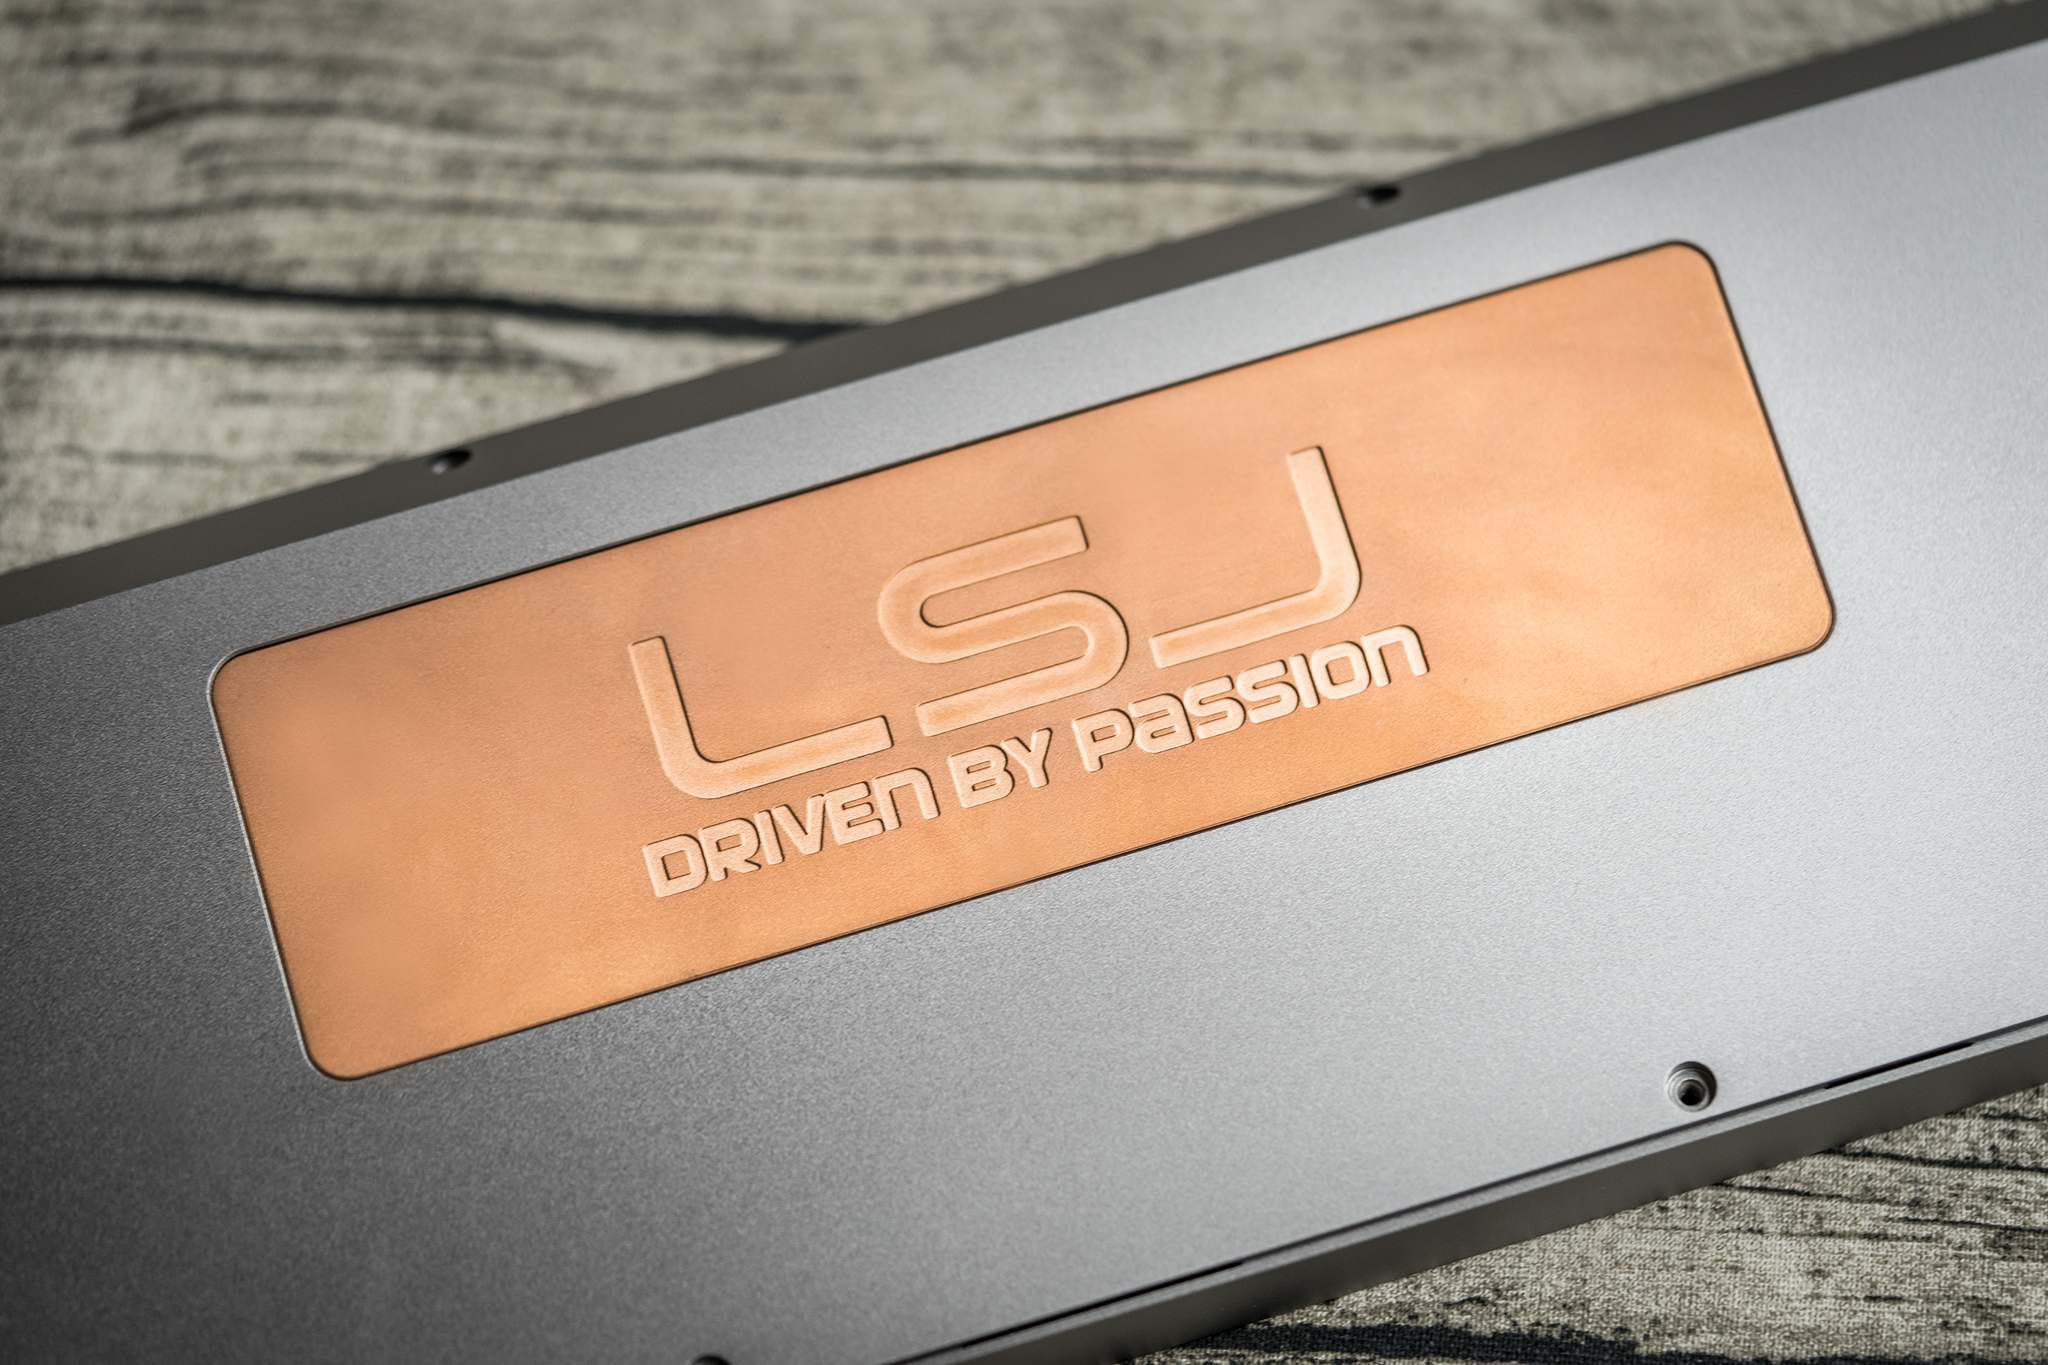
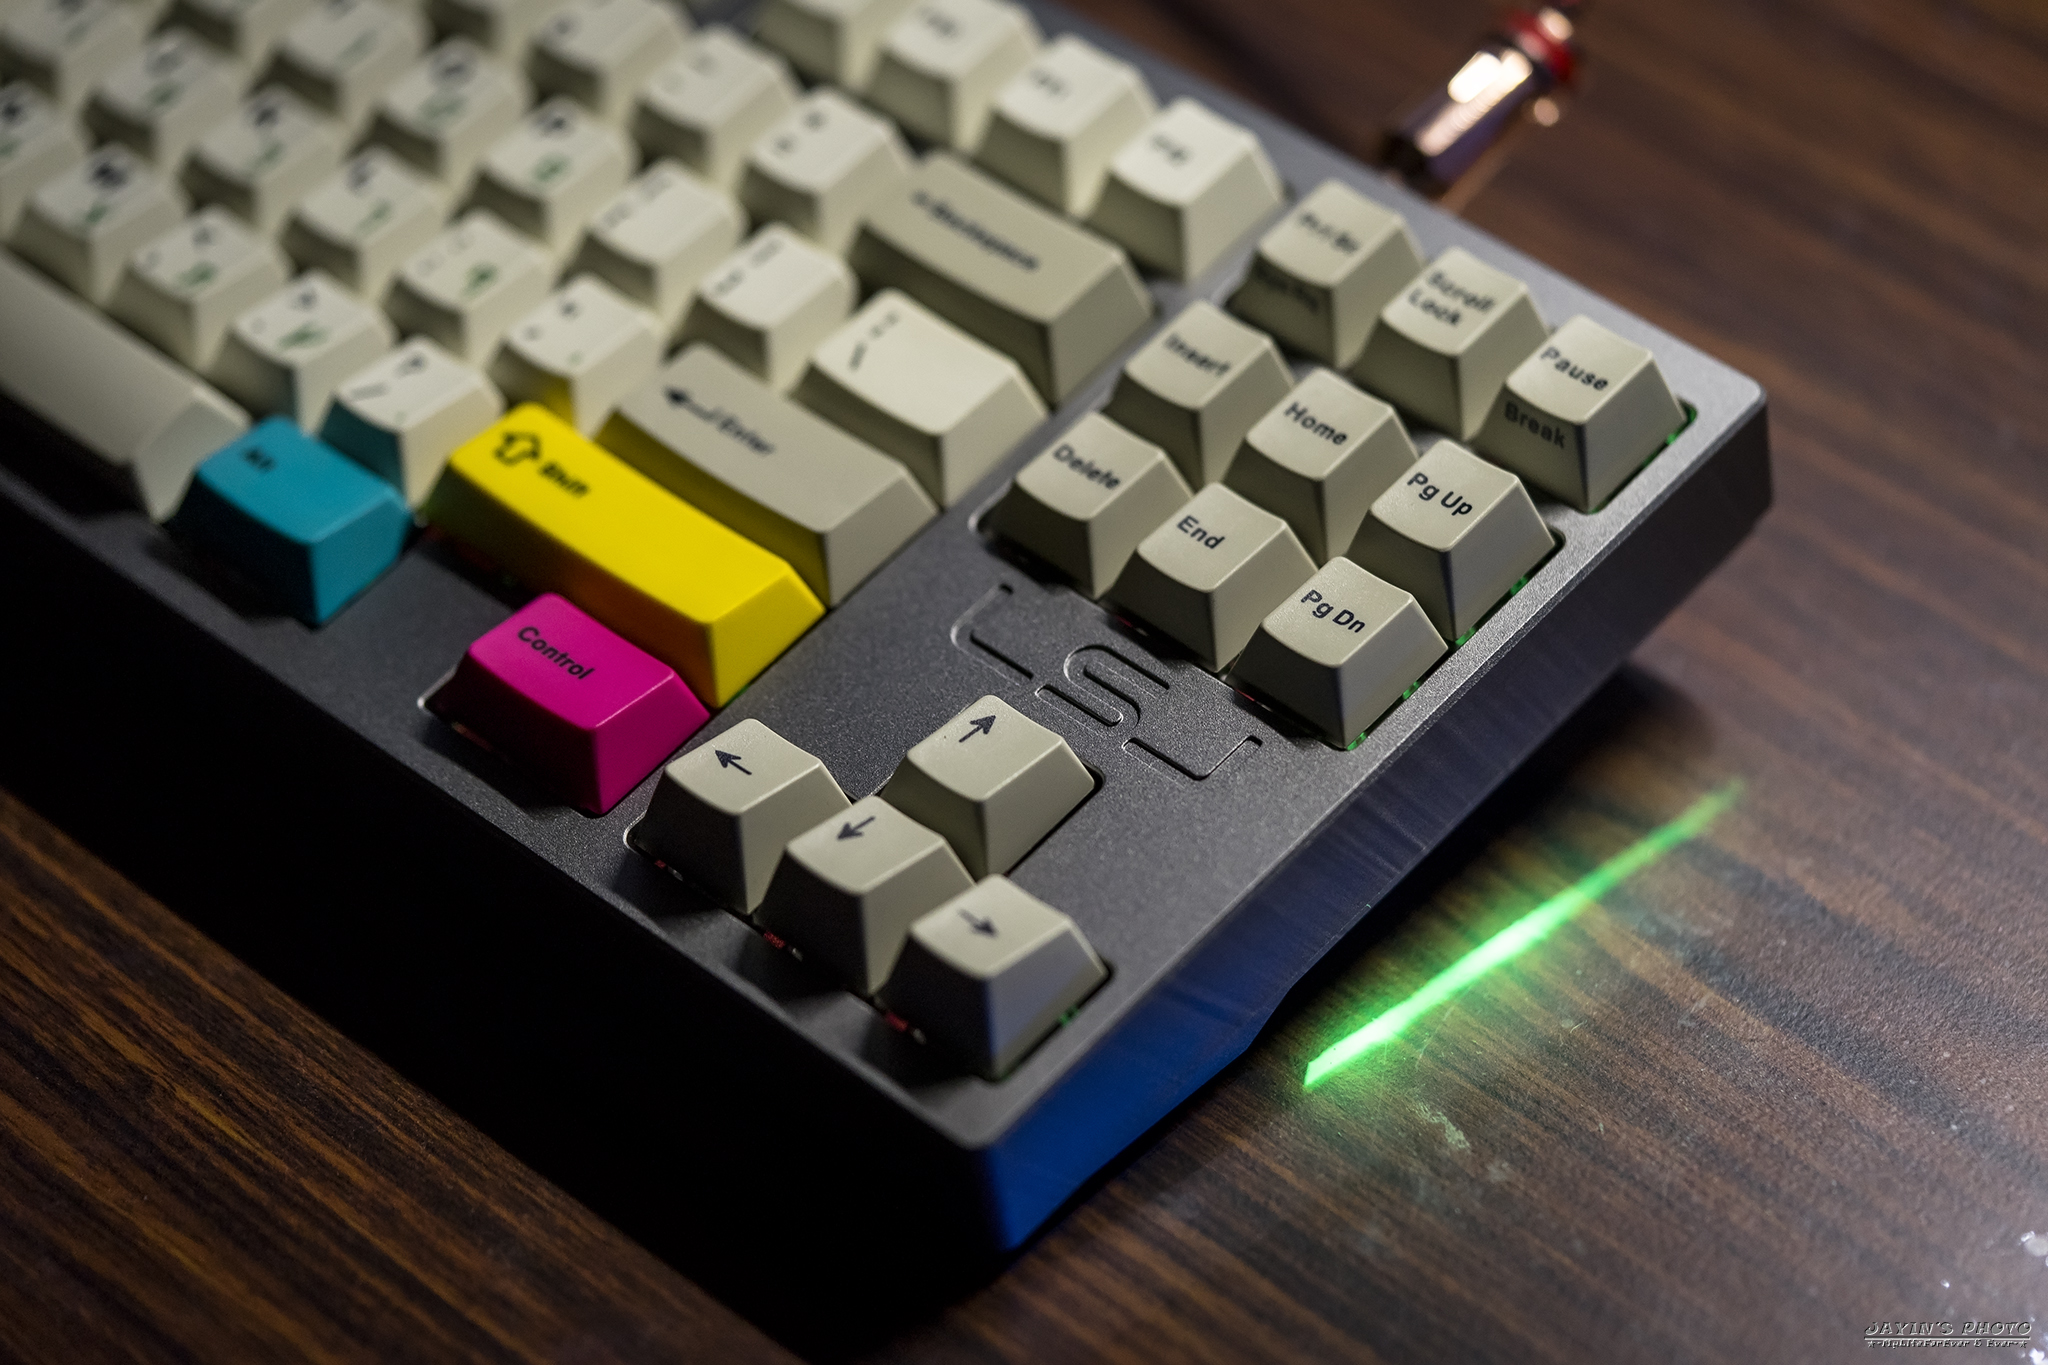
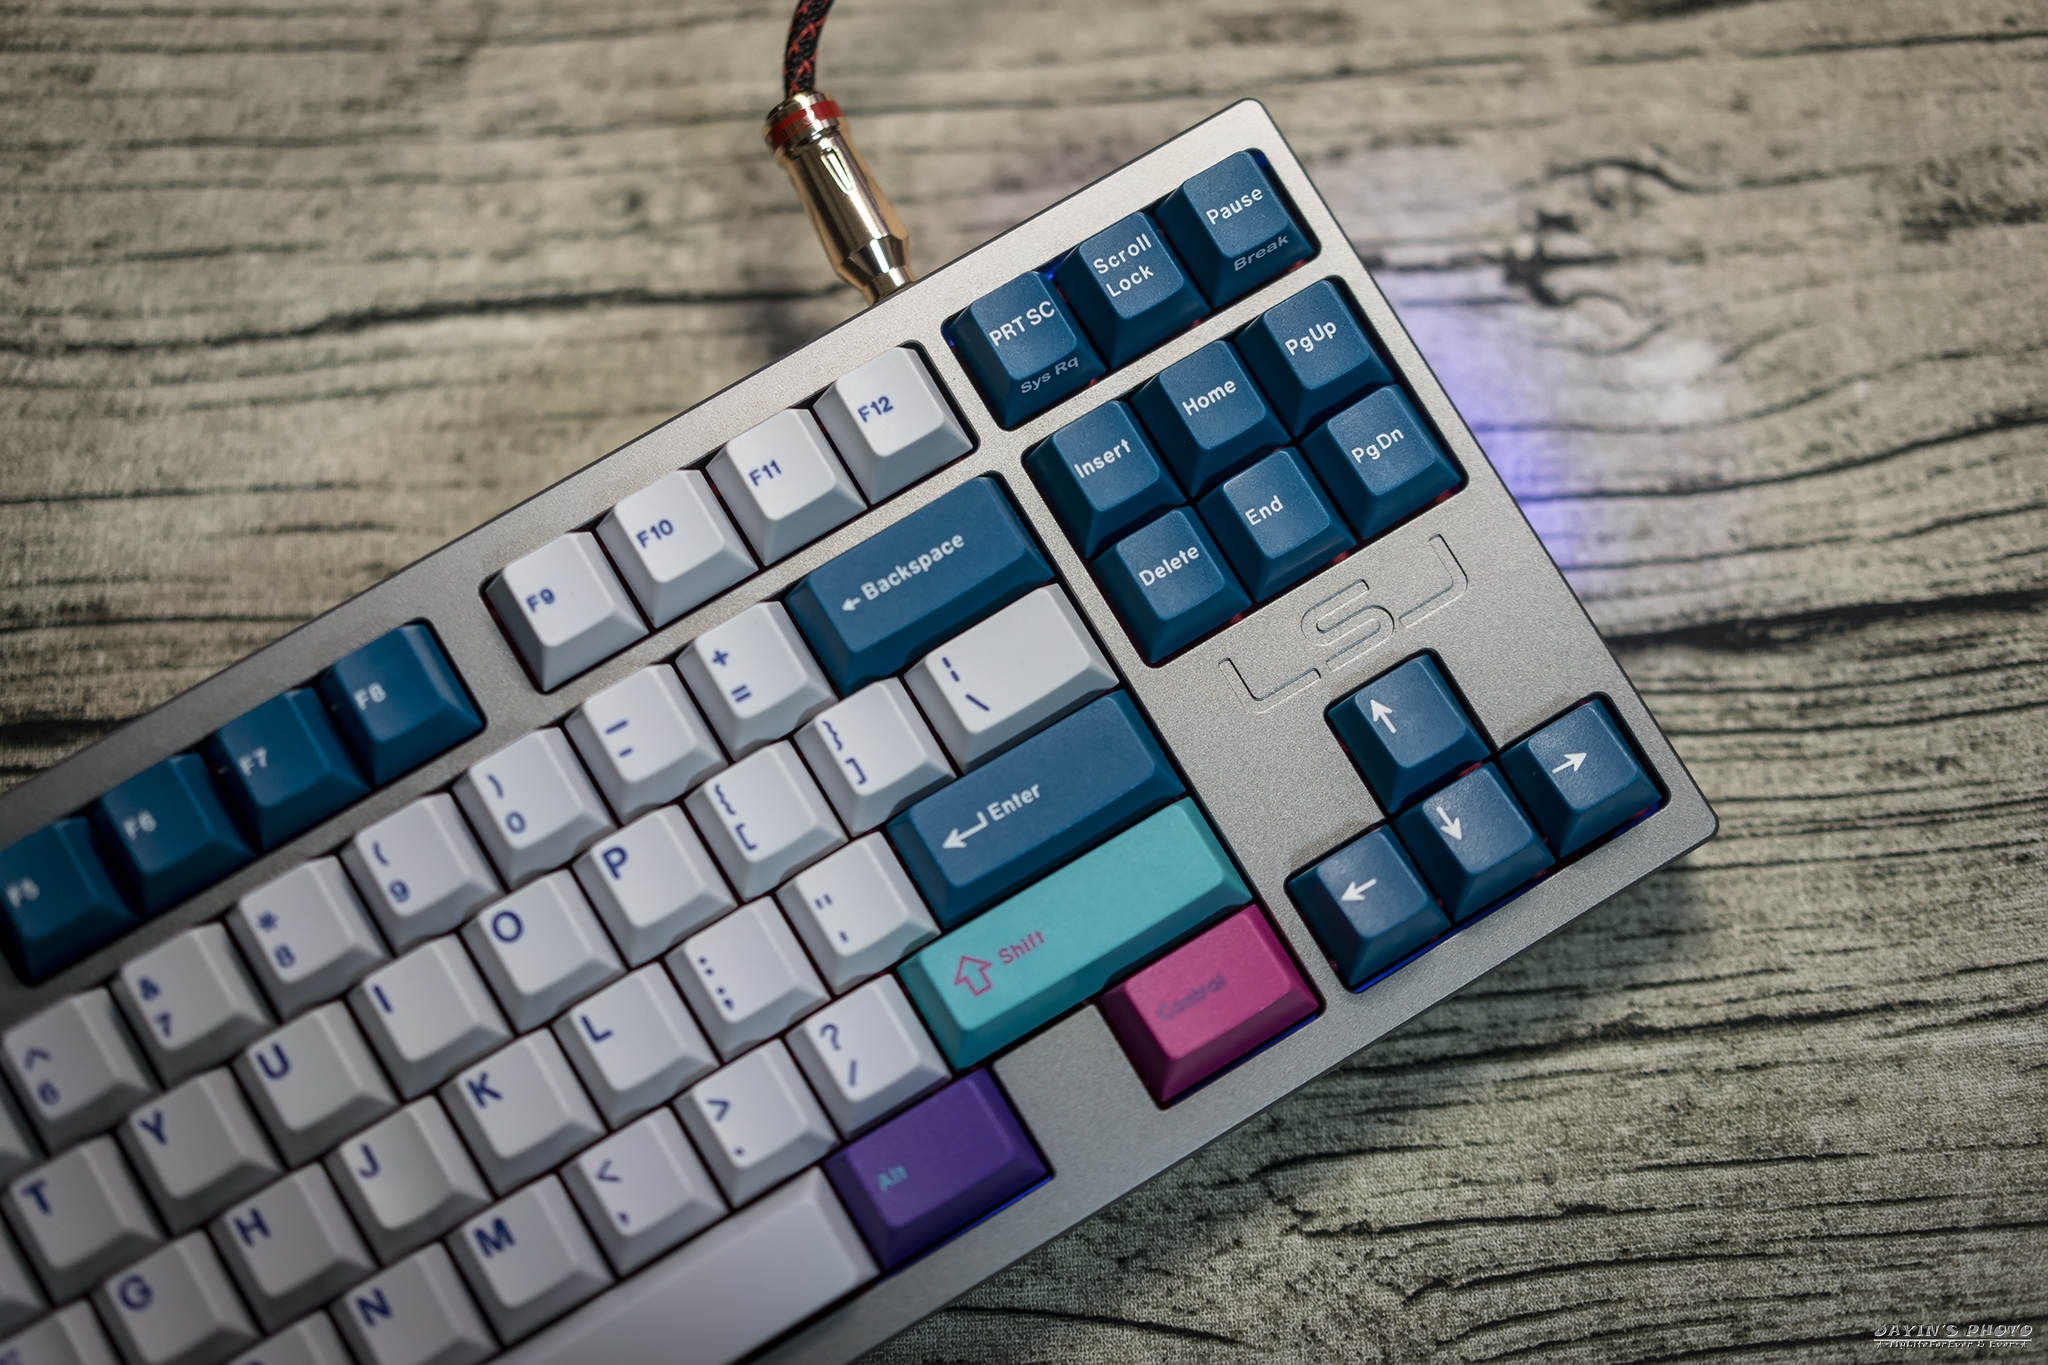
▼銷魂的「LSJ」LOGO。
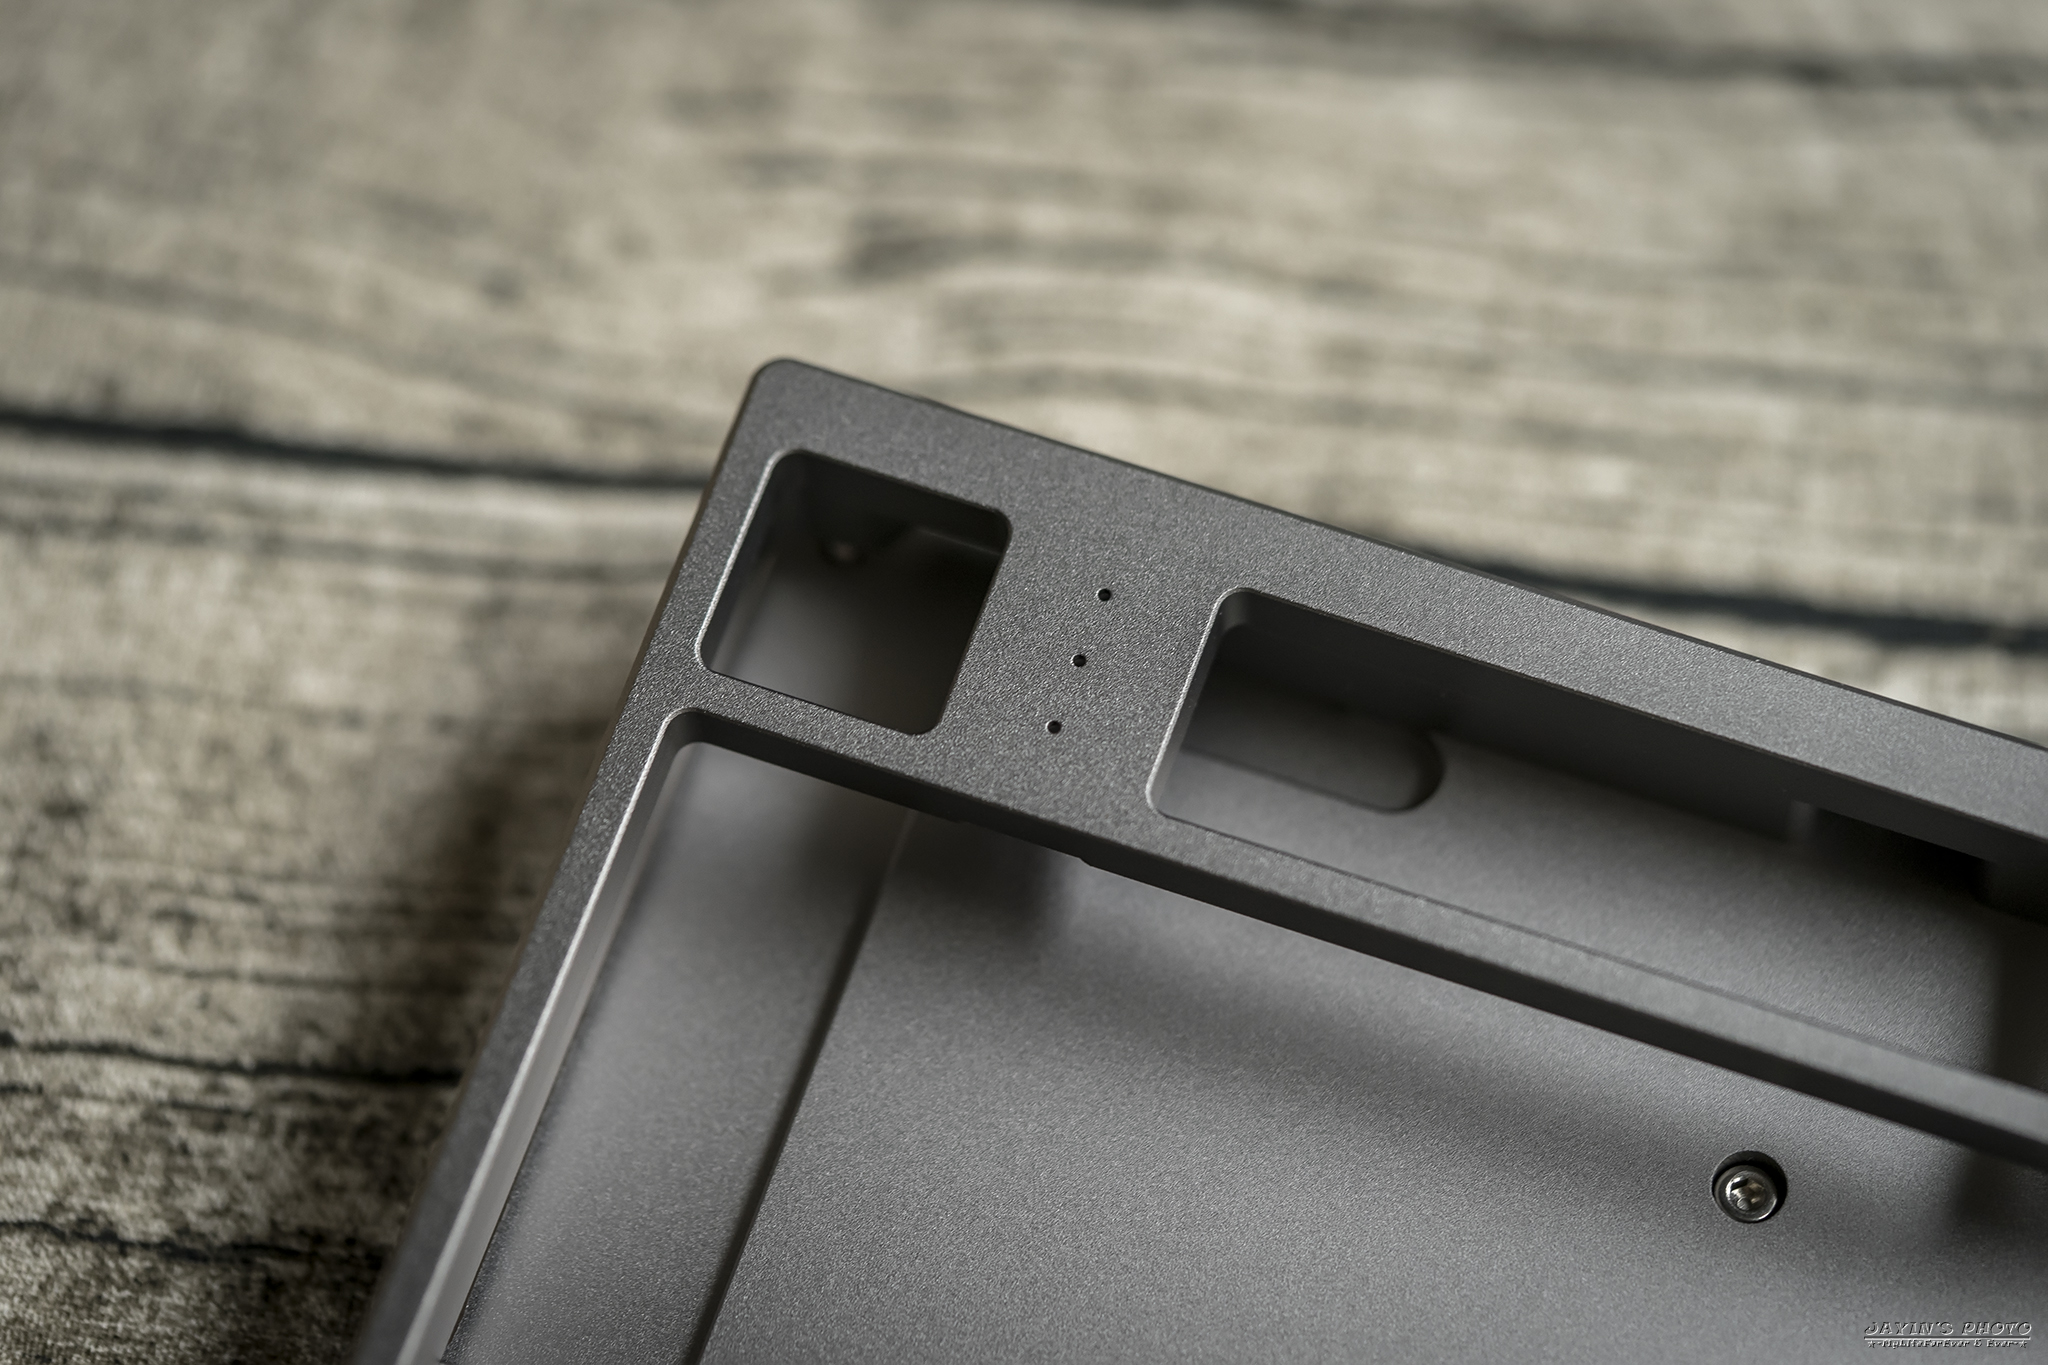
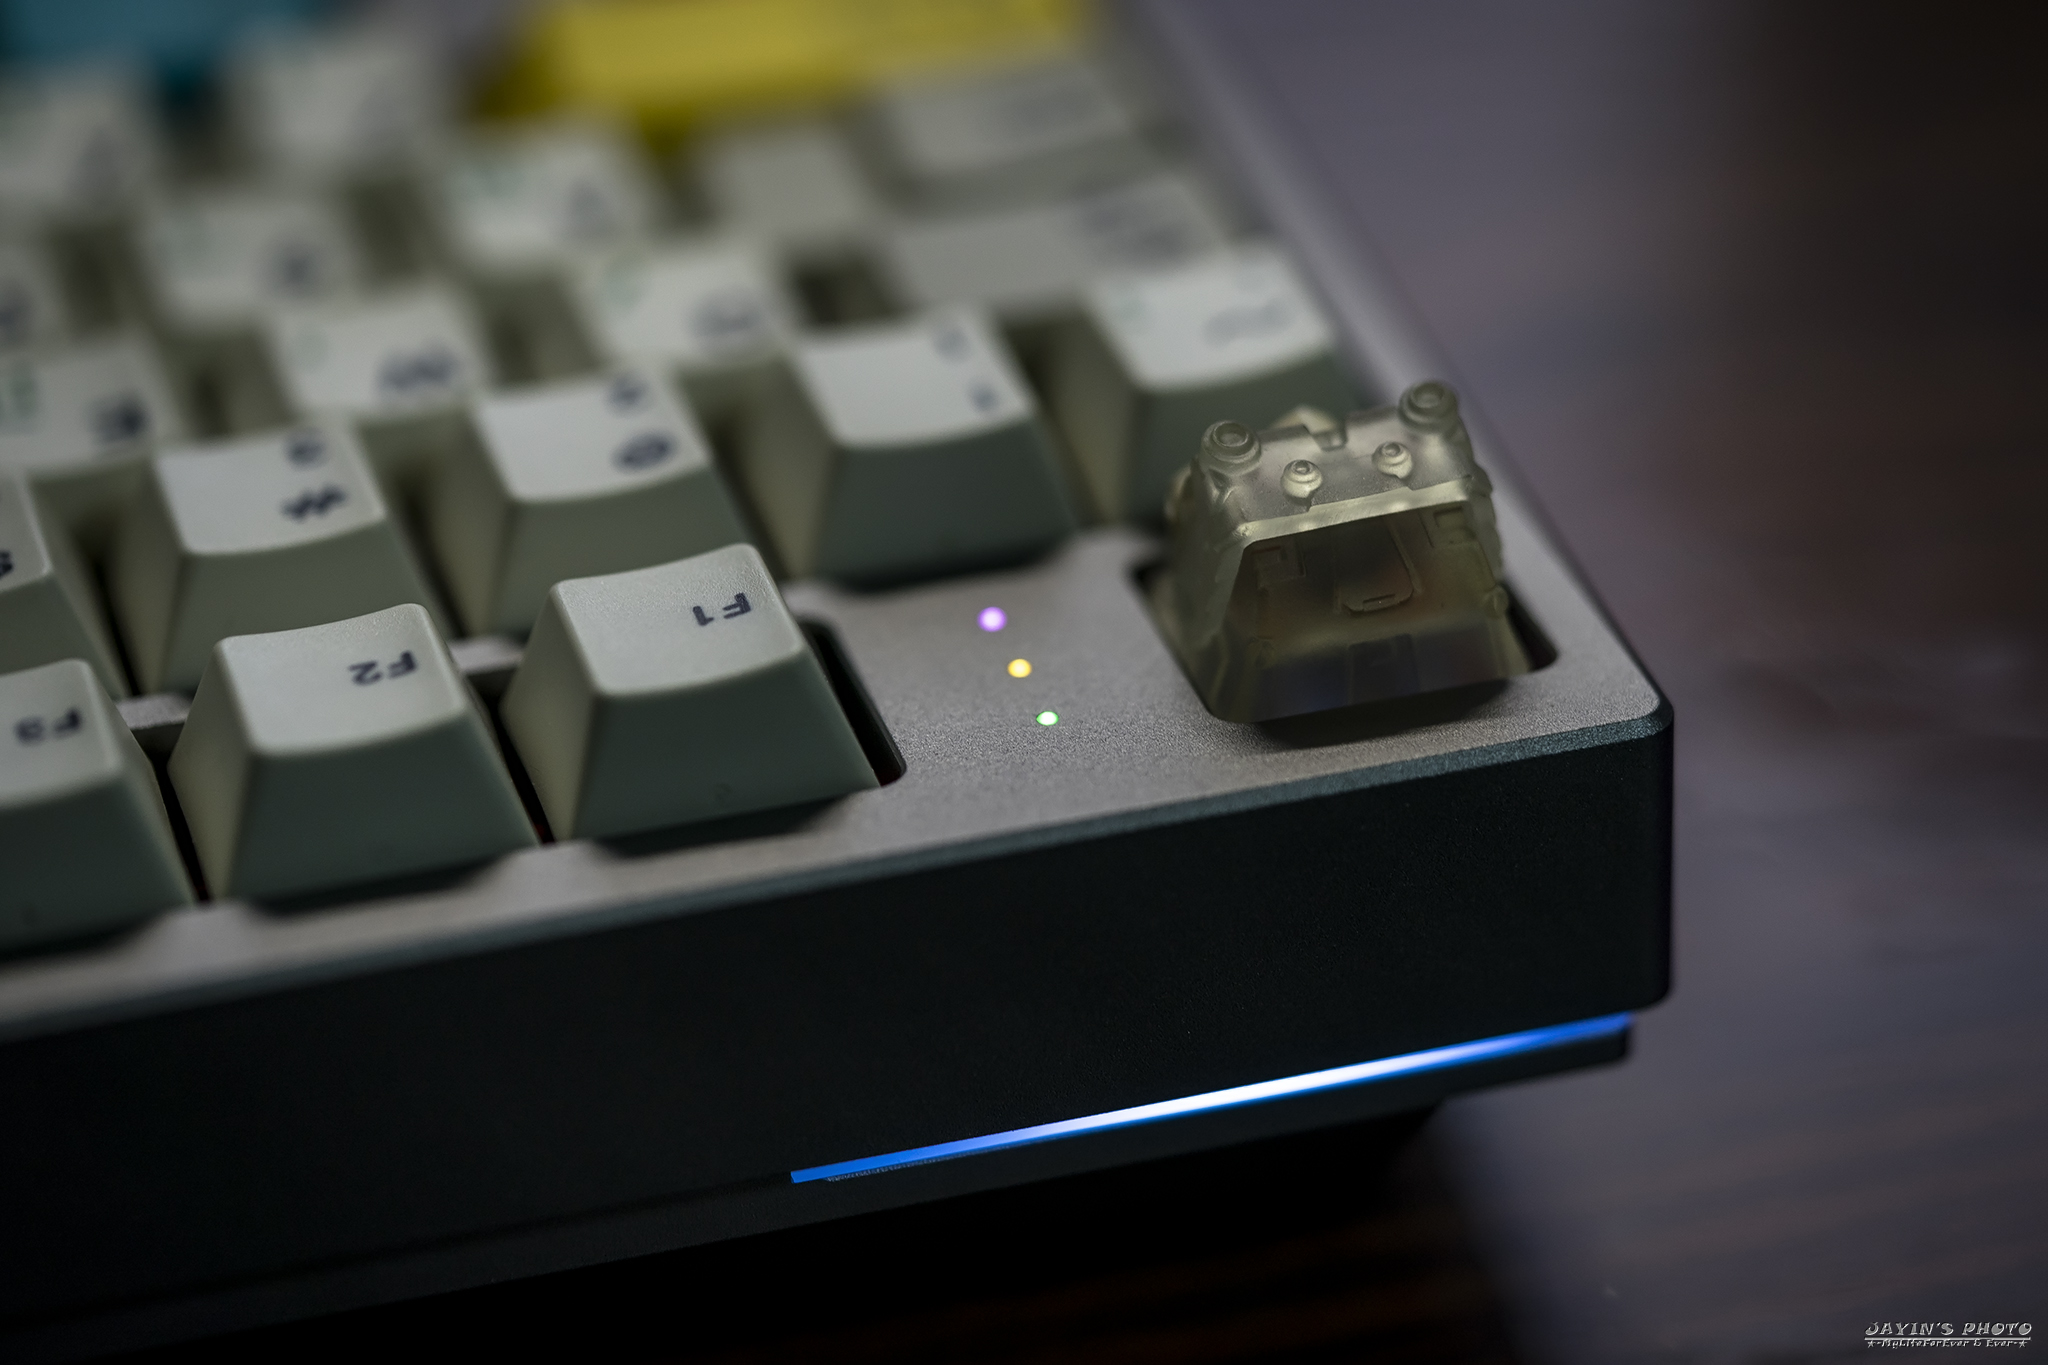
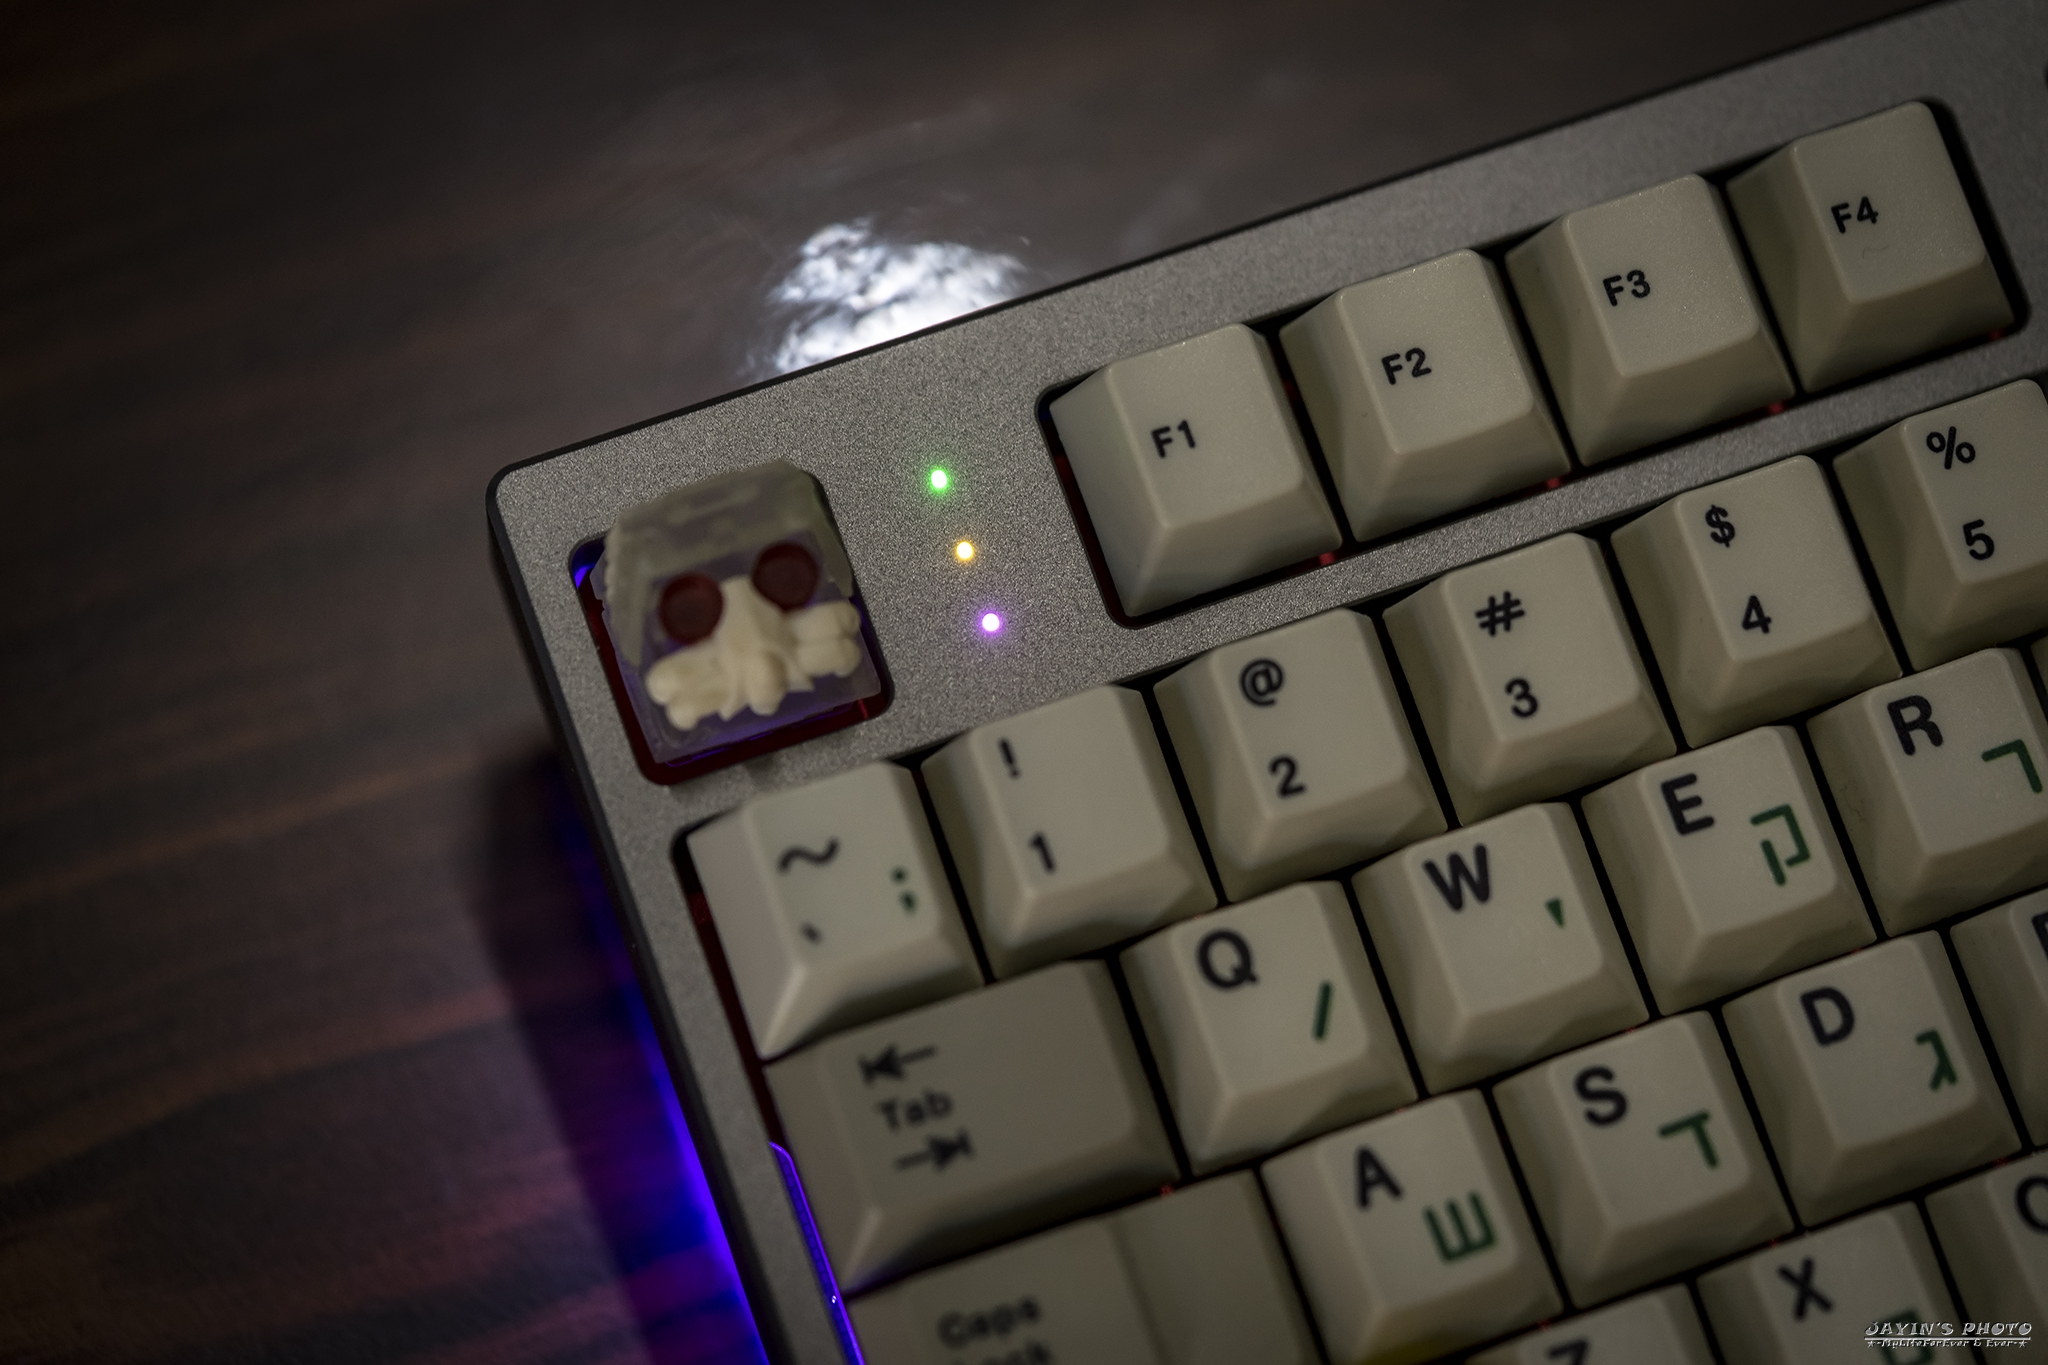
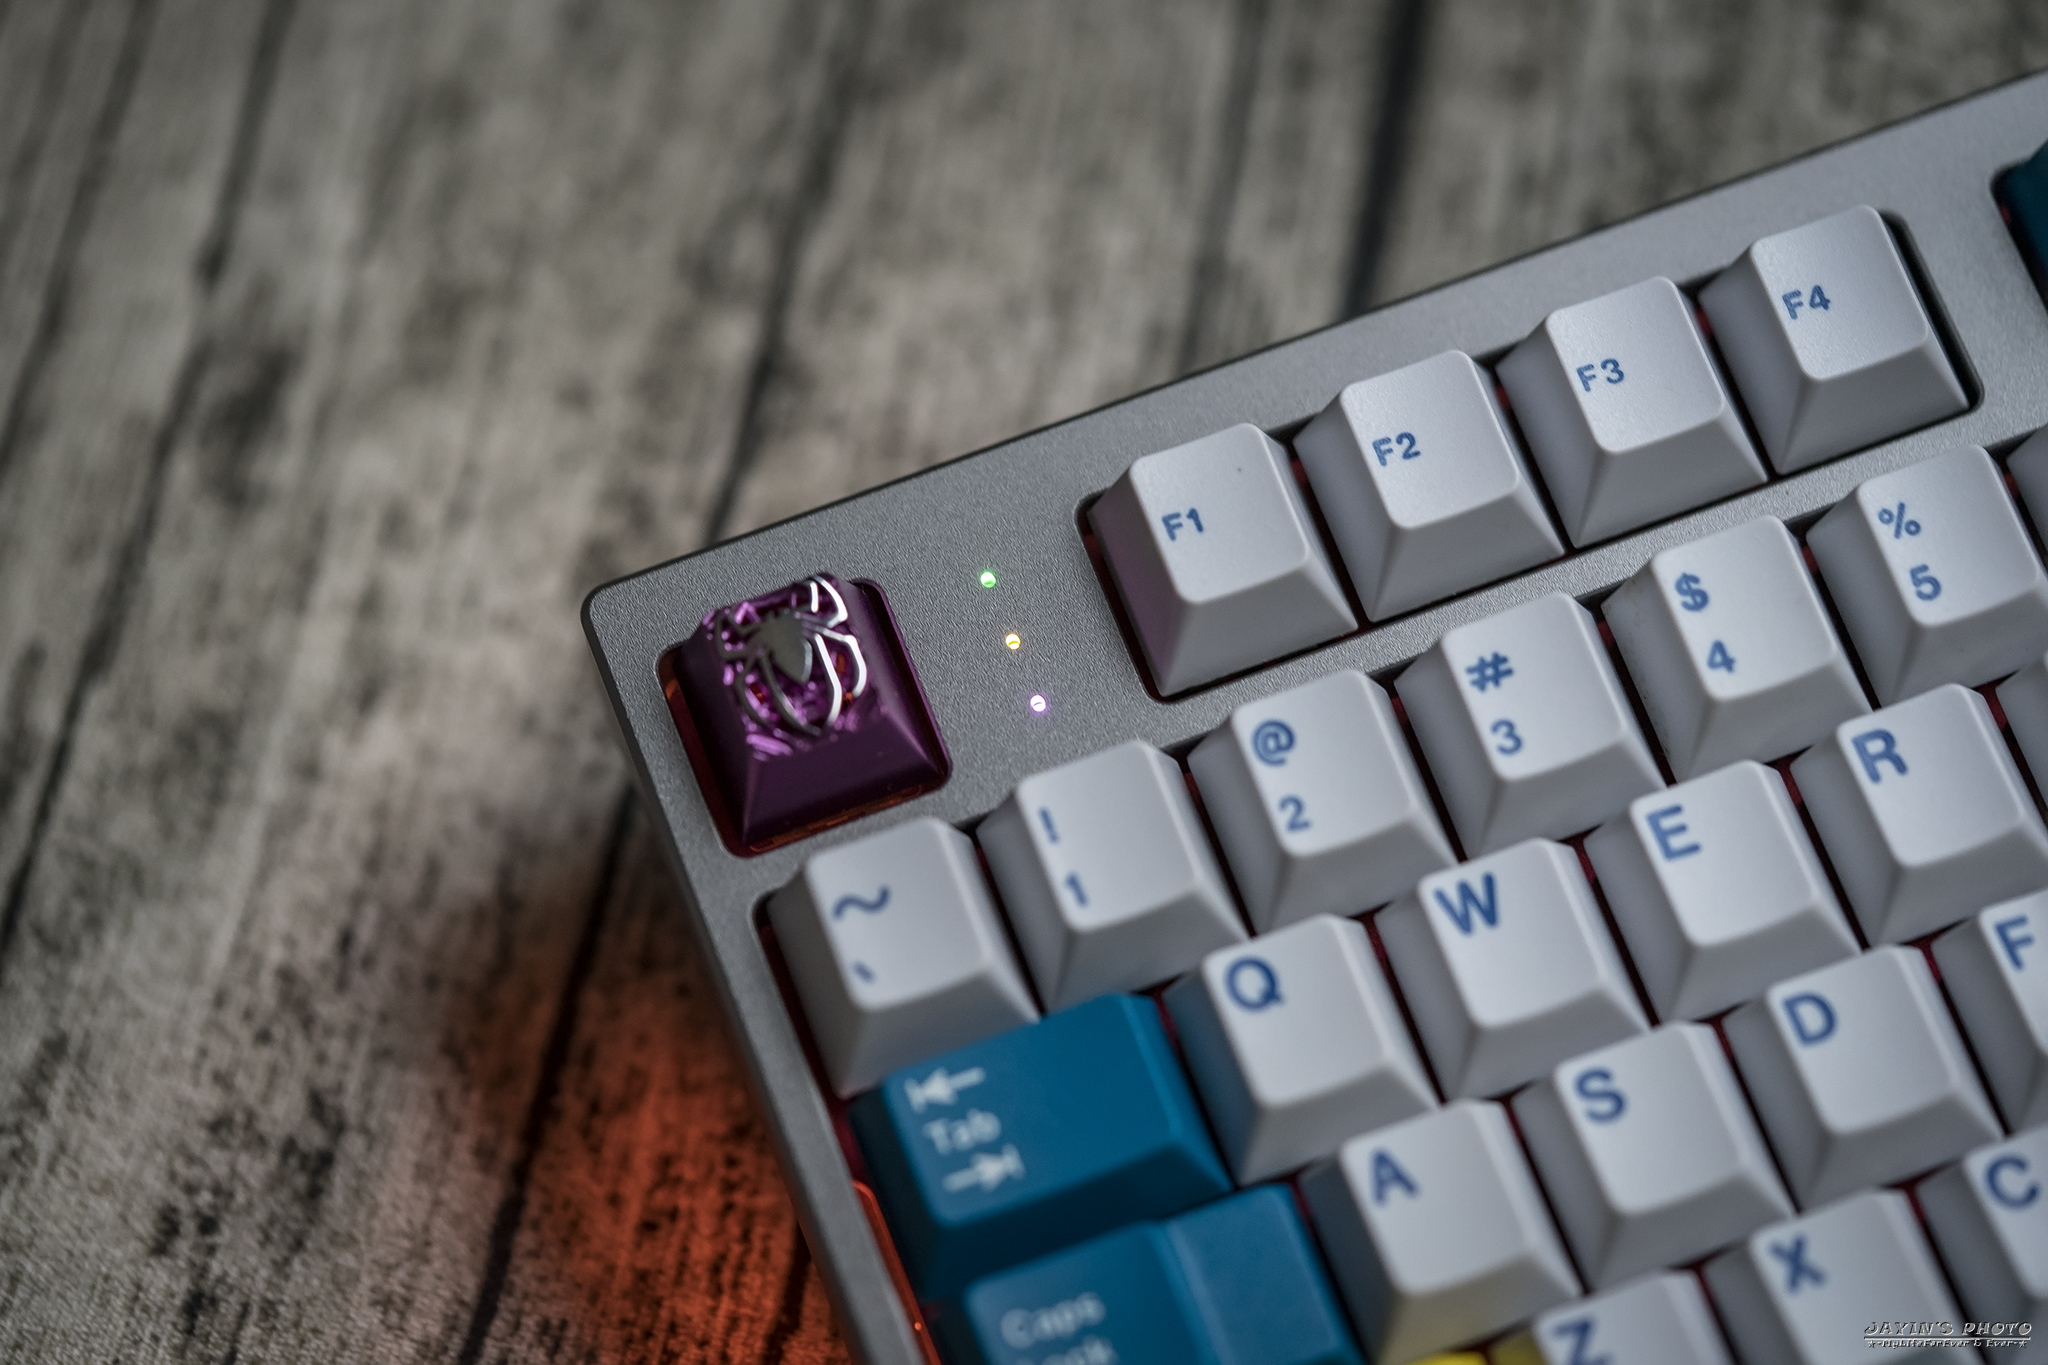
▼ESC旁邊開了三個孔,用來做指示燈,和燈座搭配使用。
▼背面,我們投票選了銅塊來做配重,增加外殼變化、鍵盤重量及逼格。最下面用了四個半透明的圓形止滑墊。
▼這張有點晃到了,可惜!
配重上也刻了大大的LSJ,以及「Driven by Passion」,我們老司機要用熱情來開車!
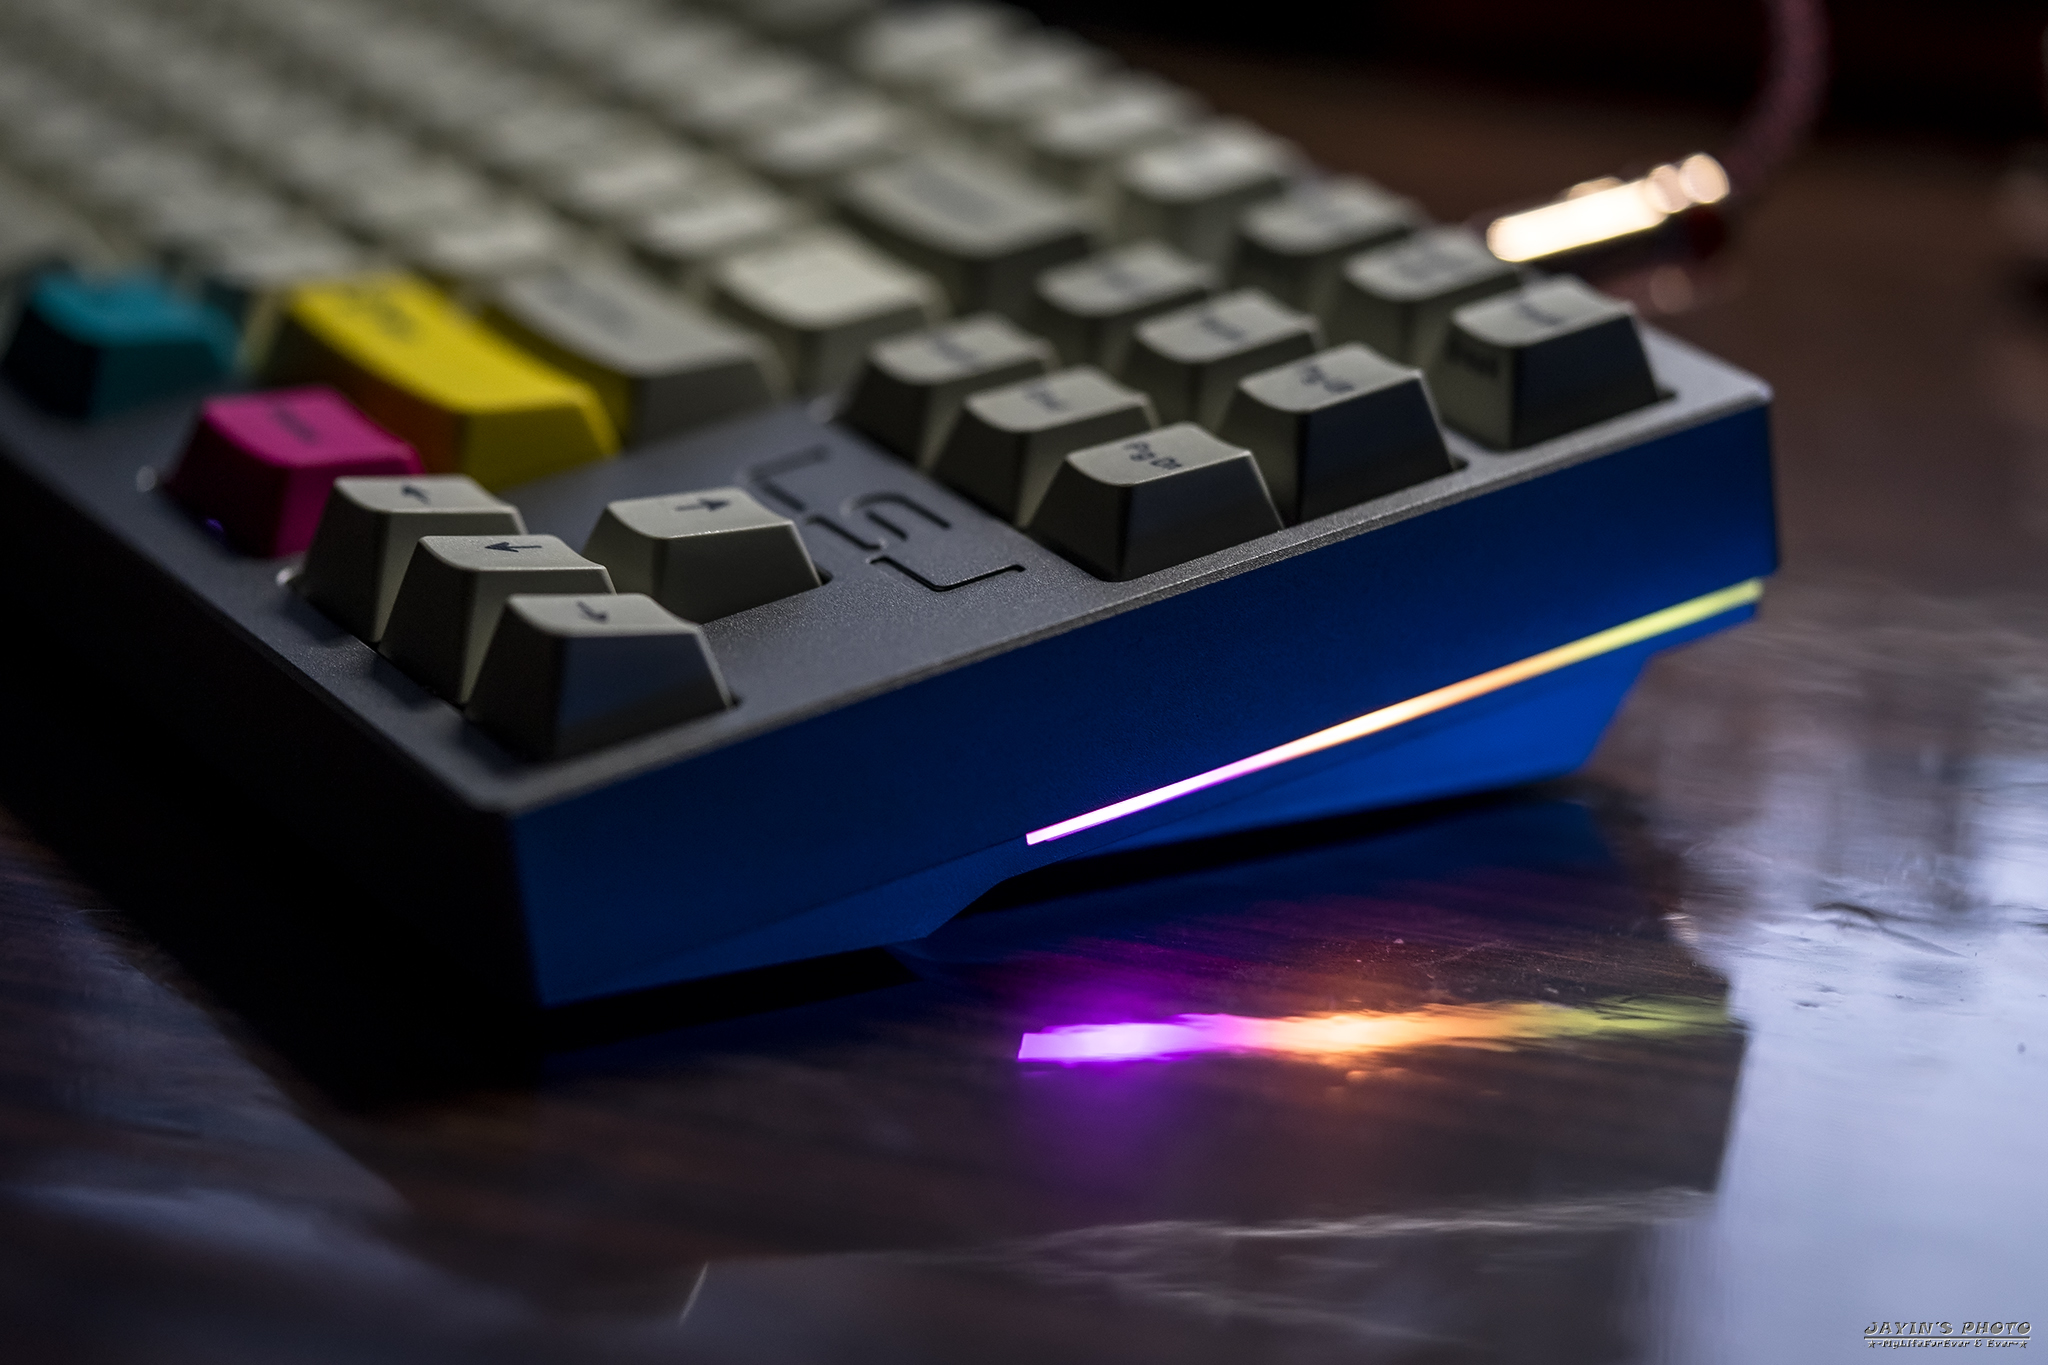
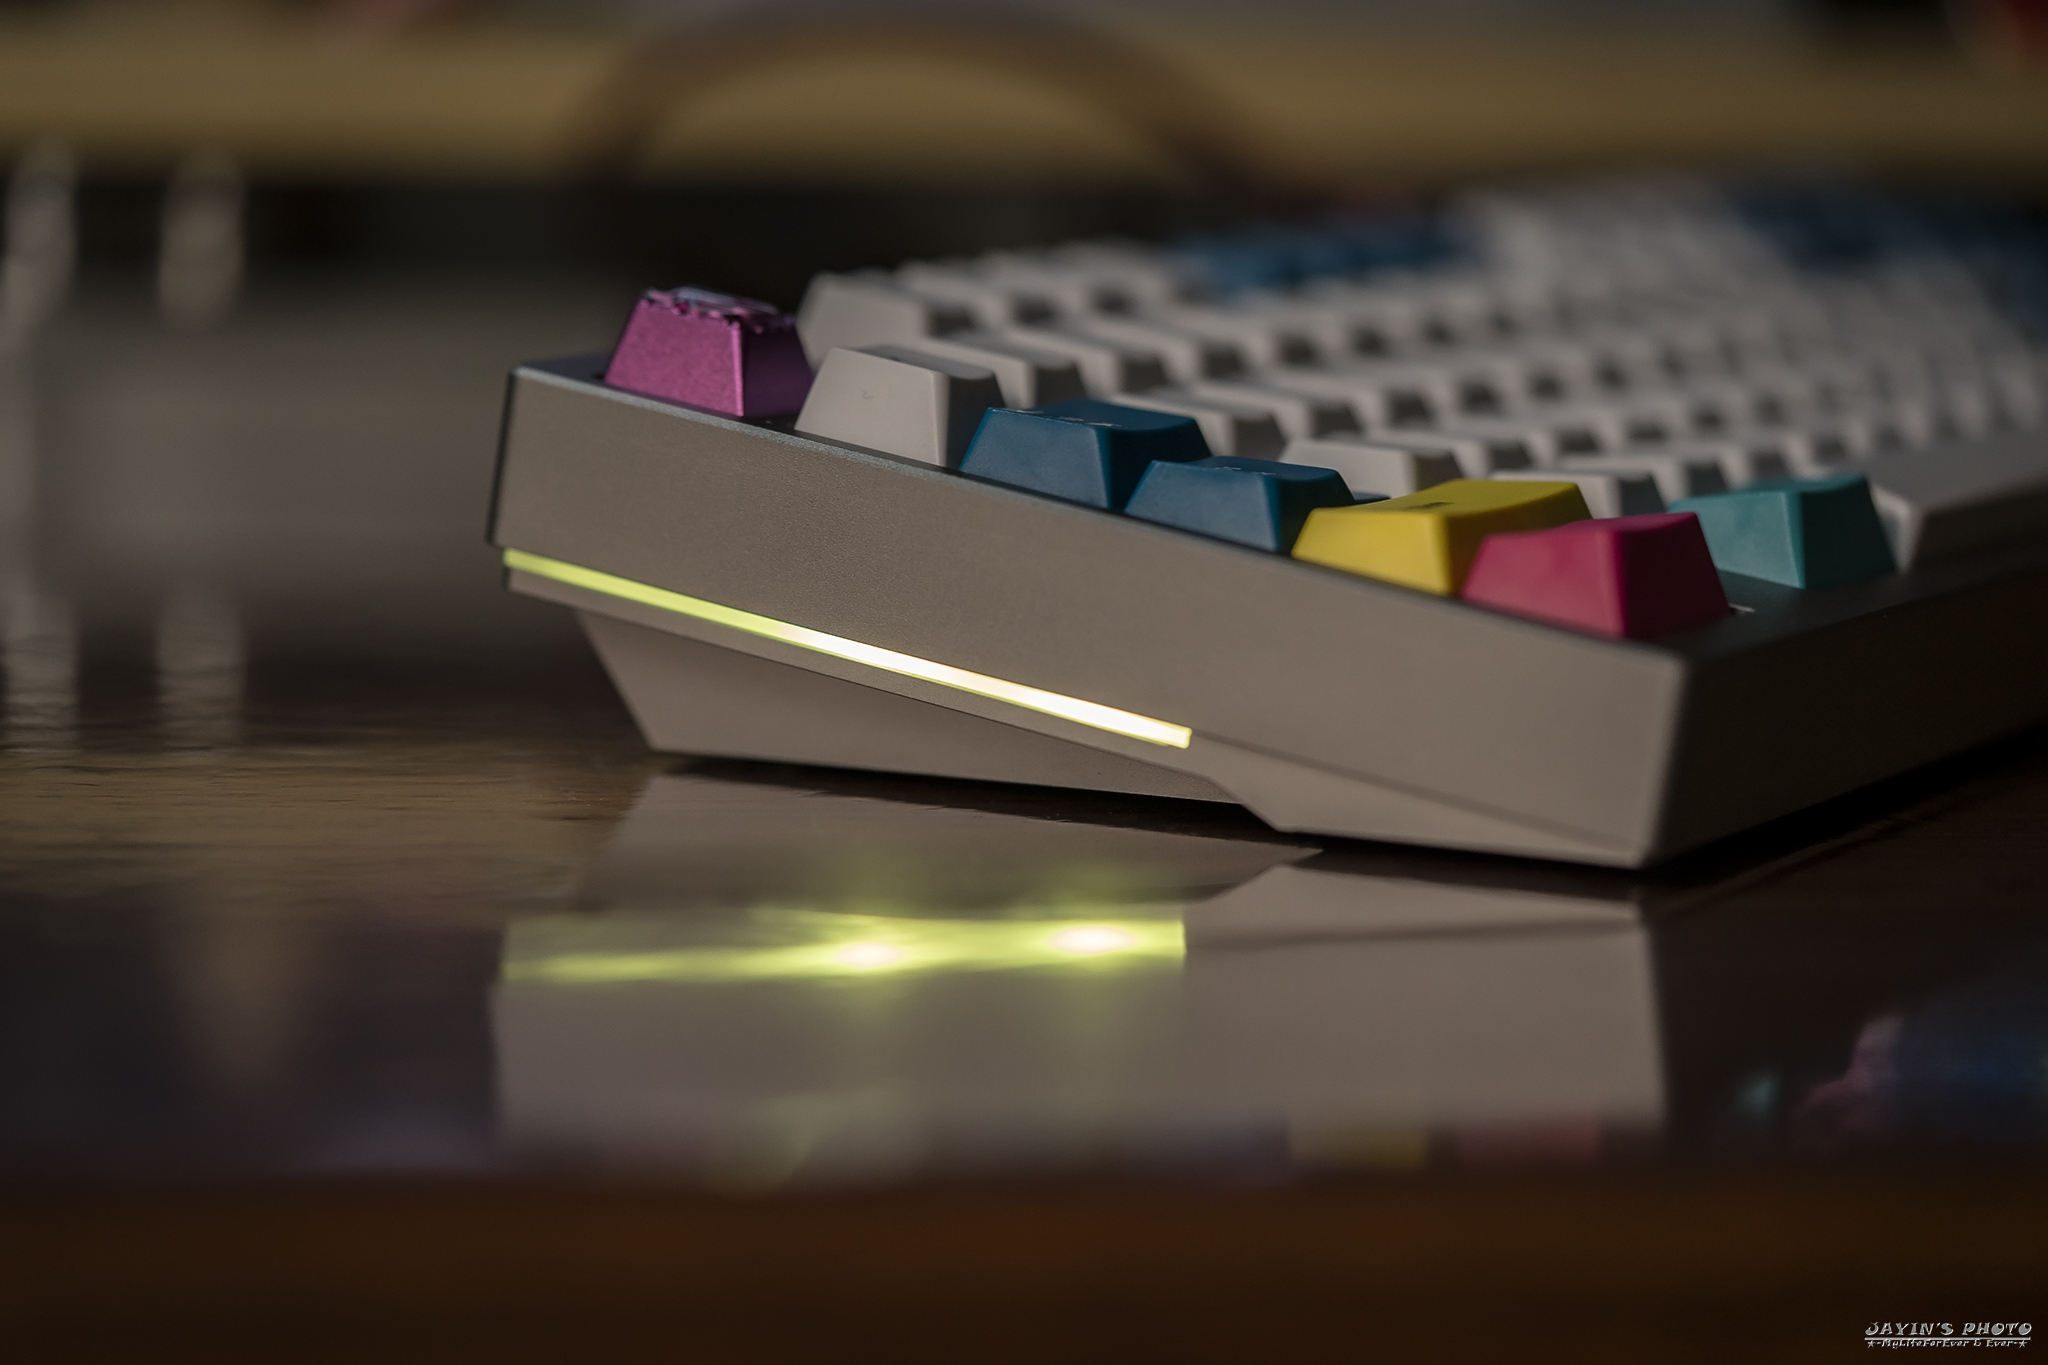
▼側邊設計是討論最久的了,包含了導角、斜邊樣式、切削風格等,最終定樣如照片
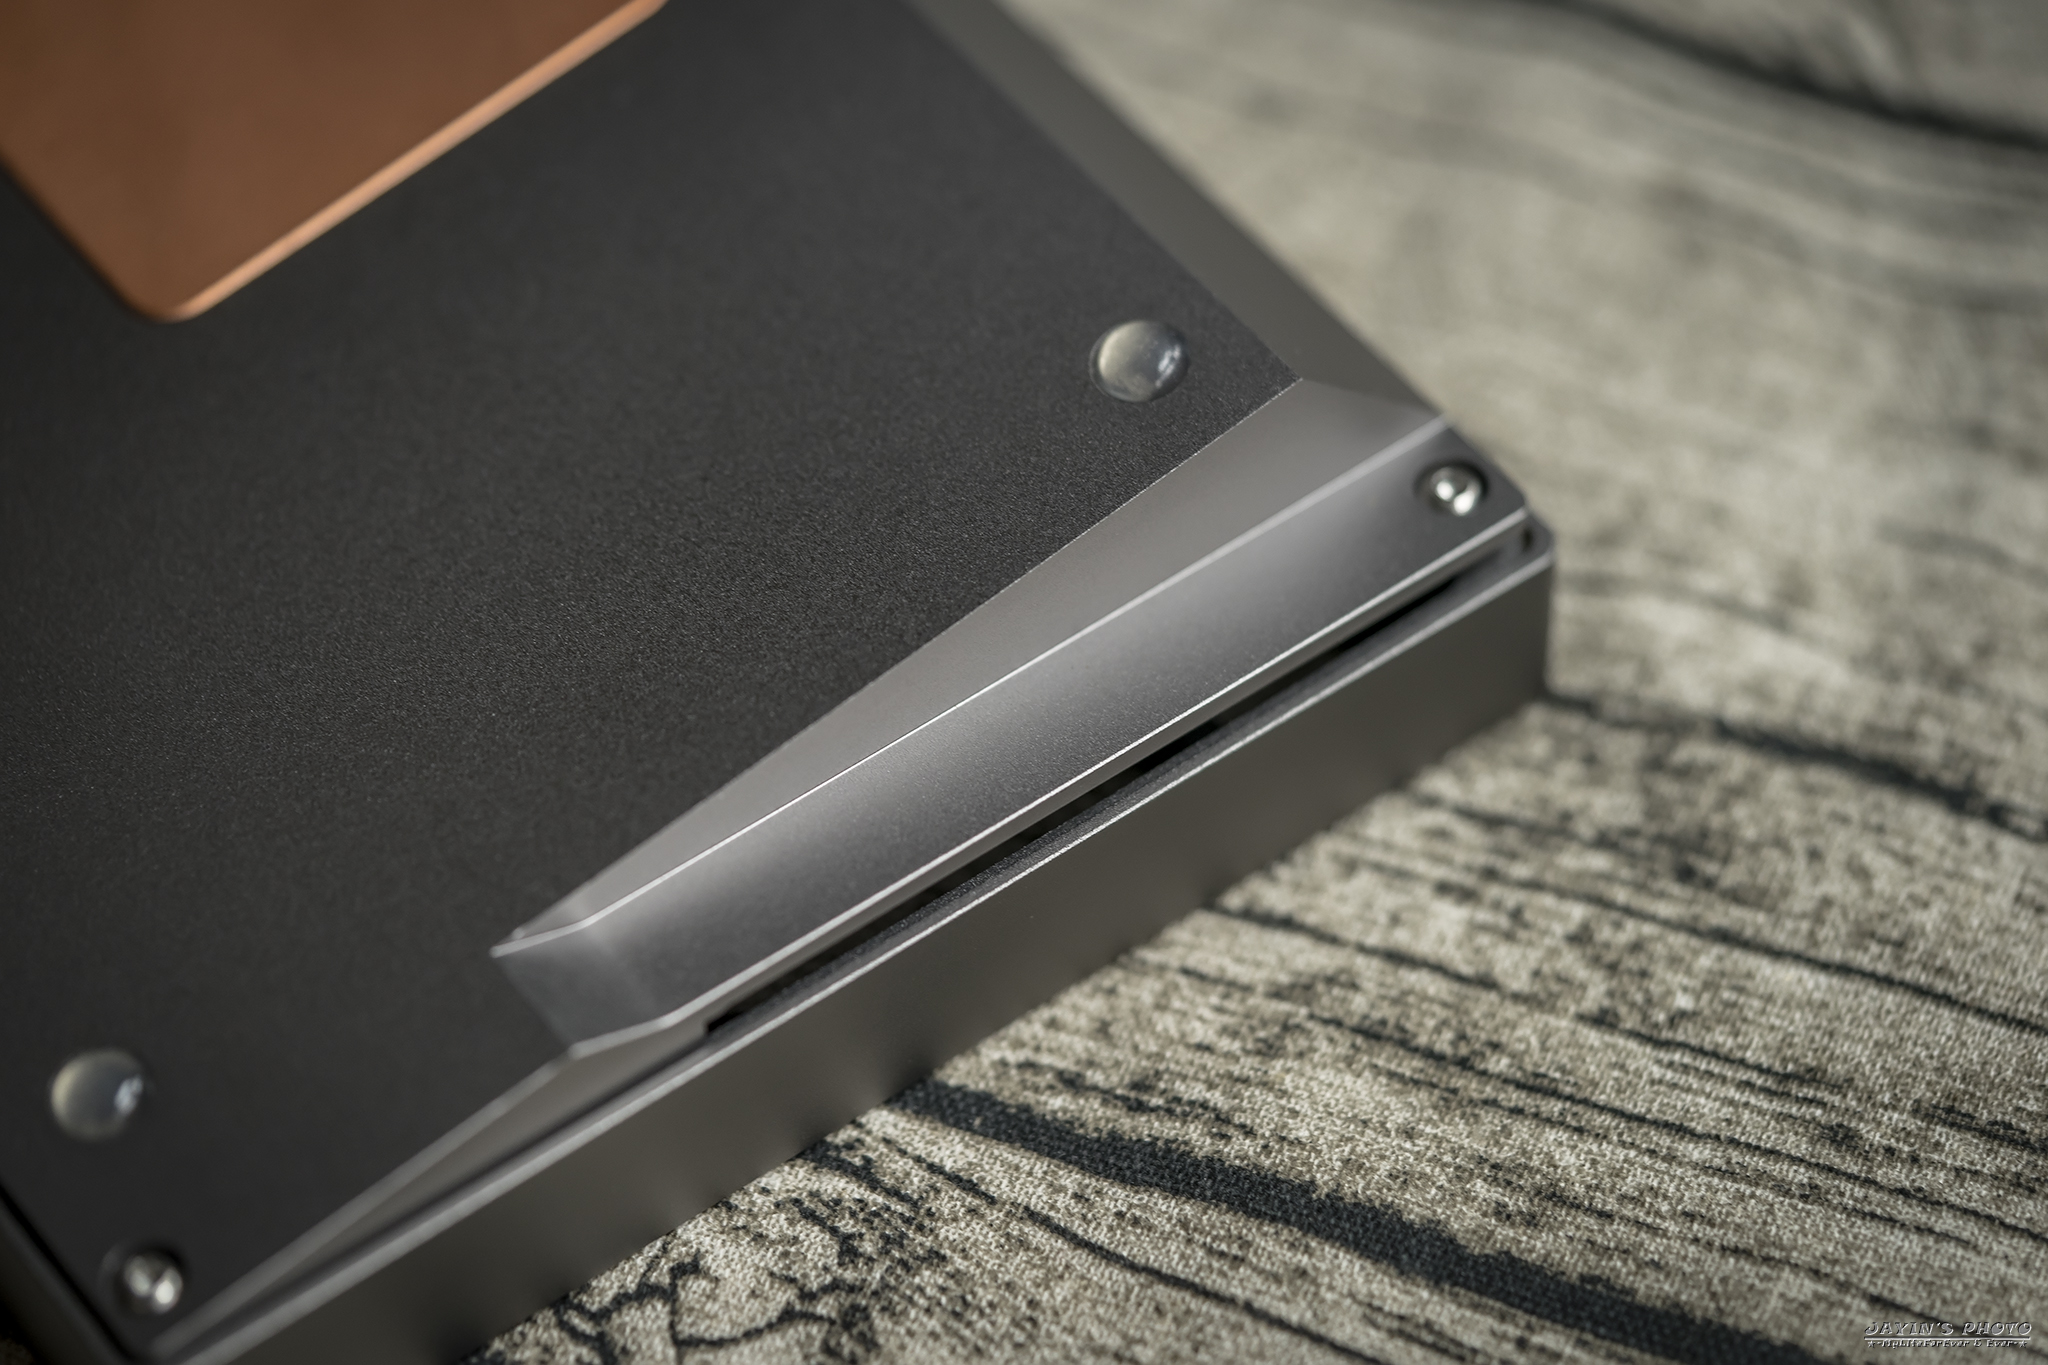
▼這個凹槽就是要放均光板的位置

▼正向的側邊看起來如下圖。

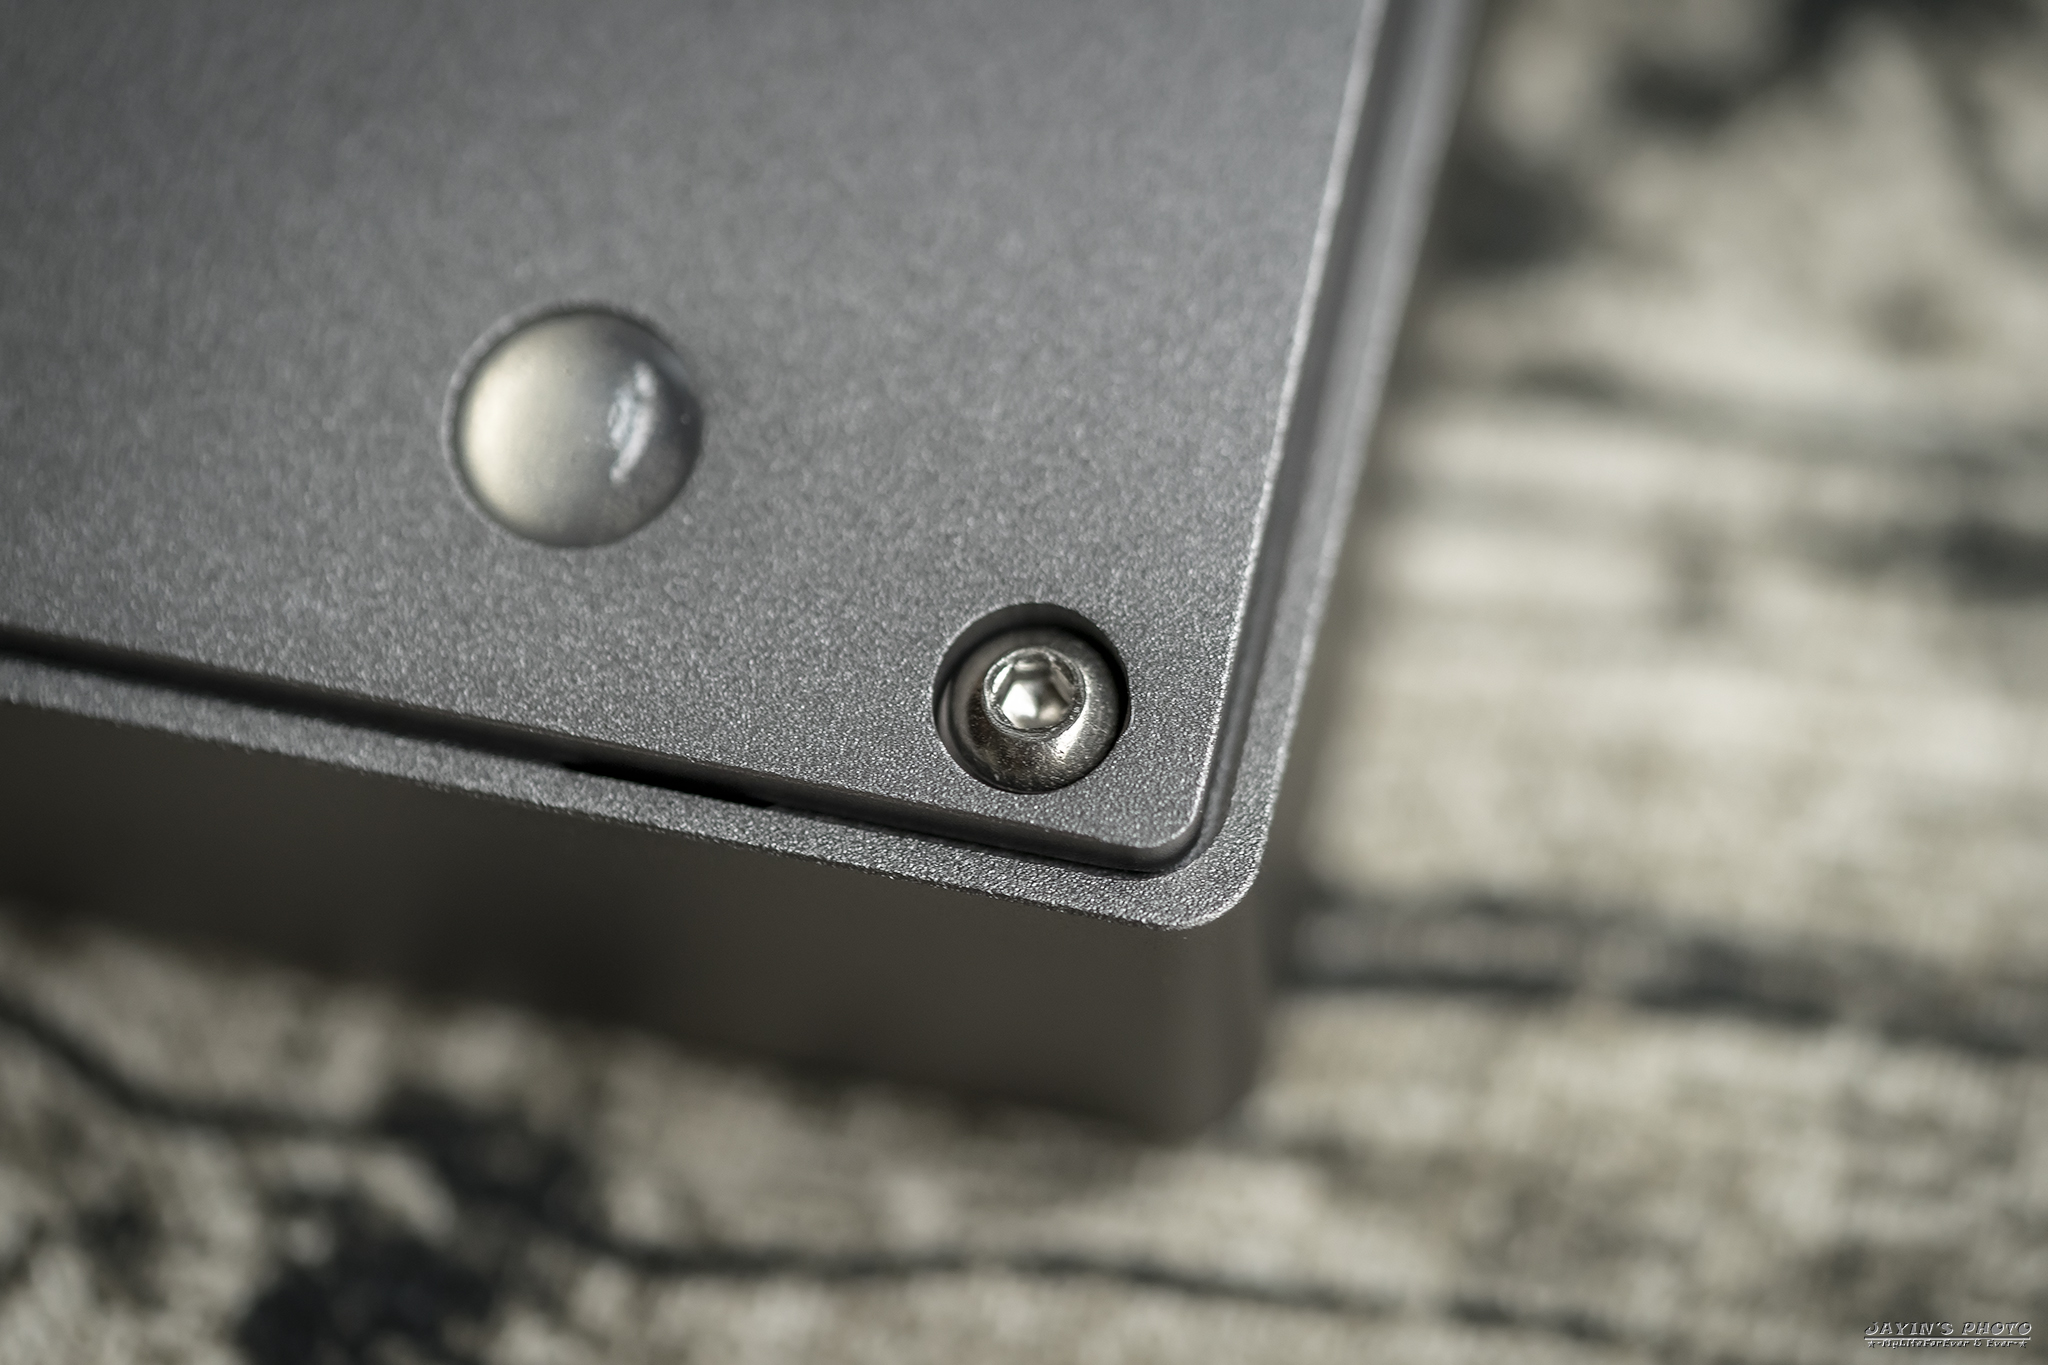
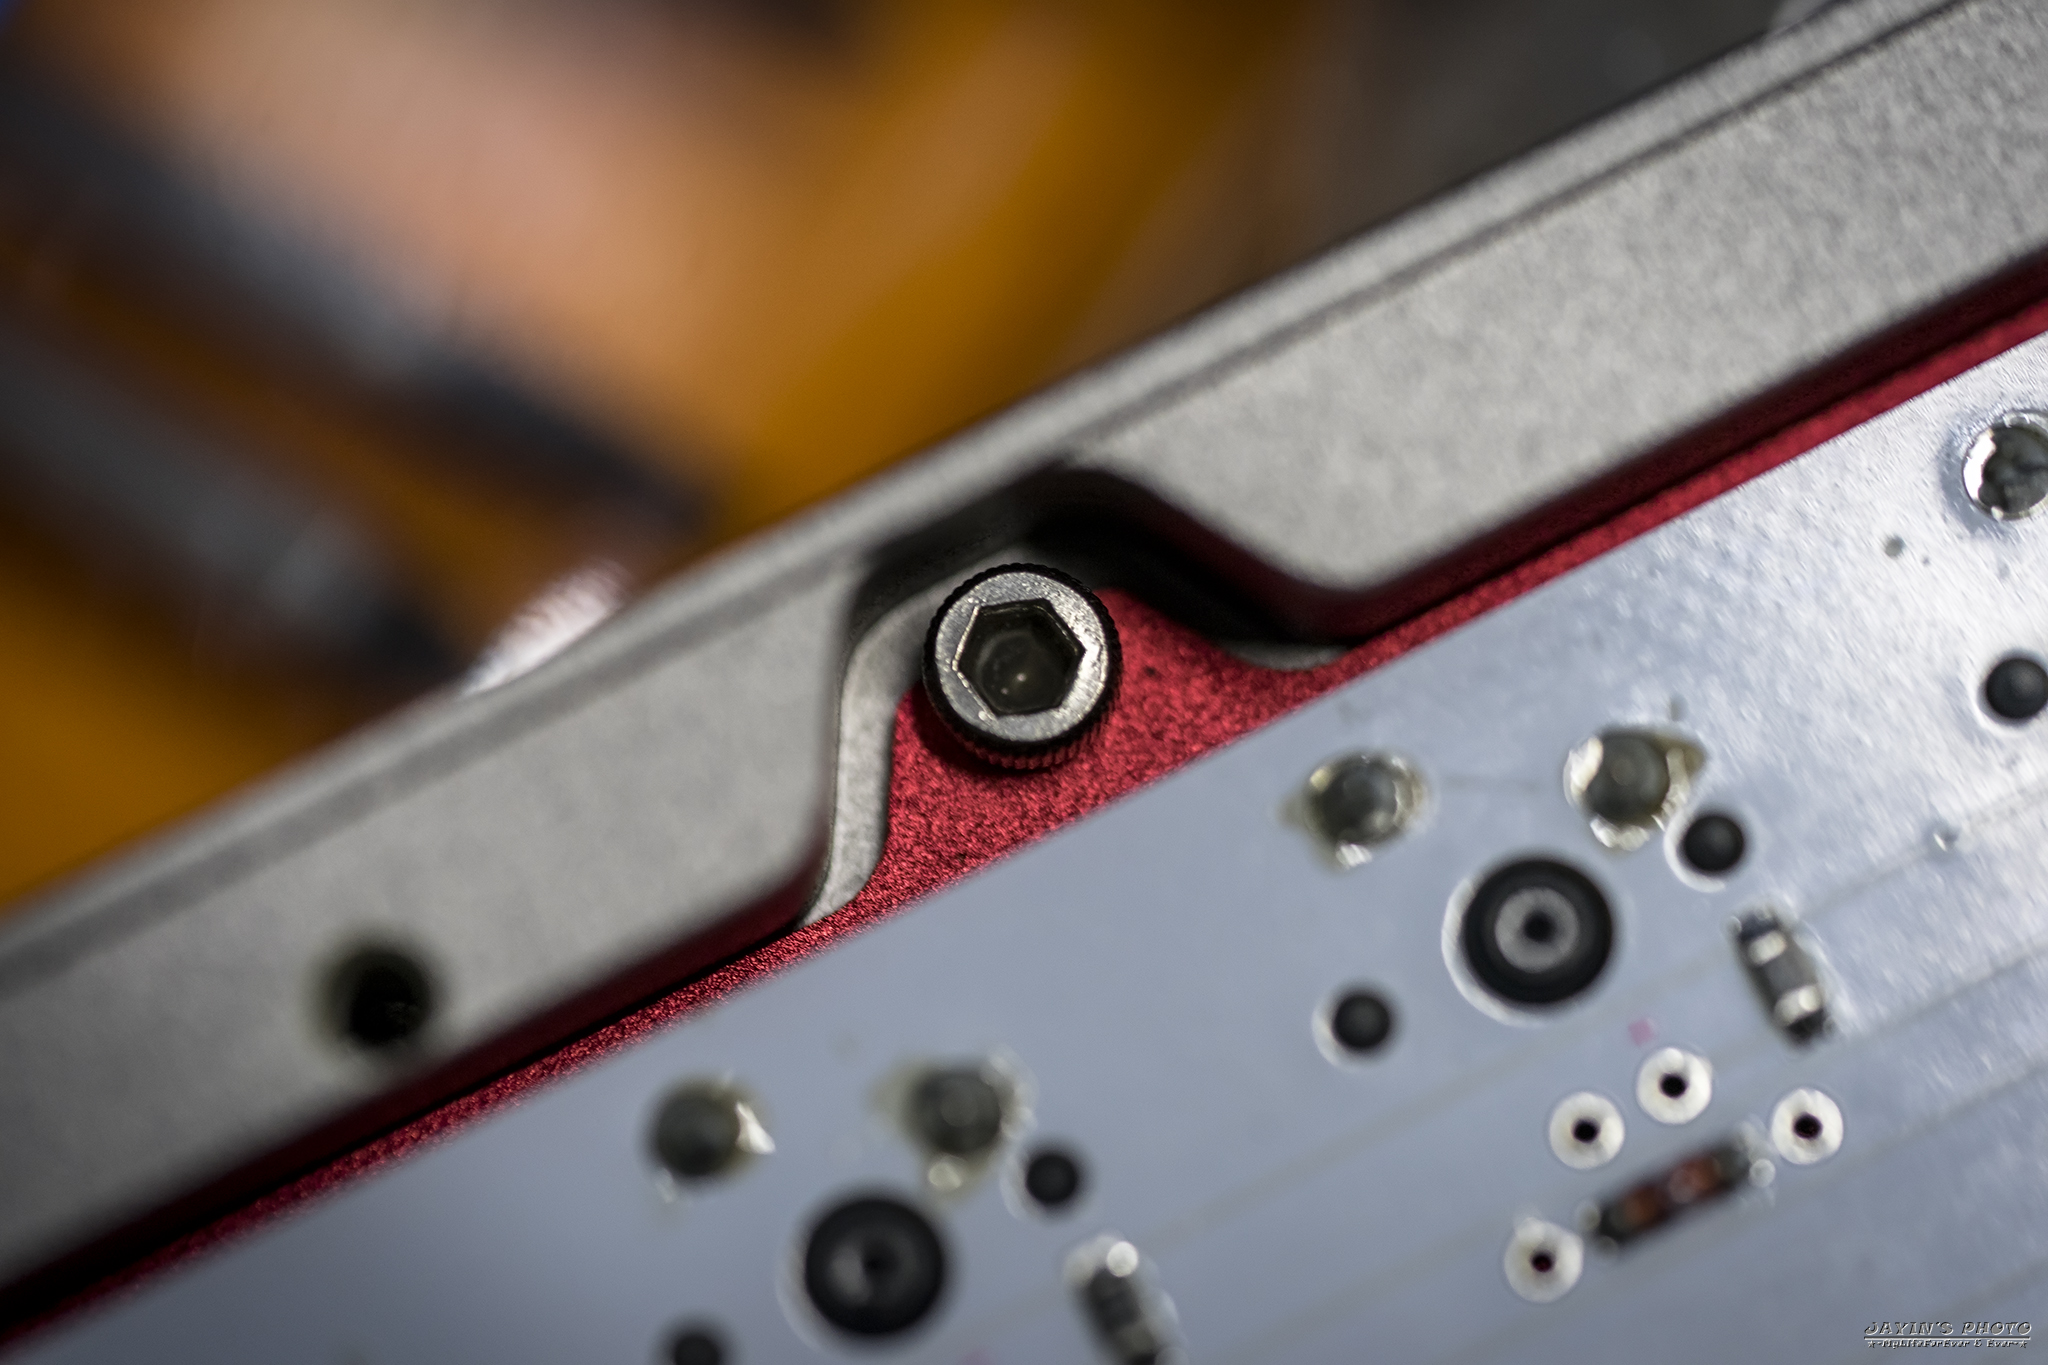
▼配重同樣是用螺絲鎖在底殼上的。
▼採用了六角螺絲,當然啦,要逼格怎麼可以用一般的十字呢?您說是吧!
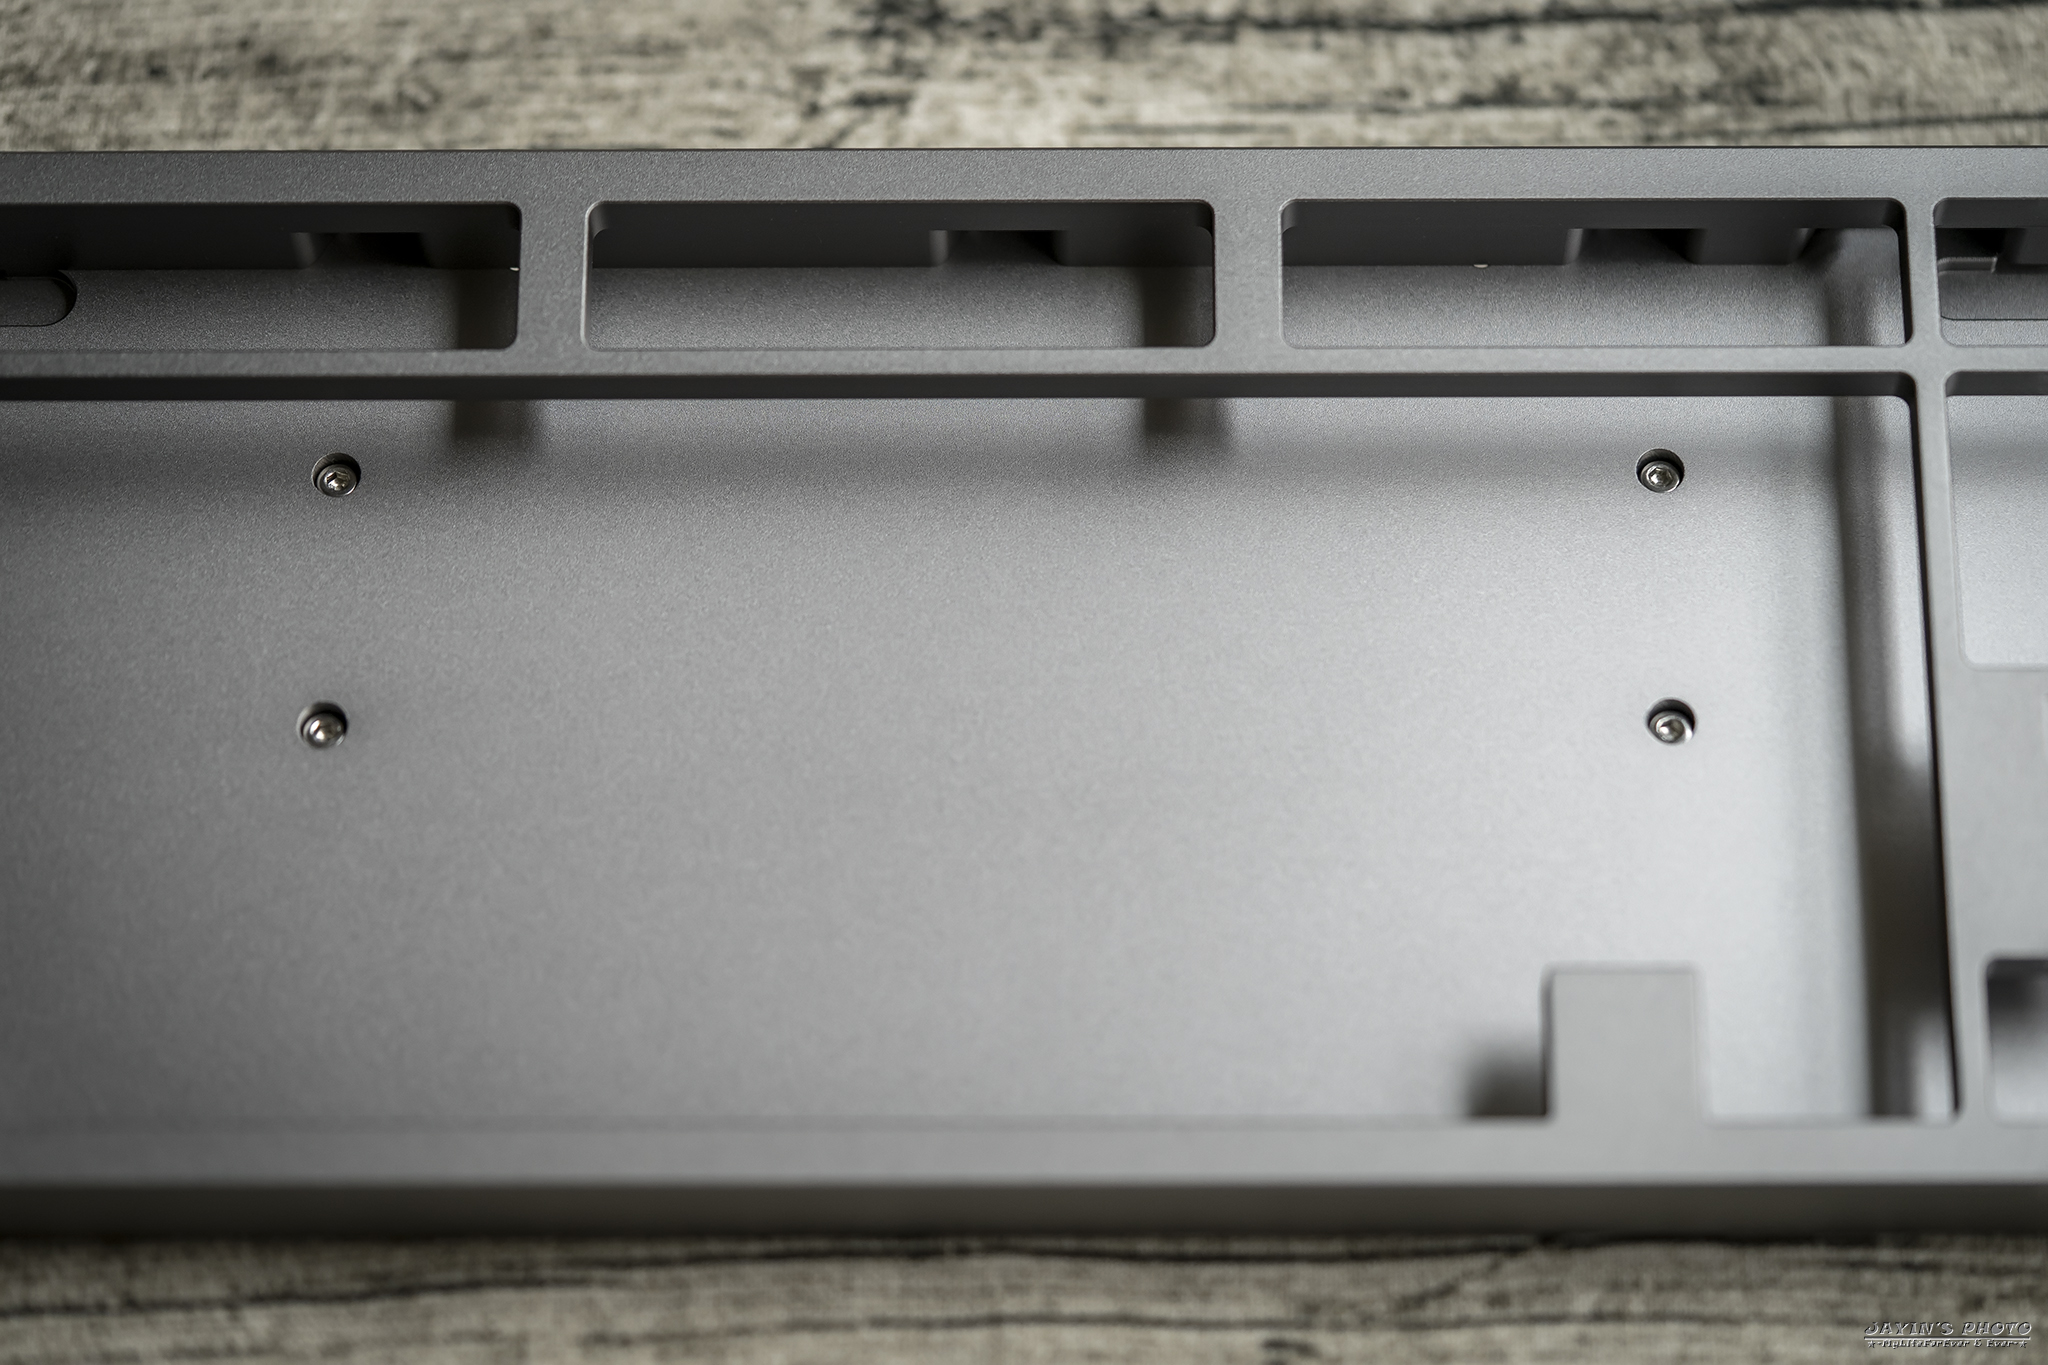
▼上下殼拆開,上蓋的內邊那十個凹槽設計就是要鎖上定位板用的,而ESC旁邊的三個圓形槽就是為了指示燈用。
▼和定位板放在一起,是不是有OTD的感覺呢?收不了OTD,弄個相近的配色也好啊XD
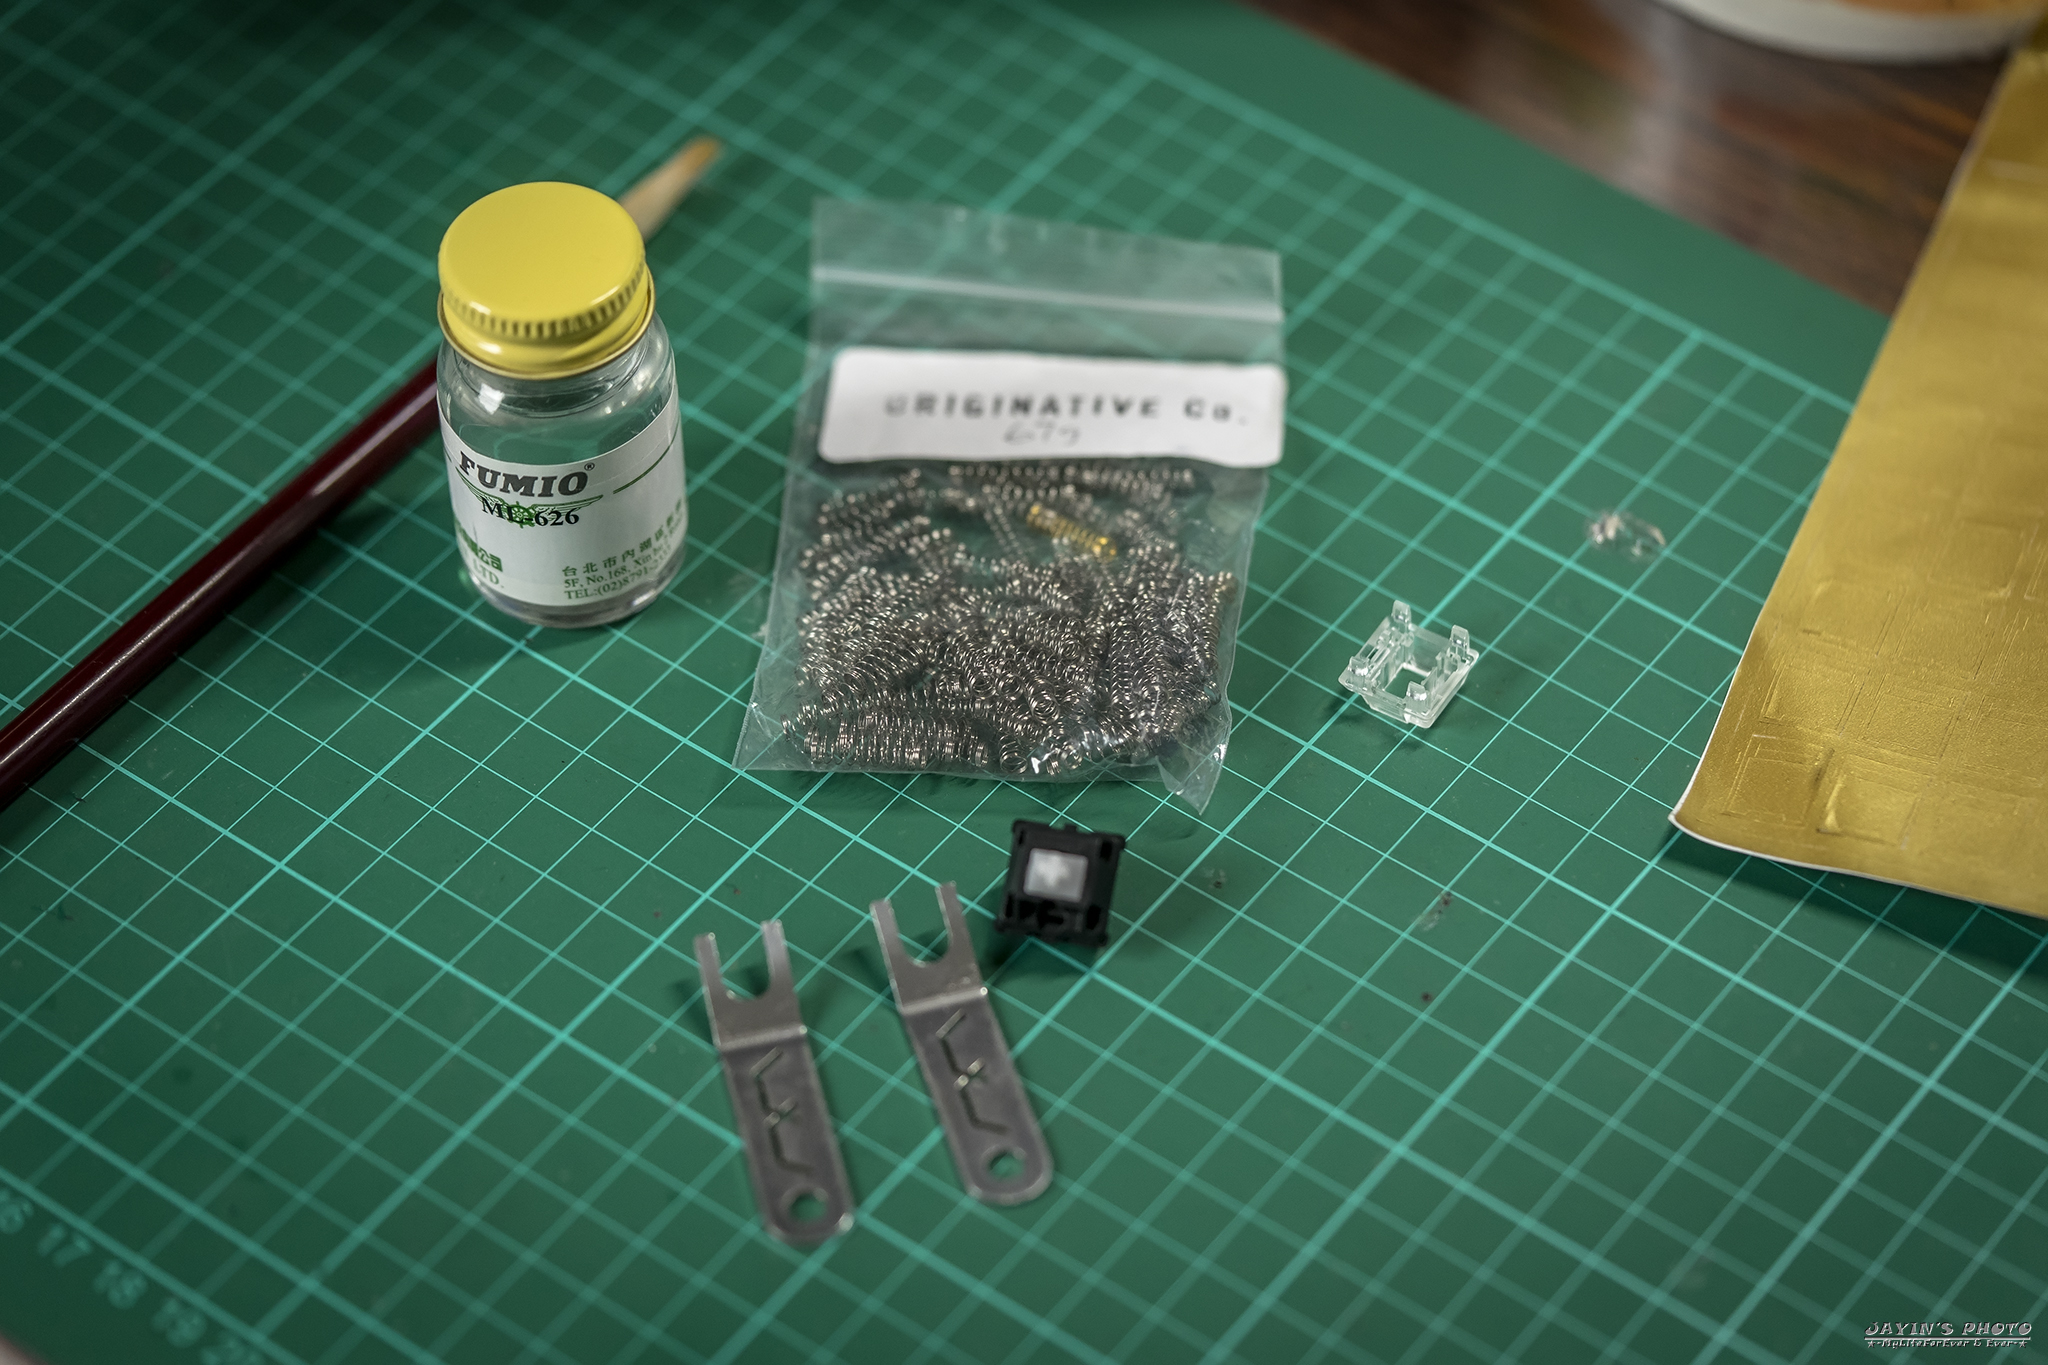
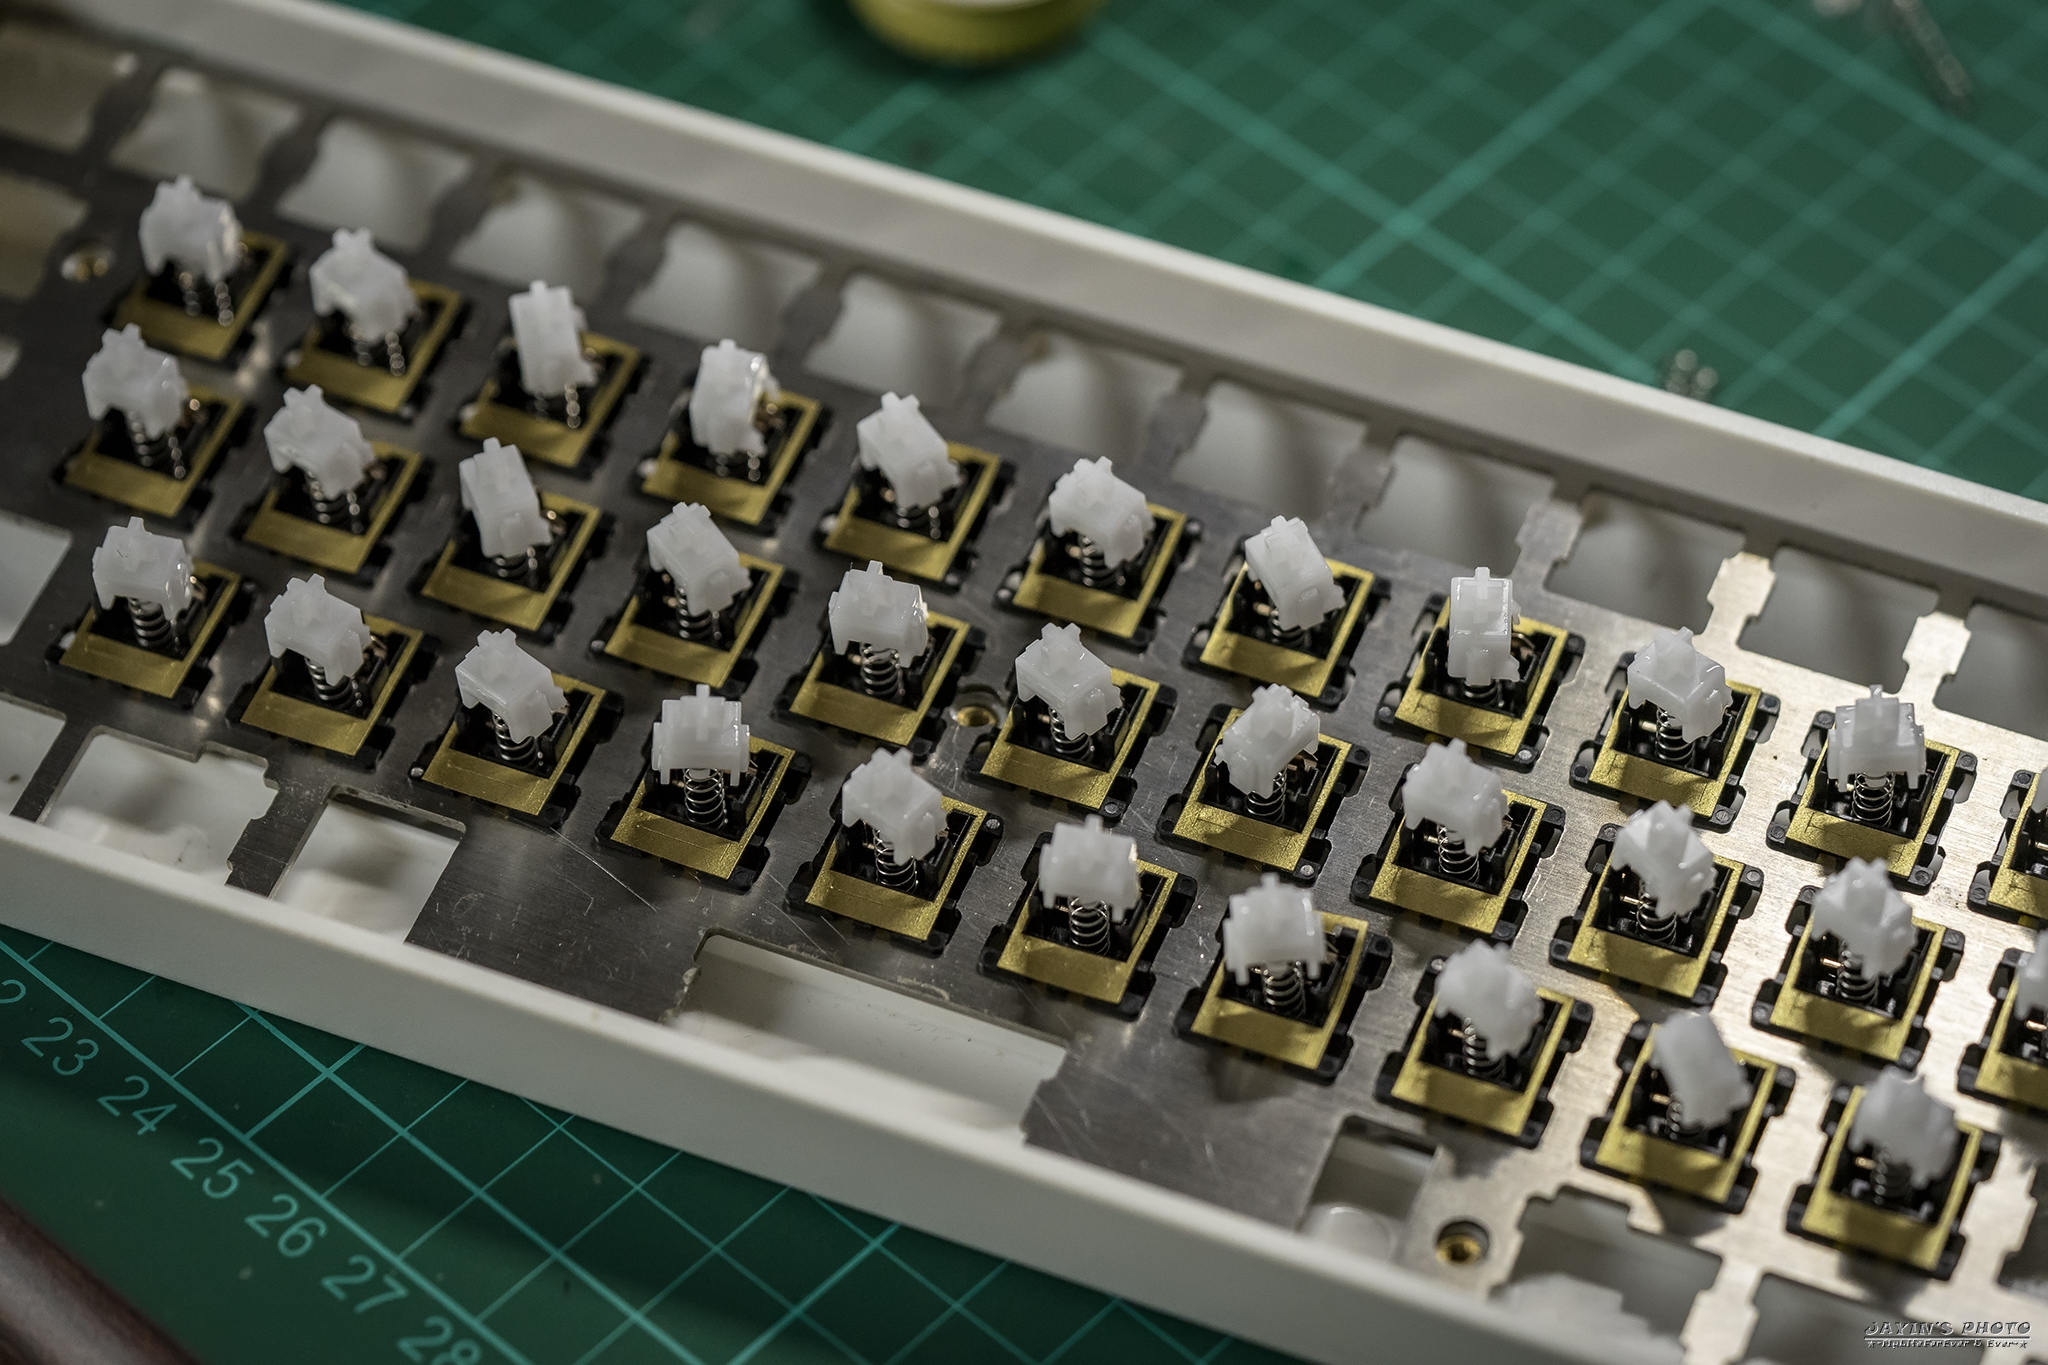
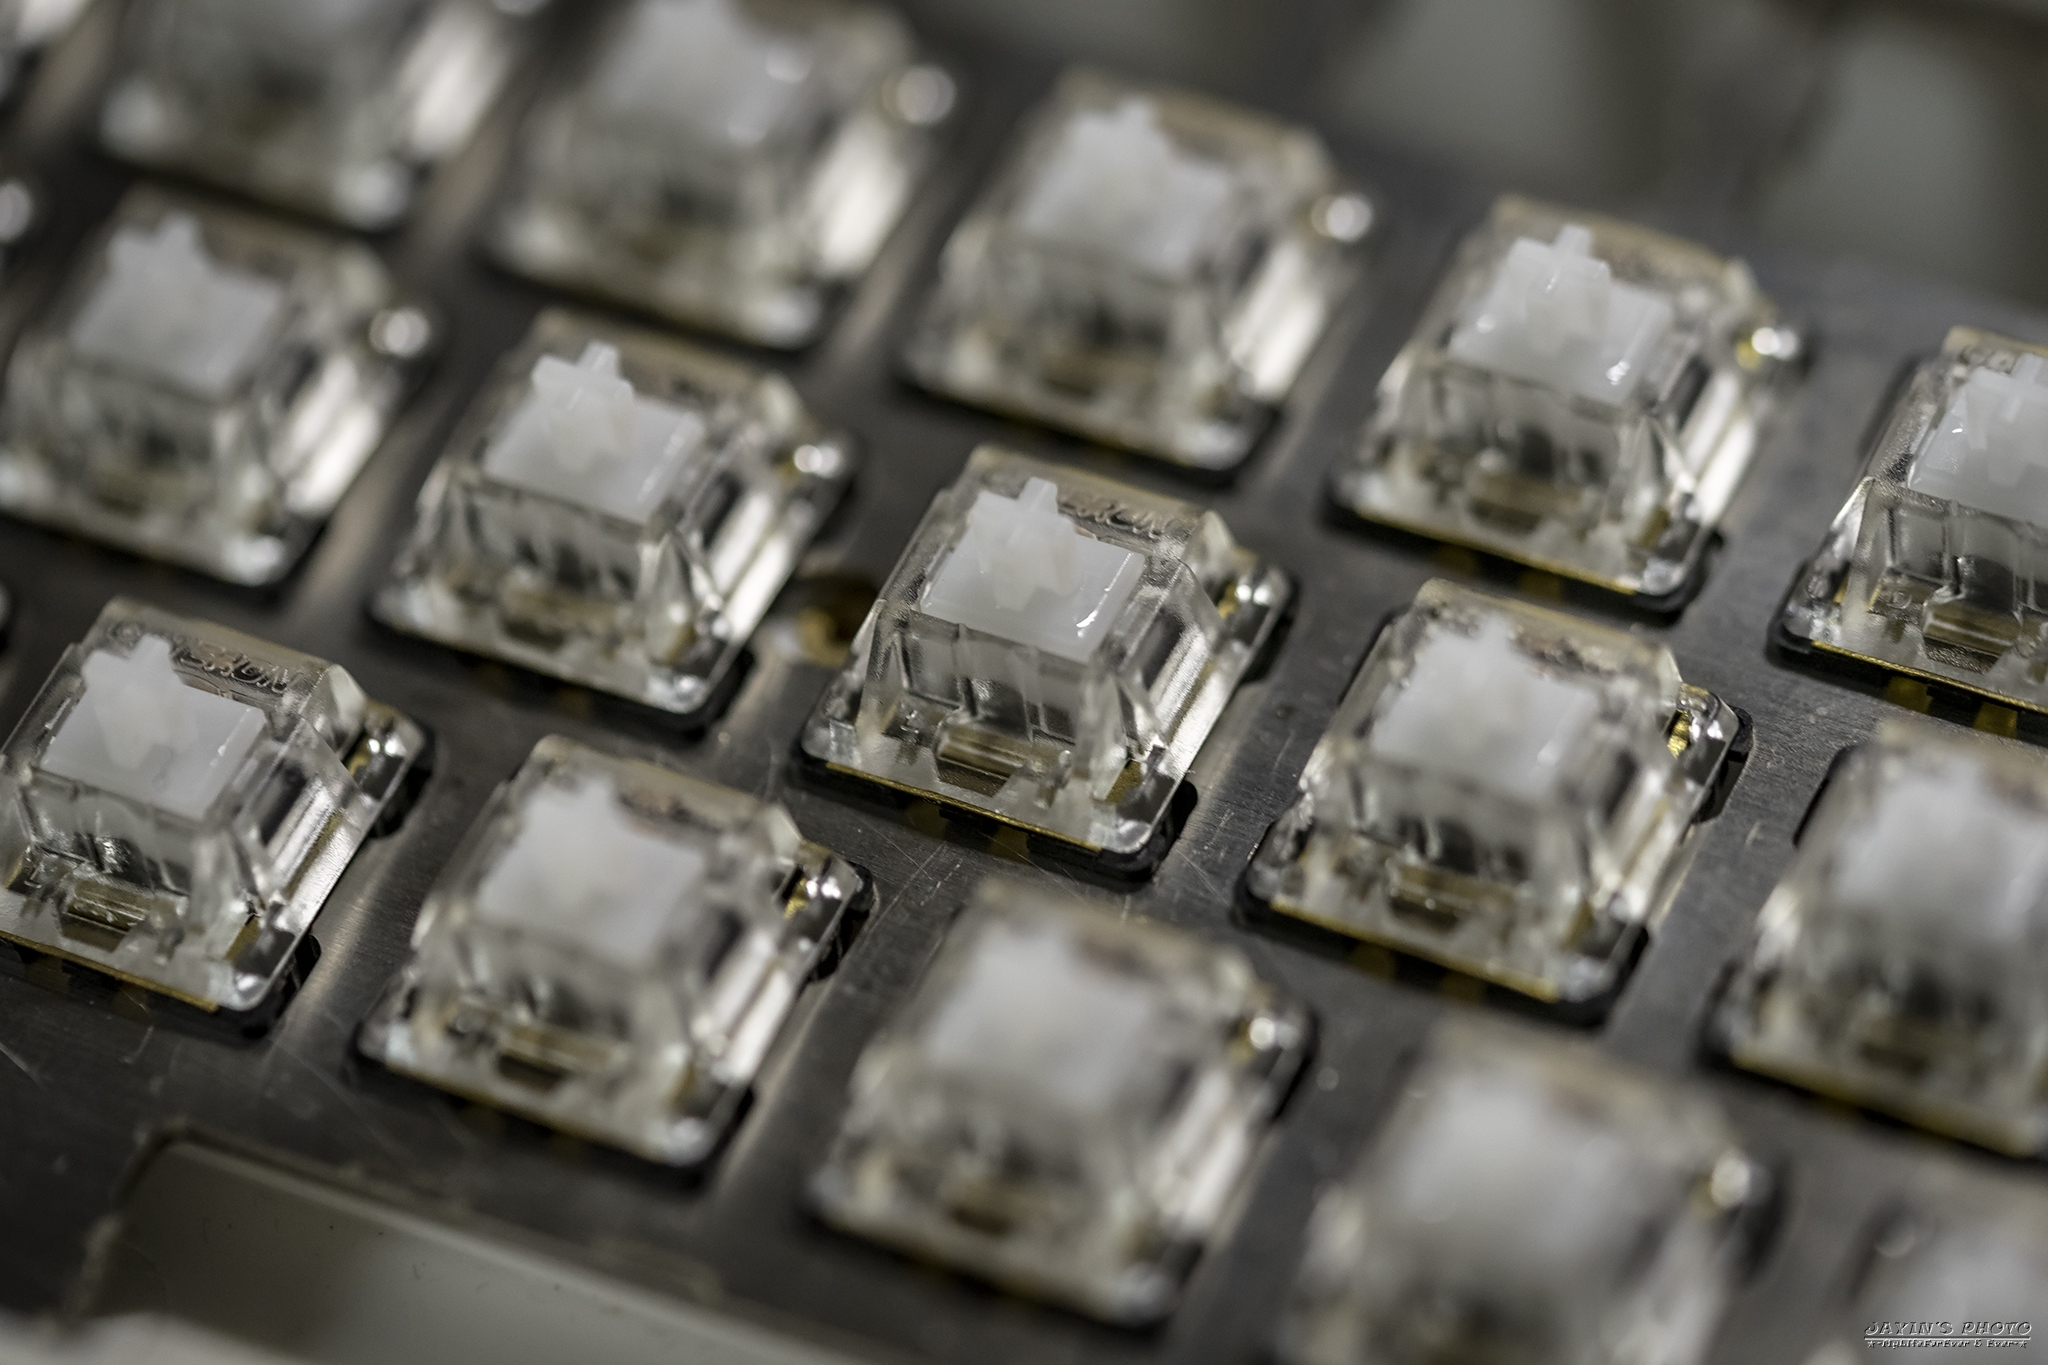
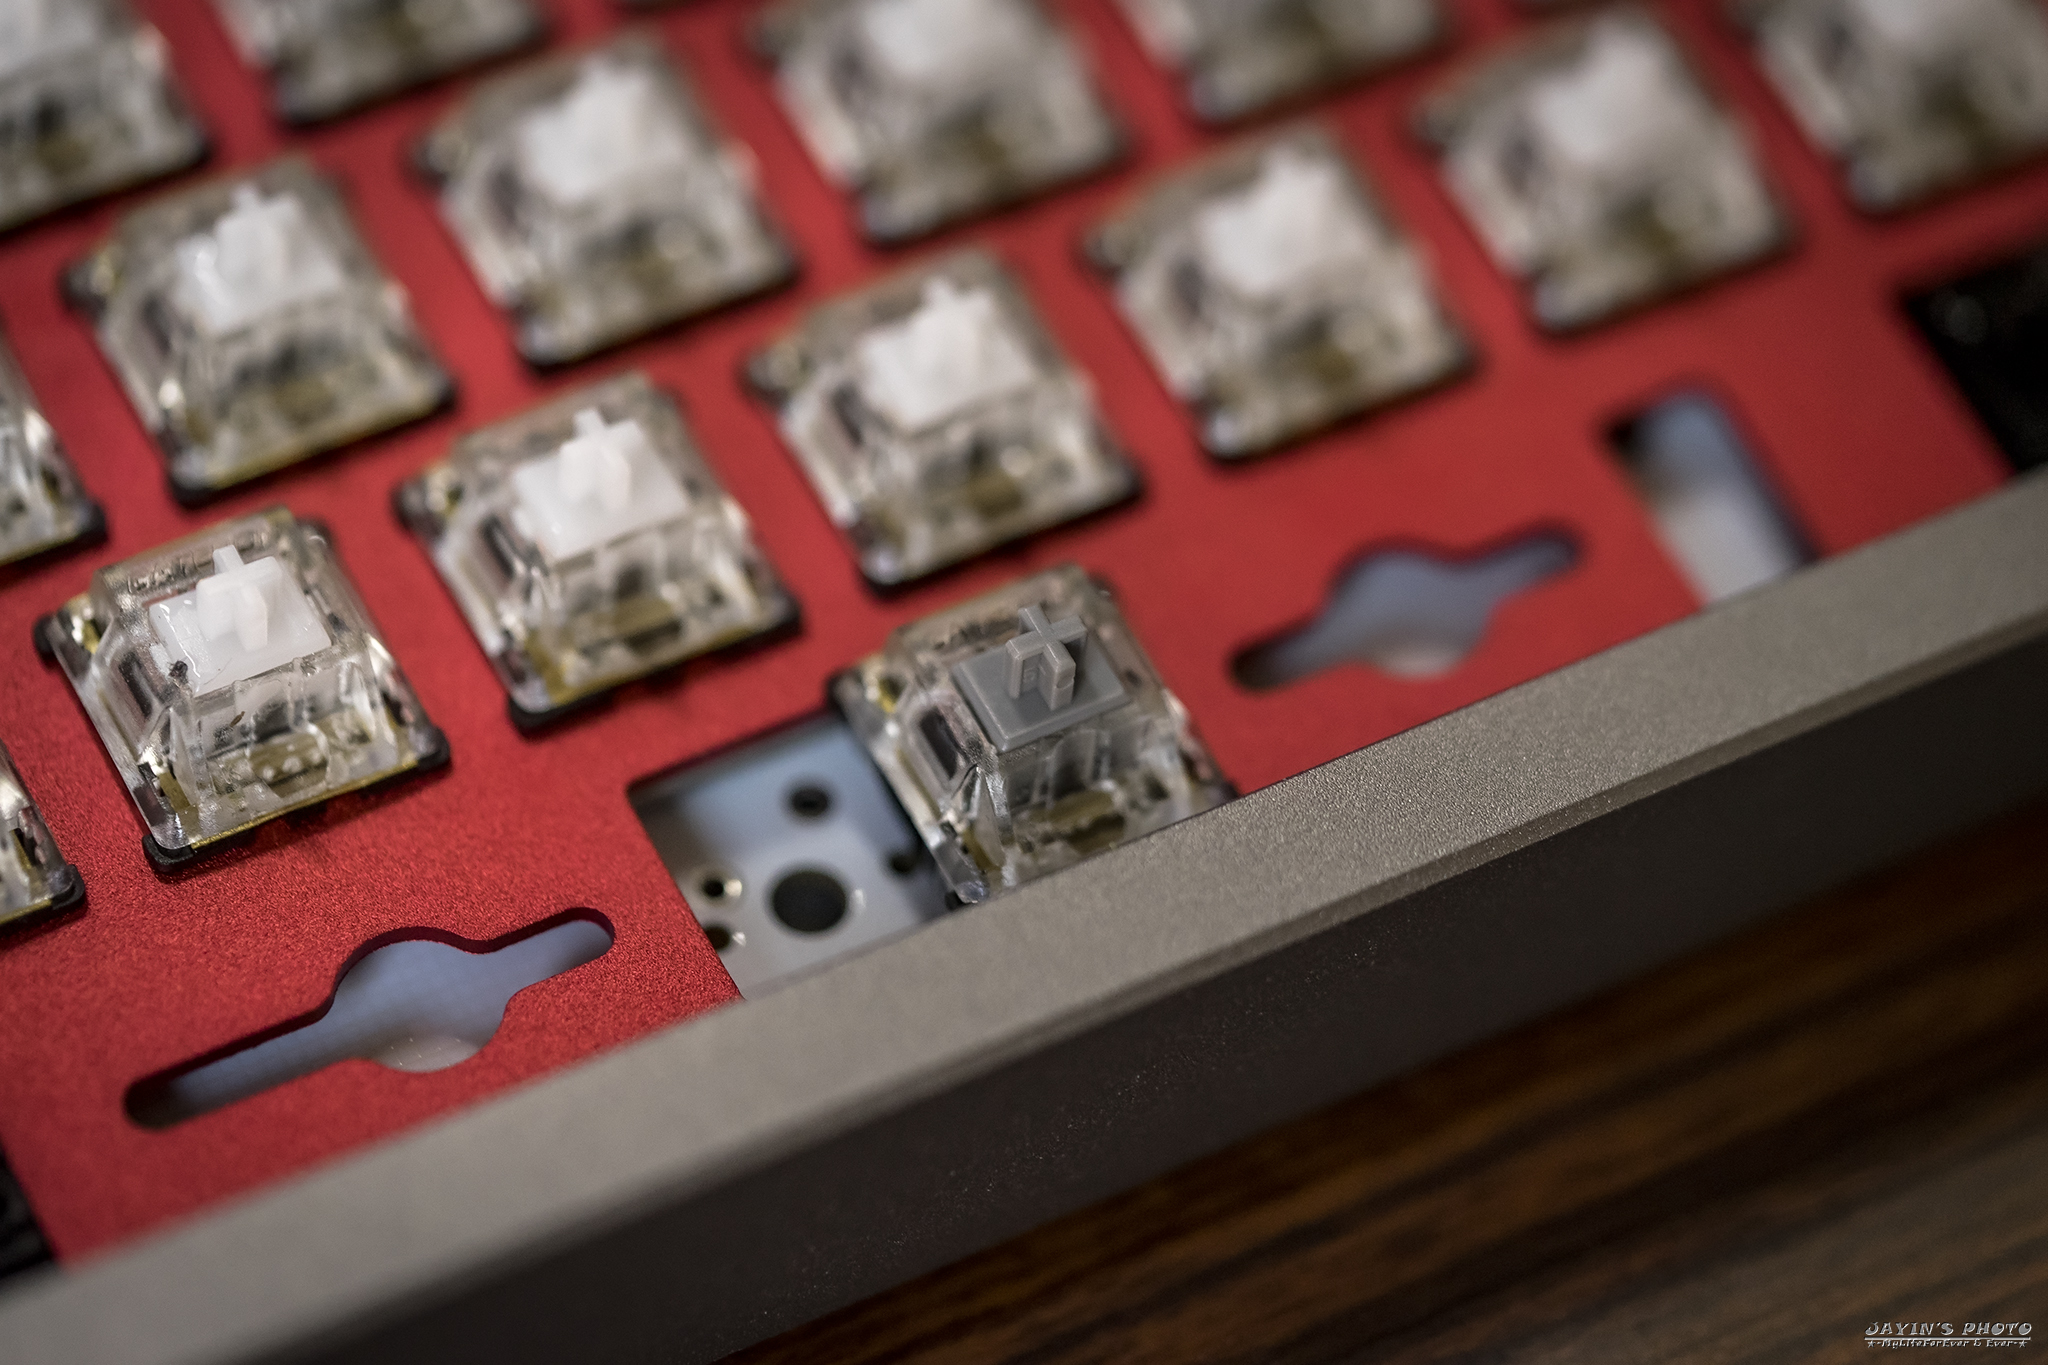
▼接著,是我要用來組的零件,包含Cherry五腳白軸、orginativeco的67g彈簧,透明軸蓋、以及GMK螺絲衛星軸。
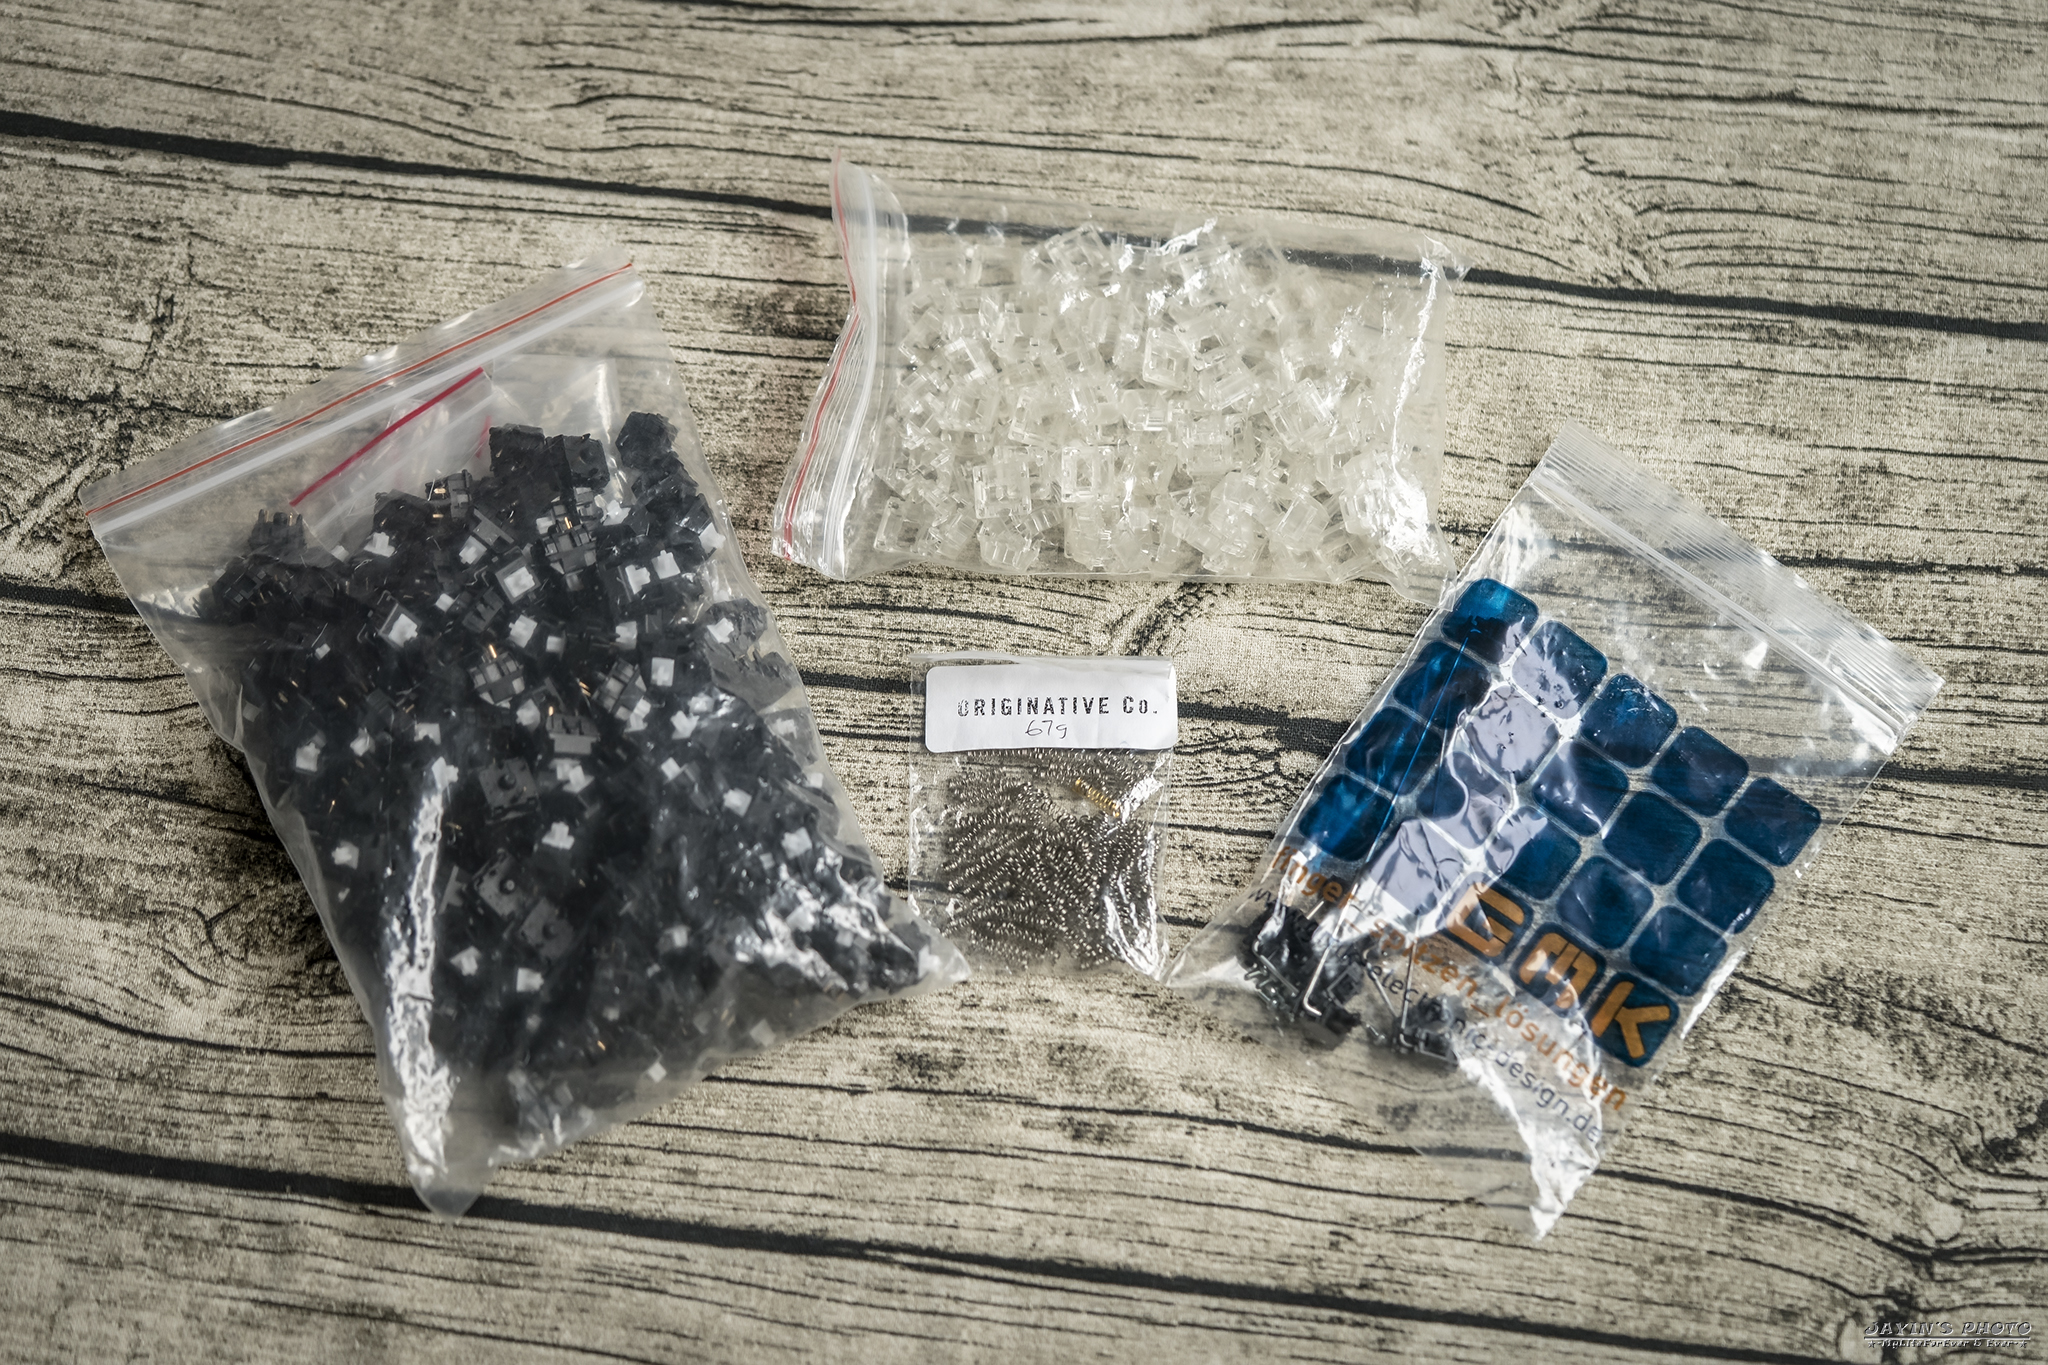
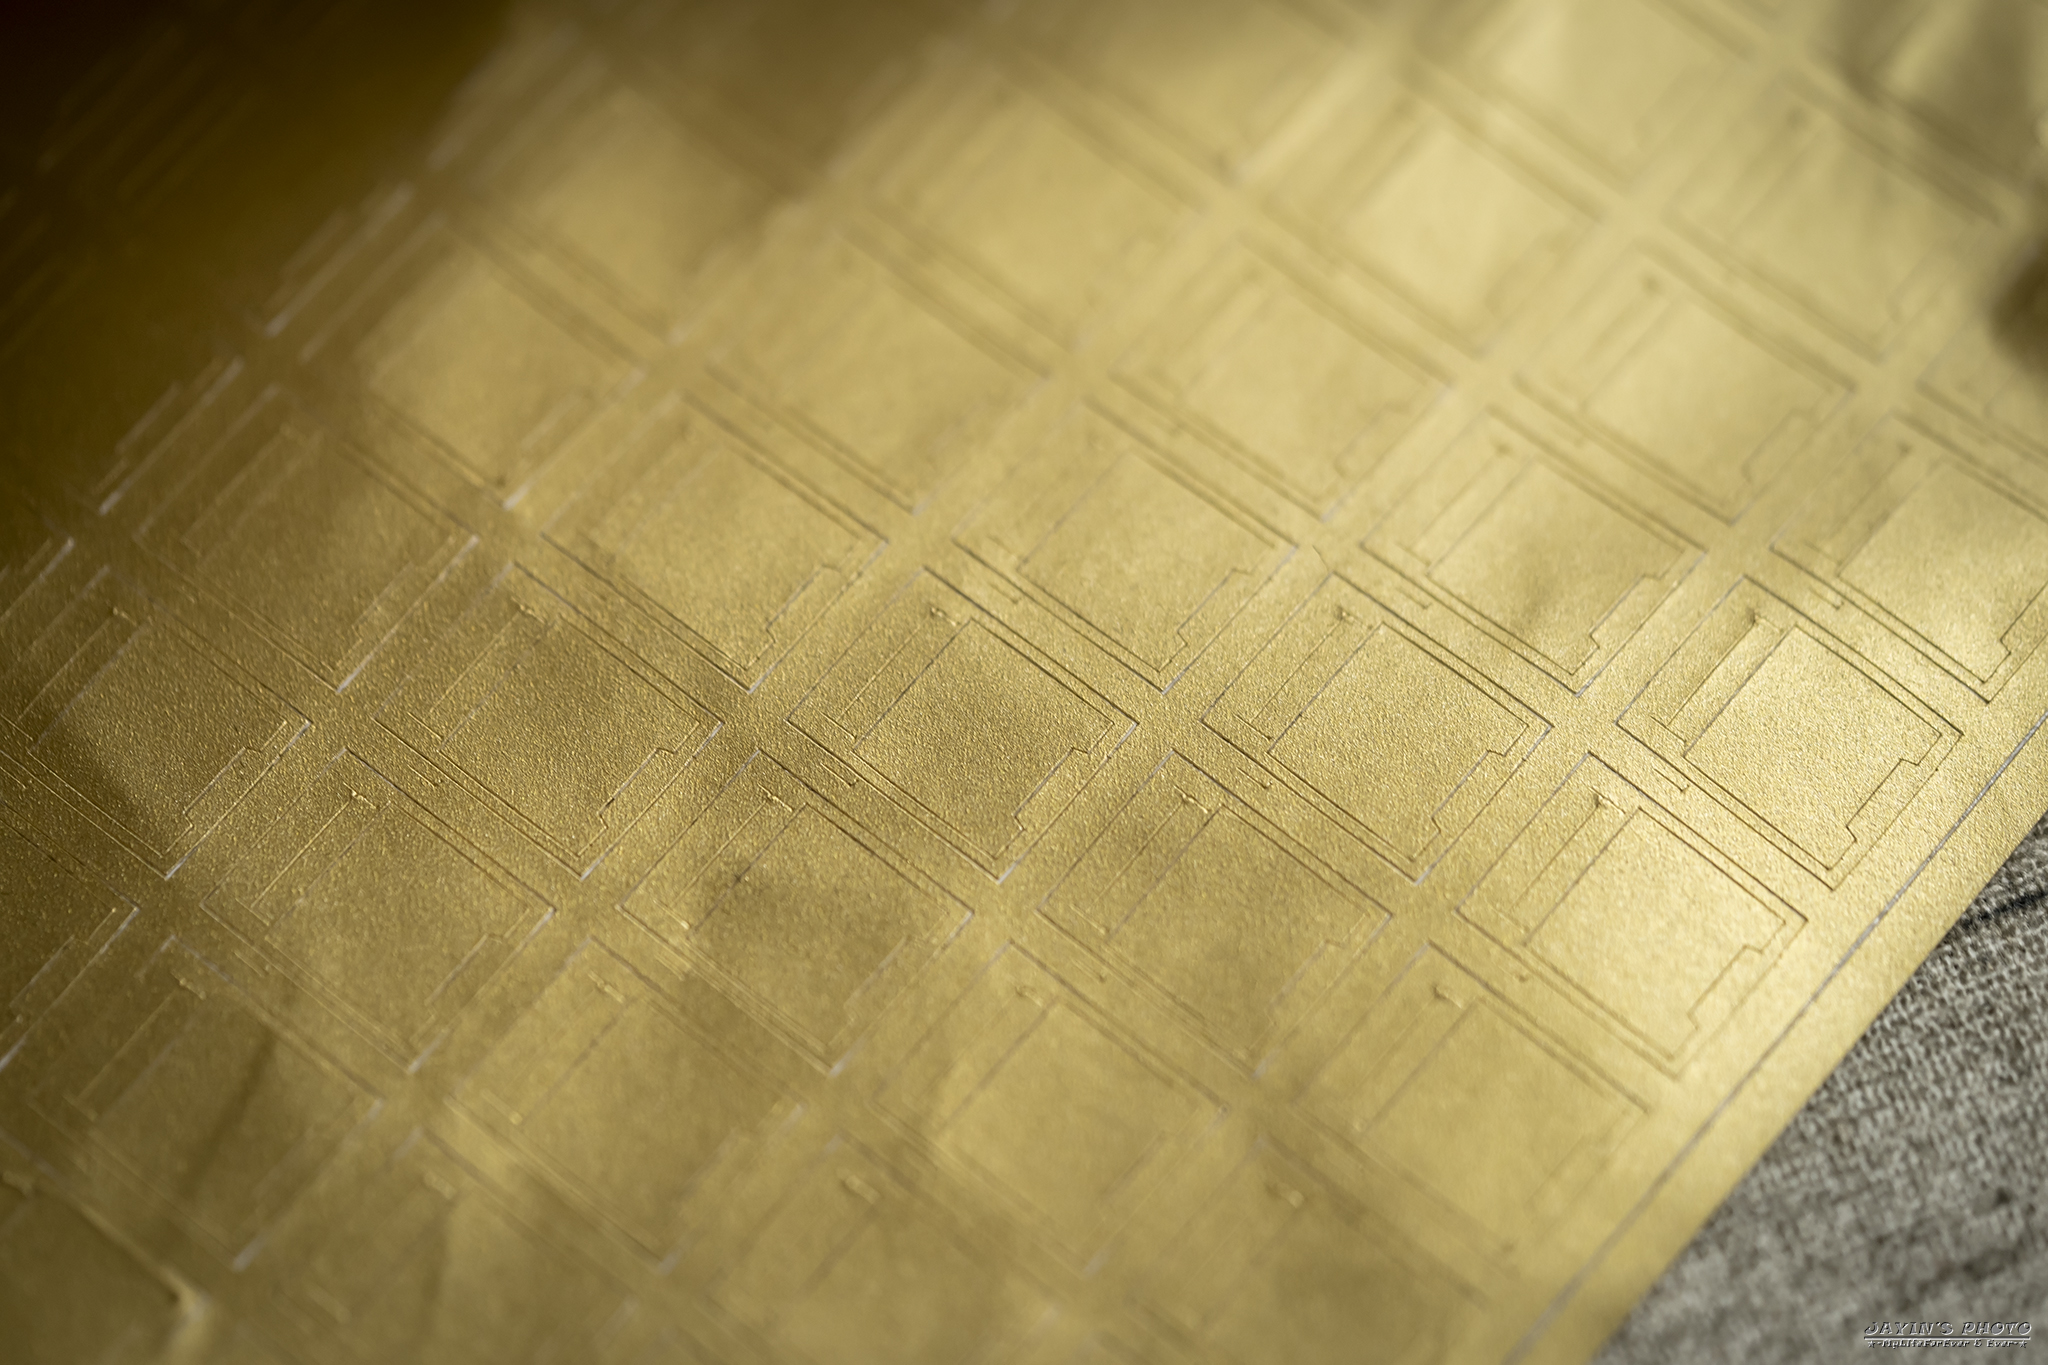
▼還有一項最麻煩又逼格的東西 - 軸間紙。
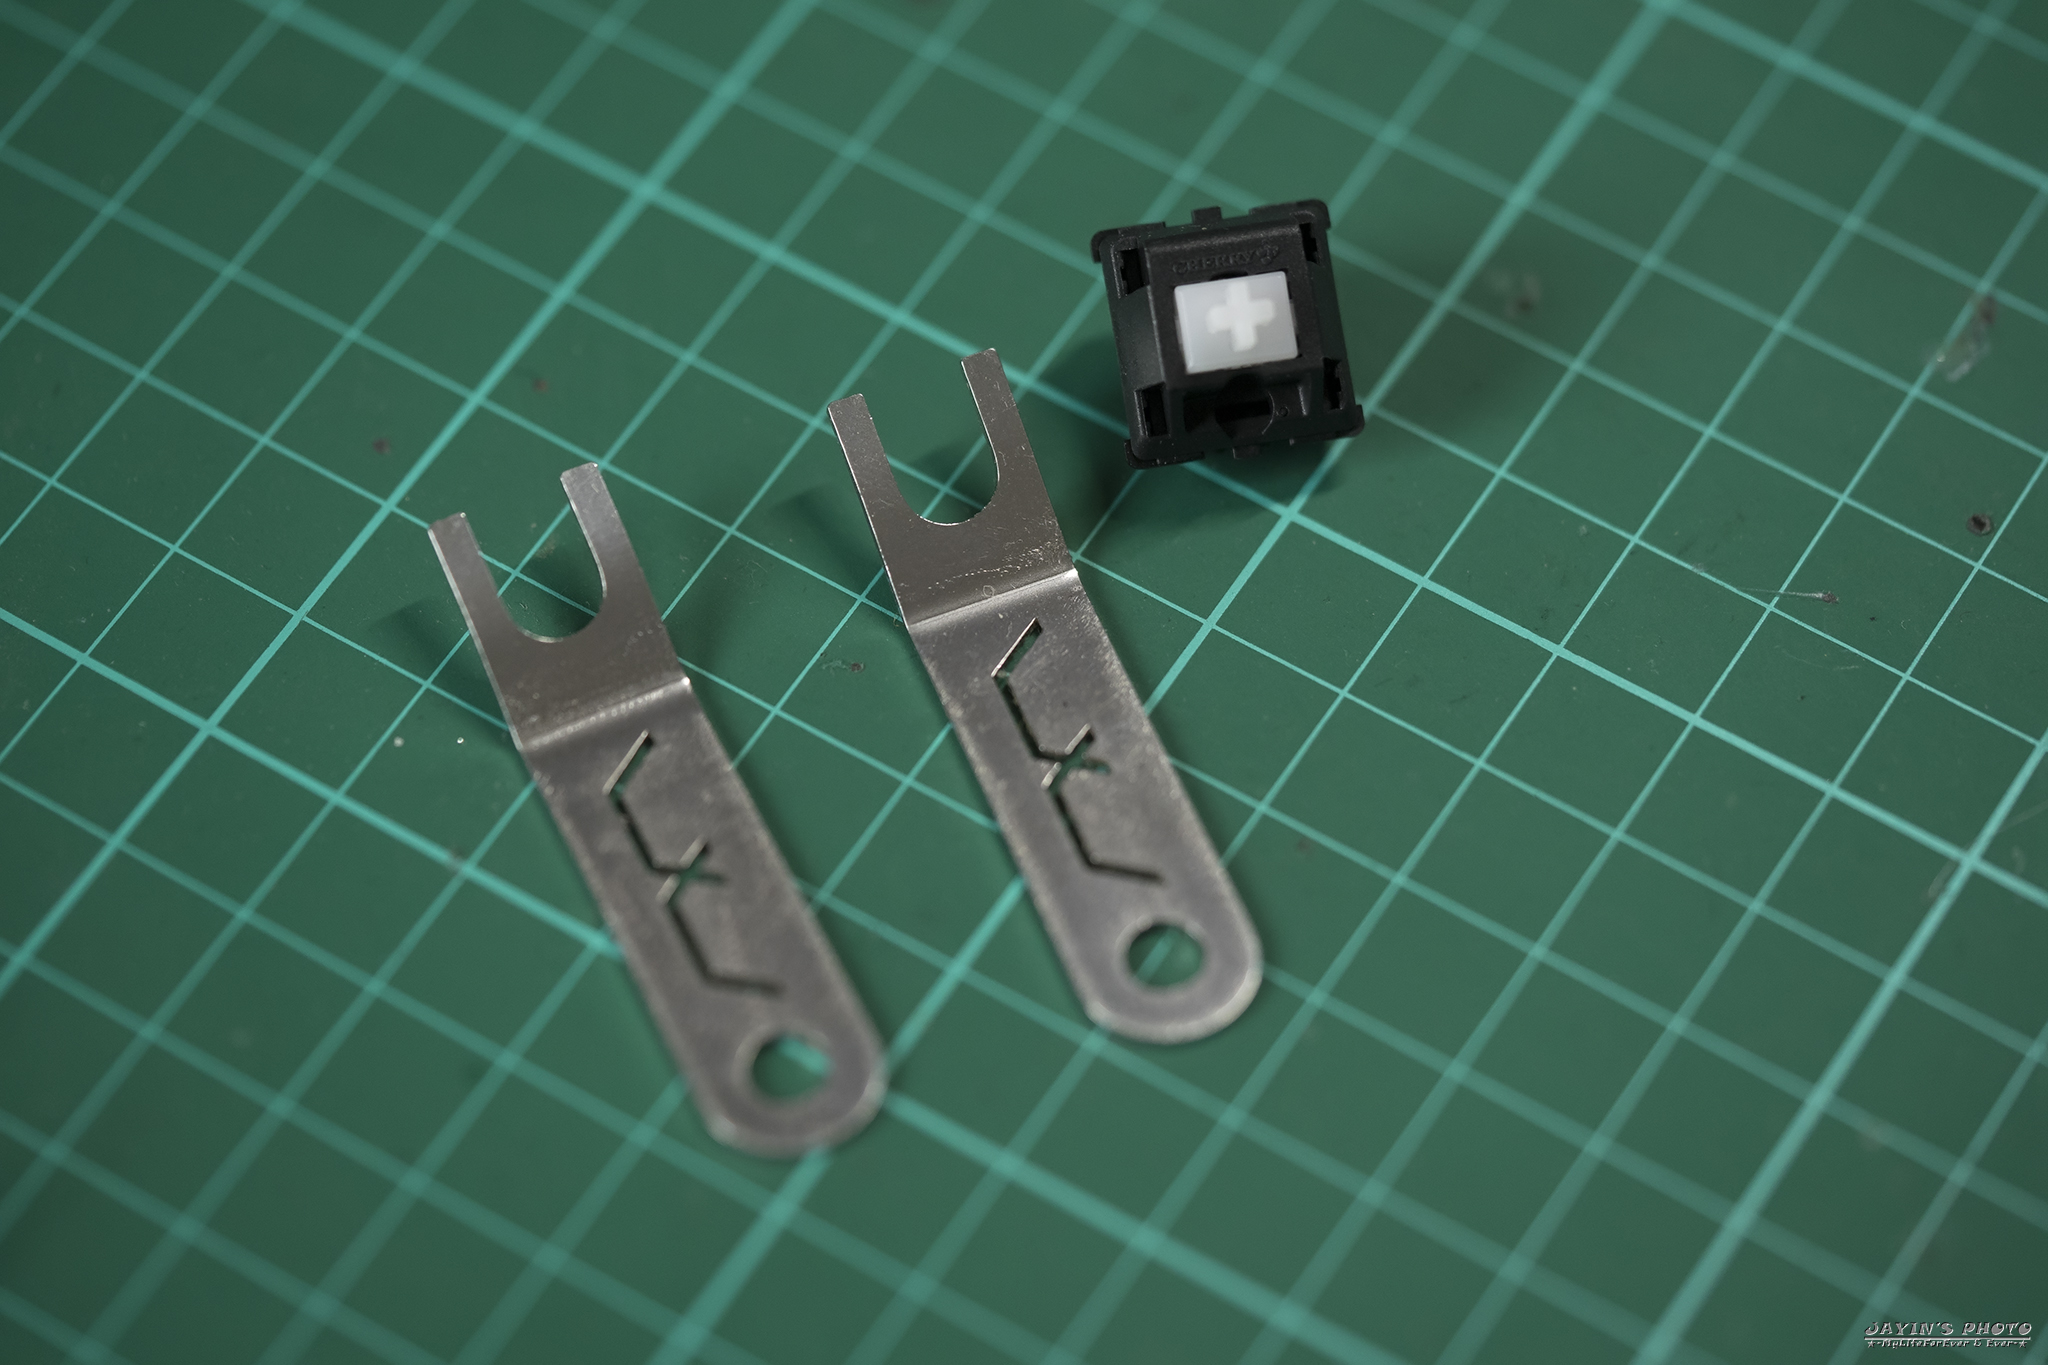
▼再次出動拆軸器
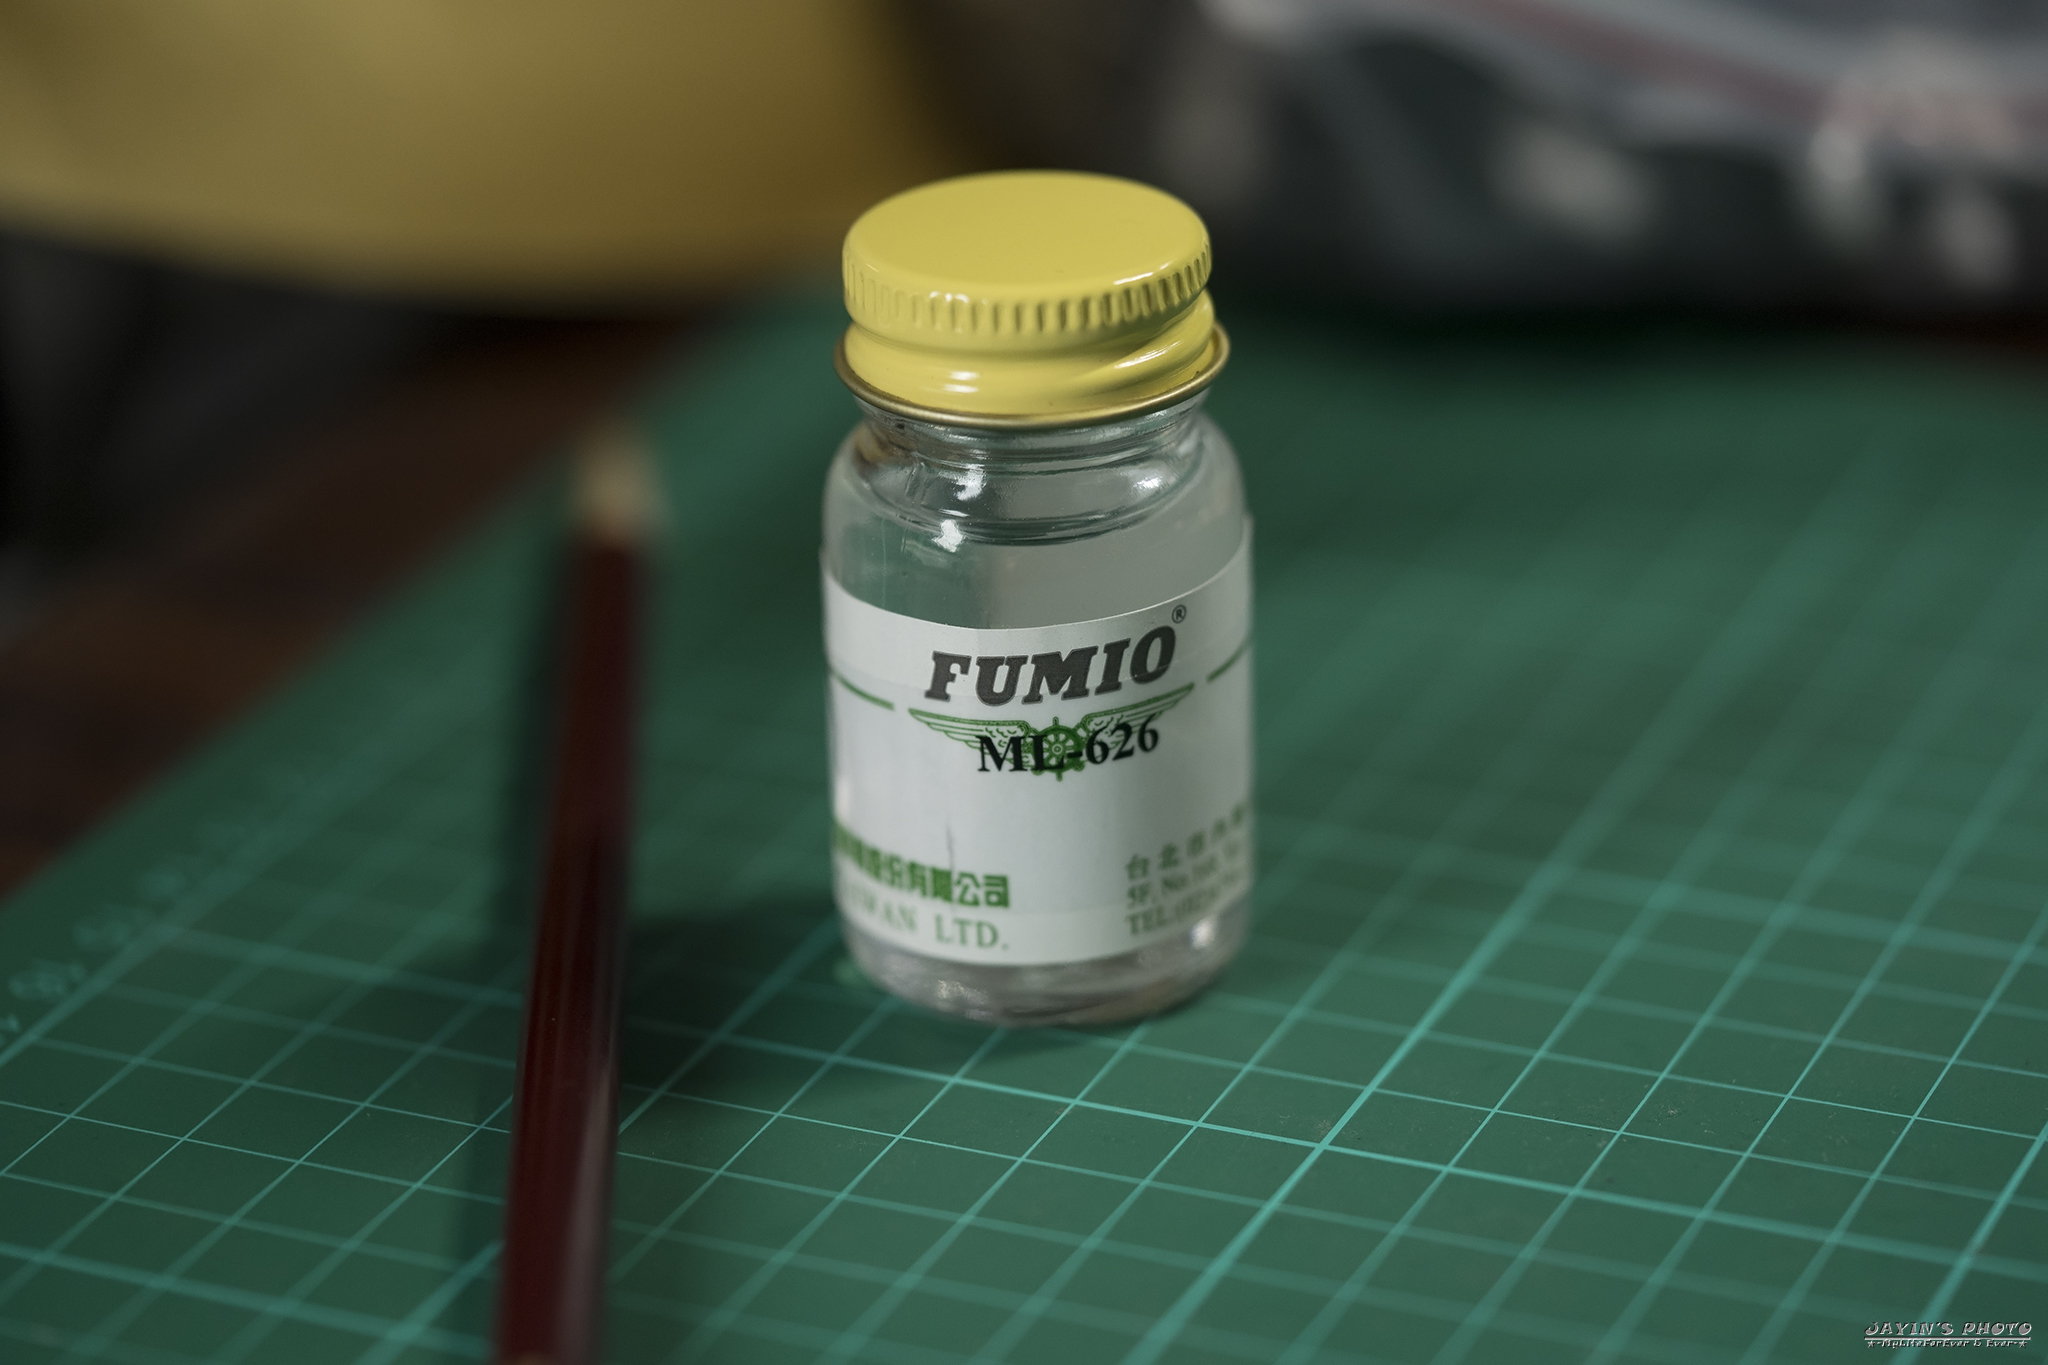
▼潤滑用神油!
▼準備工作完了!
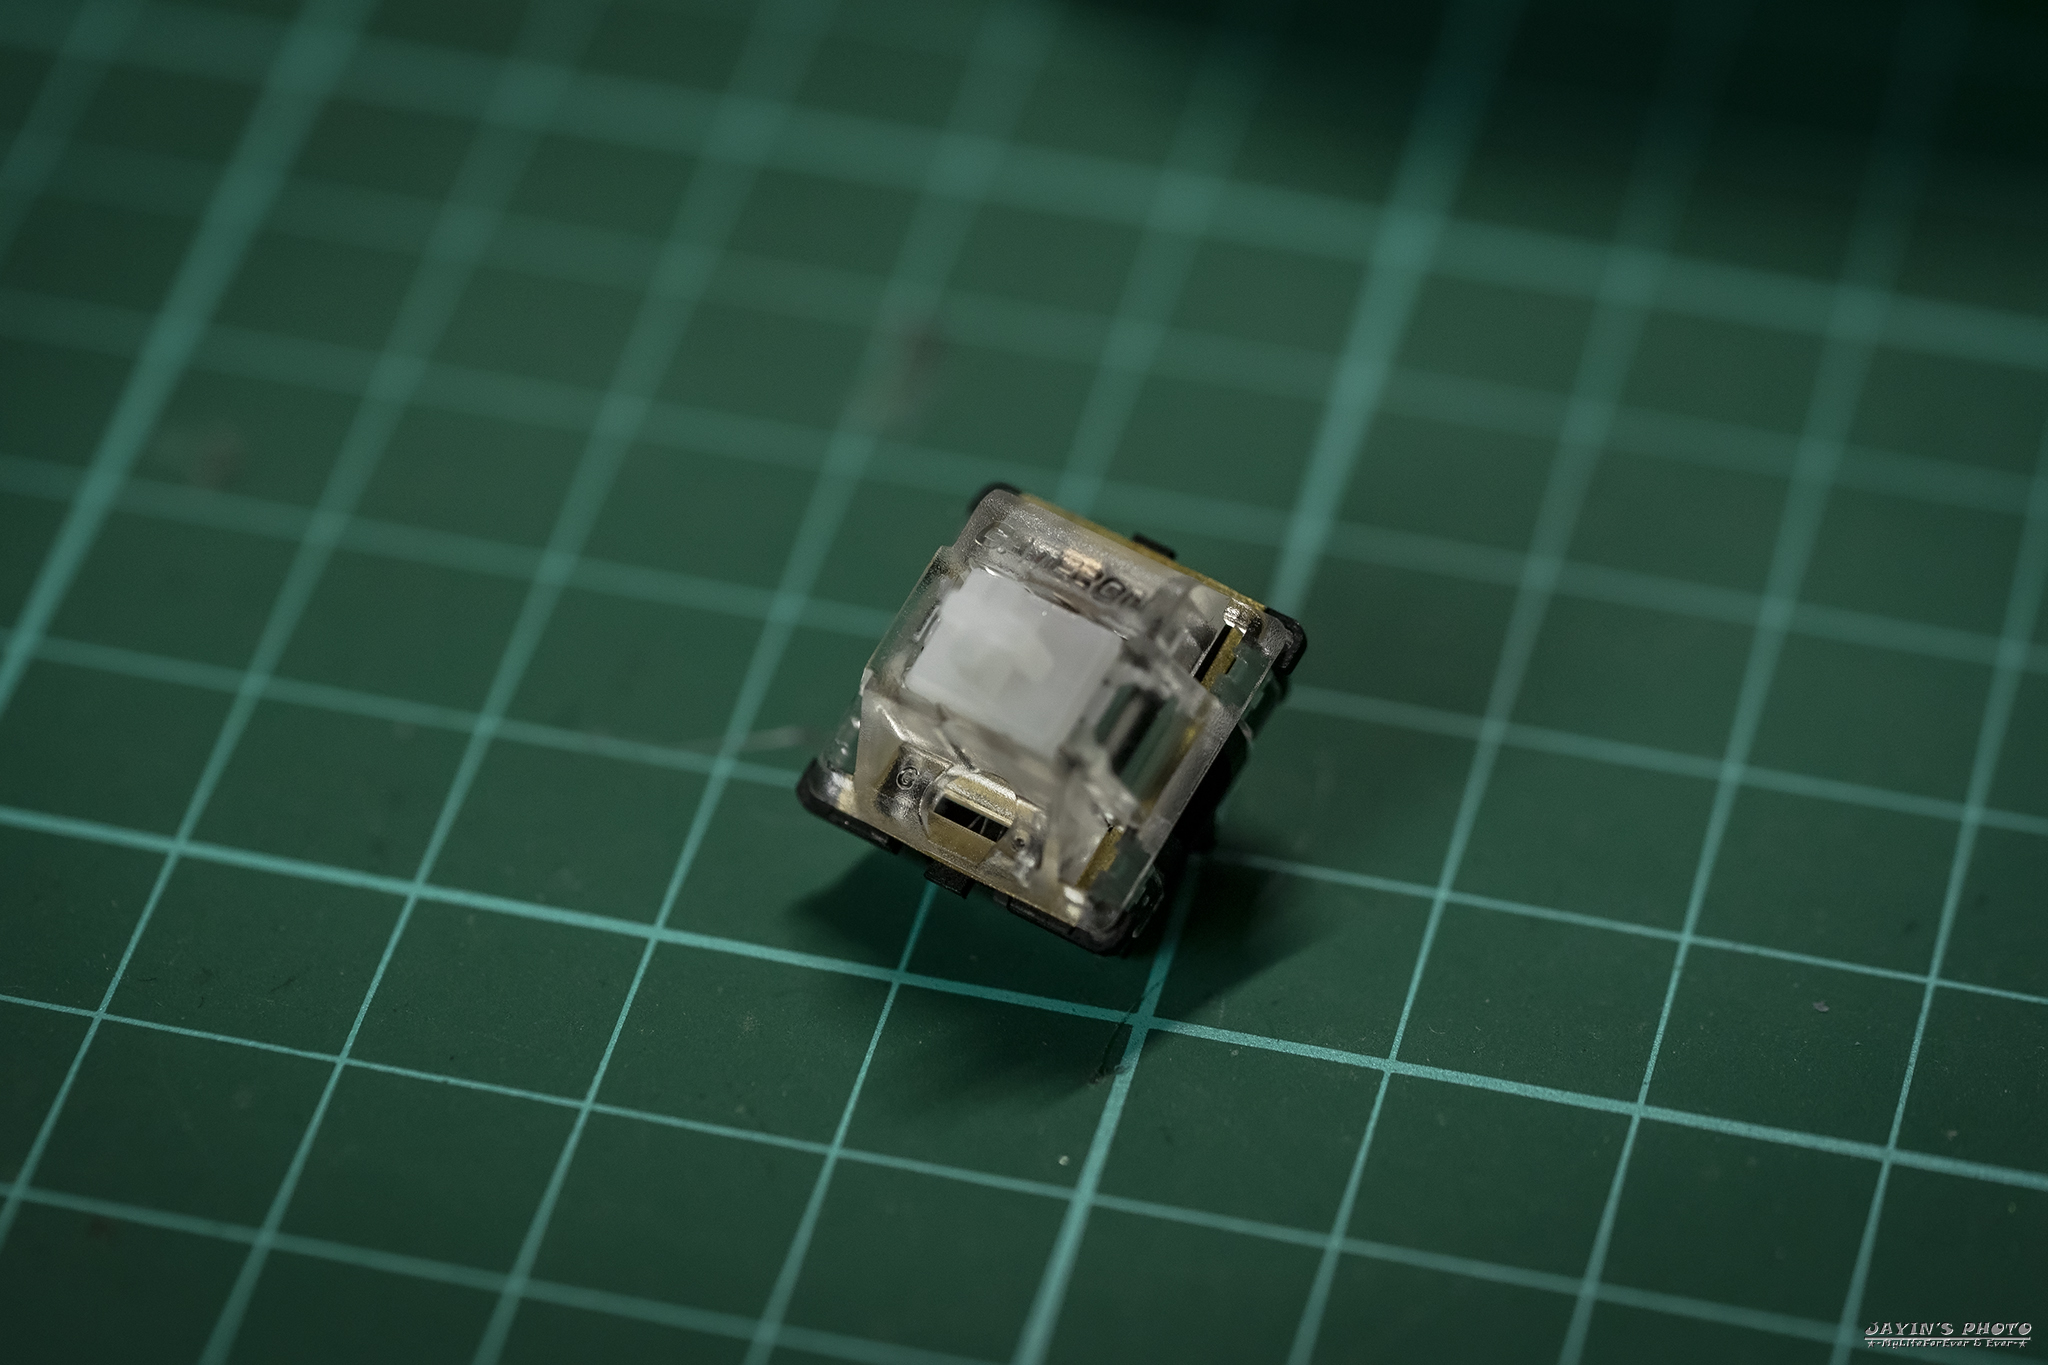
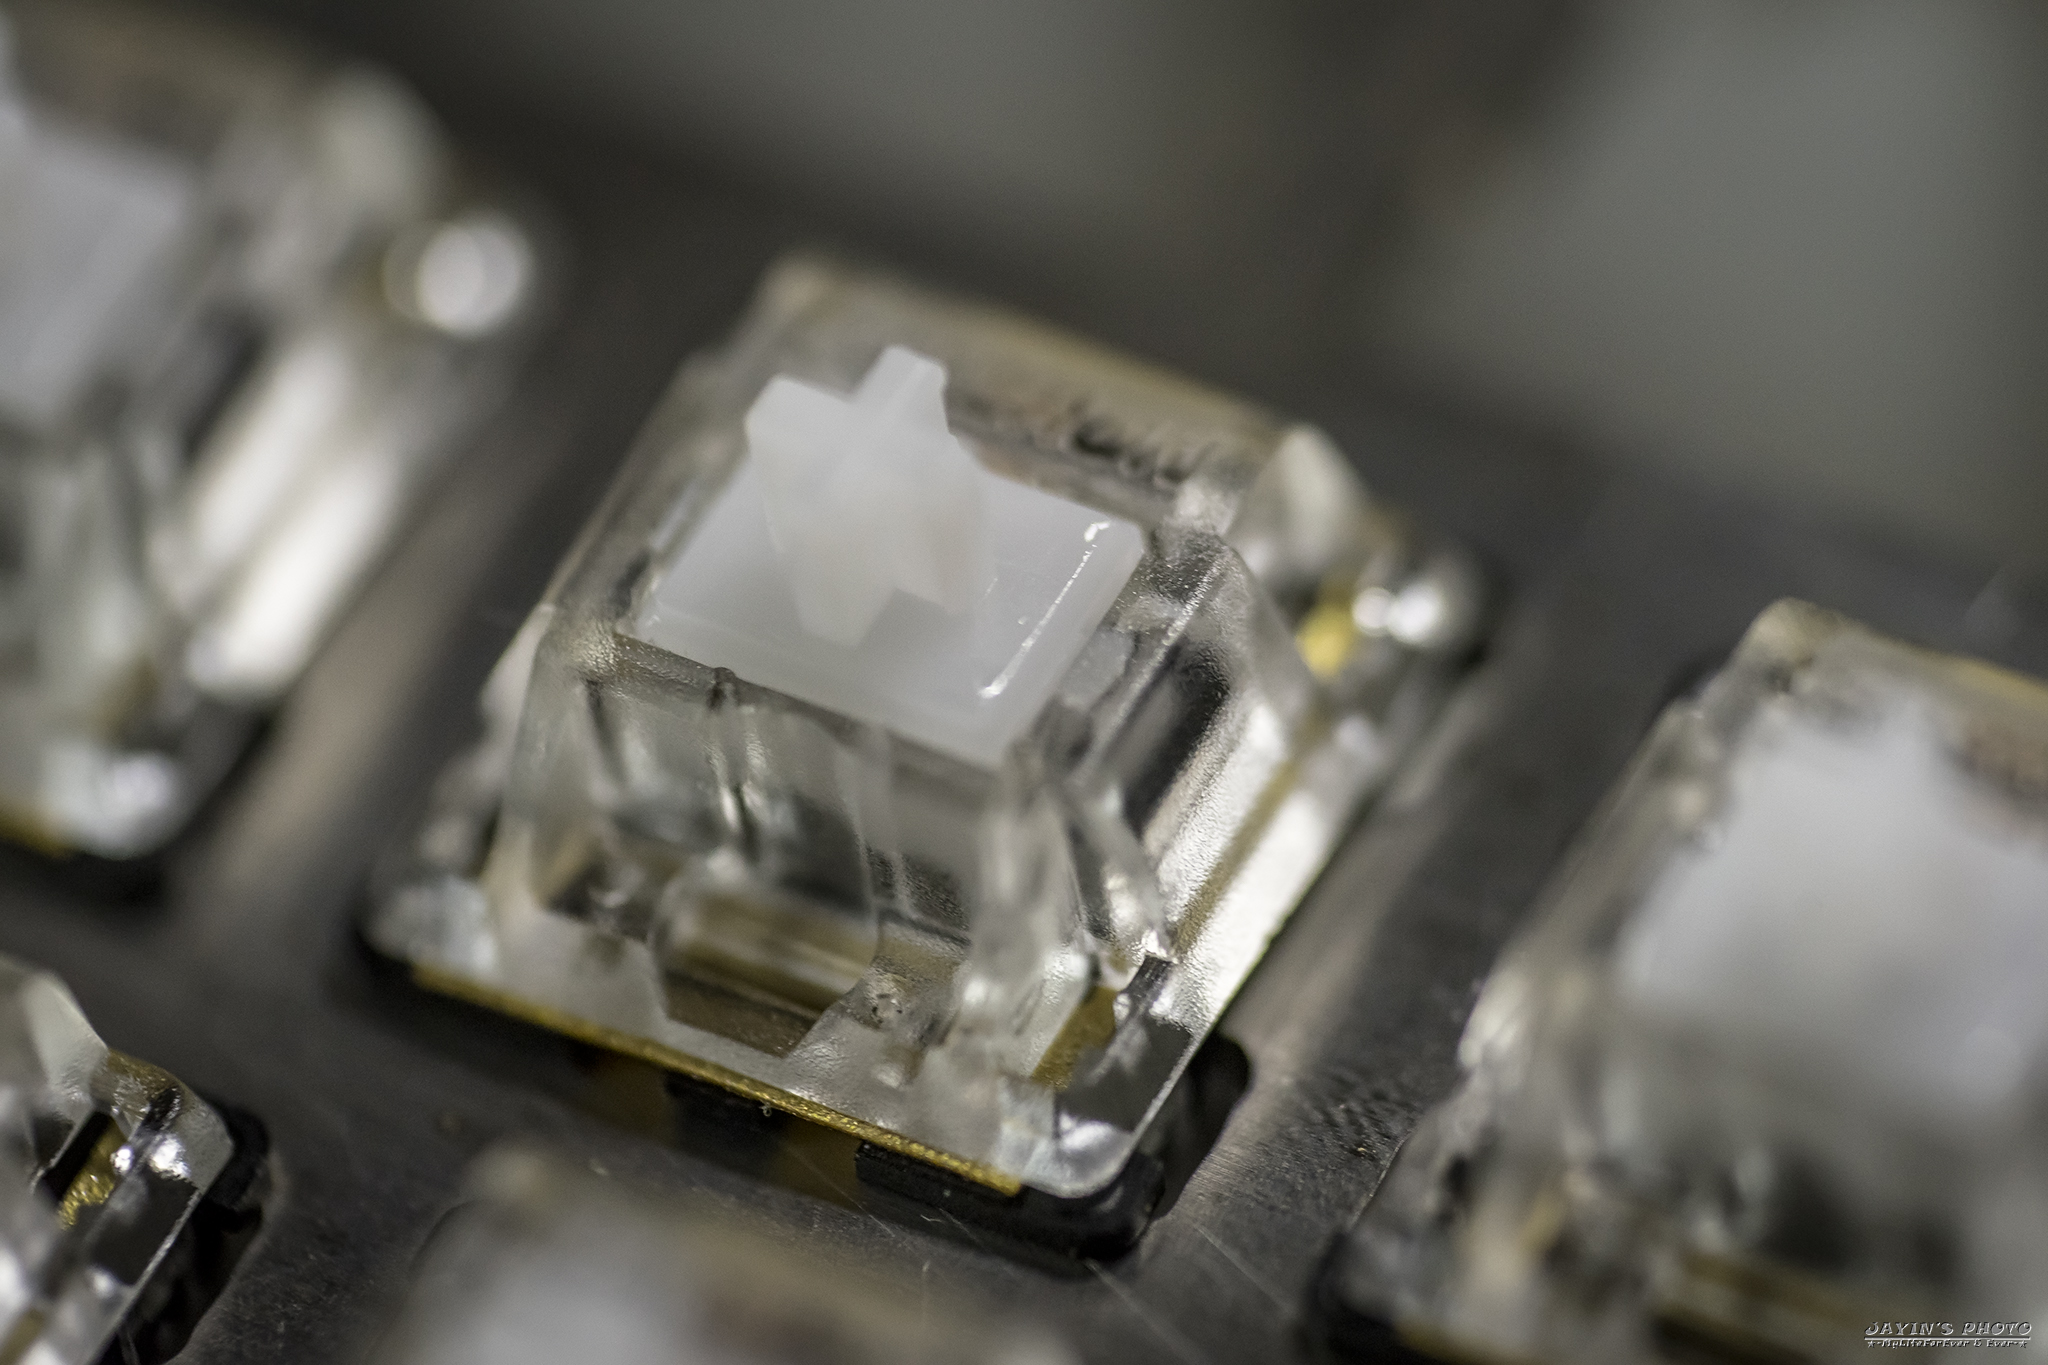
▼先試改一顆,改完如下圖。隱約可以看到軸蓋下面的金色軸間紙。
▼改軸地獄貌!我拿了沒在用的GH60底殼跟不銹鋼定位板來當改軸板
改軸是很累的一件事,這比起去軍團把Filco改有段灰還累好幾倍,要改之前記得先回家問一下爸爸。
▼金色軸間紙就是黏在軸座上,用來防塵,但我個人覺得只是看起來比較逼而已XD
白軸軸心是主要潤滑的對象。彈簧要不要潤滑就看個人。
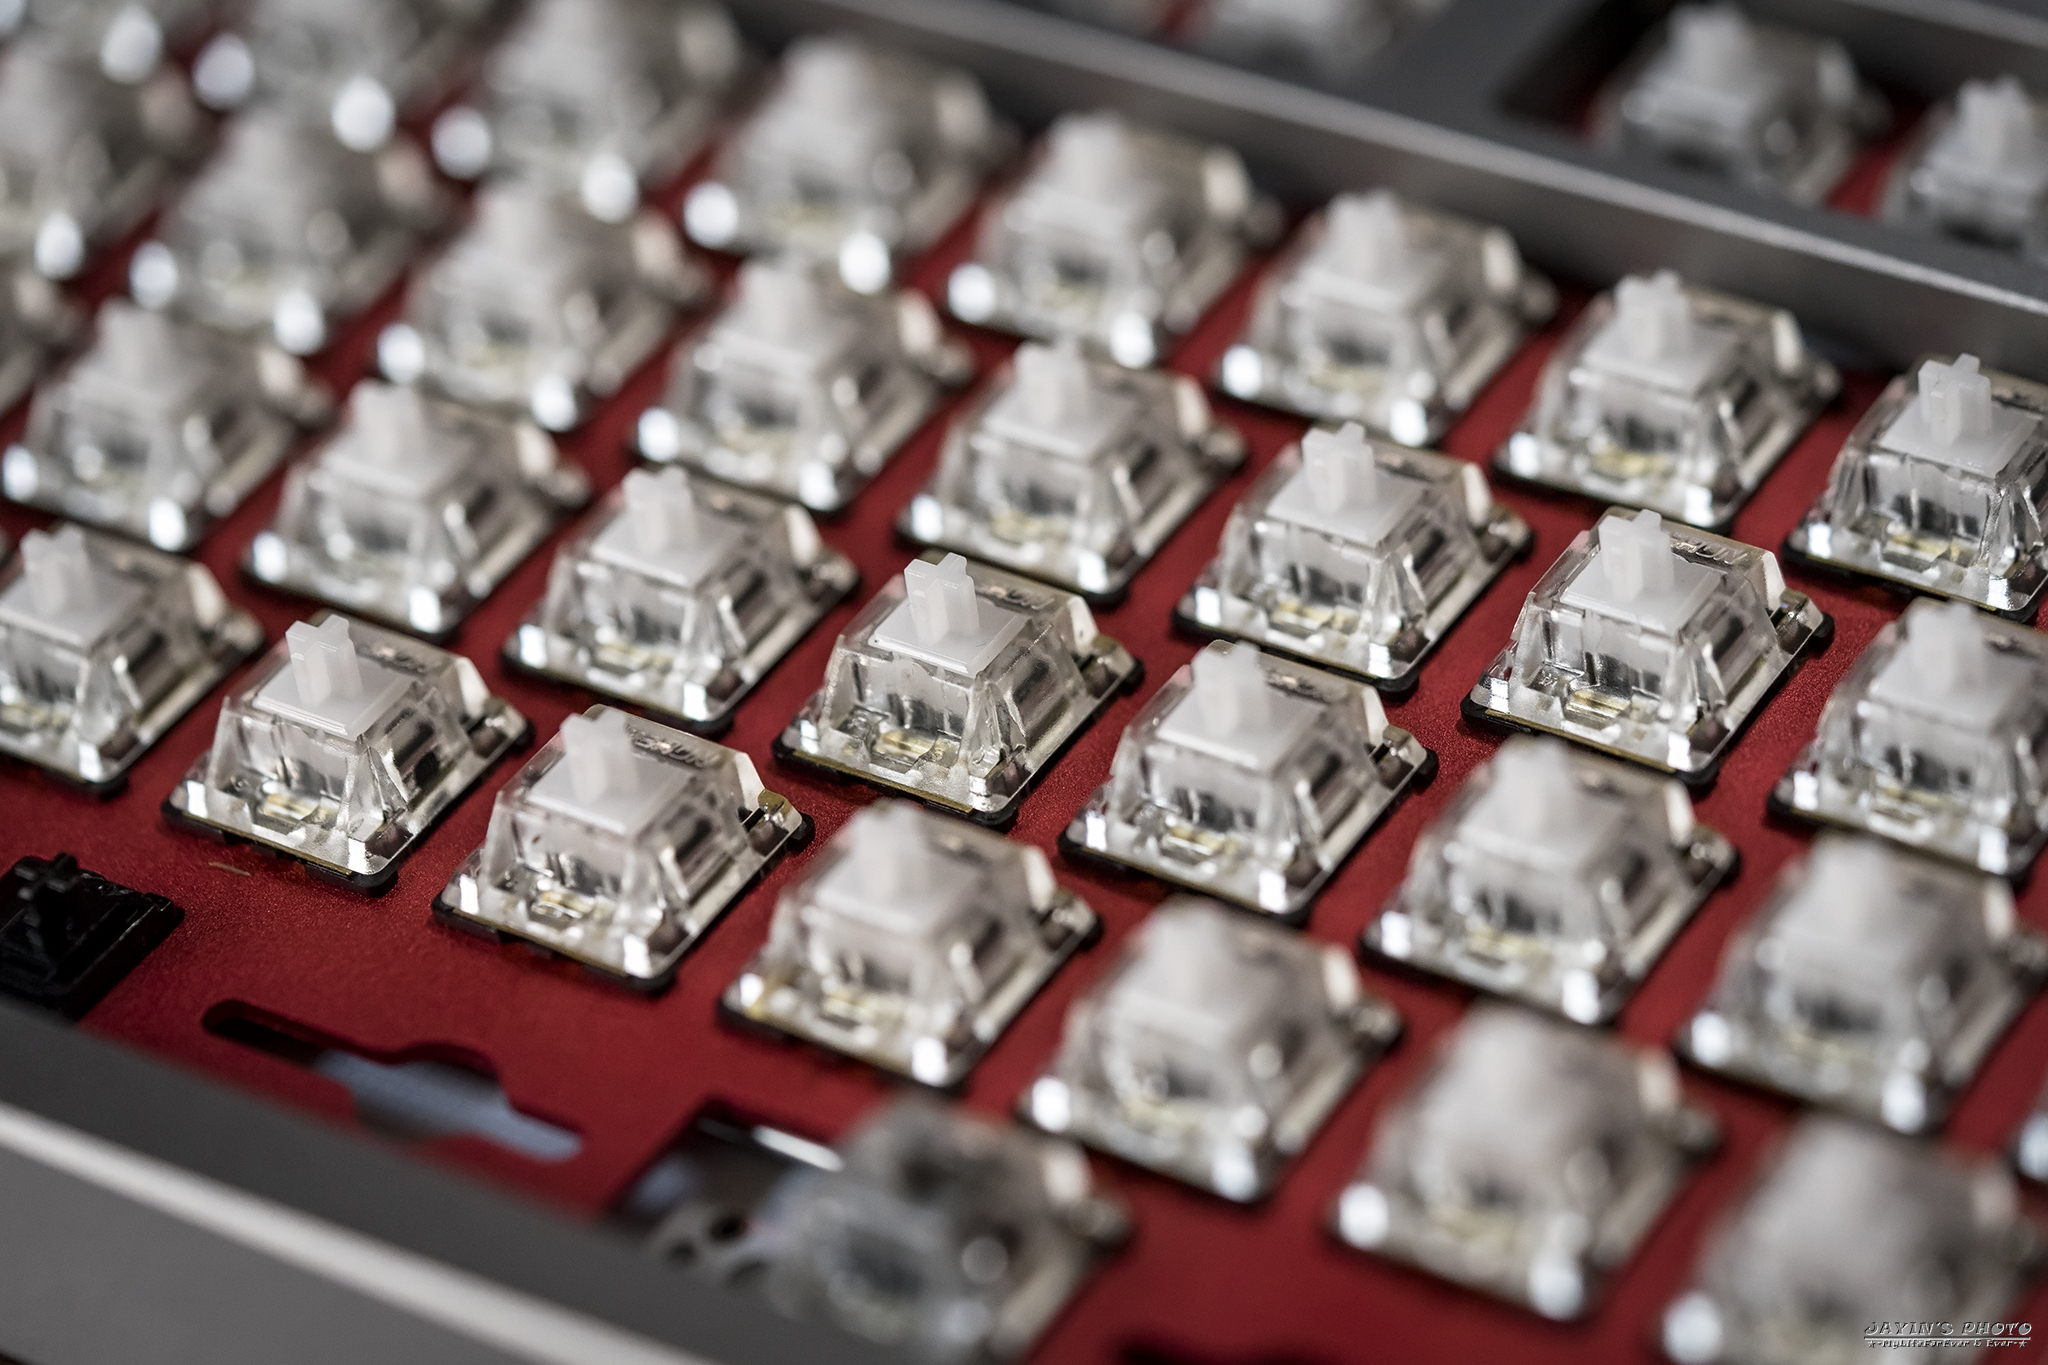
▼改完後裝上透明軸蓋,目前透明軸蓋比較容易取得是Gateron做的,
我這料是很早的版本,要注意的是有很小的機率可能會使軸無法觸發,我組了一把80%一把60%
共遇到2顆無法觸發,解決方法就是再換一個透明軸蓋就好。
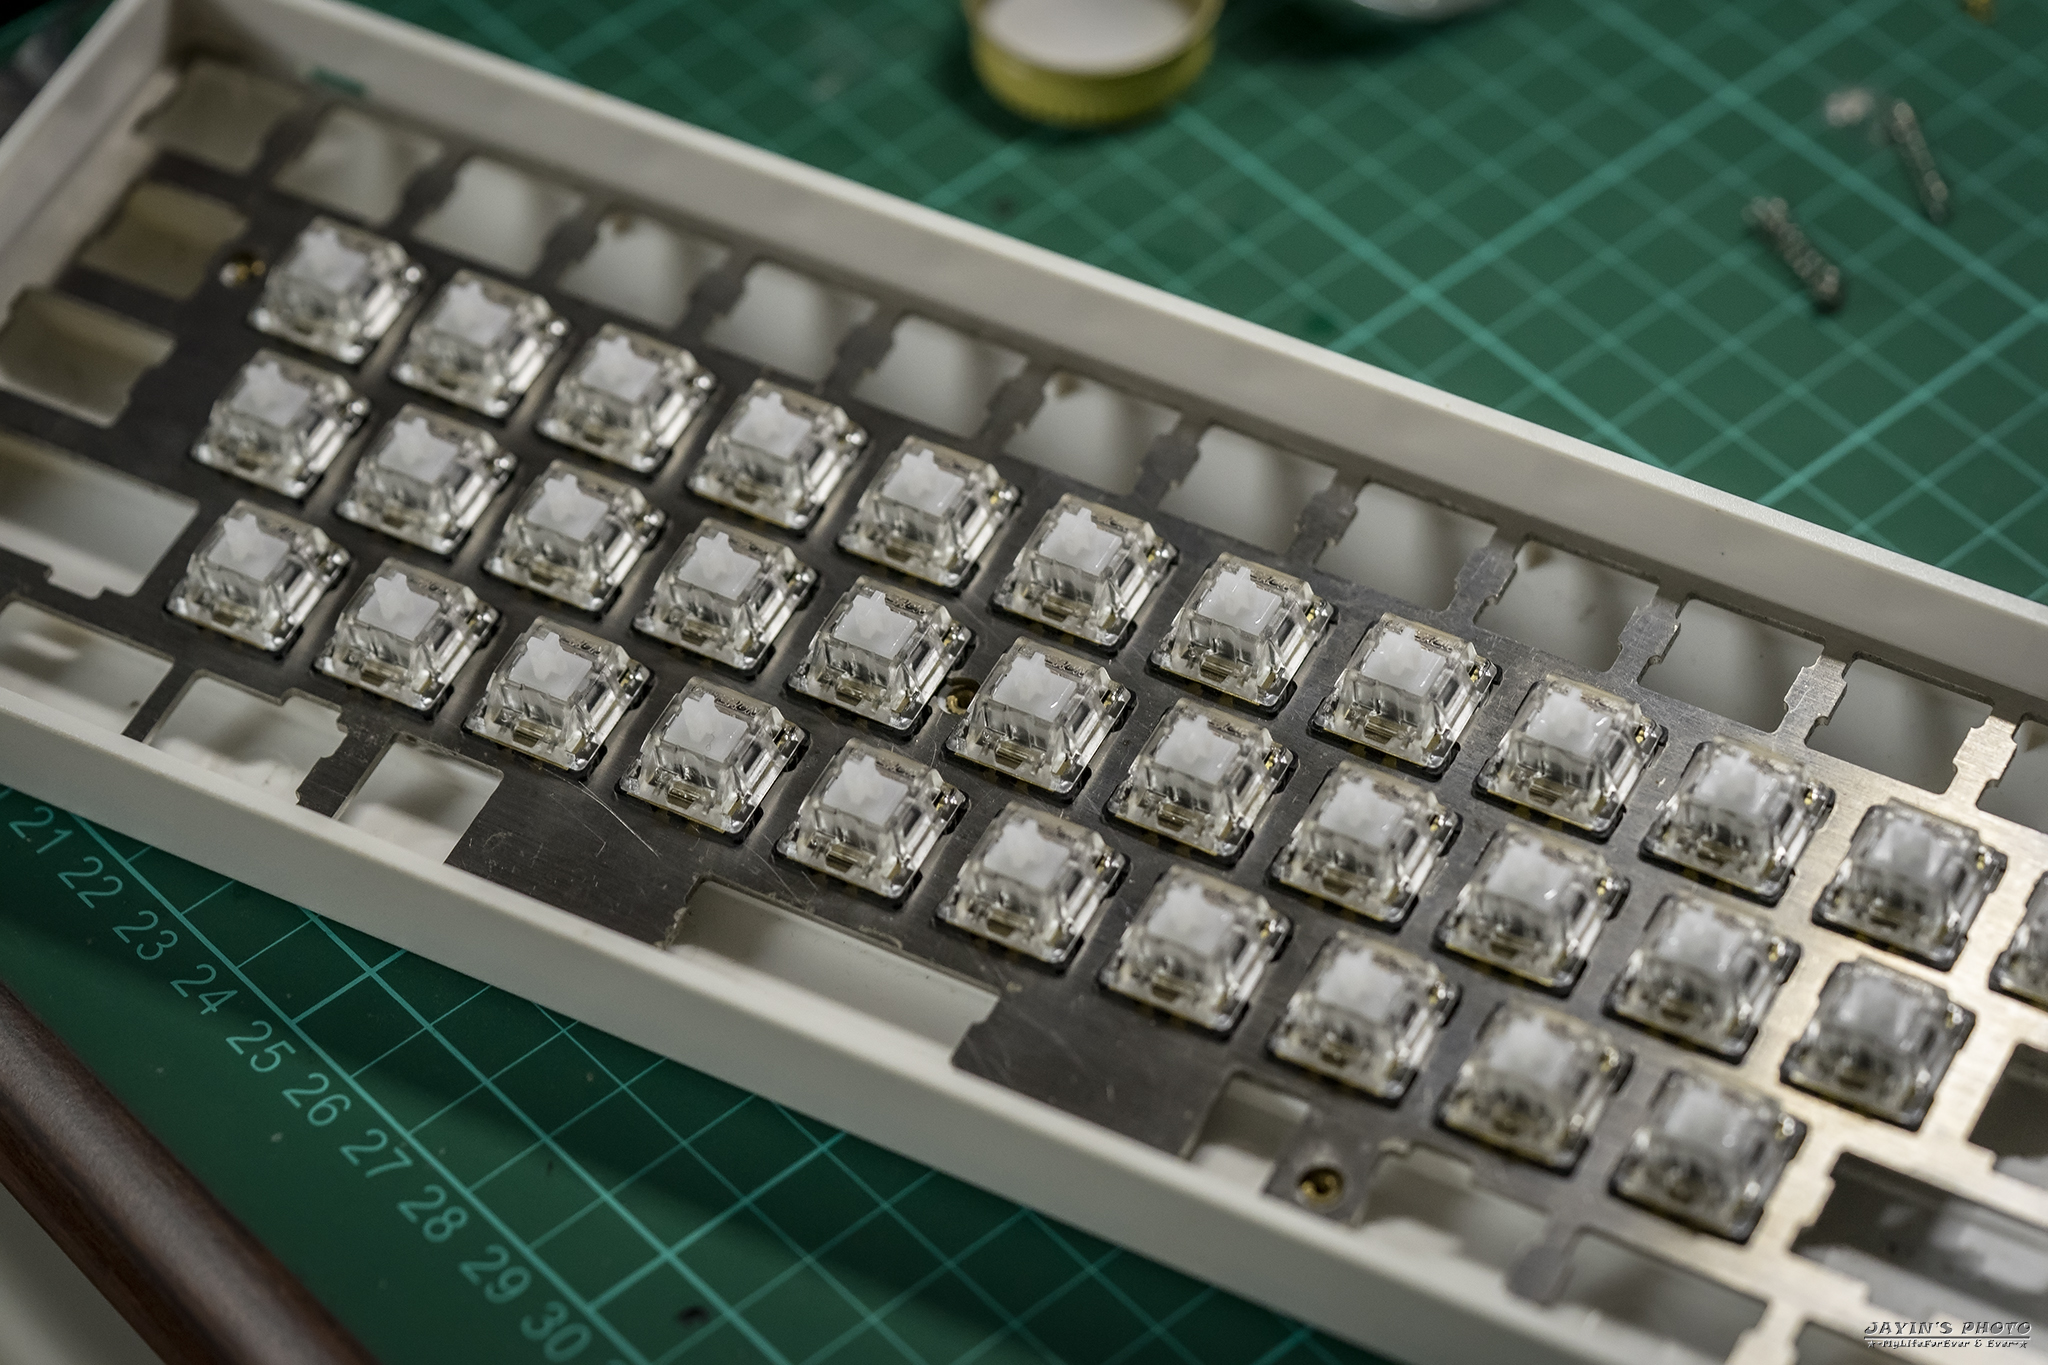
▼拍小東西微距鏡就派上用場了,這張可以很明顯看到改完的狀態。
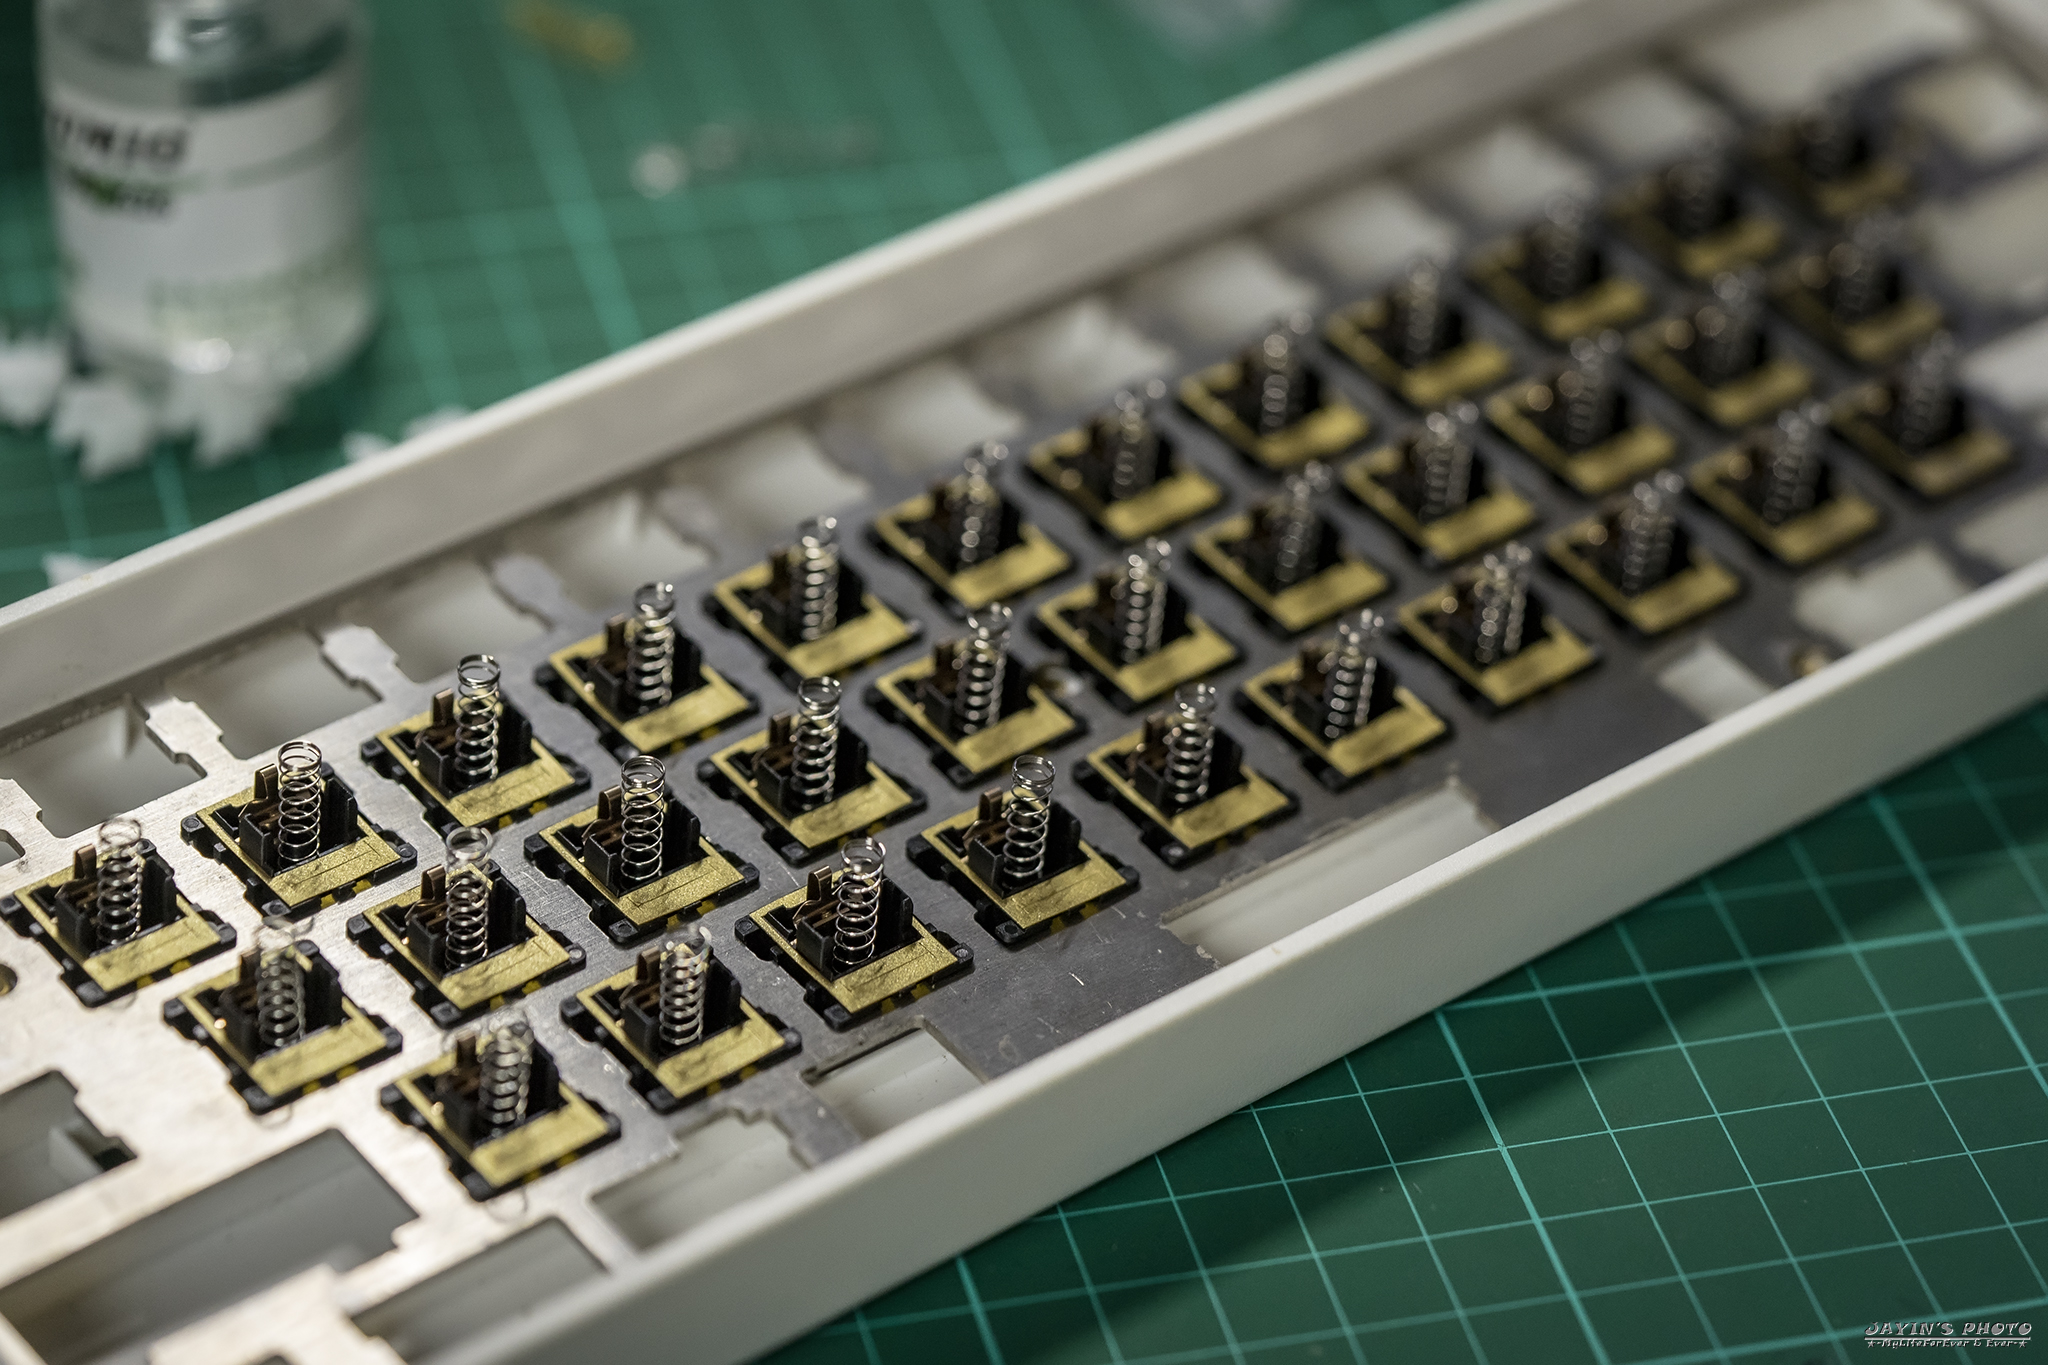
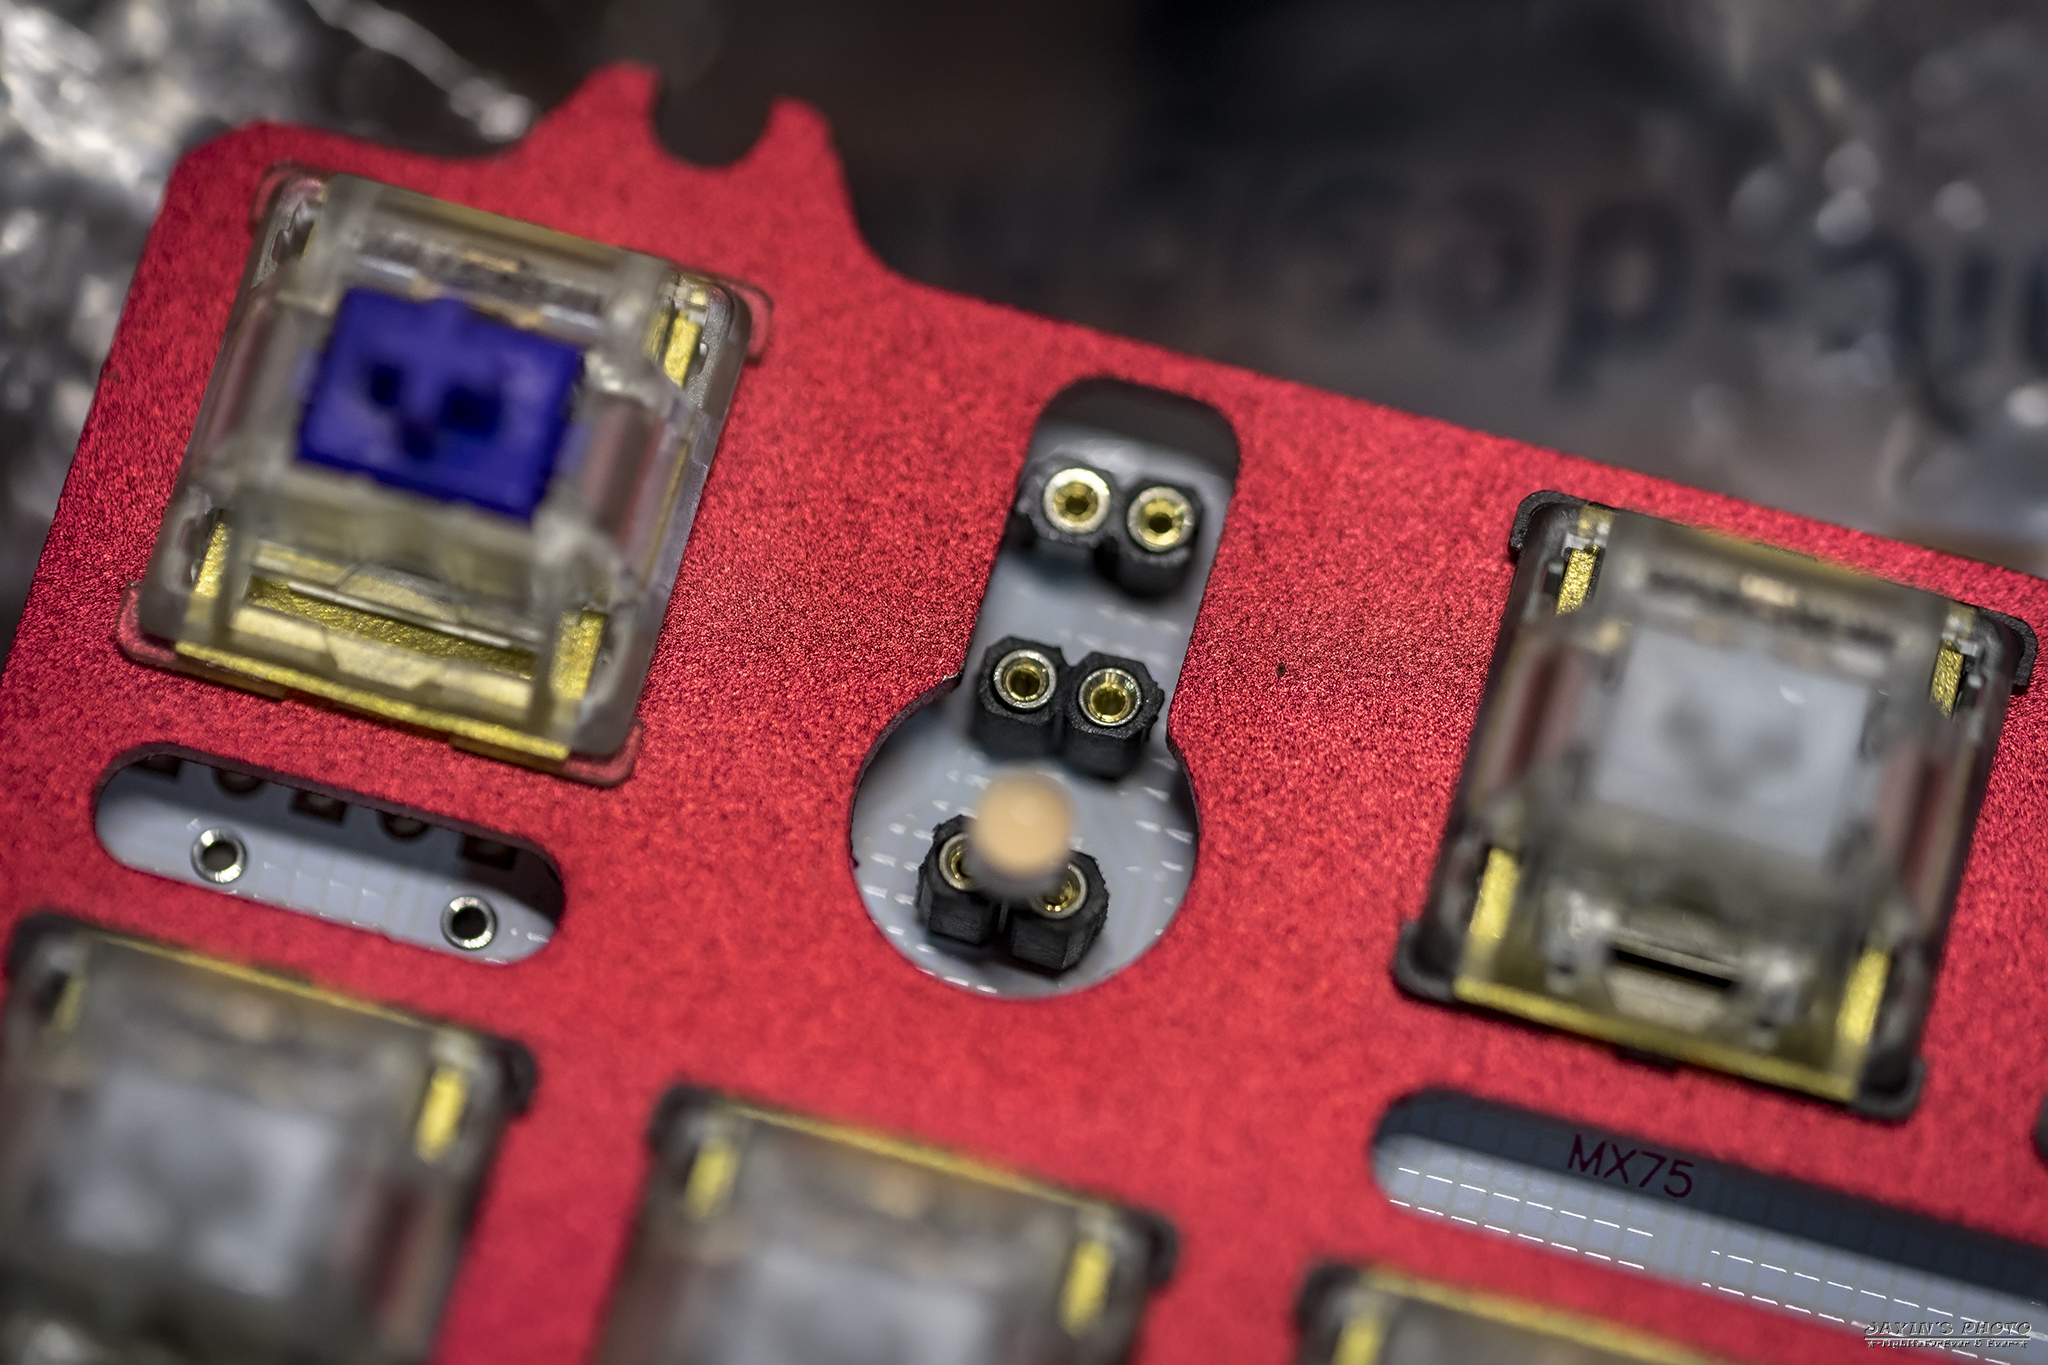
▼GMK螺絲衛星軸
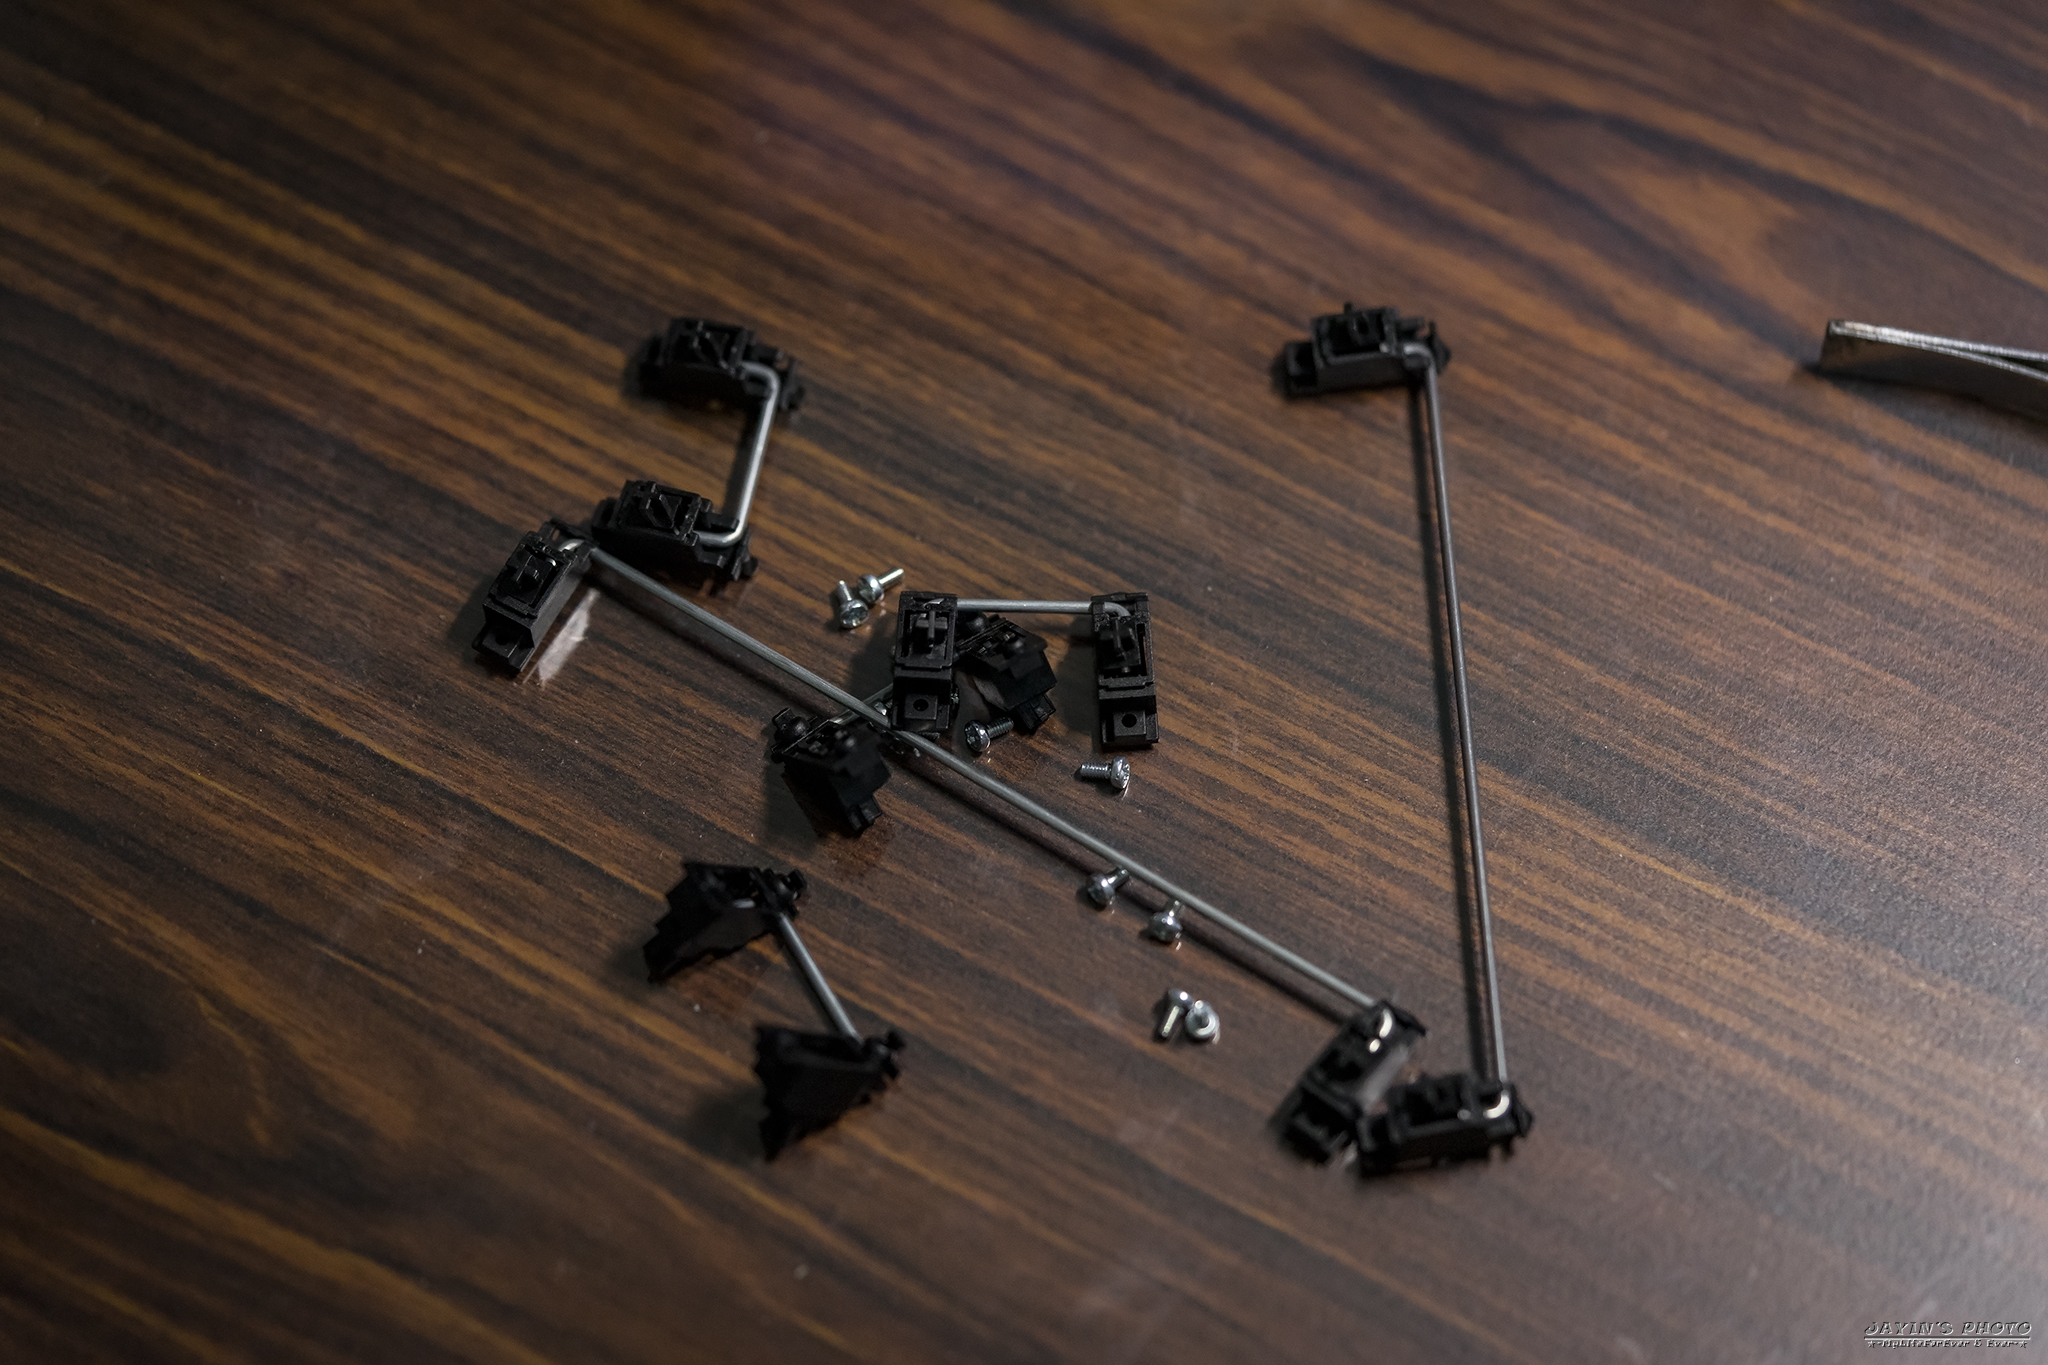
▼直接鎖在PCB上,再也不用擔心拔鍵帽時連衛星軸一起拔起來了。
▼定位板鎖到上蓋
▼均光板就位!均光板有保留螺絲孔
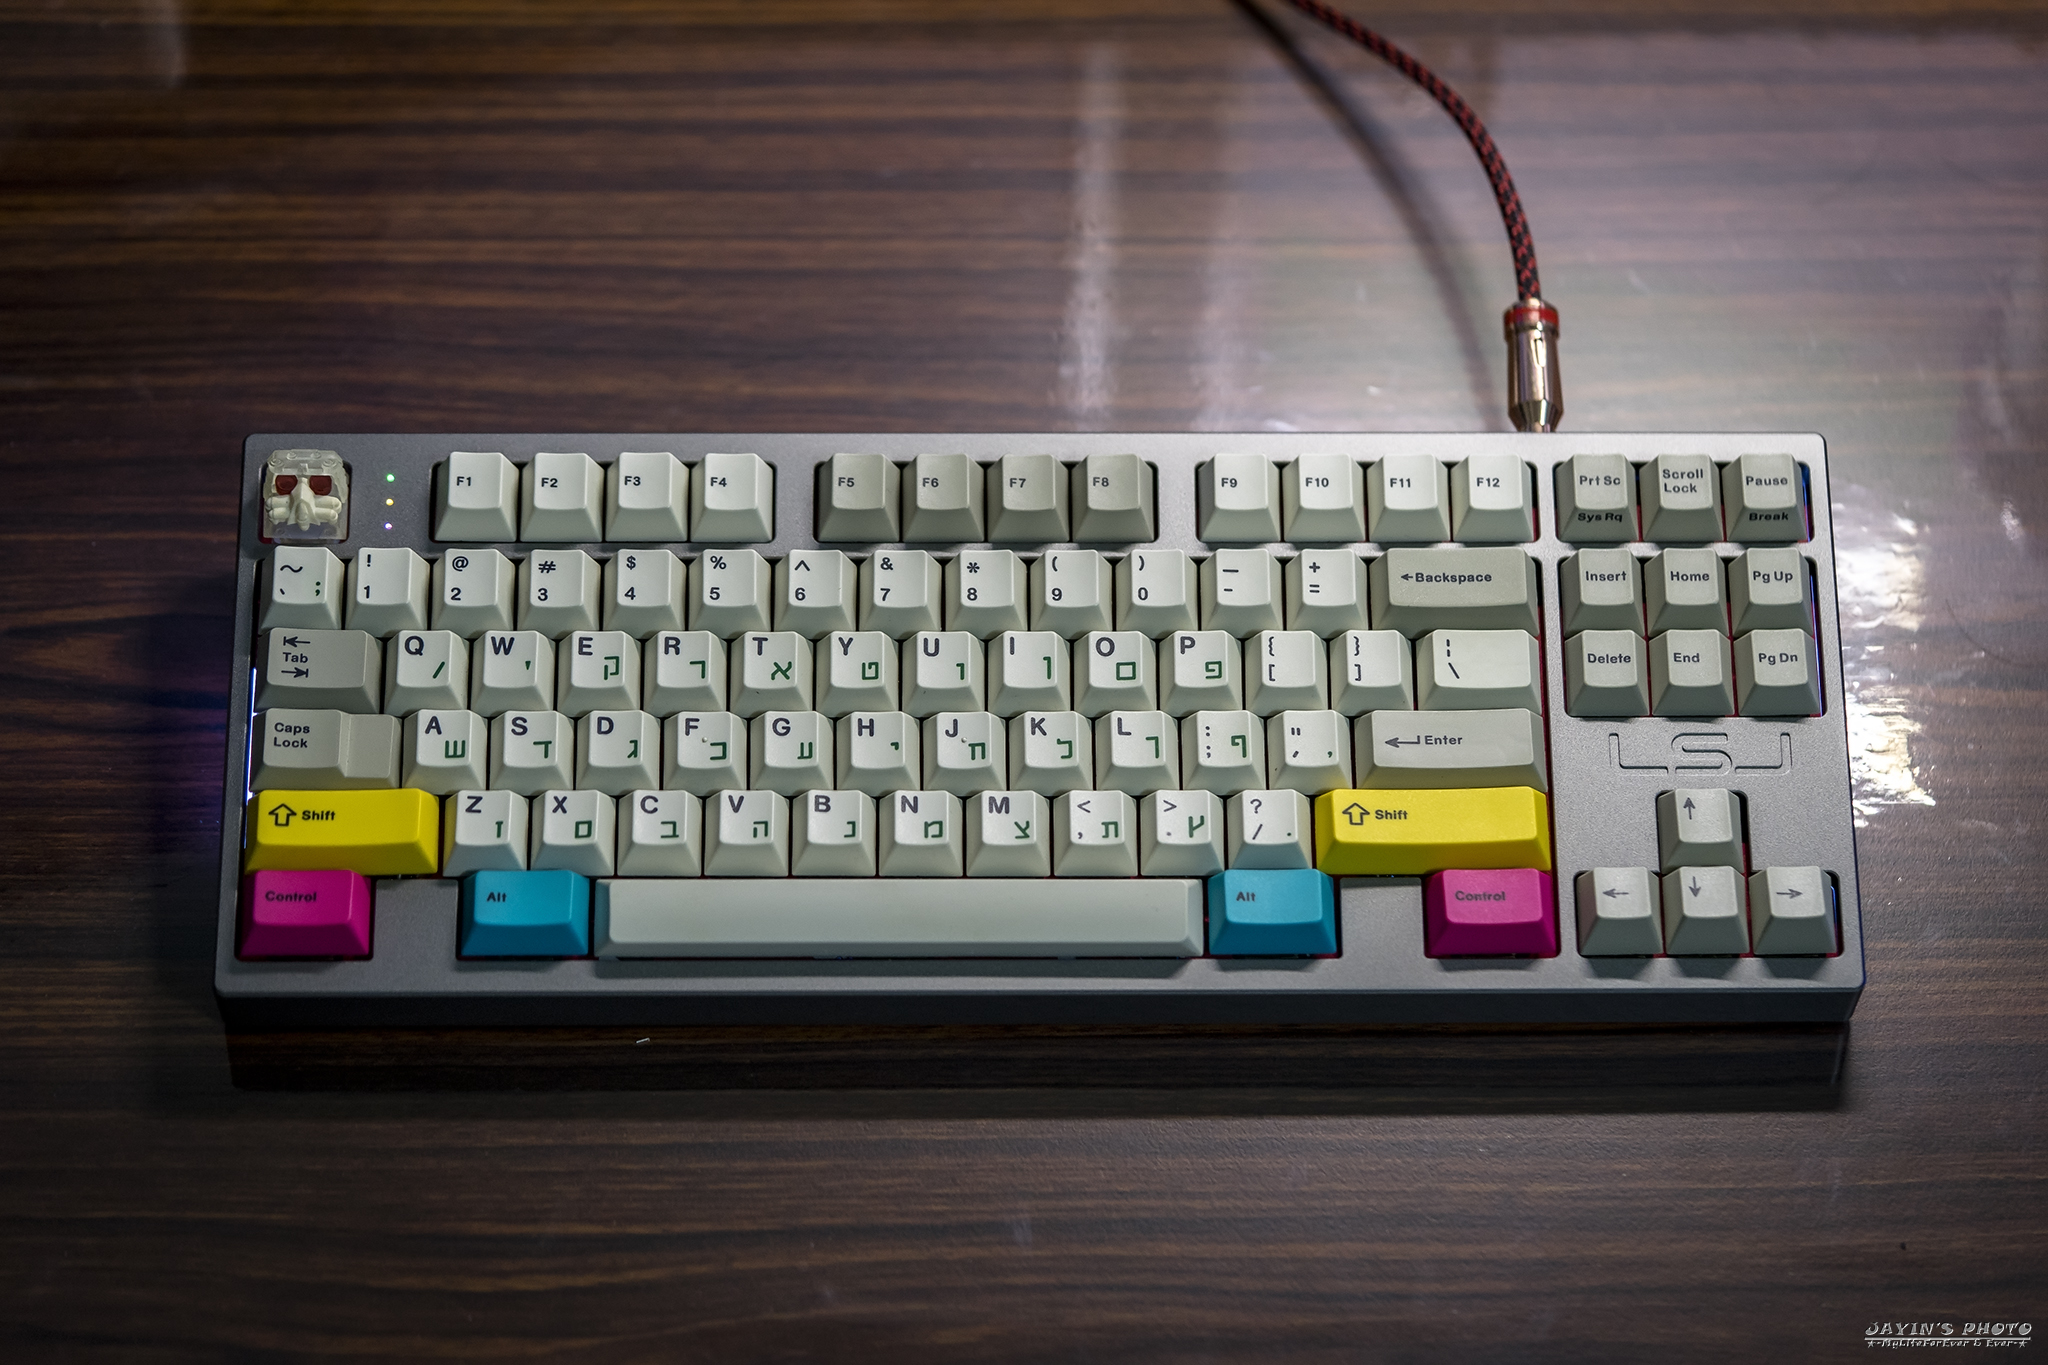
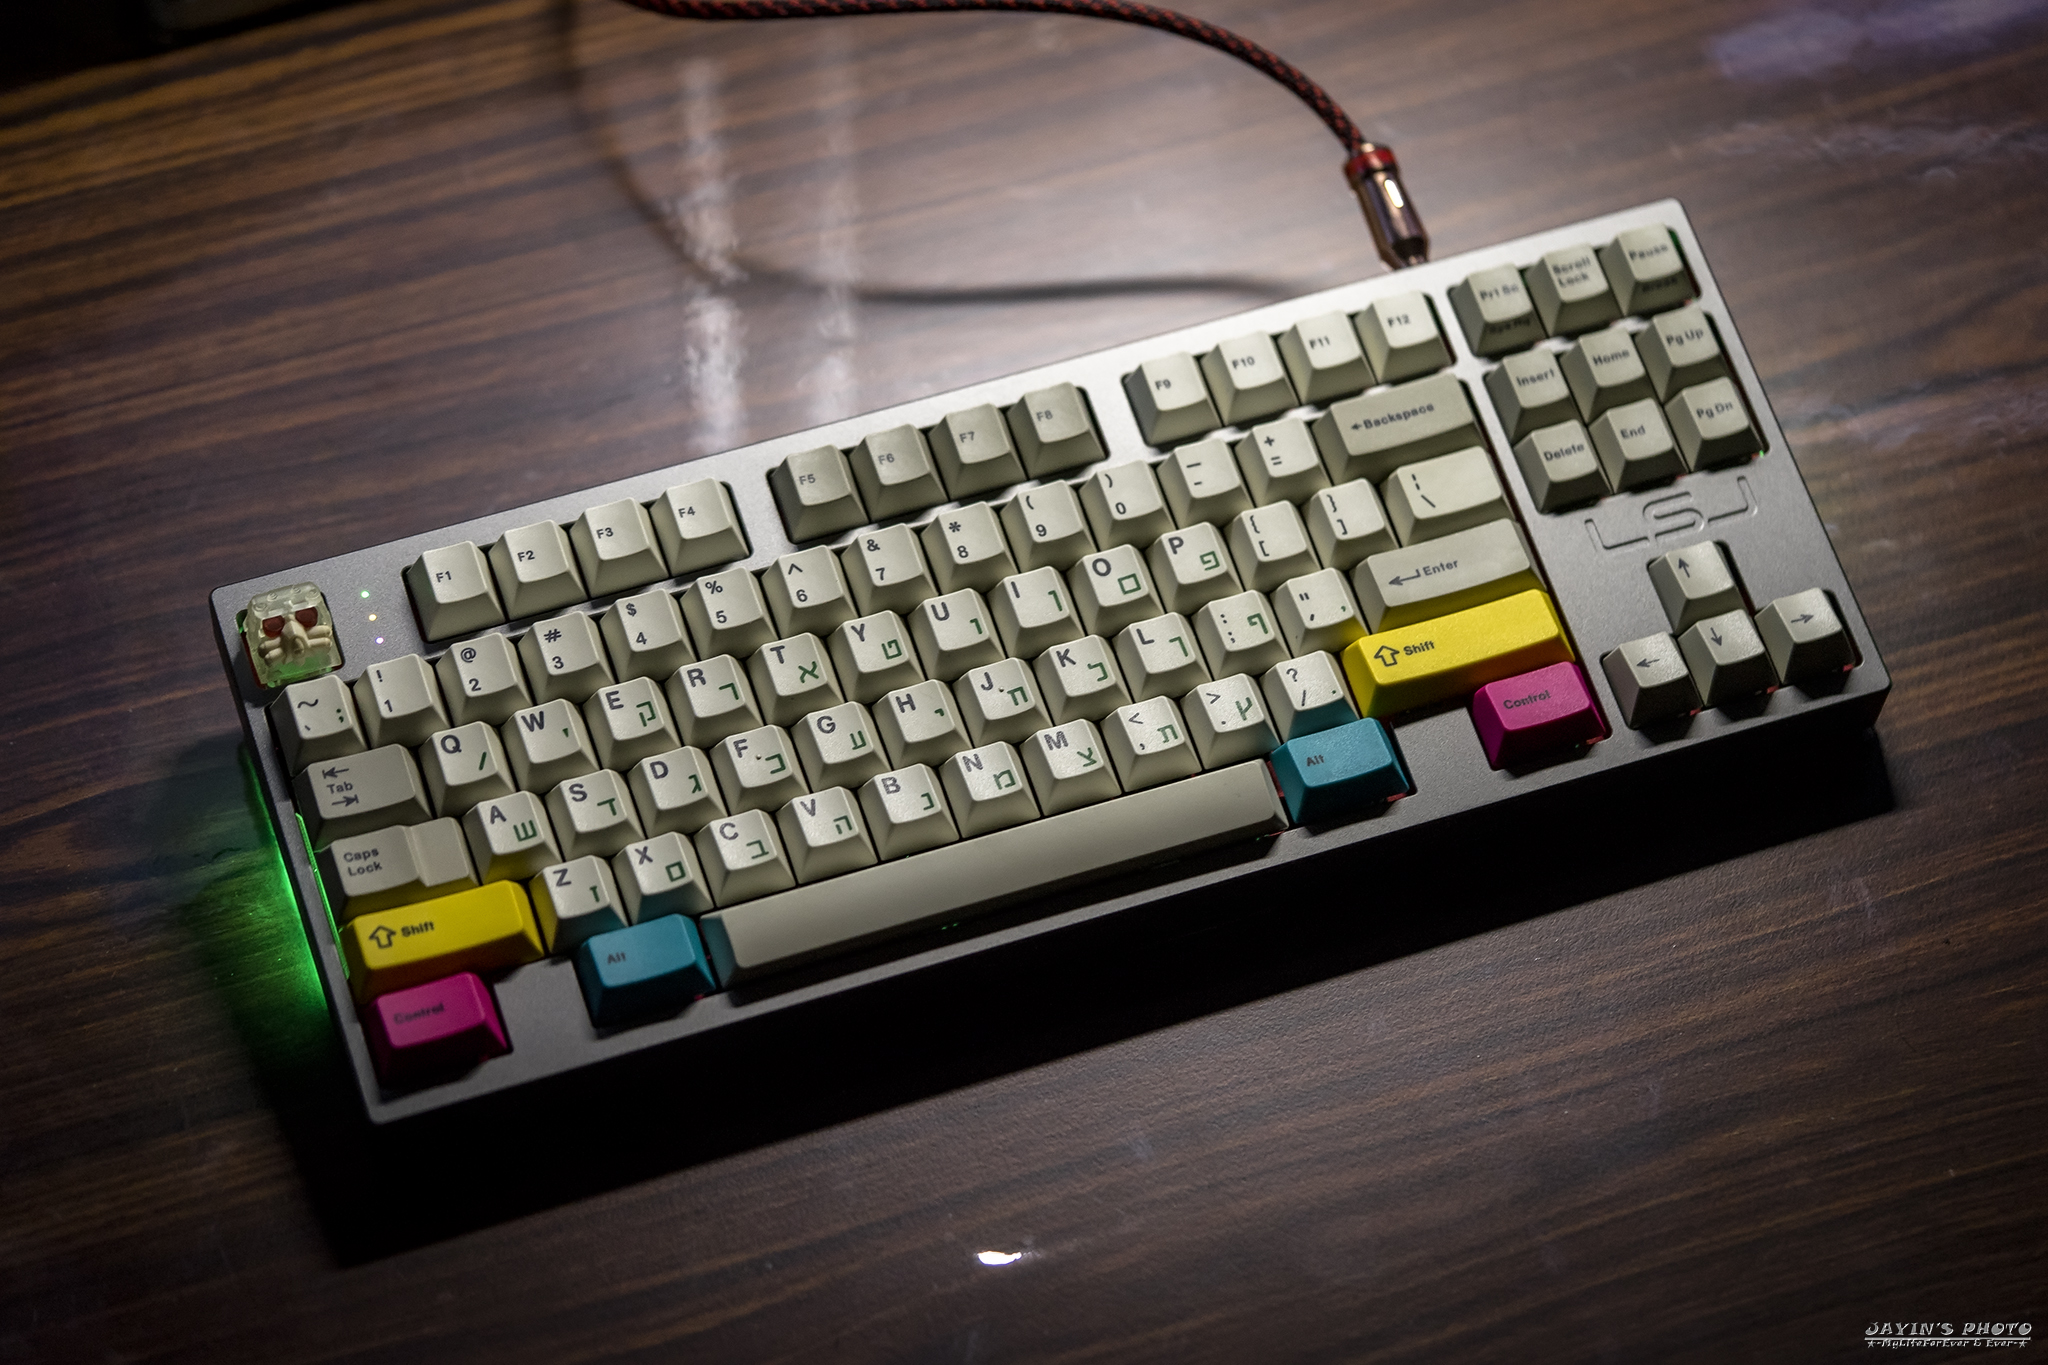
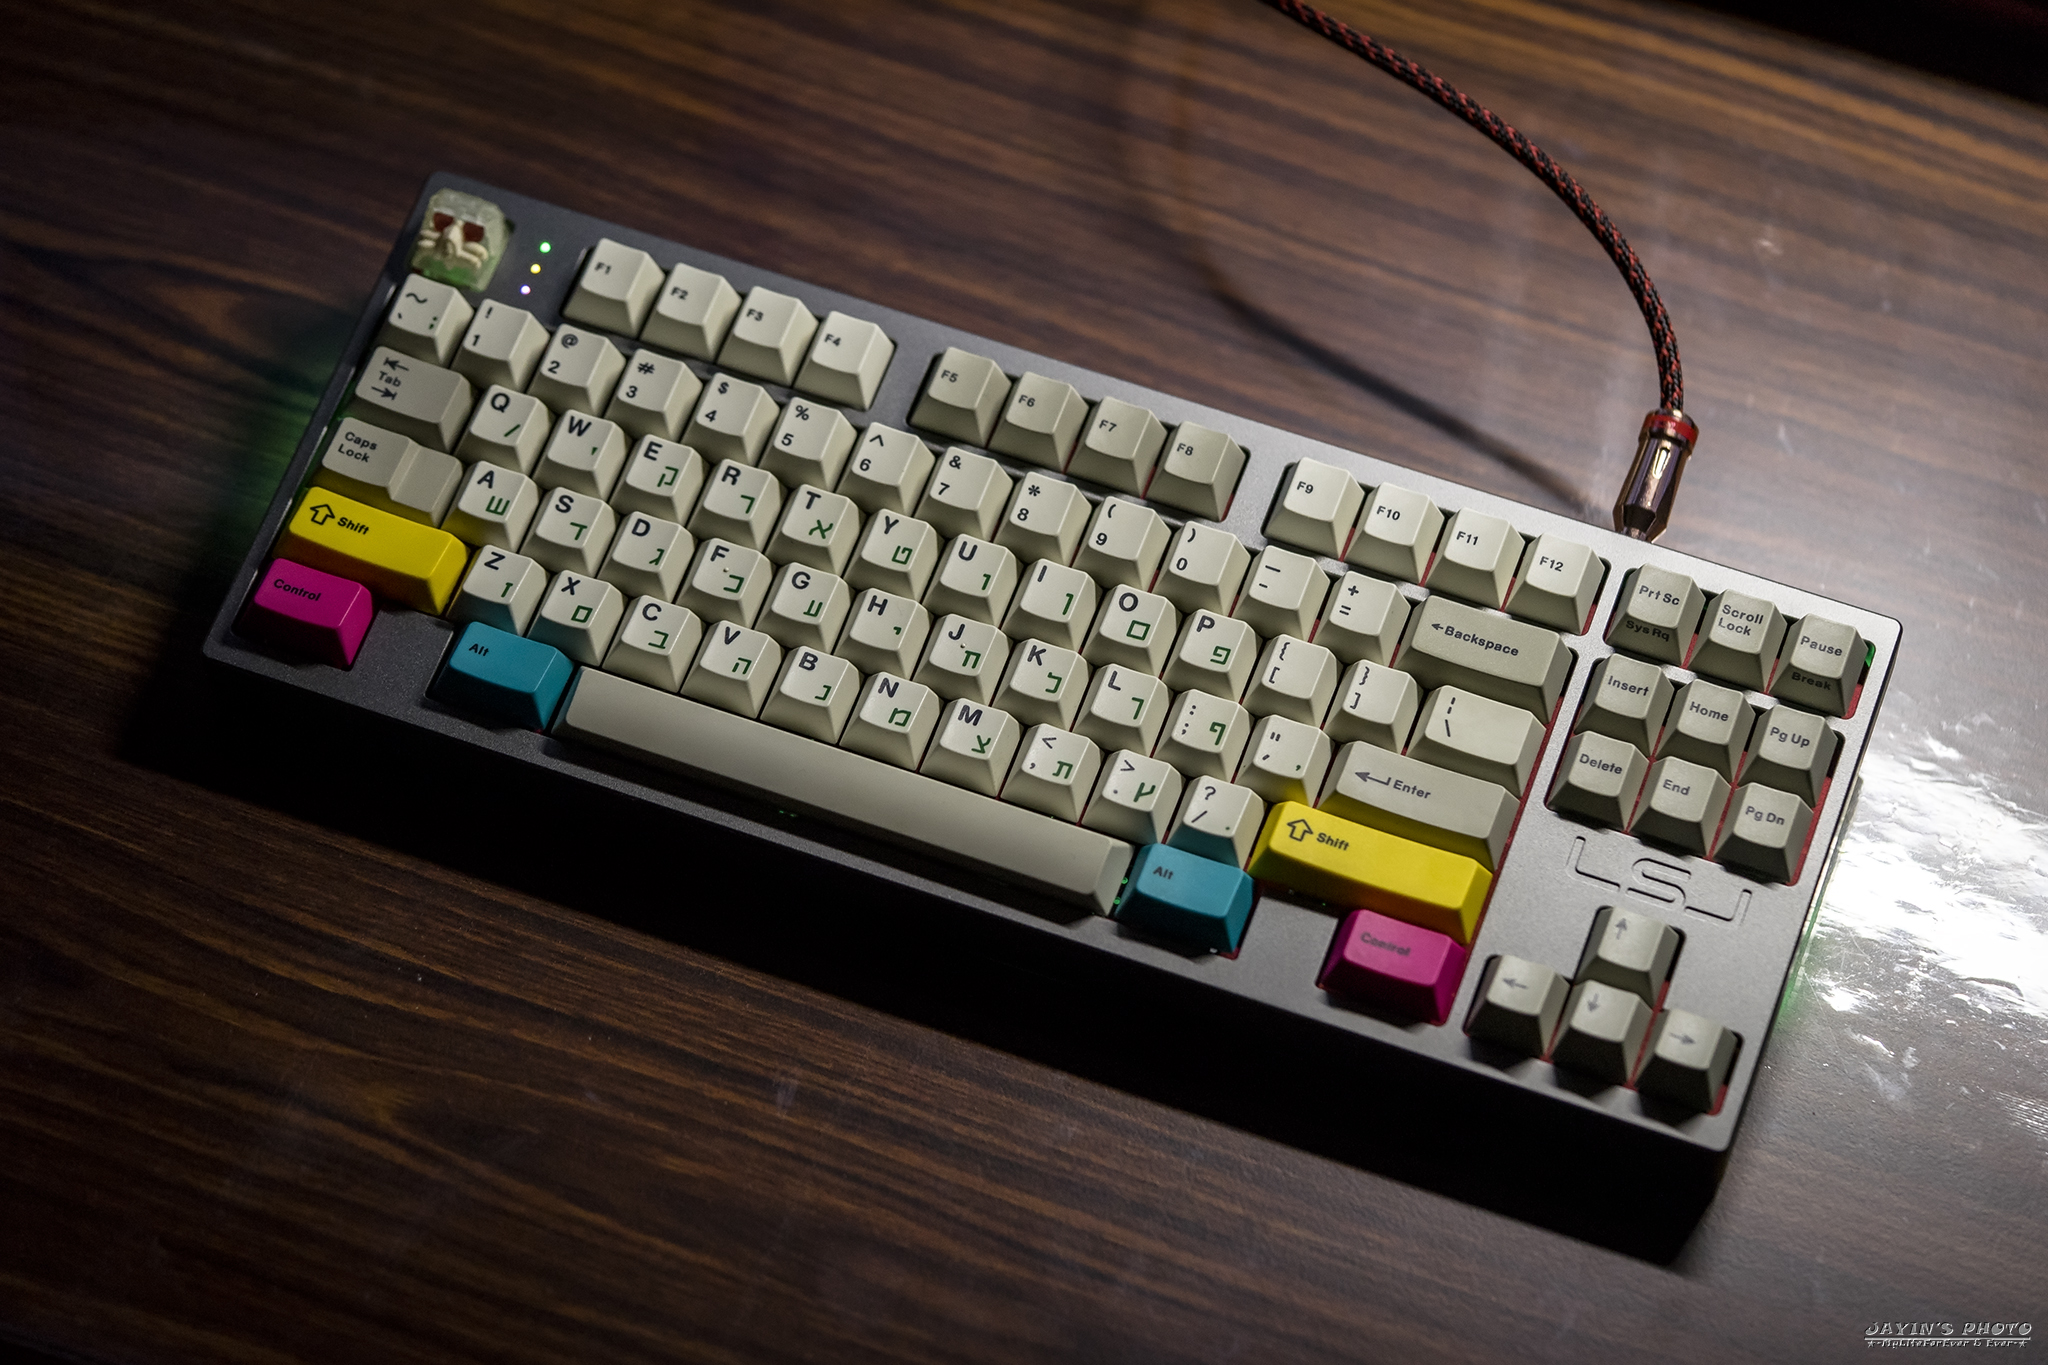
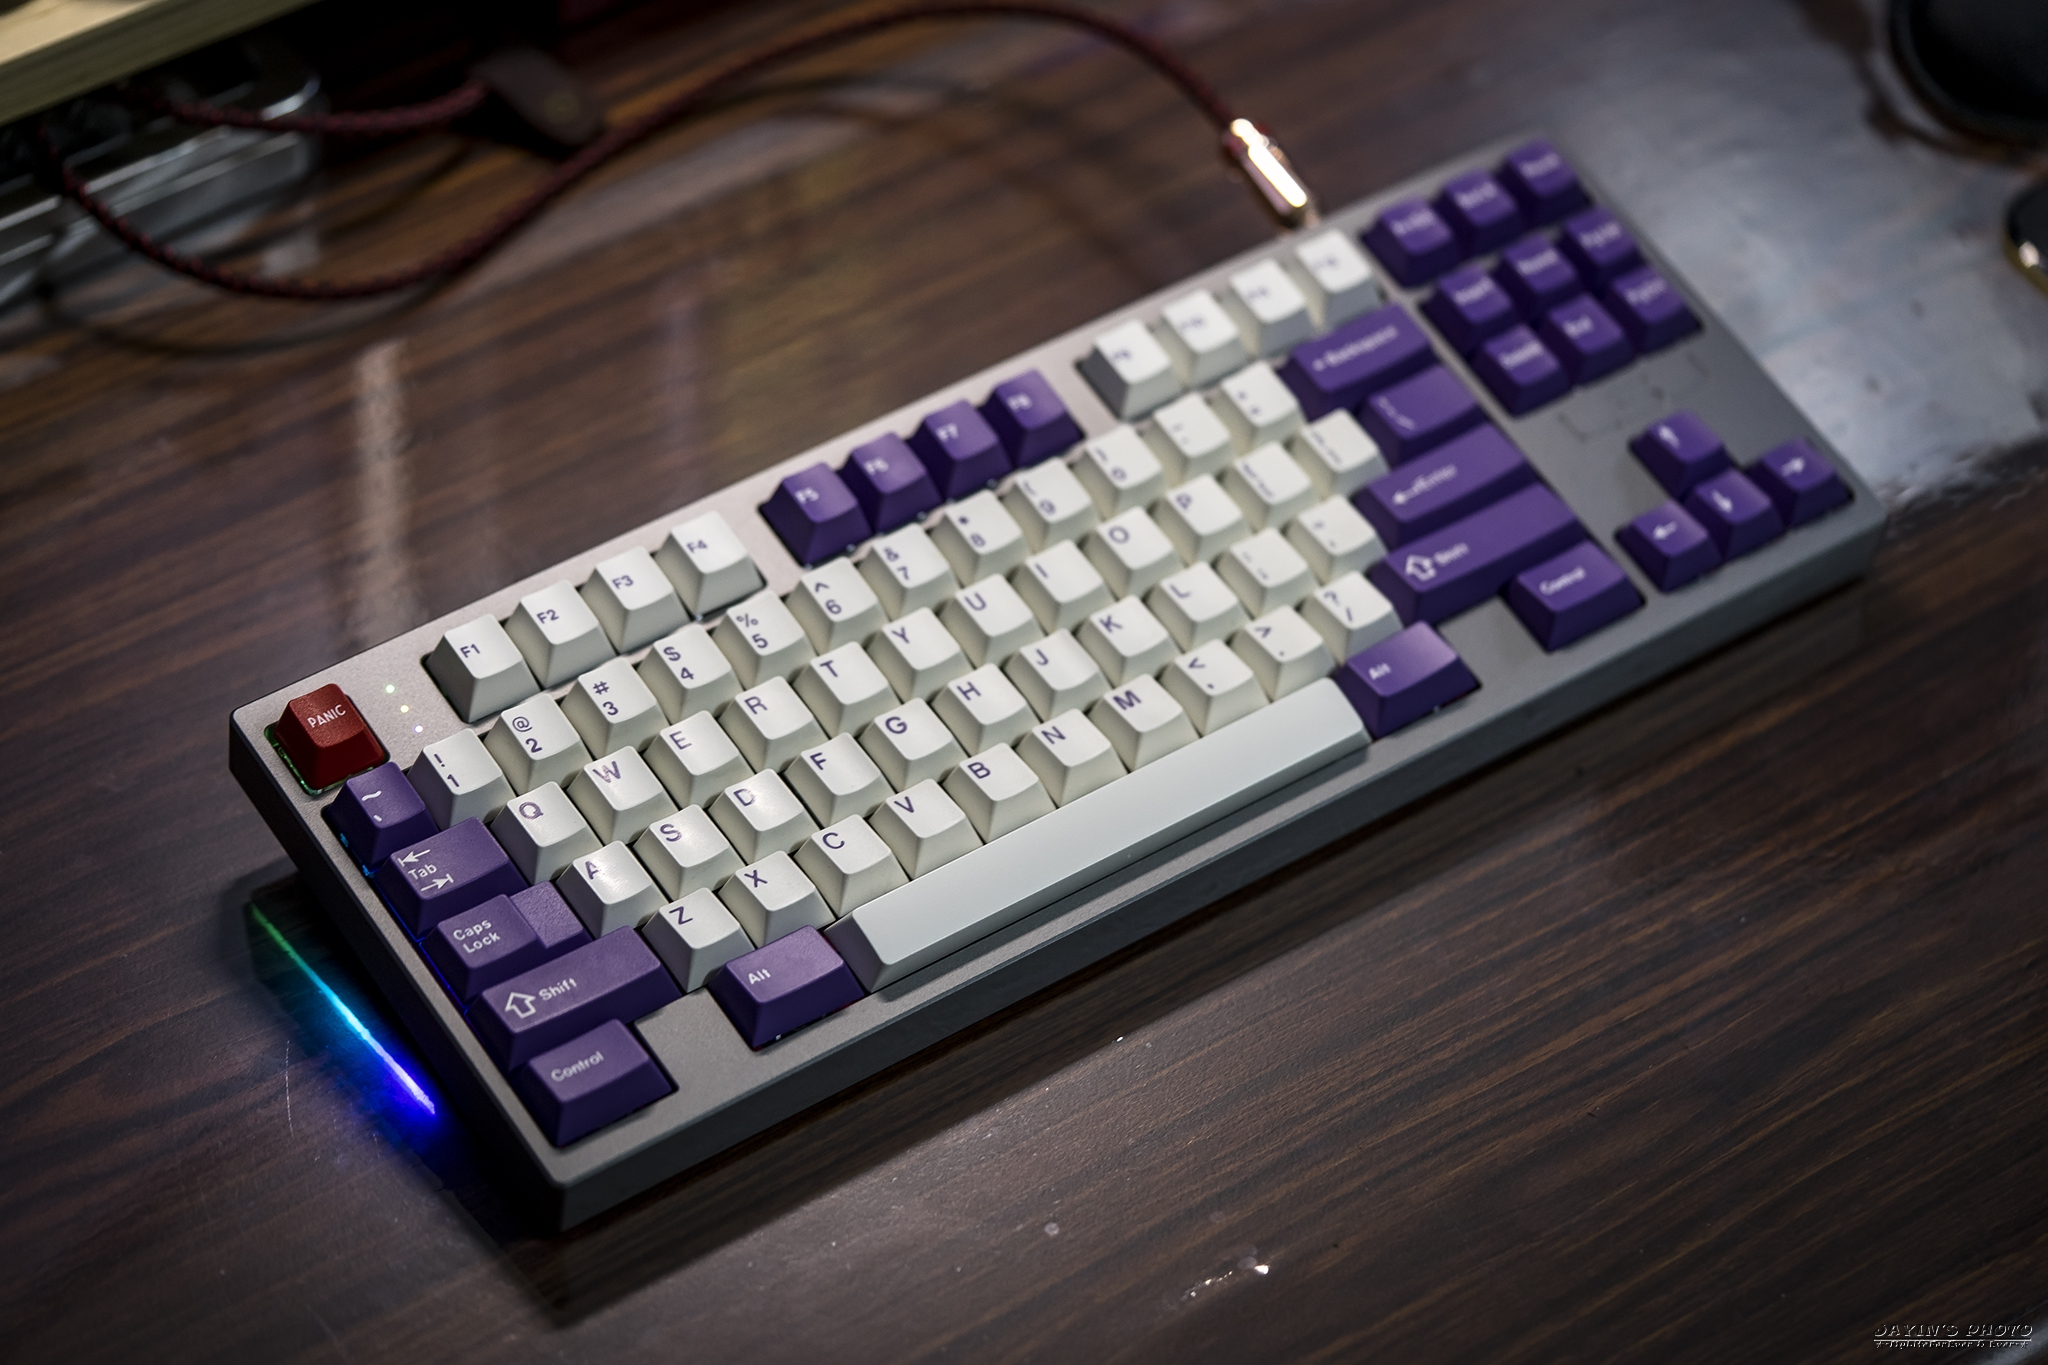
▼組裝完成!美美的啊!
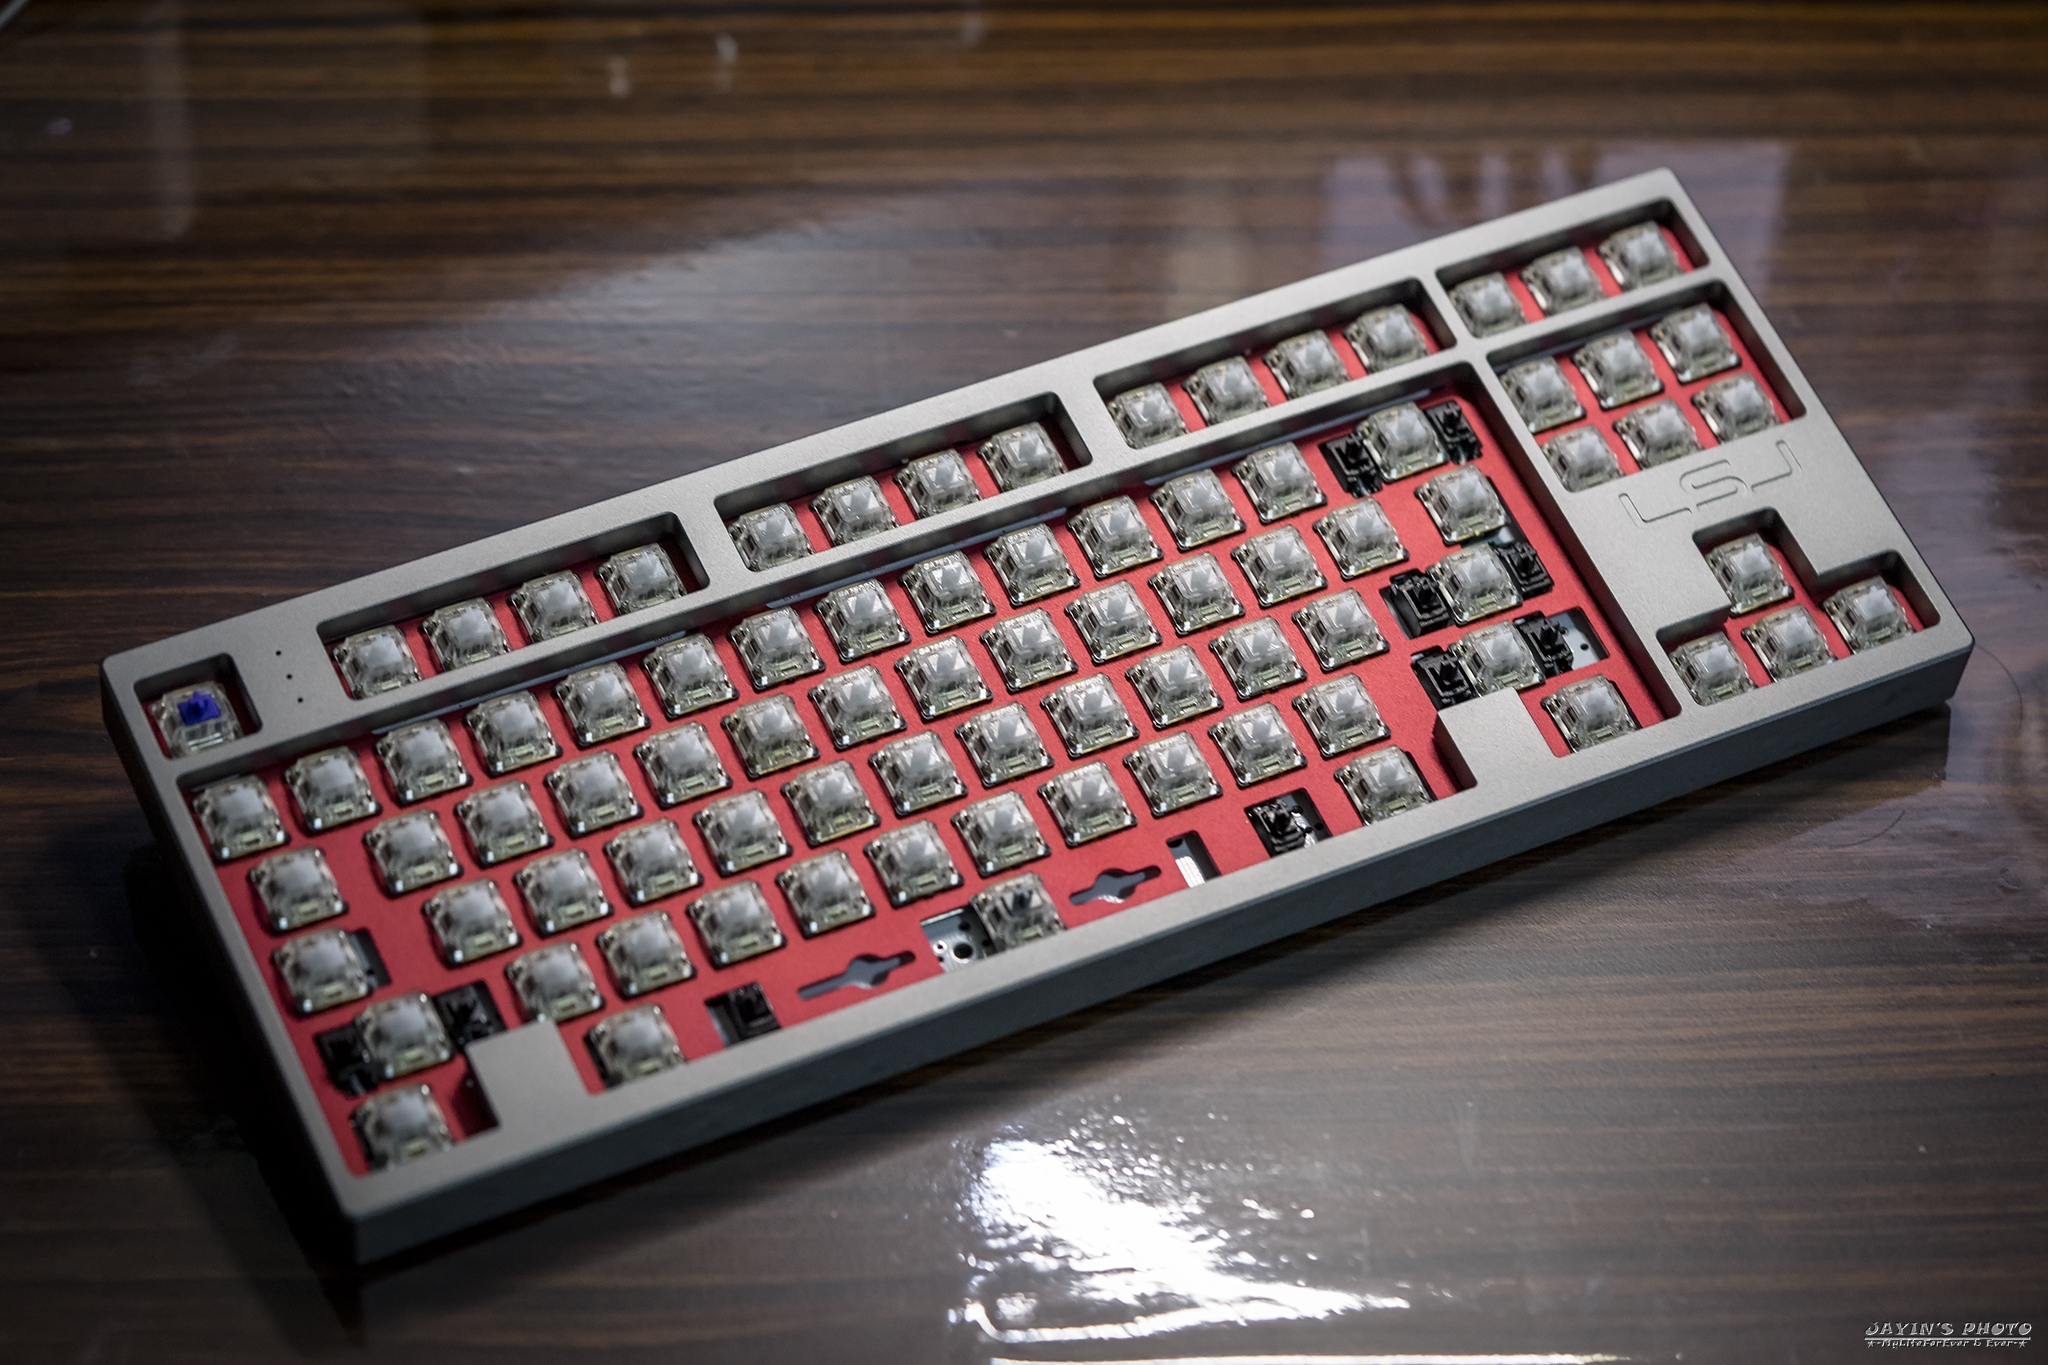
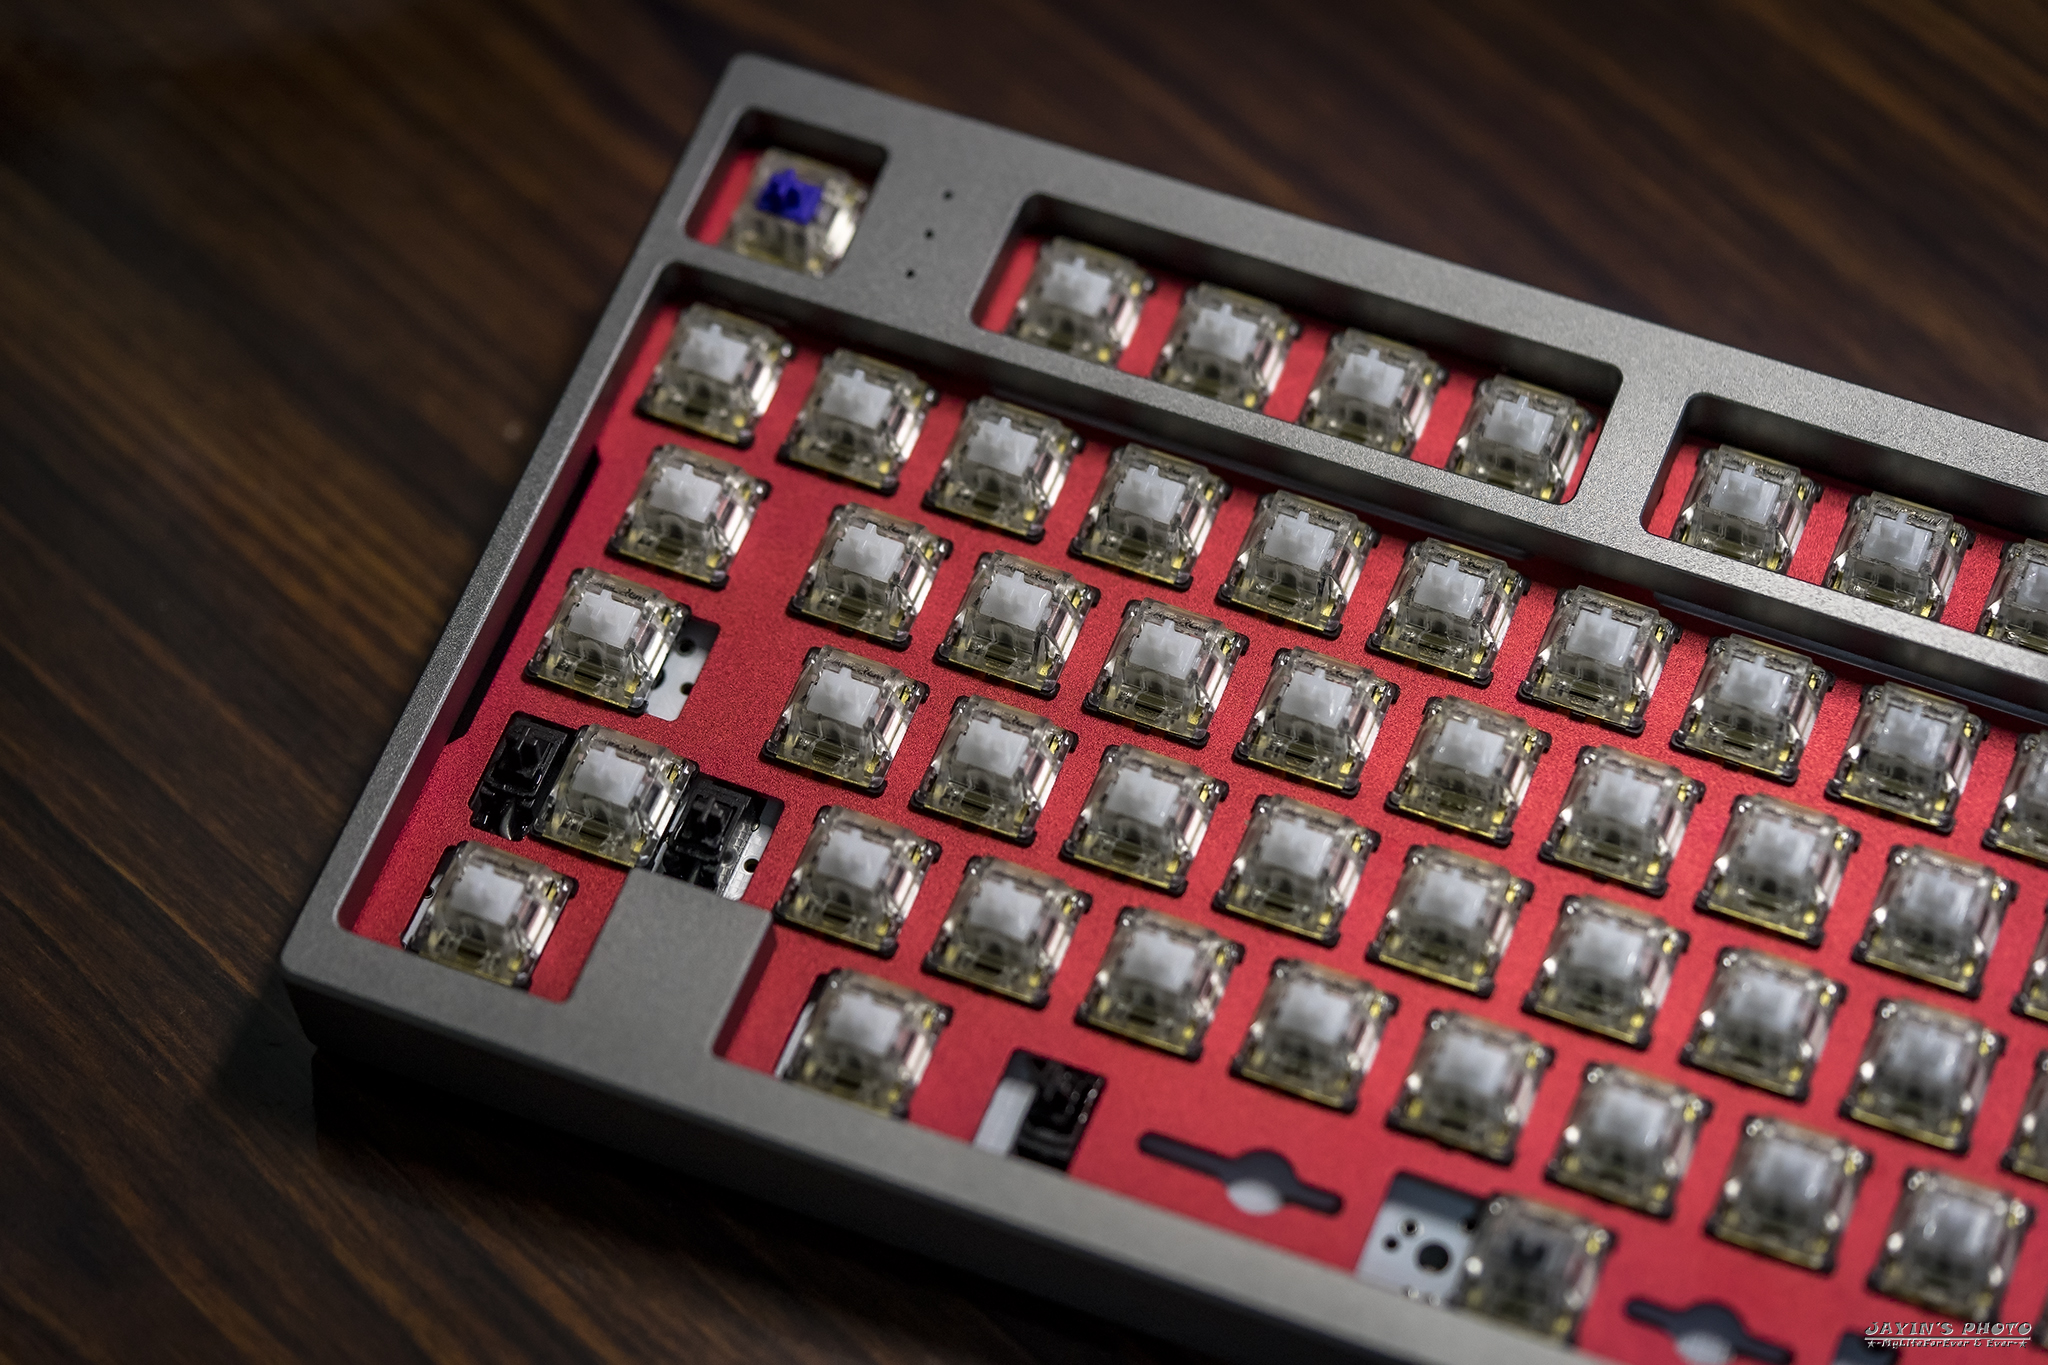
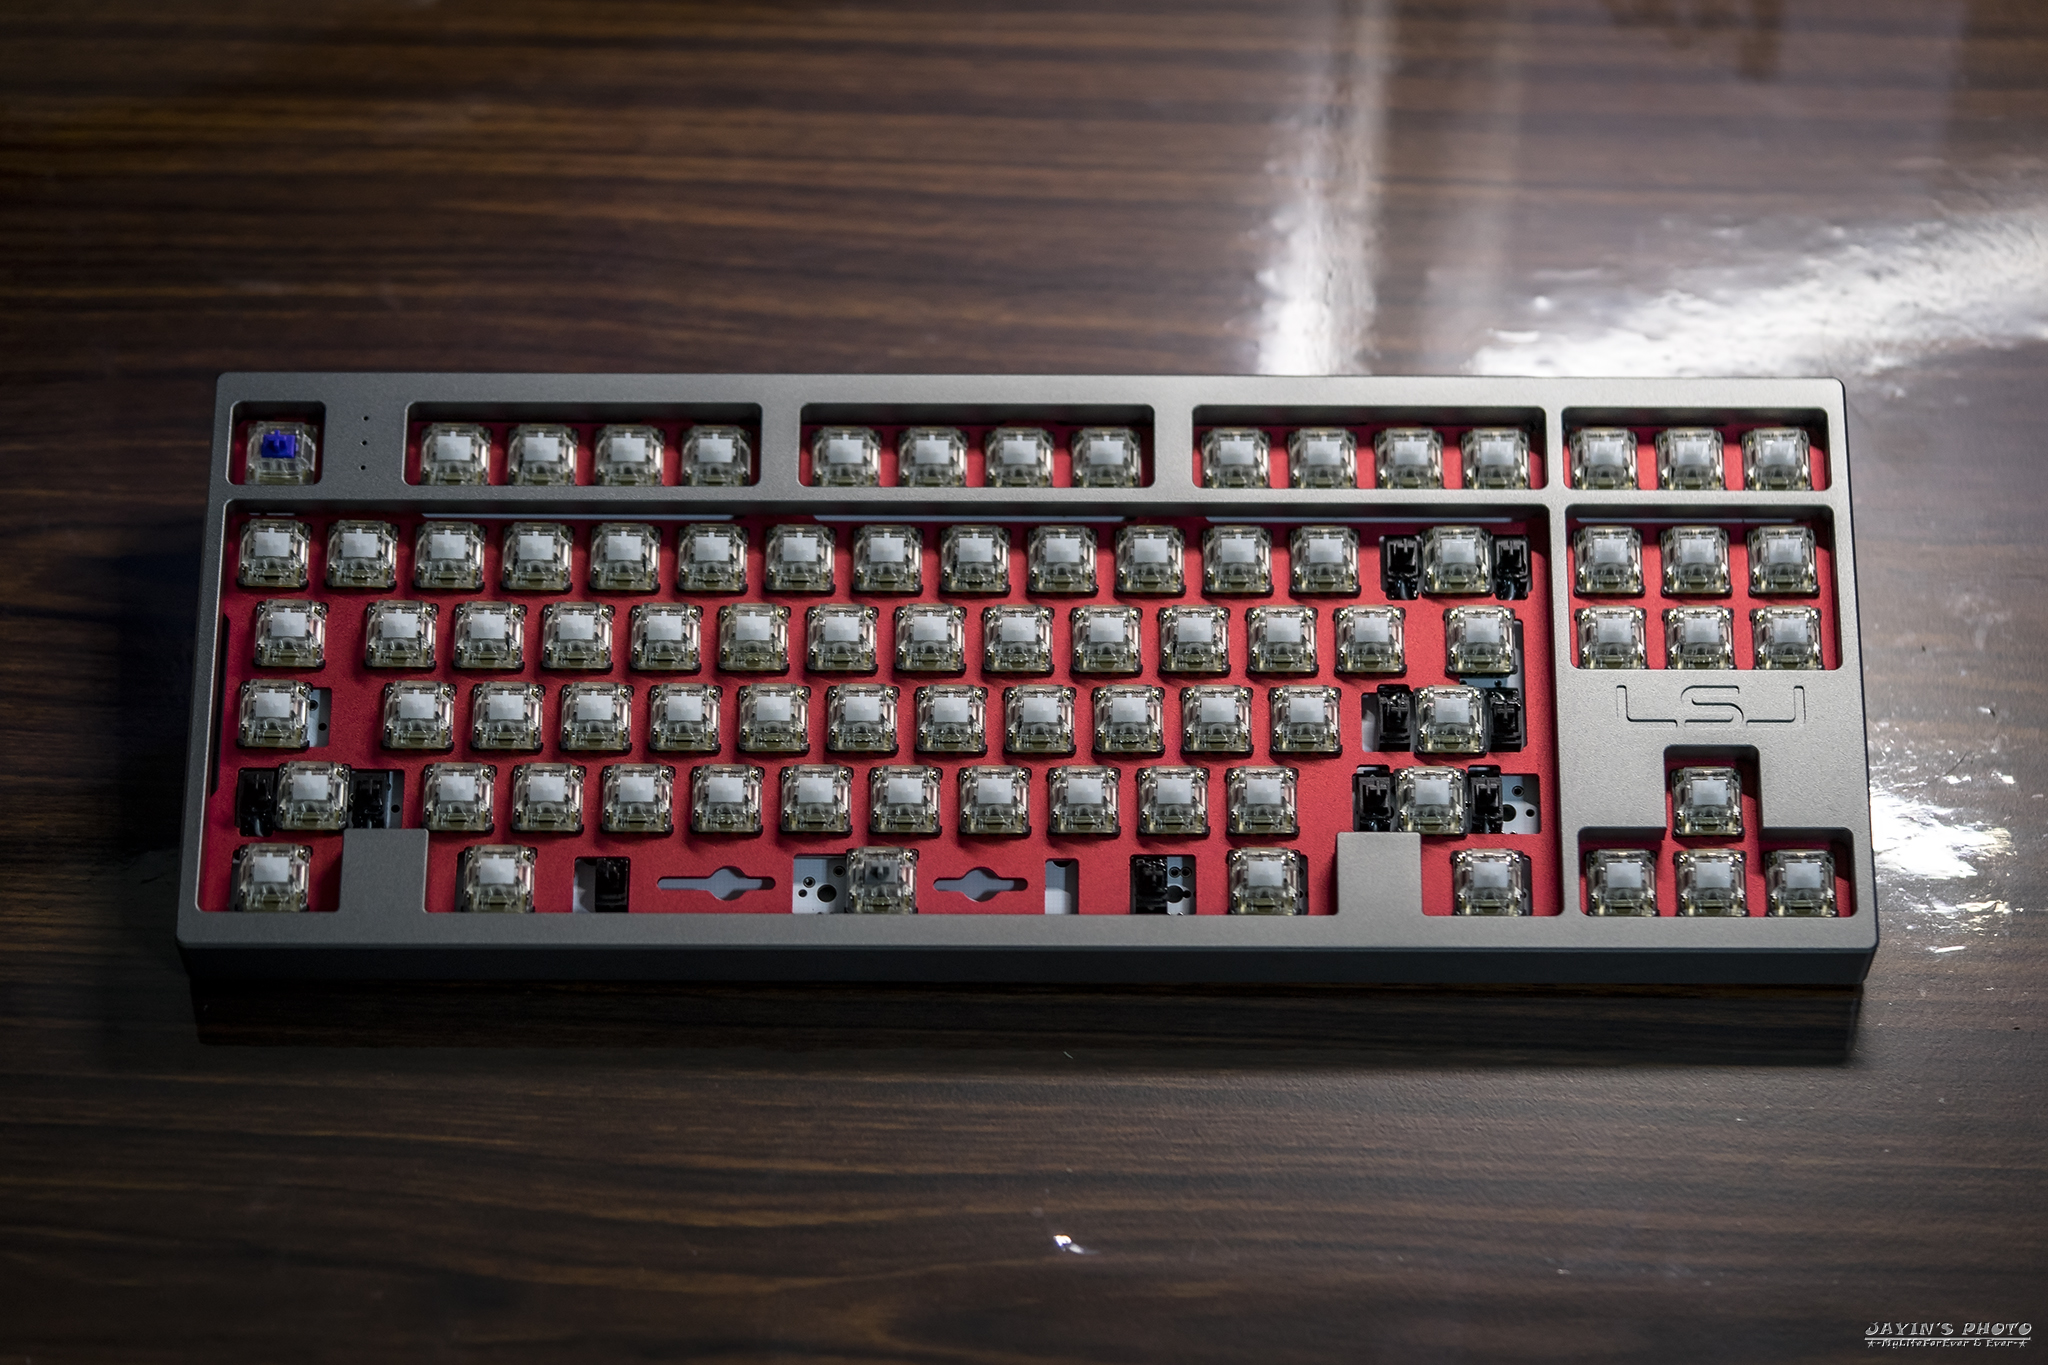
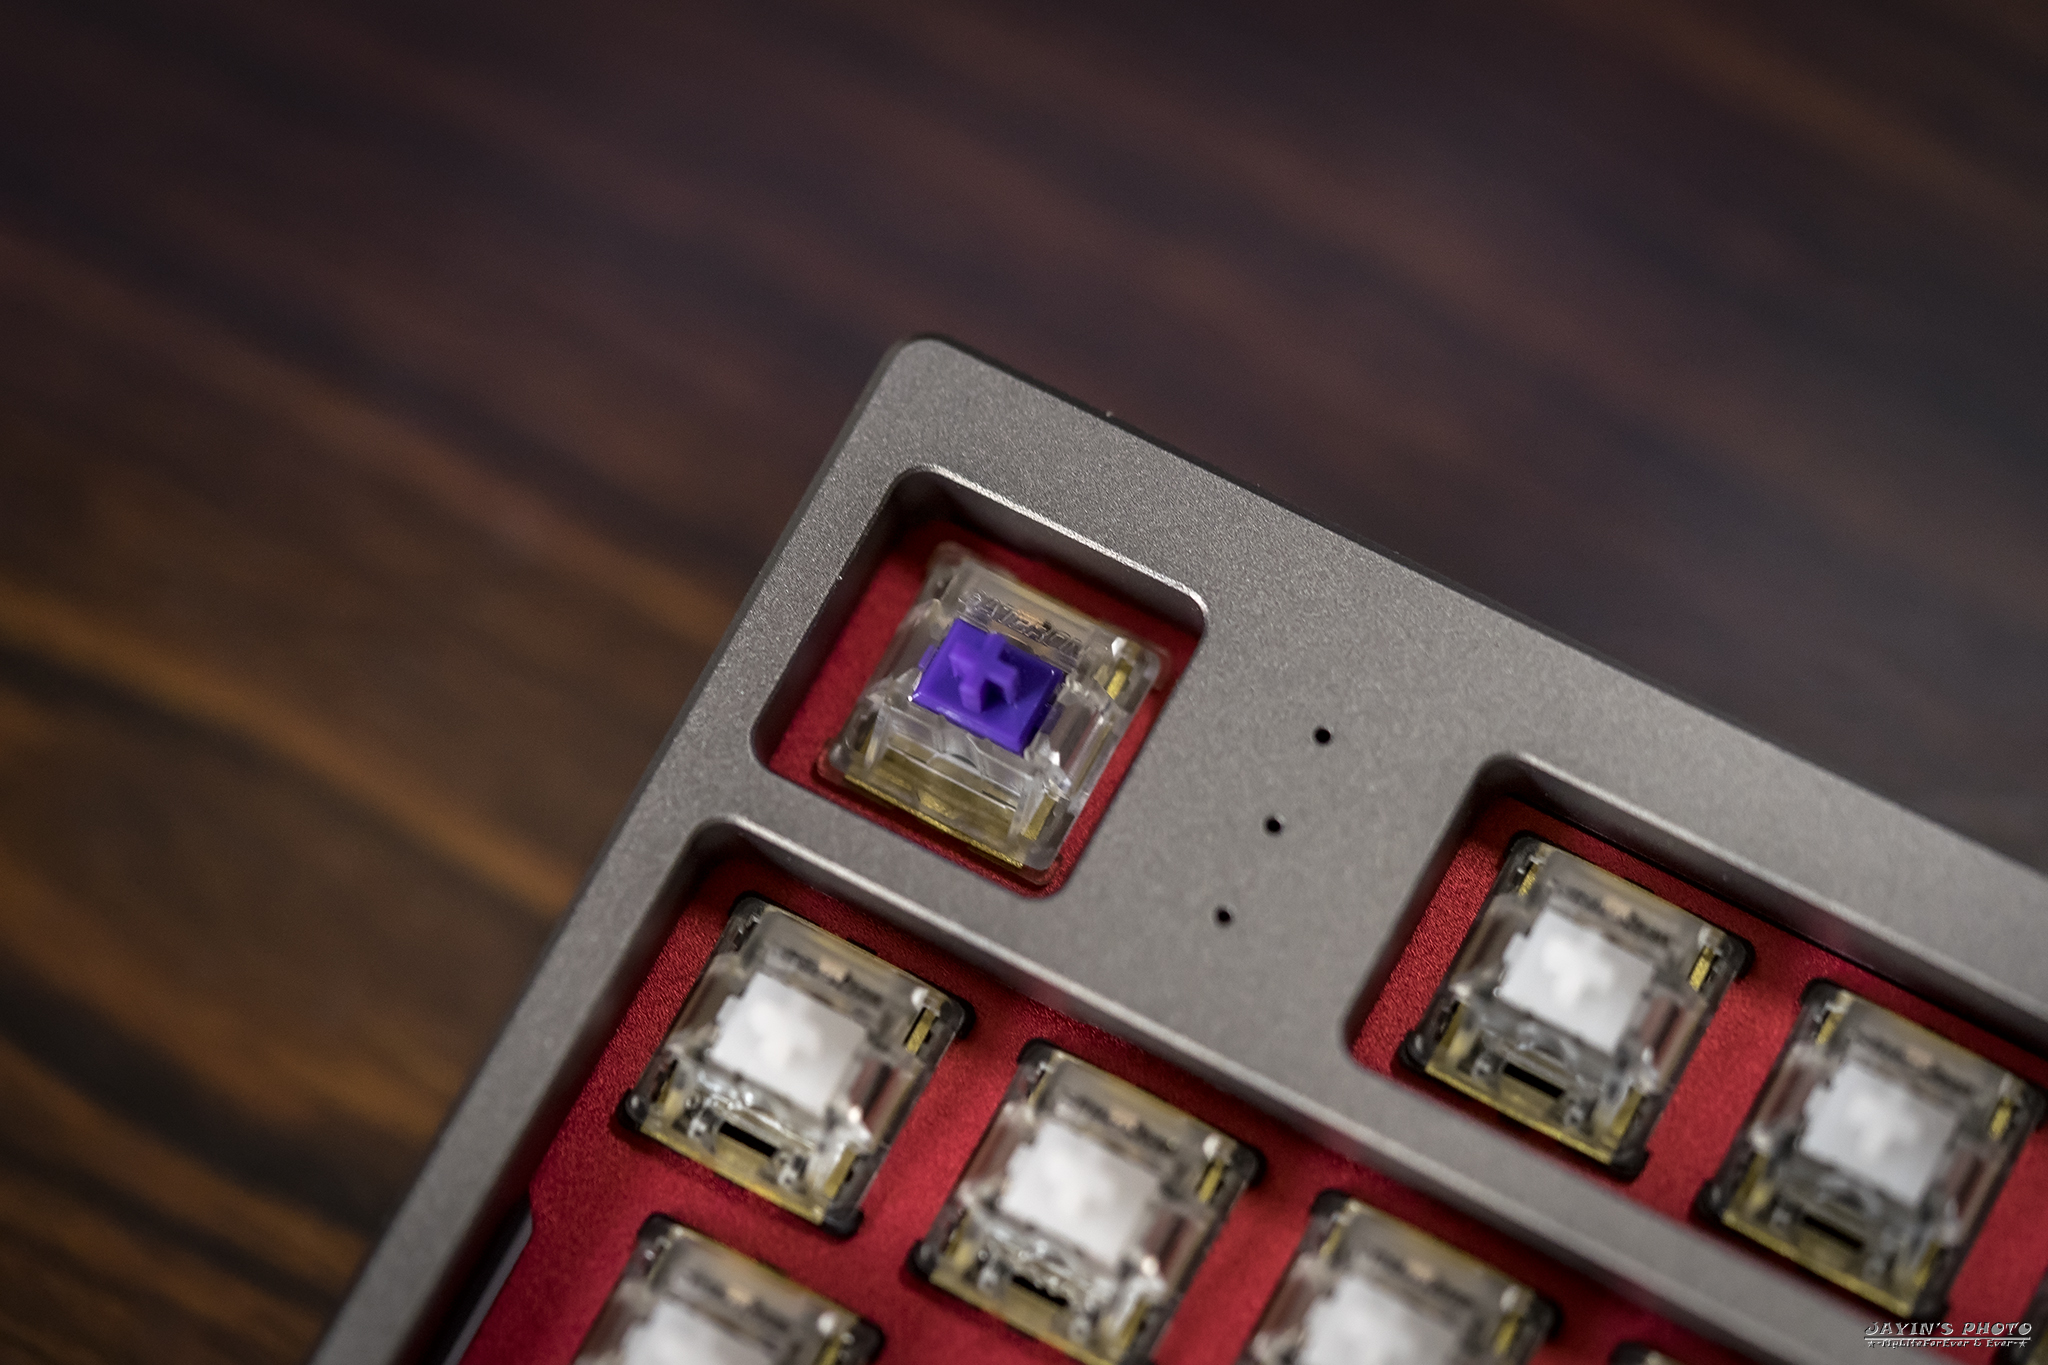
▼ESC用的是Zealio的紫軸
▼空白鍵我用的是cherry有段灰,爸!我真的改了有段灰啊! (爸:幹!你有問過我嗎?)
▼ESC旁邊的指示燈,我先焊上熱插拔燈座,再插上LED。
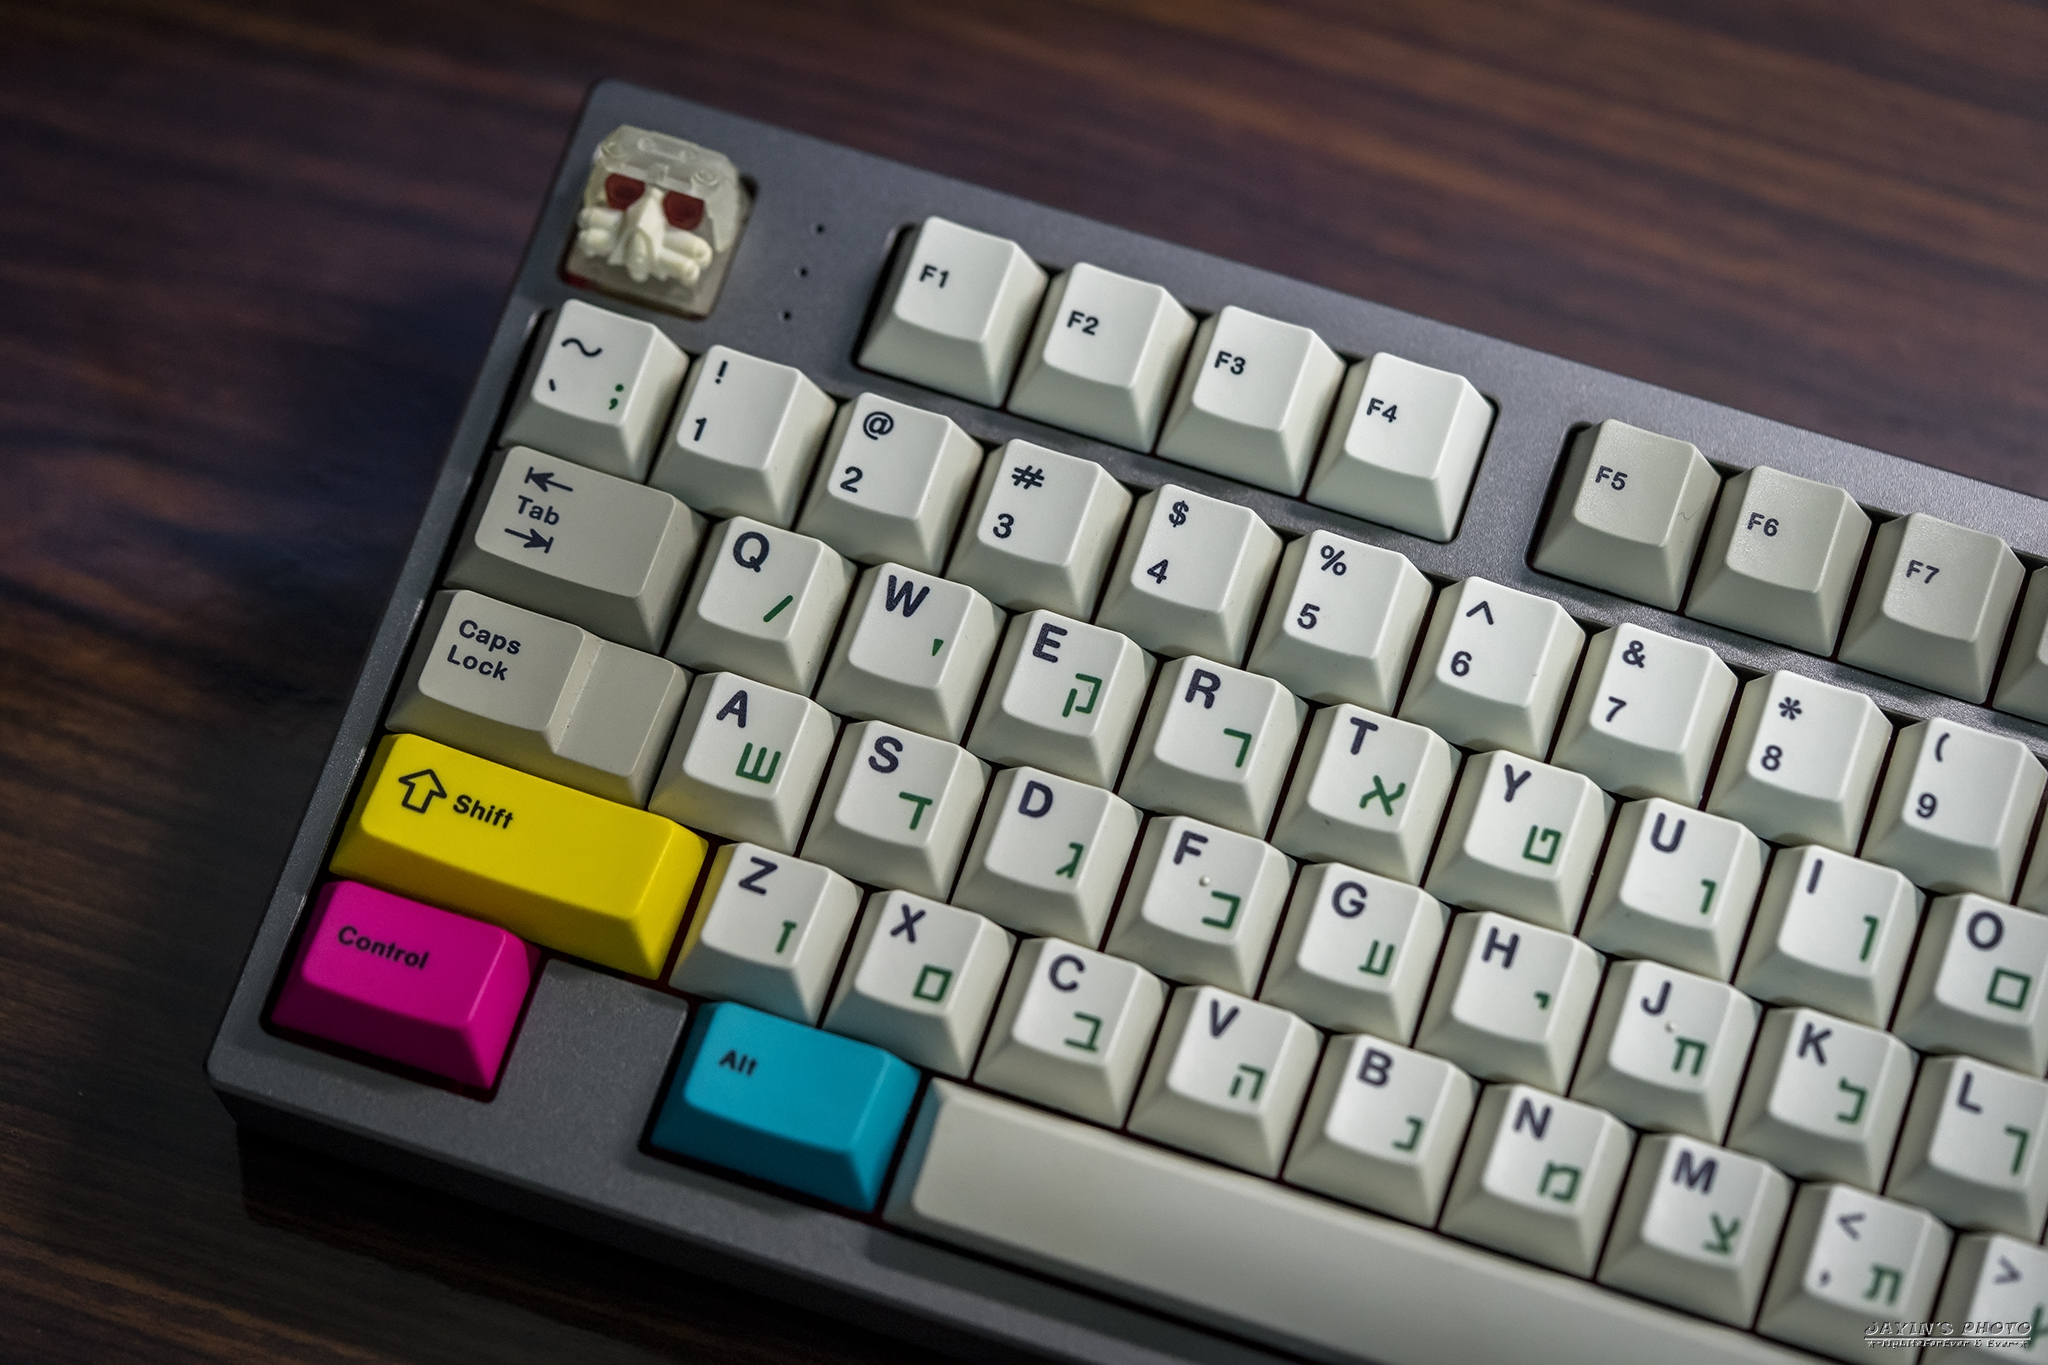
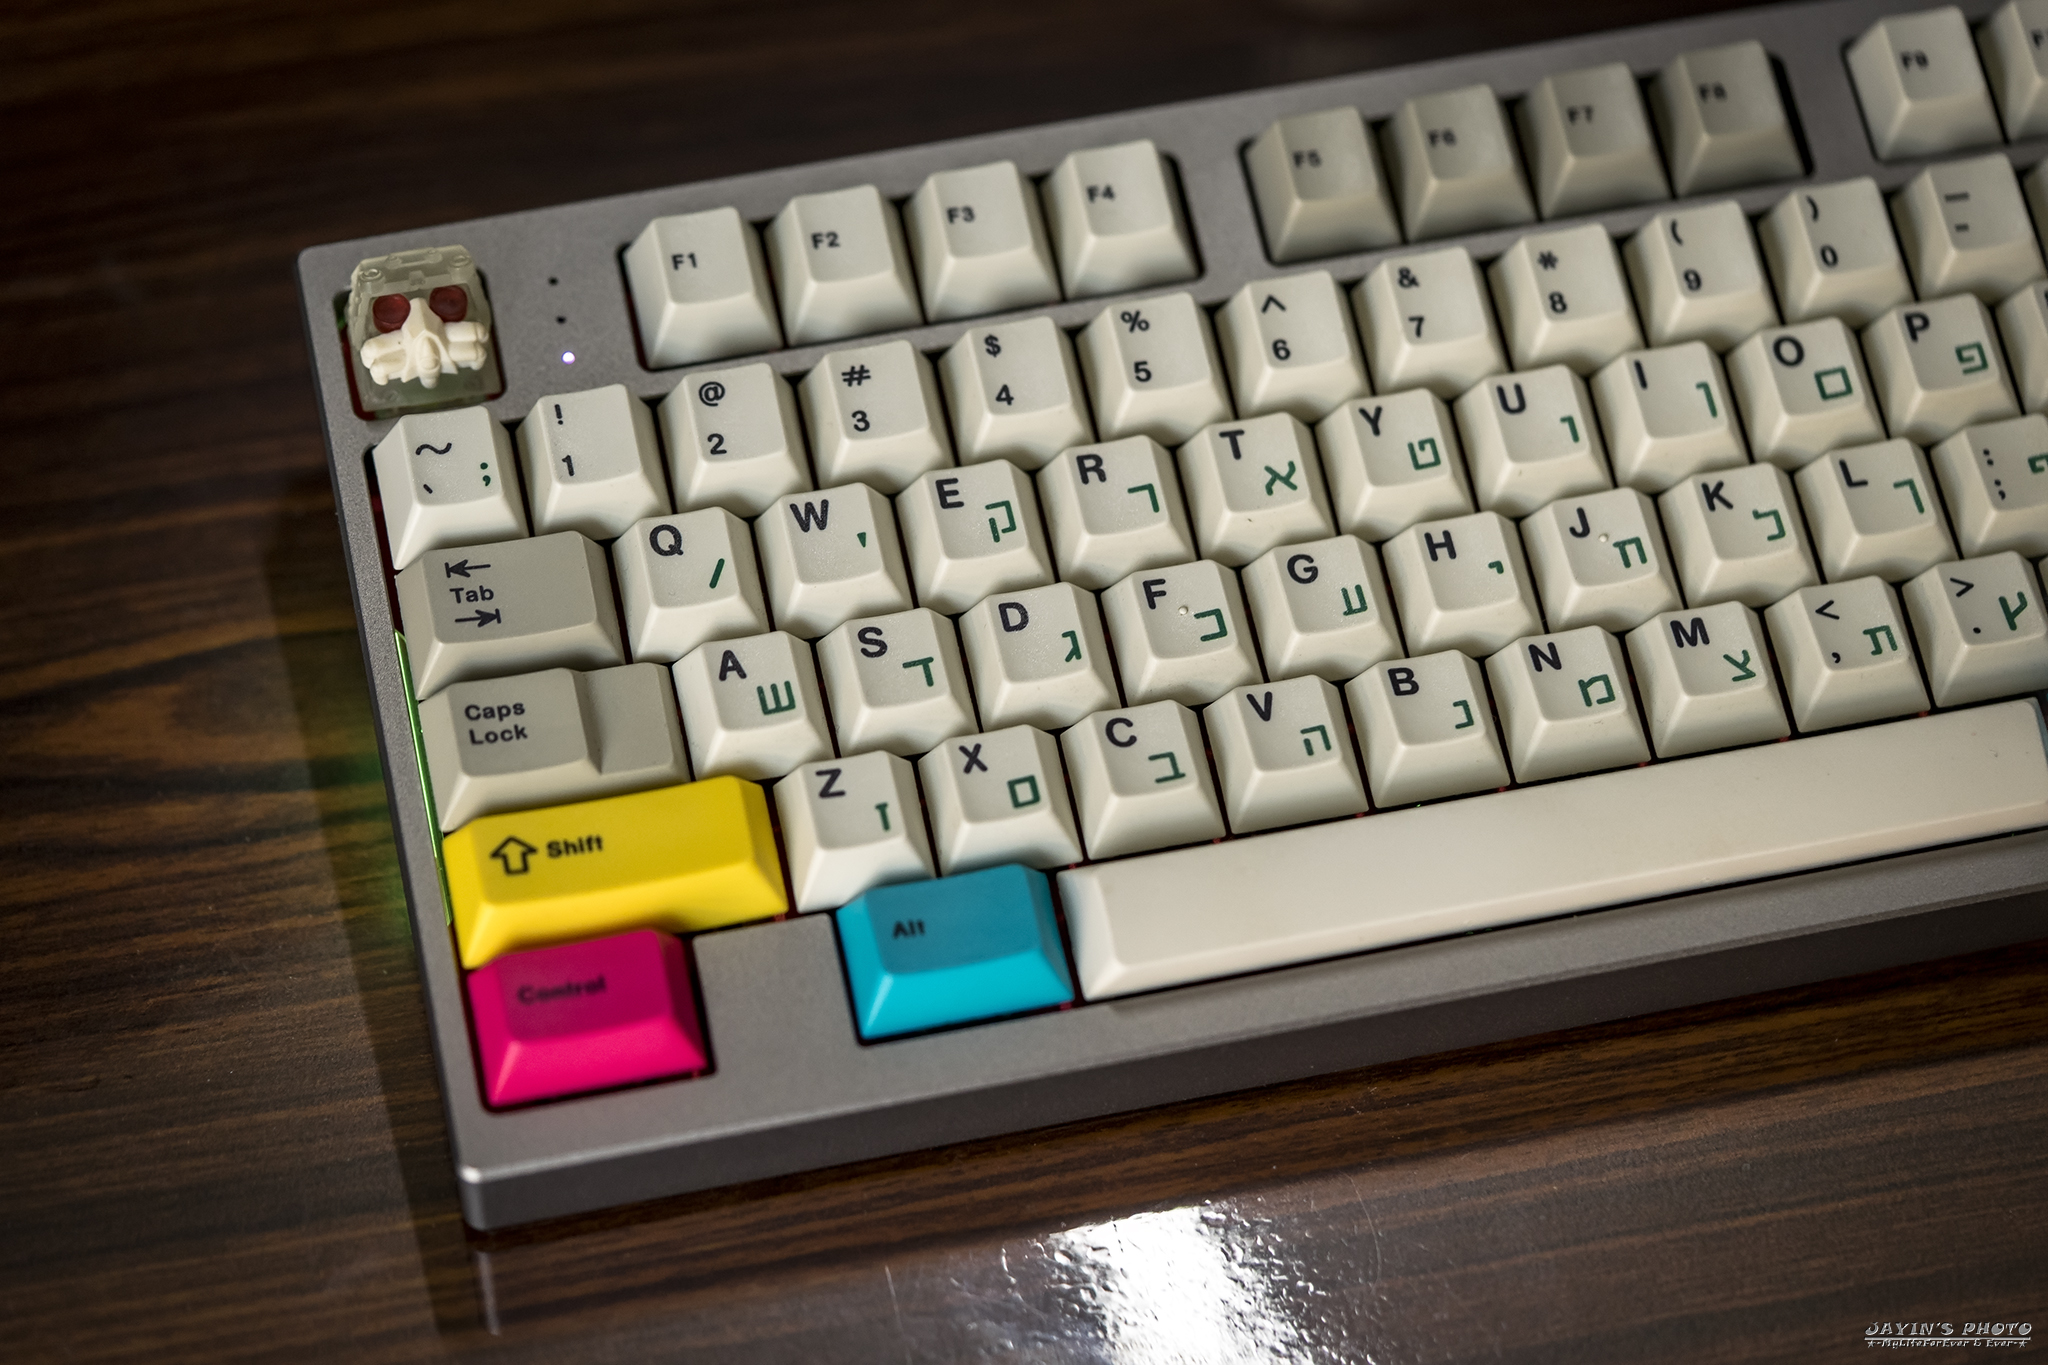
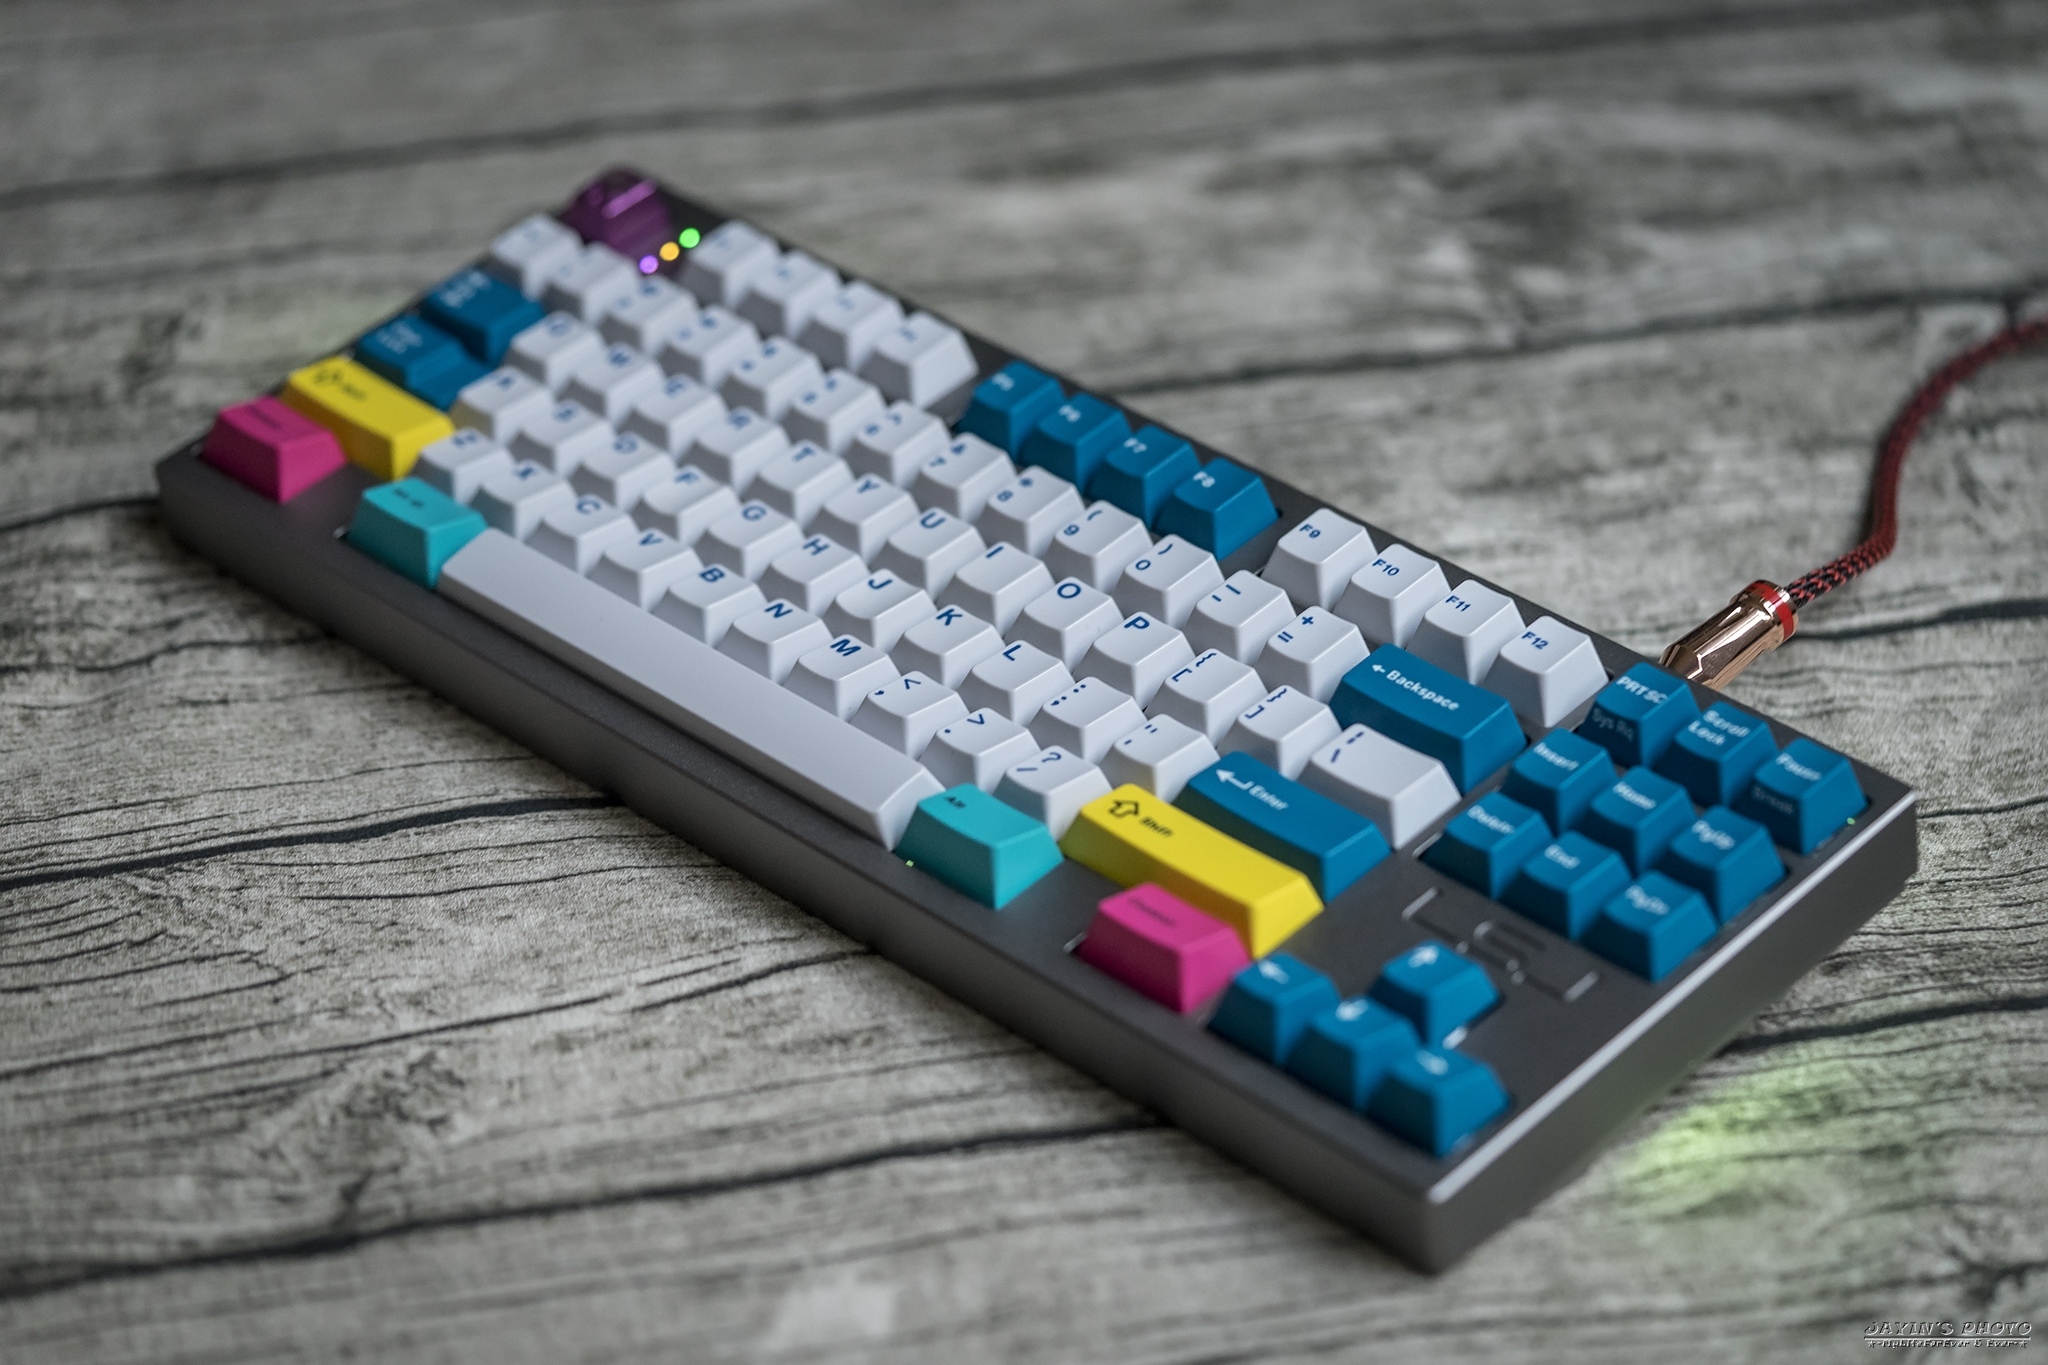
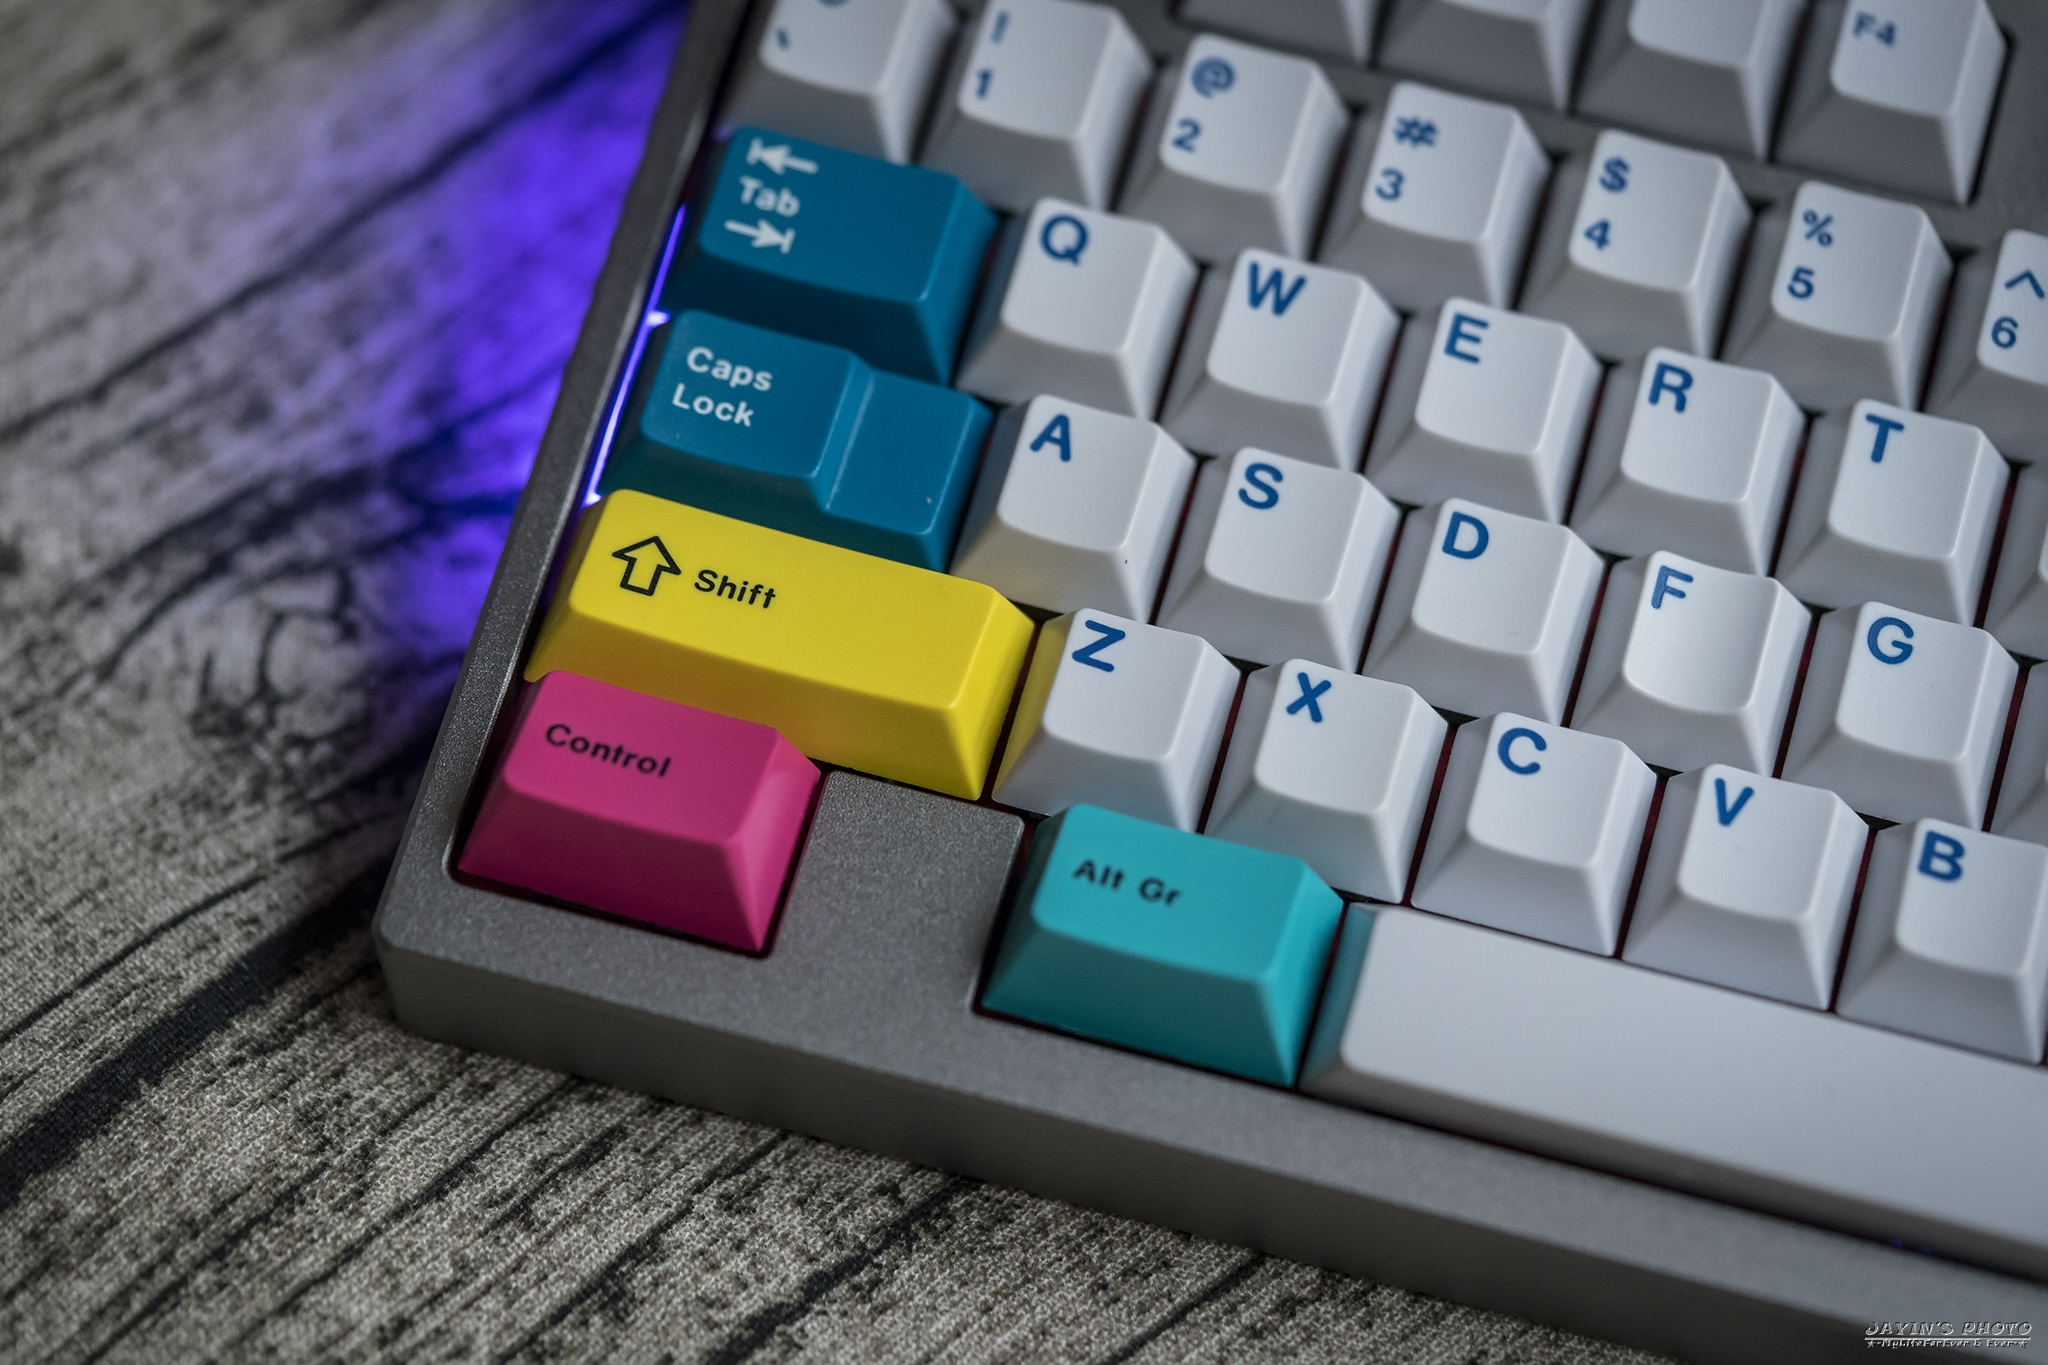
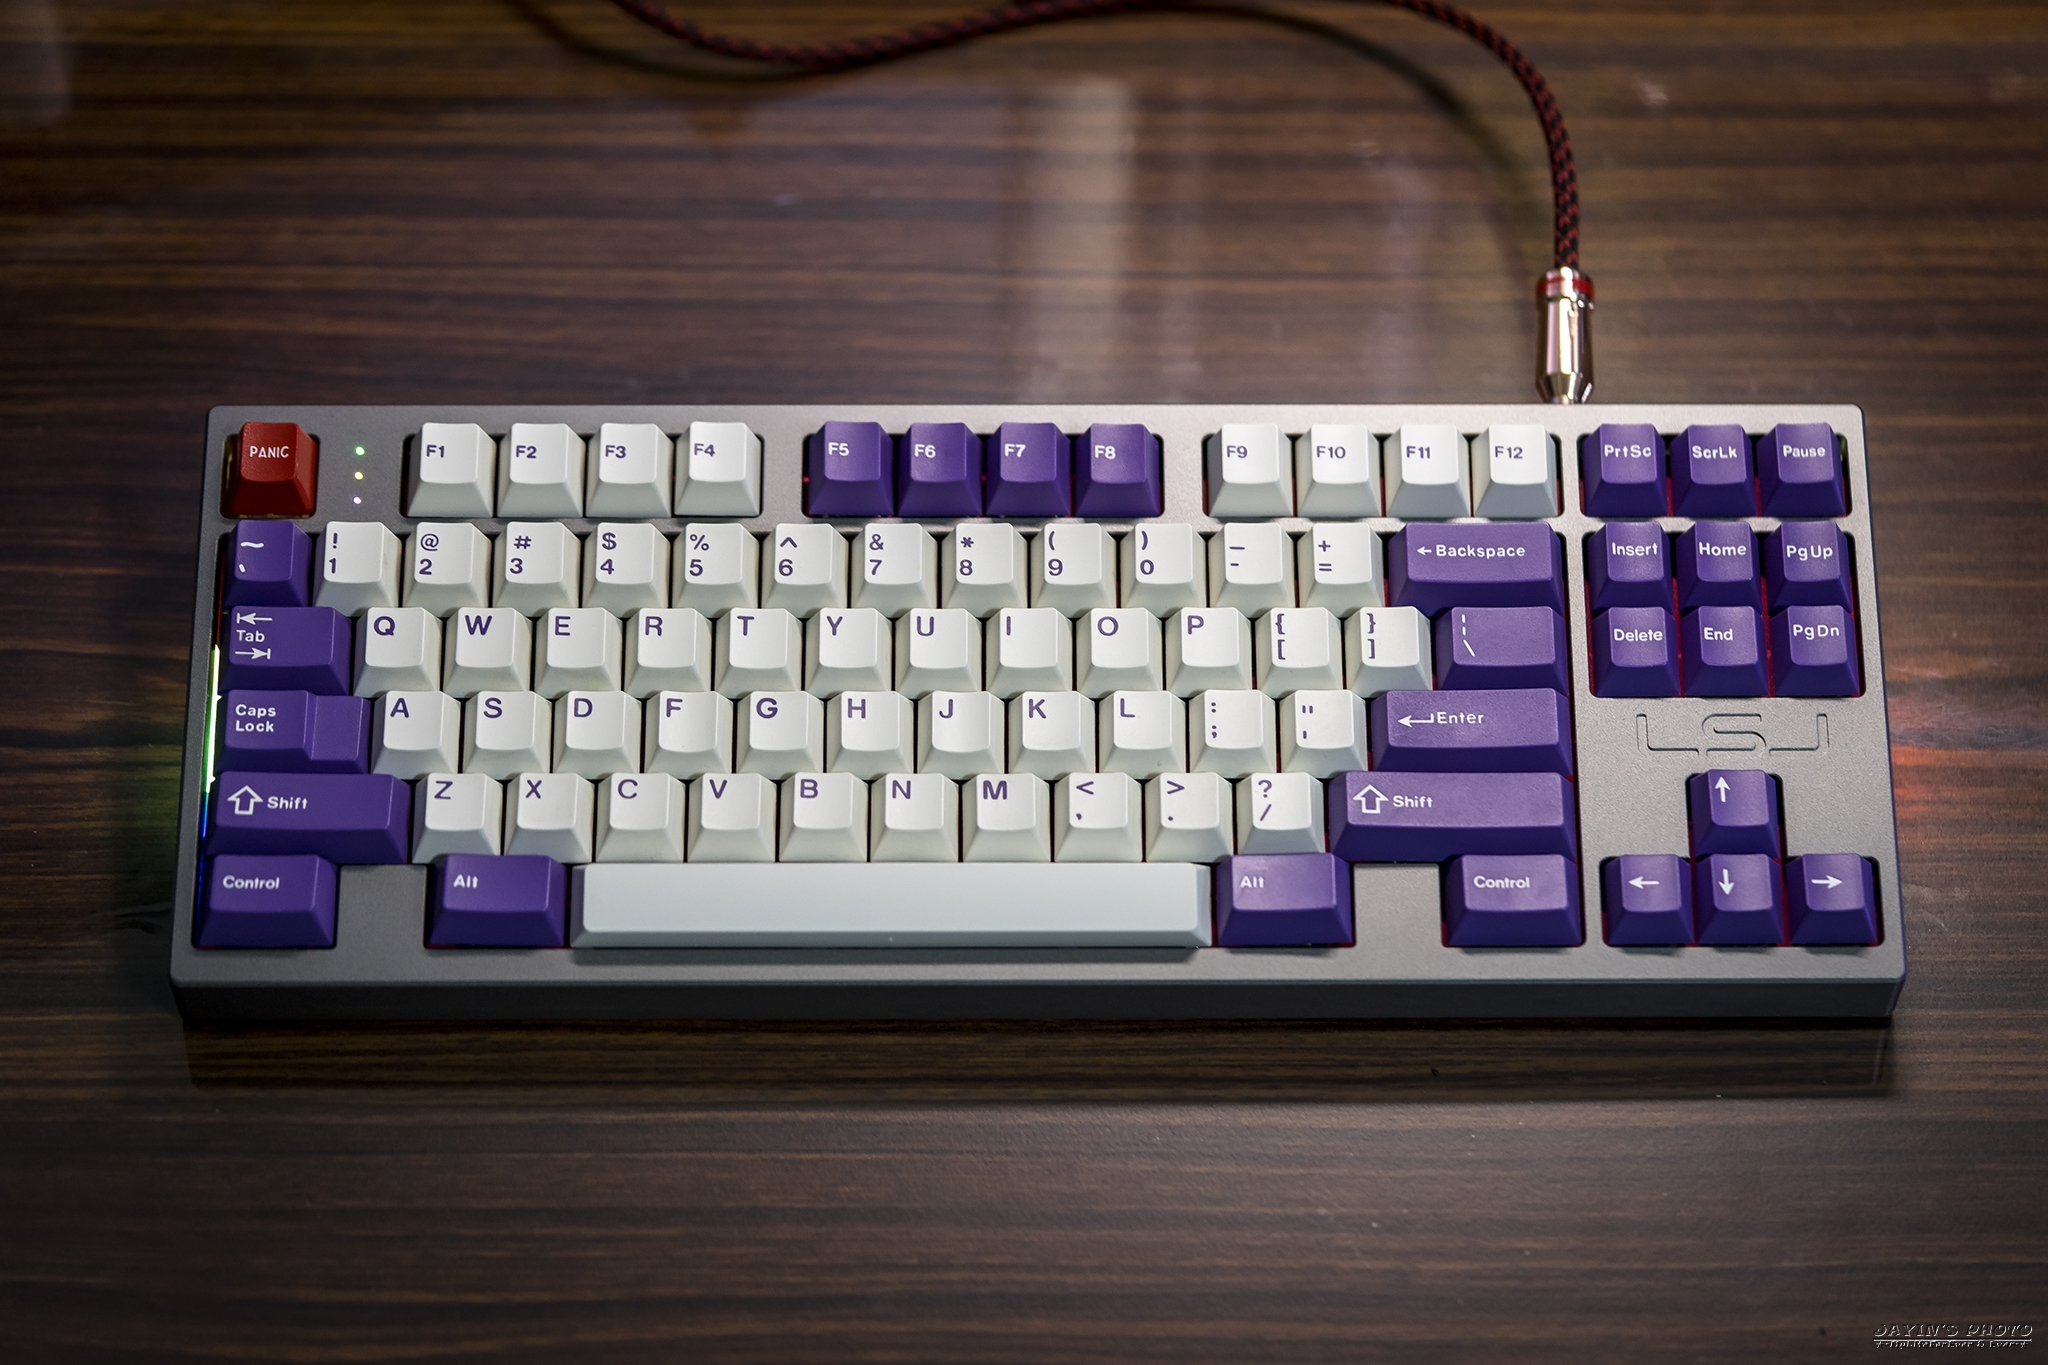
▼裝上BSP希伯來文以及cmyk,ESC是Hotkeysproject的深海raven。
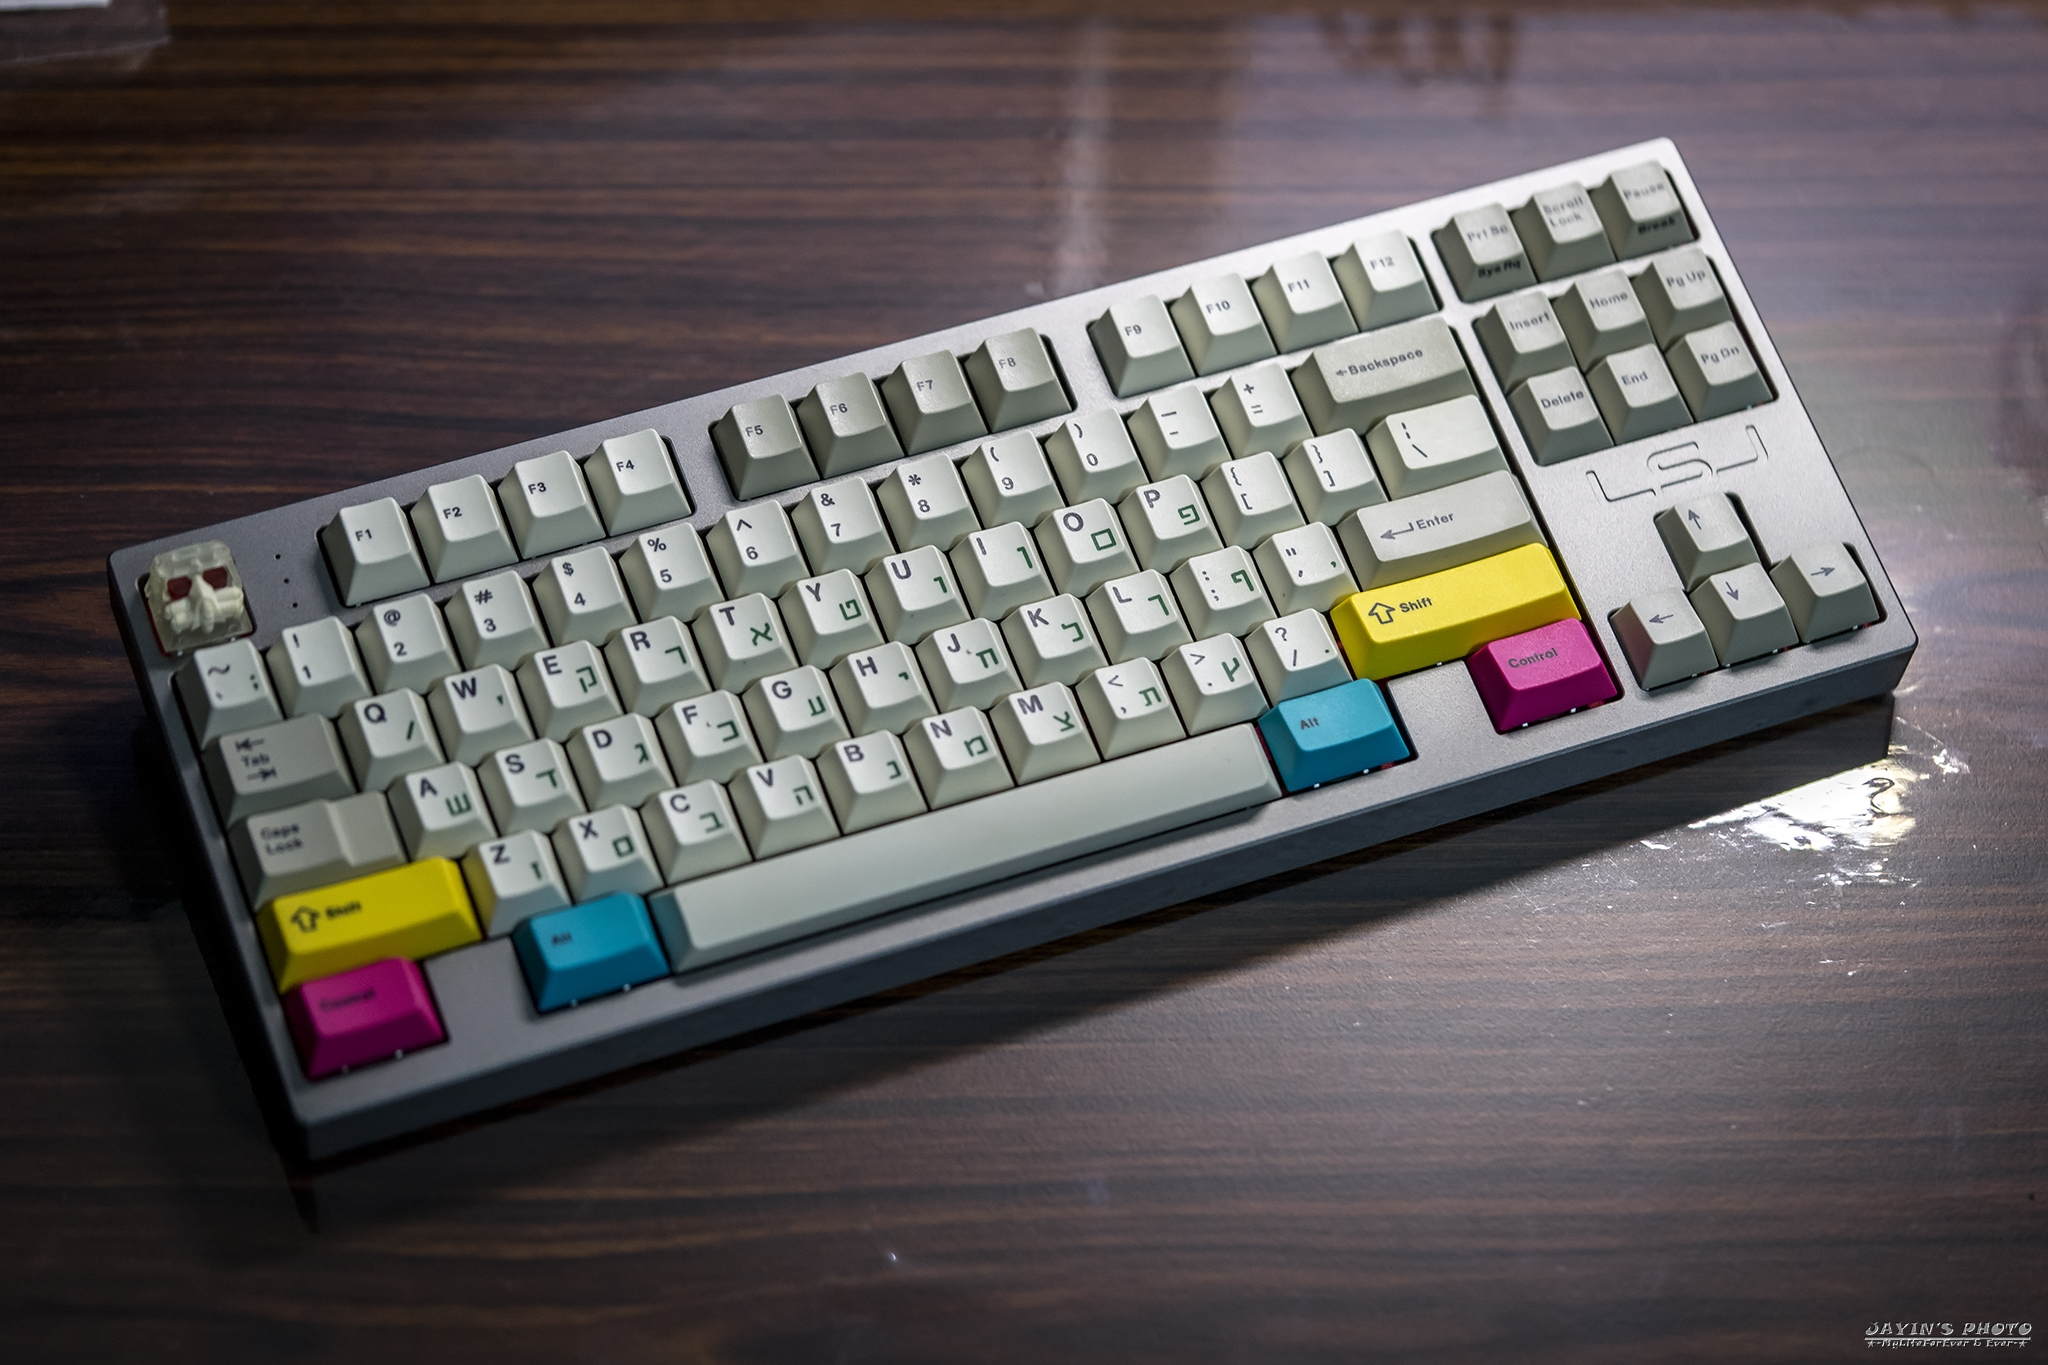
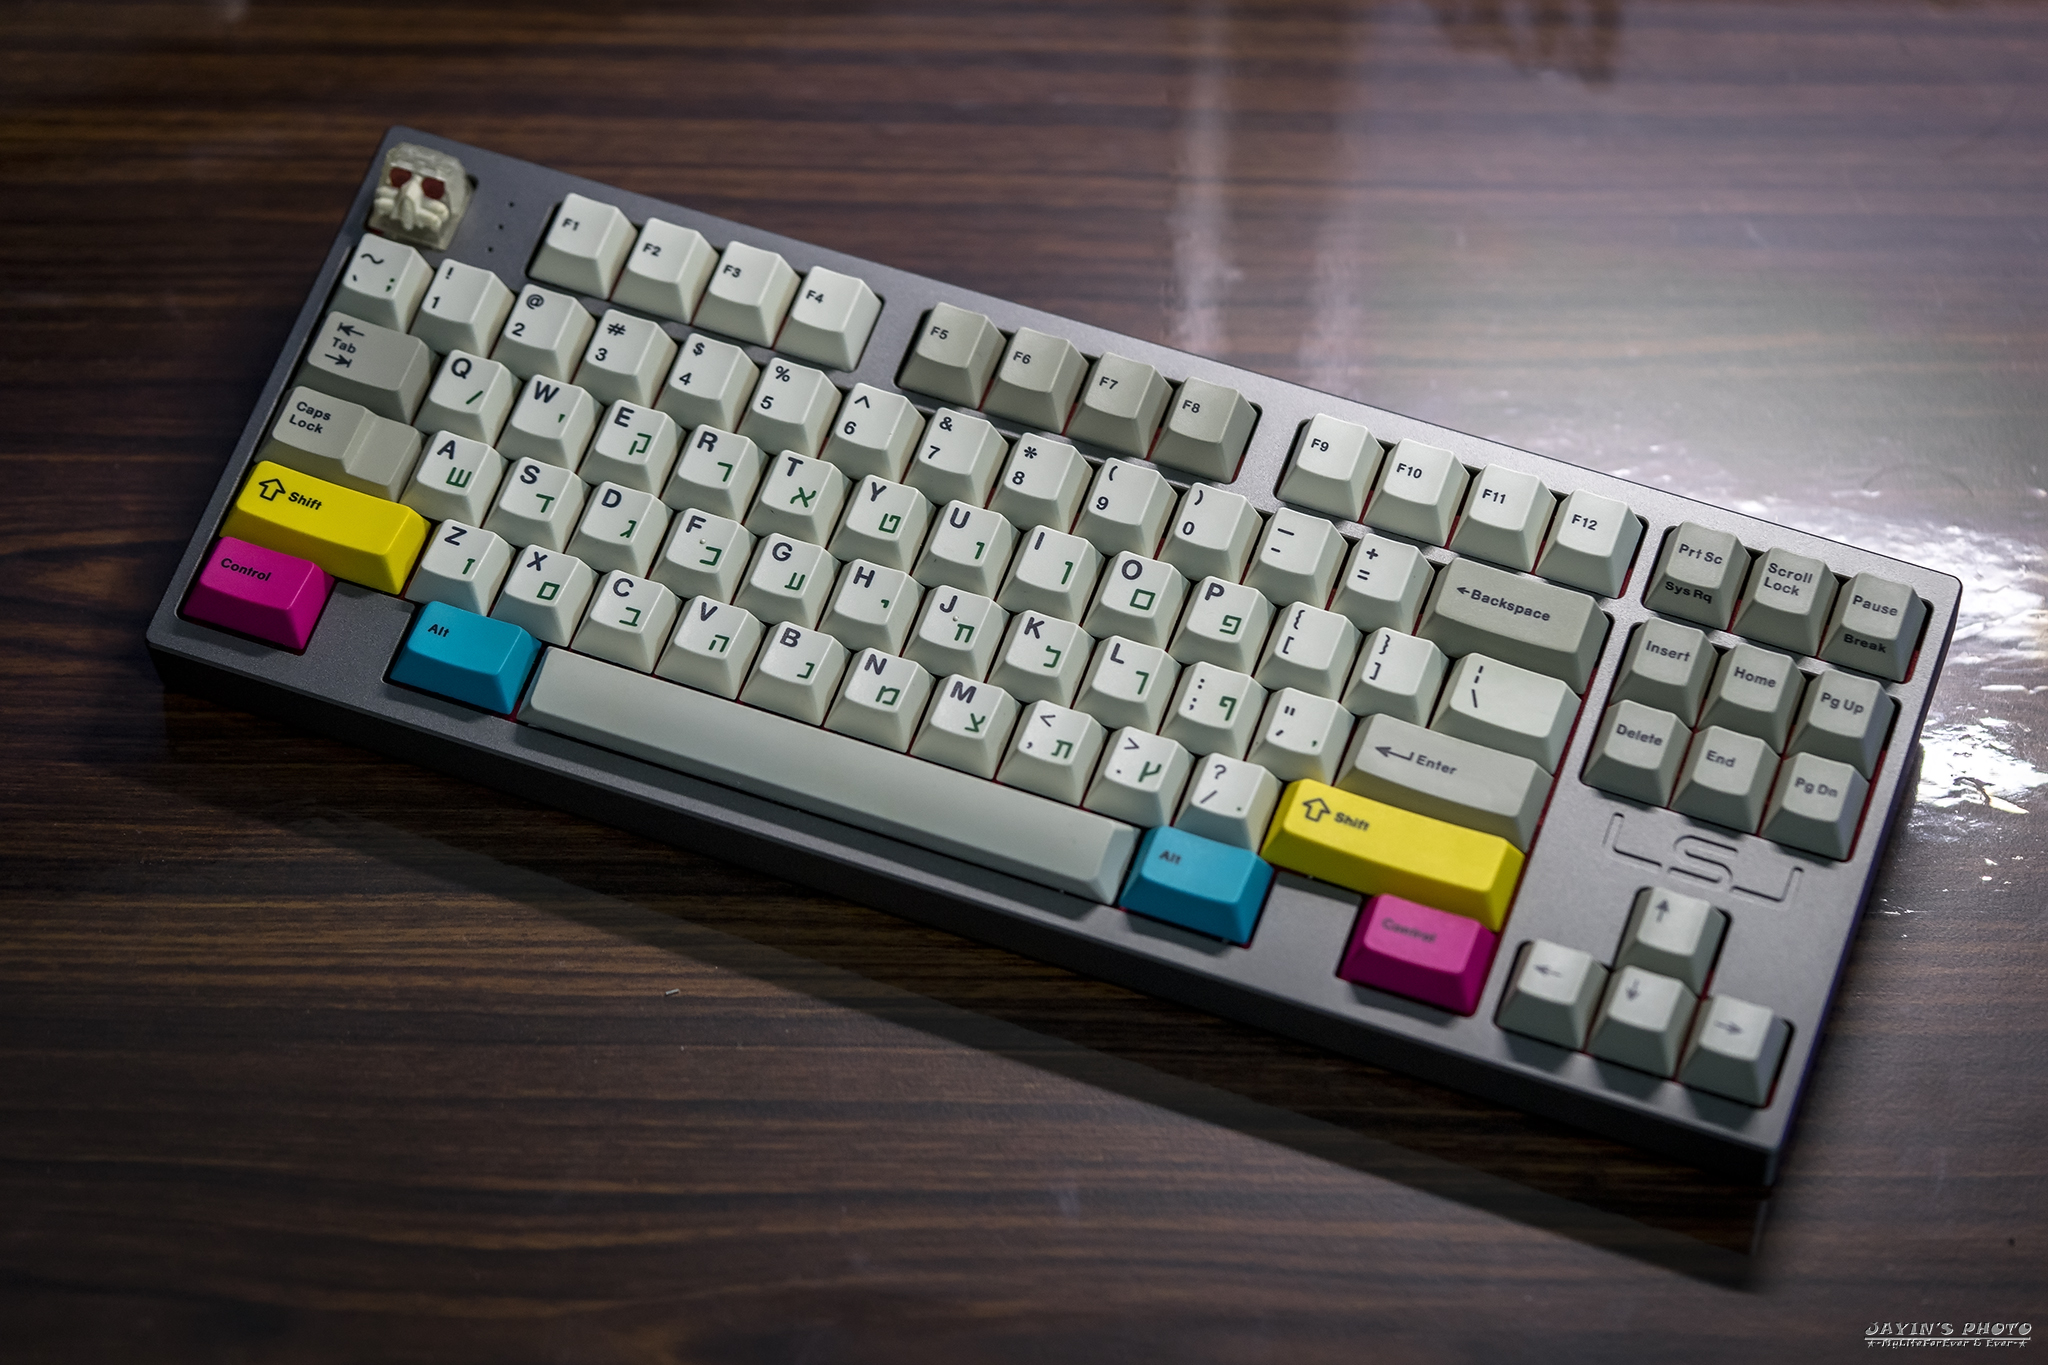
▼一定要來張LSJ特寫

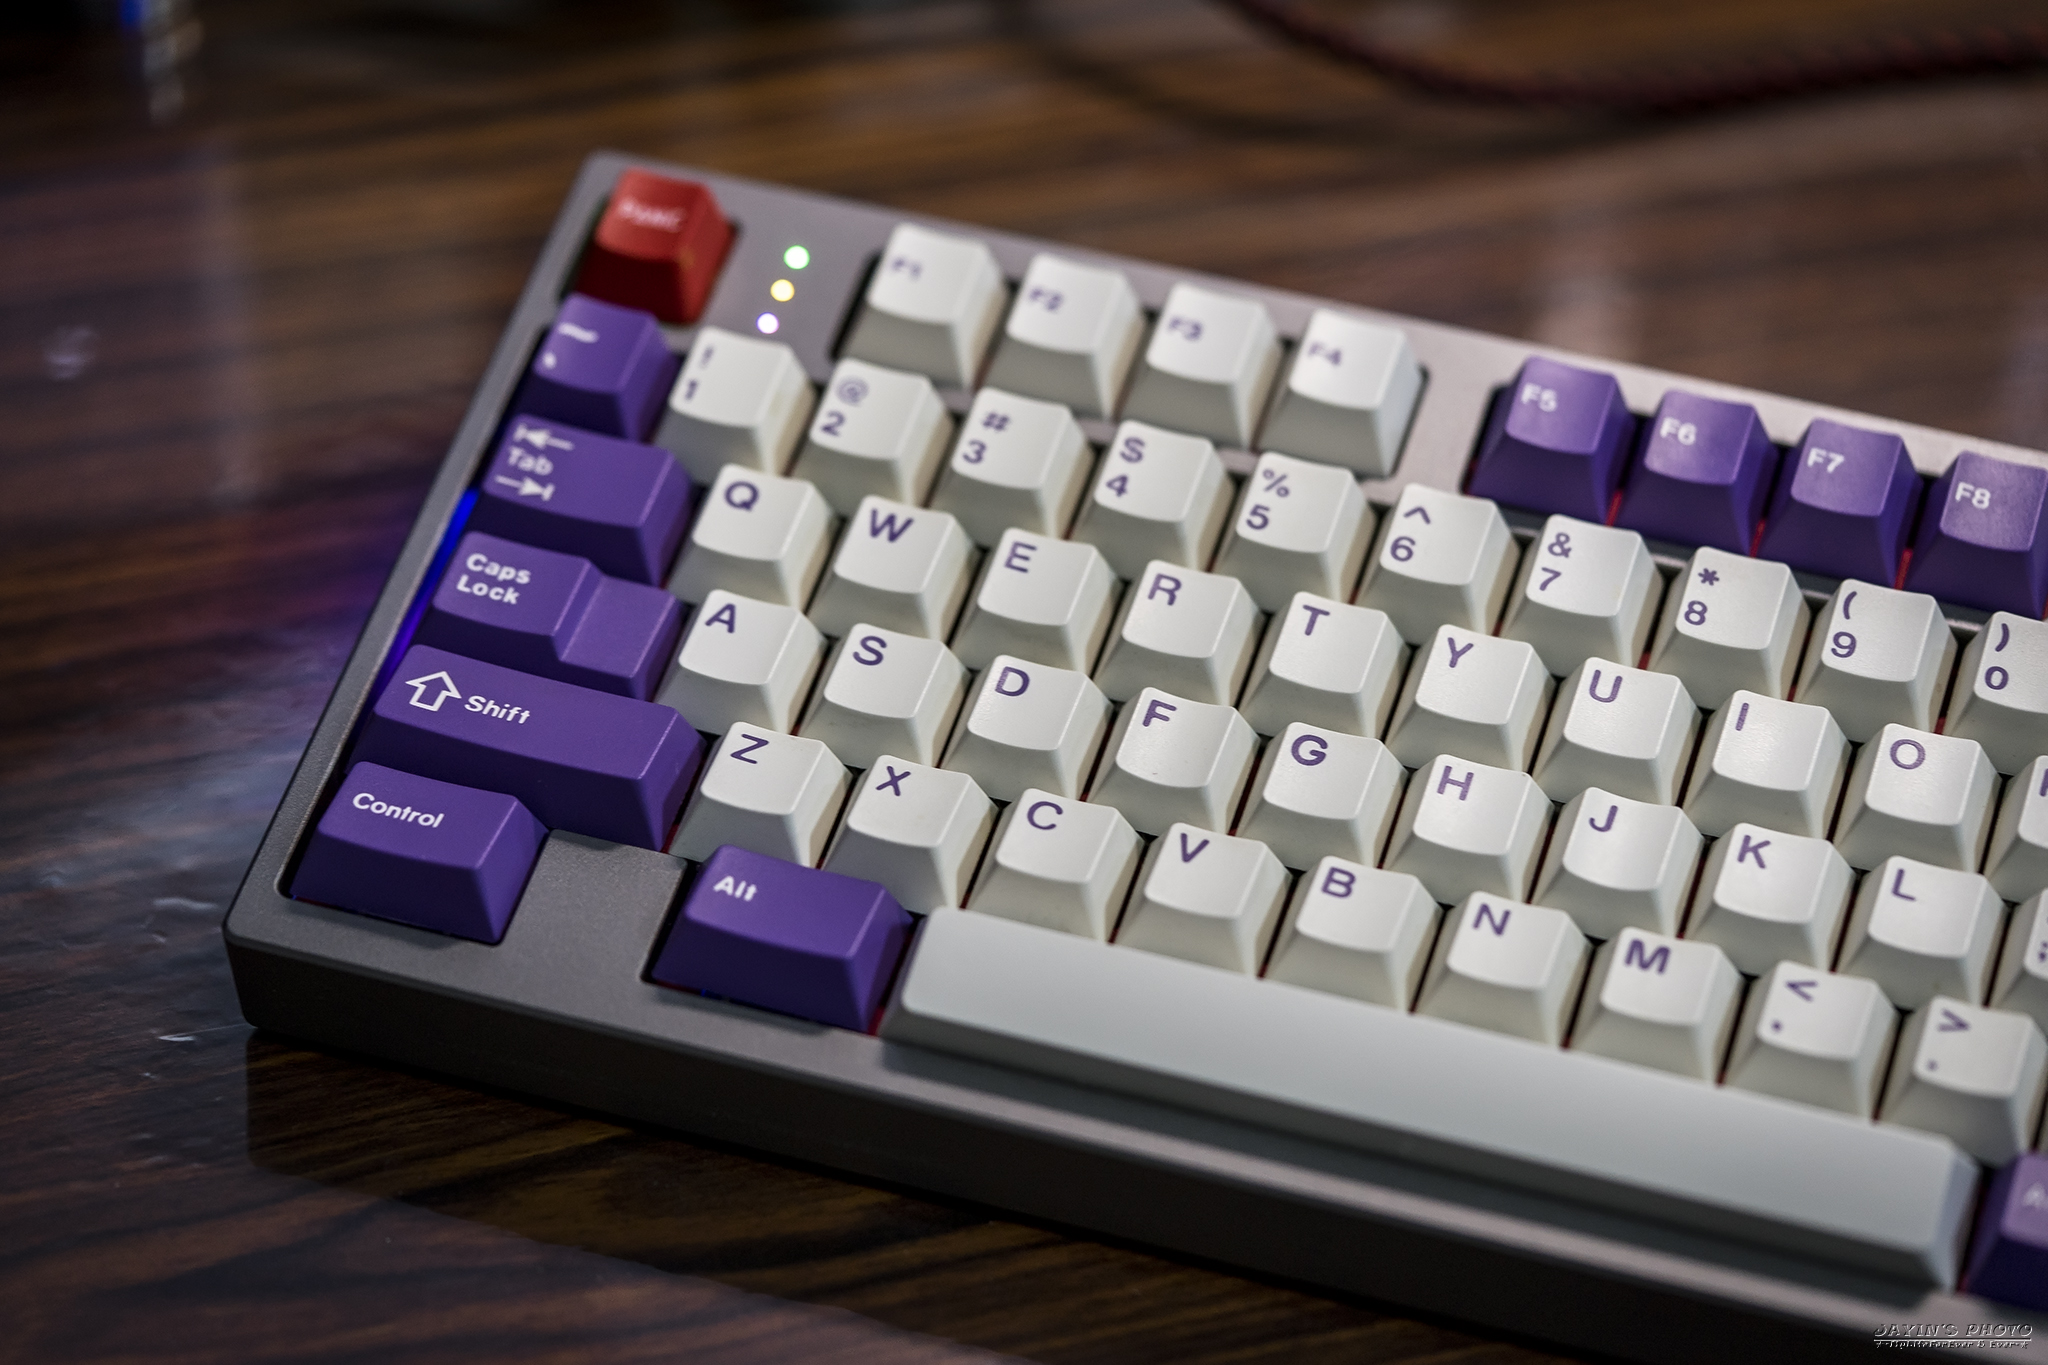
▼幾張自然光下的照片
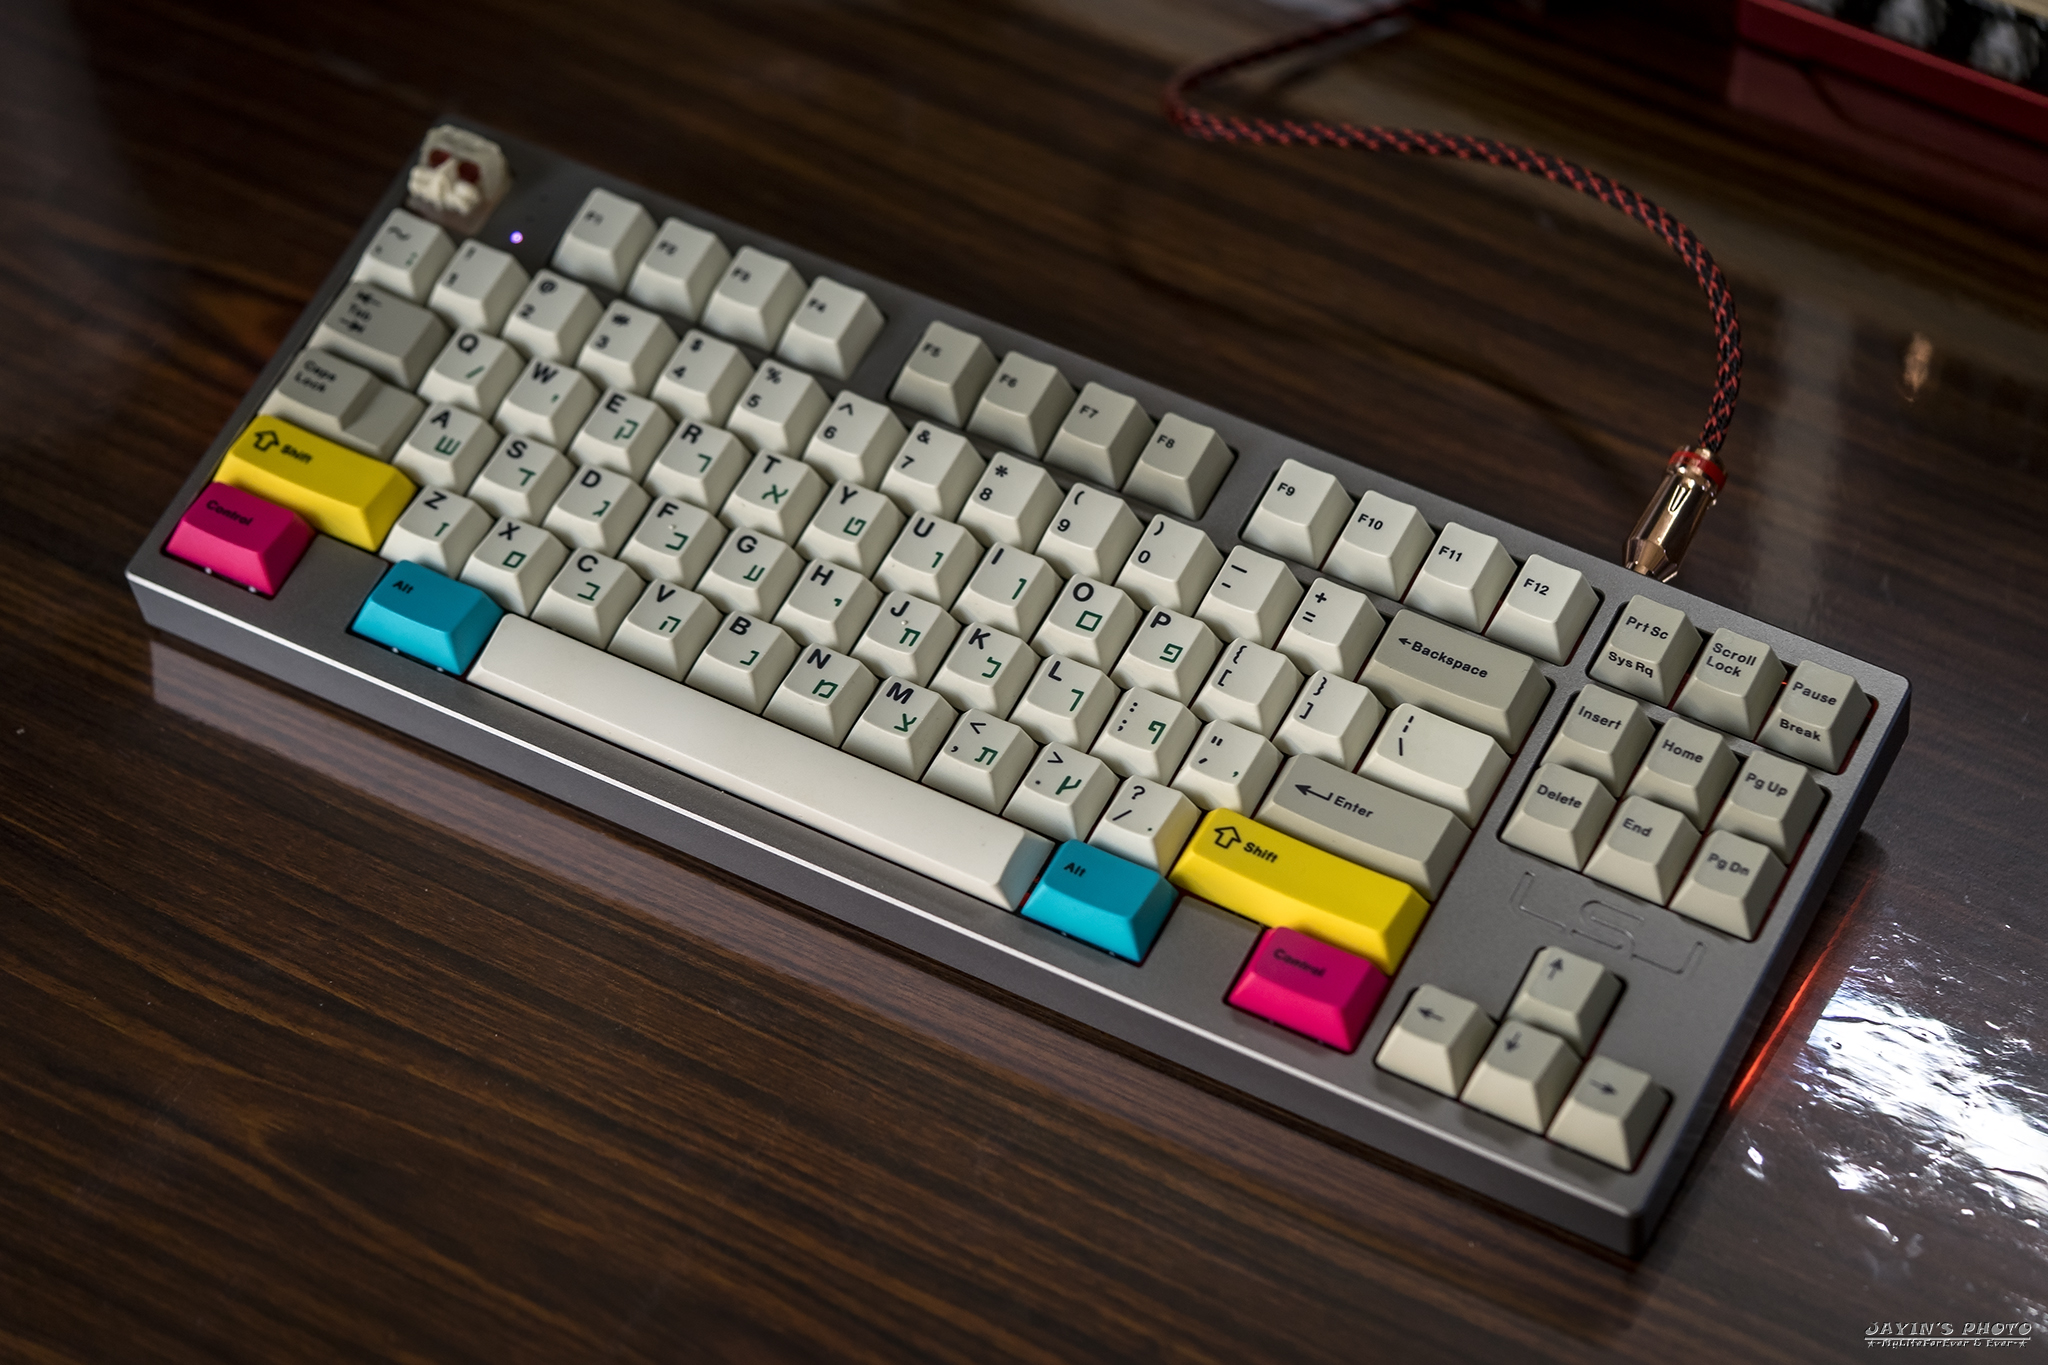
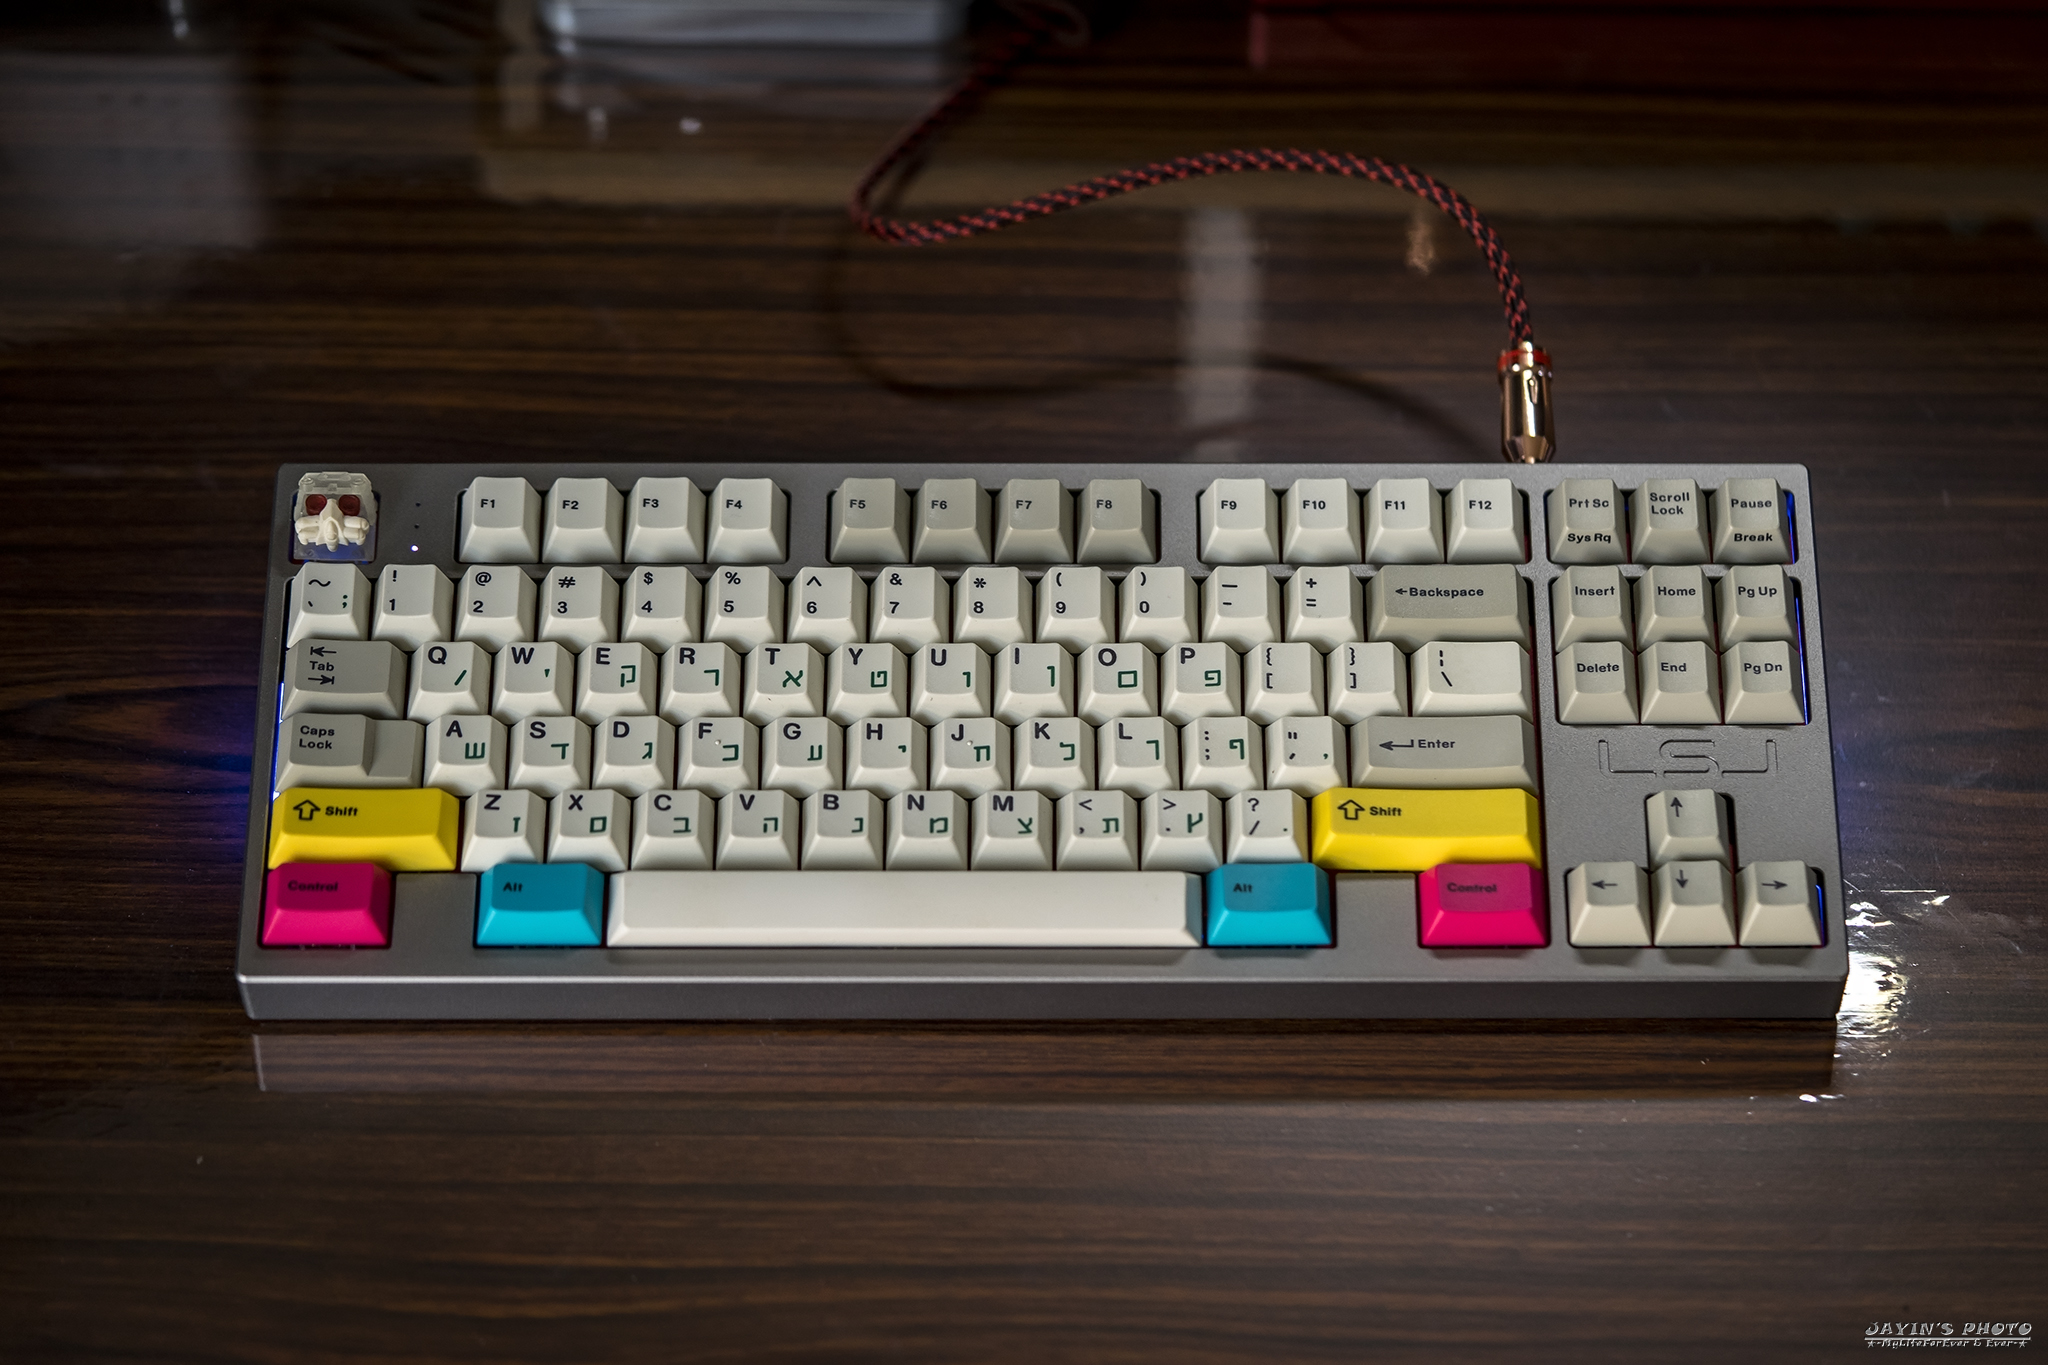
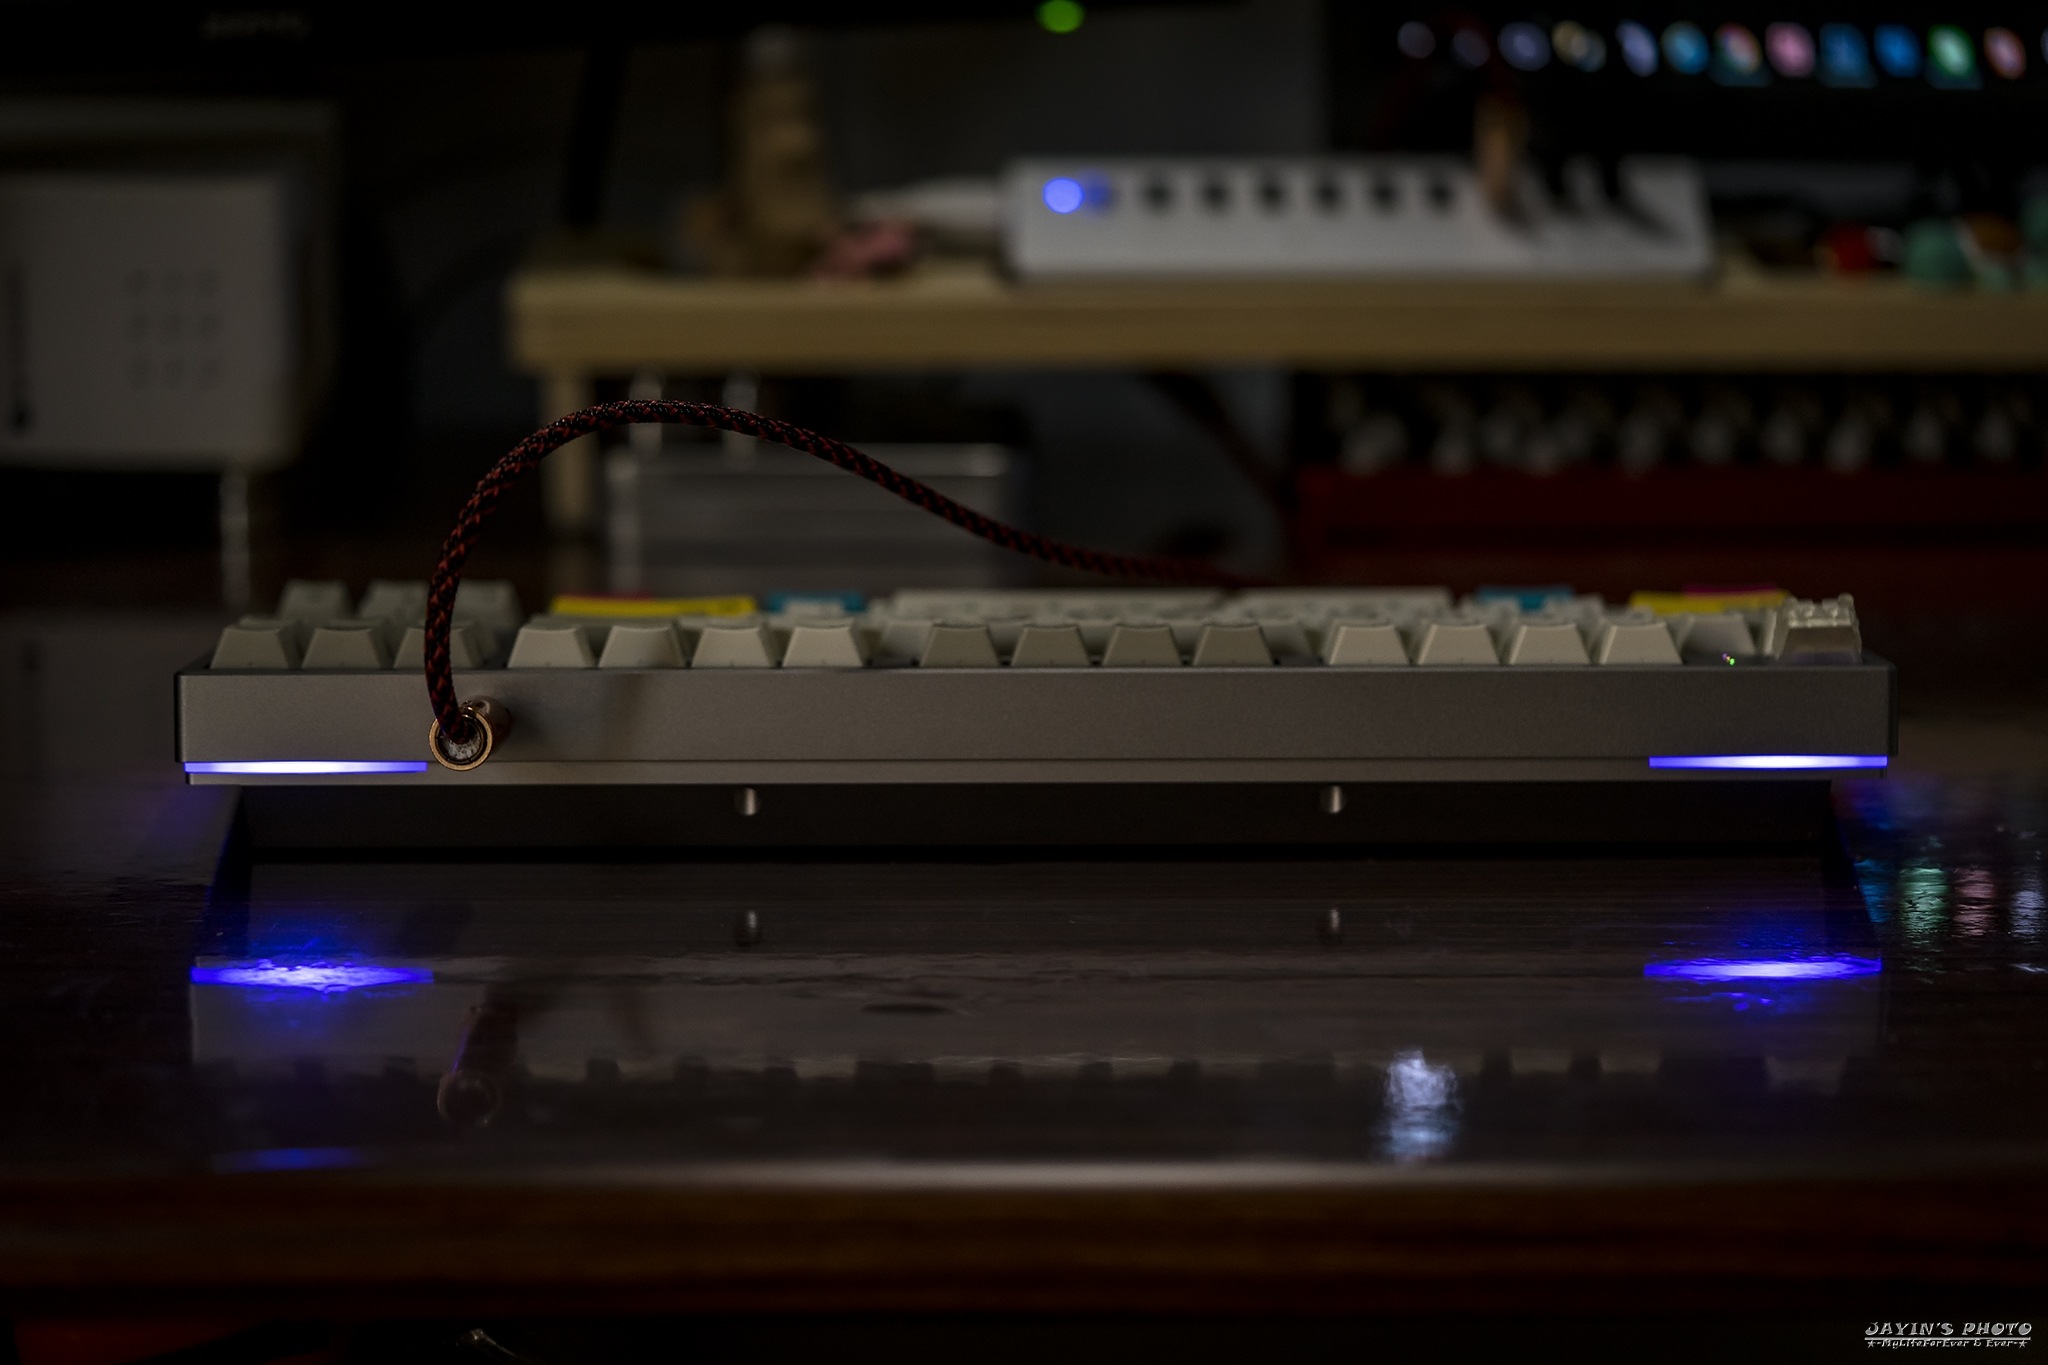
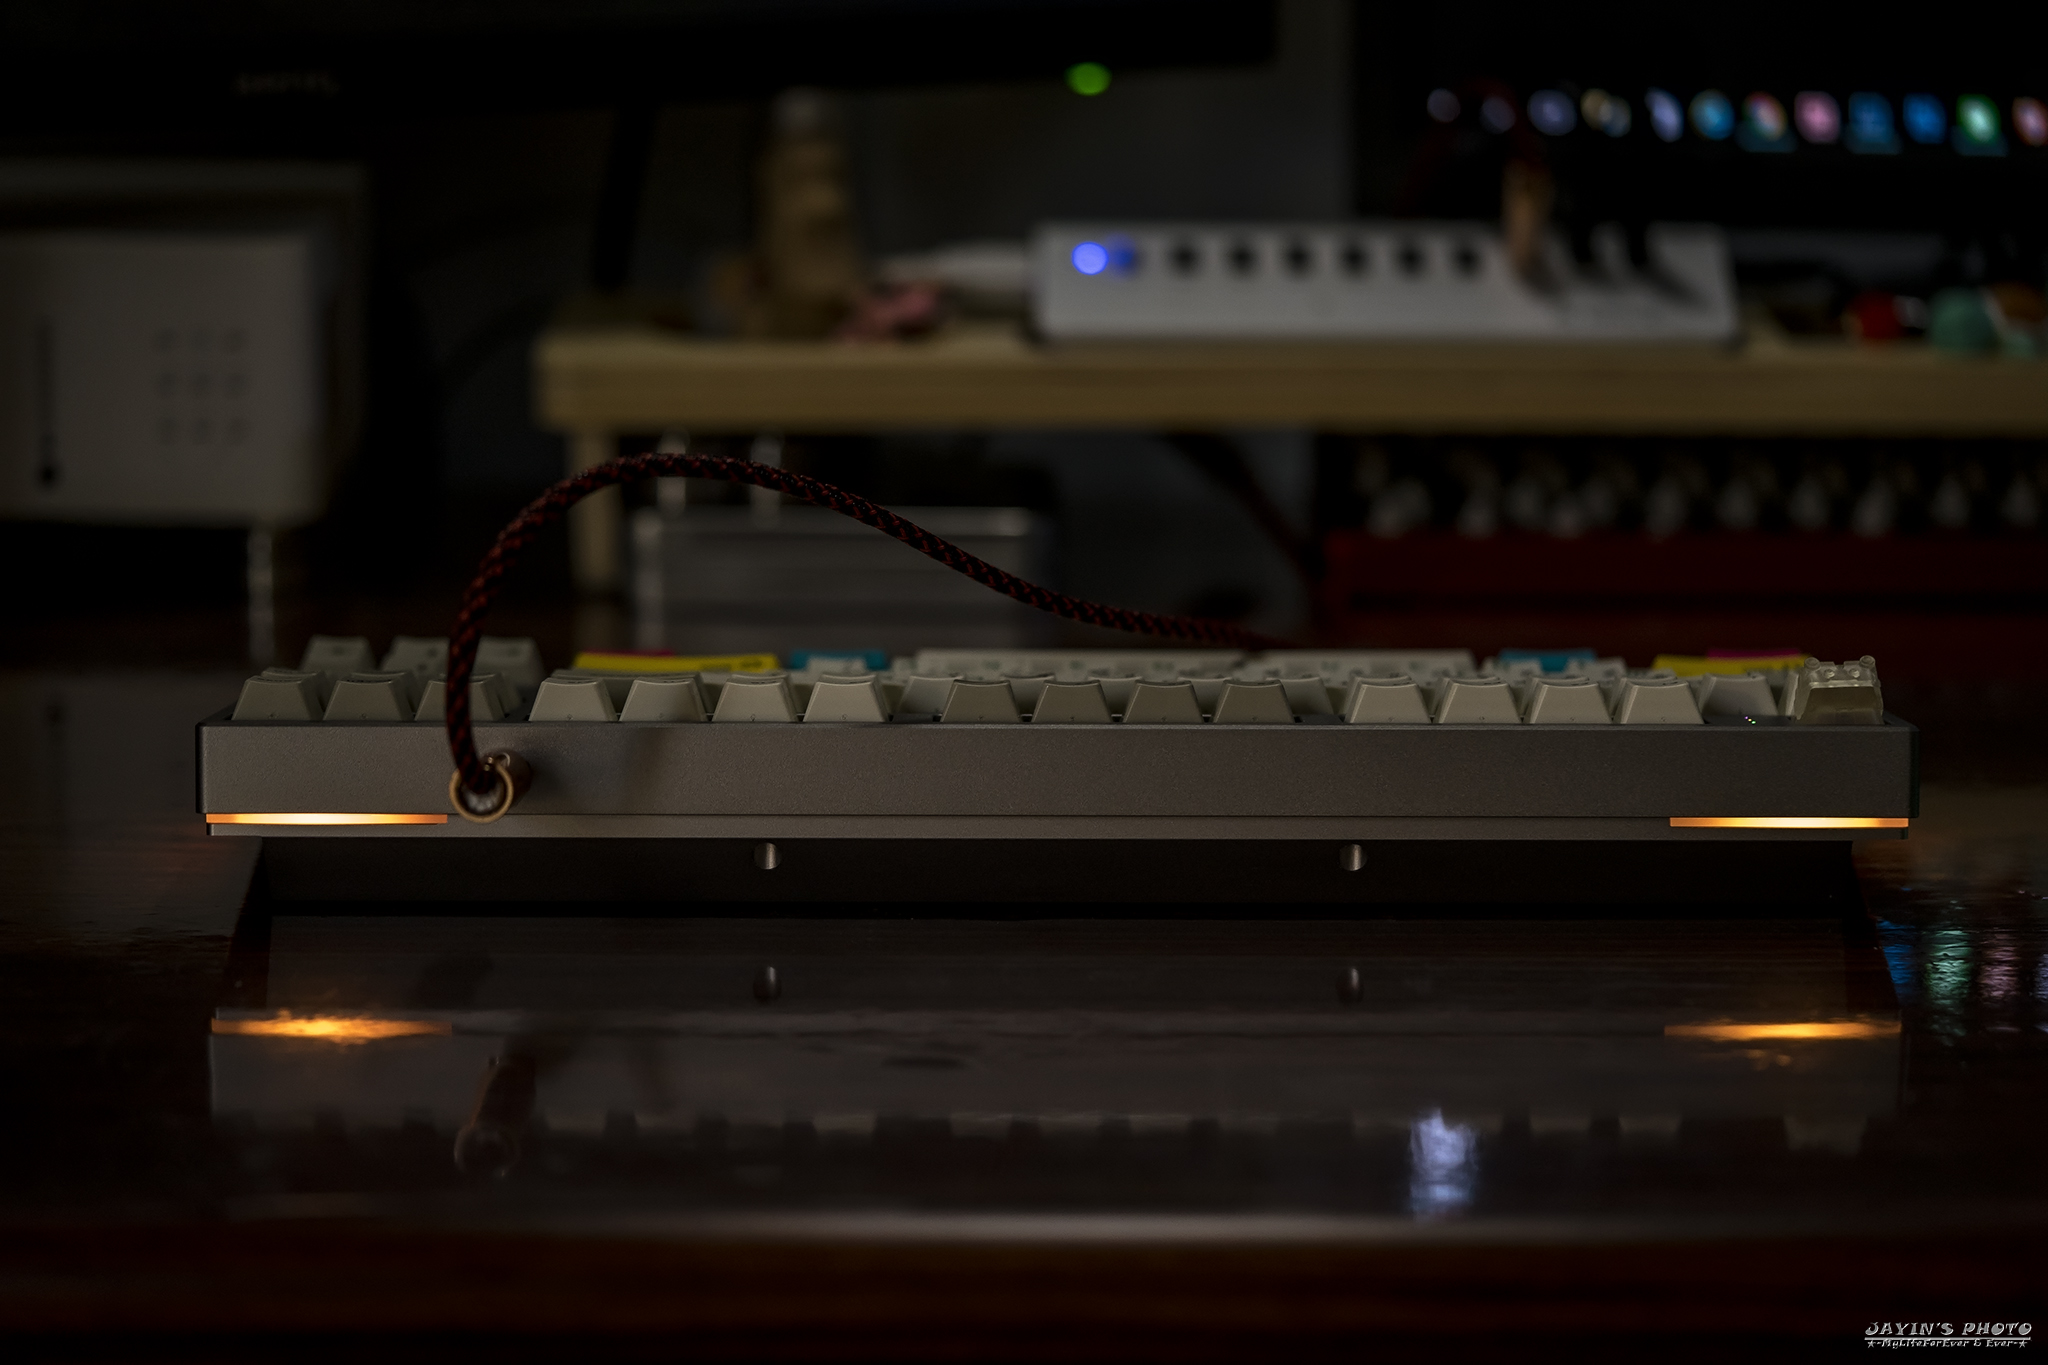
▼插上逼格線,準備來看均光板跟RGB底燈搭配的效果。
▼ESC旁邊的三燈
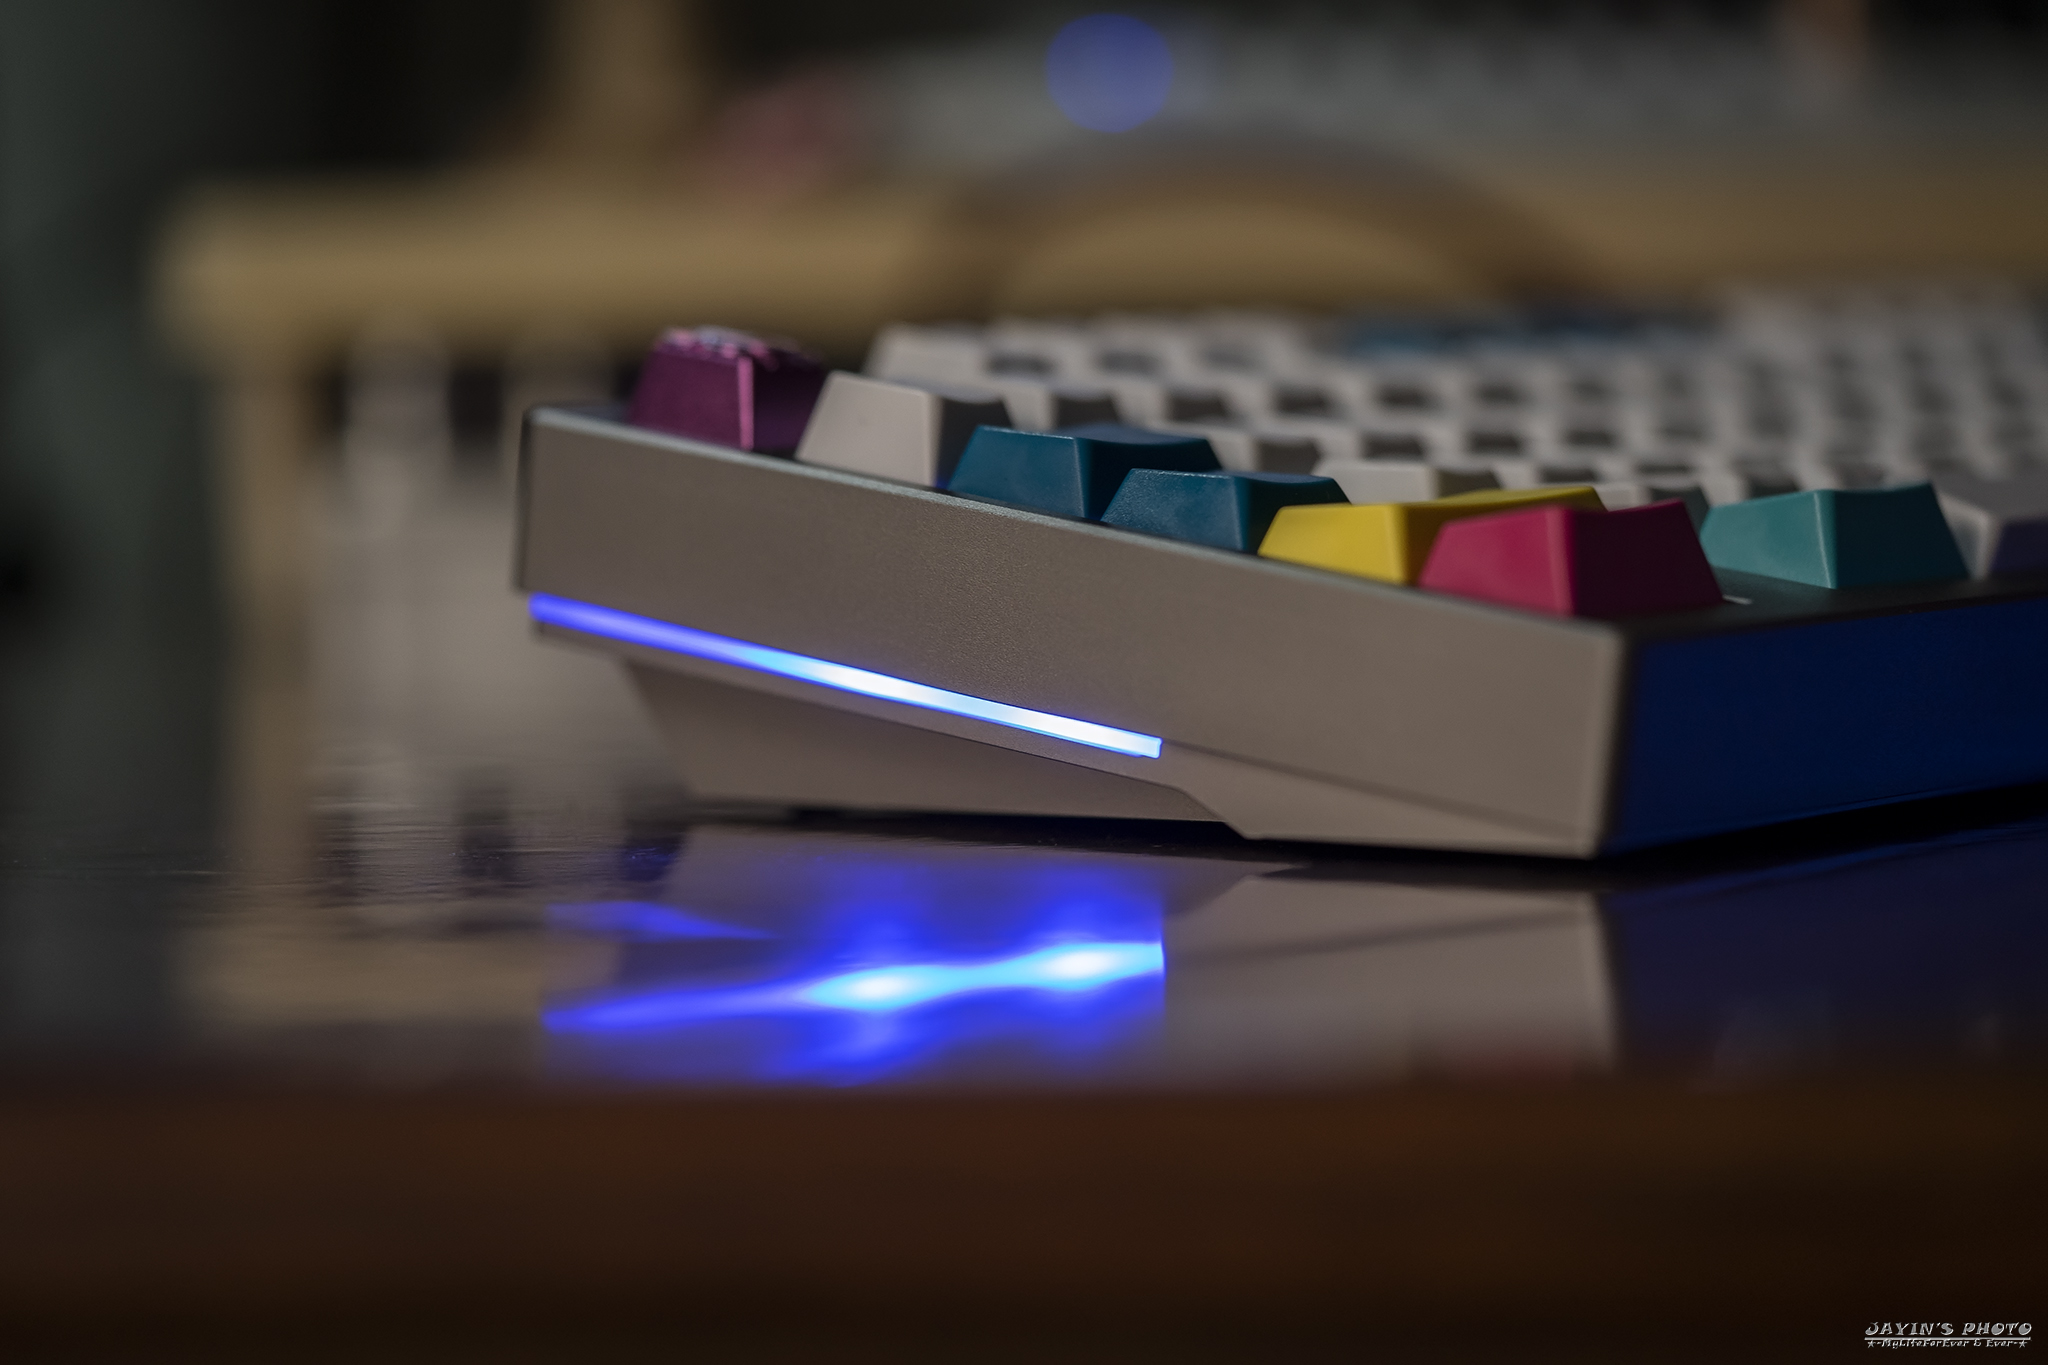
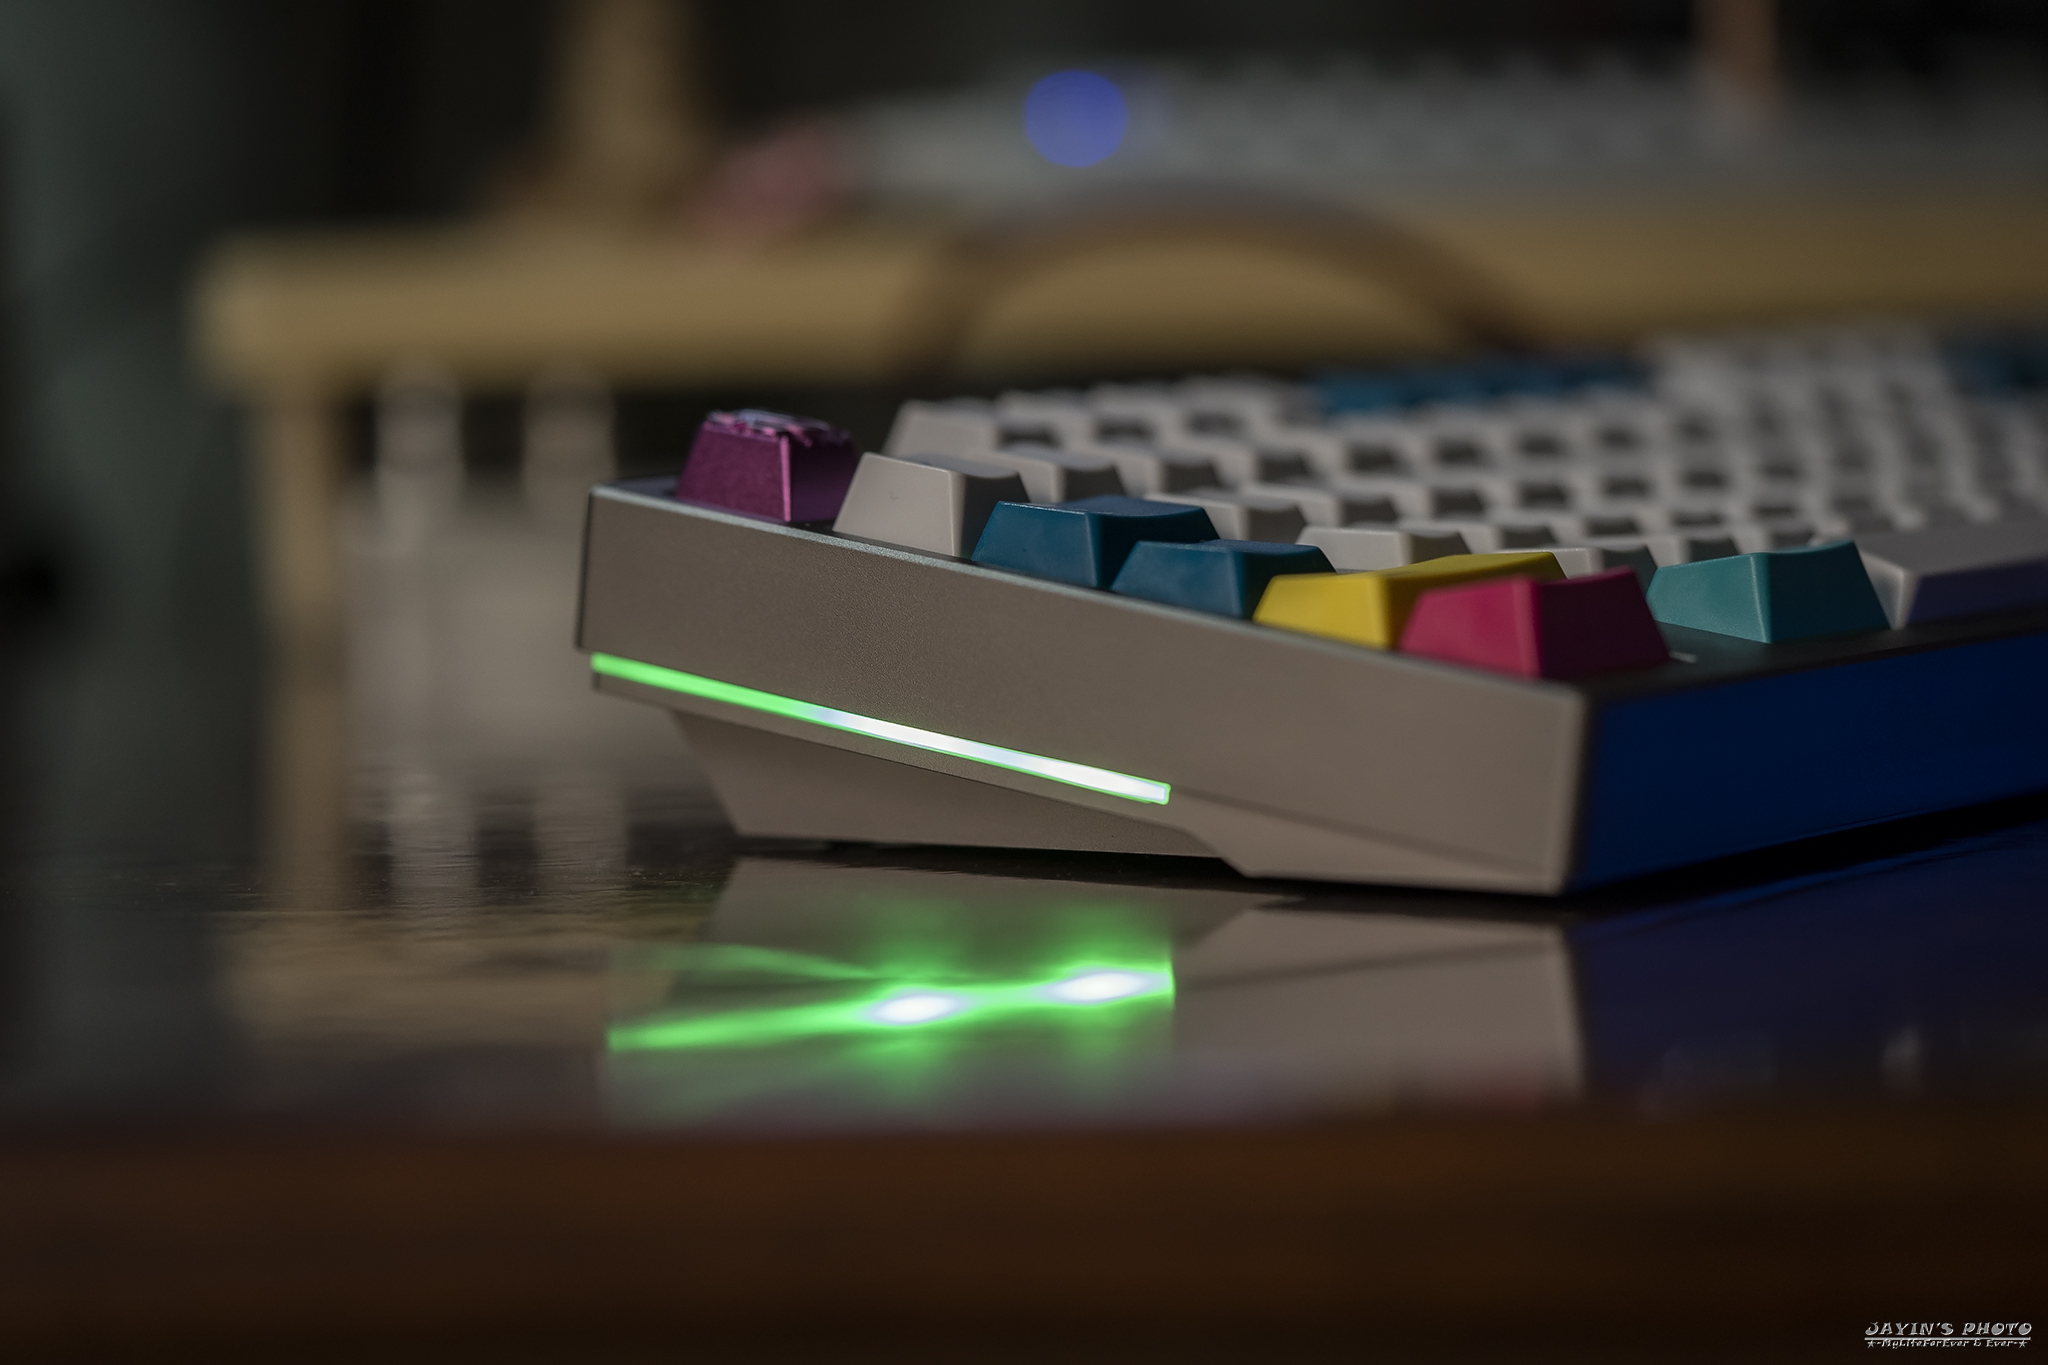
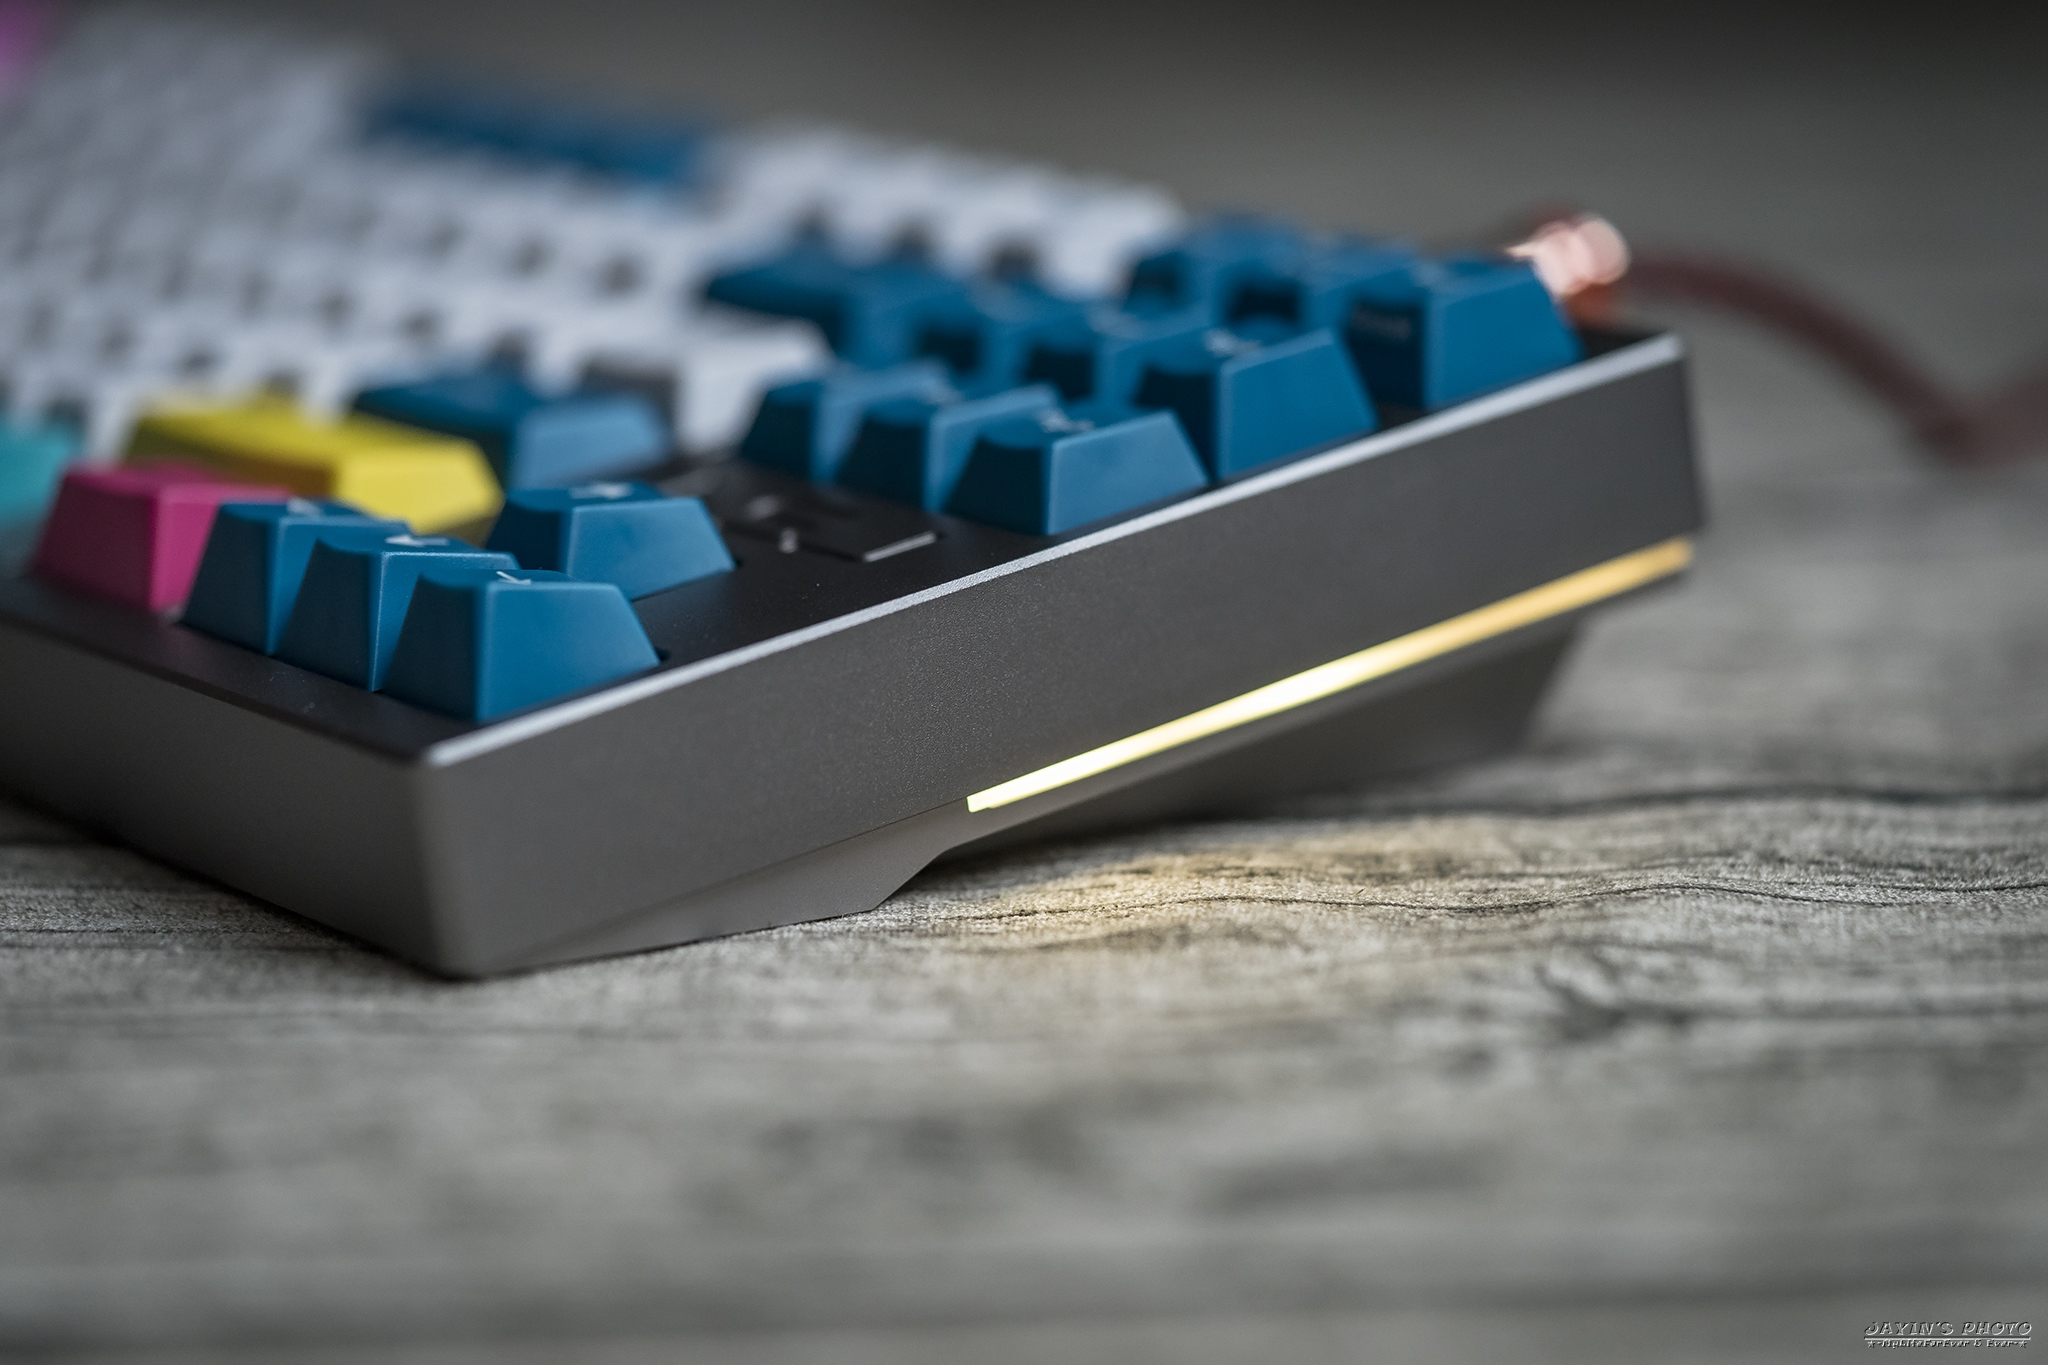
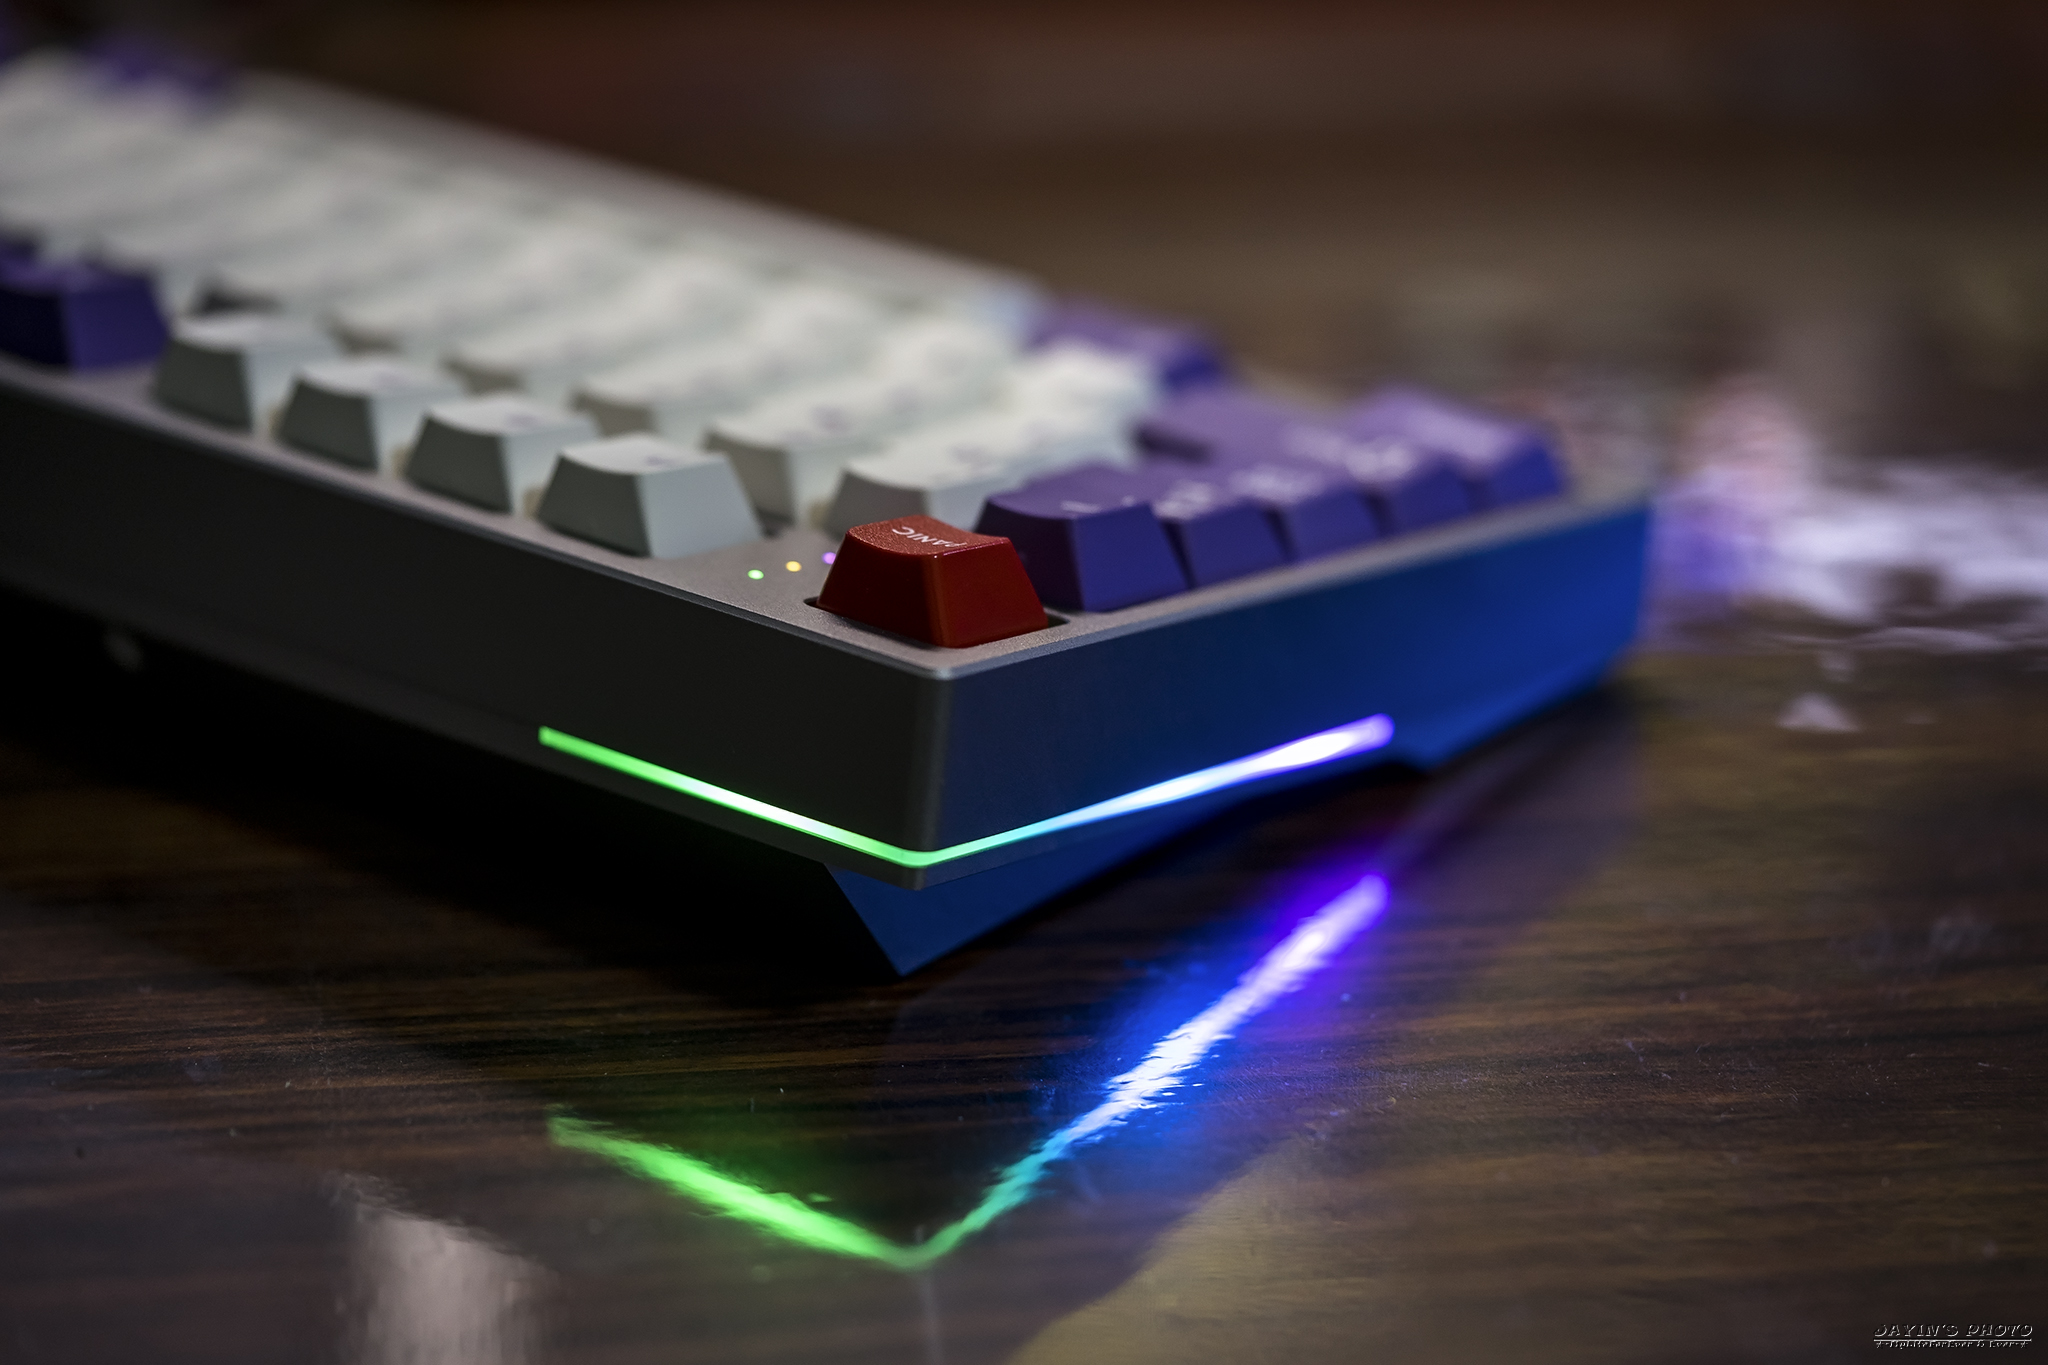
▼側燈來啦
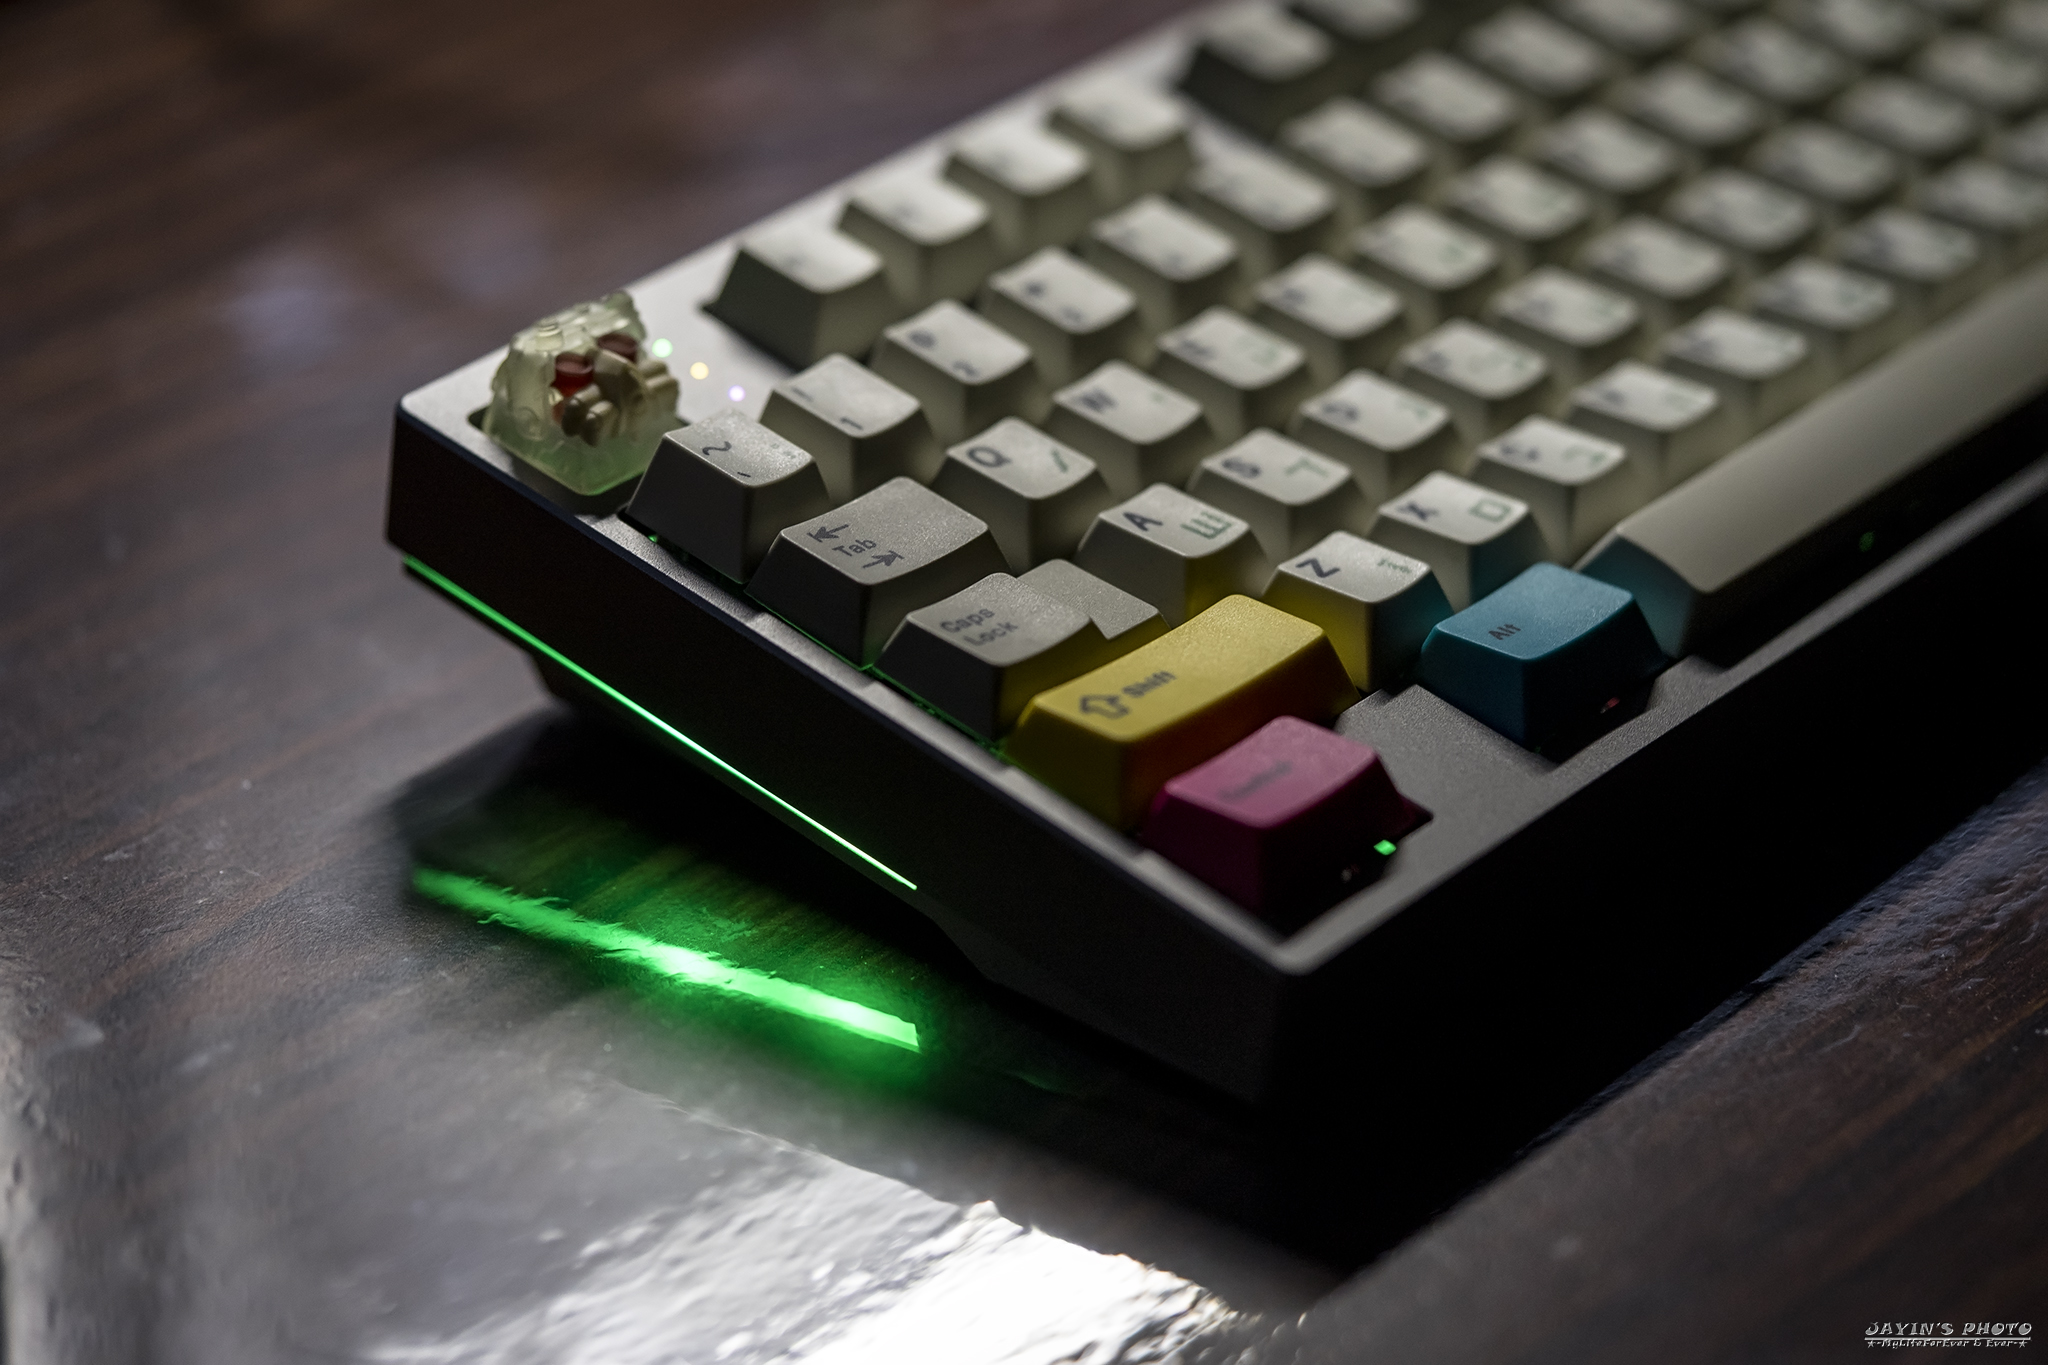
▼還會變色喔!可以從Bootmapper client上調整mode。
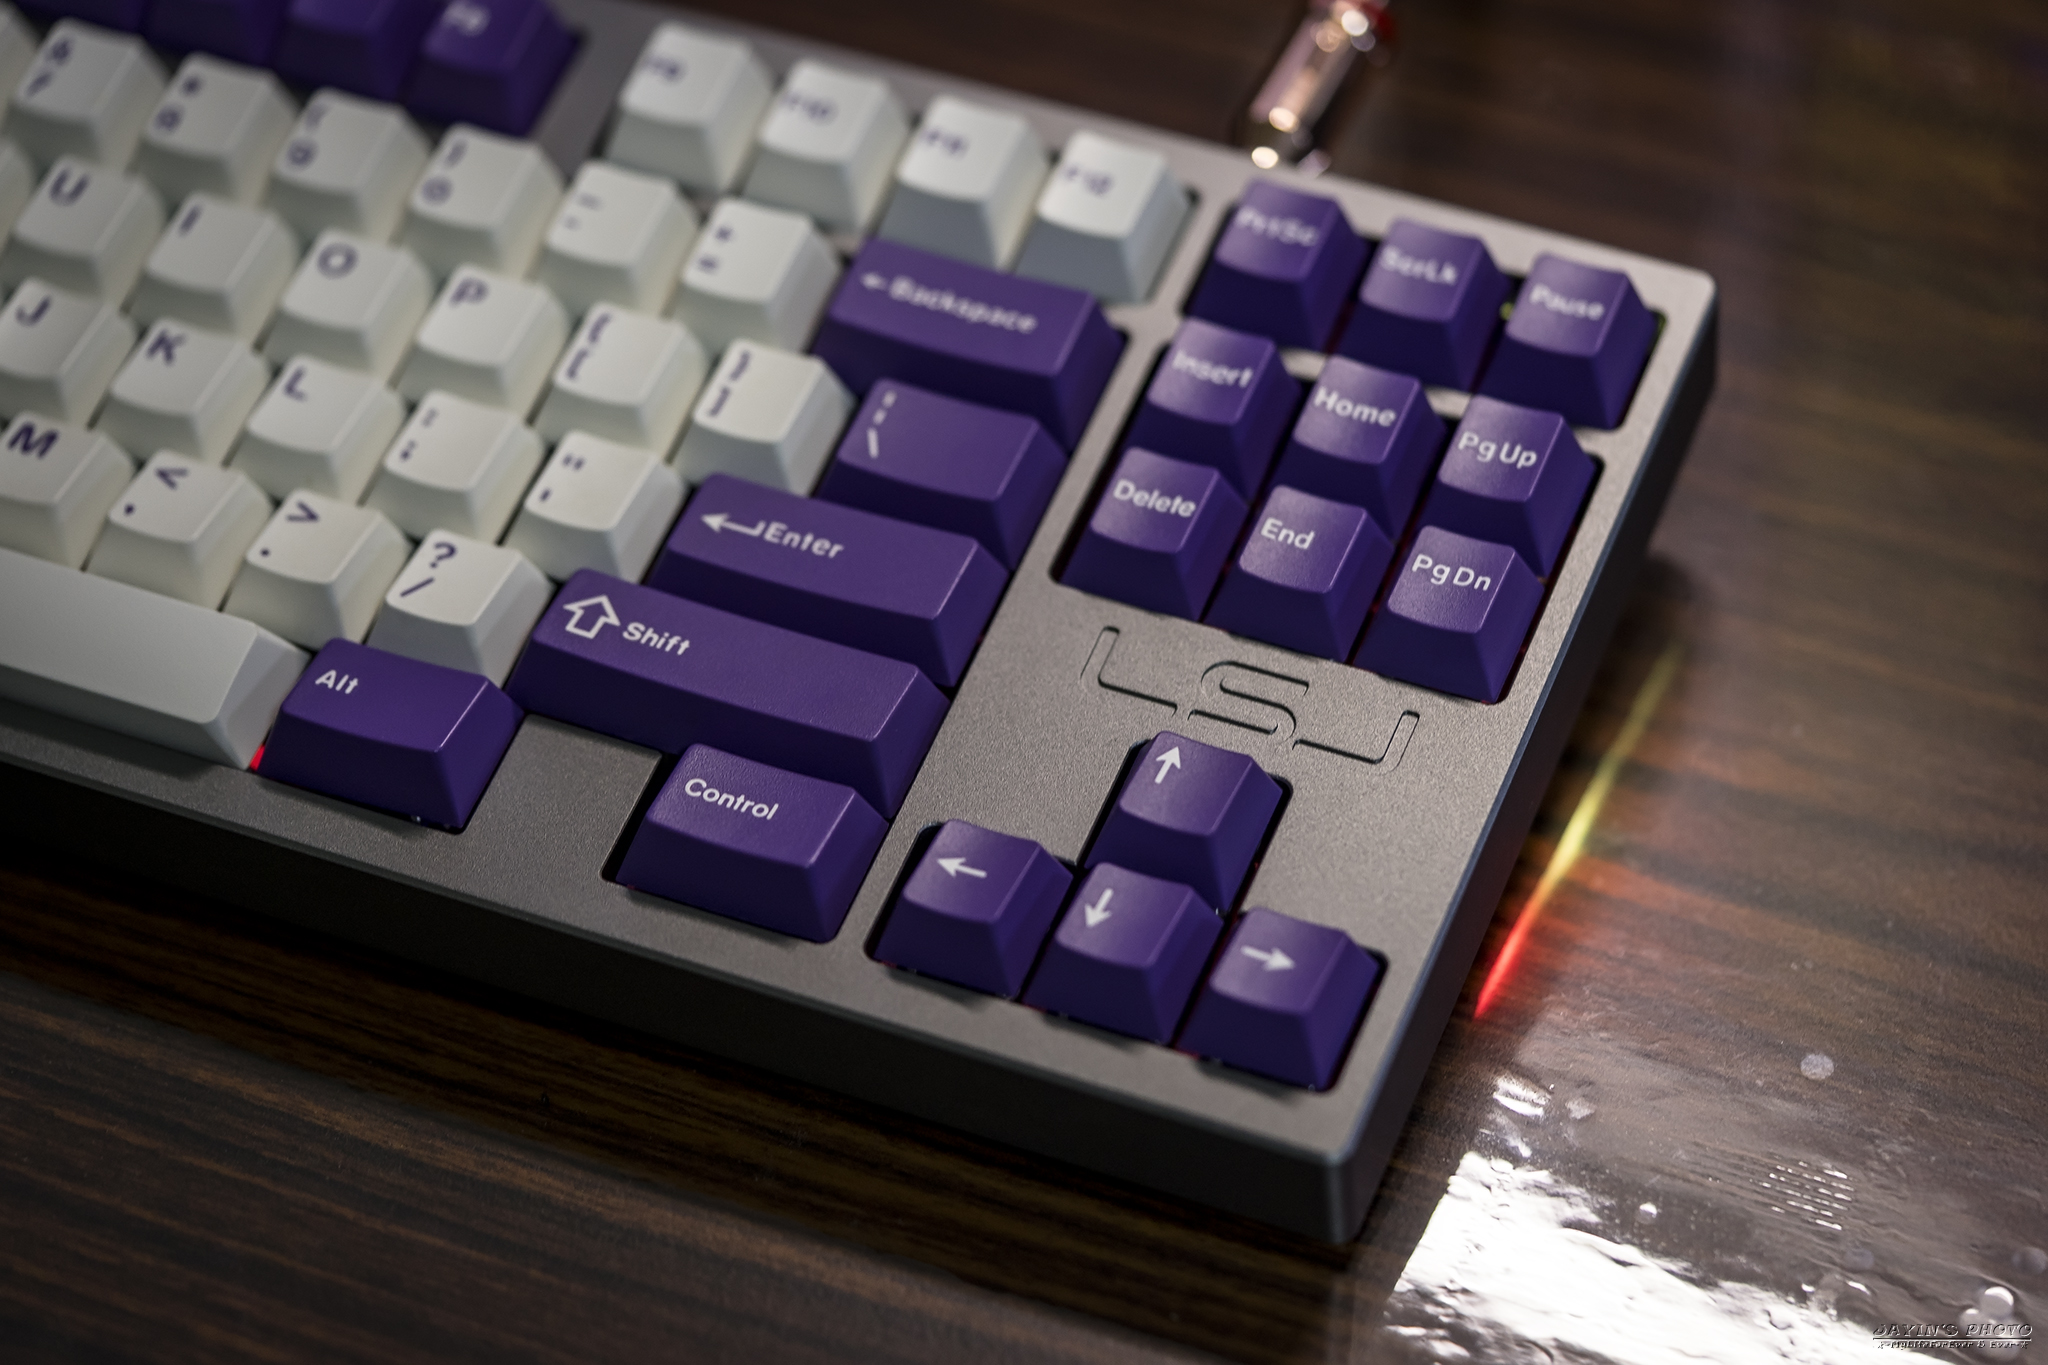
▼均光板是延伸到鍵盤後方的,來看看後面的燈光效果。這車尾燈還不錯吧!雖然還是讓你看到了
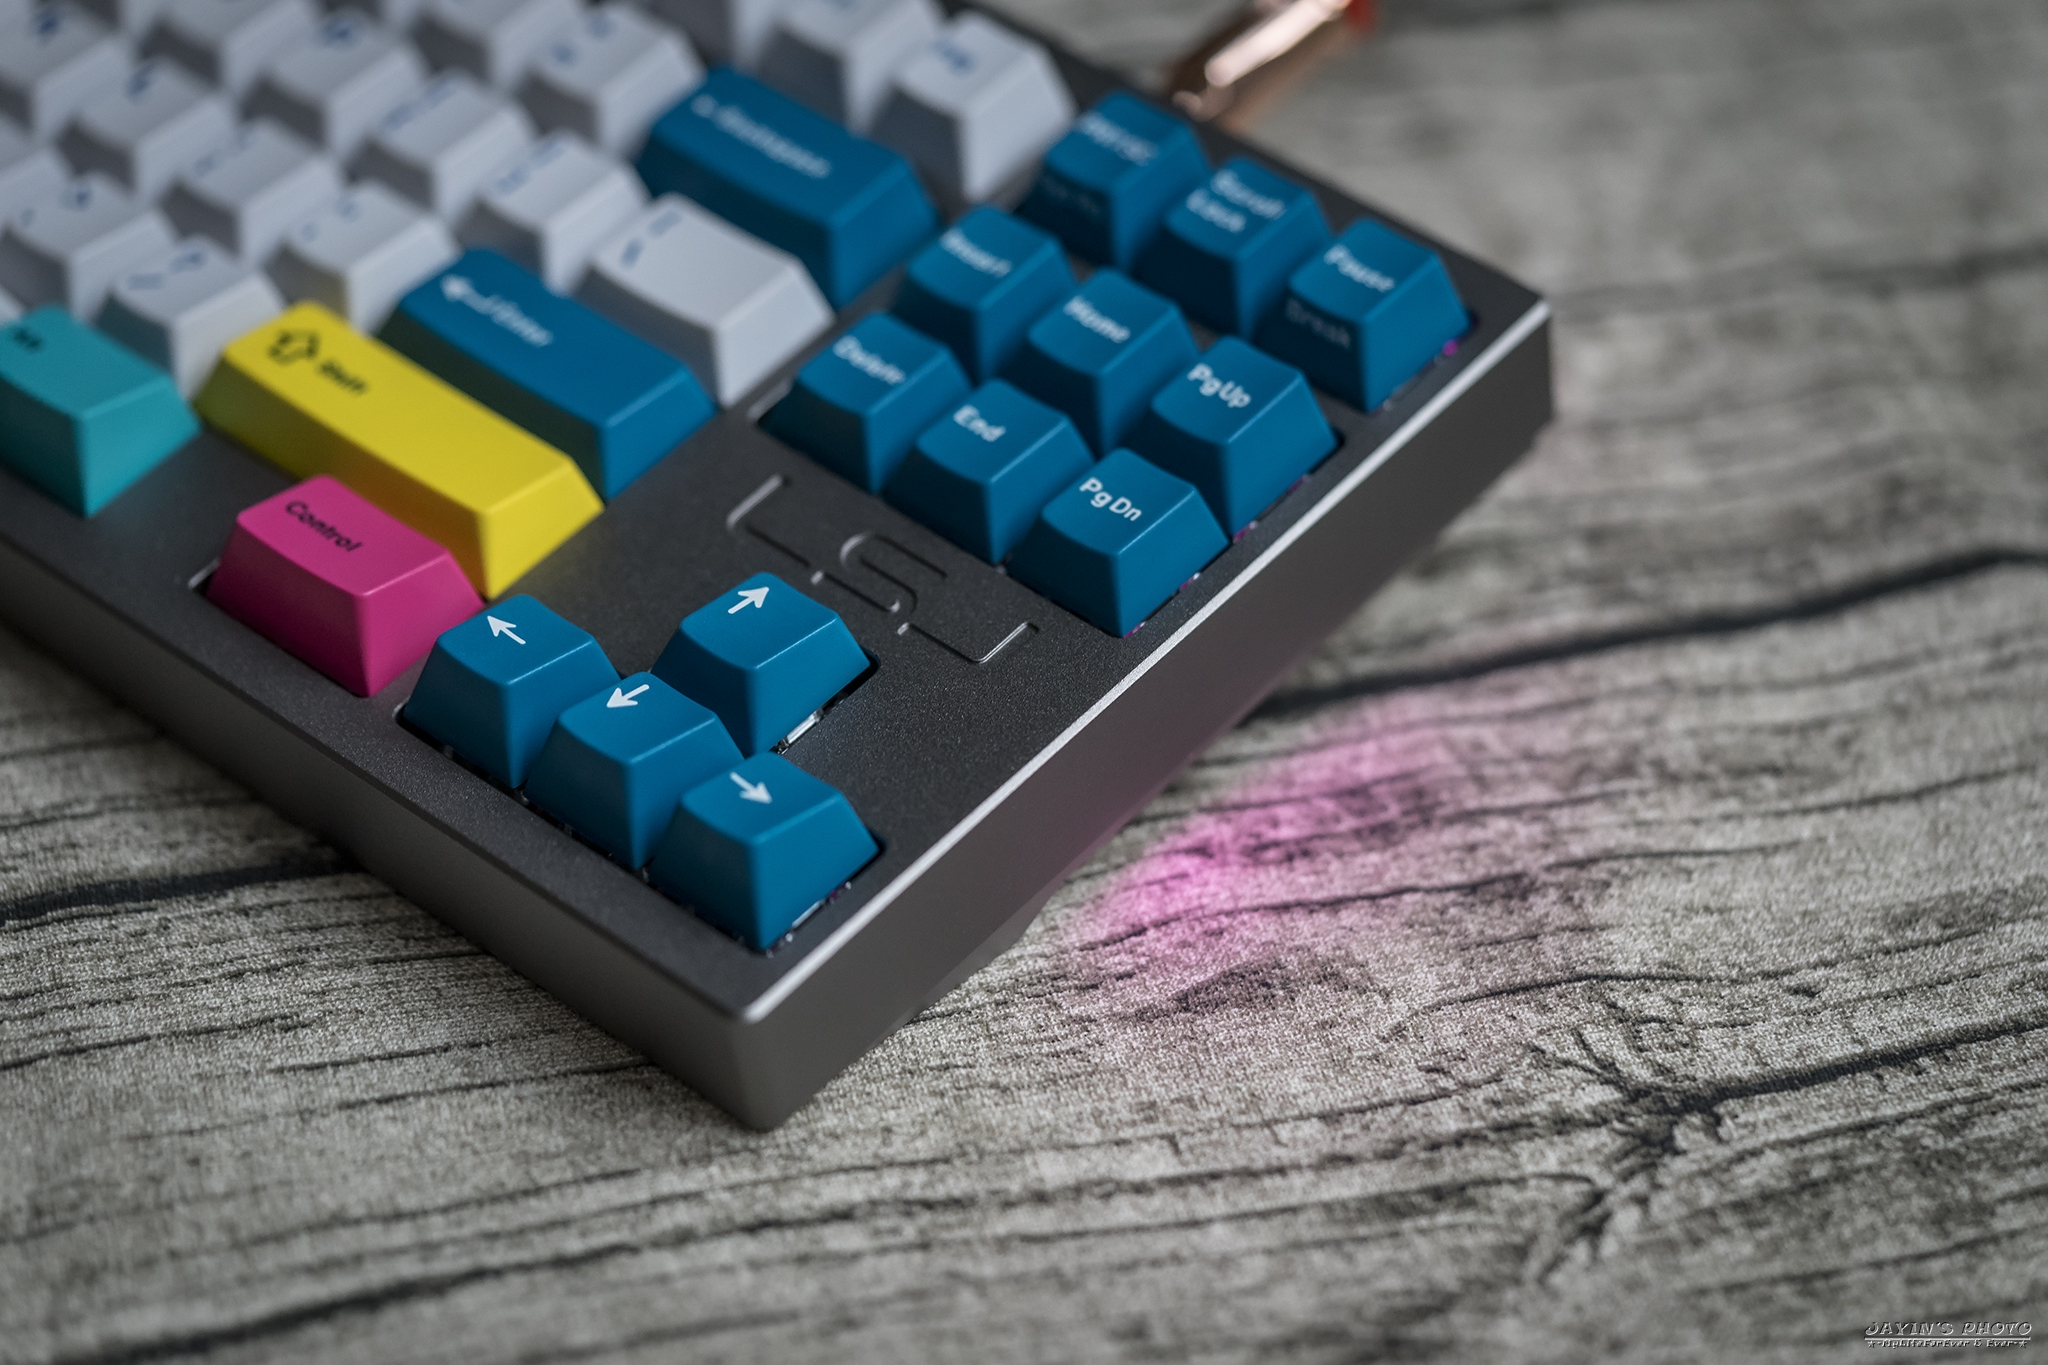
▼ESC旁邊的三個指示燈,由上往下是Scroll Lock、Caps Lock、Power。Power燈是常亮的,所以當然是要配上基佬紫。
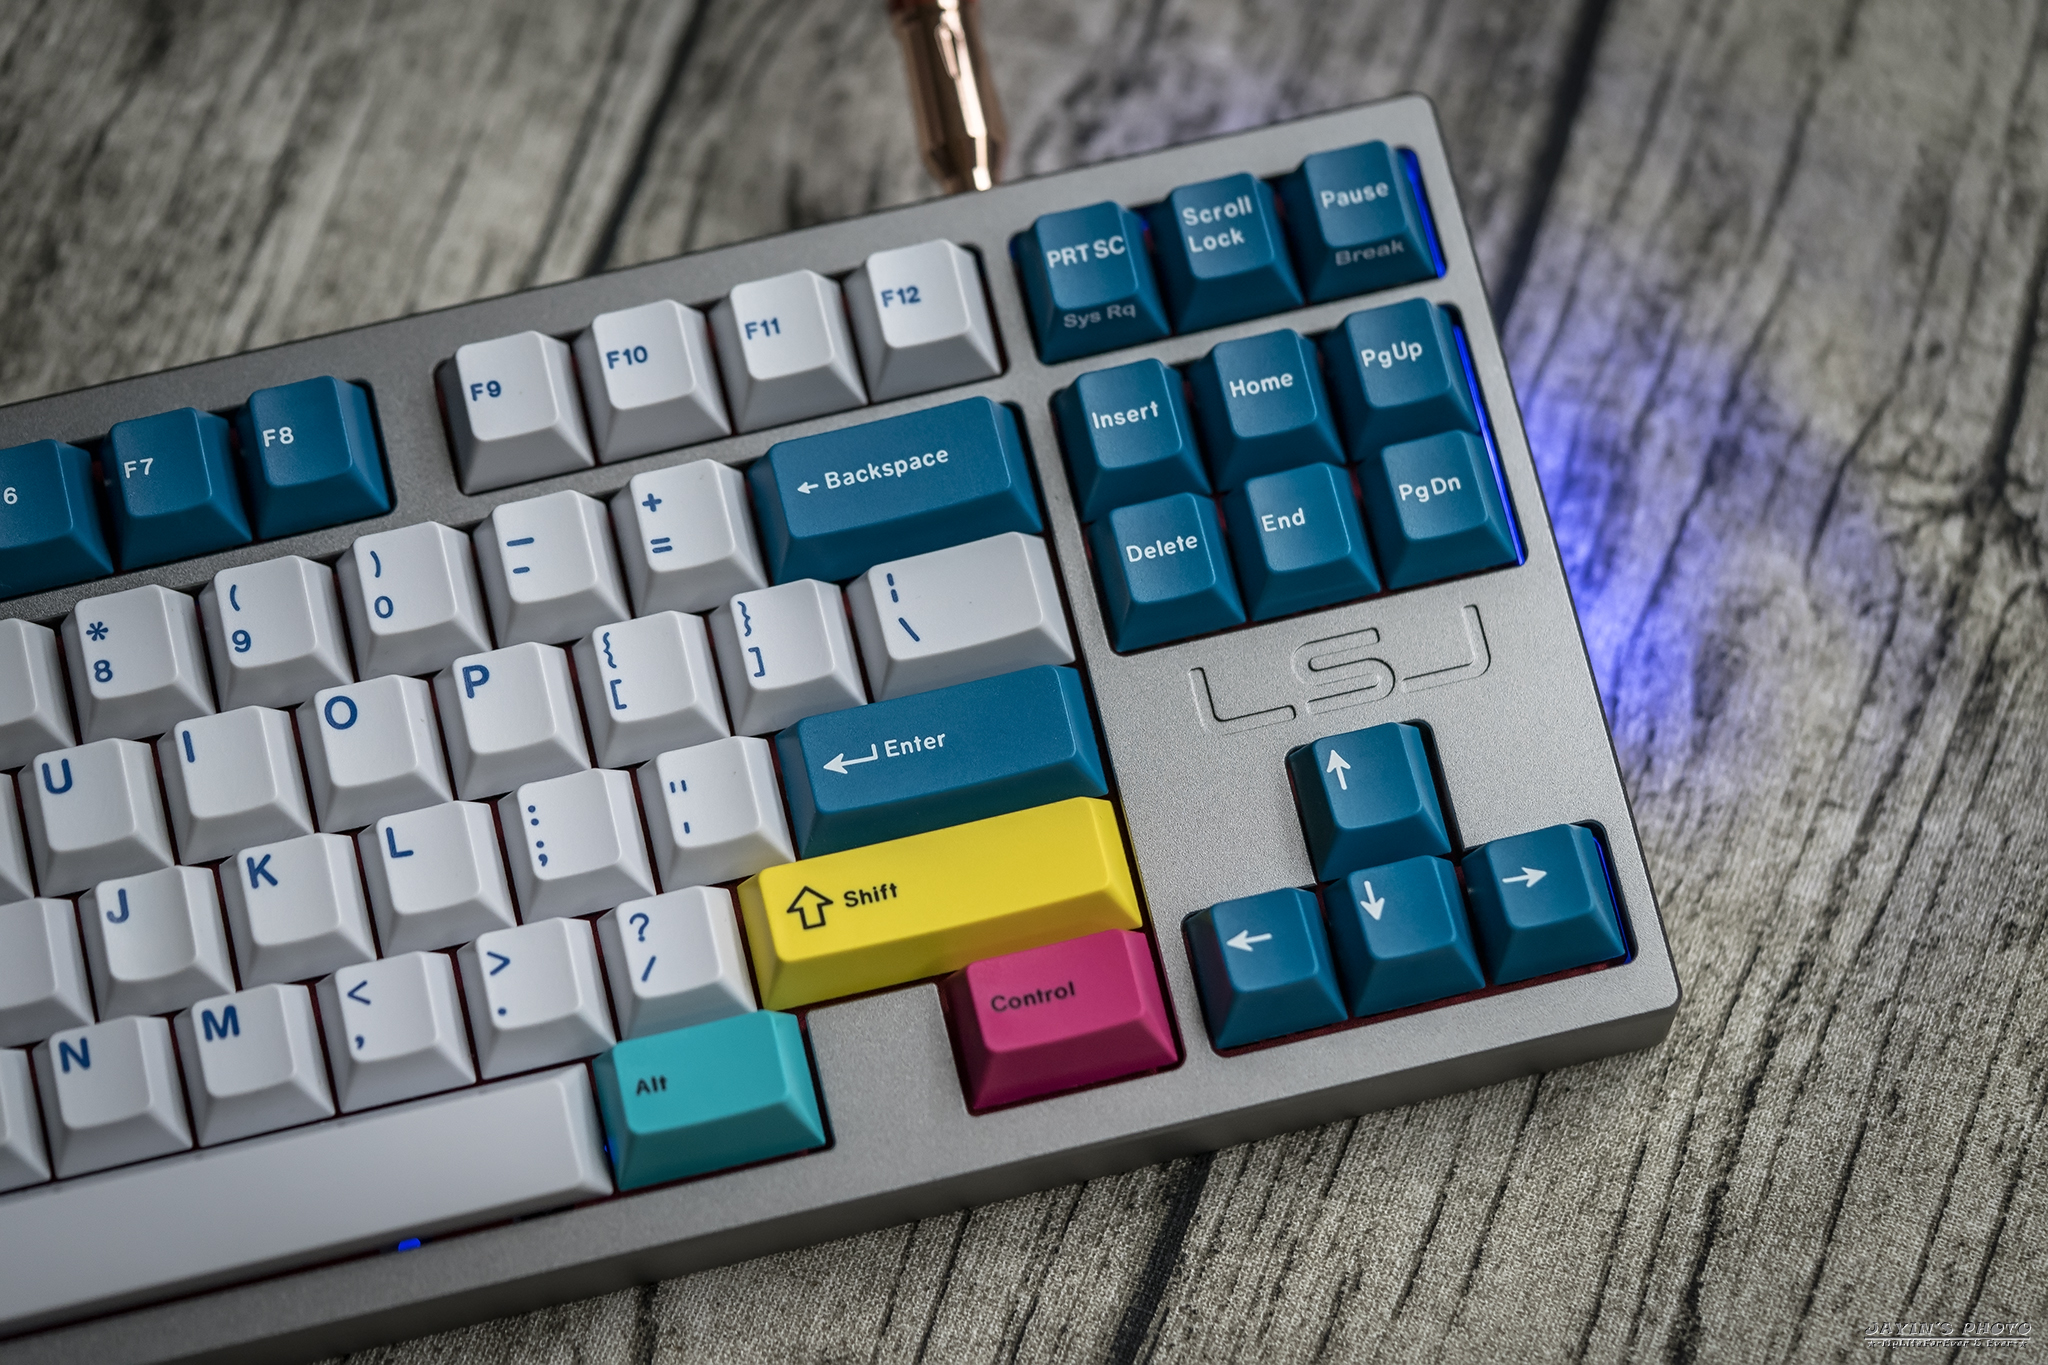
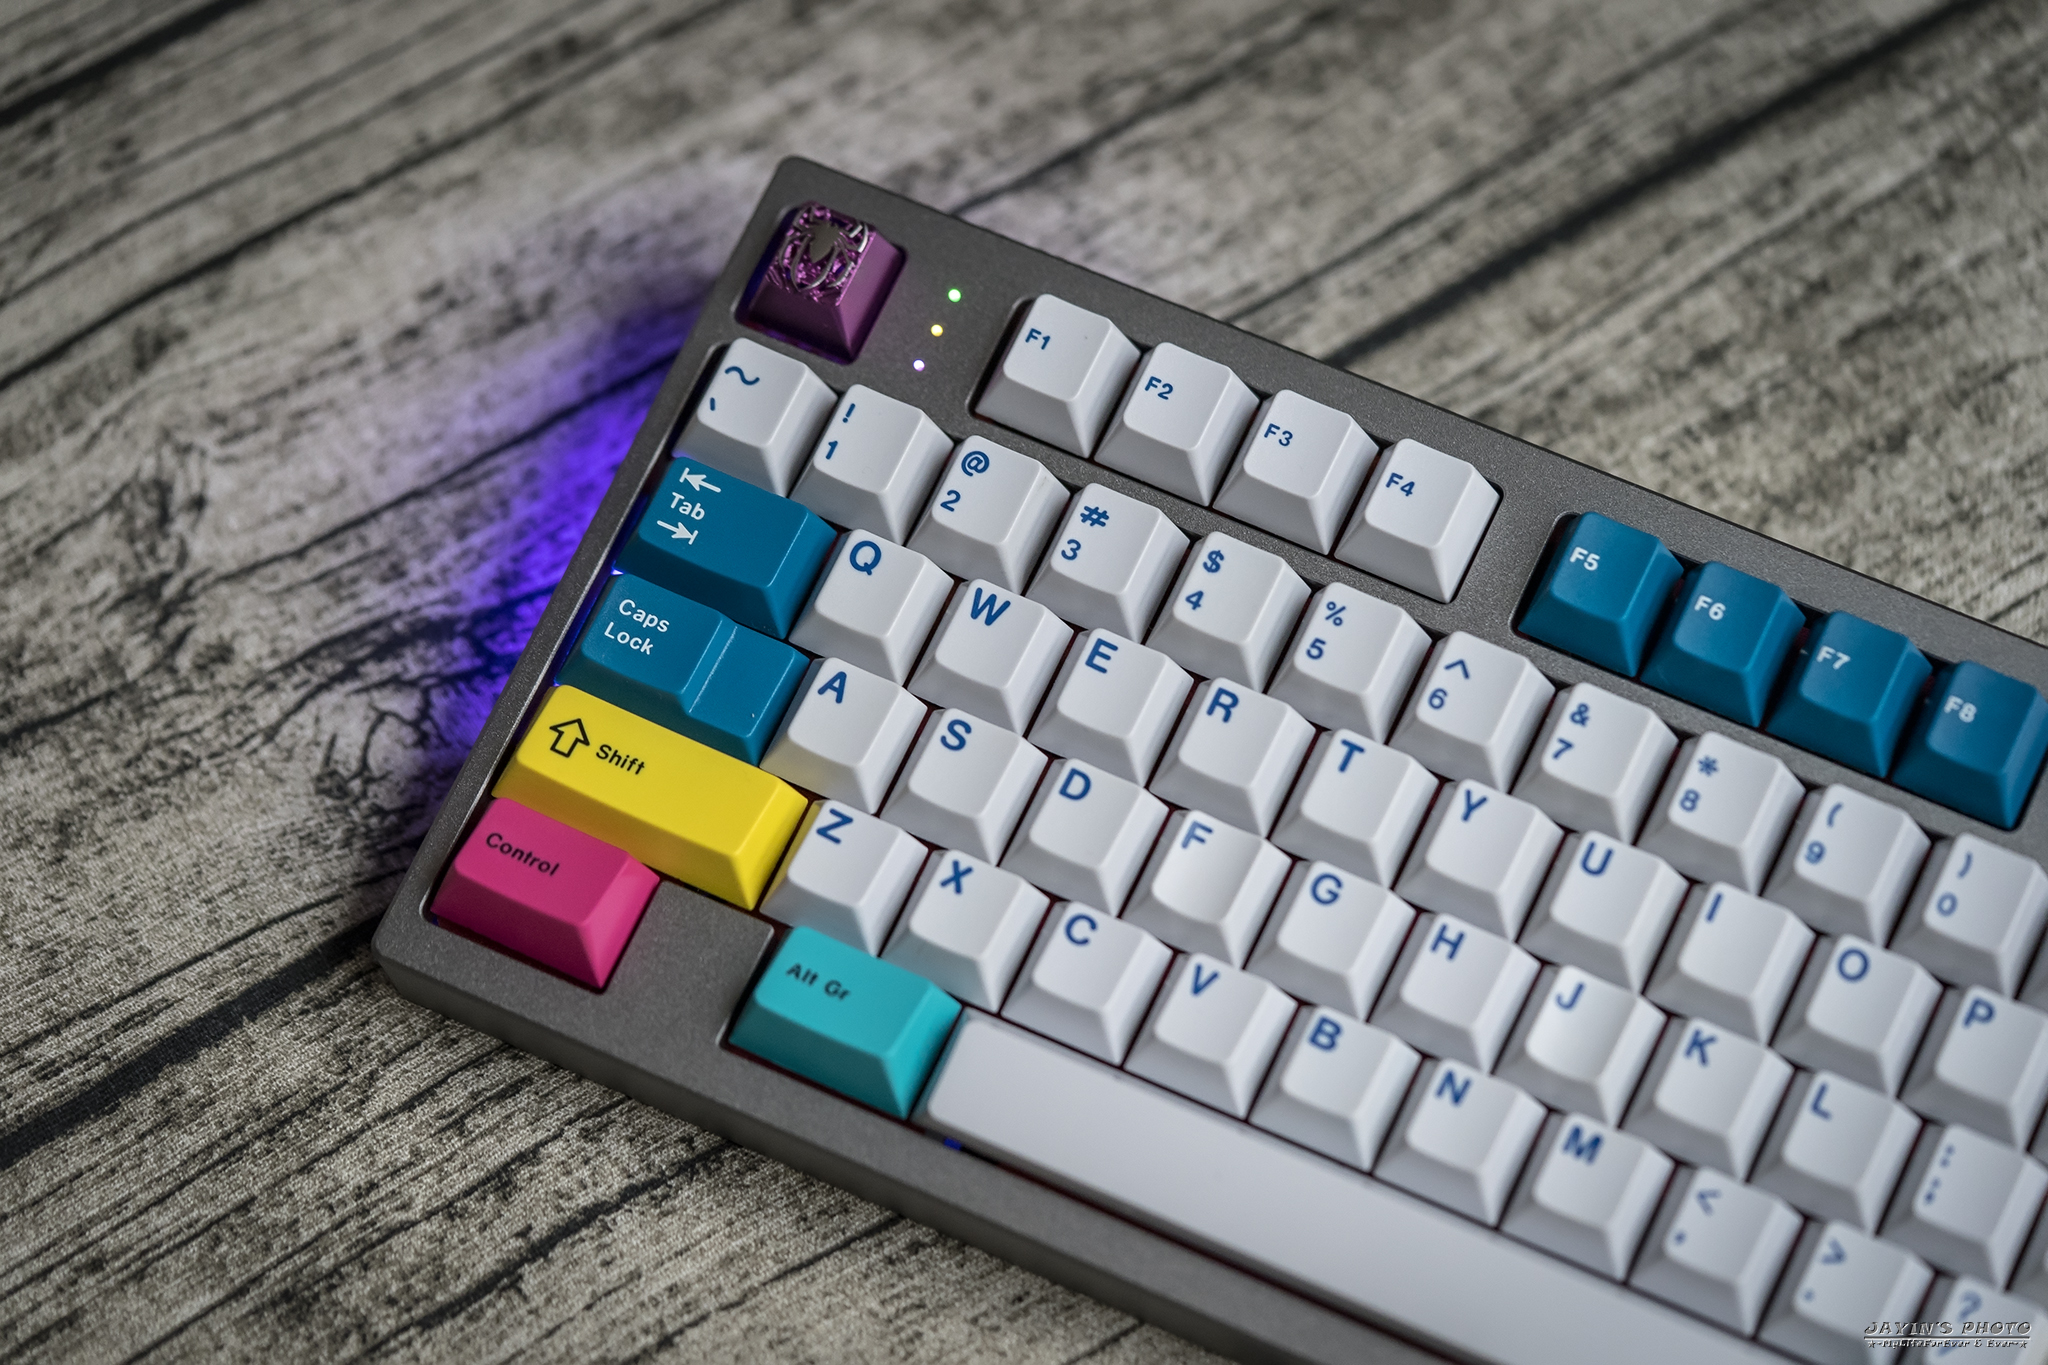
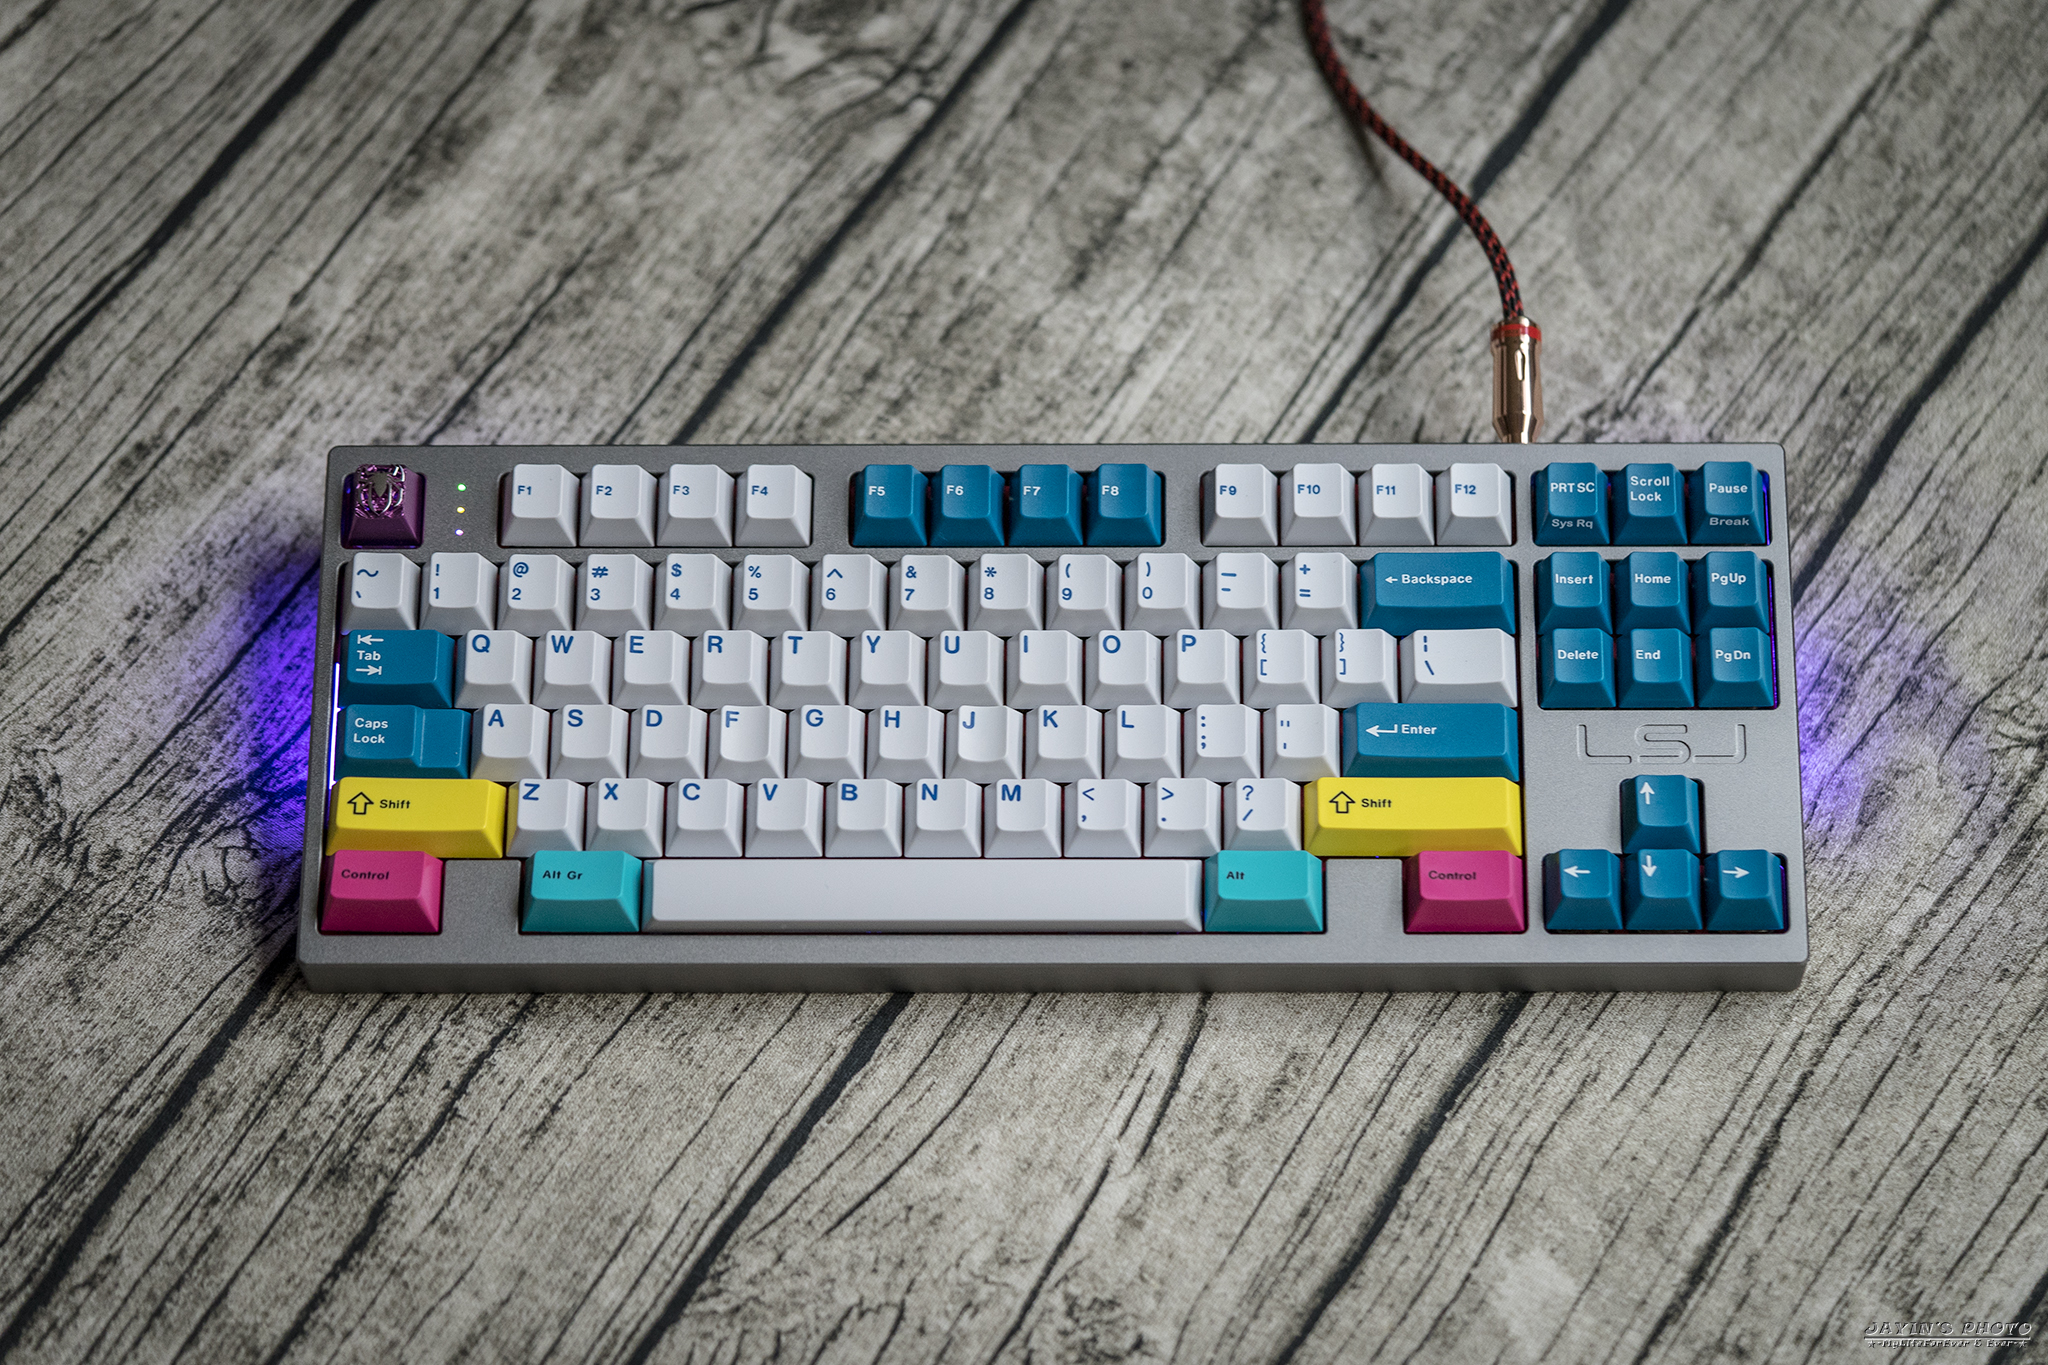
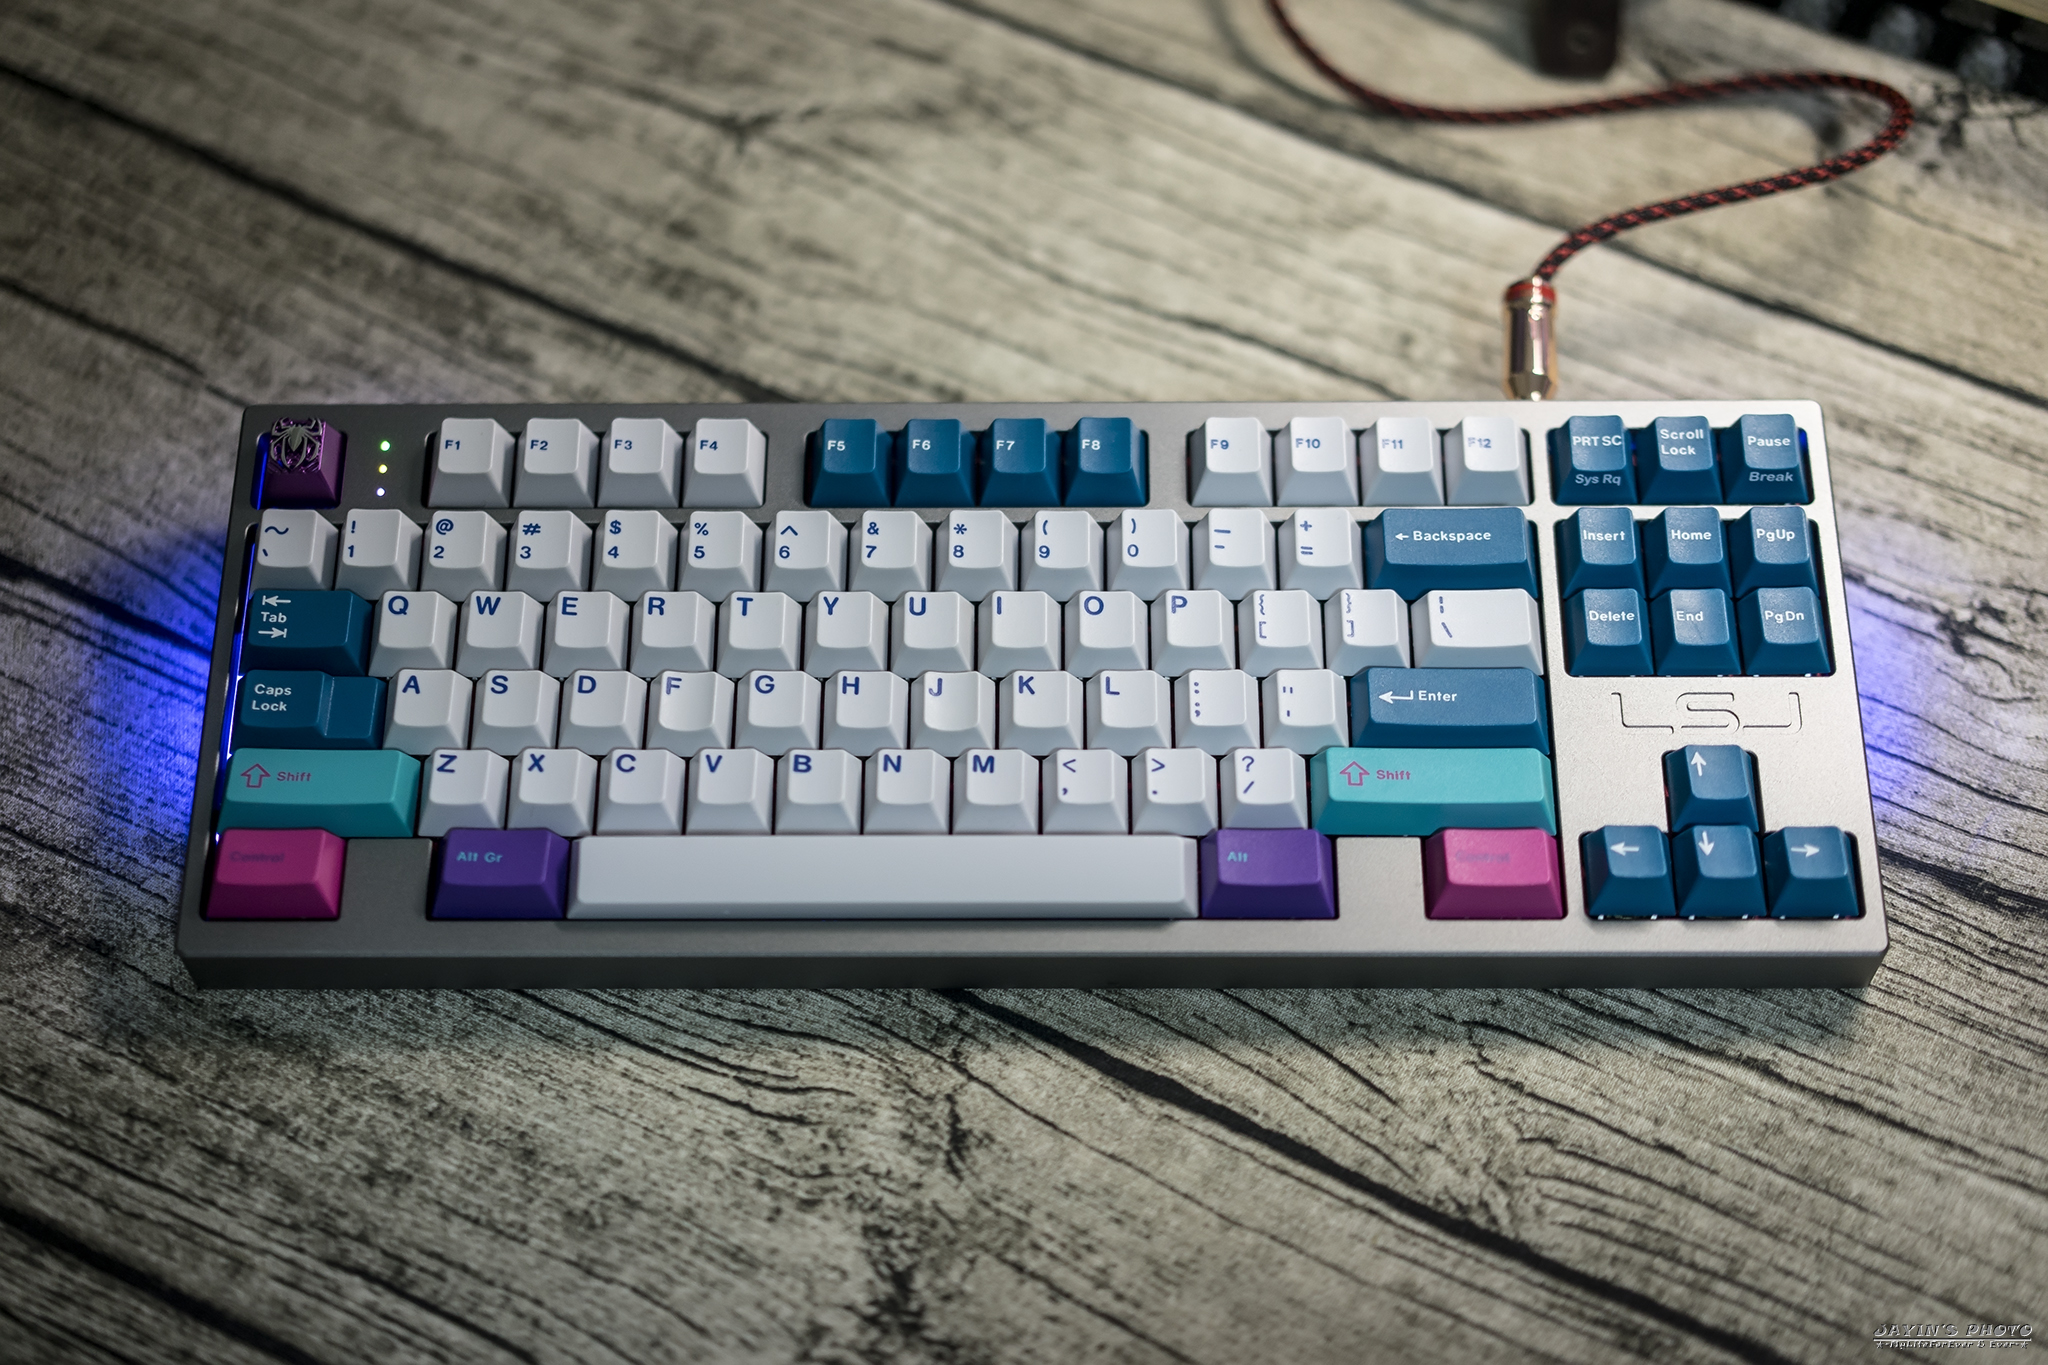
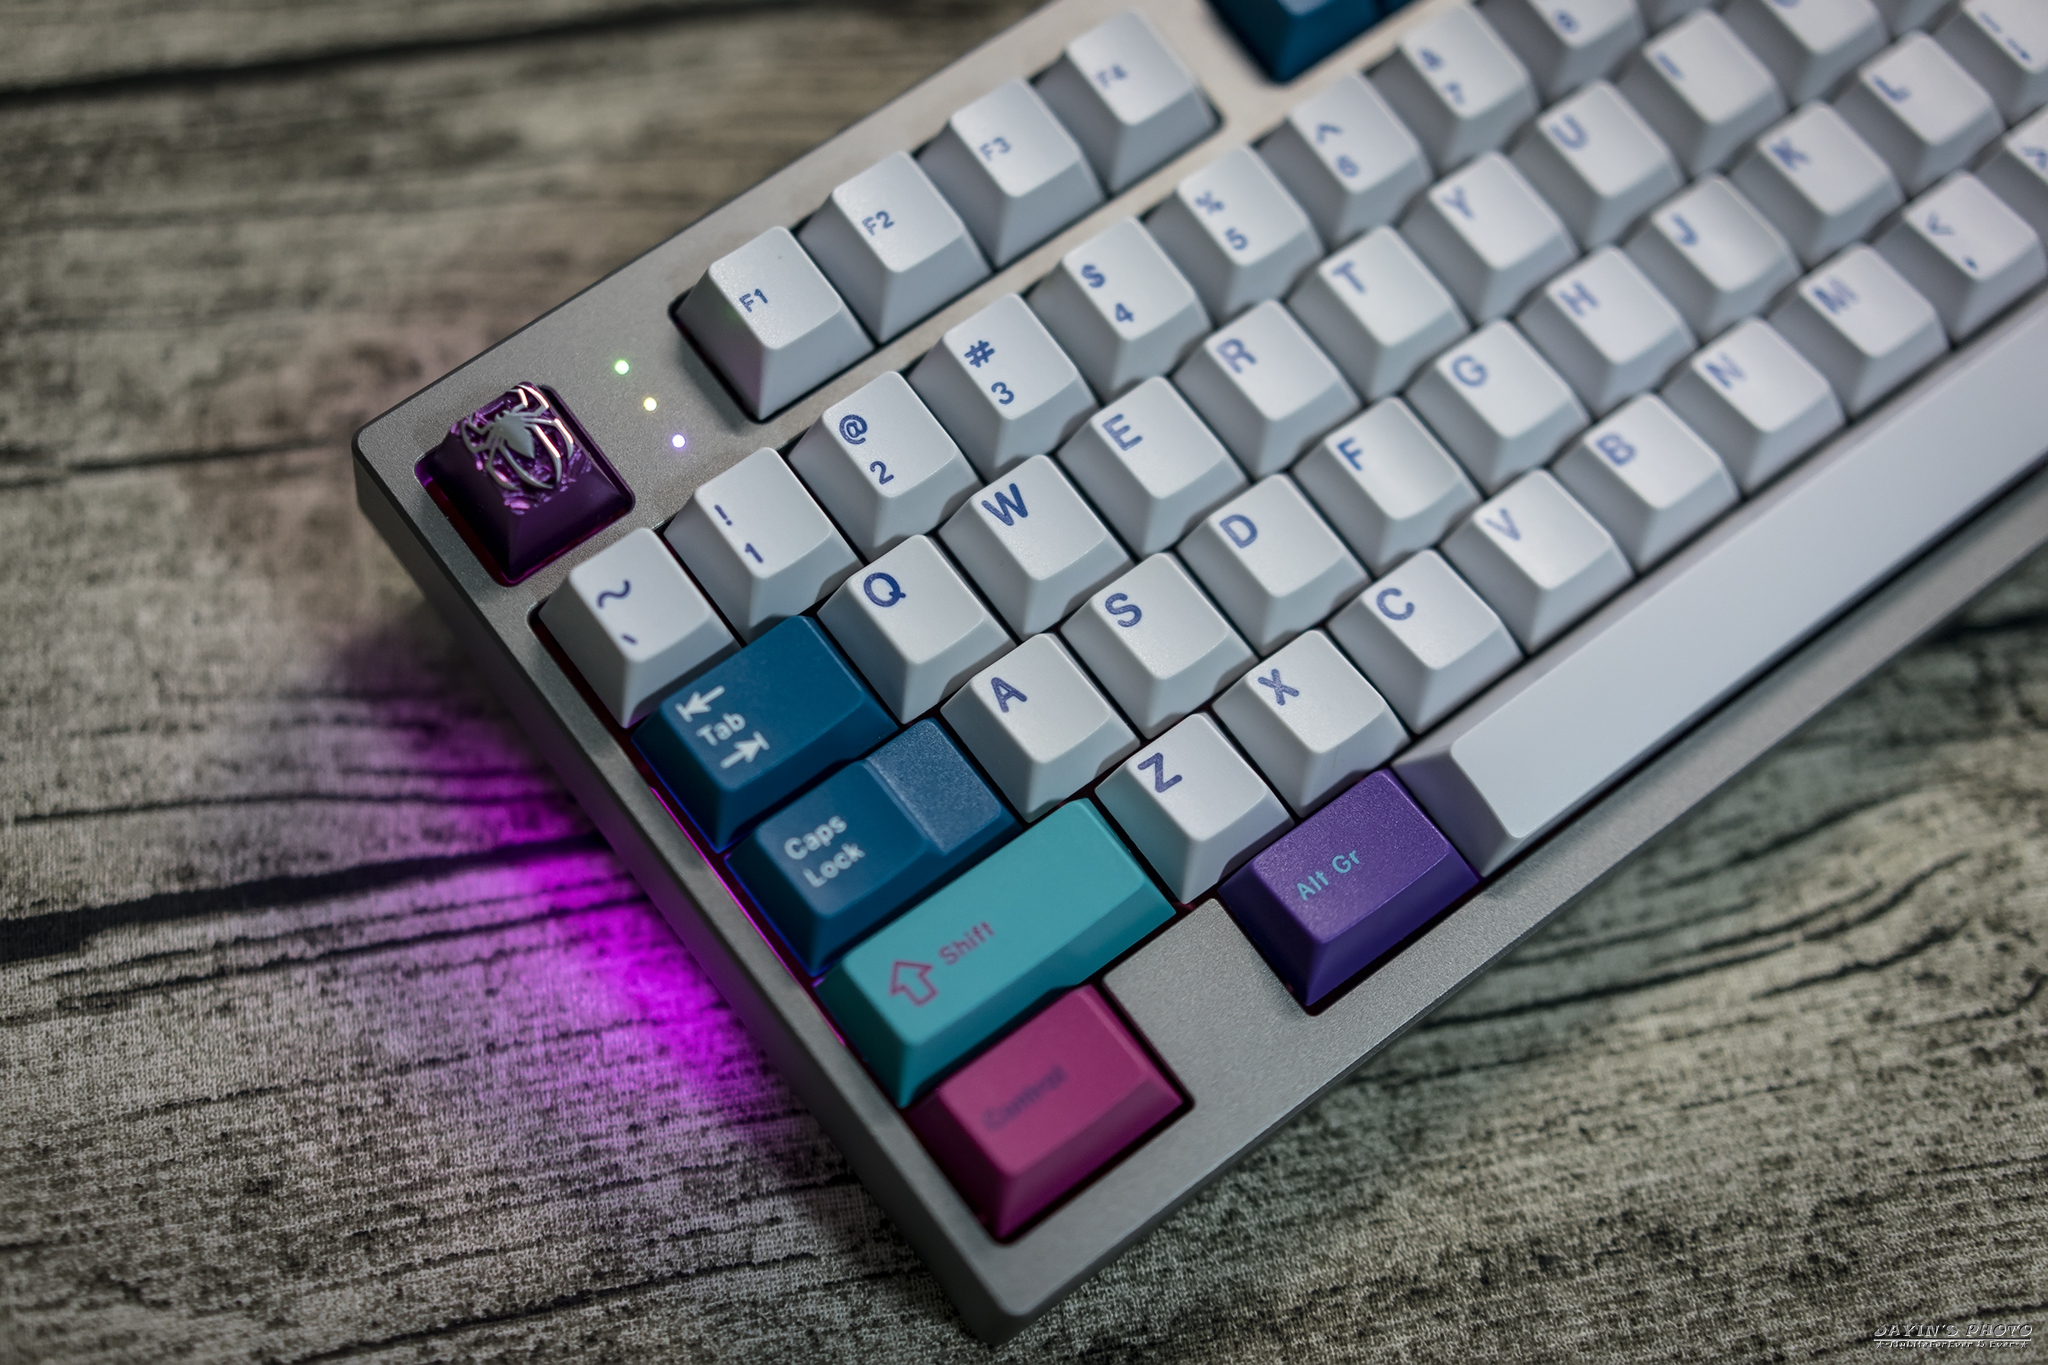
▼換上第二套鍵帽,[CTRL]ALT - The Bro Set。
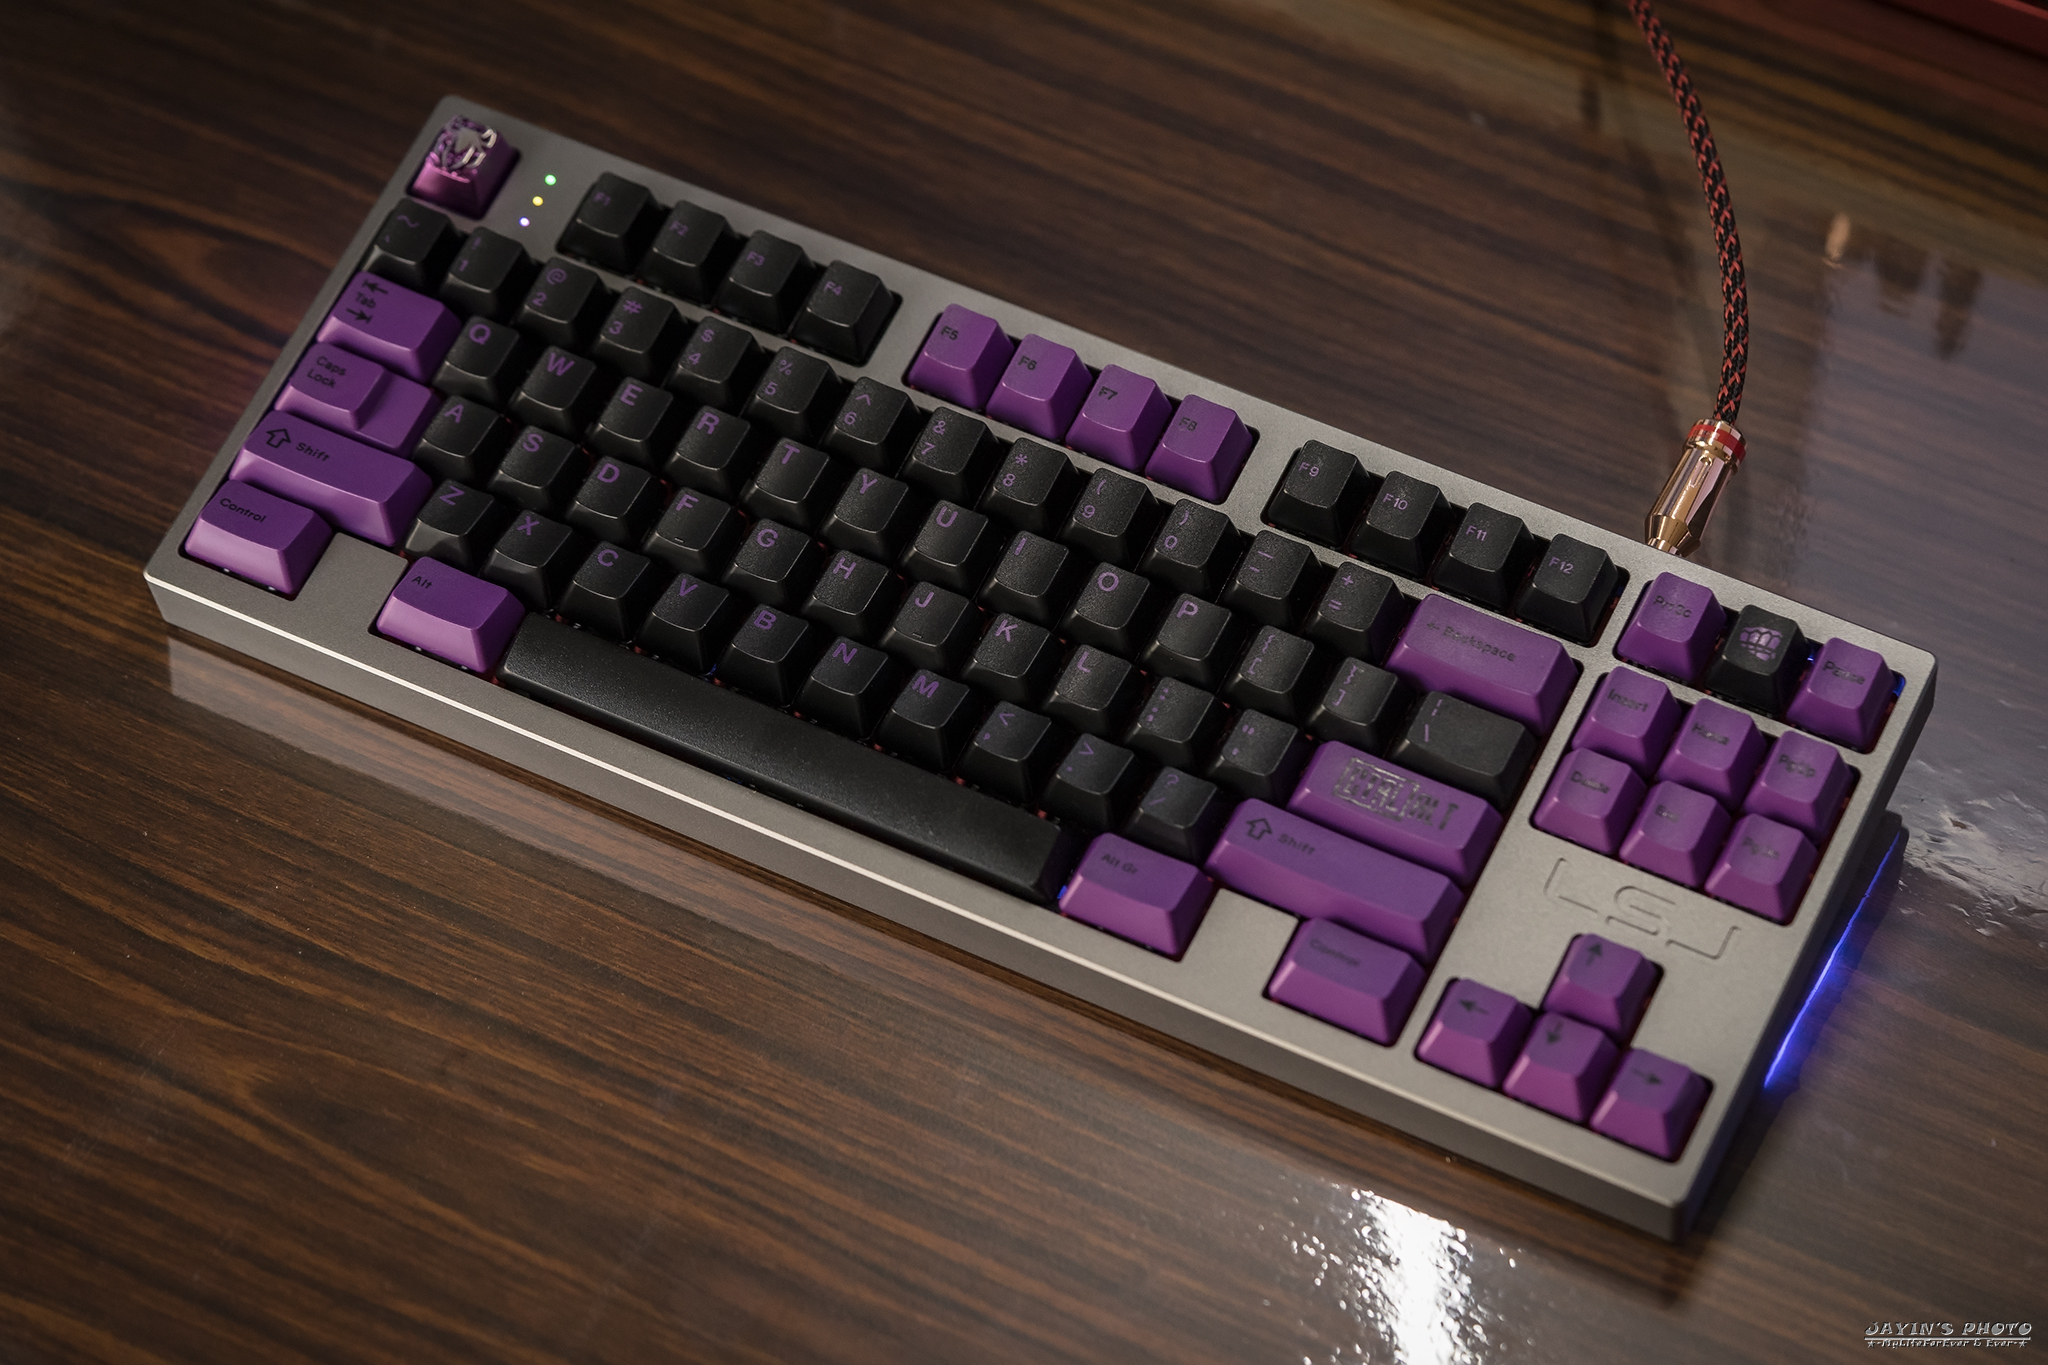
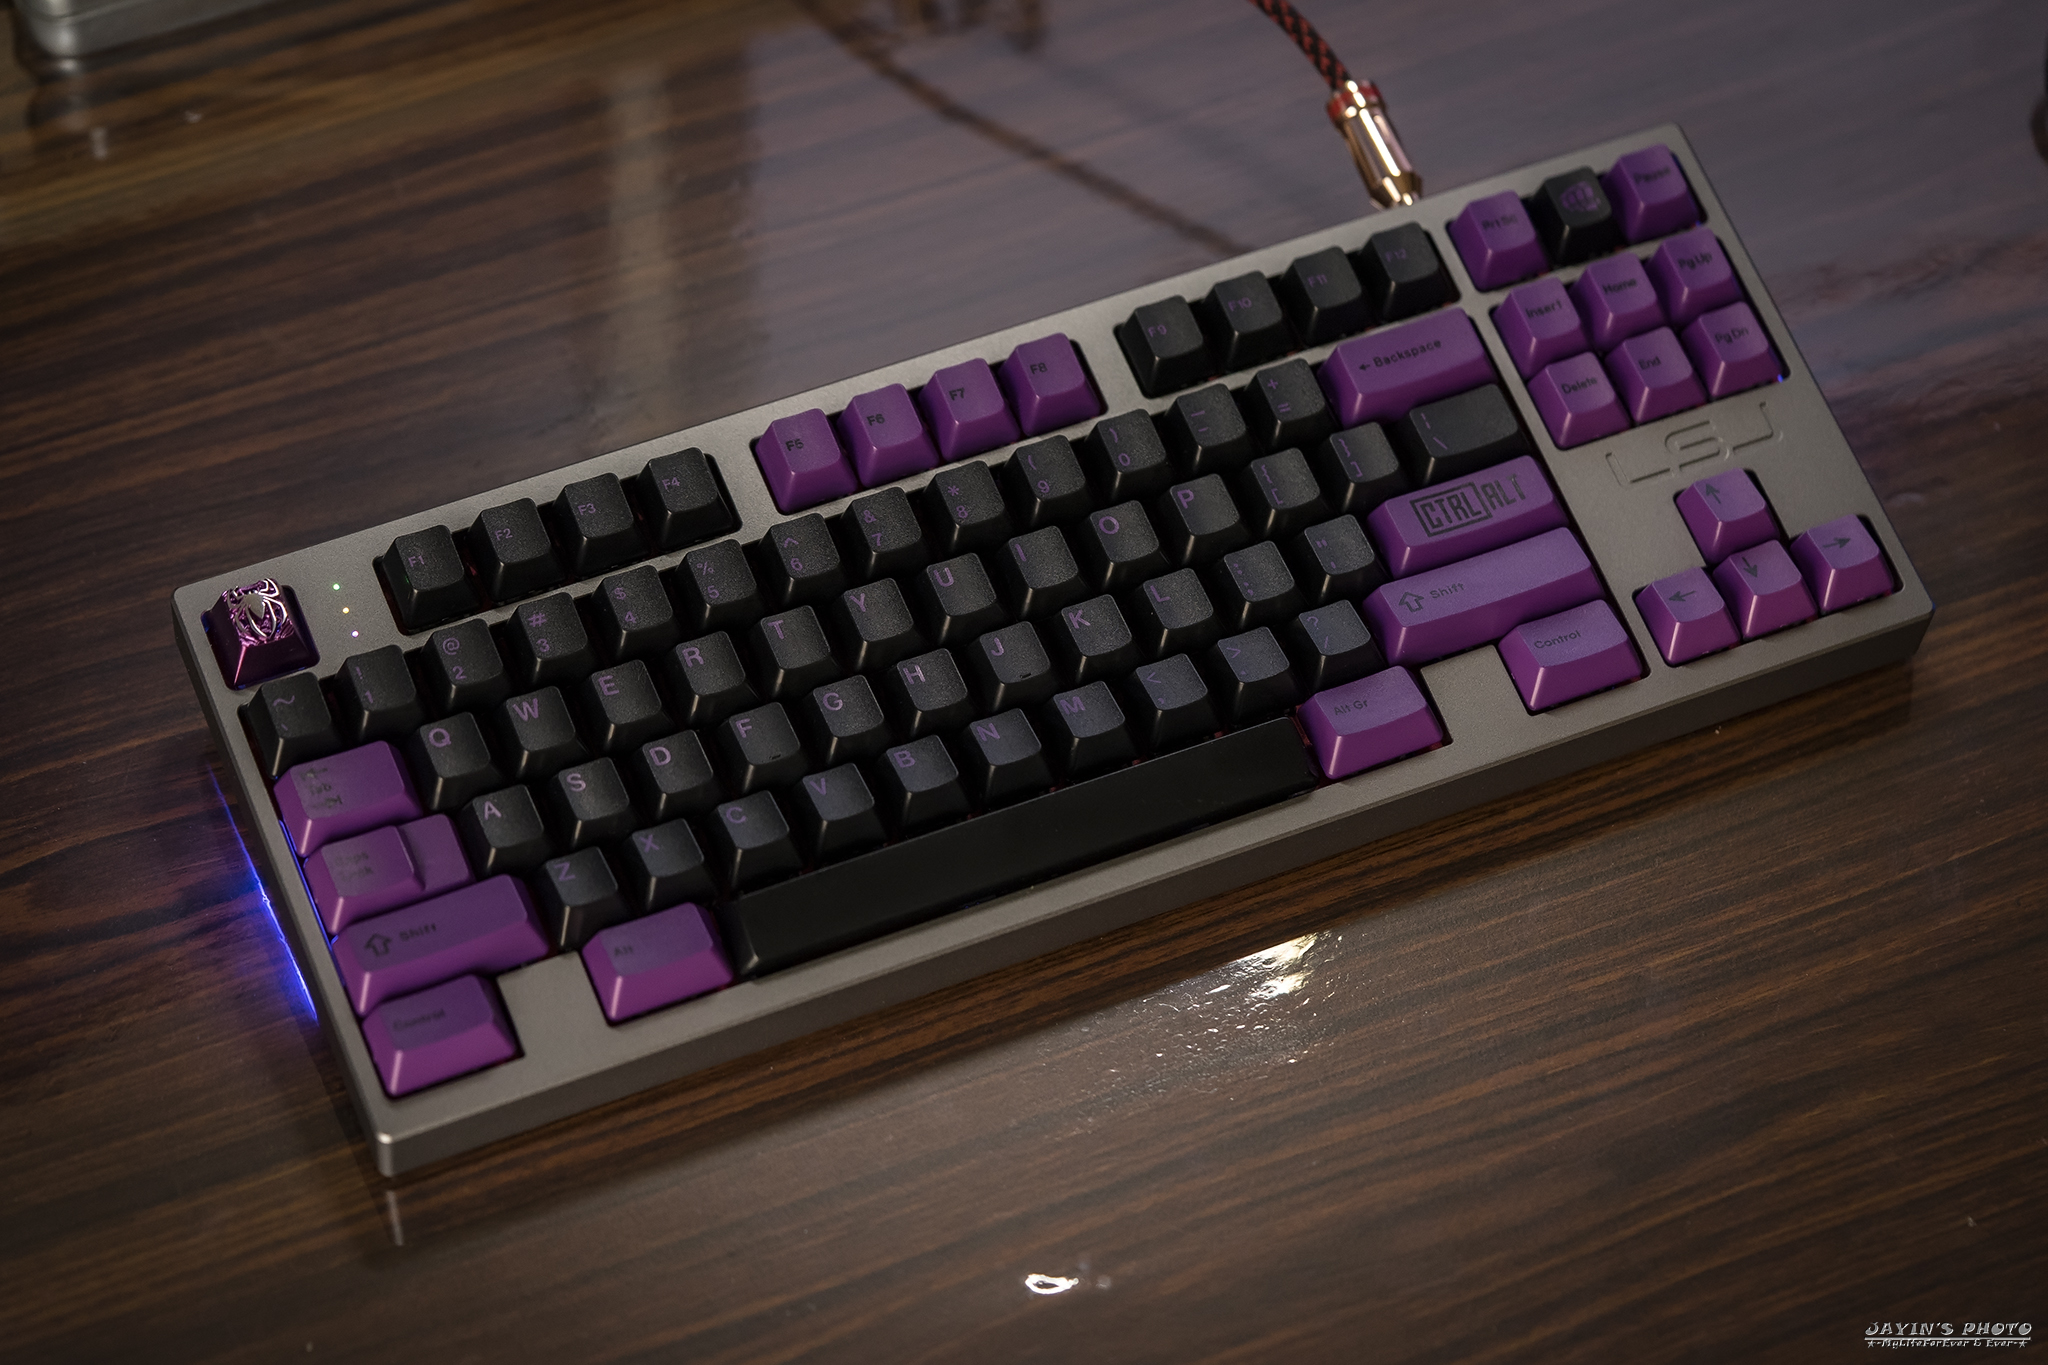
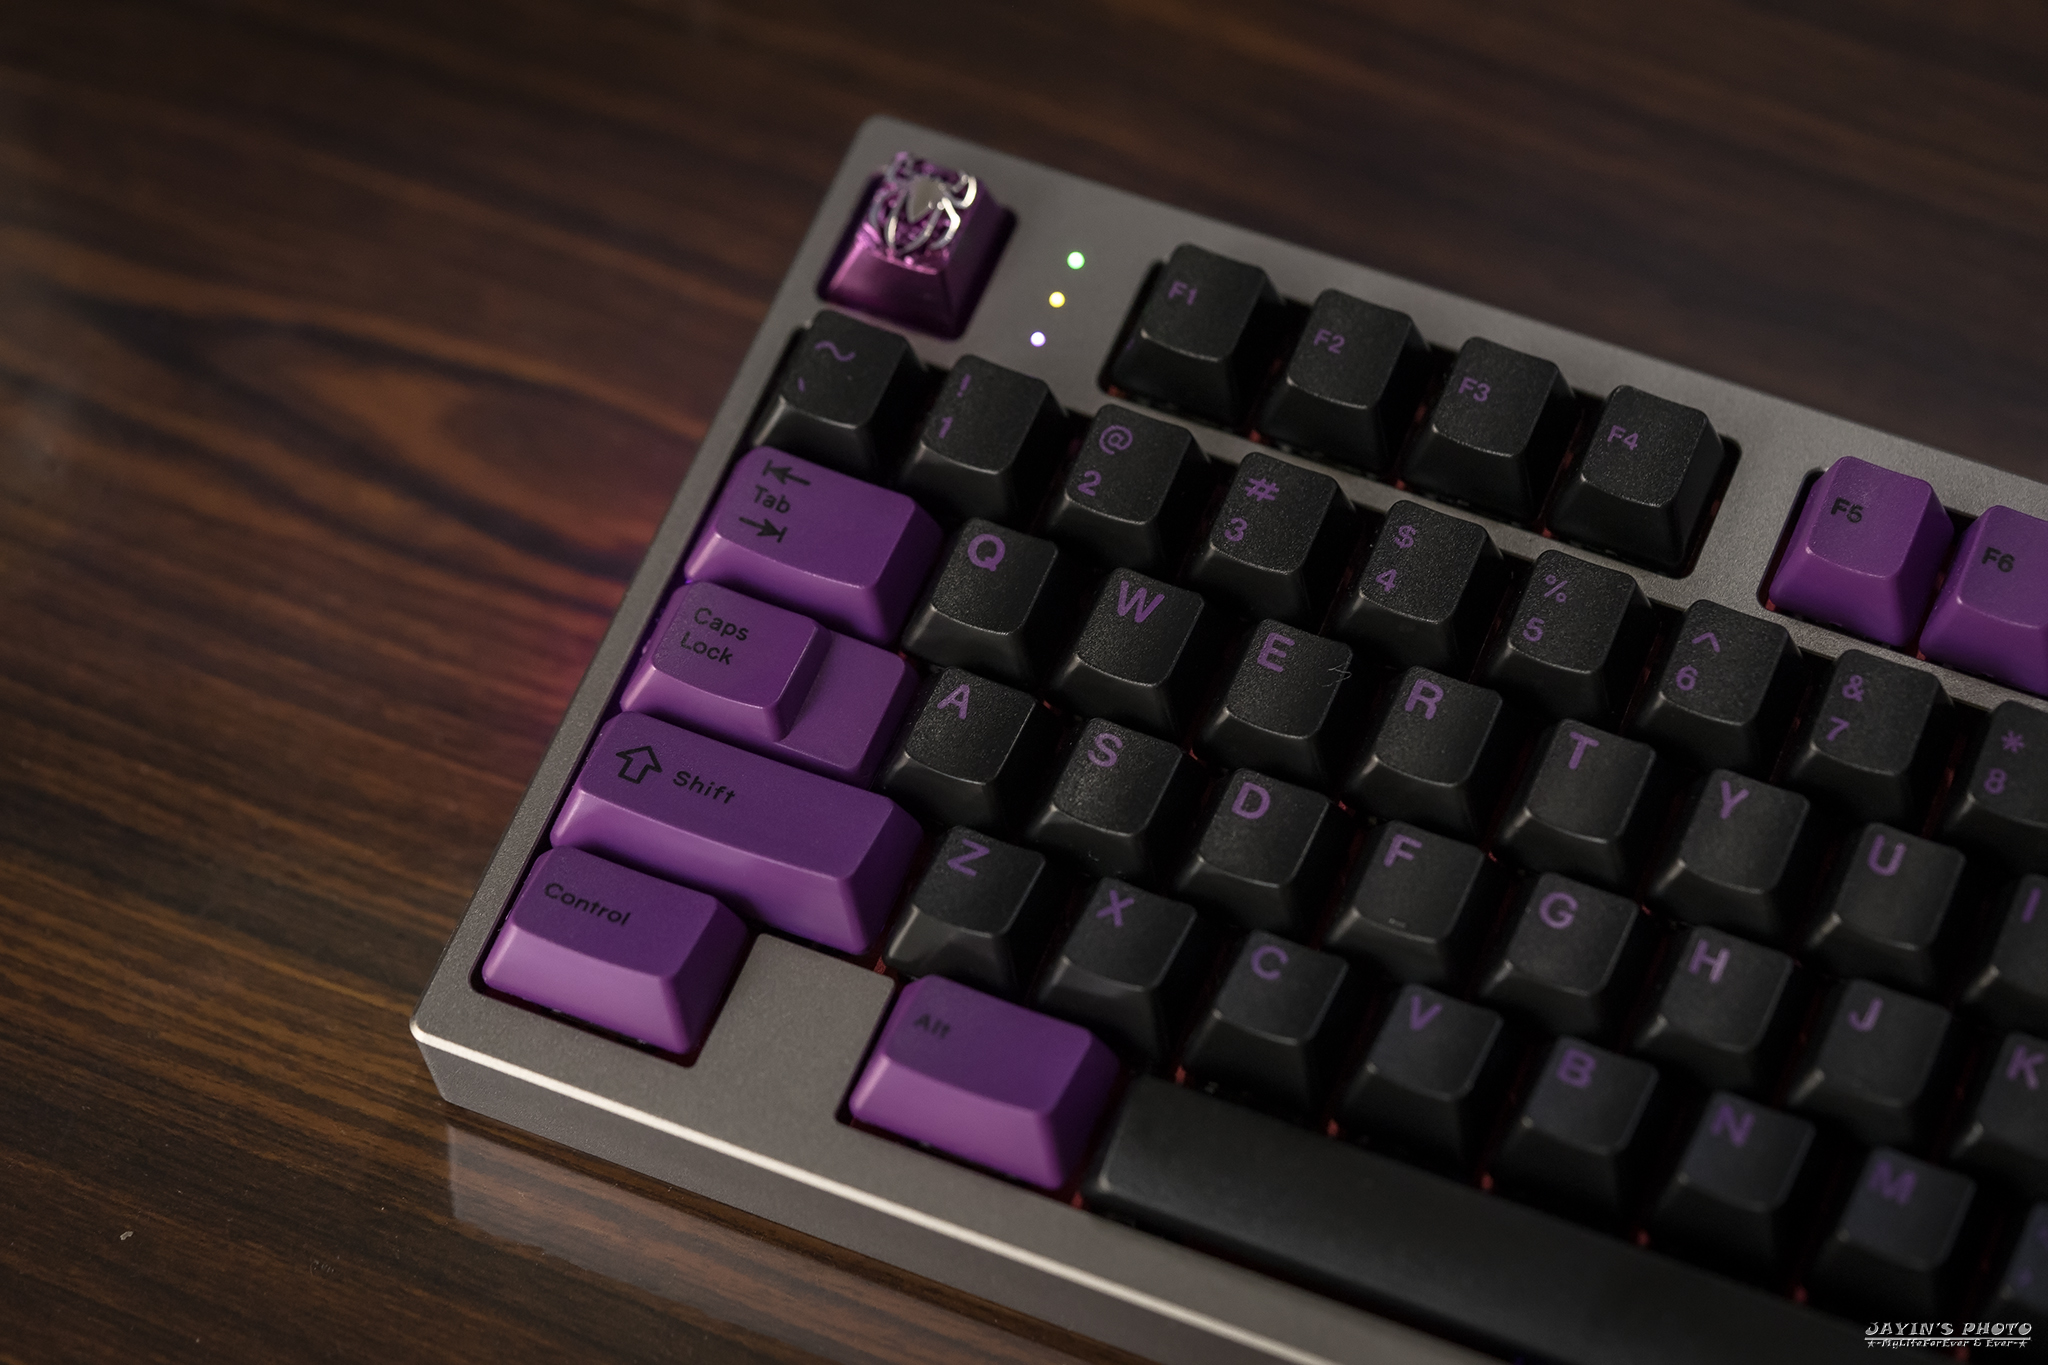
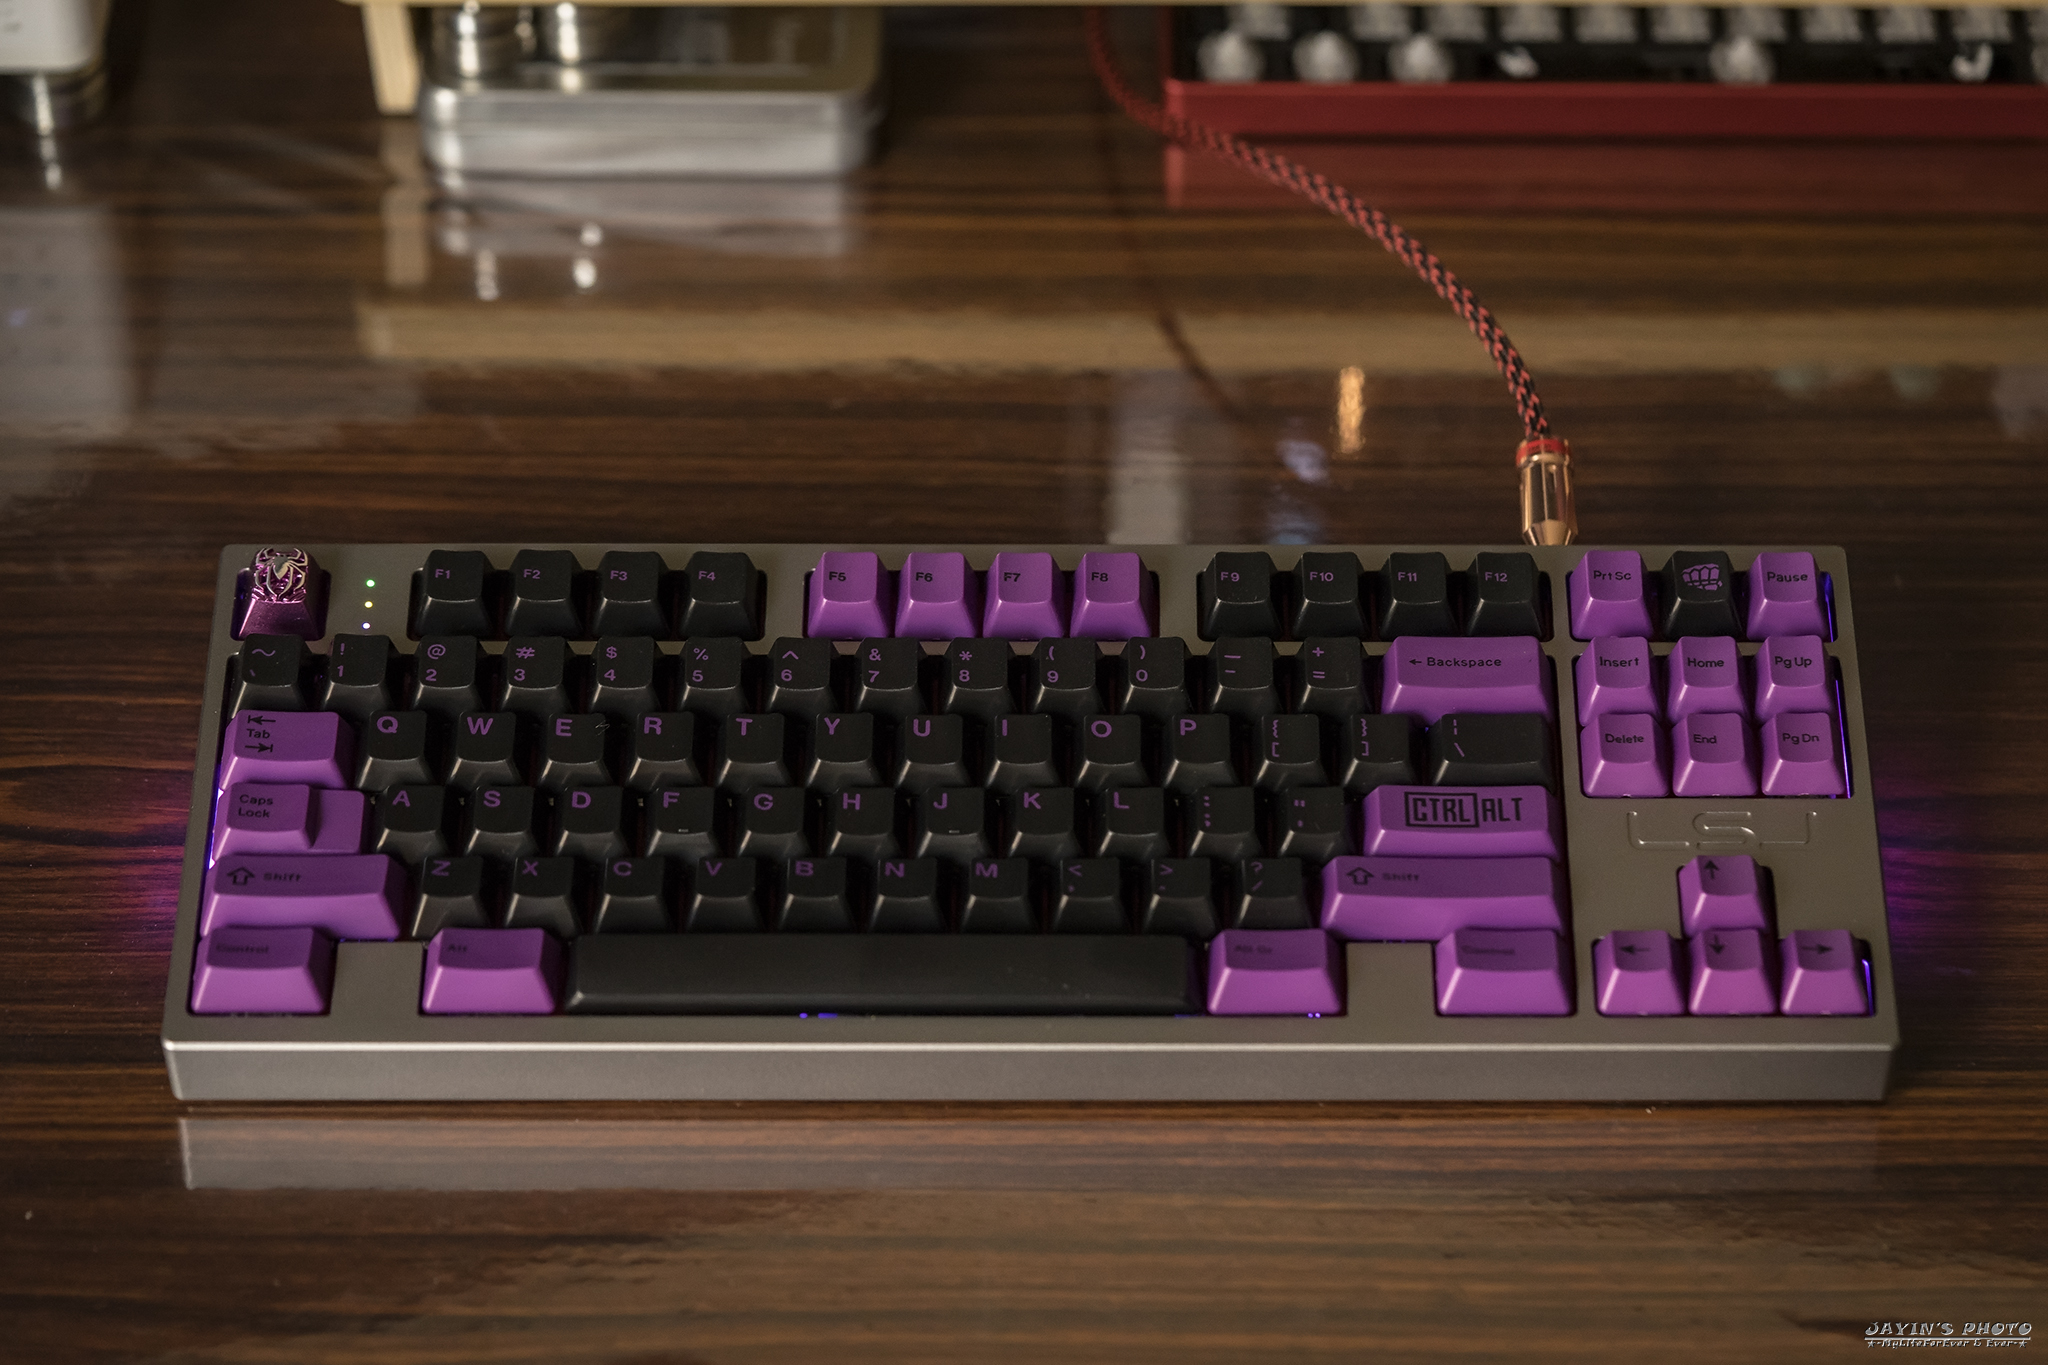

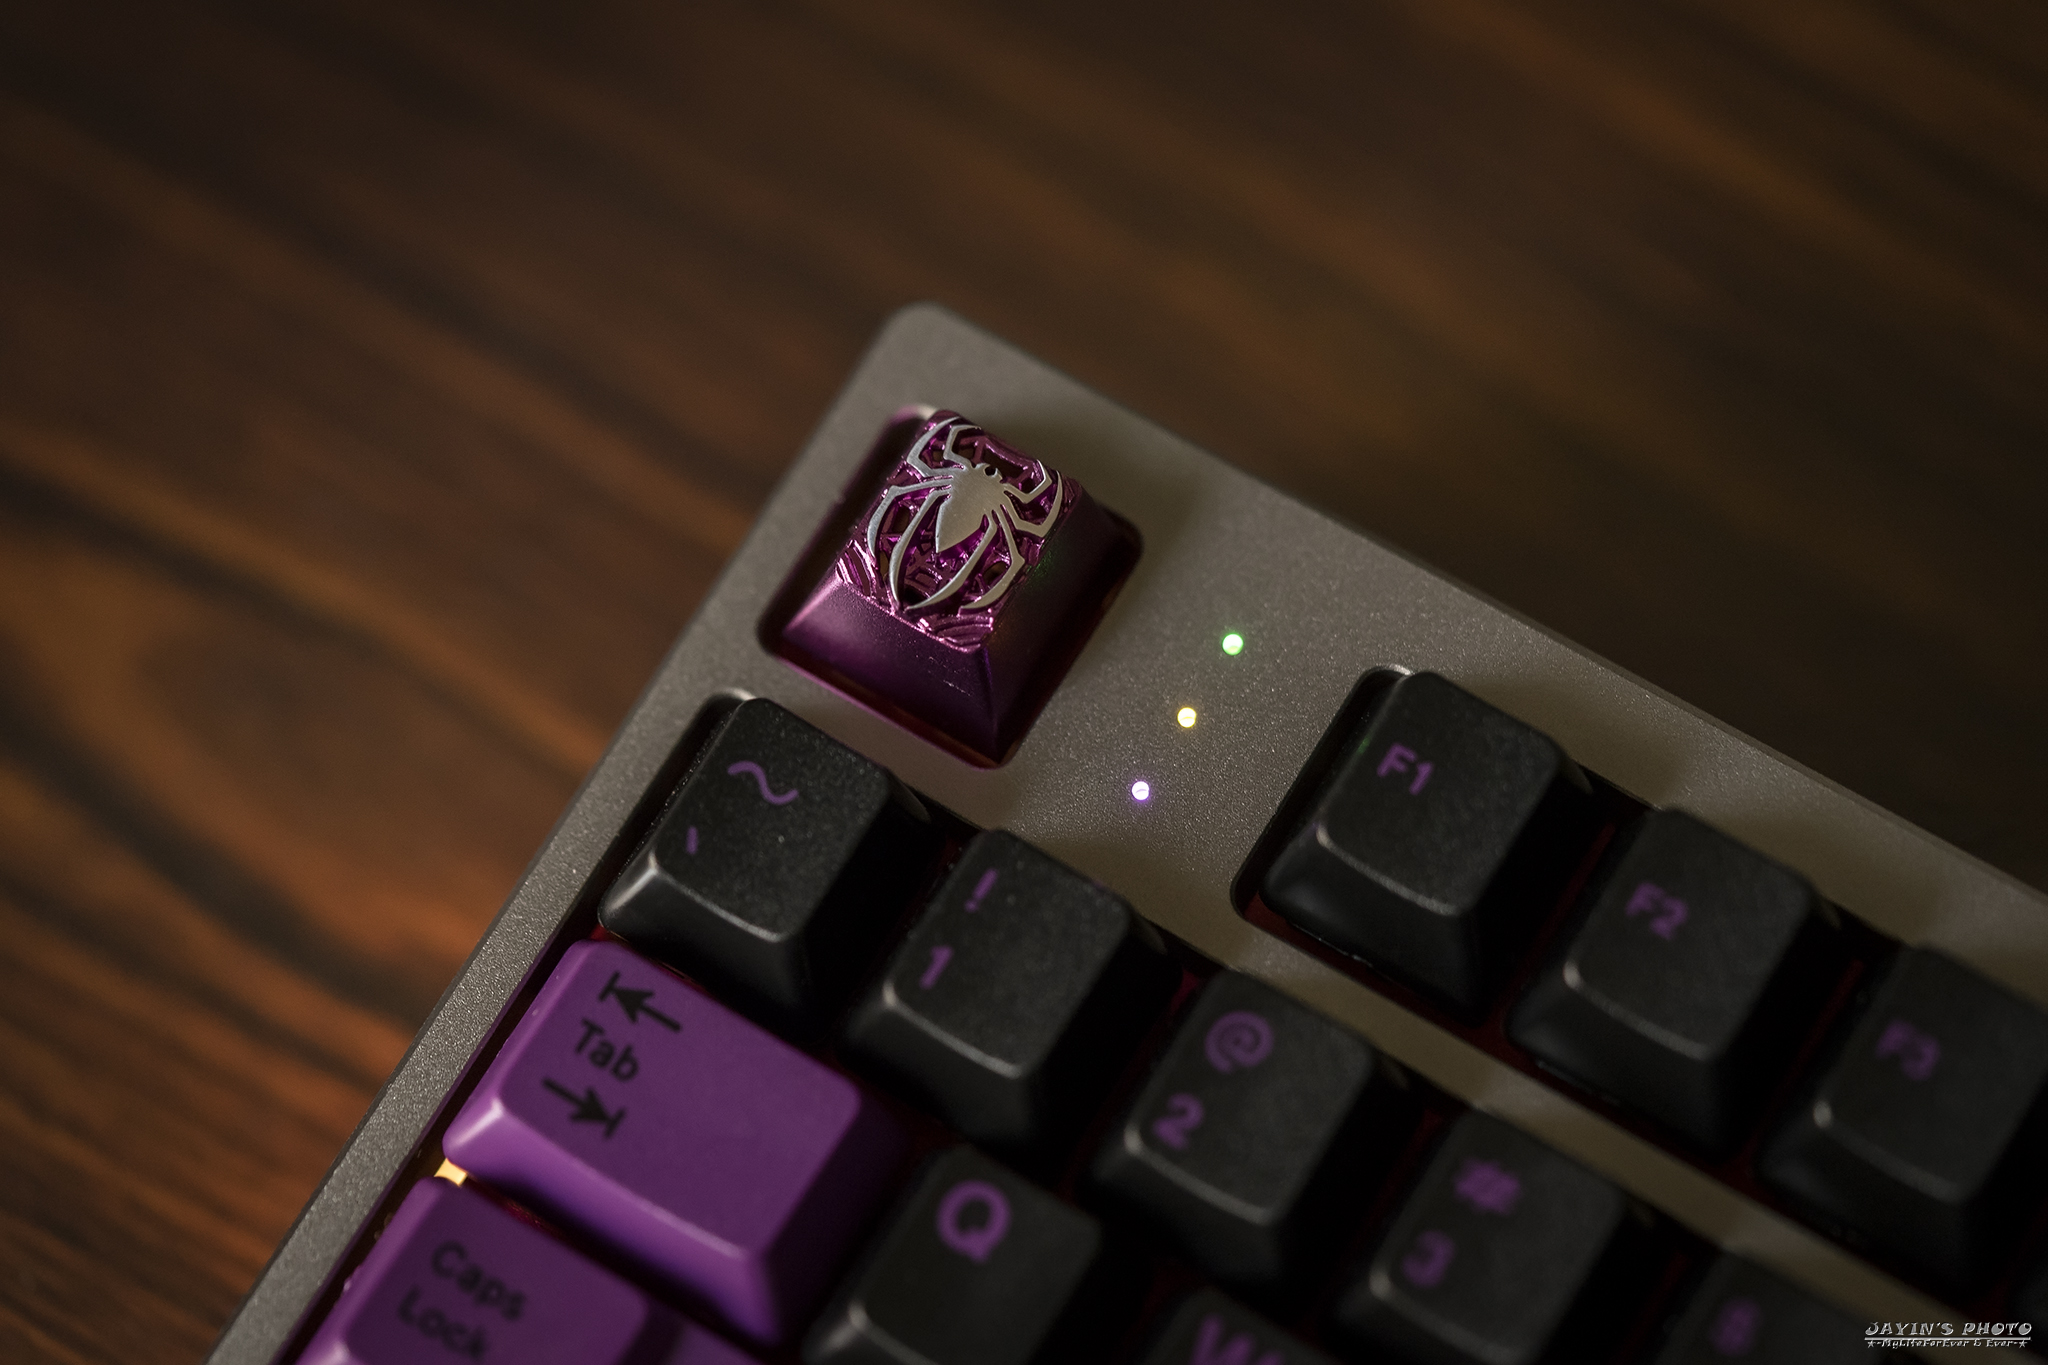
▼ESC改用臭臭的紫鋁蜘蛛。
▼第三套,換上GMK Triumph Adler
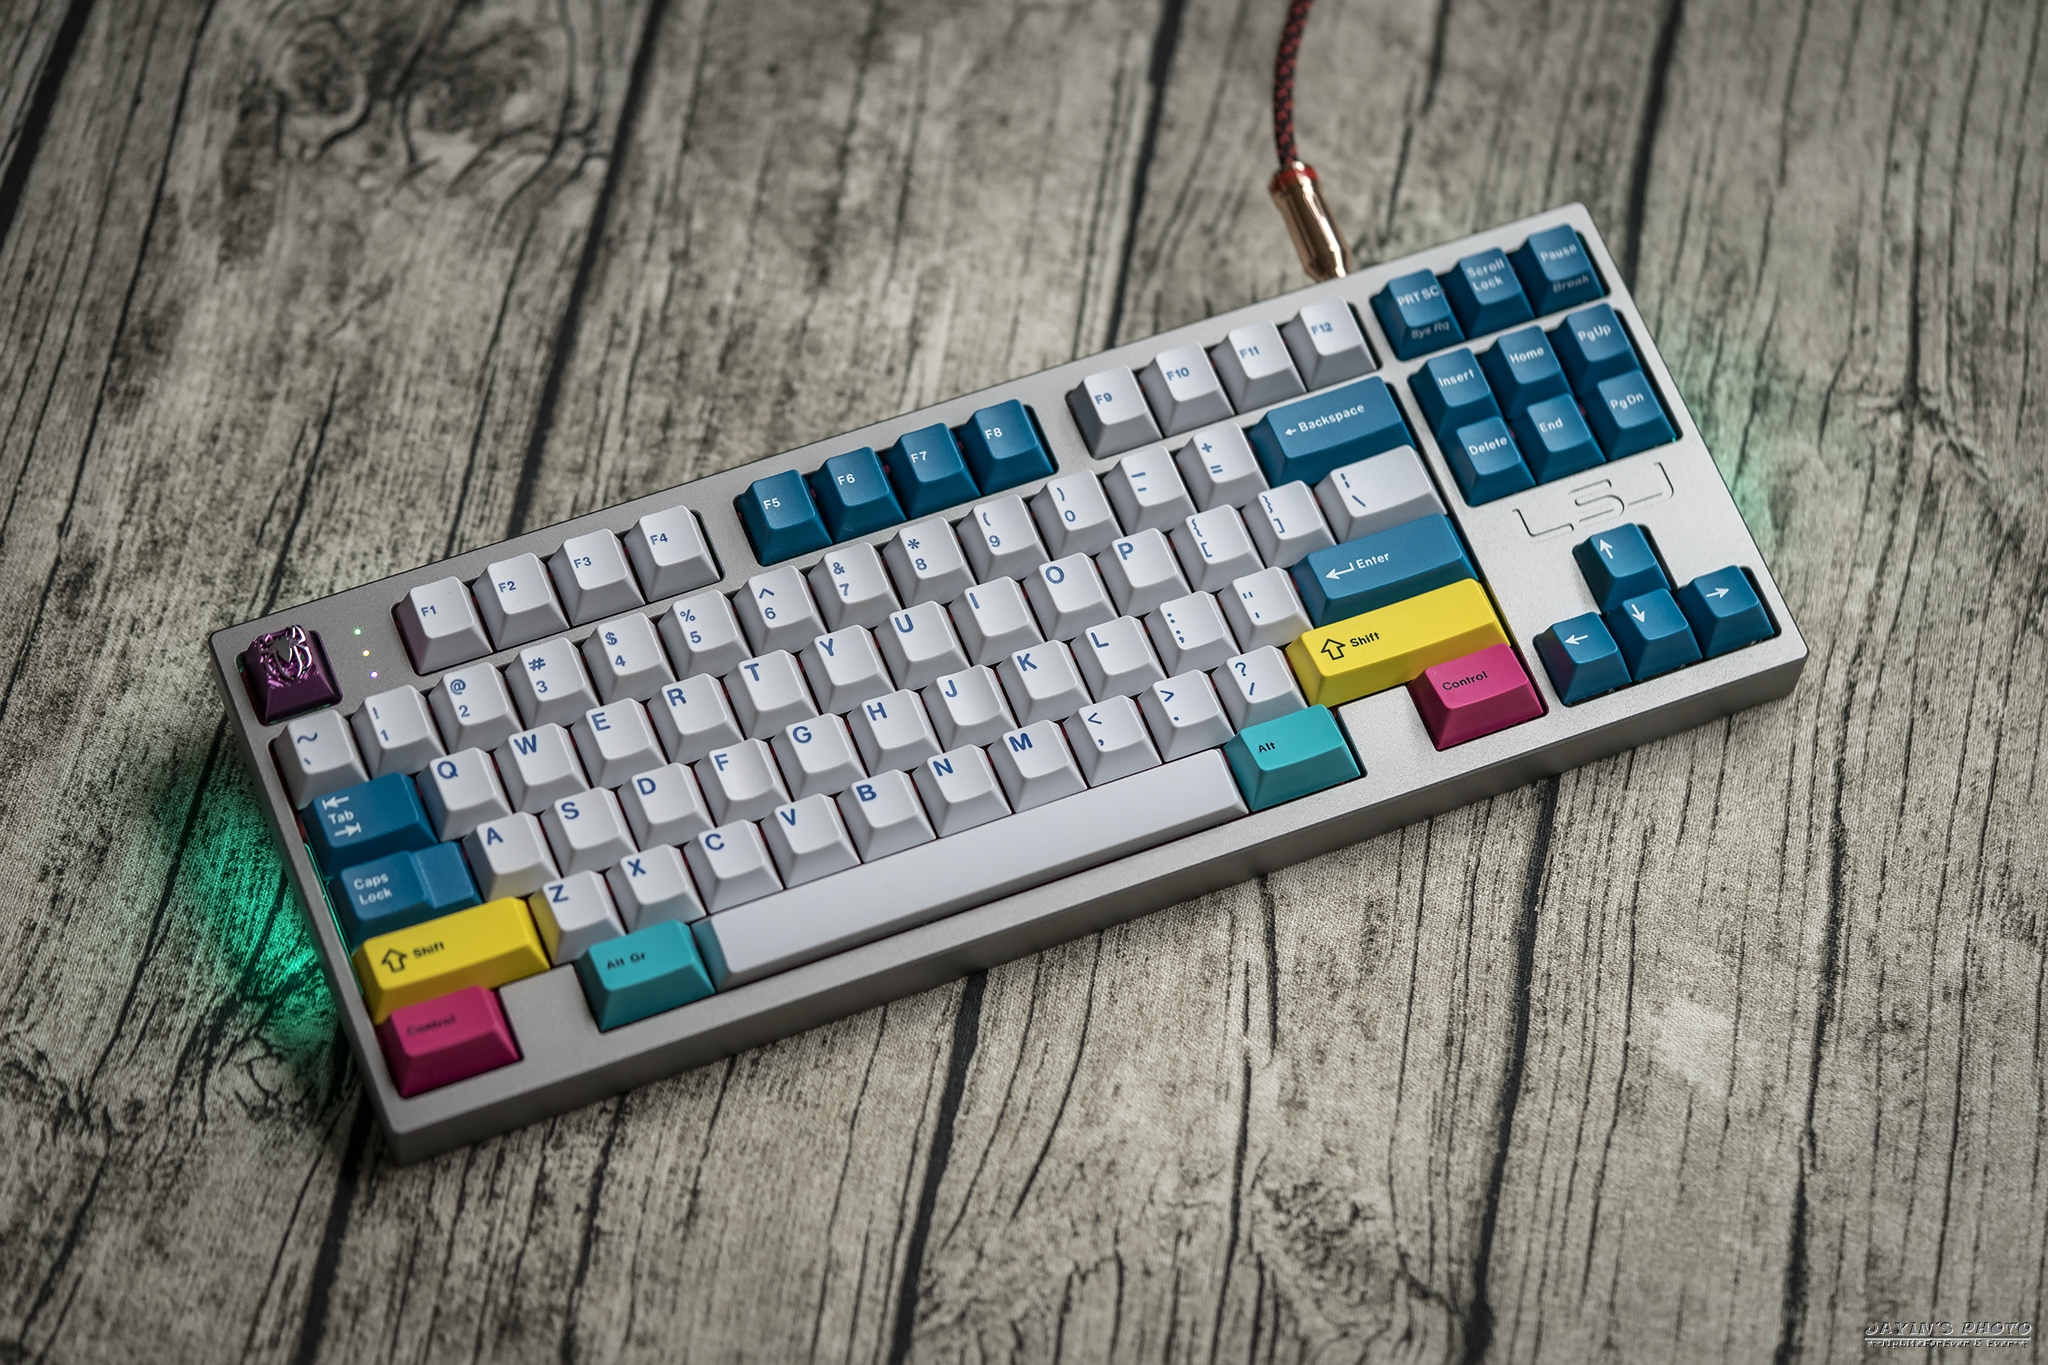
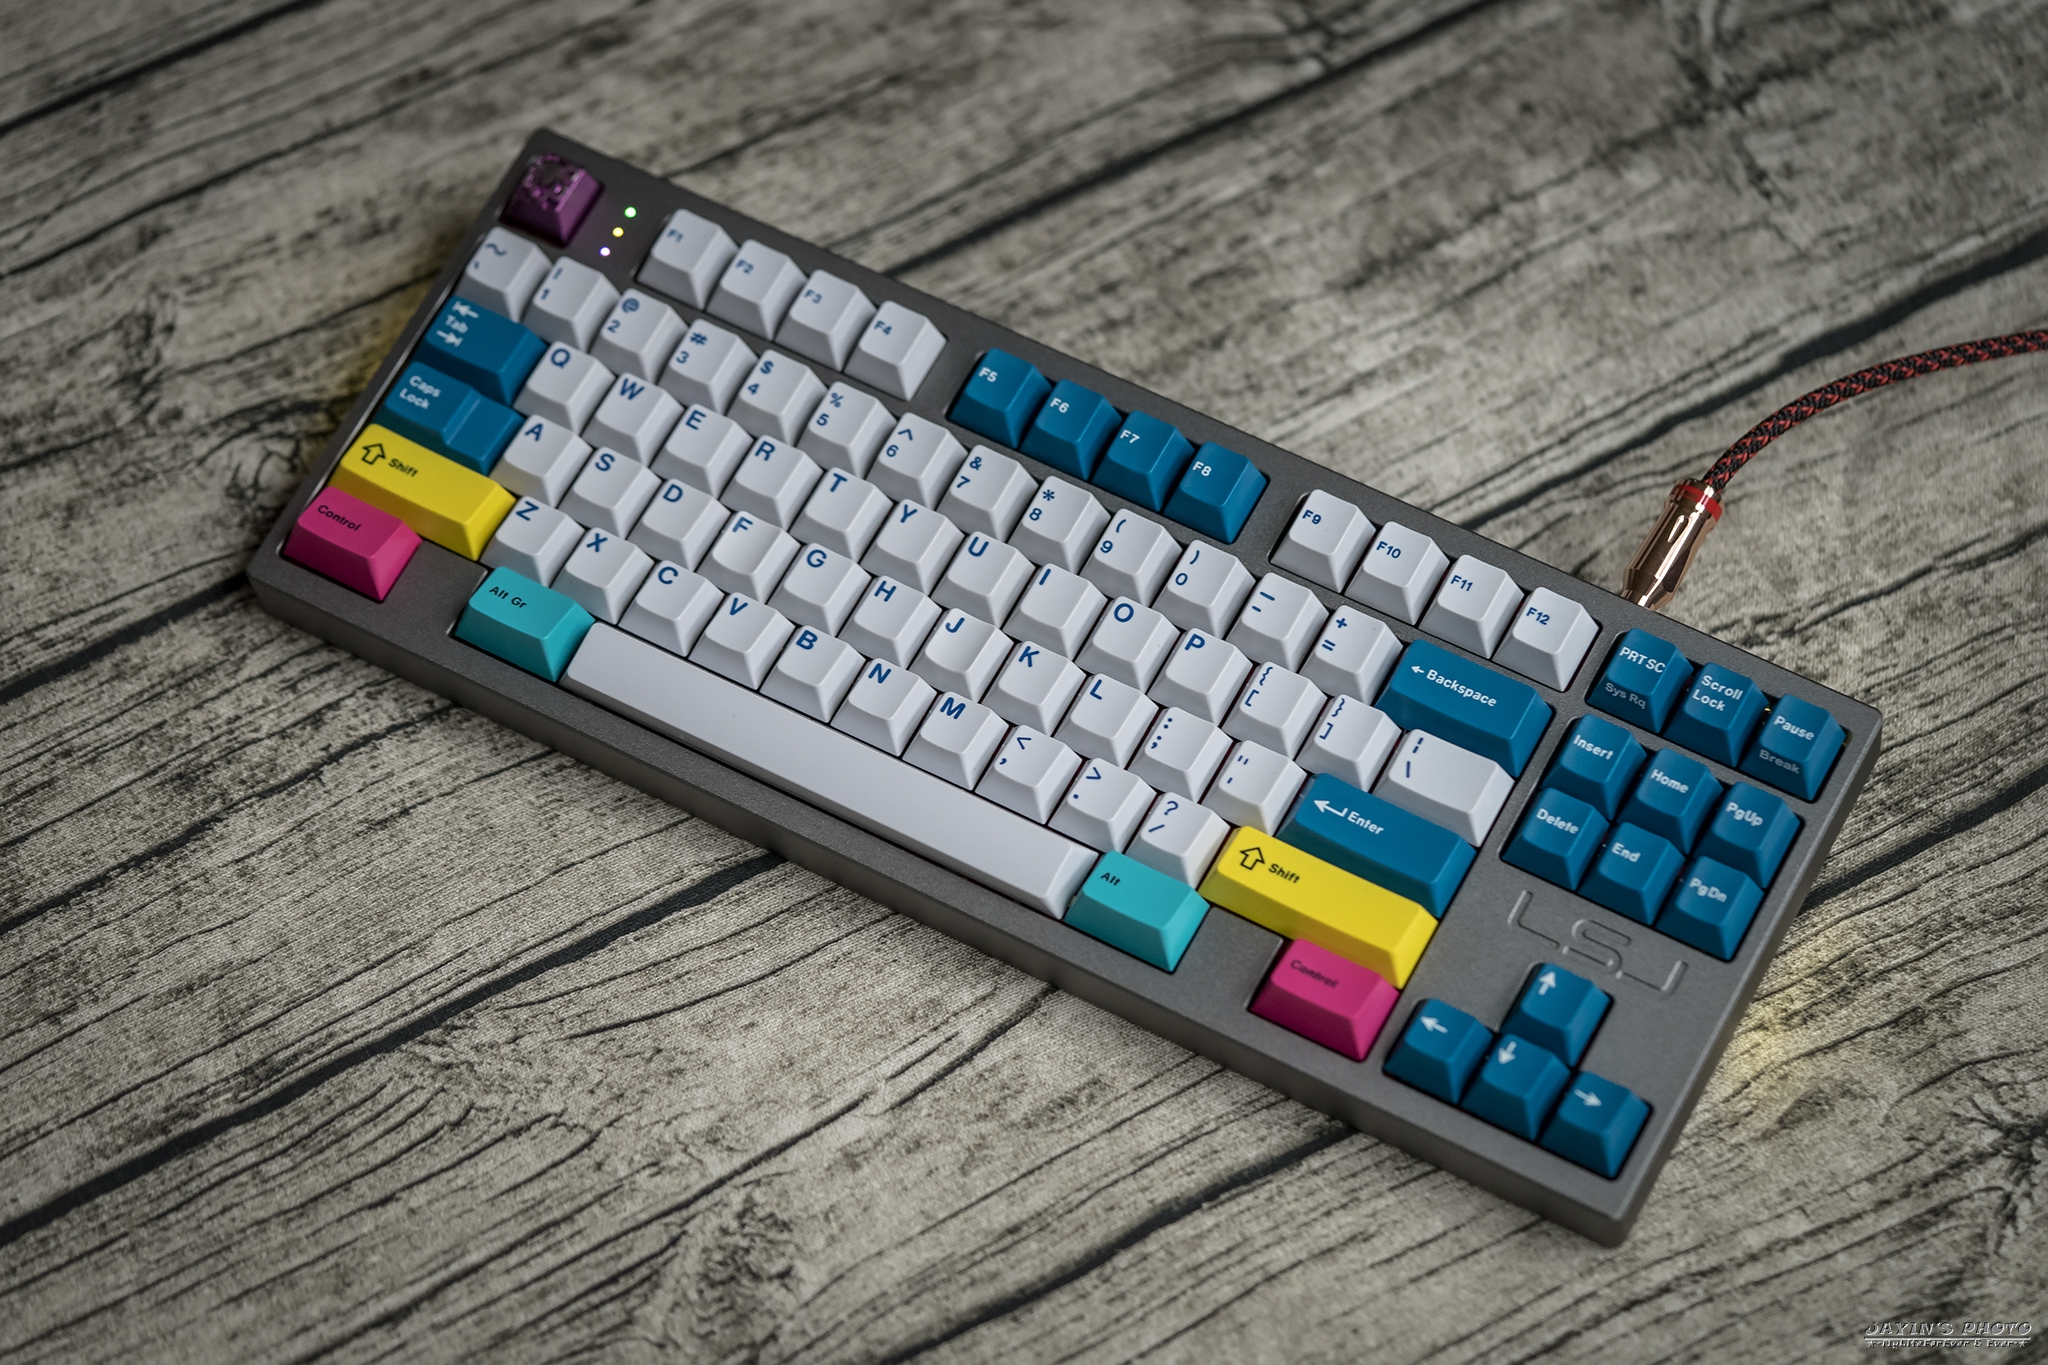
▼無論何時,LSJ總是這麼搶眼。
▼最後是換上GMK Unique0rn Modifiers
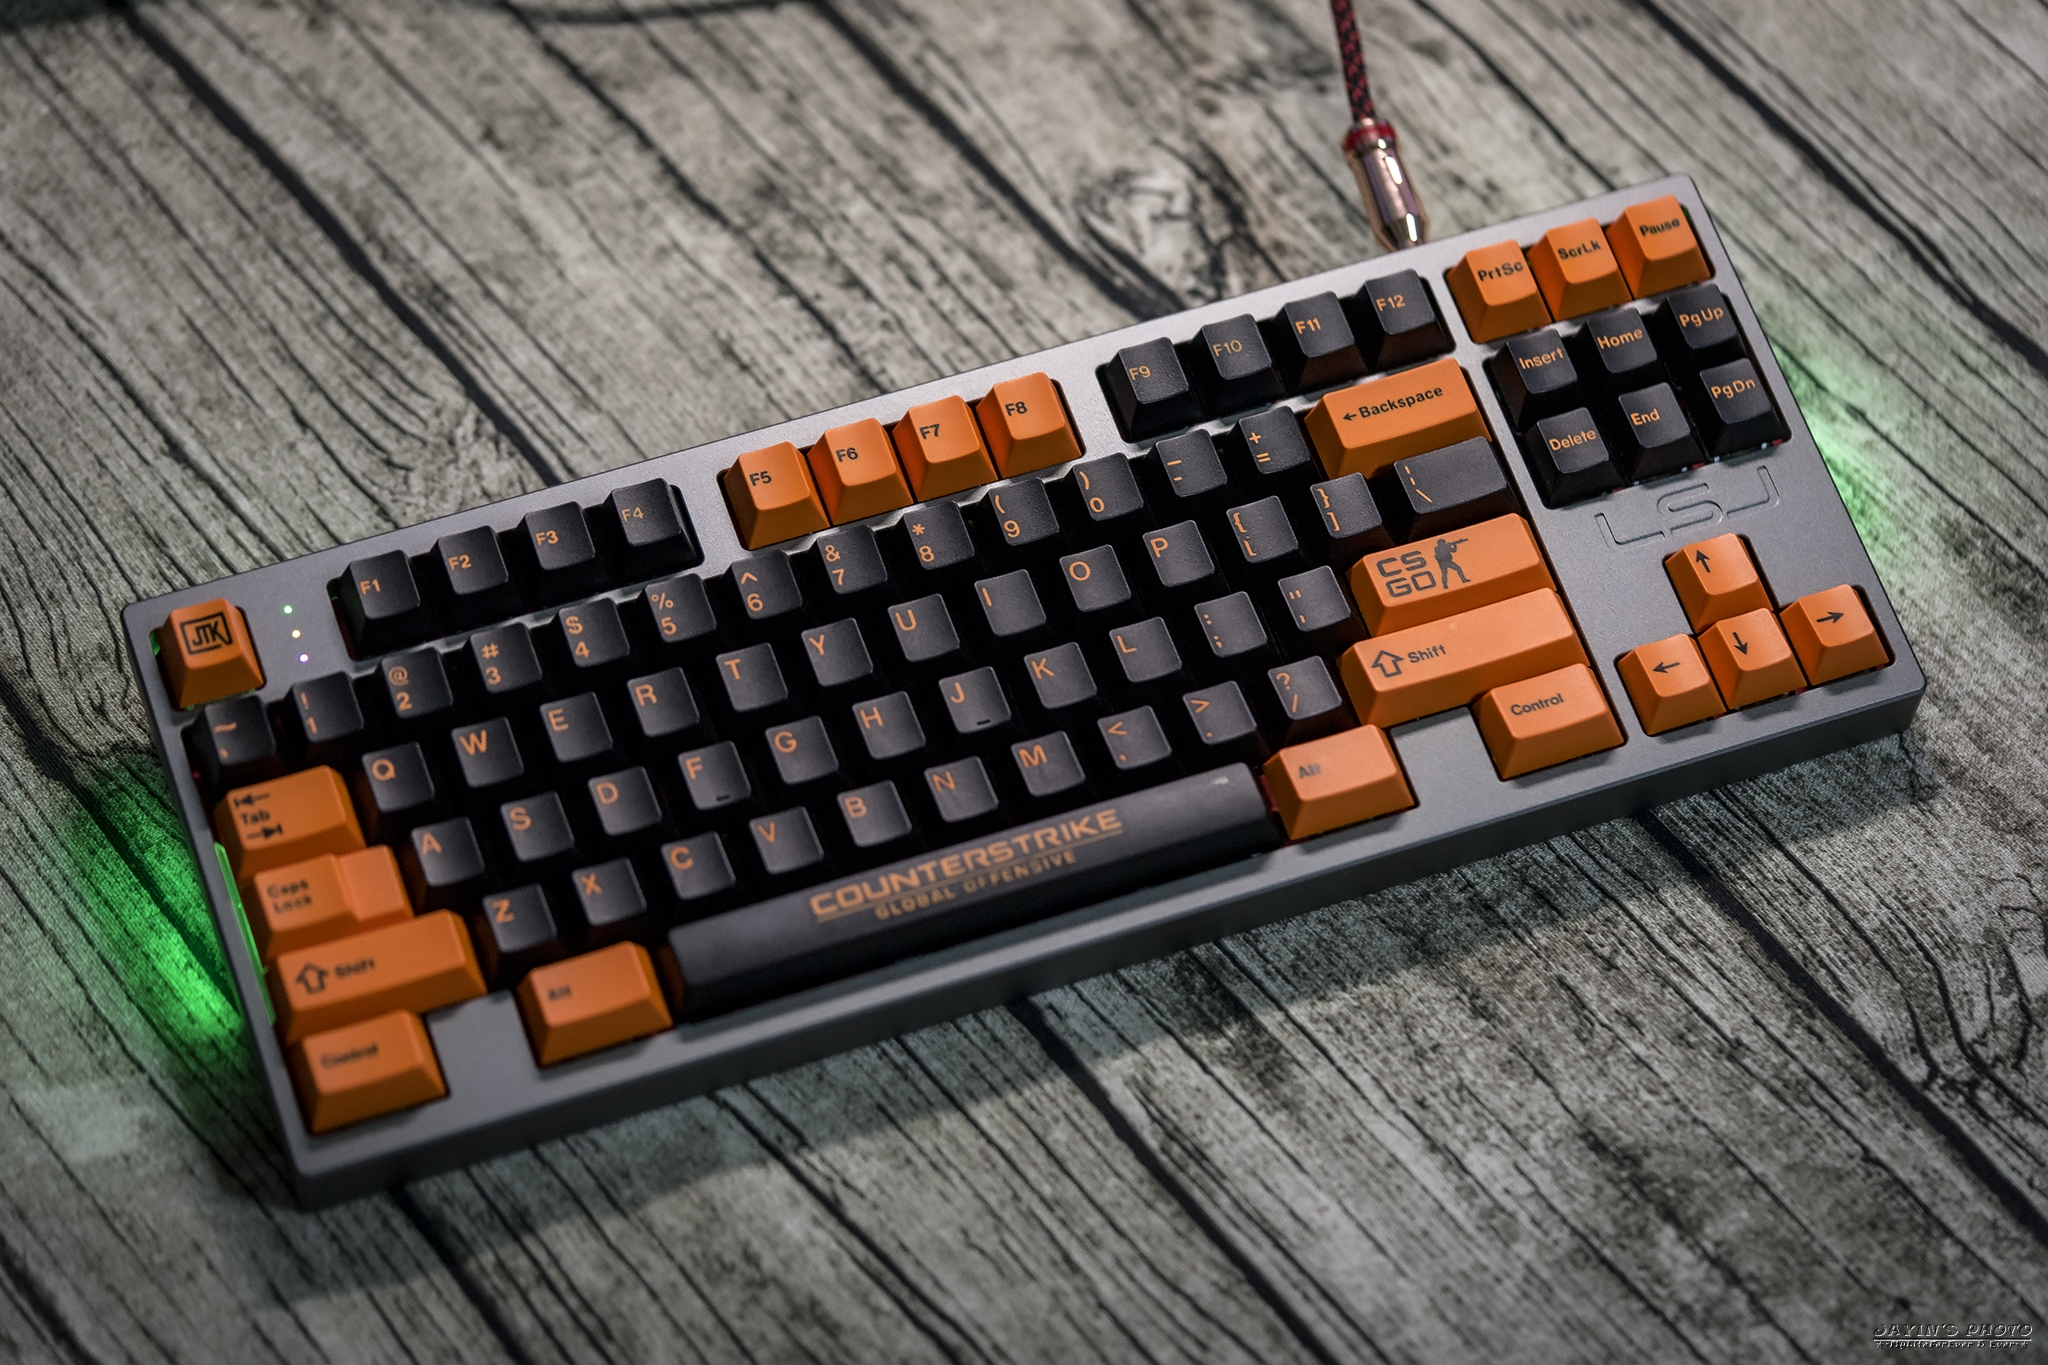
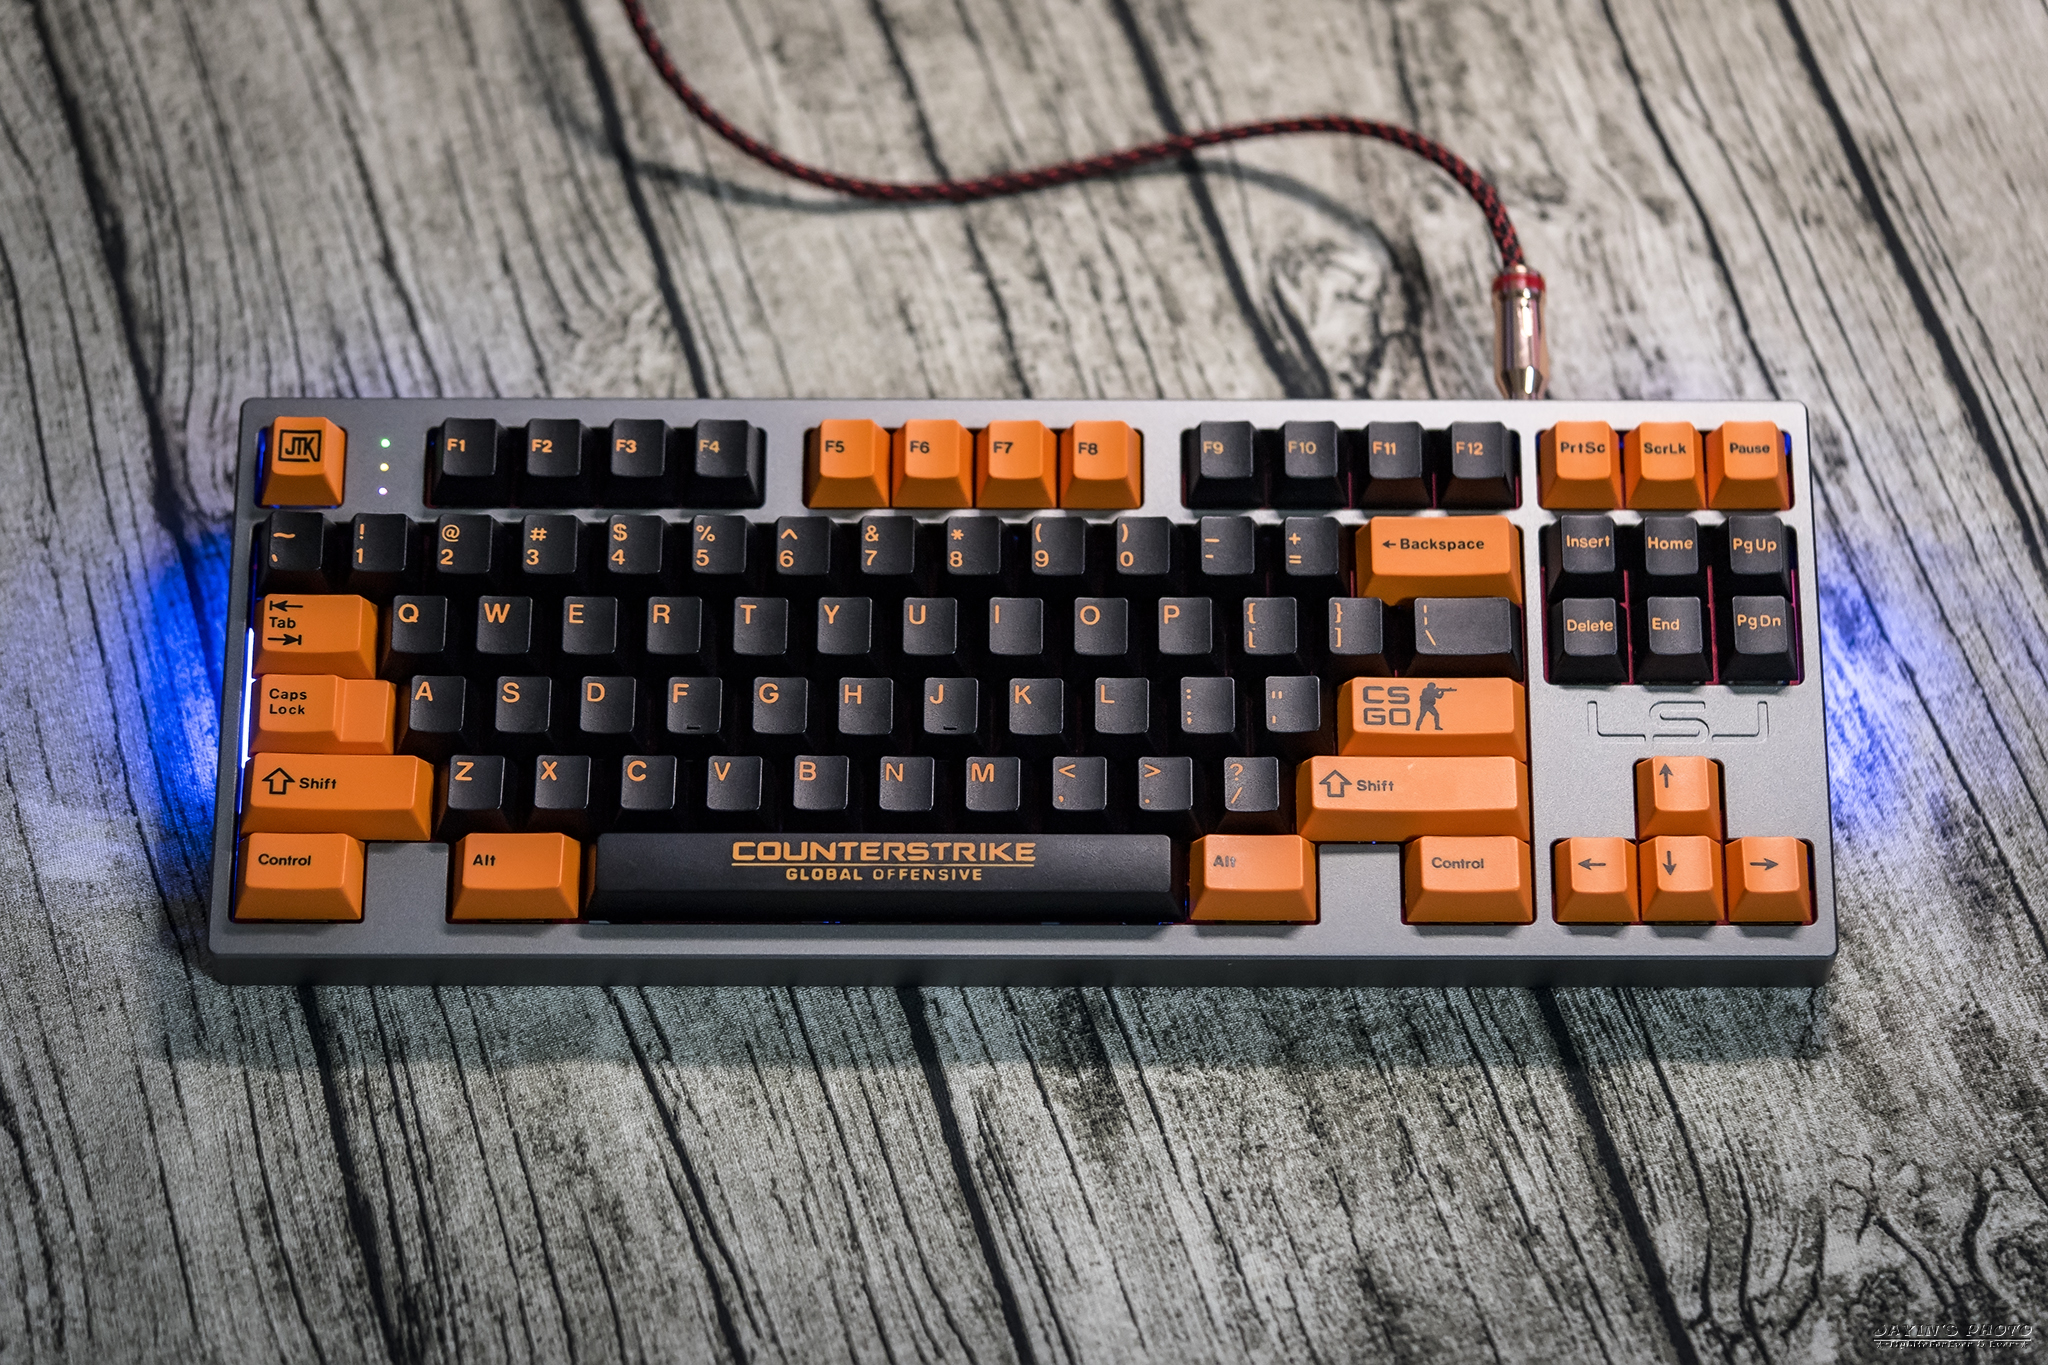
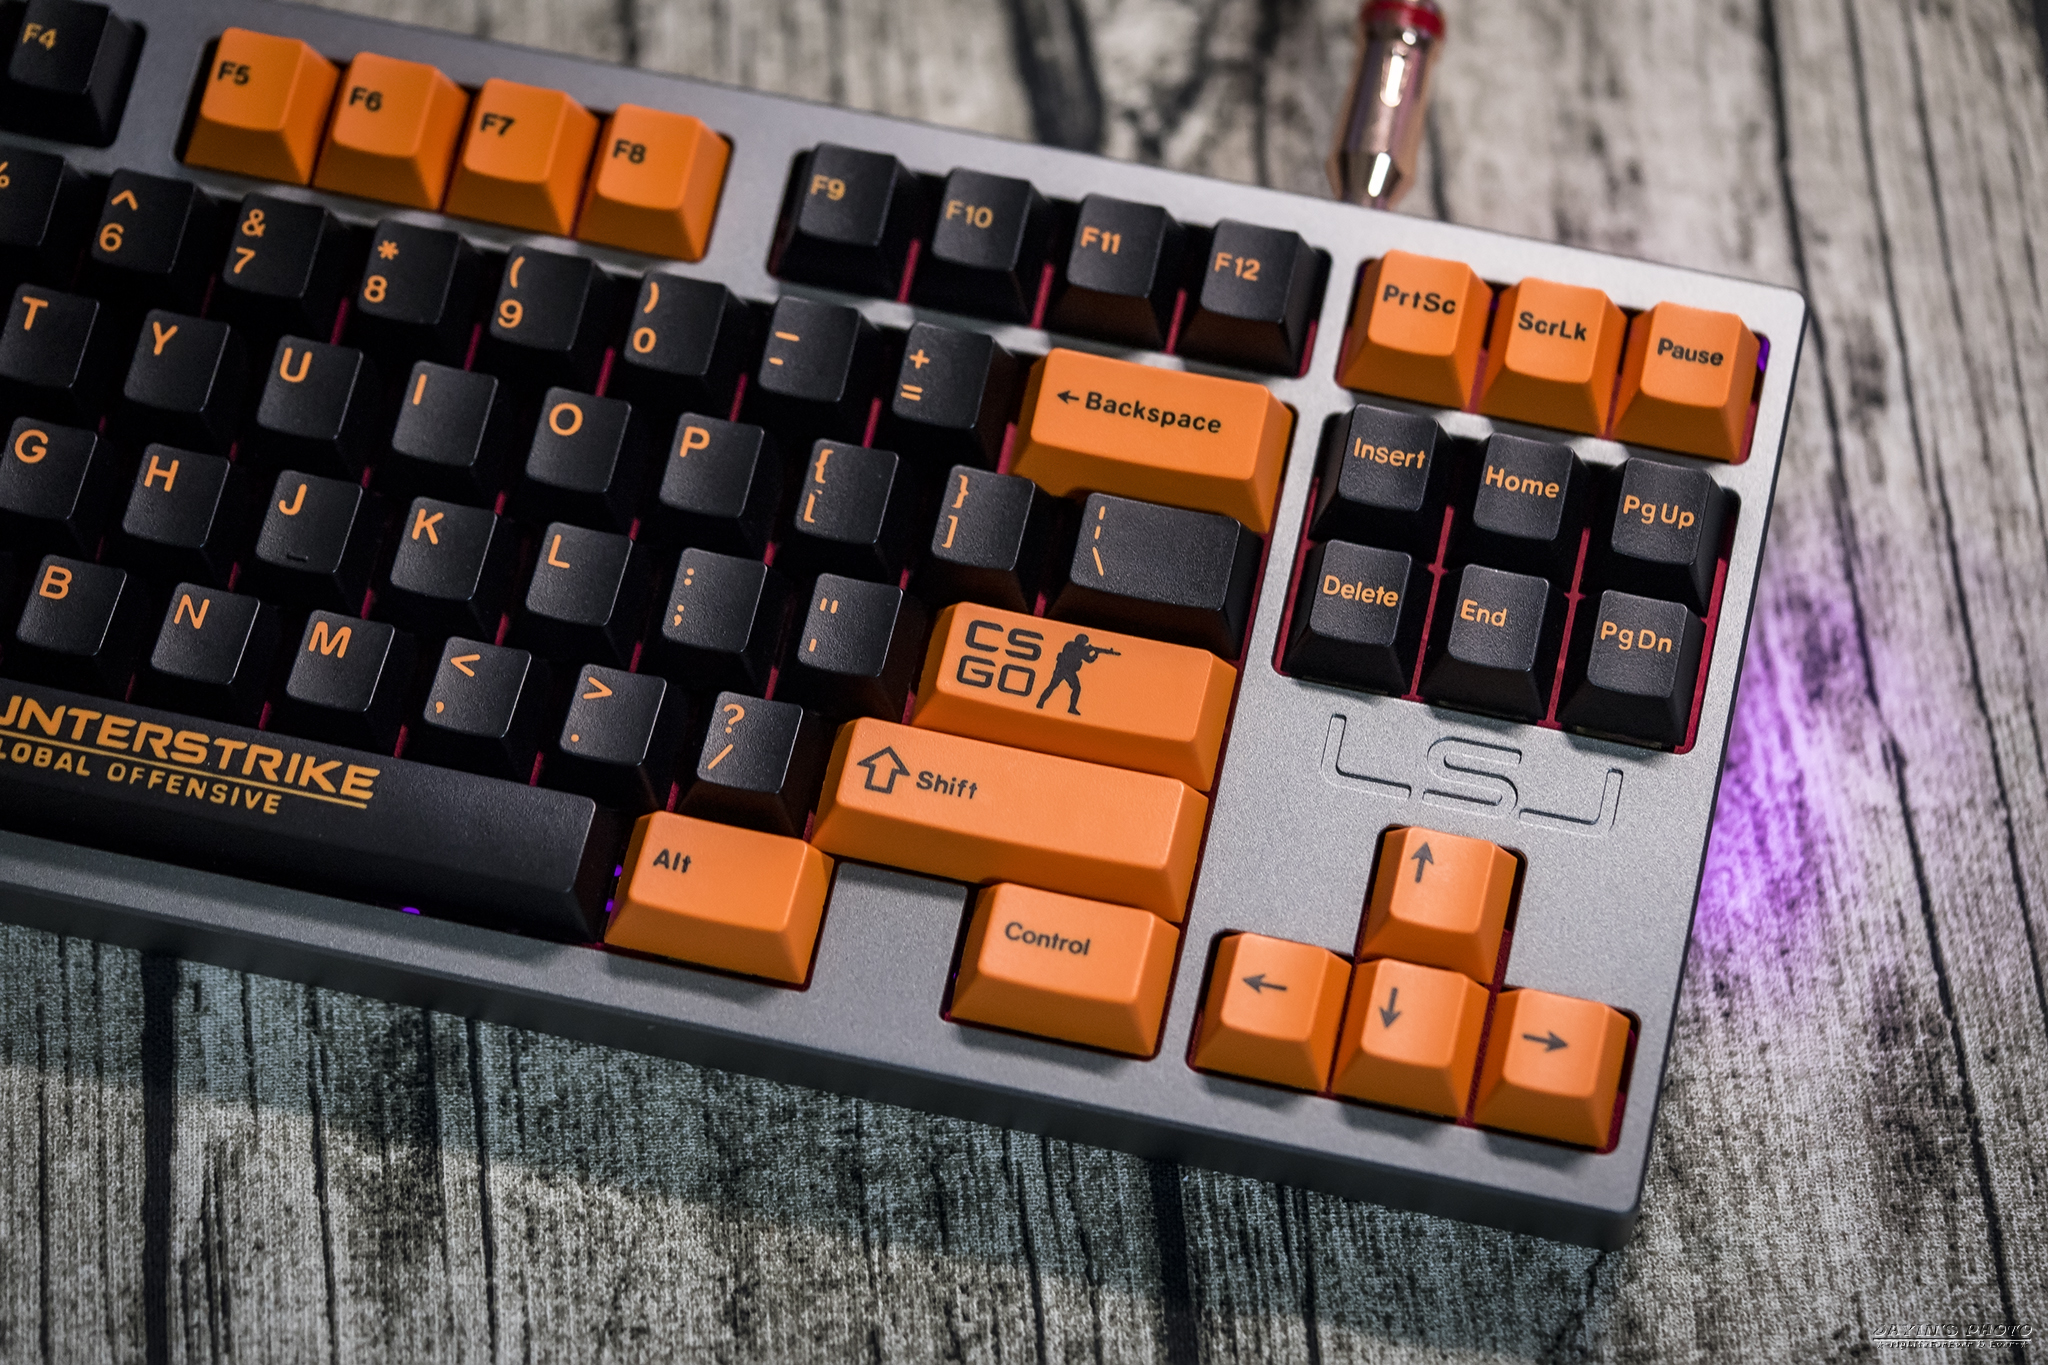
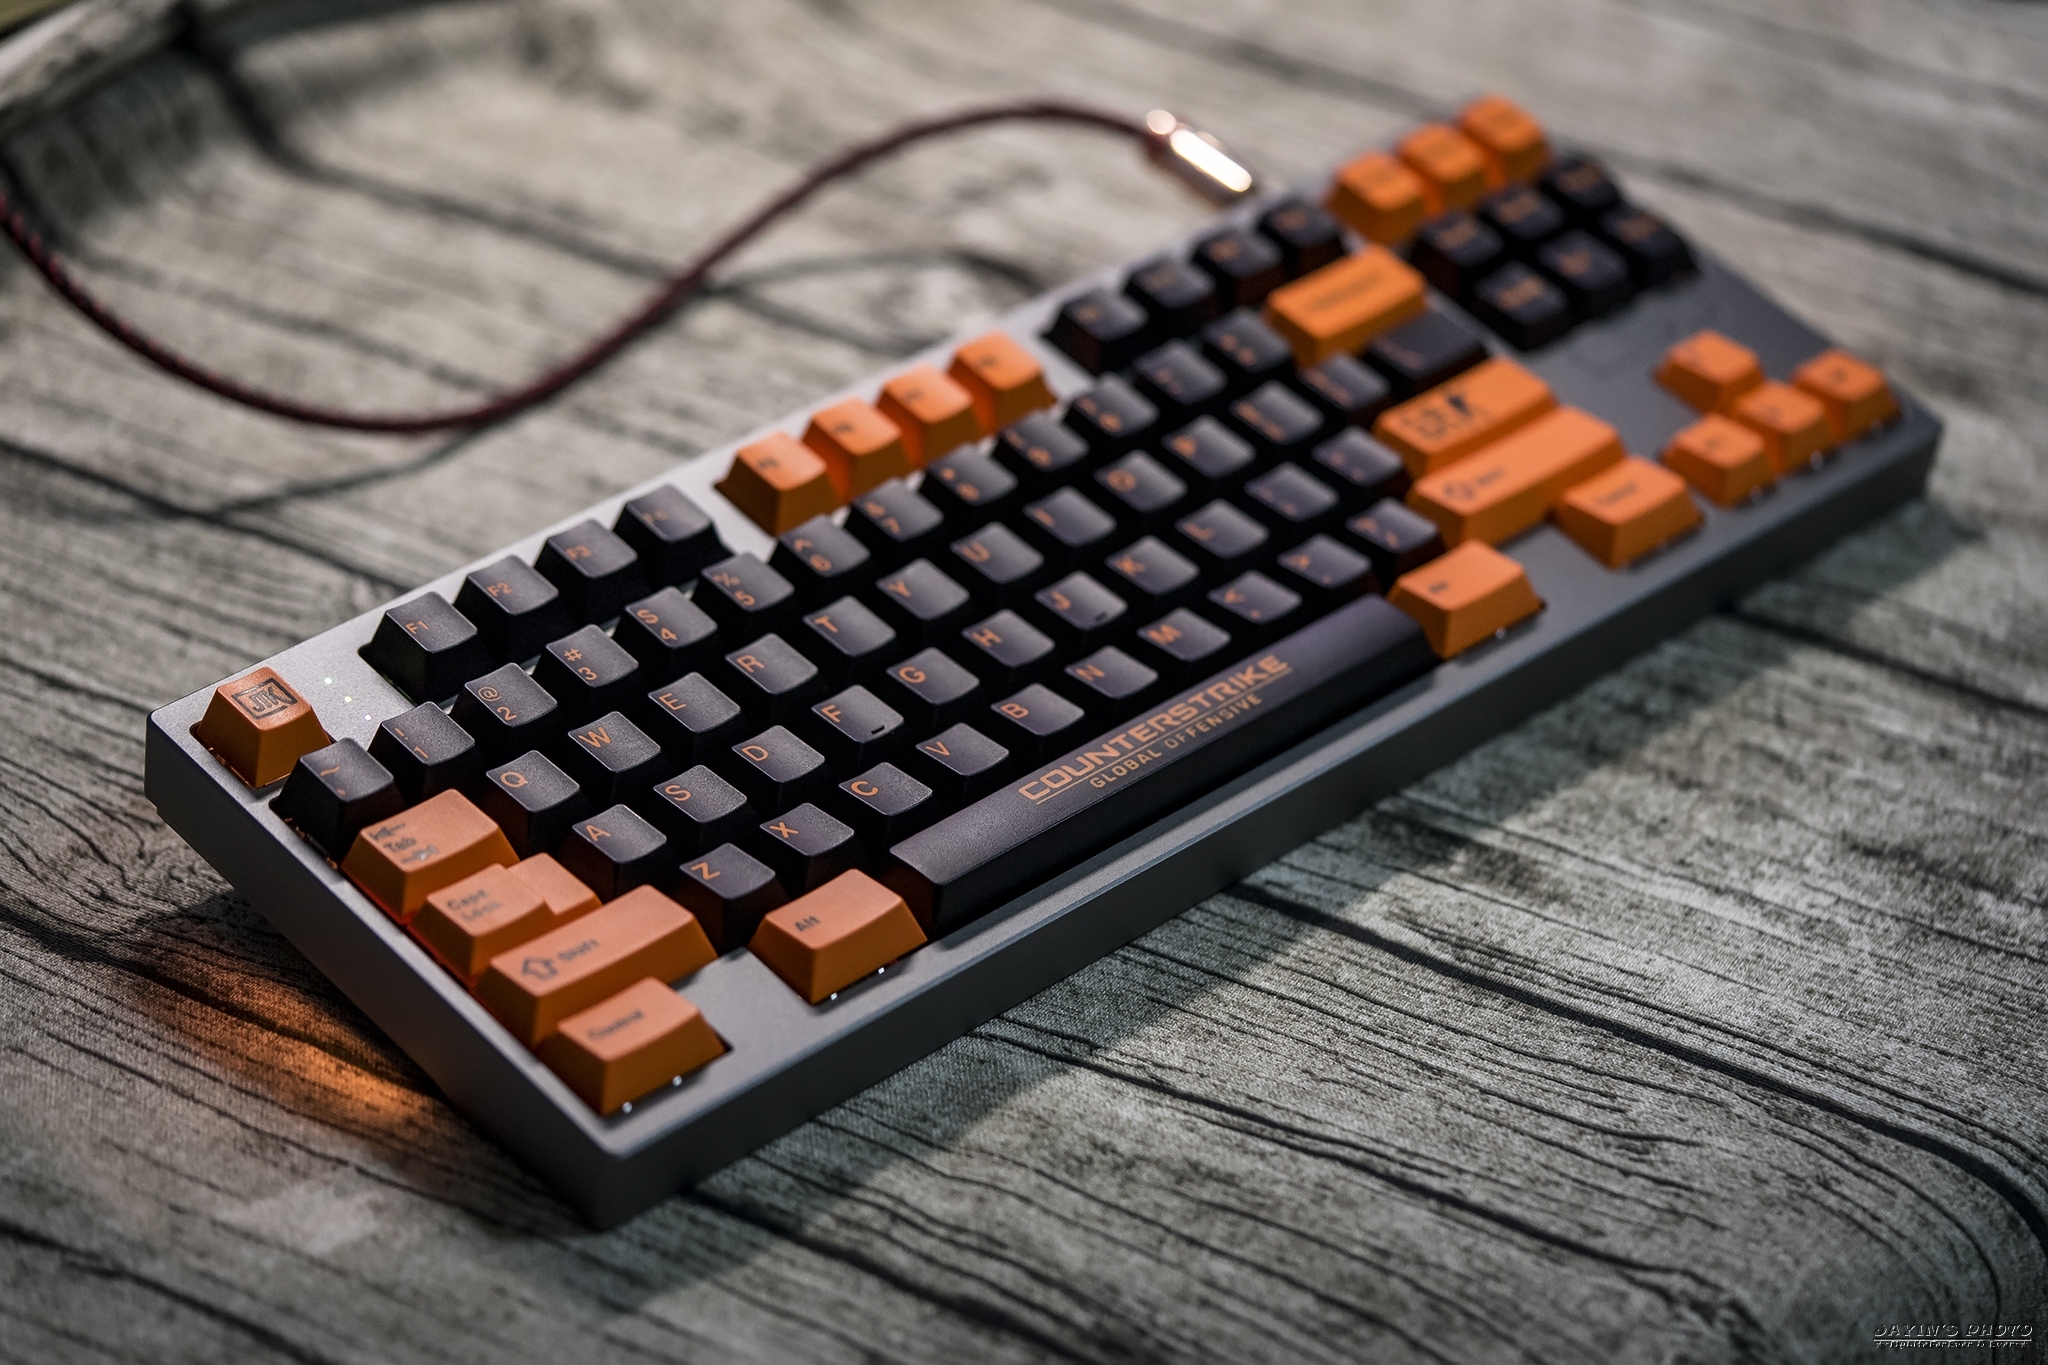
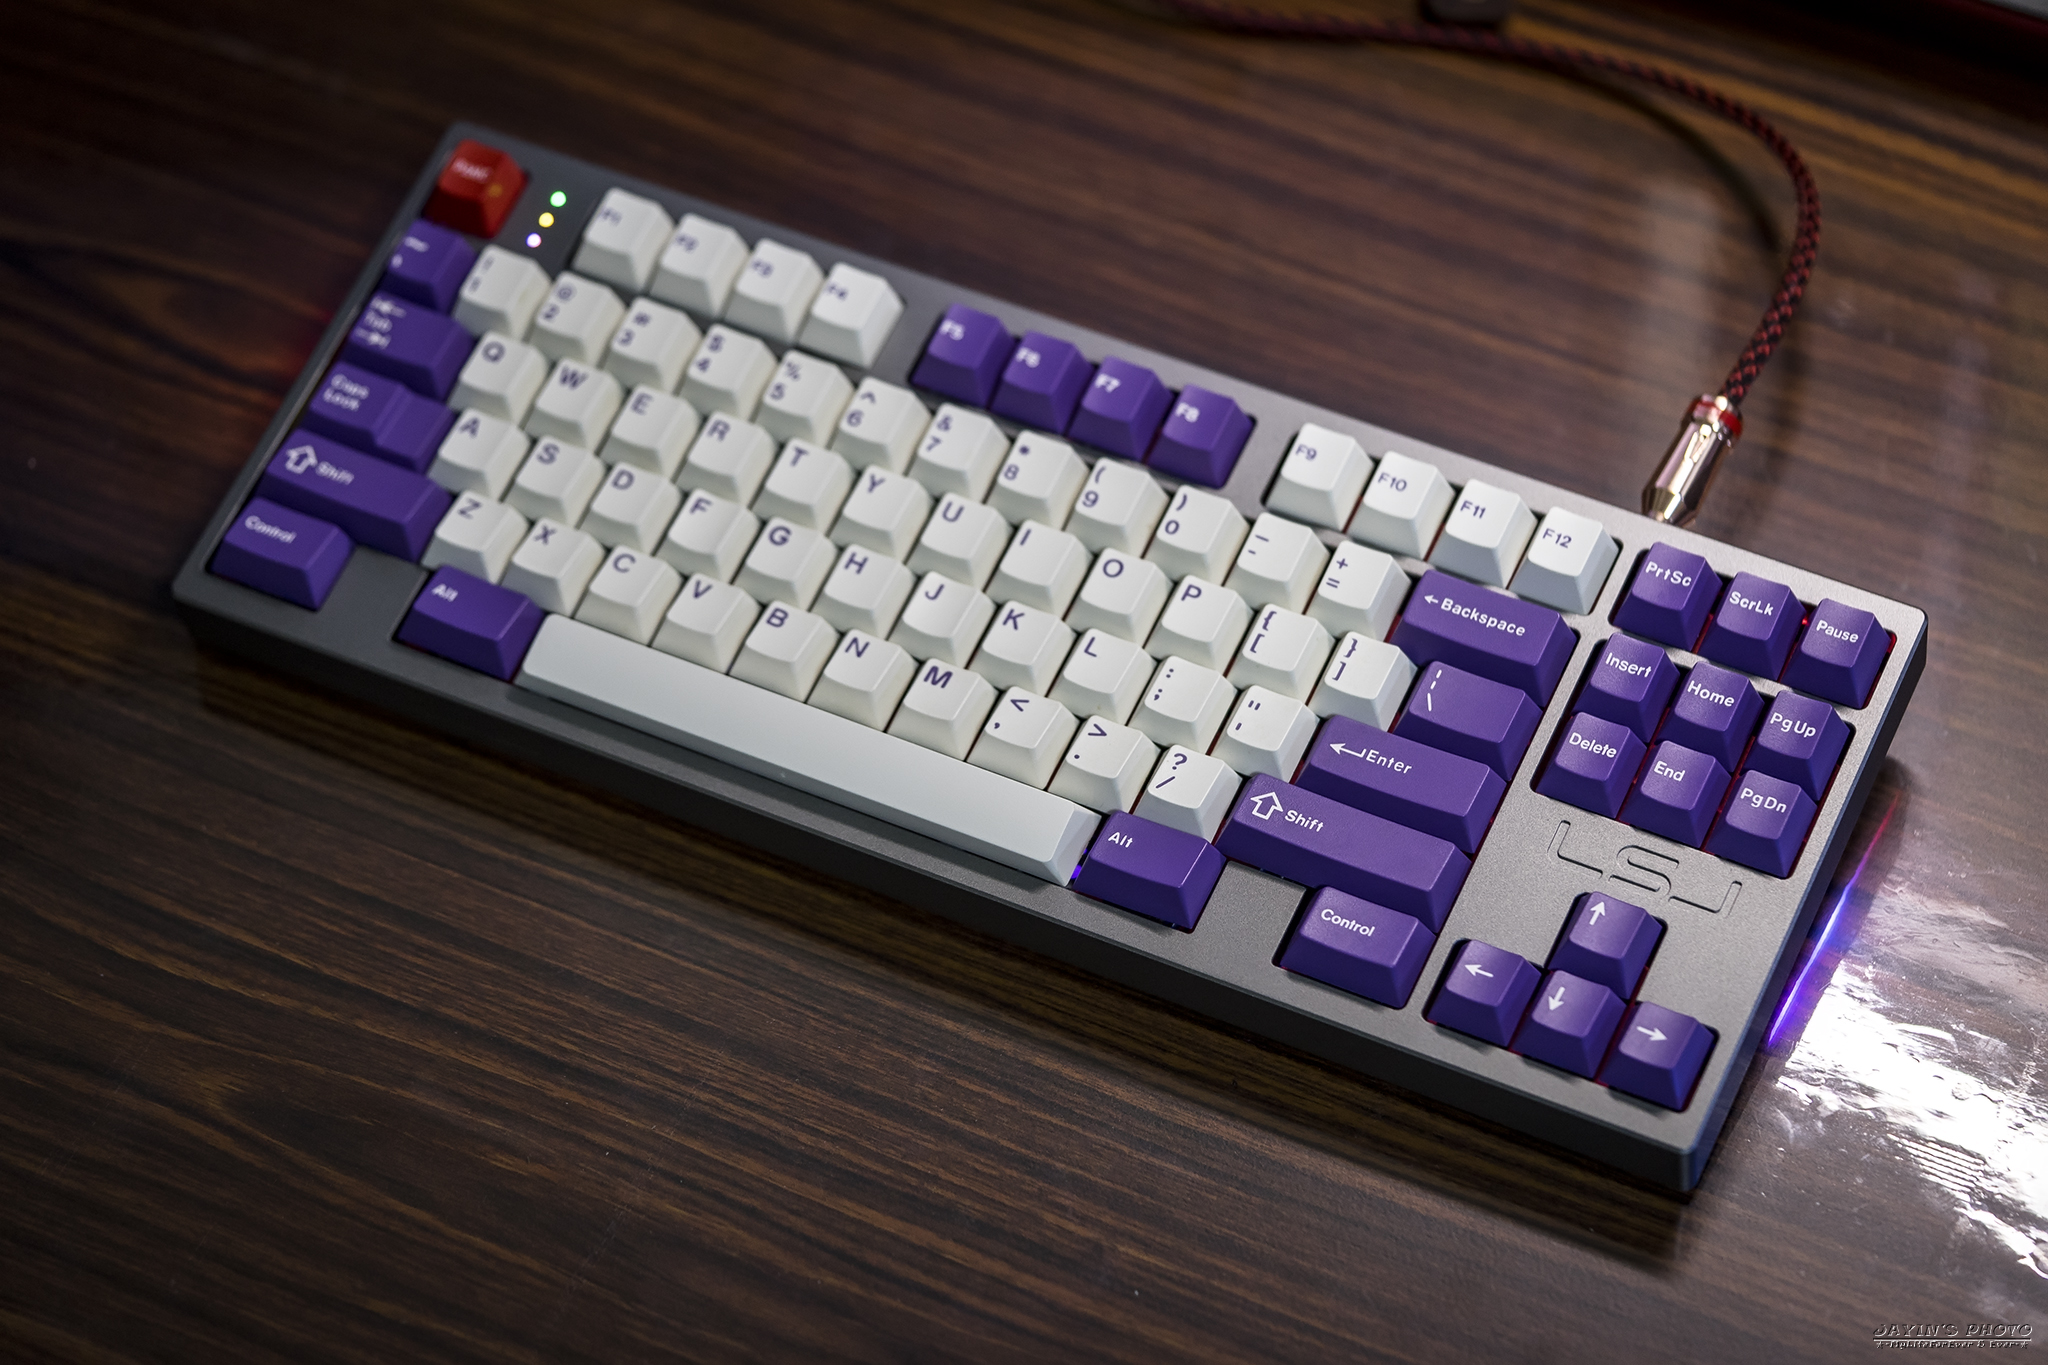
▼追加JT黑橙&紫白


更多照片在Flickr裡面,有興趣的朋友可以點進去看
https://www.flickr.com/photos/kivx/albums/72157678276835113
底燈漸變燈效影片:
櫻桃白軸改67g彈簧打字聲:
《感想》
想想自己入坑也近三年了,看著市面上的鍵盤漸漸失去了感覺,
薄膜、機械、電容、RGB鍵盤、GH60、改軸都玩過了
現在大概只剩鍵帽團購跟個性鍵帽比較吸引我了。
而尤其現在中國低價搶市,很多便宜鍵盤陸續有來,
雖然說給了預算有限的消費者多了選擇,但那品質和作工老實說還是差強人意。
想著想著,就想著弄一個屬於自己的鍵盤,為什麼?
「客製化的真意就是 - 我有你沒有」
開玩笑的,不過也是有些道理啦,畢竟大家都有的東西就不好玩了,
就像走在路上三不五時就和人撞衫一般。
所以搞一個獨特且有紀念性的鍵盤,就當幫自己在鍵鼠坑的路程上,寫下了一紙輝煌。
這是屬於我們的歷史和回憶!
All Hail LSJ! Driven By Passion!
以上就是LSJ 80%鋁合金自組機械鍵盤套件的簡單分享
感謝閱文。
沒有留言:
張貼留言