繼 LSJ Keyboard 之後,我們的隊長 kenlee 先生在某天早上起床時,
靈光一閃說他想要做 60% 客製化鍵盤,而且是要做 HHKB-Like (類HHKB)的樣式。
謎之聲:類三小,機械就機械,薄膜就薄膜,There's nothing called 「類機械」,別老是搞得人心hen類。

LSJ Keyboard 可以參考以下連結:
https://kivxlee.blogspot.com/2017/03/lsj-keyboard-kit.html
然後他就開始動手畫了,後來就請 LSJ 成員給意見修改,
既然 kenlee 都問了,那我們也就只好 kenlee 一下了。

修改完就到各處去發IC,看看國內外的意見,可以參考以下連結。
GEEKHACK IC:https://geekhack.org/index.php?topic=92216.0
GEEKHACK GB:https://geekhack.org/index.php?topic=93146.0
從去年十月開始 IC 到現在終於拿到了,就發個開箱。
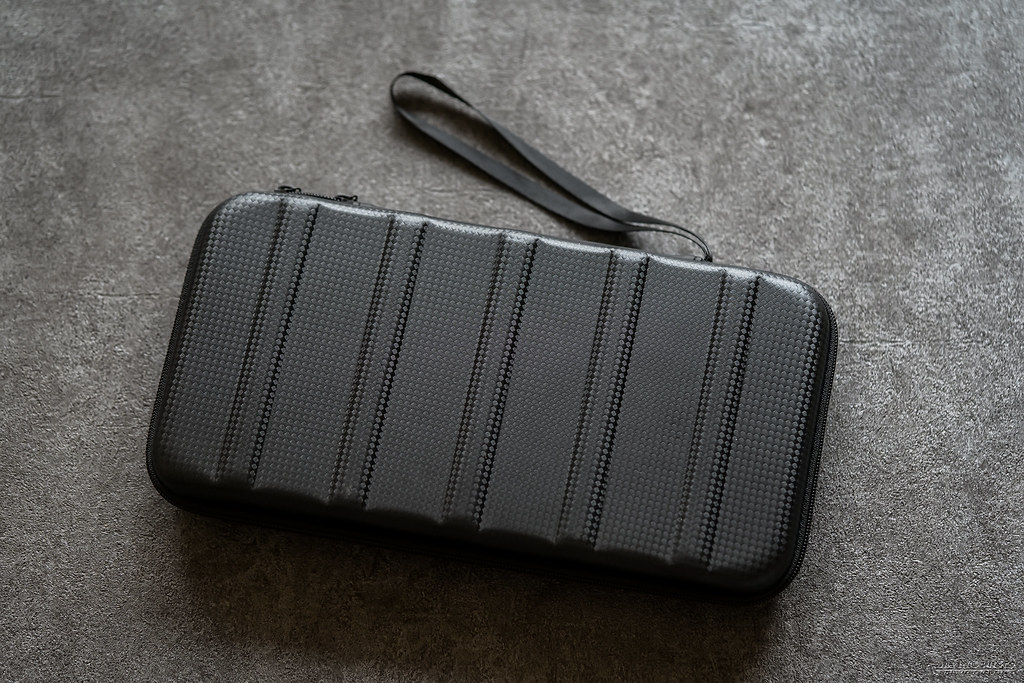
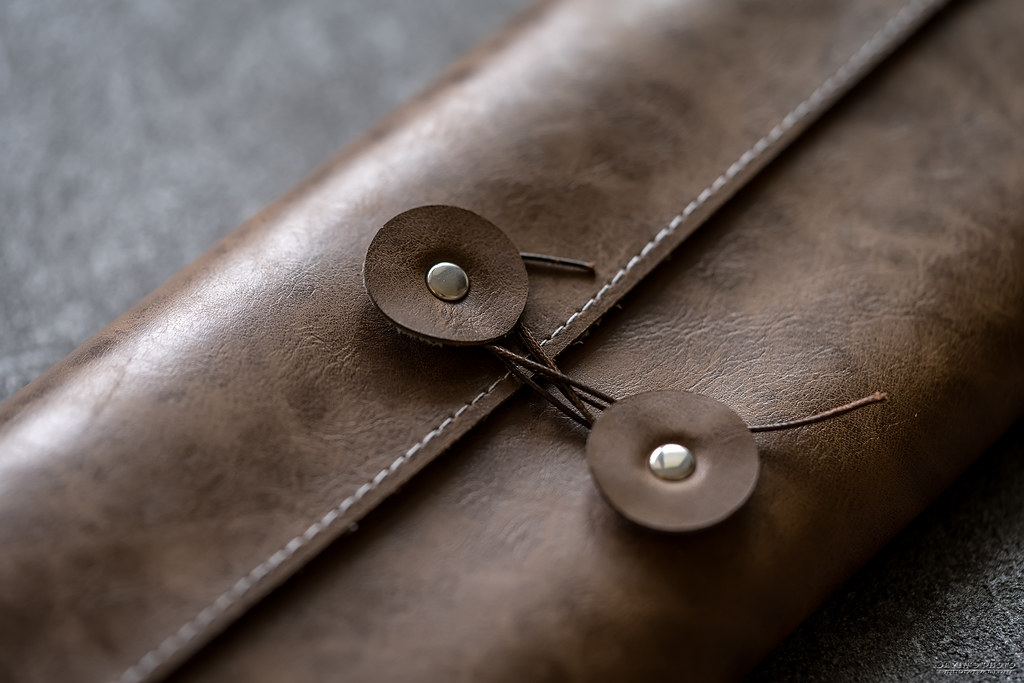
▼首先看到的就是攜行包,這個和 Moon 是類似的設計。
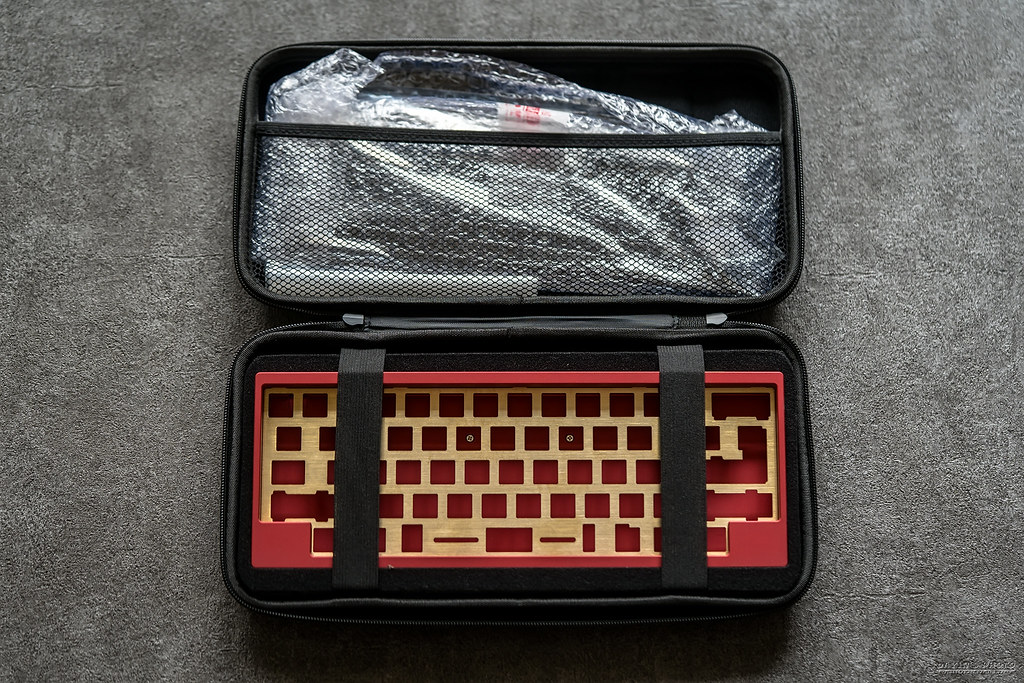
▼包包打開來就分上兩下層,分別放不同的零件。
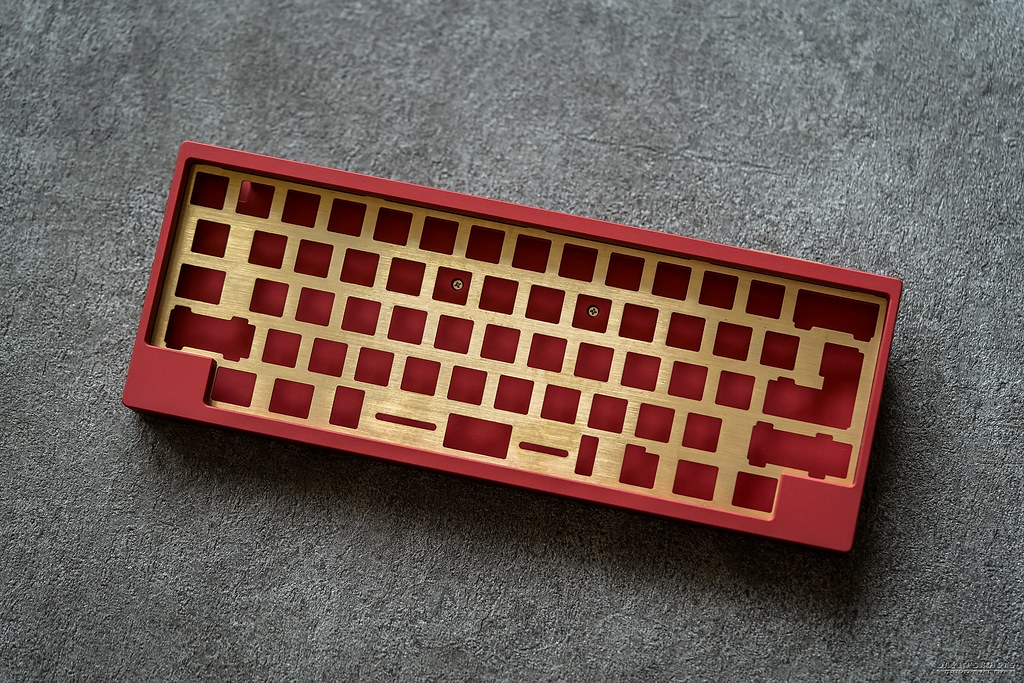
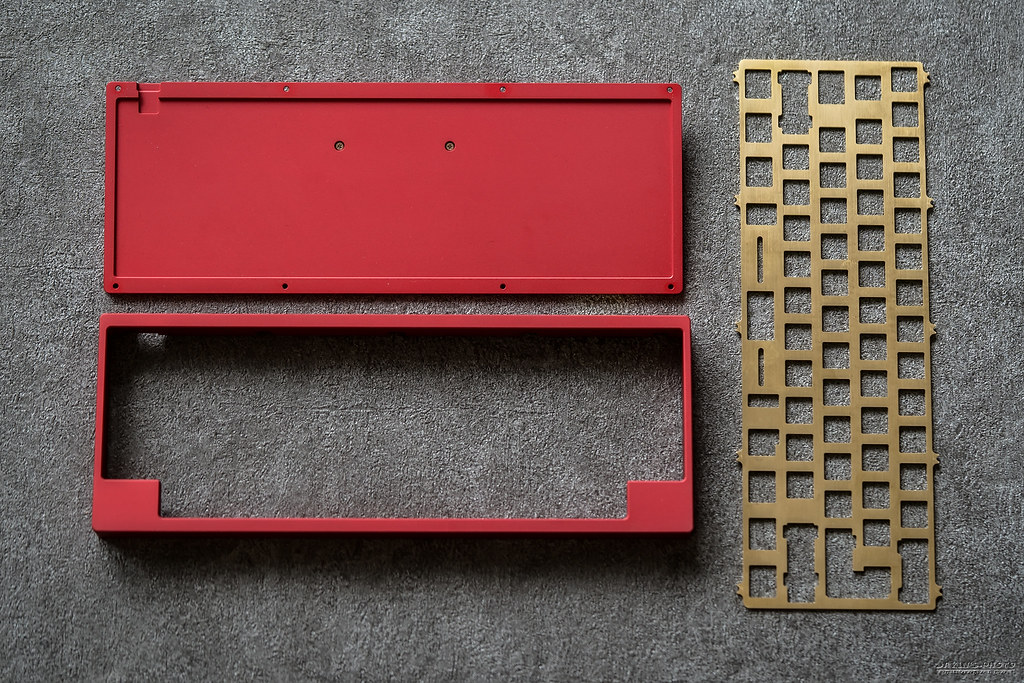
▼來看一下所有的零件:Ares 客製化套件外殼、PCB、腳墊以及替換用的螺絲。
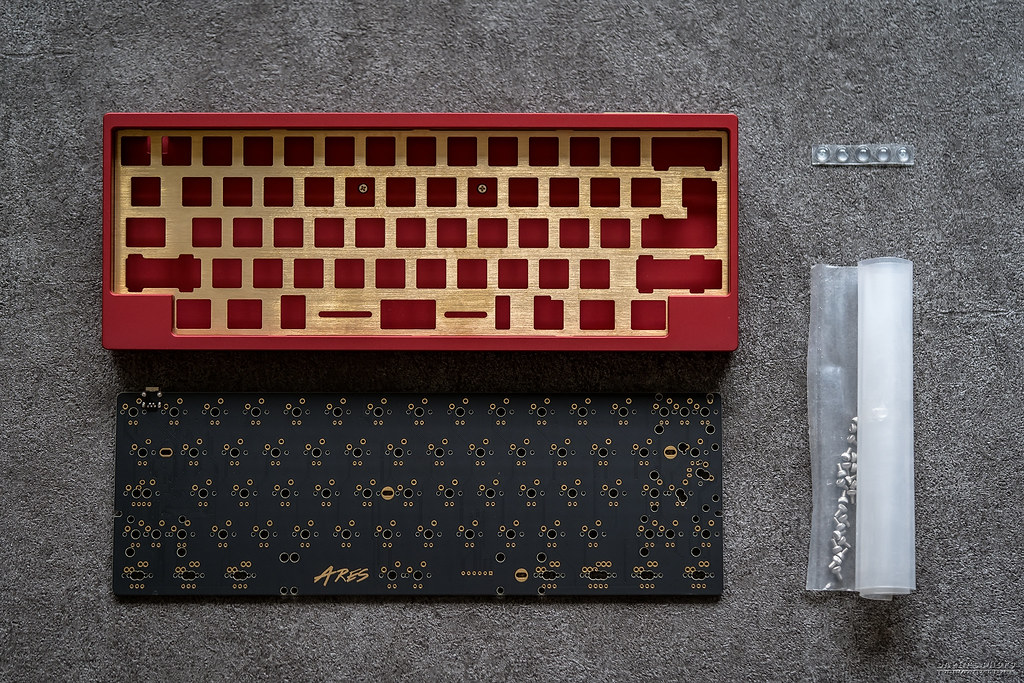
▼外殼本體,我挑的是冷門的紅色,配上黃銅定位板,妥妥的鋼鐵人配色;據說全球只有三個人選紅的,其它色就請網友們開箱了。
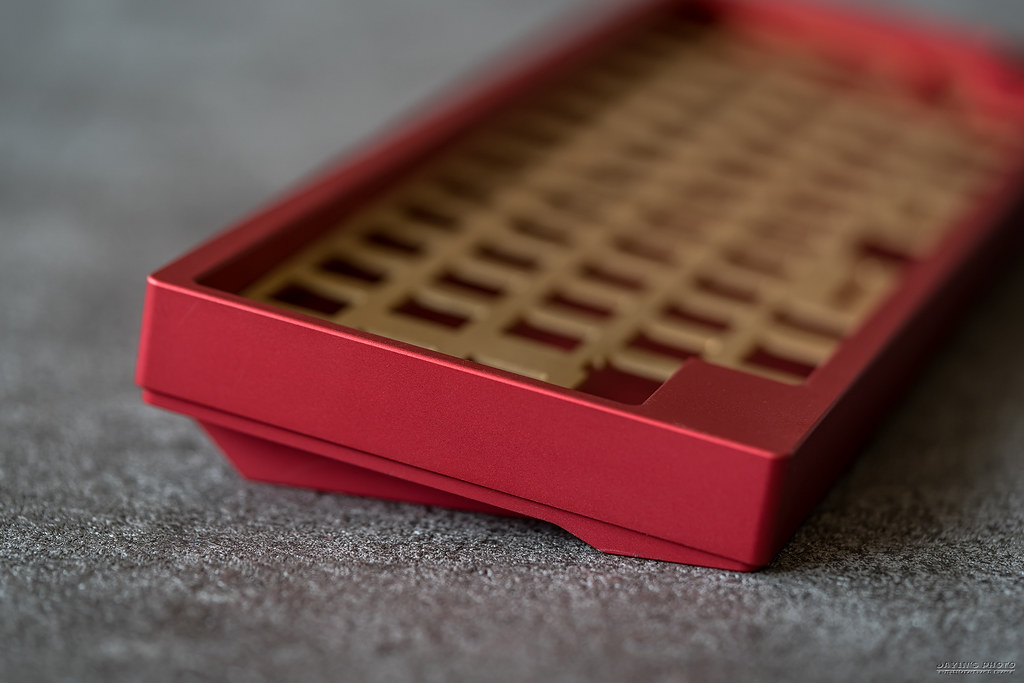
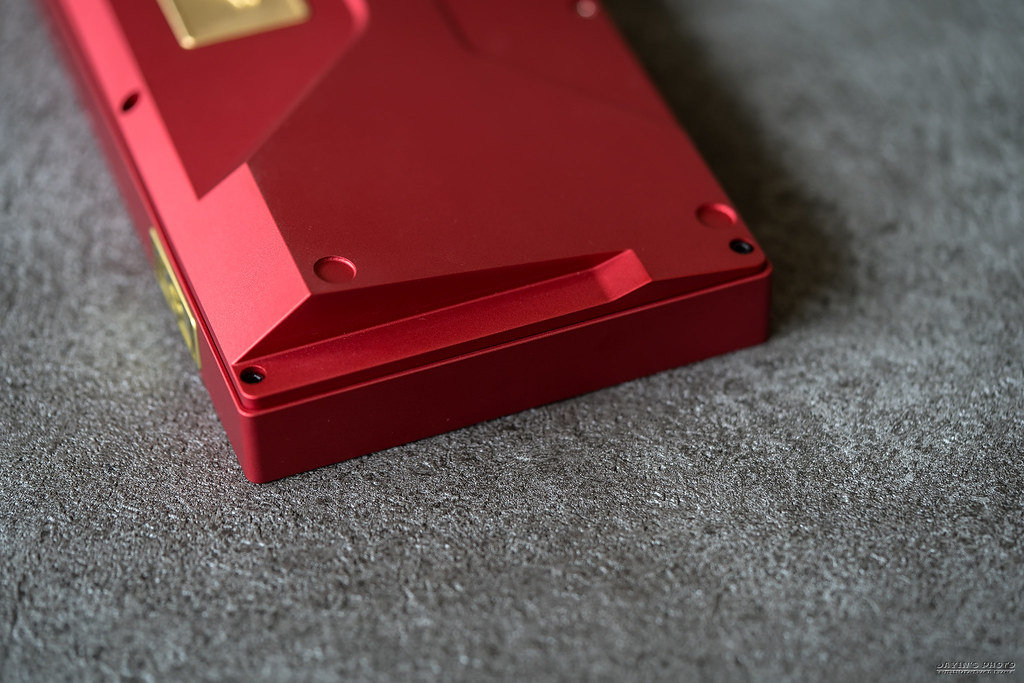
▼Ares 的側邊基本就是沿用 LSJ Keyboard 的設計,簡單俐落。
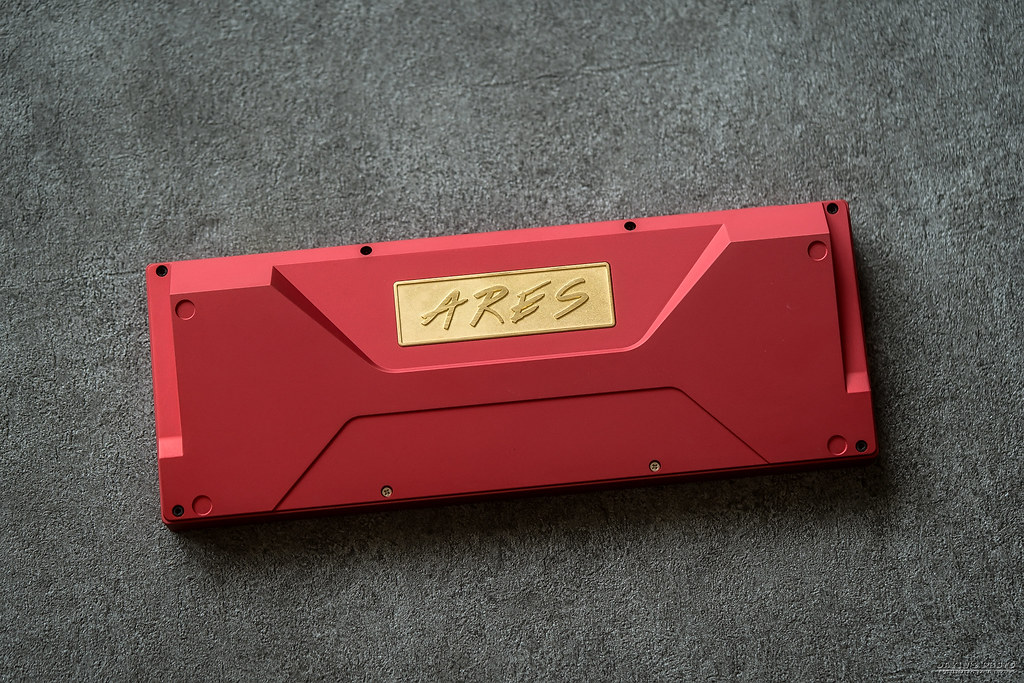
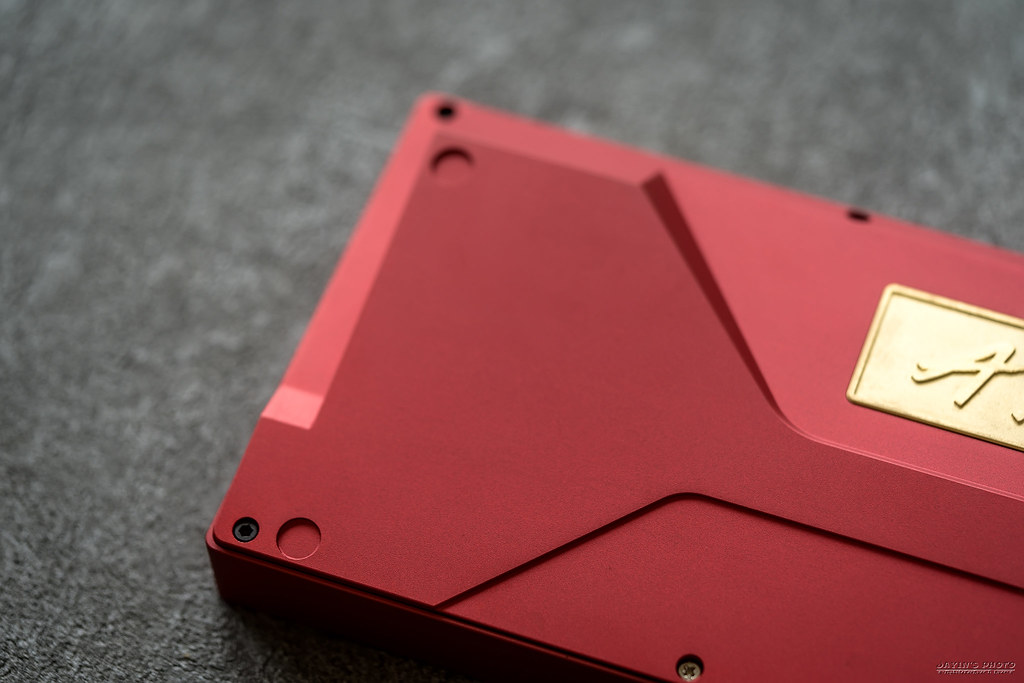
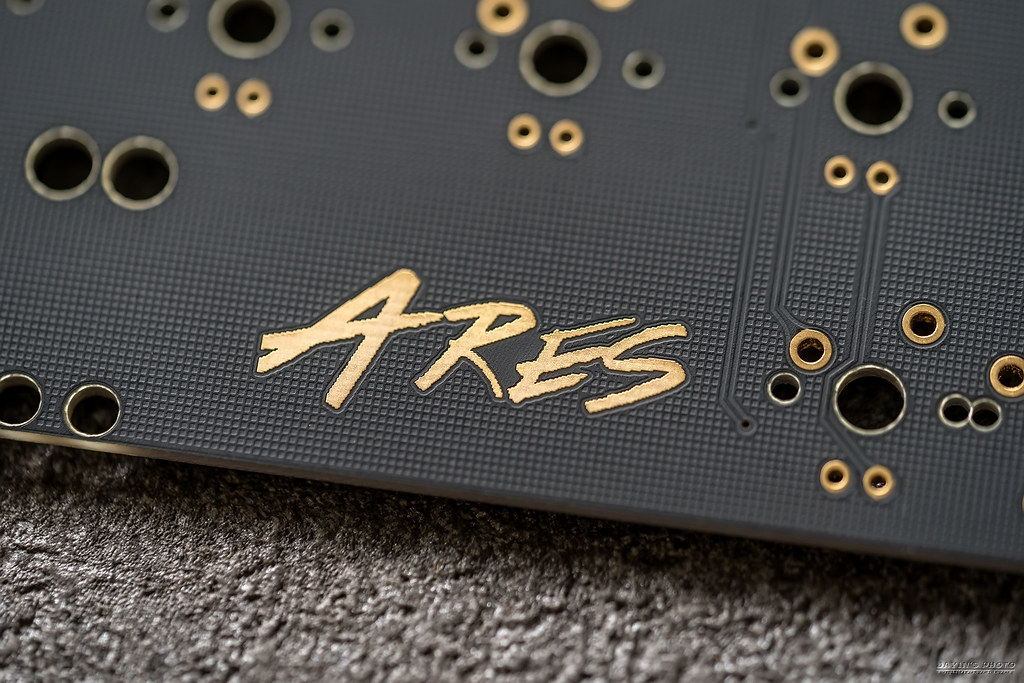
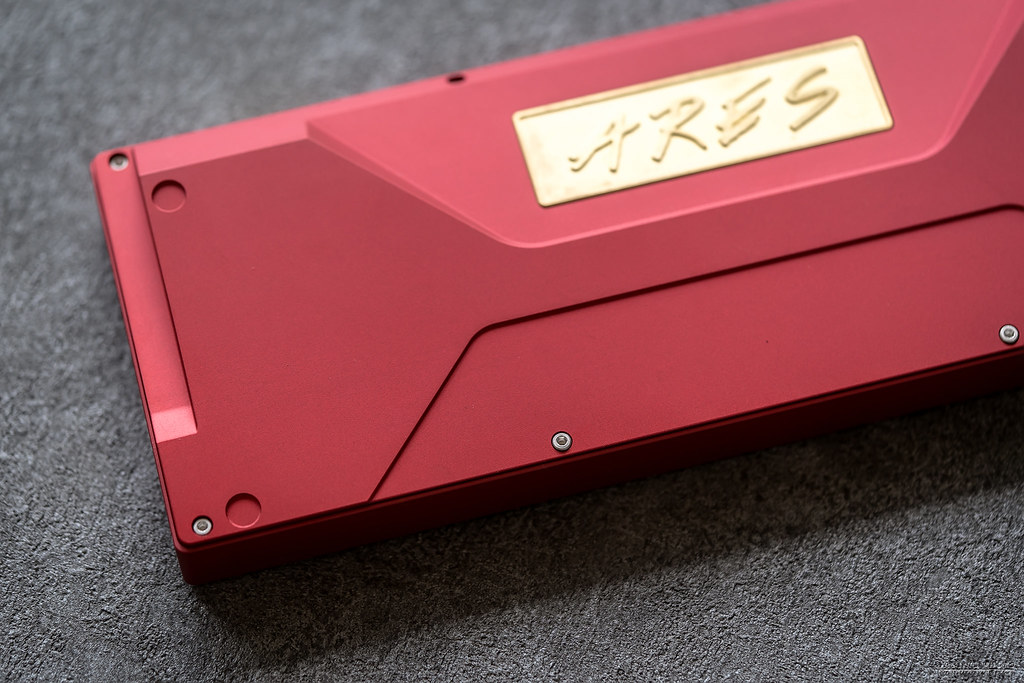
▼底面的設計據 kenlee 的說法是構思了許久,中間配上黃銅配重,大大的 Ares 就在上面。
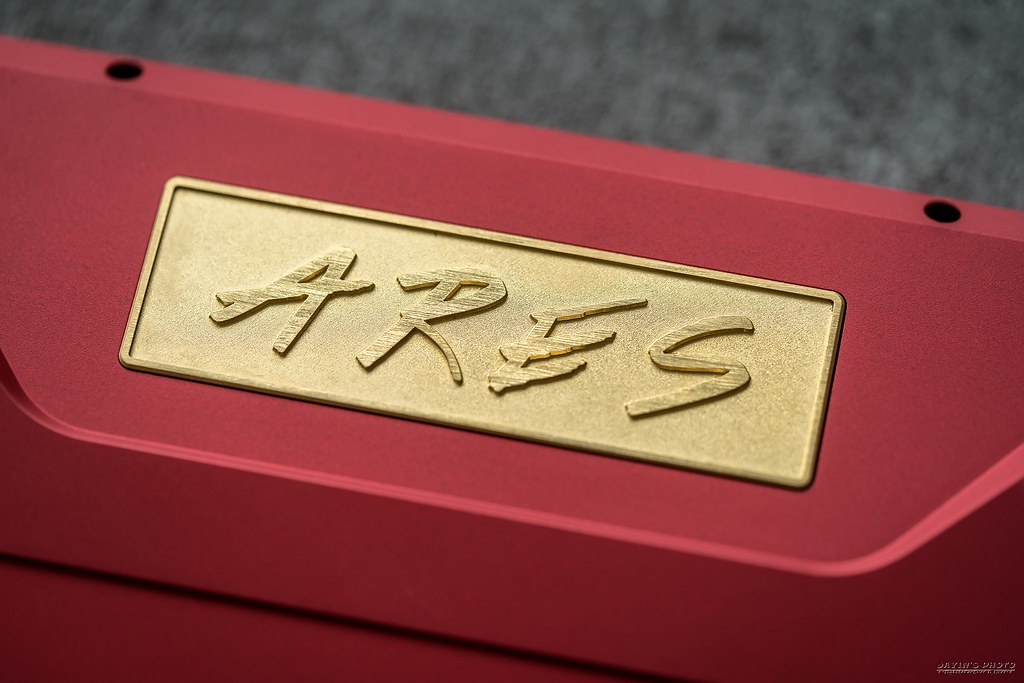
▼Ares 的字是採用浮雕的設計,這張圖是為了拍出表面紋路,實際上不是黑的XD。
▼斜邊的設計比較多,CNC就需要比較多道手續,圓形凹槽是用來放腳墊的。
▼這張不小心露出了特別的東西,我先賣個關子。
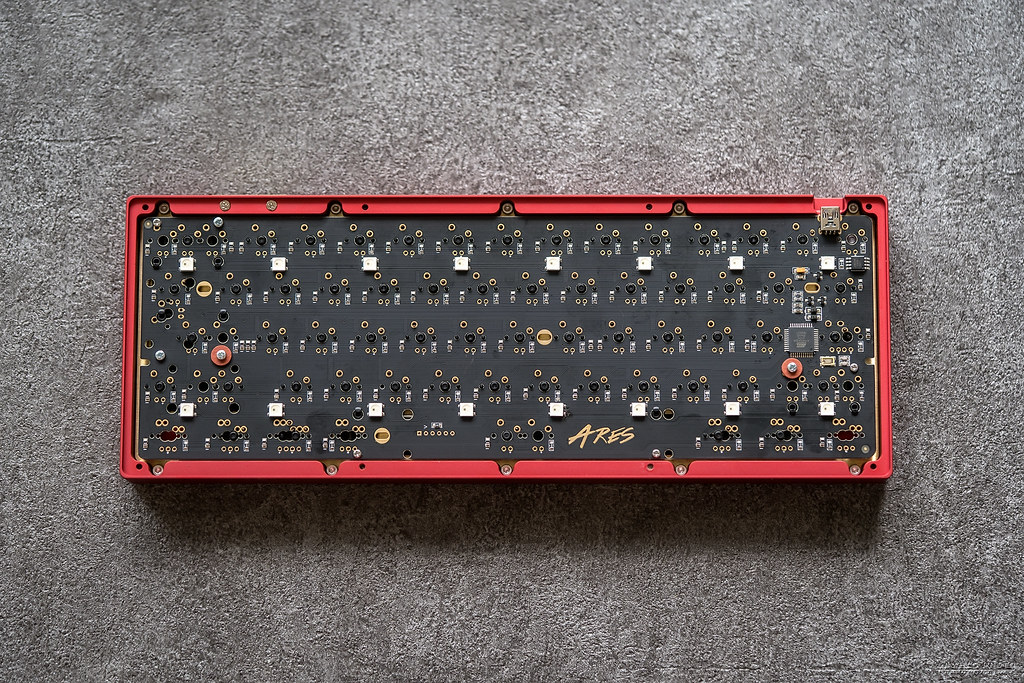
▼拆開後就分上蓋和底殼,以及定位板,定位板設計是鎖在上蓋的。
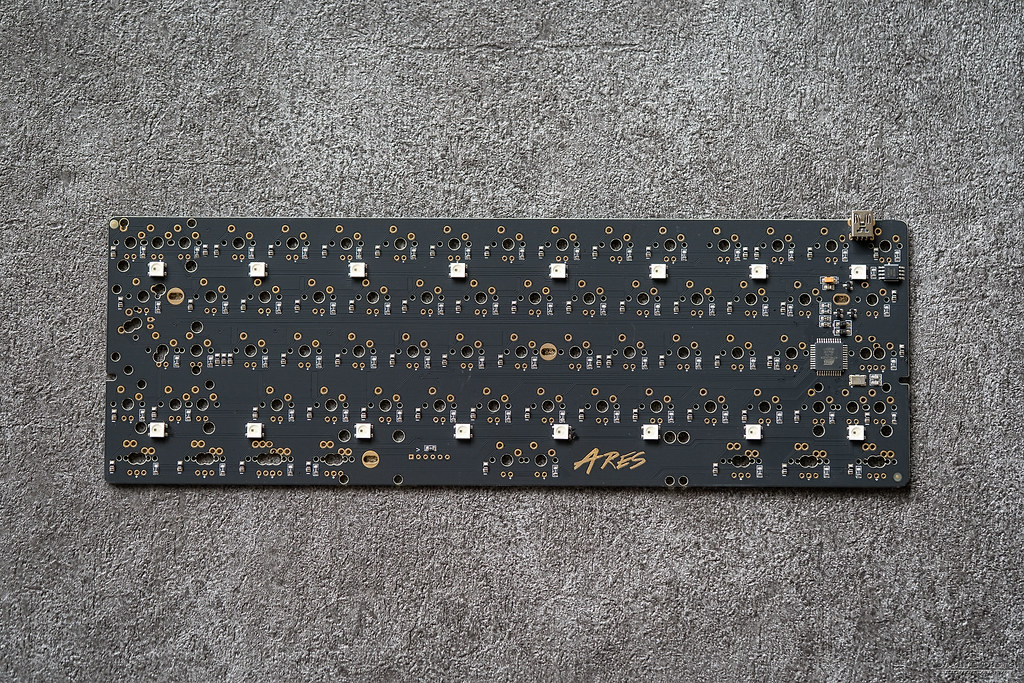
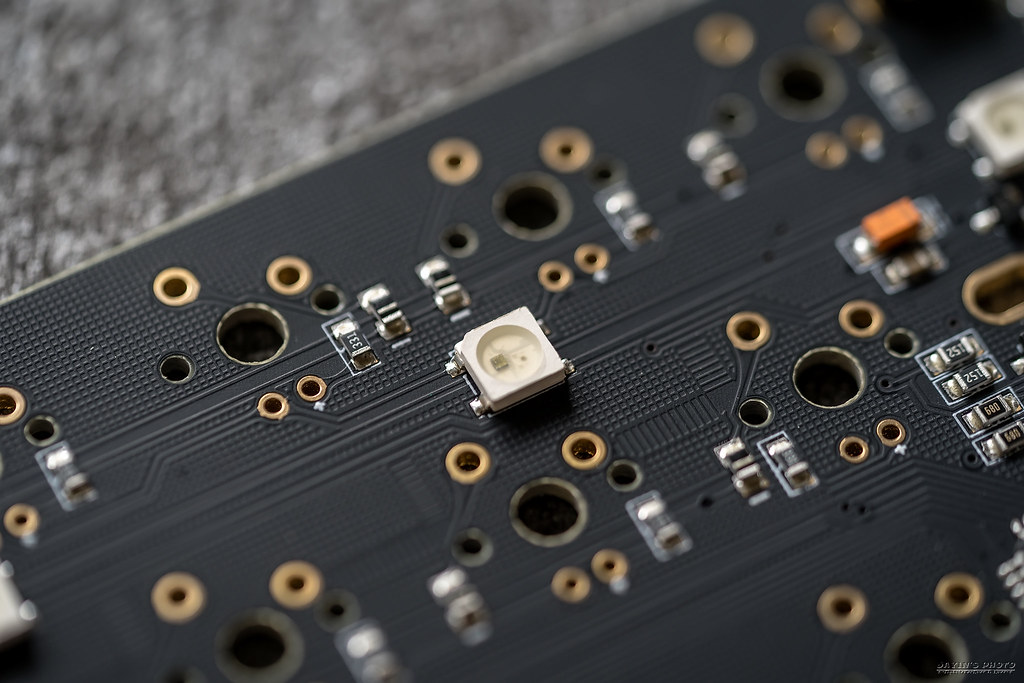
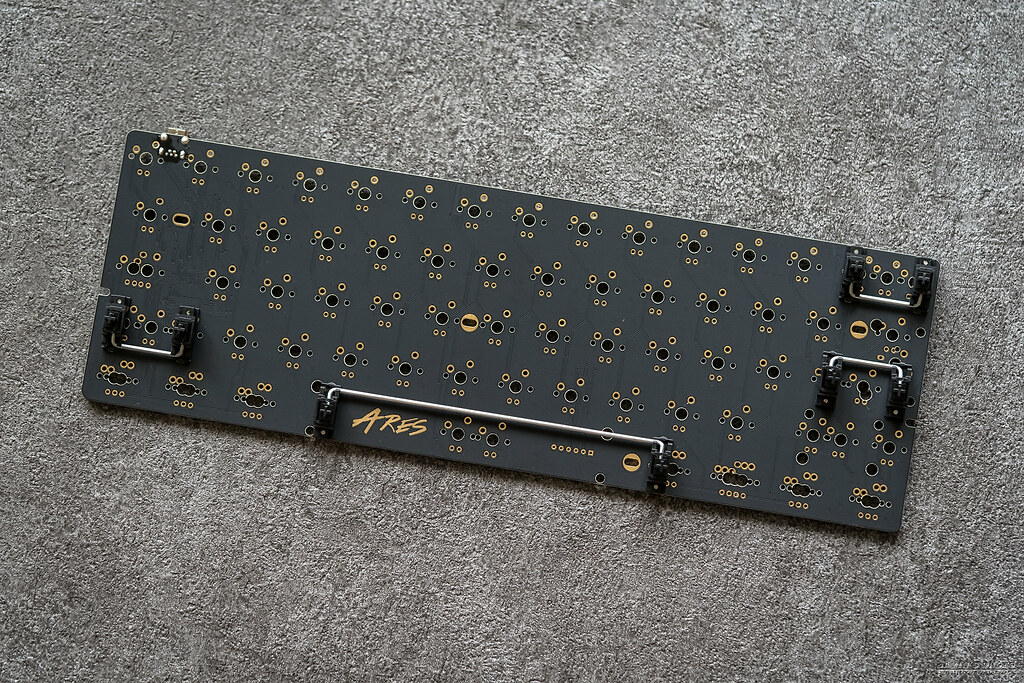
▼PCB是採用黑色沉金工藝,低調奢華又耐看,LED採用下燈位的設計。
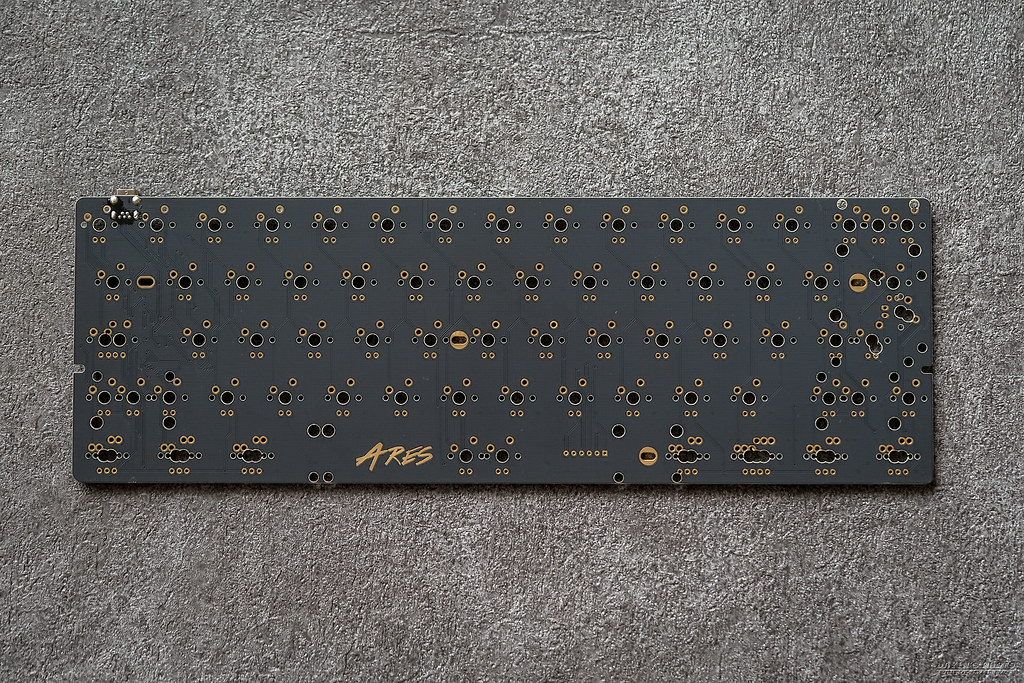
▼Ares LOGO 當然是不可缺少的。
▼背面有16顆 RGB 底燈,不過 Ares 這個外殼是無法發光的。
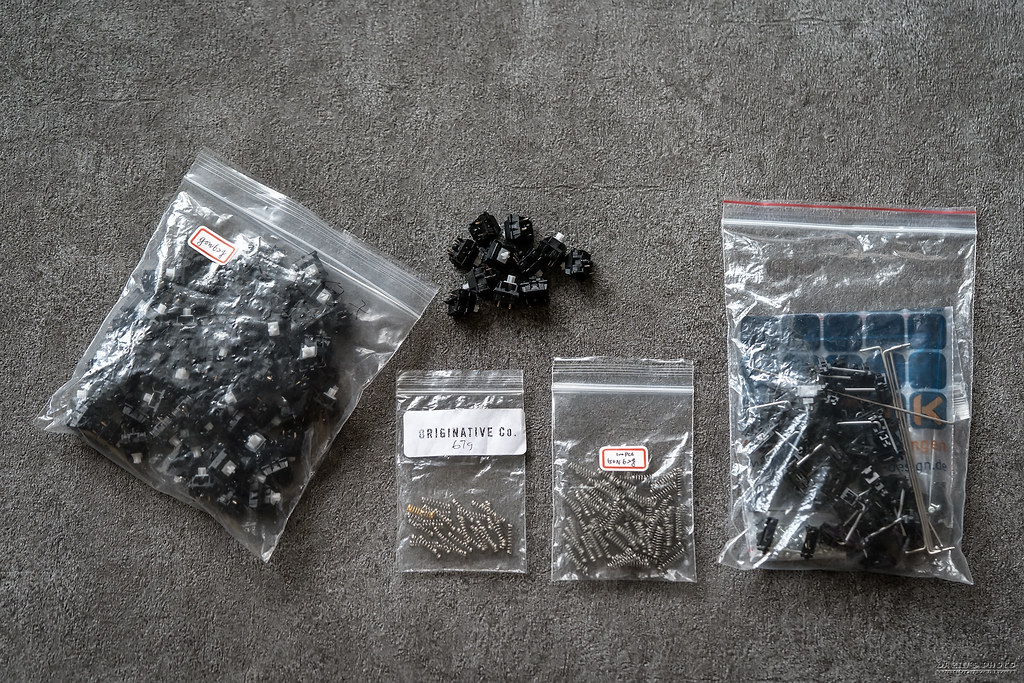
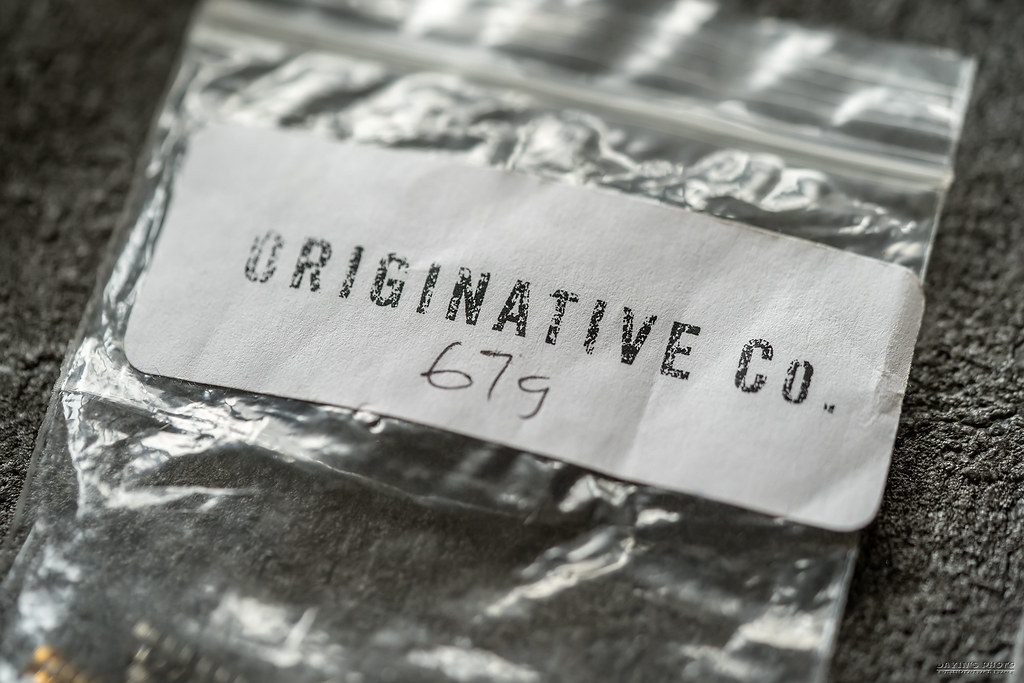
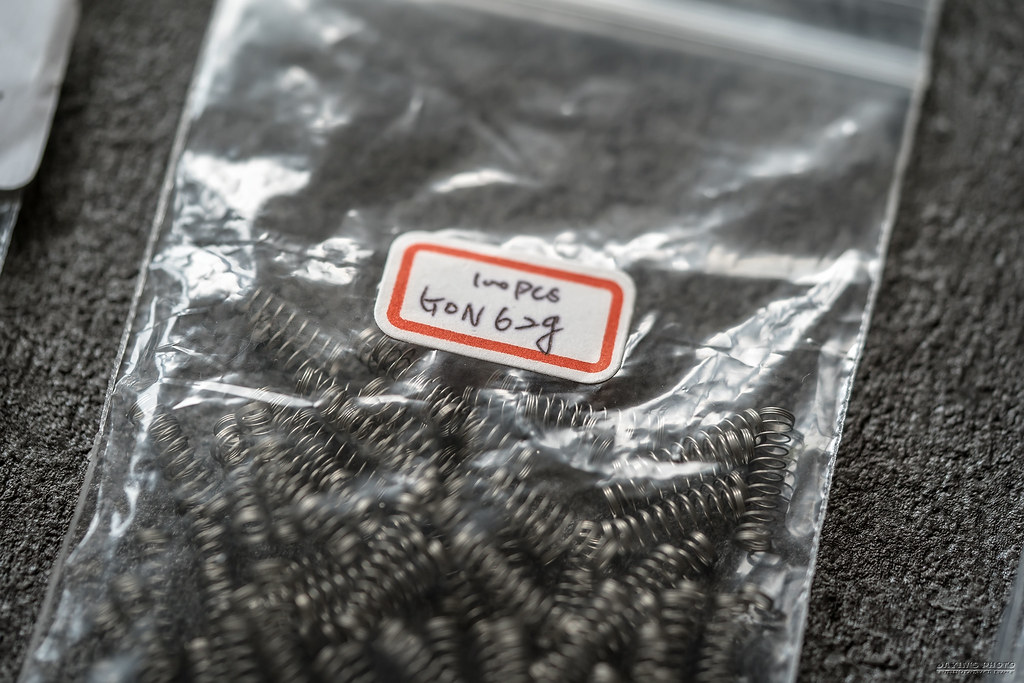
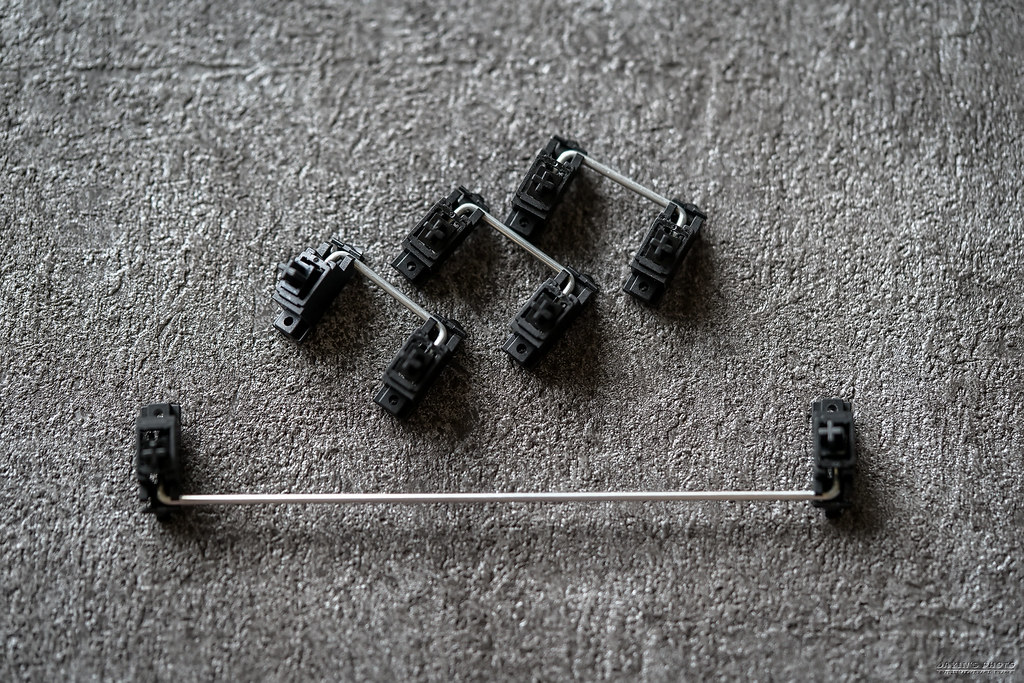
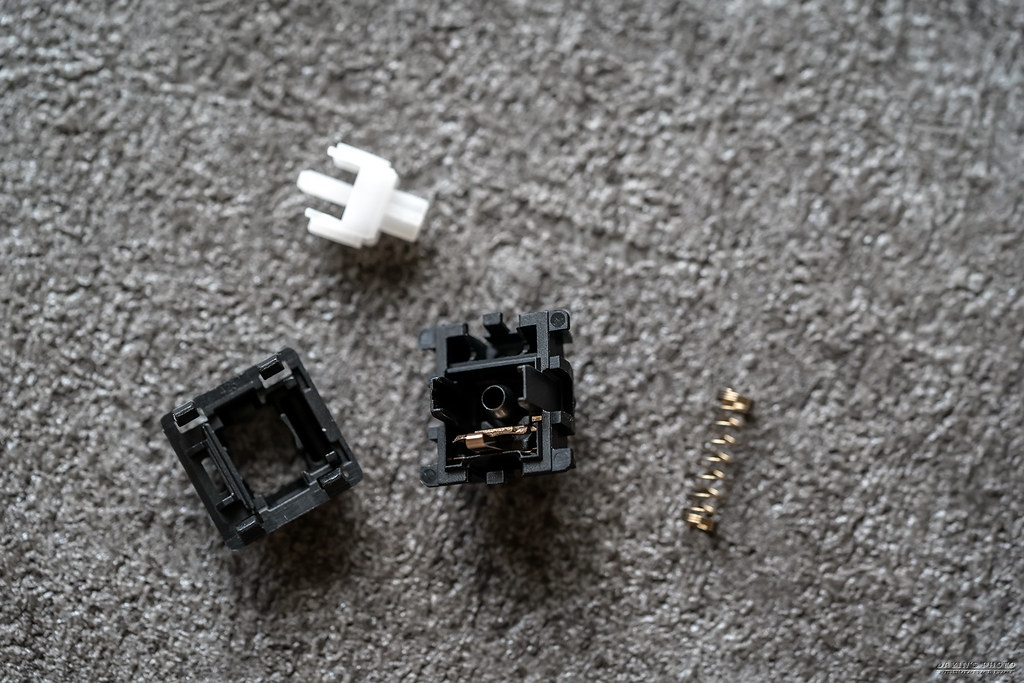
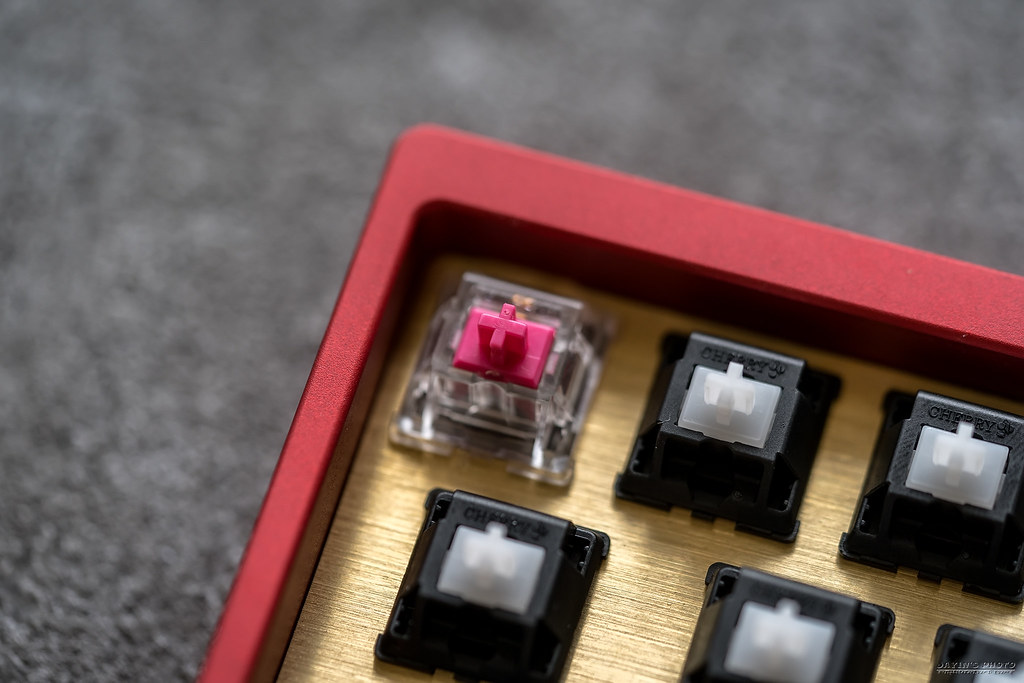
▼要拿來組裝的零件:cherry 白軸、gon 62g 彈簧、originative 67g 彈簧以及 GMK 螺絲衛星軸。
(其實我用的白軸是已經由 myan 大大改完 gon 62g 彈簧了。)
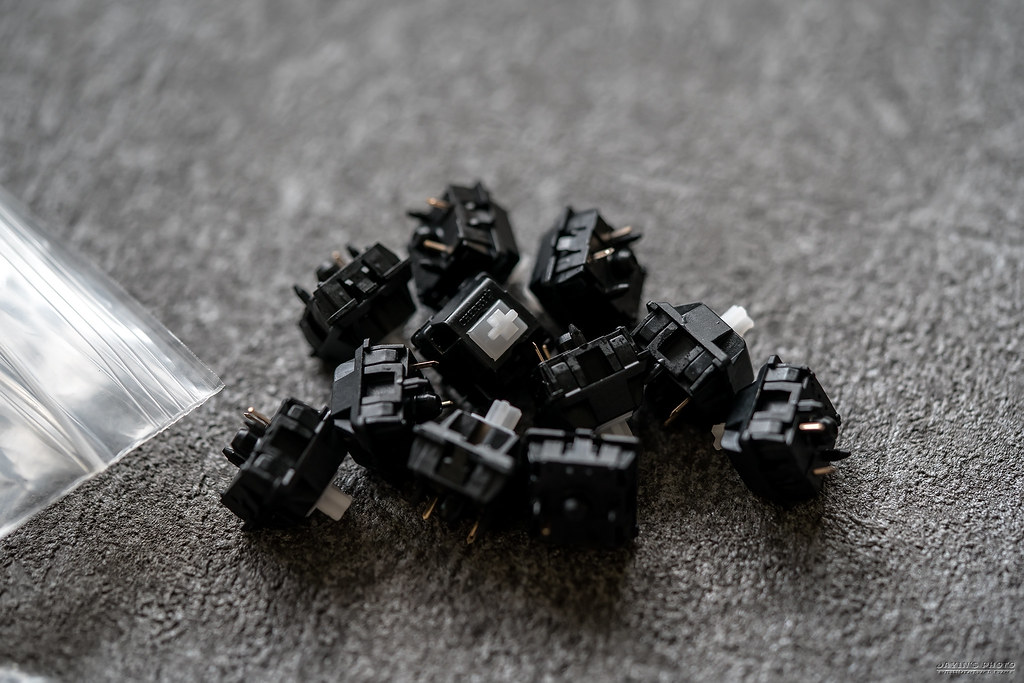
▼白軸拆開的樣子,要換的就只有右邊的彈簧,當然要不要潤滑軸心等,就看個人需求。
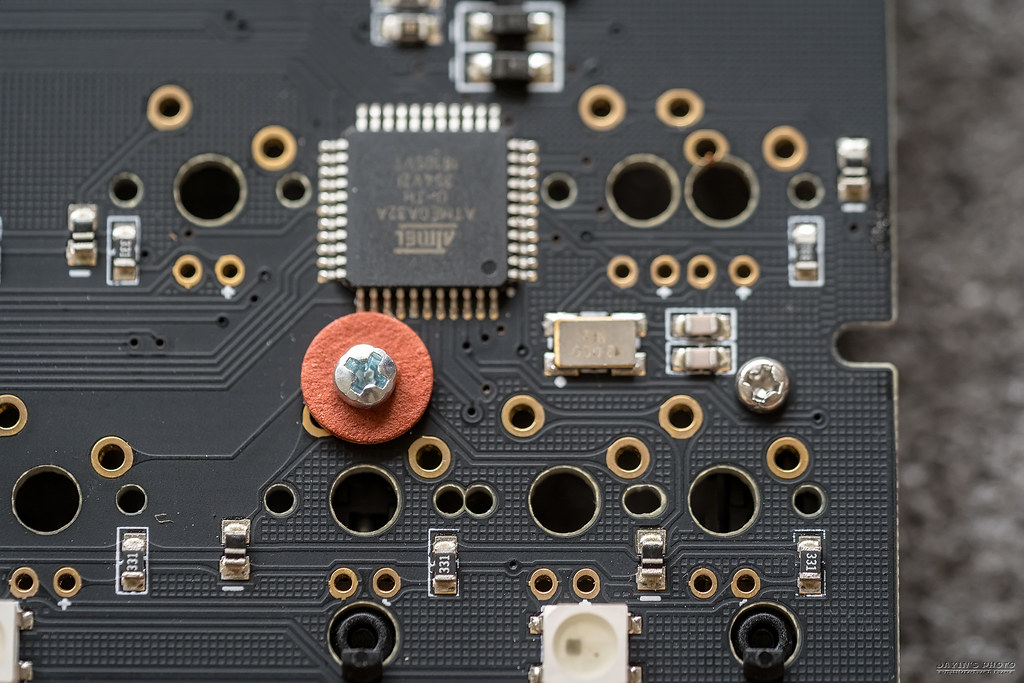
▼把GMK衛星軸的軸座鎖上 PCB,為了避免短路,我加上了絕緣墊片。
▼裝完衛星軸後記得先測試及調校,不然裝完軸甚至焊接完後才發現問題你會厭世到想殺人。
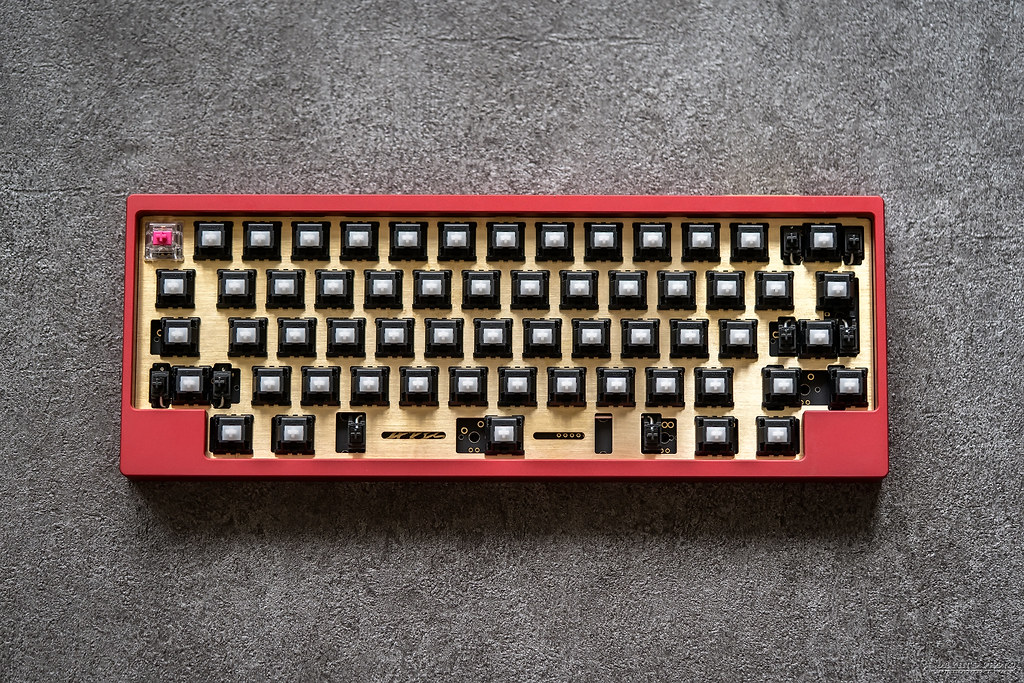
▼快速地裝完軸了。
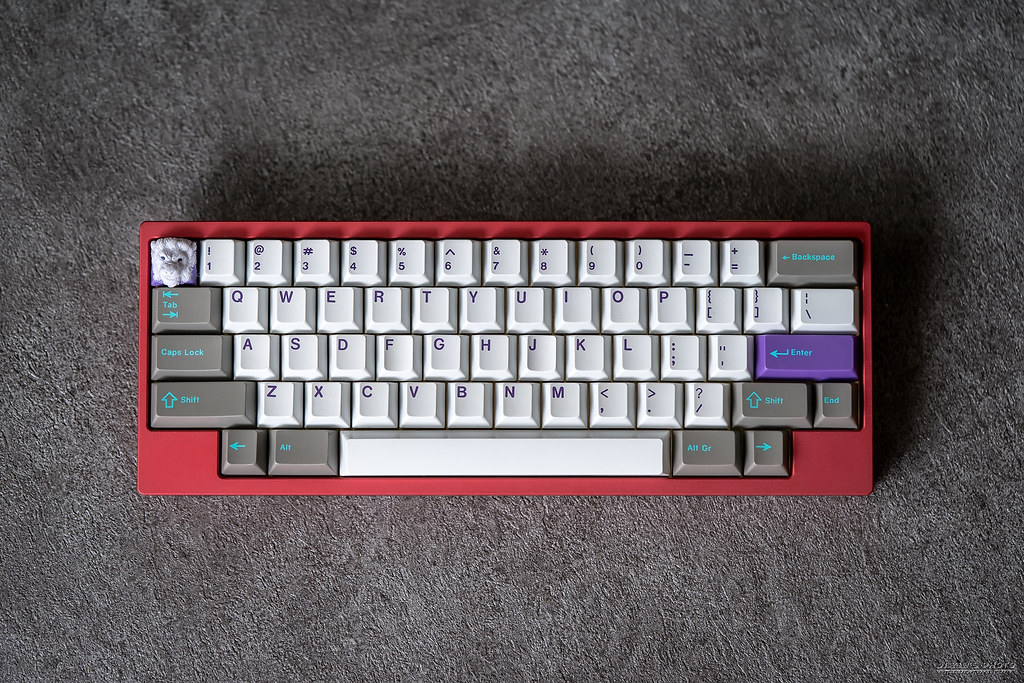
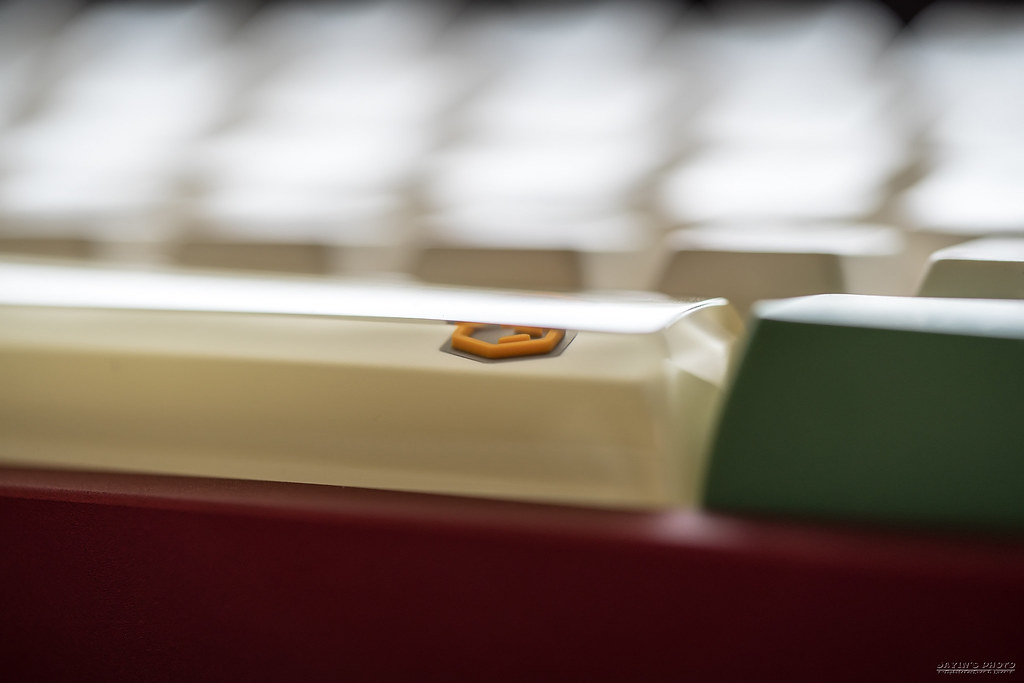
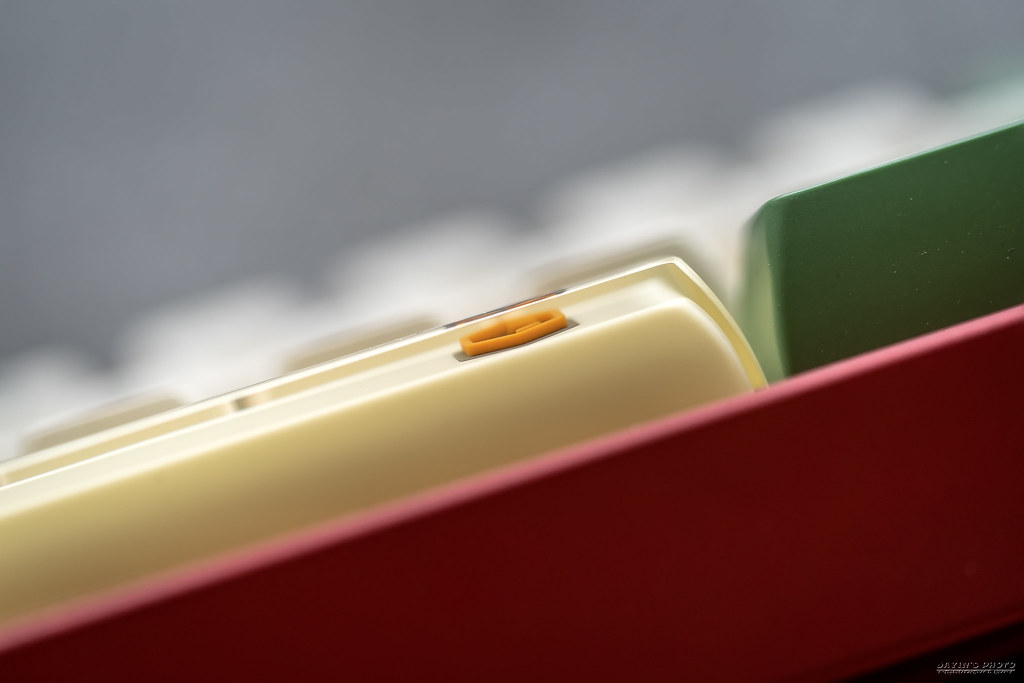
▼正面圖,空白鍵我改用 originative 67g,ESC則用 Aliaz 靜音軸。
▼然後就是鎖上啦,記得定位板及外殼都要換成另外附的螺絲。
組裝完當然就是要上鍵帽看看了,這次我準備了三套鍵帽,分別是:
1. GMK Hyperfuse
2. SP The Bro Set (DCS)
3. SP Camping (SA)
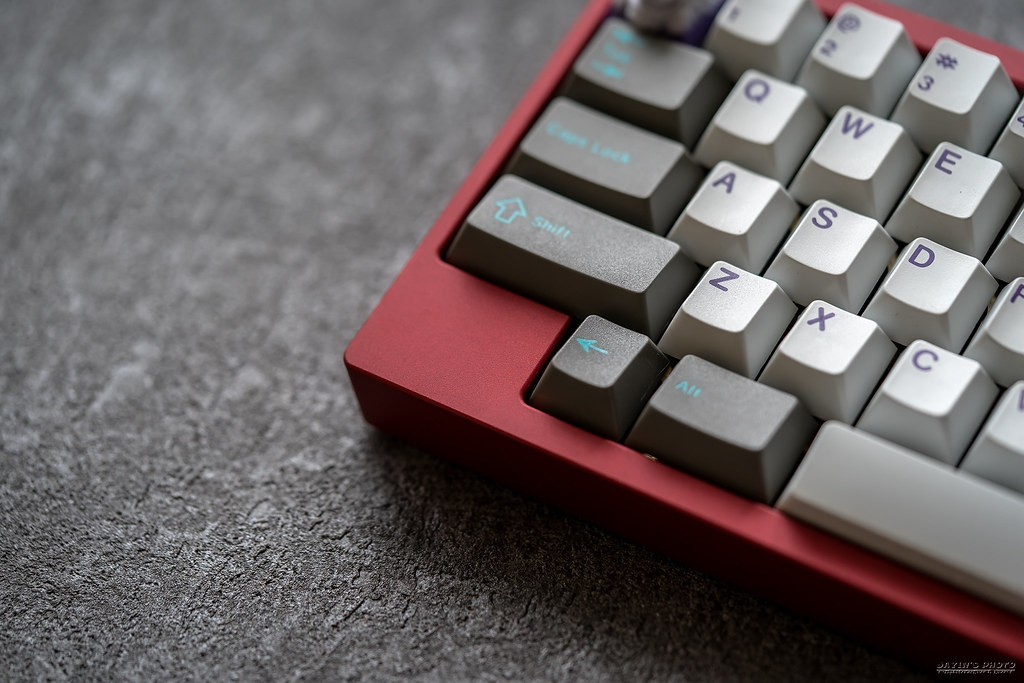
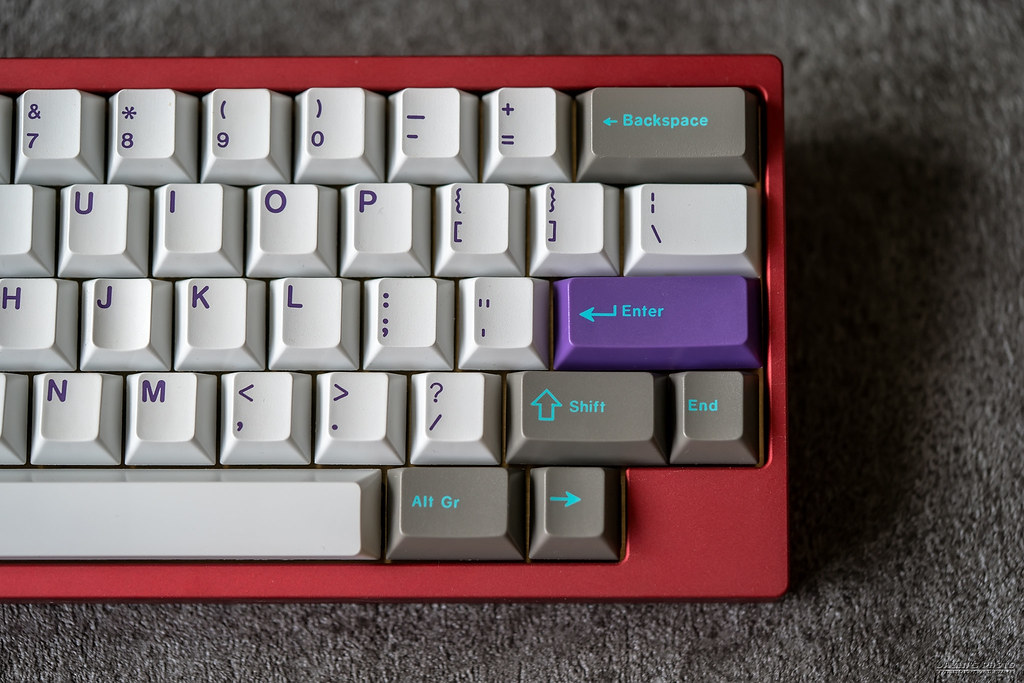
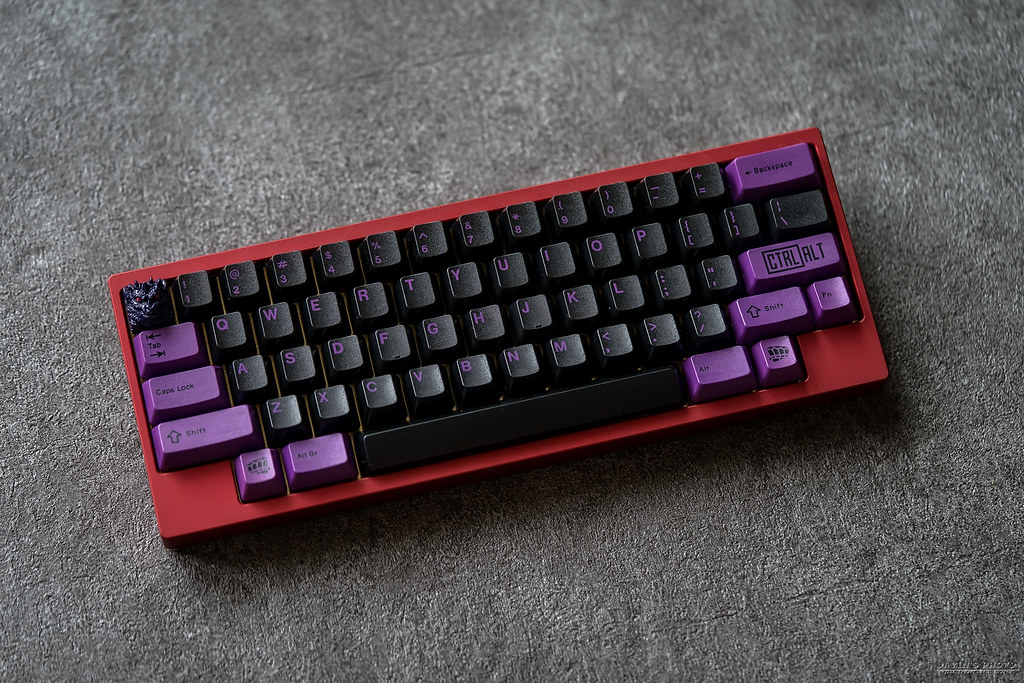
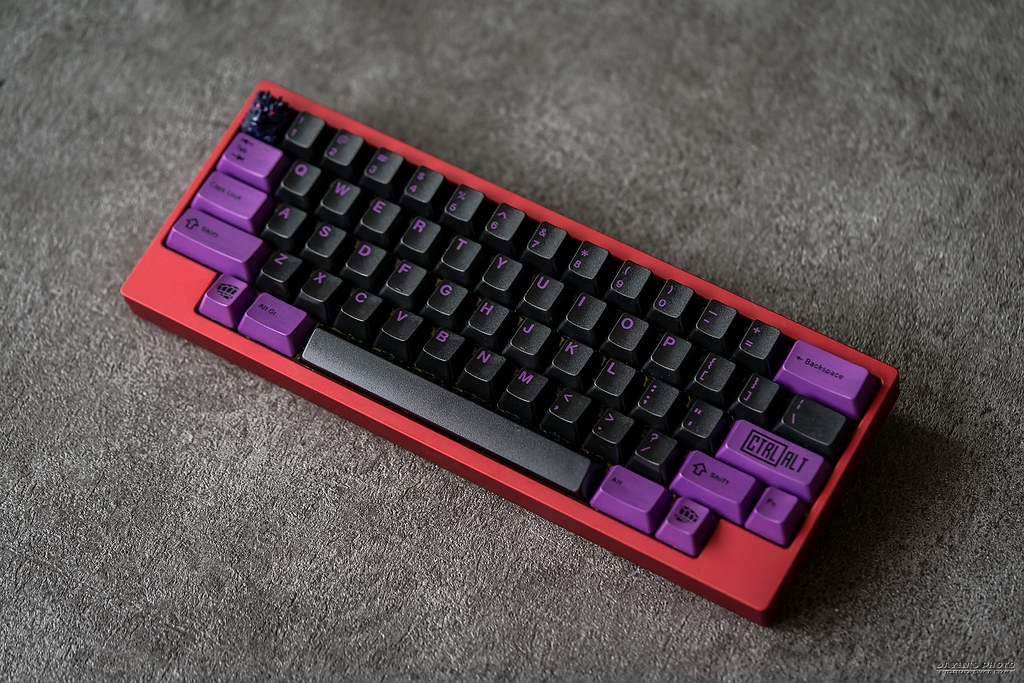
▼第一套先來看 GMK Hyperfuse,這就直接看圖就好。
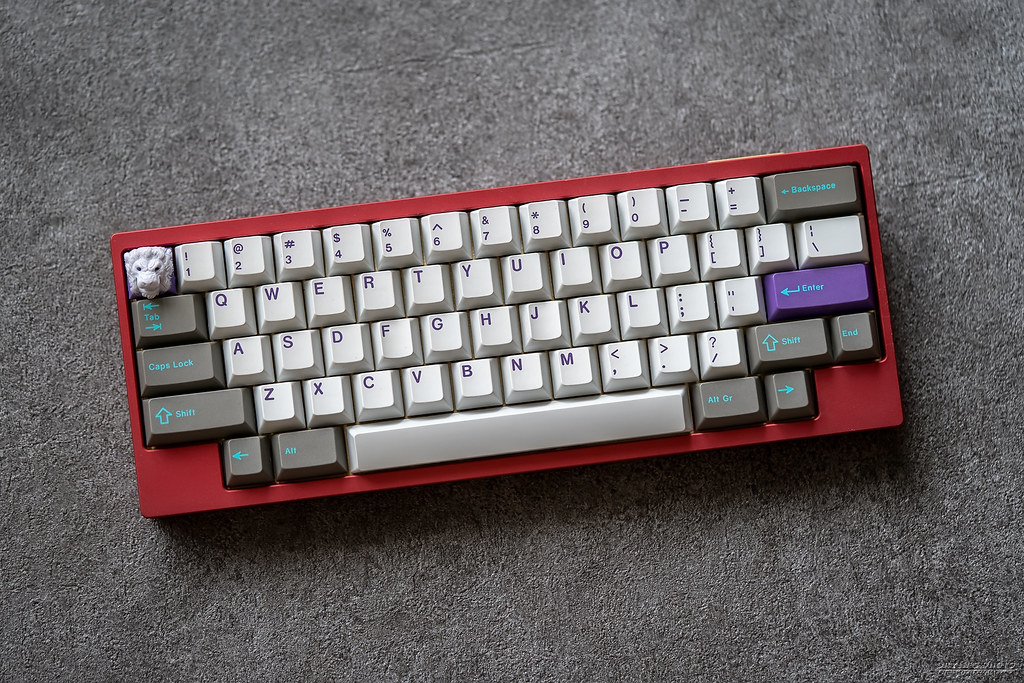
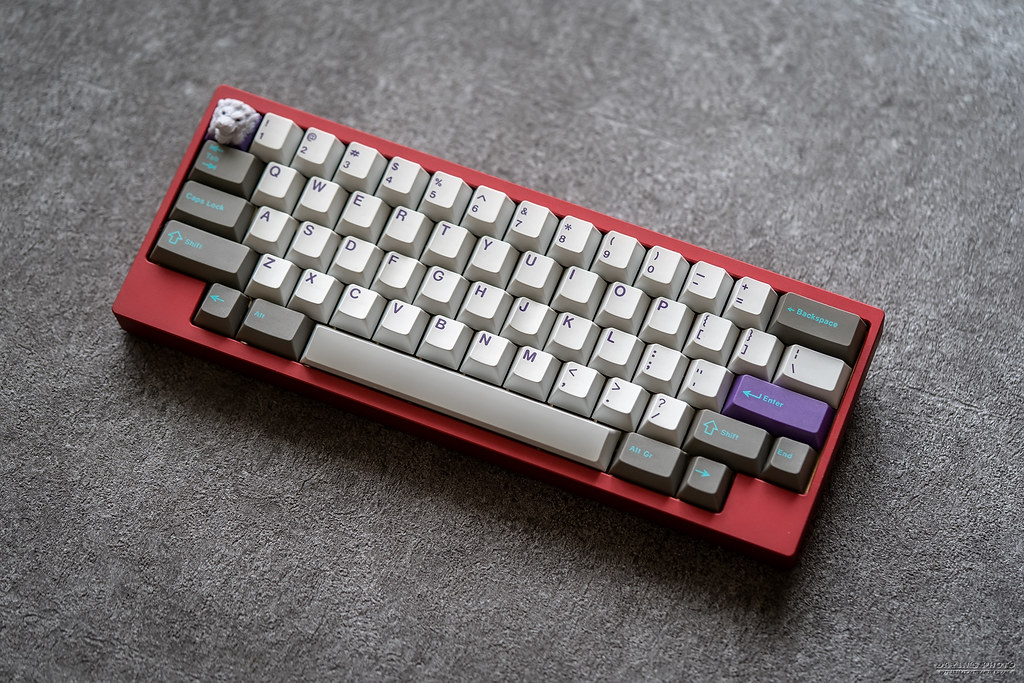
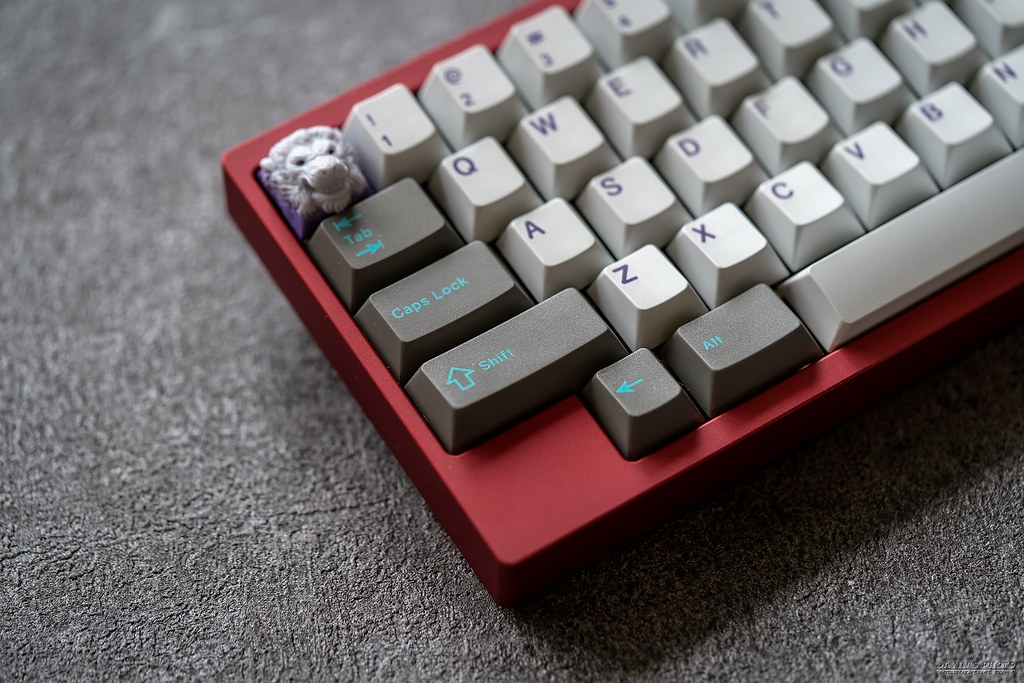
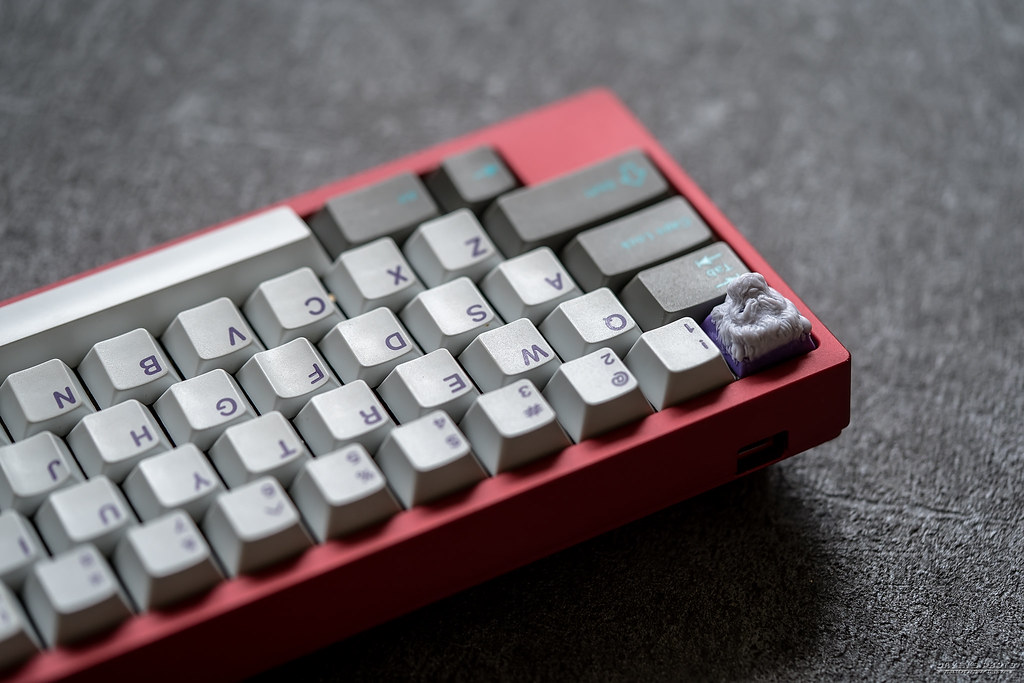
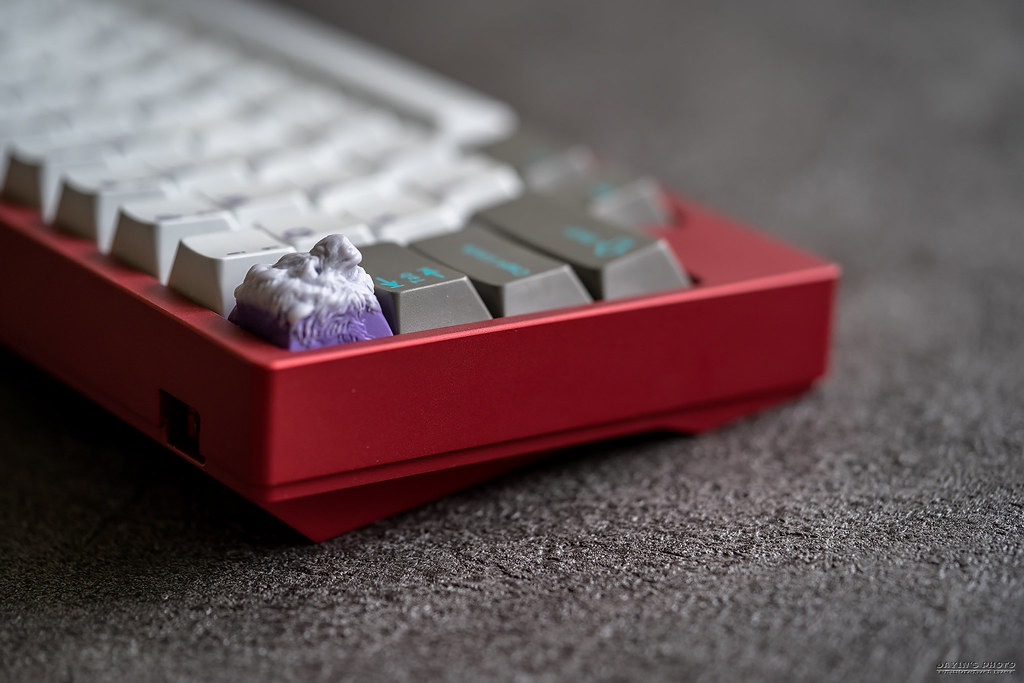
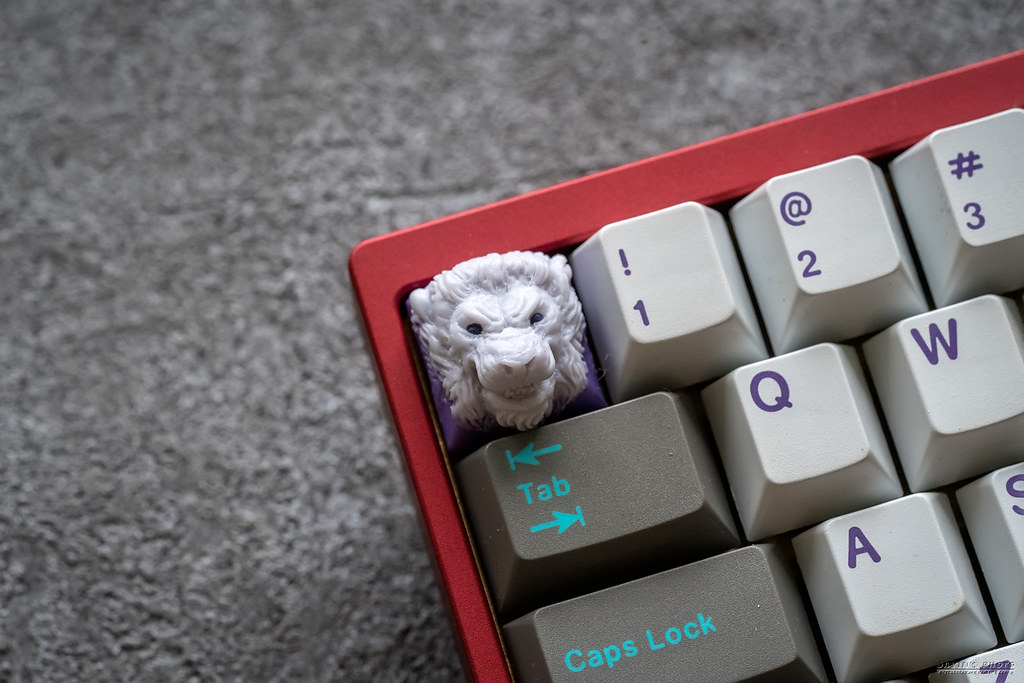
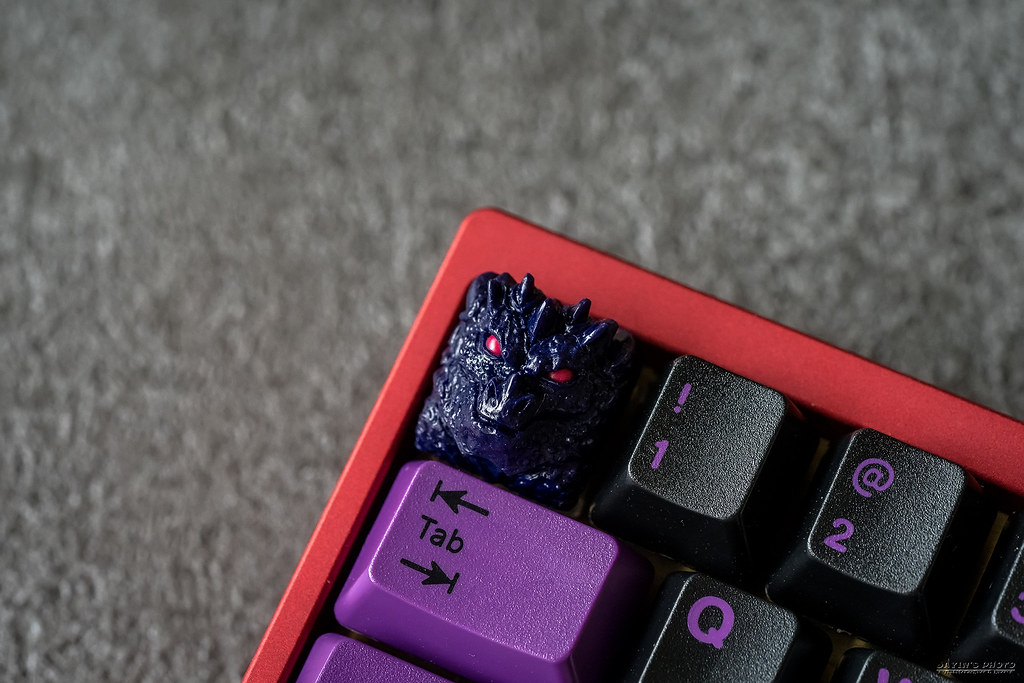
▼esc 用的是 binge 的 keyng。

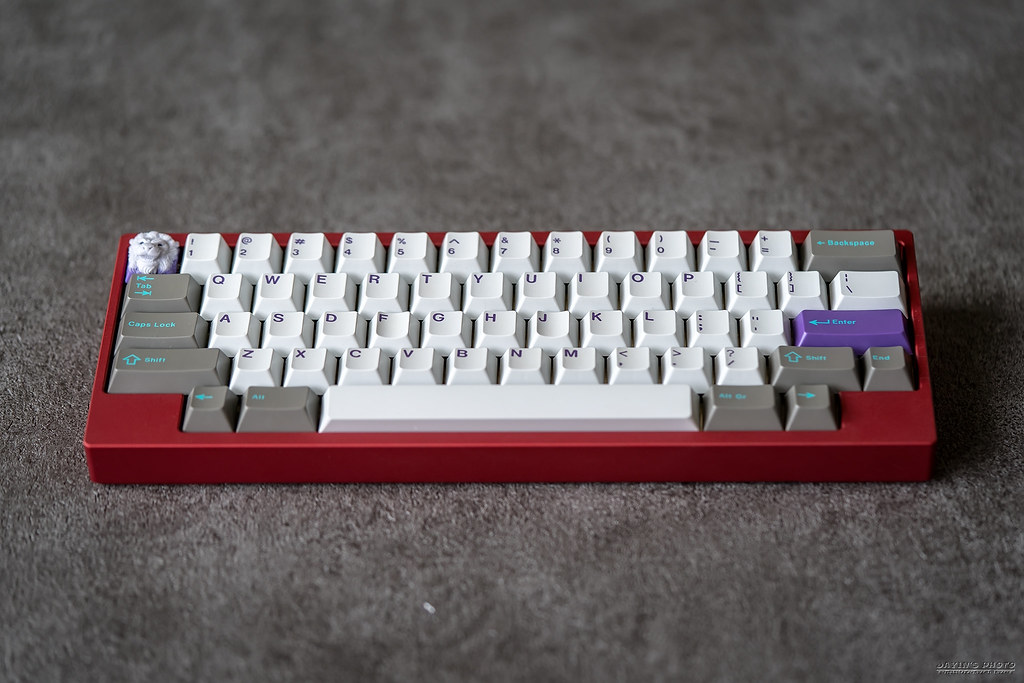
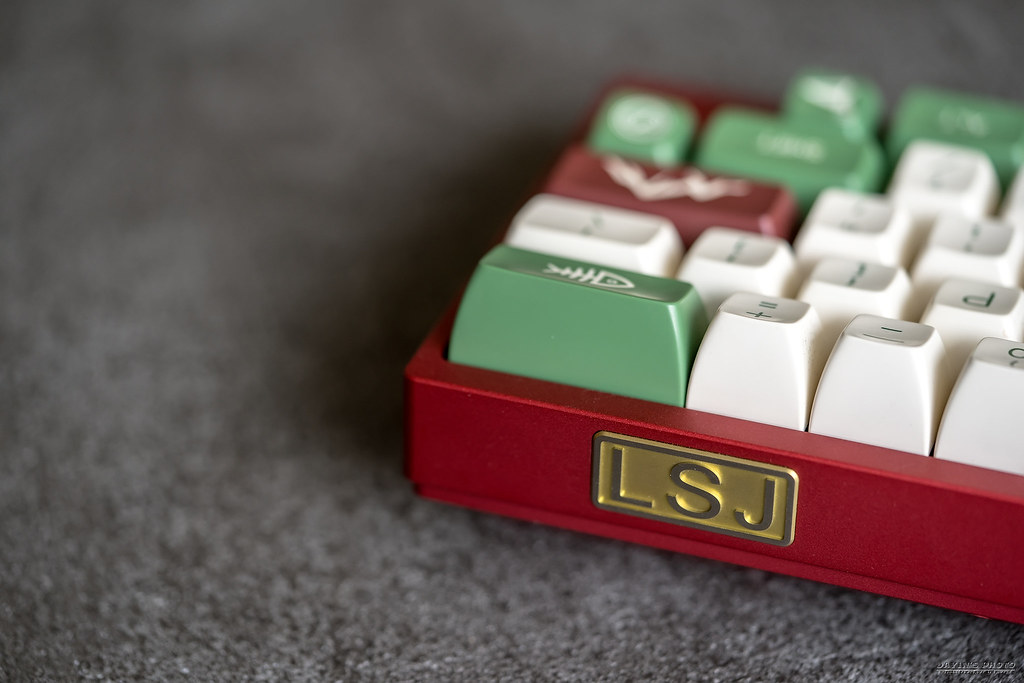
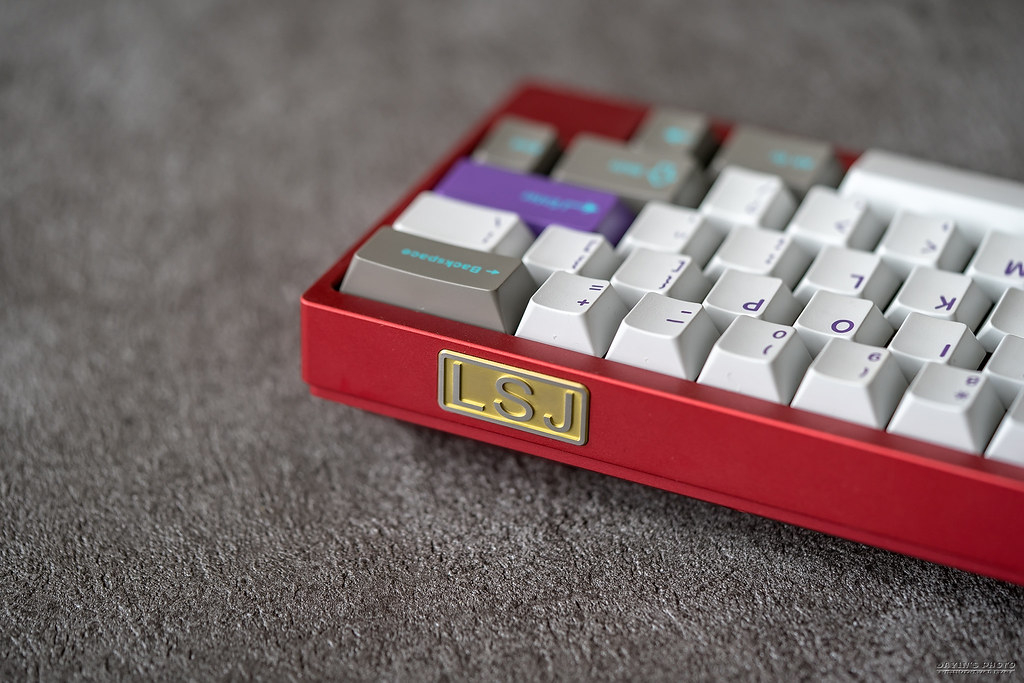
▼這邊就公佈答案啦,是 LSJ 鈦銘牌,只有 LSJ 黨員才有XDD。

▼第二套,SP The Bro Set。
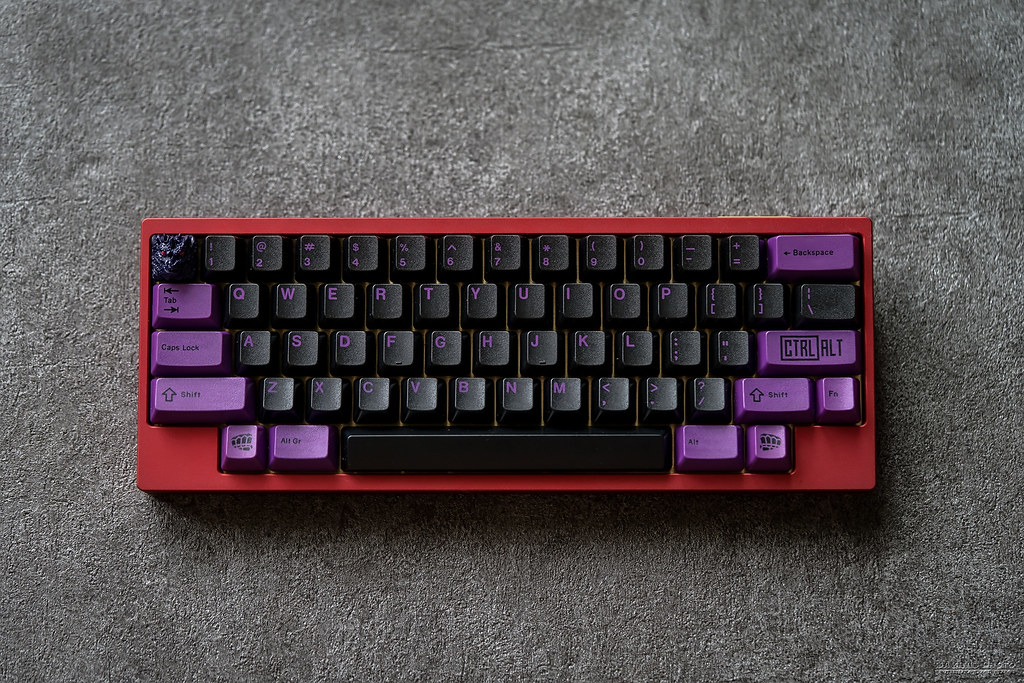
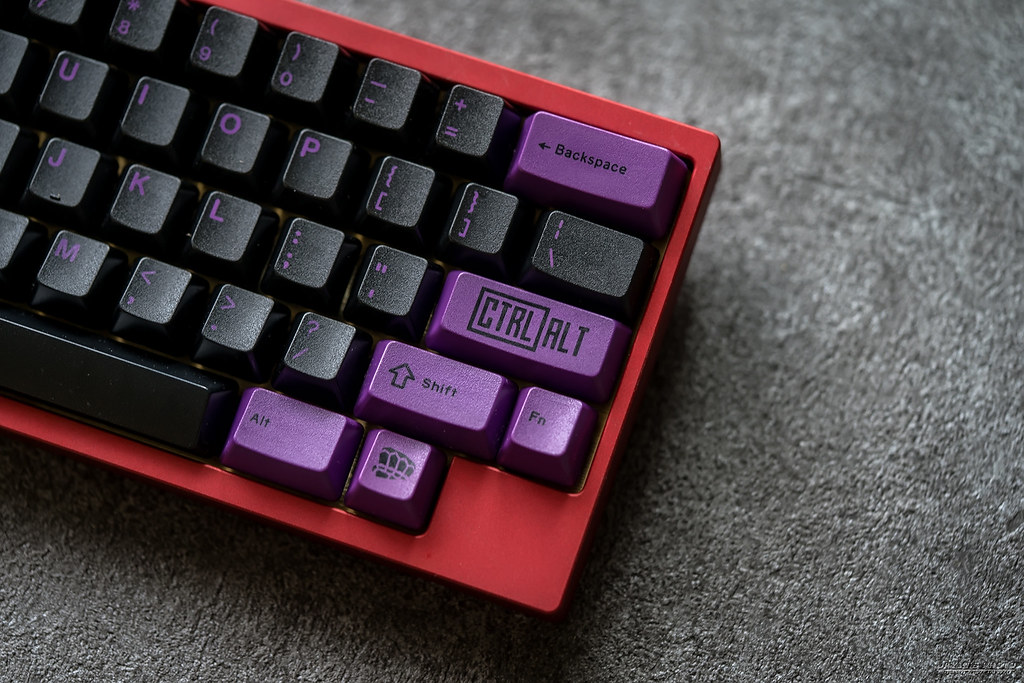

▼ESC 是 Suited Up 的 Patriarch。
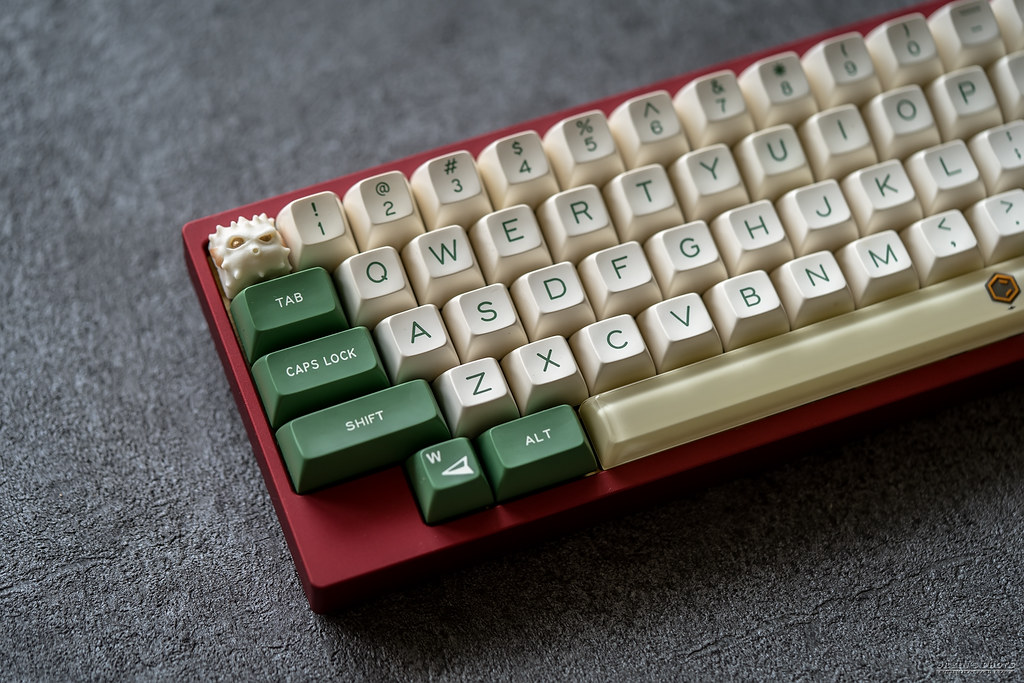
▼最後就是 SA Camping。
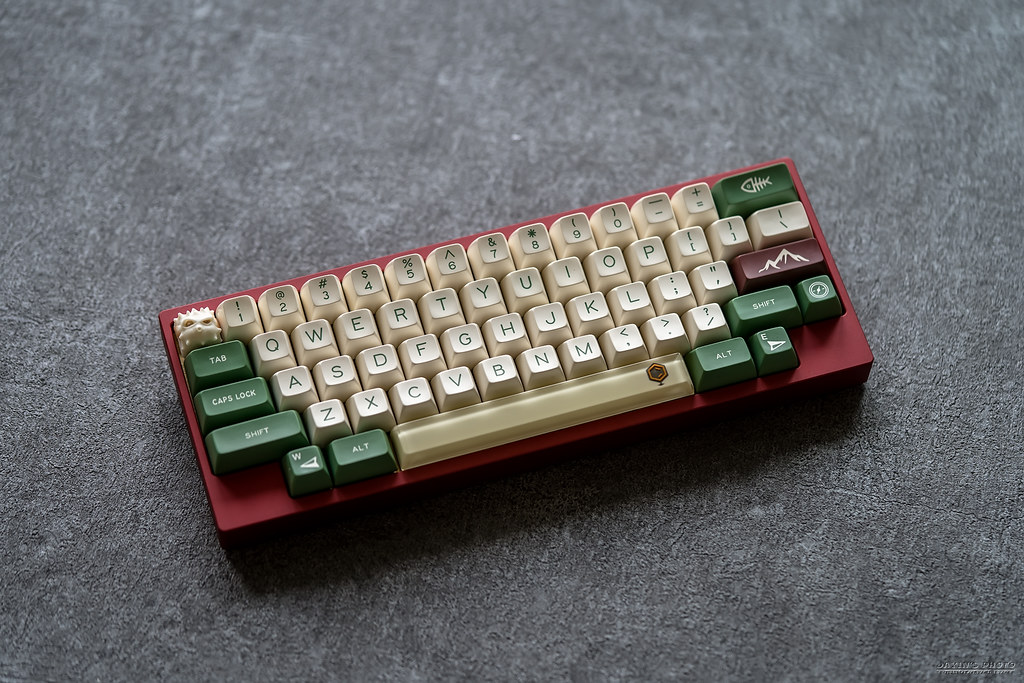
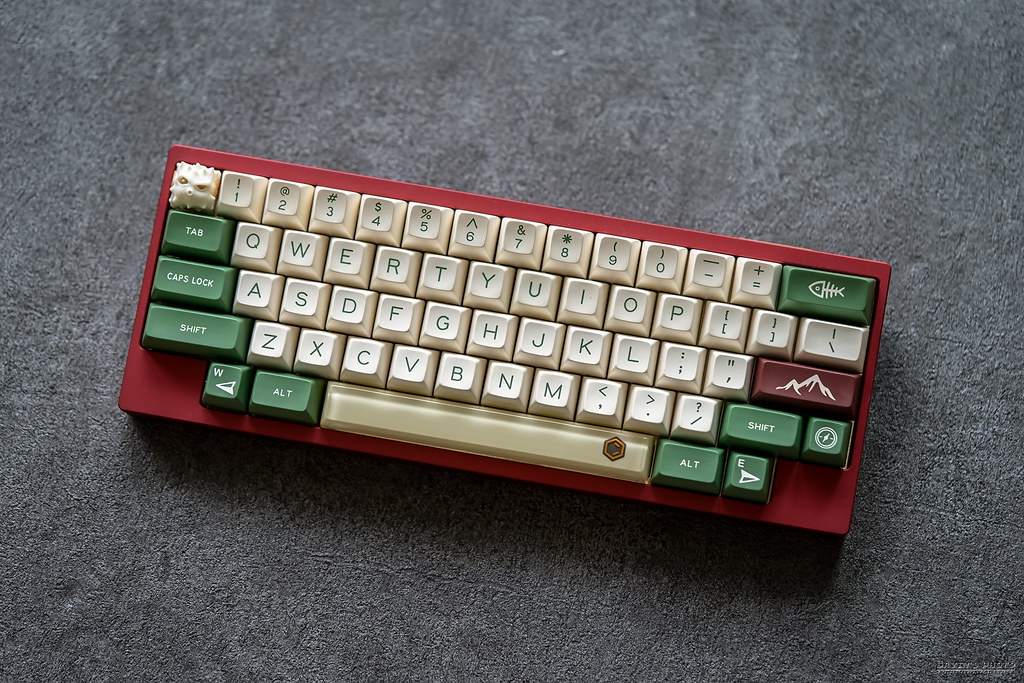
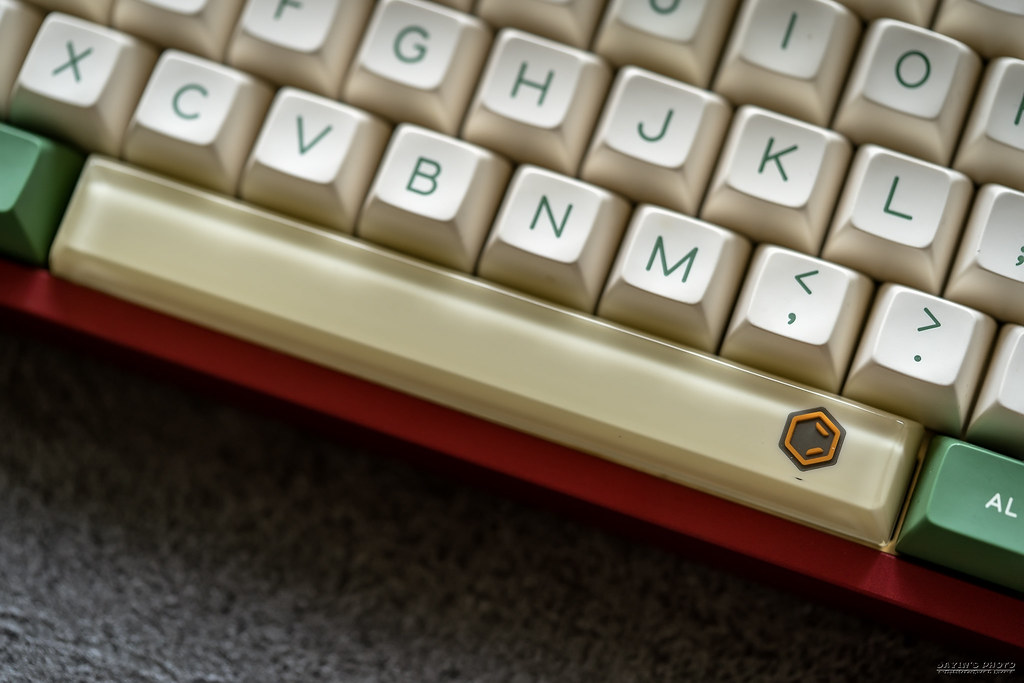
▼空白鍵用的是 Hammer 做給 SA Carbon 用的。( Carbon買太多了不知道怎麼開箱。)
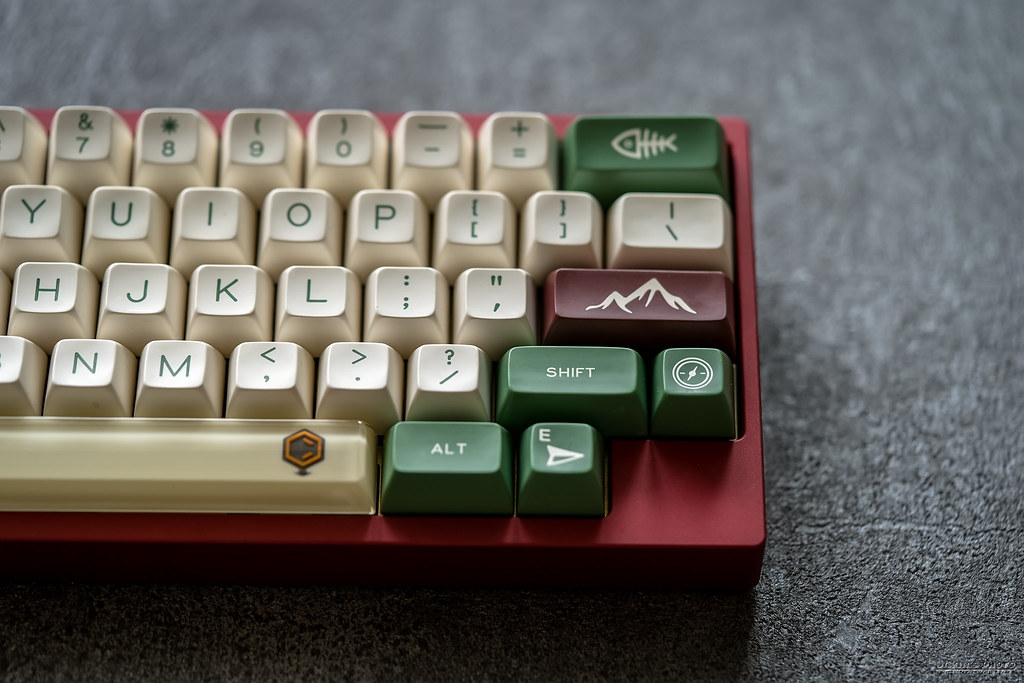
▼這個設計真的蠻漂亮的。
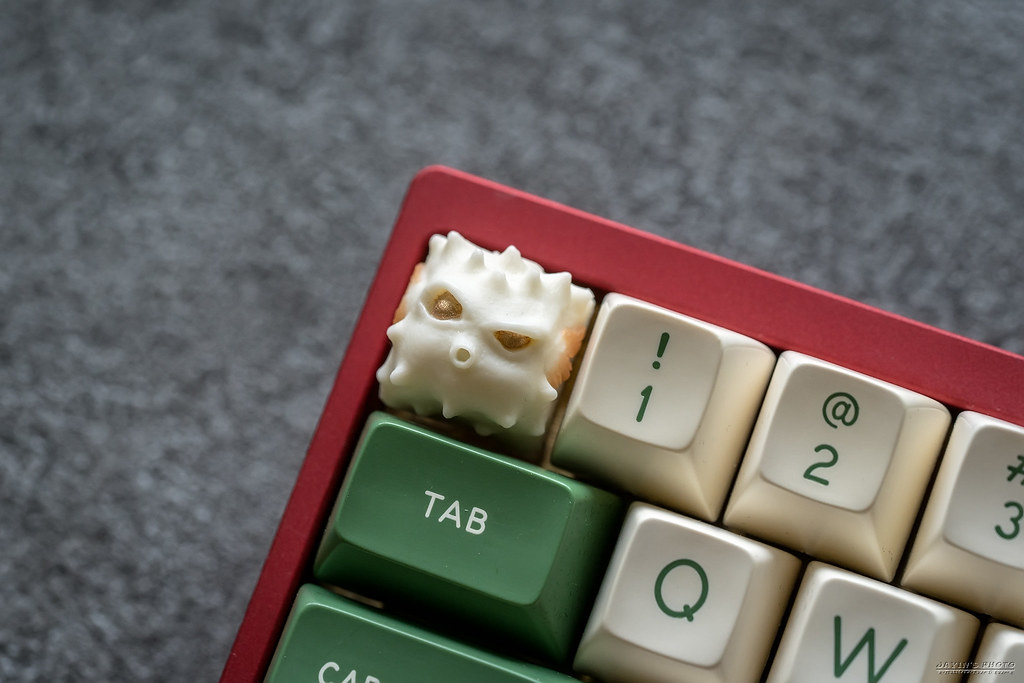
▼ESC用的是 ETF 的 Fugu 。
▼裝進剛買的PU鍵盤包。

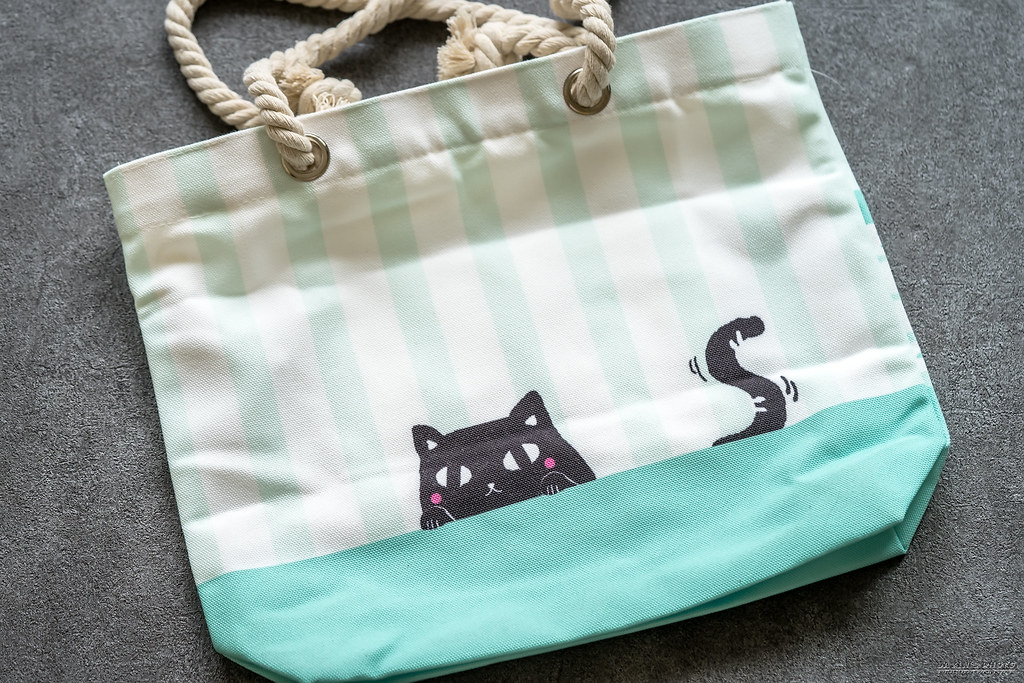
▼最後就來介紹一下由 SNOWNOW 網友所設計的鍵貓包手提袋,我選的是綠色的。
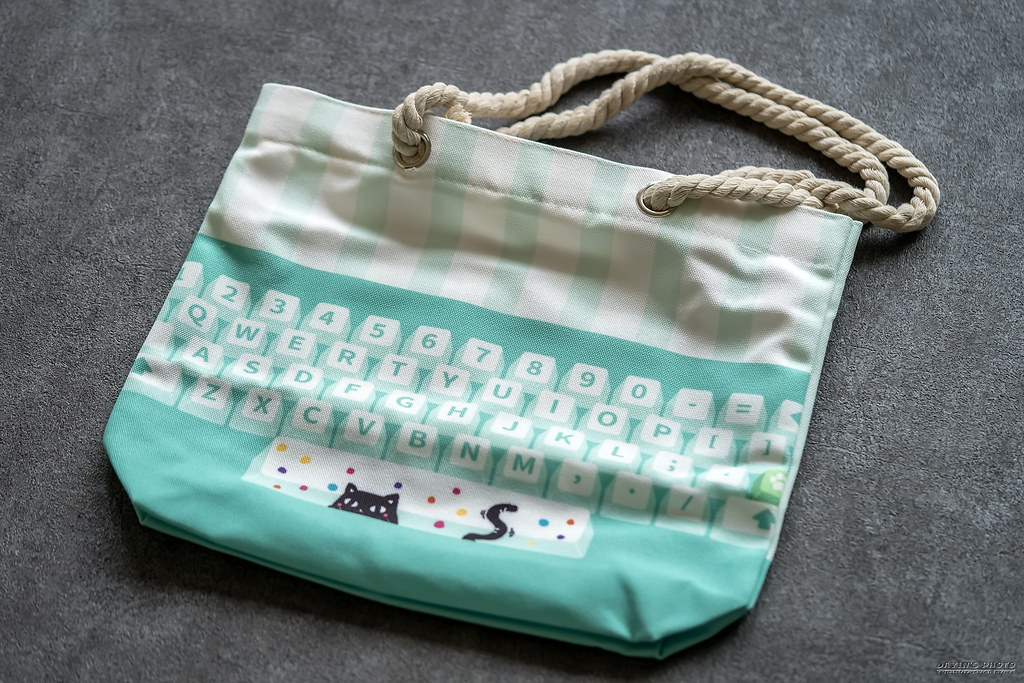
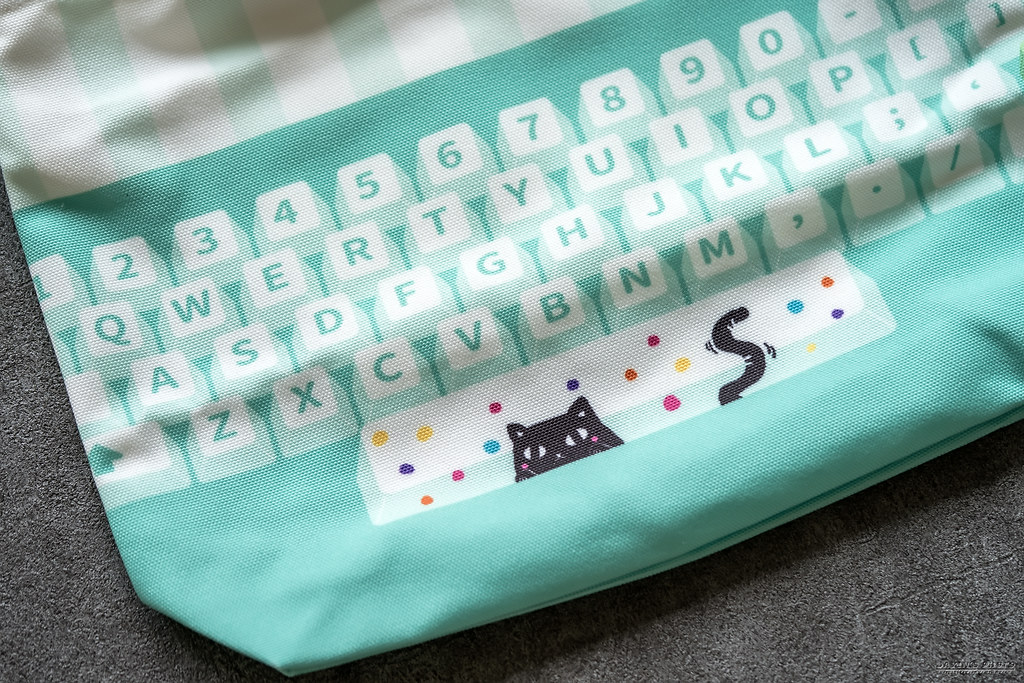
▼正面是鍵盤的樣子,空白鍵上還有一隻可愛的黑貓。
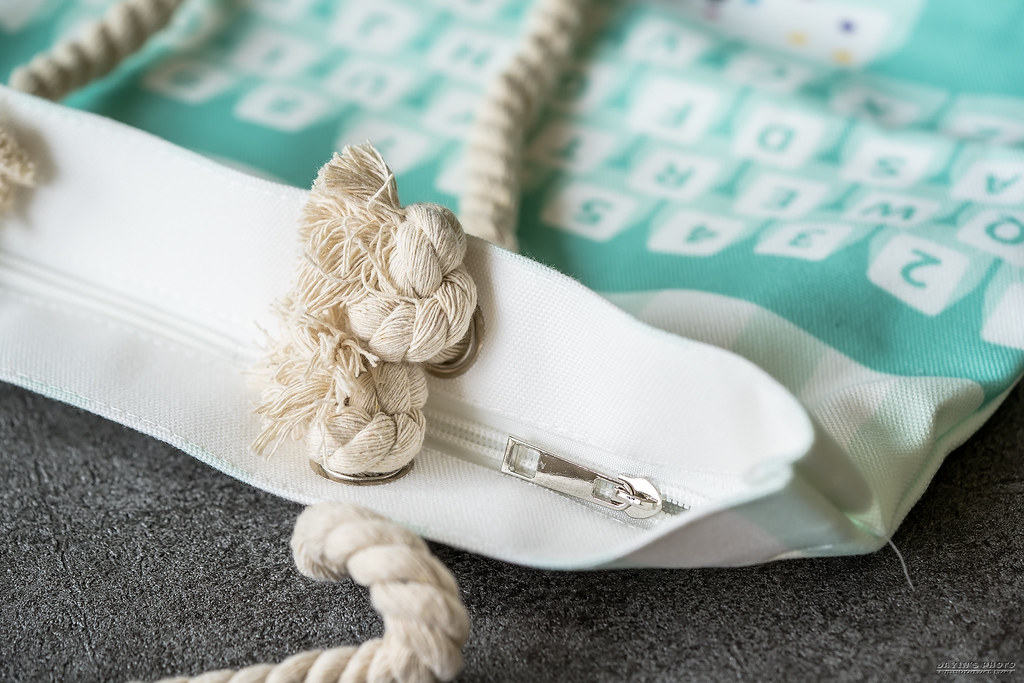
▼提繩是採麻花編織,相當粗勇。

▼袋子上面有拉鍊,可避免東西遺失或遭竊。
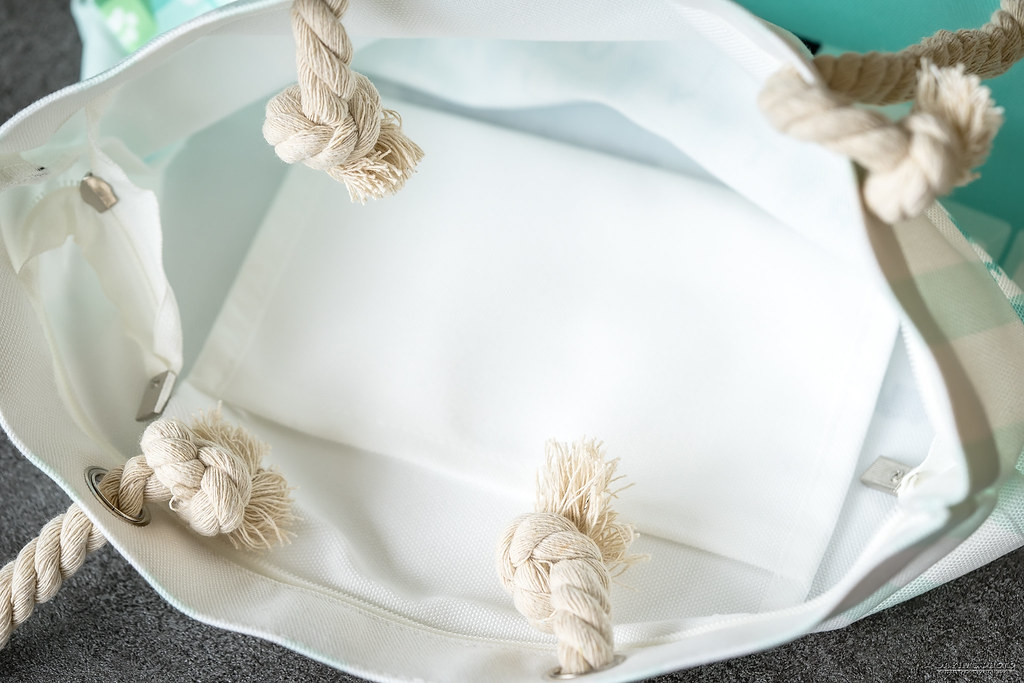
▼裡面還有一個小內袋,可以放手機或零錢包等小物品。
▼背面一樣是可愛的黑貓。
▼最後再偷渡一下 LSJ。

Ares 從 IC 開始到現在終於告一段落,也感謝 kenlee 大大辛苦的開團,
(抱歉不小心又觸發了)
據說他收到時每把都打開來仔細檢查,PCB也是一個個通電測試功能,
非常小心仔細,目的就是要確保各位參團者收到的東西是好的,
真的就像是 Vere 大大說的,除了跑路、車禍、失聯、昏迷、寵物生病、家人生病等,
作為一個團長,該做的他都做到了。
希望 kenlee 大大還能繼續再做下去。
(幹又觸發了)
以上就是 Ares HHKB-Like 客製化鍵盤的簡單開箱。
感謝閱文。
請問現在還有辦法購買這組鍵盤嗎?
回覆刪除很想要!
謝謝
應該是沒辦法喔!已經過了團購了,可能得去網路上徵徵看了!
刪除