75%,或者說是84key,是自從我第一次看到KBT Race後才認識到的配列,
但是因為Race的配列比較特別,例如1.5u的ESC和BACKSPACE,以及1.25u的方向鍵,
會比較不容易找到鍵帽,所以我就開始物色可以自組的84鍵盤。
而在淘寶上看到RS84也就是Red scarf 84後,相中了它開在GH上的一體乳殼版,
可是後來這個版本似乎沒下文,目前台灣應該只有cssh大大手上有一把,我只好黯然放棄。
而後來看到eepw84,以及現在的XD84後,剛好貝瑞先生(yj7272098)有,
就跟他買了材料回來自己組了一把,也算是了了我的一樁心願。
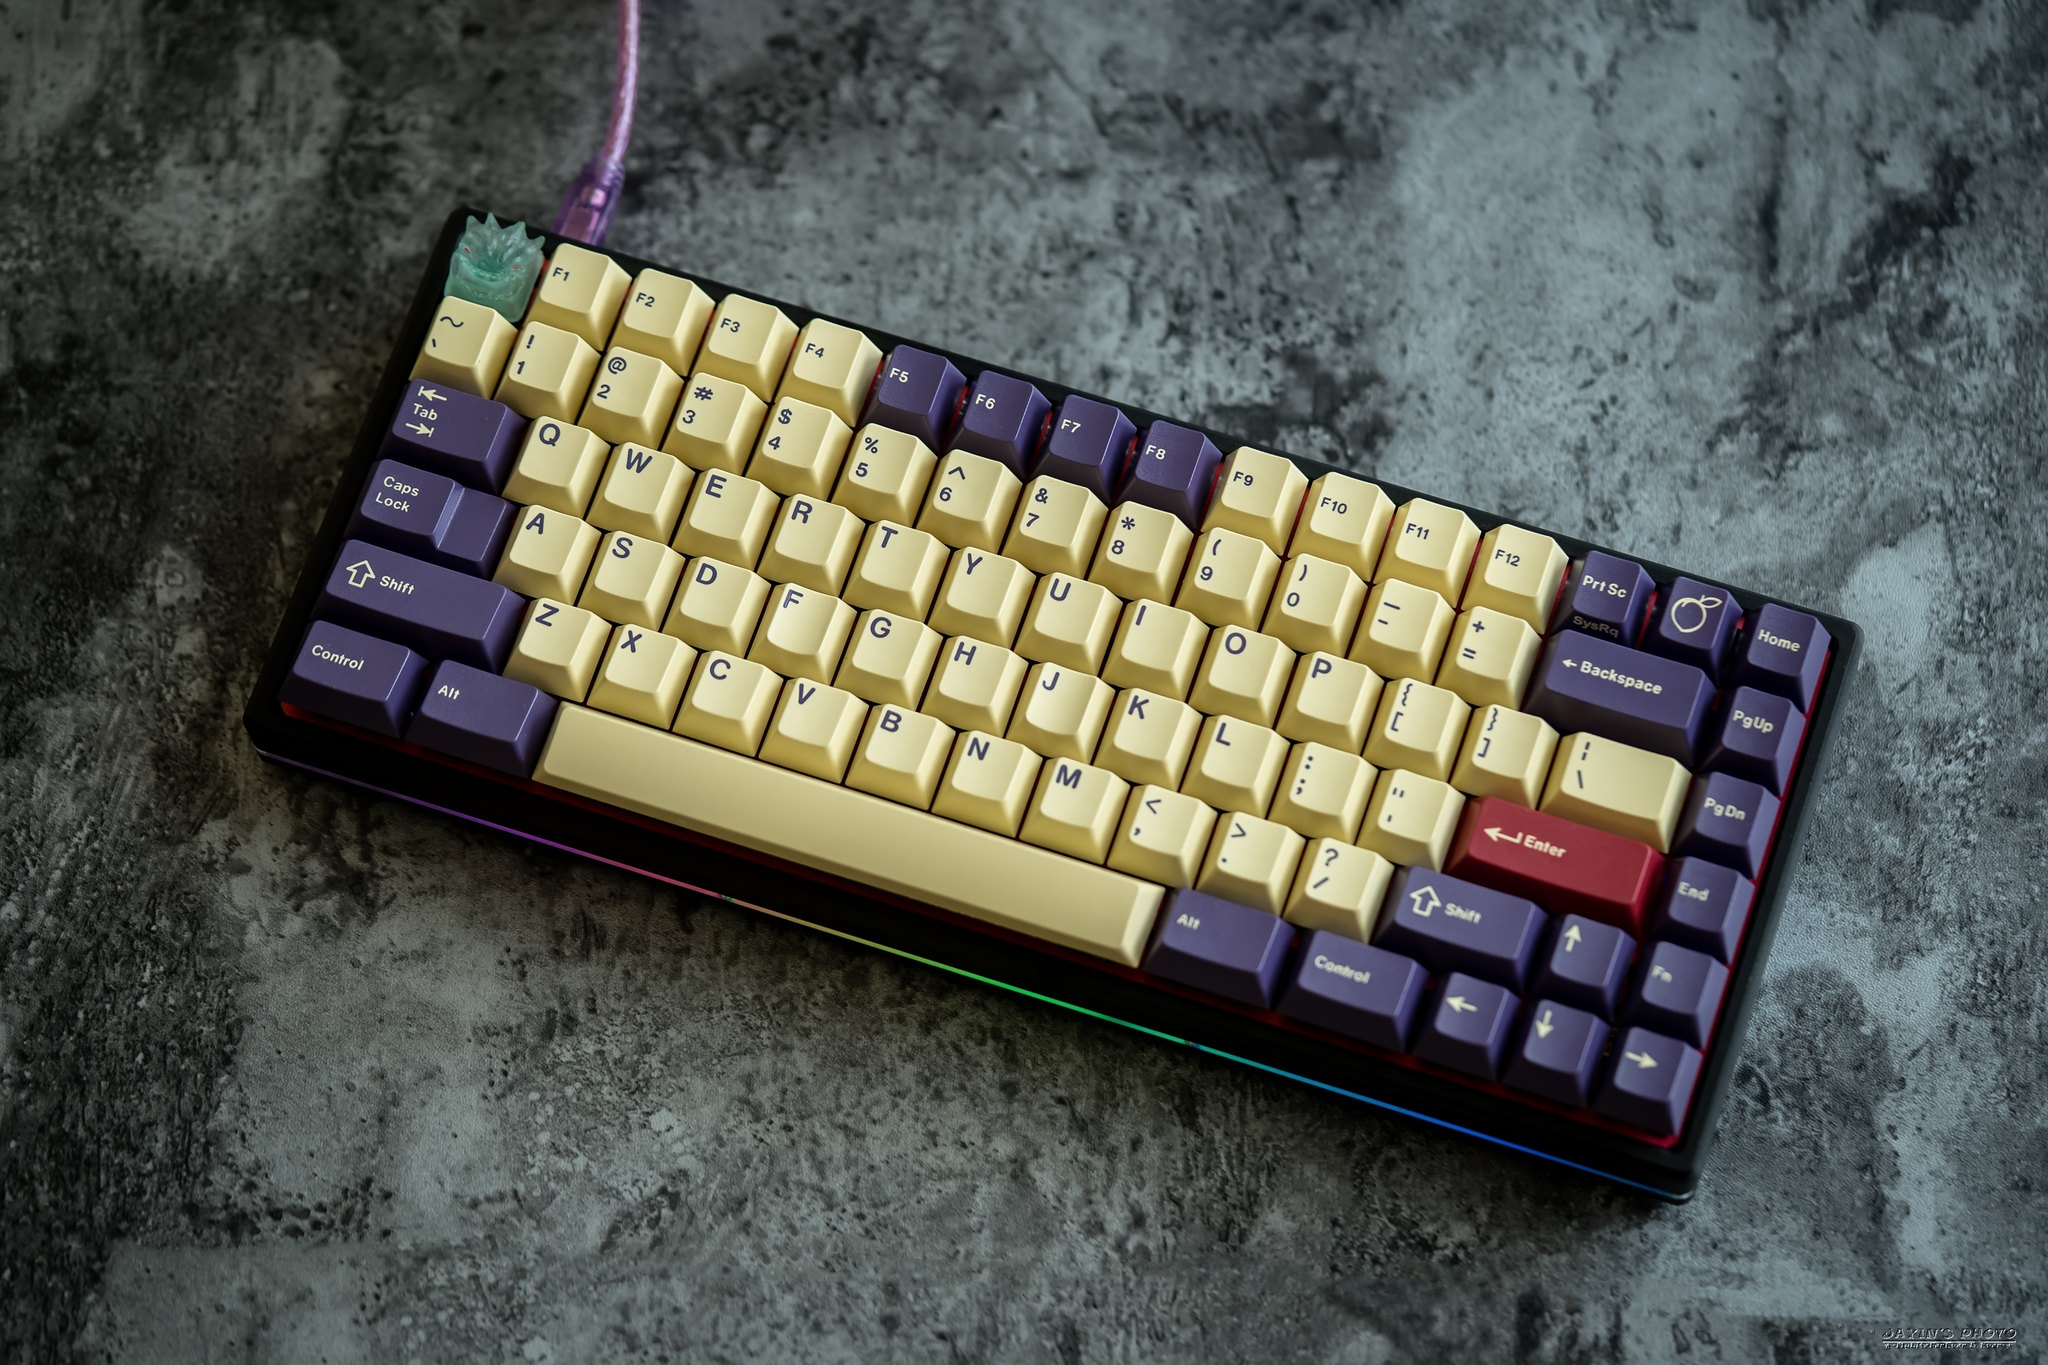
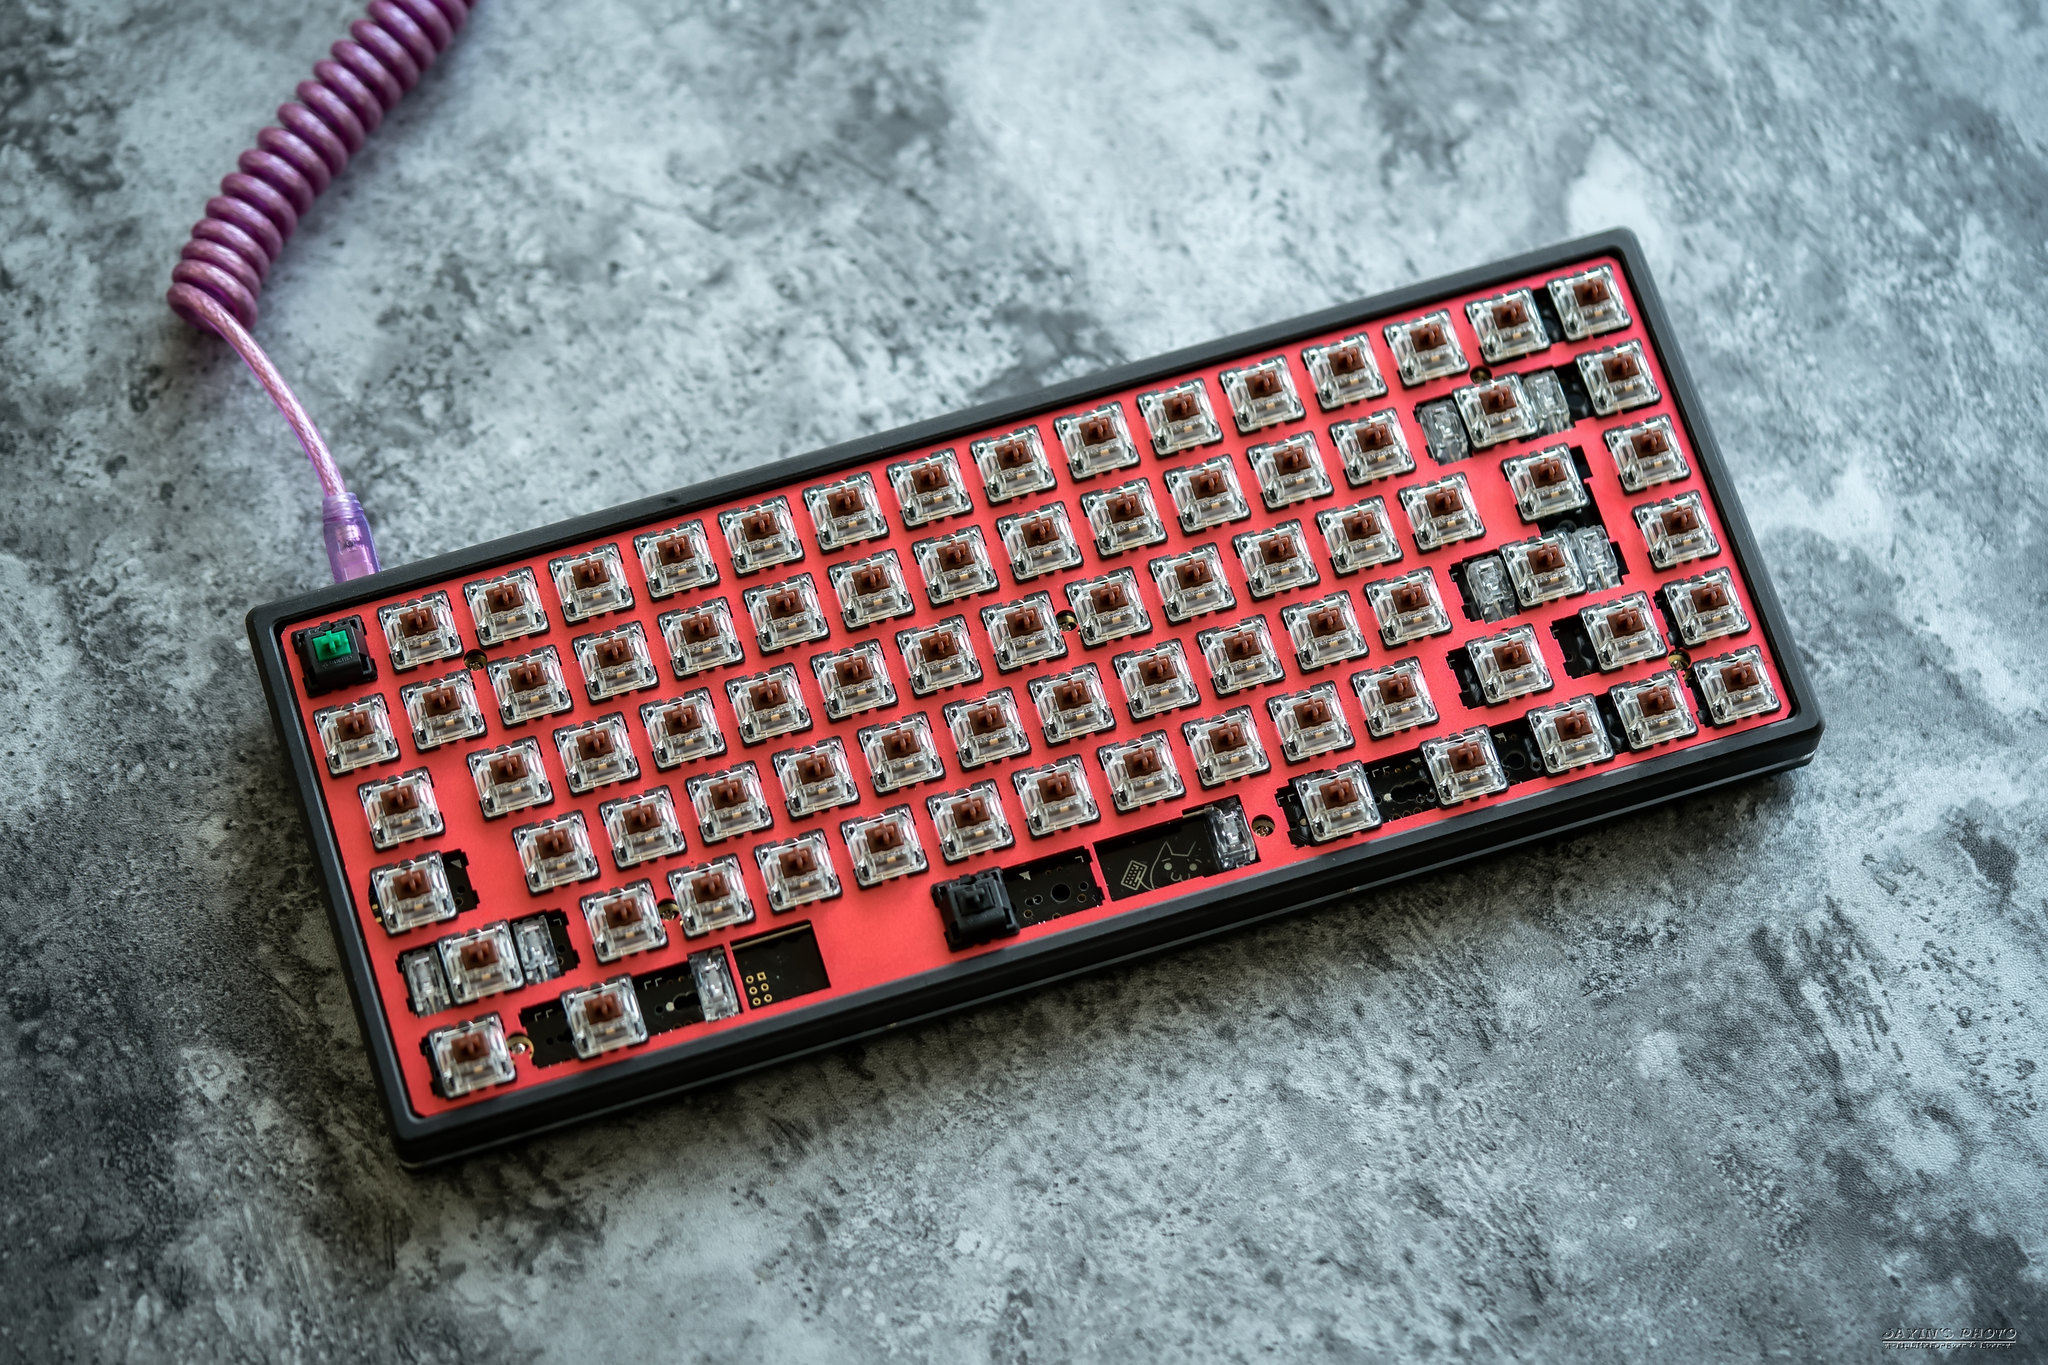
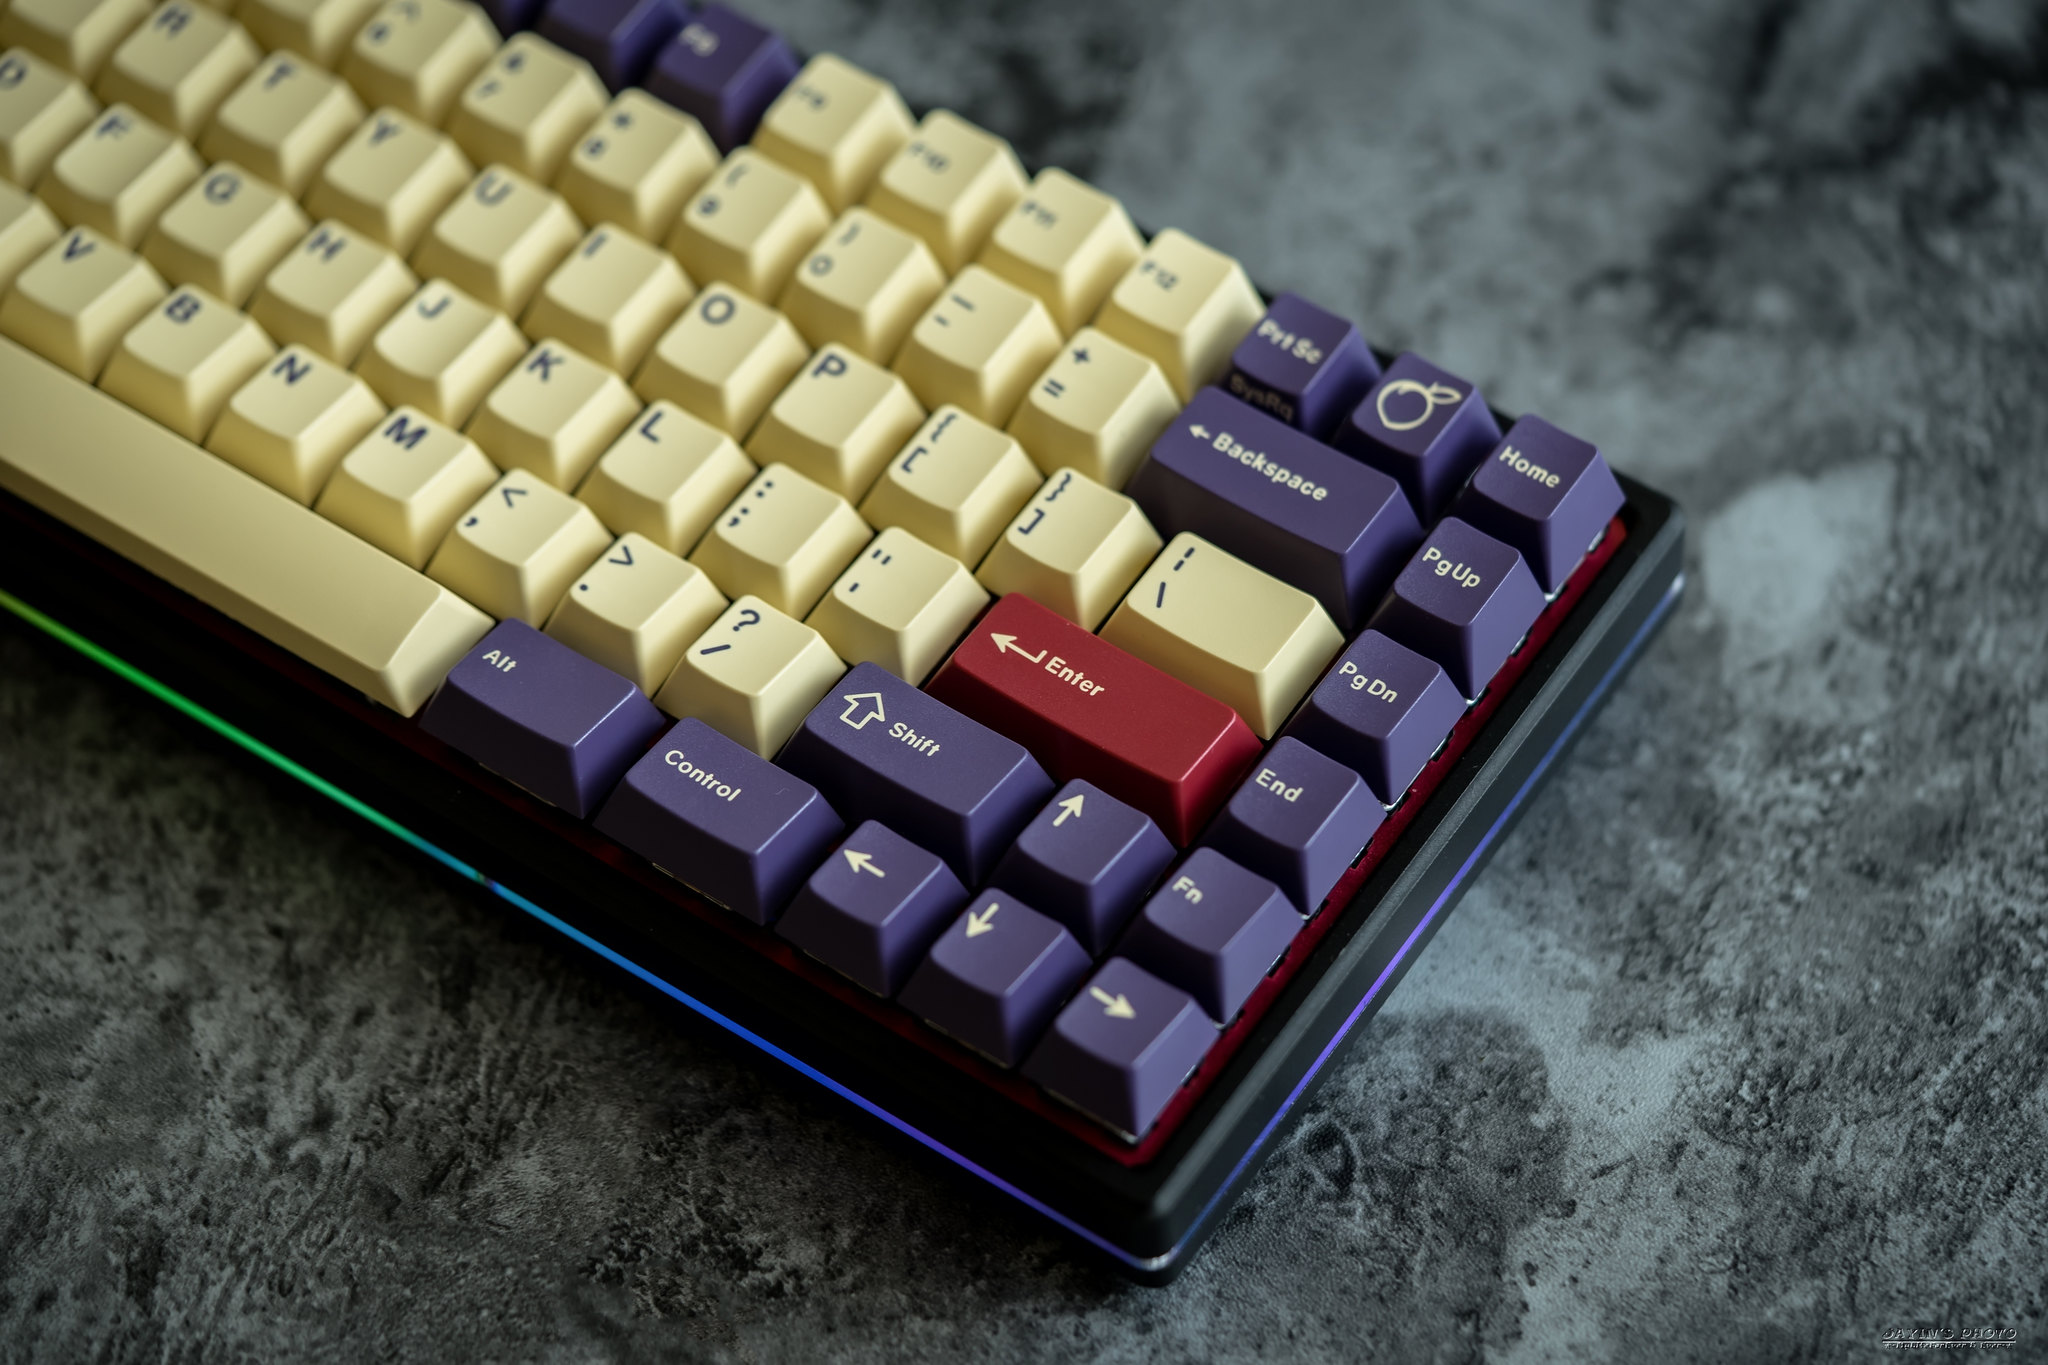
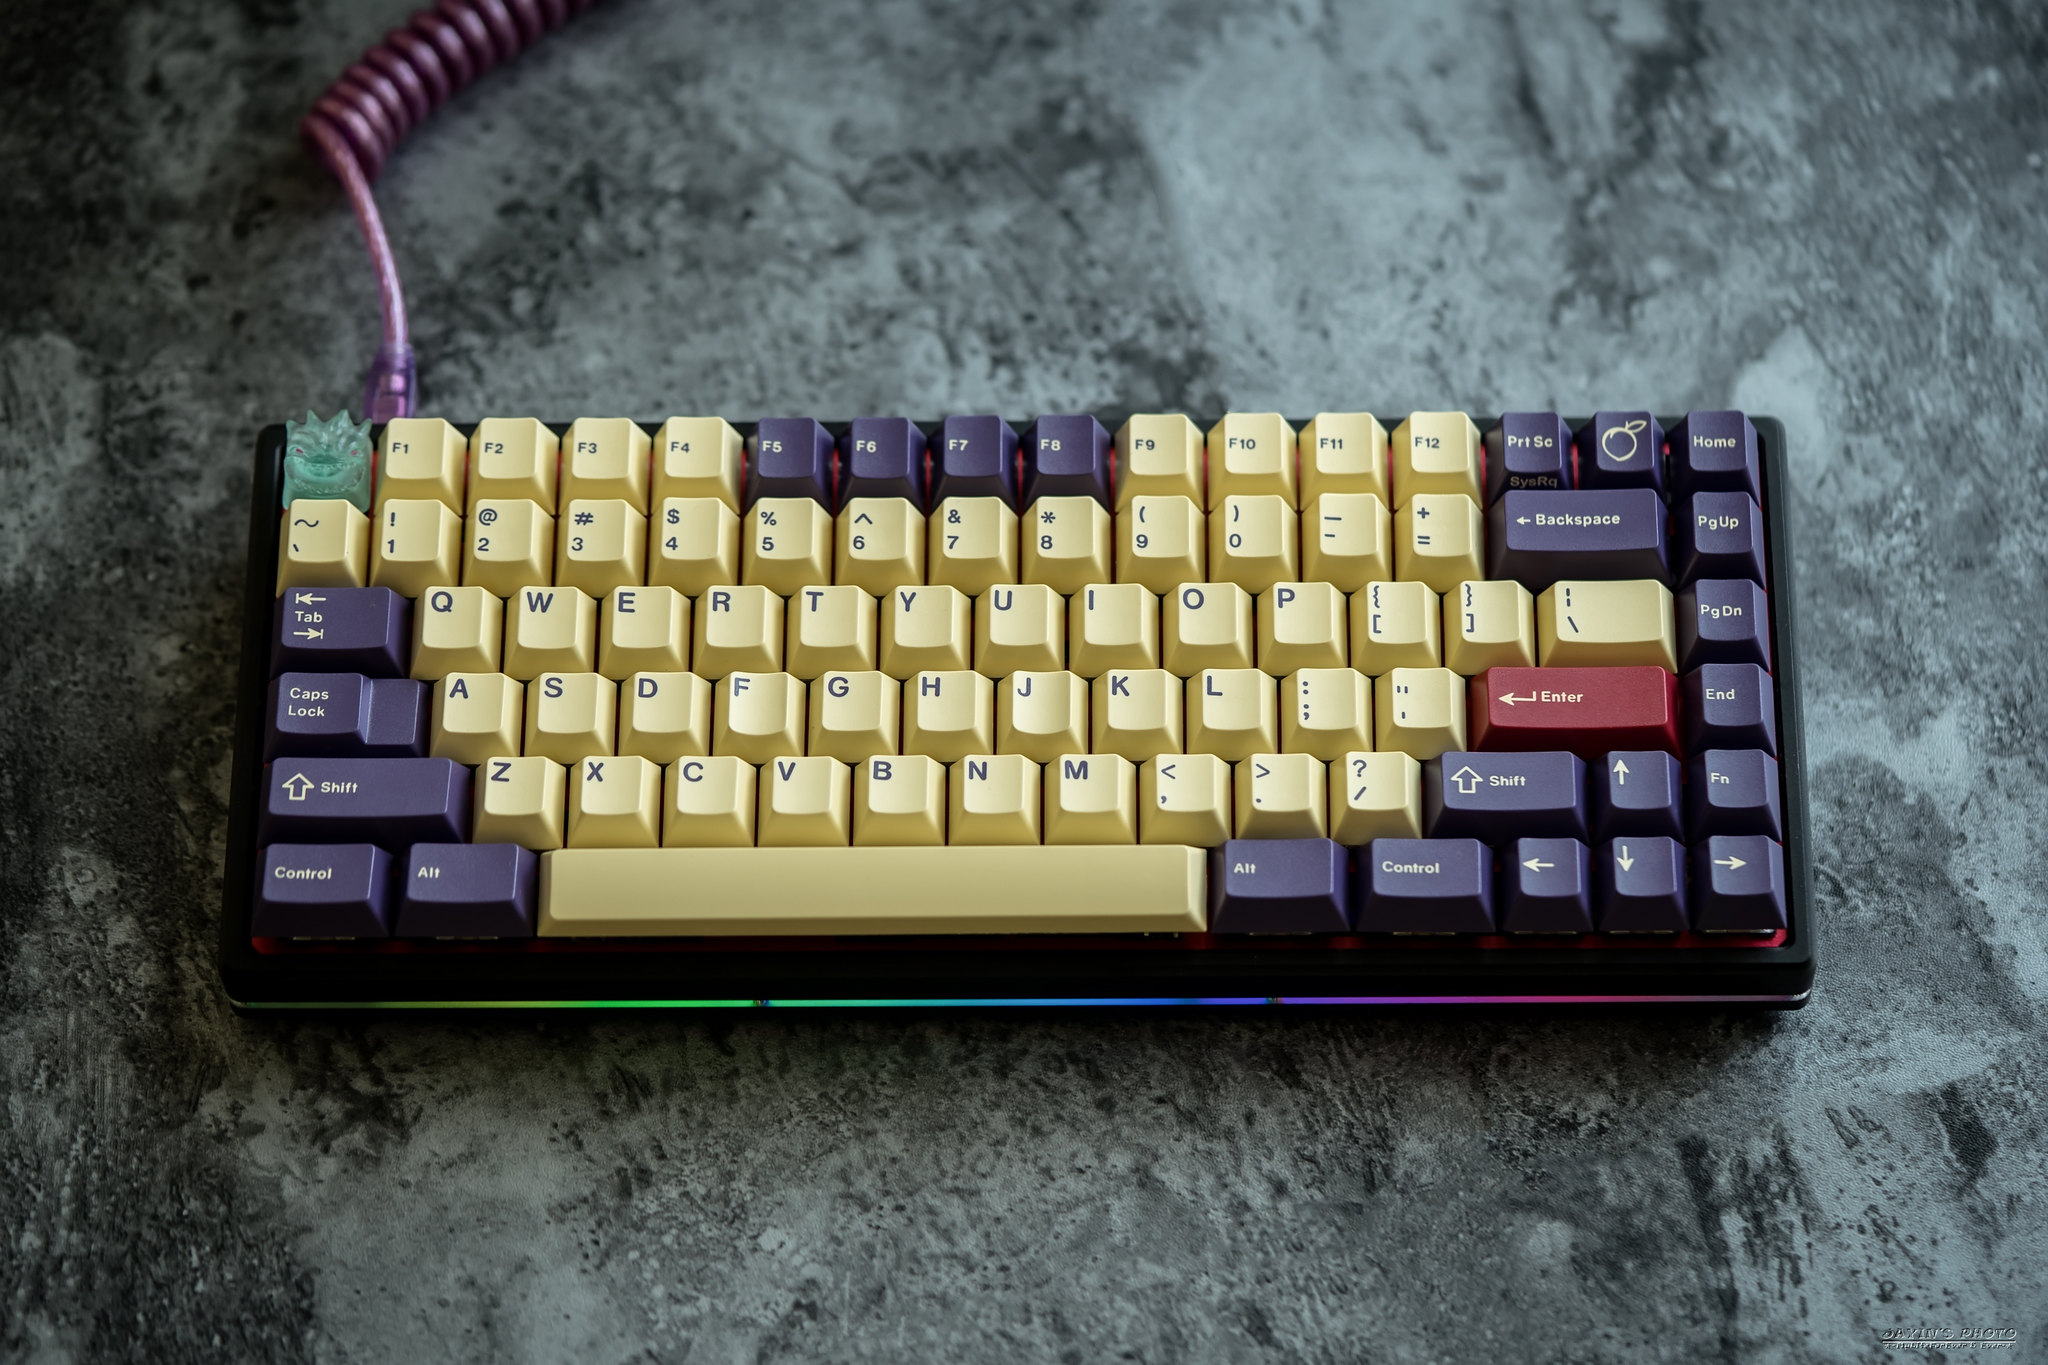
▼這殼跟定位板有很多種配色,我是選了黑殼和紅定位板,我自己的想法是黑殼比較能表現出底燈的RGB。
而紅色定位板只是單純為了比較騷而已XD。
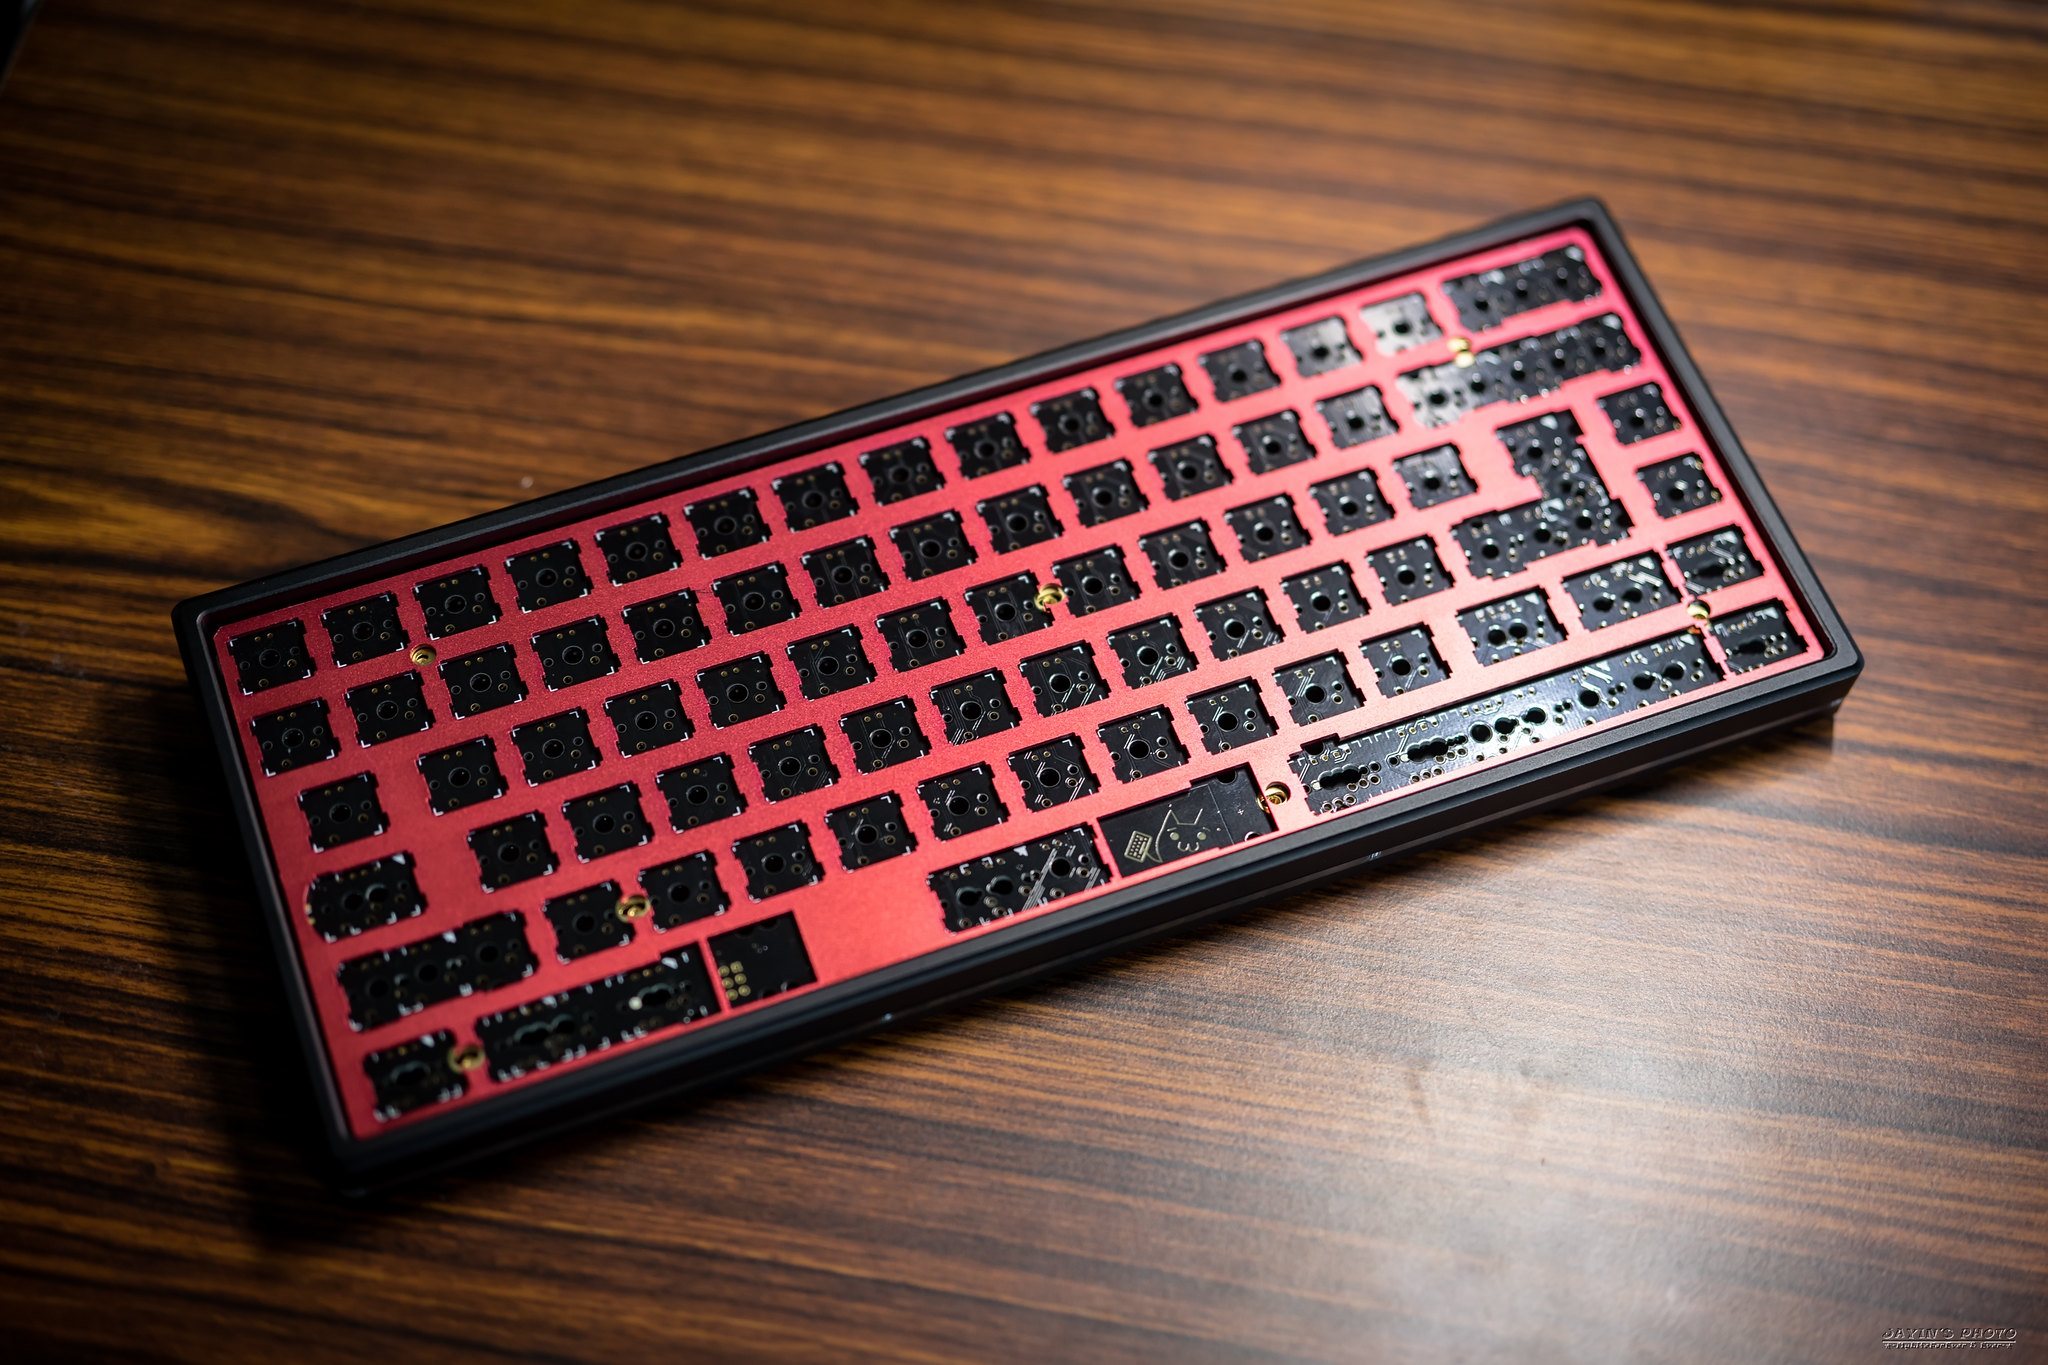
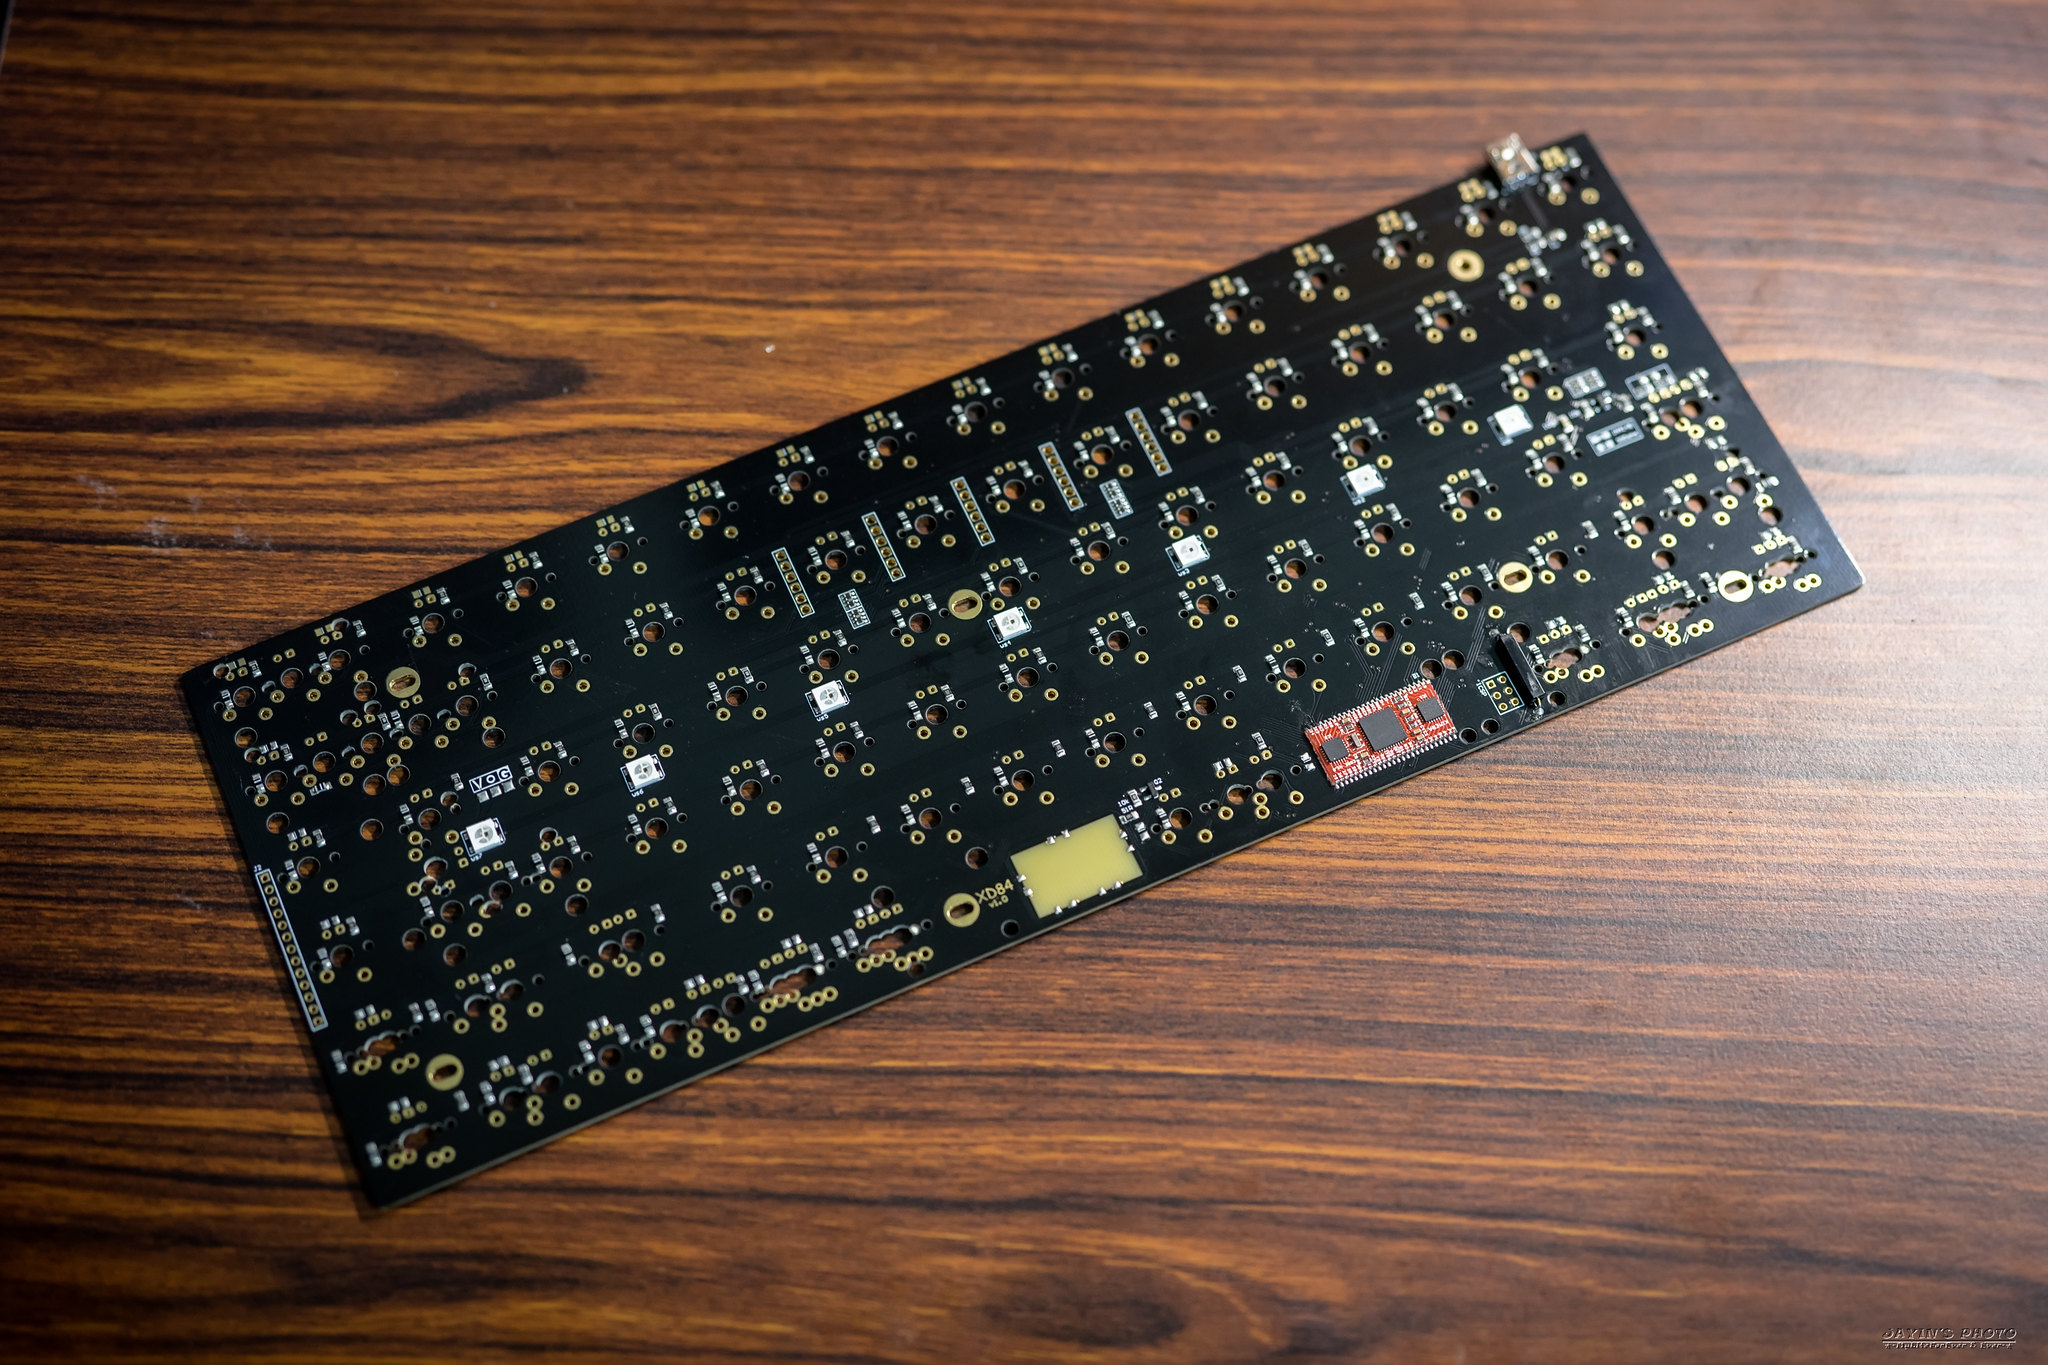
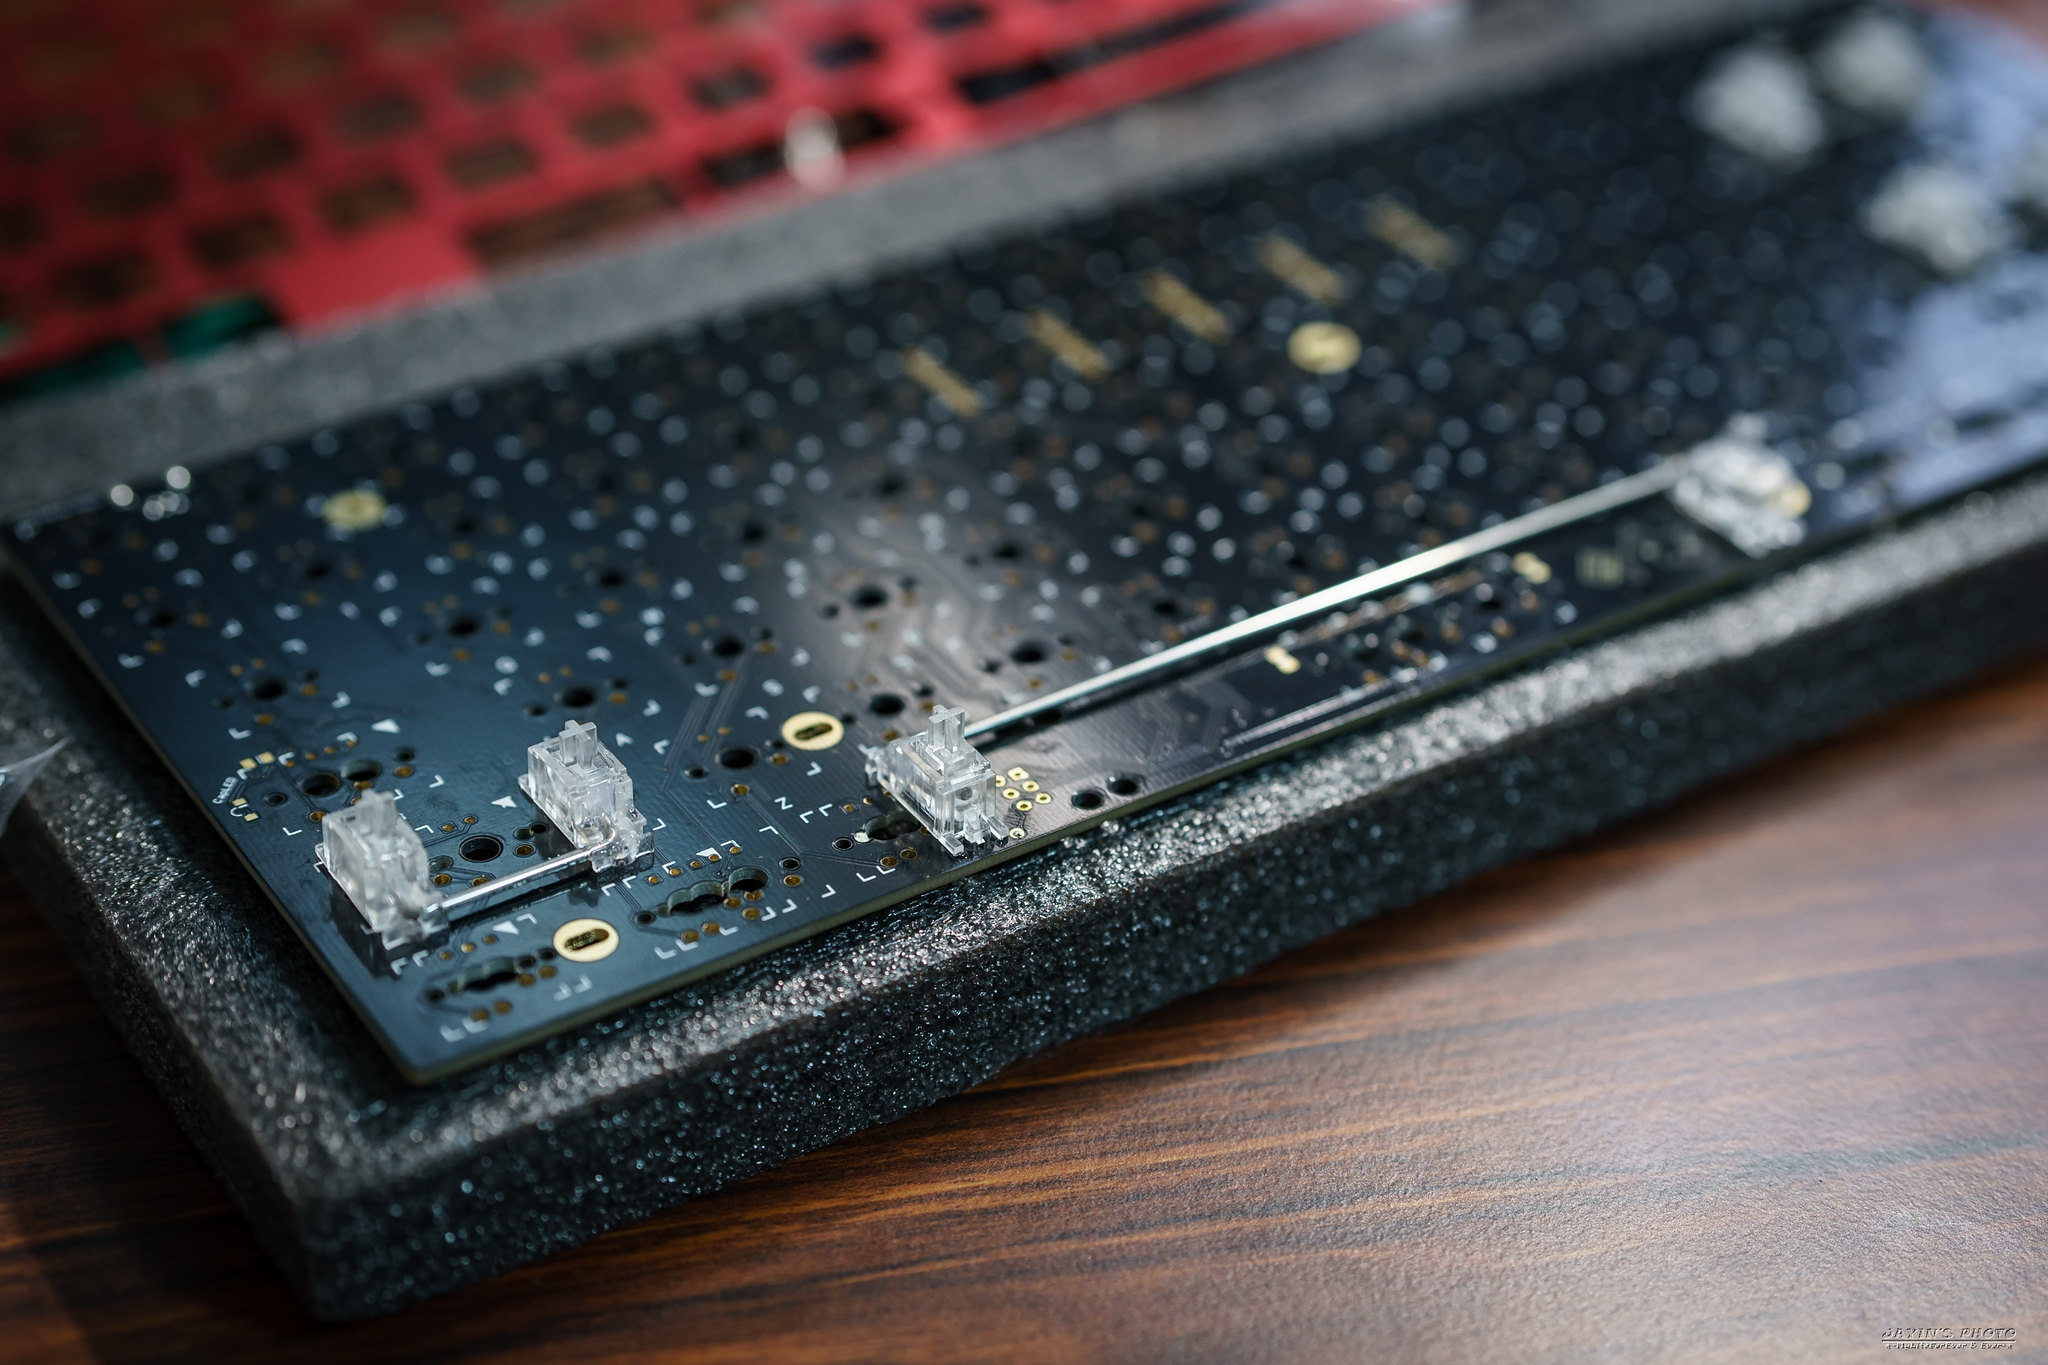
▼這個kit主要的三個東西,就是外殼、PCB以及定位板。
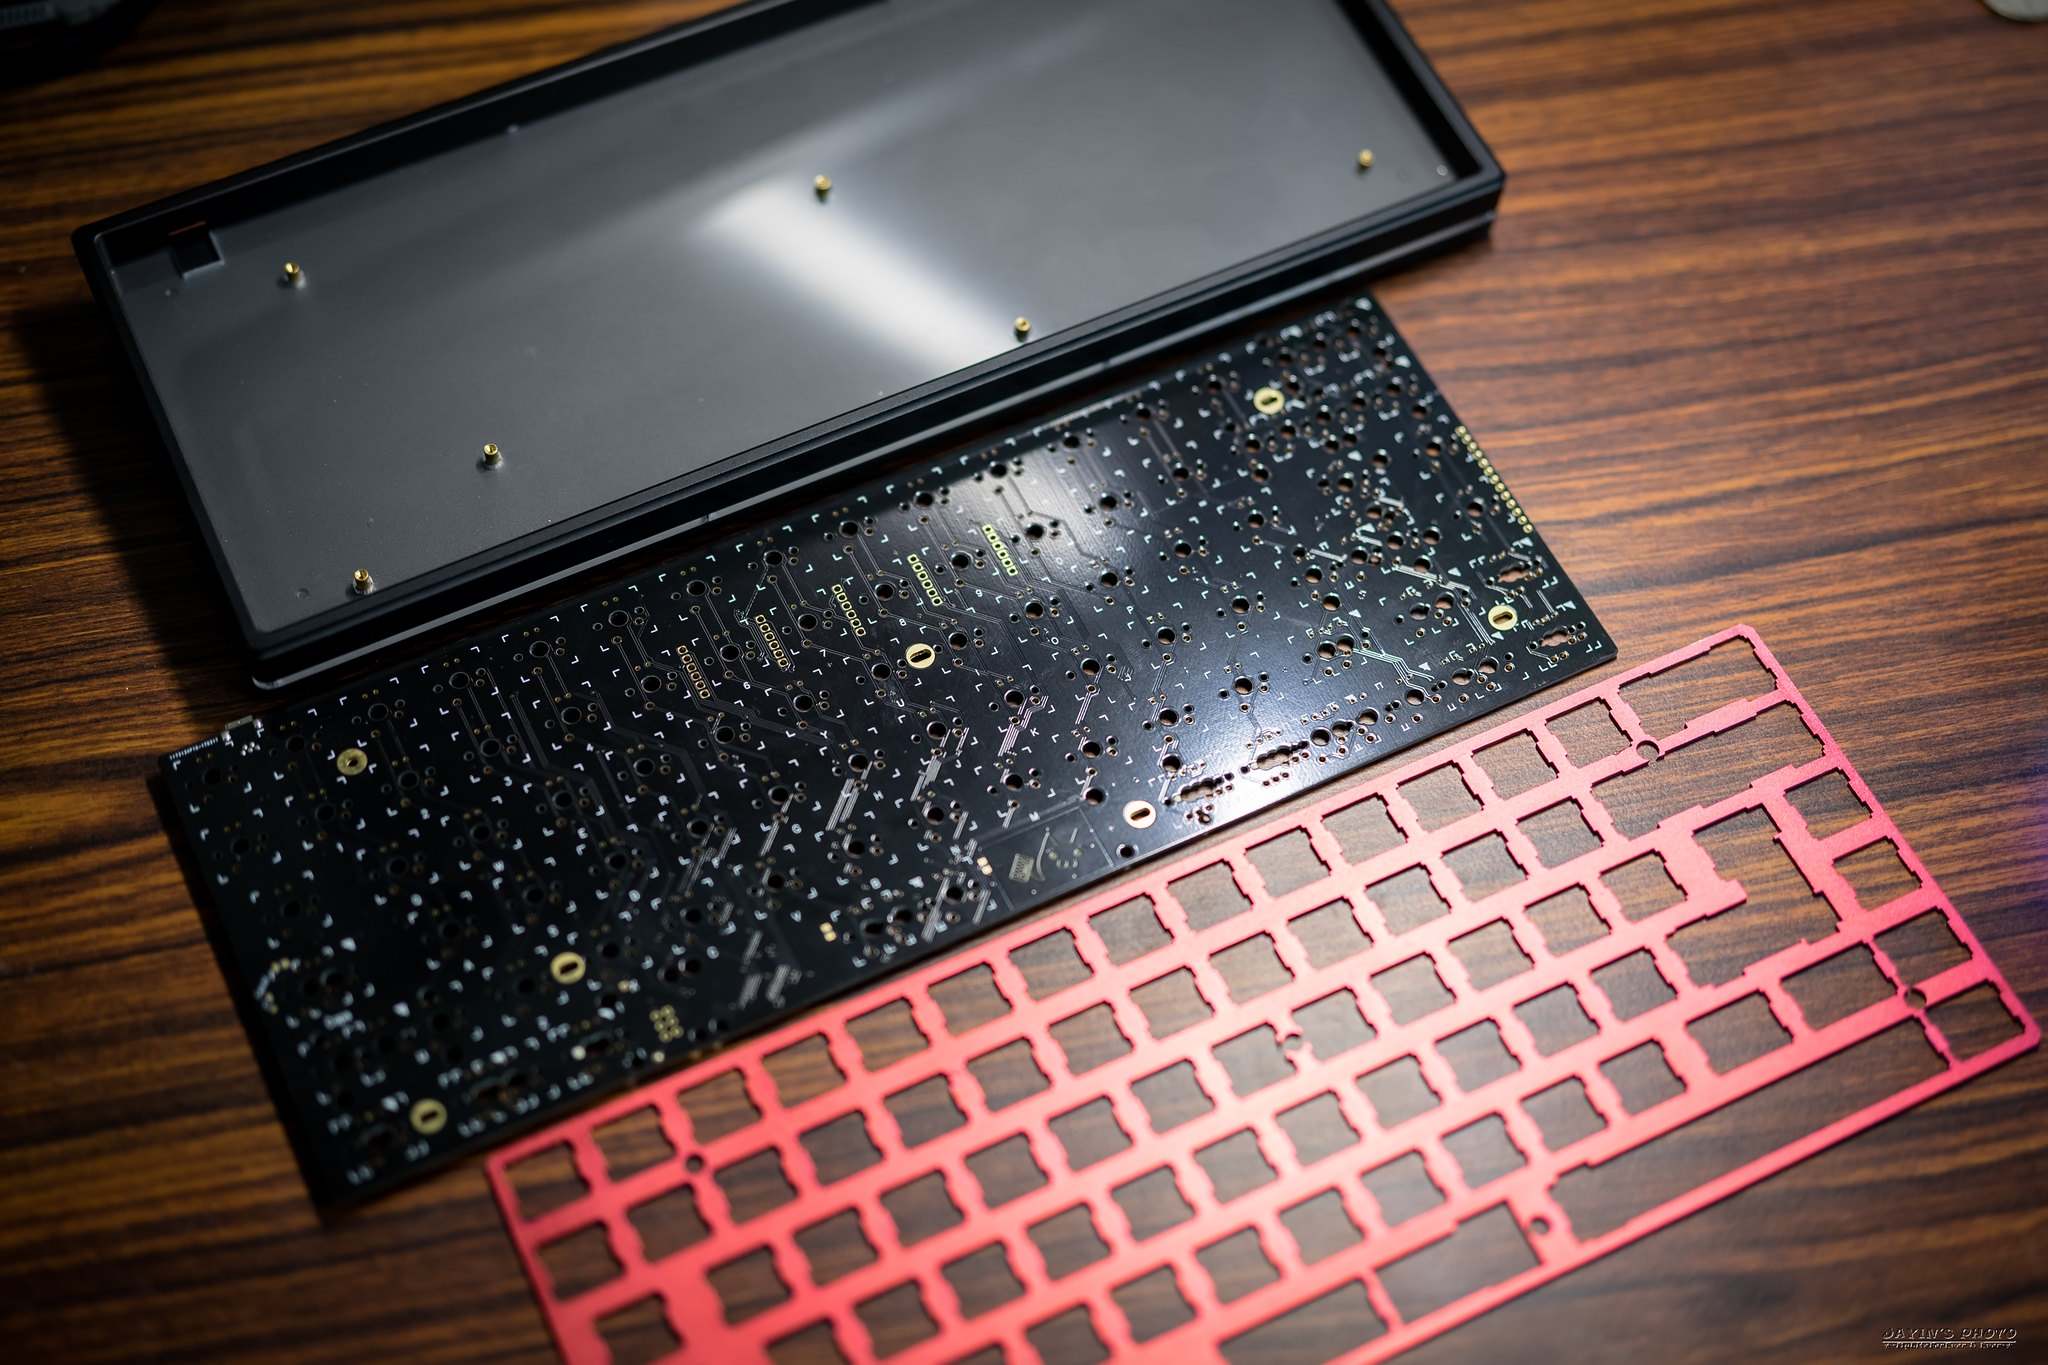
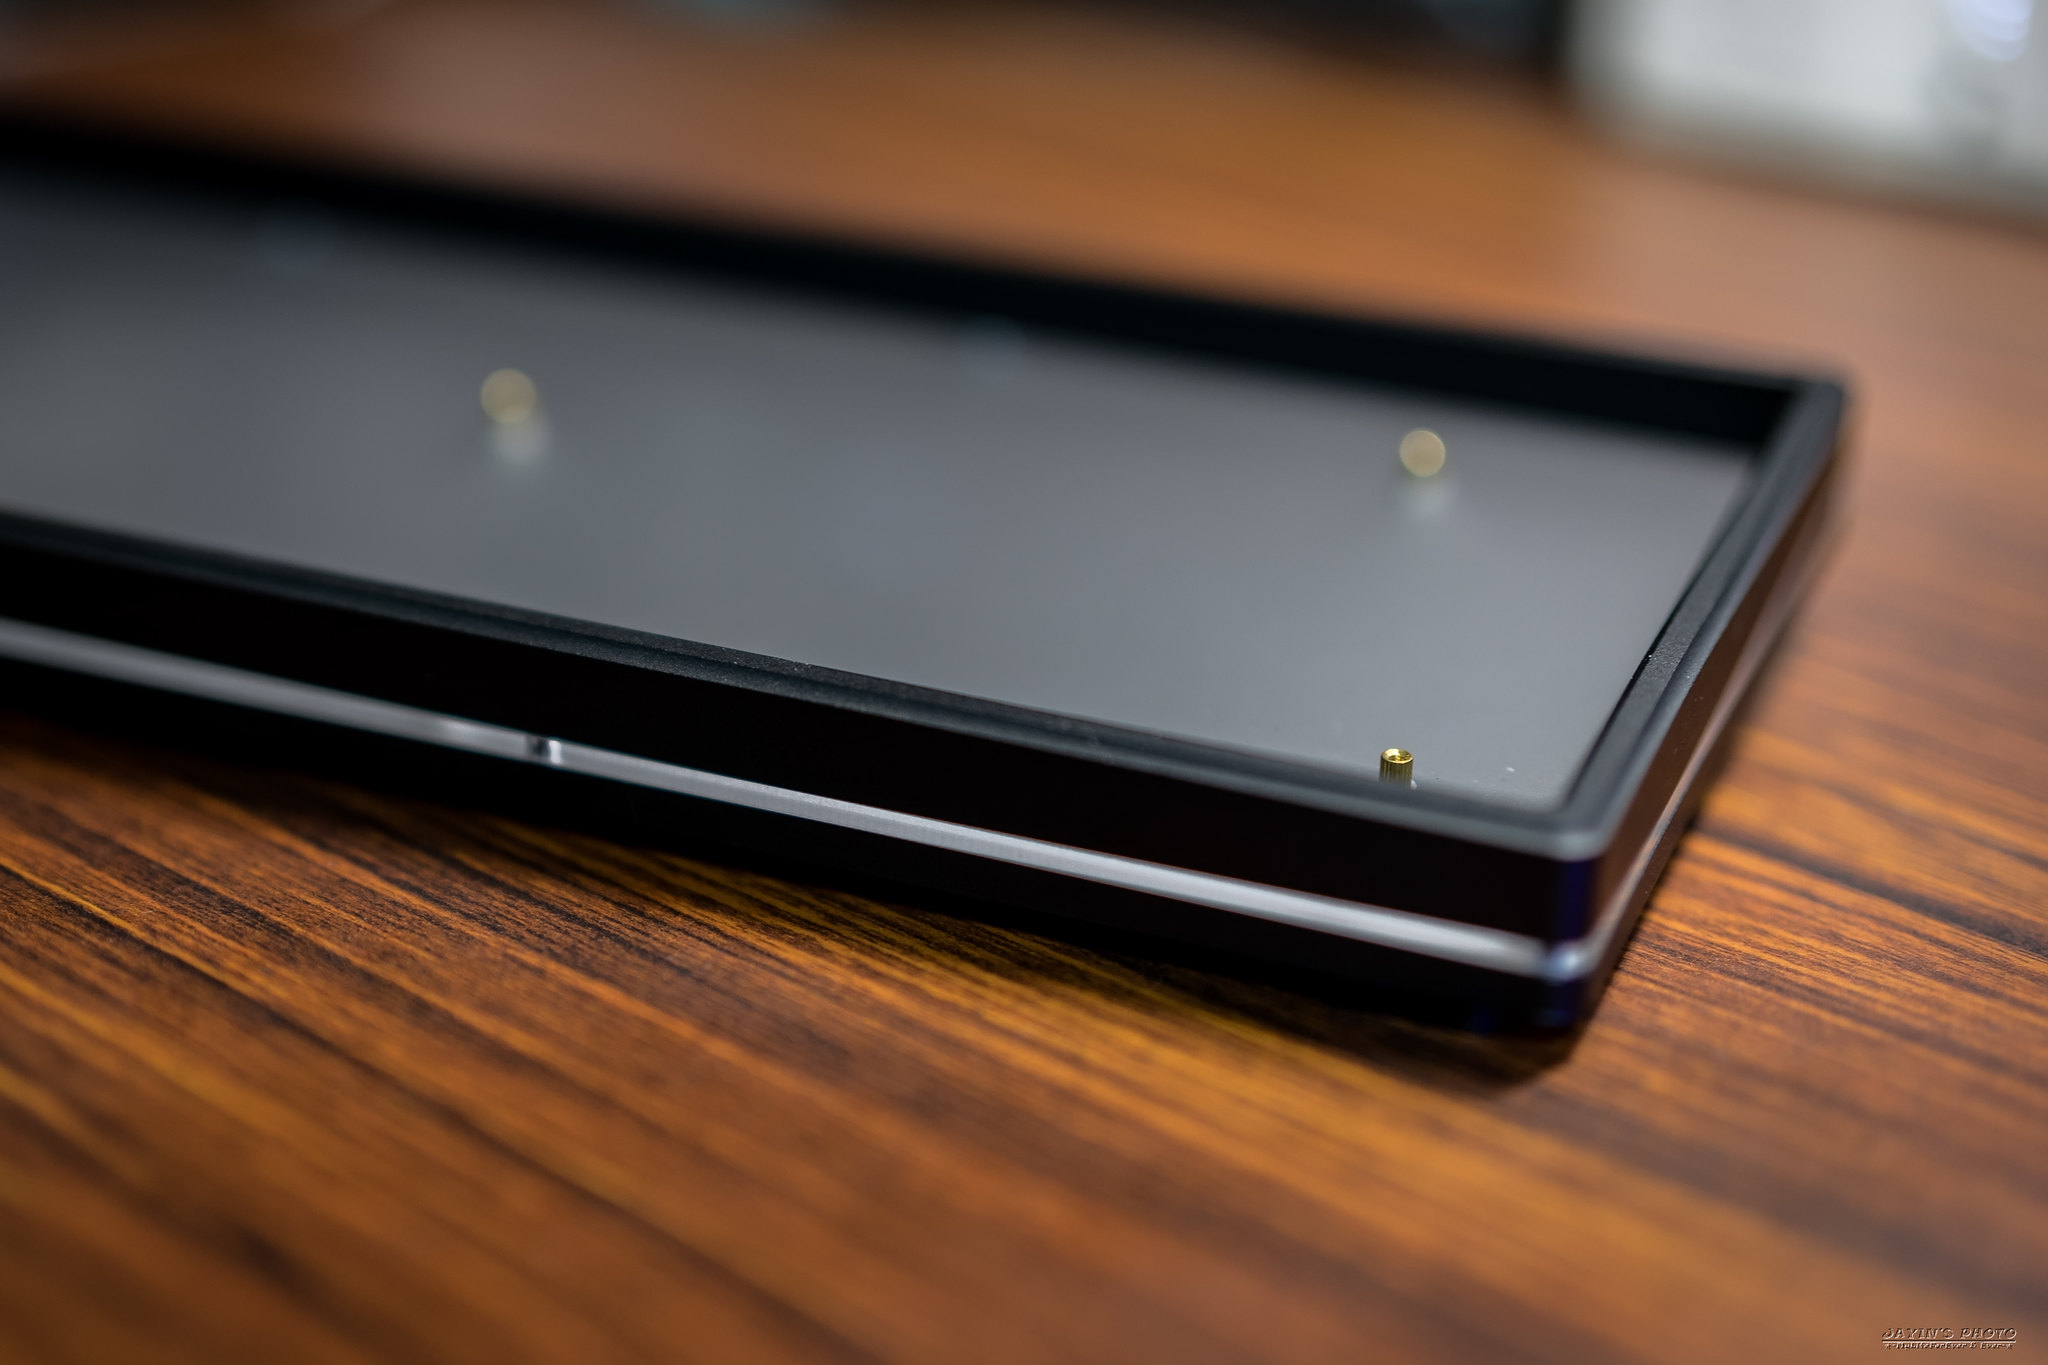
▼外殼上下是鋁合金,中間是透明的壓克力層。
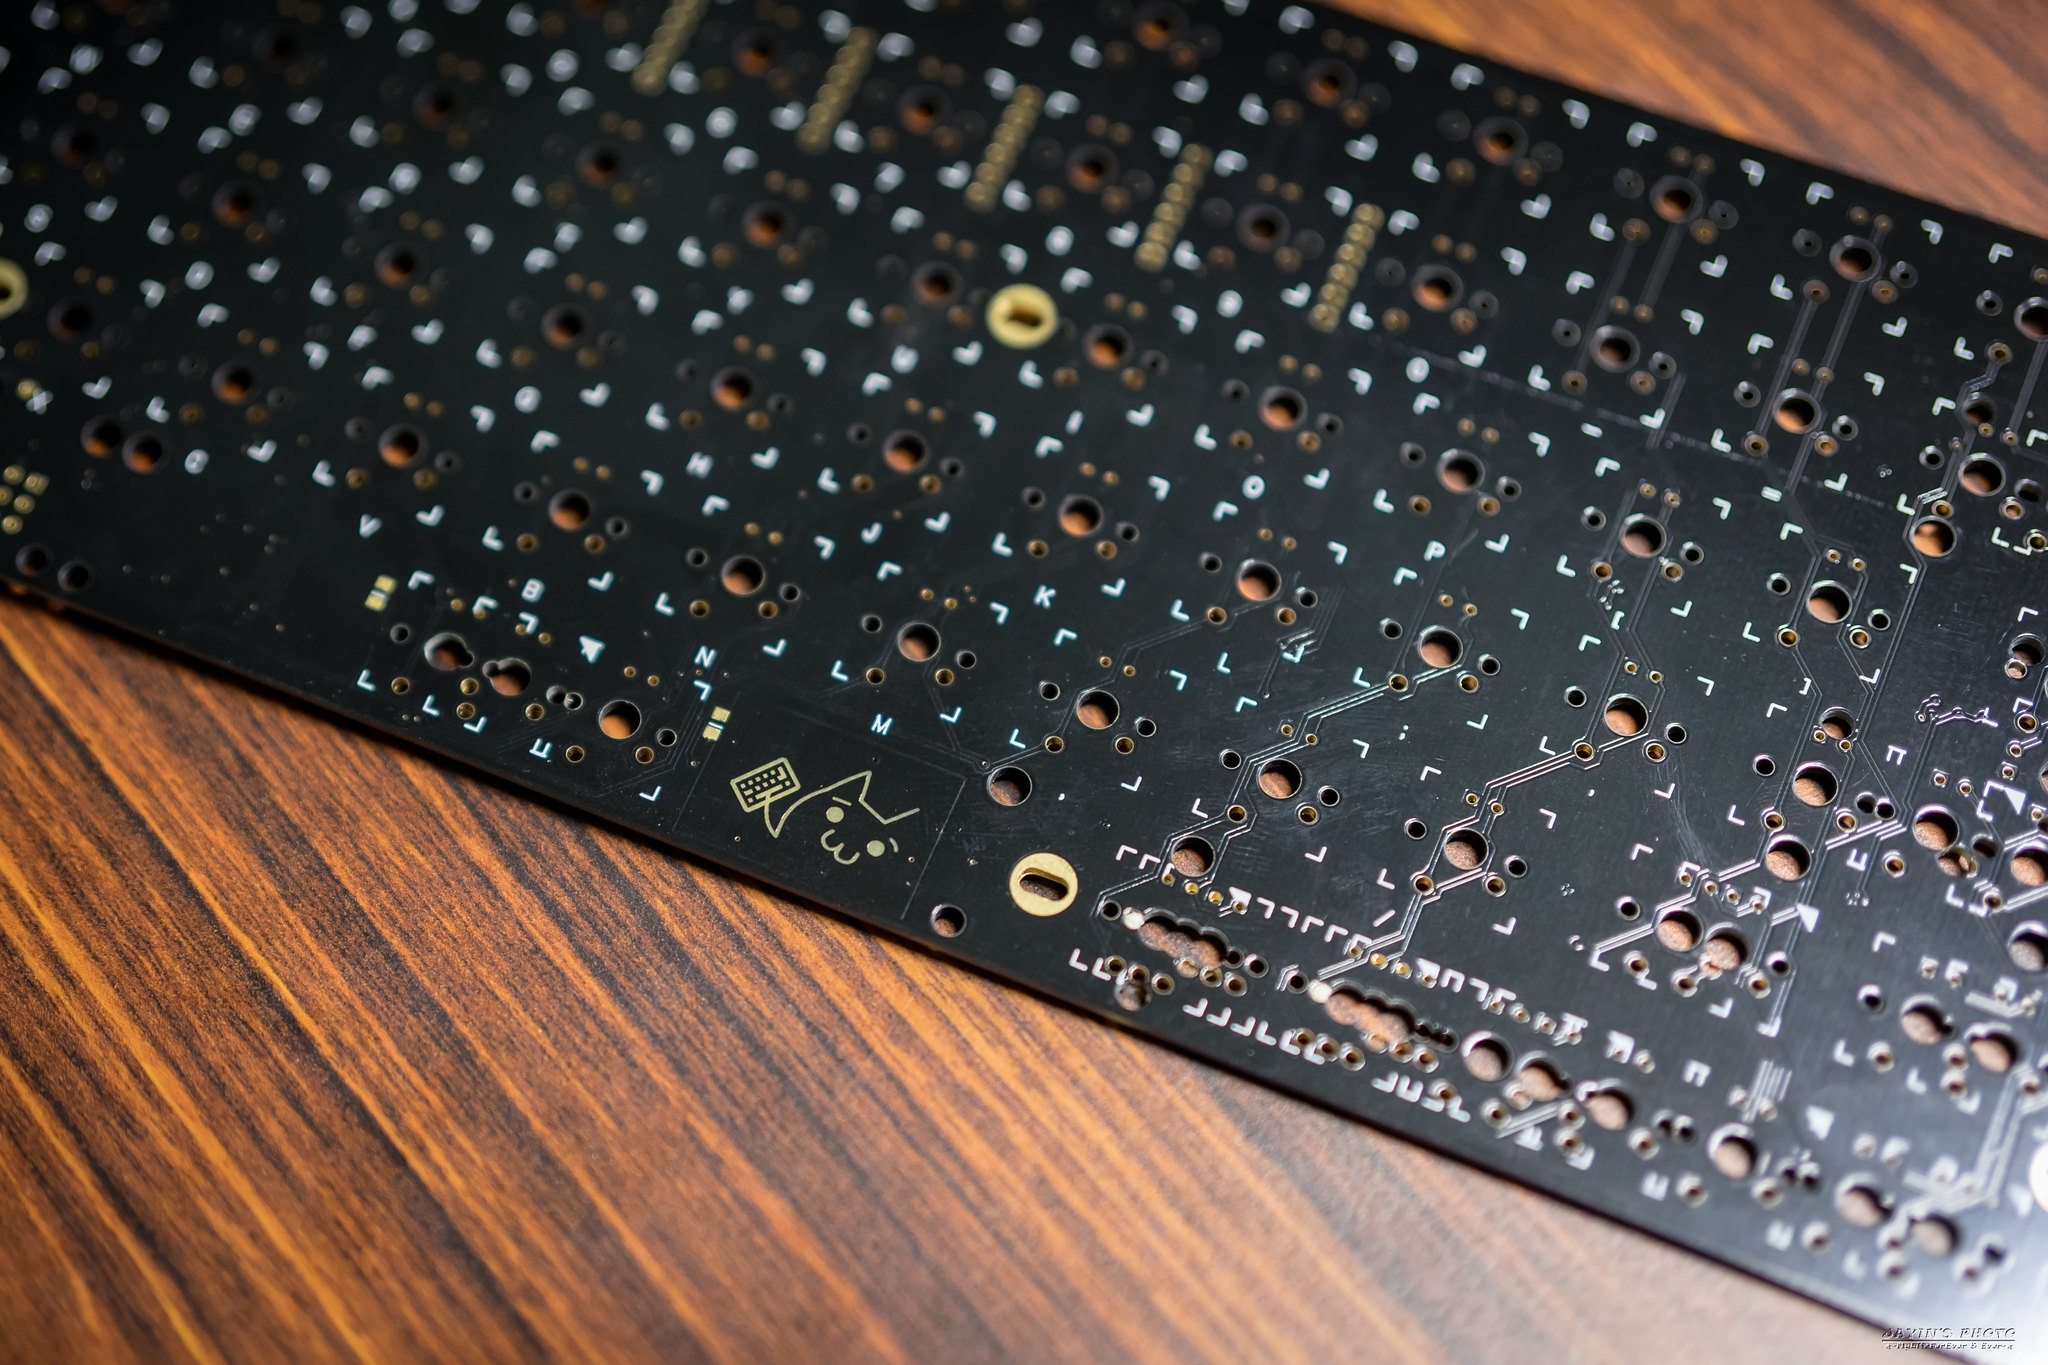
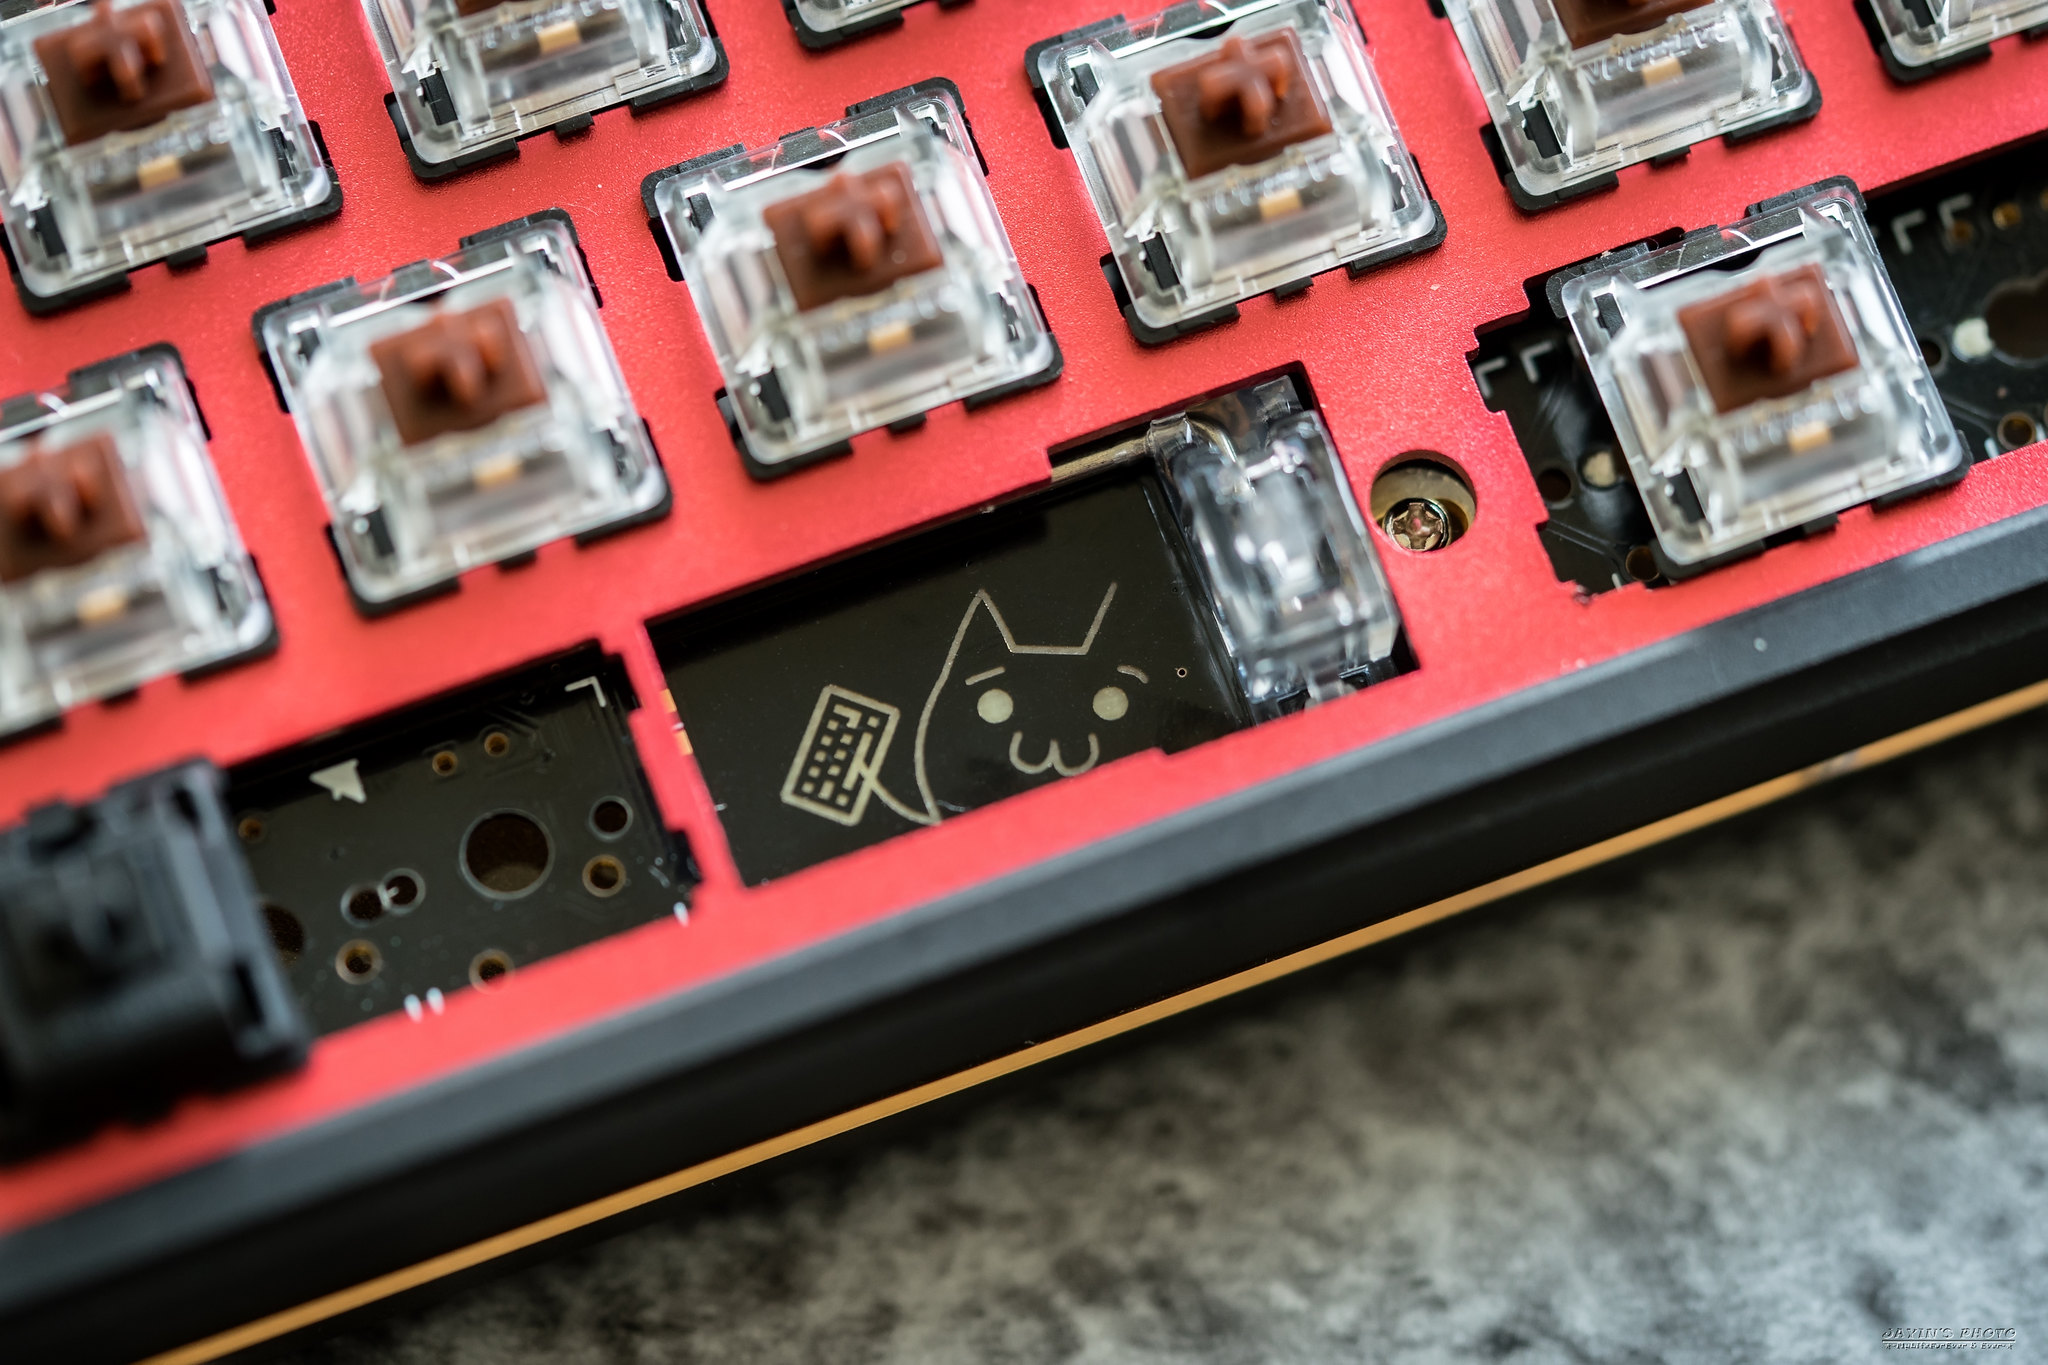
▼PCB是黑色的,空白鍵附近有個萌萌噠的貓貓。
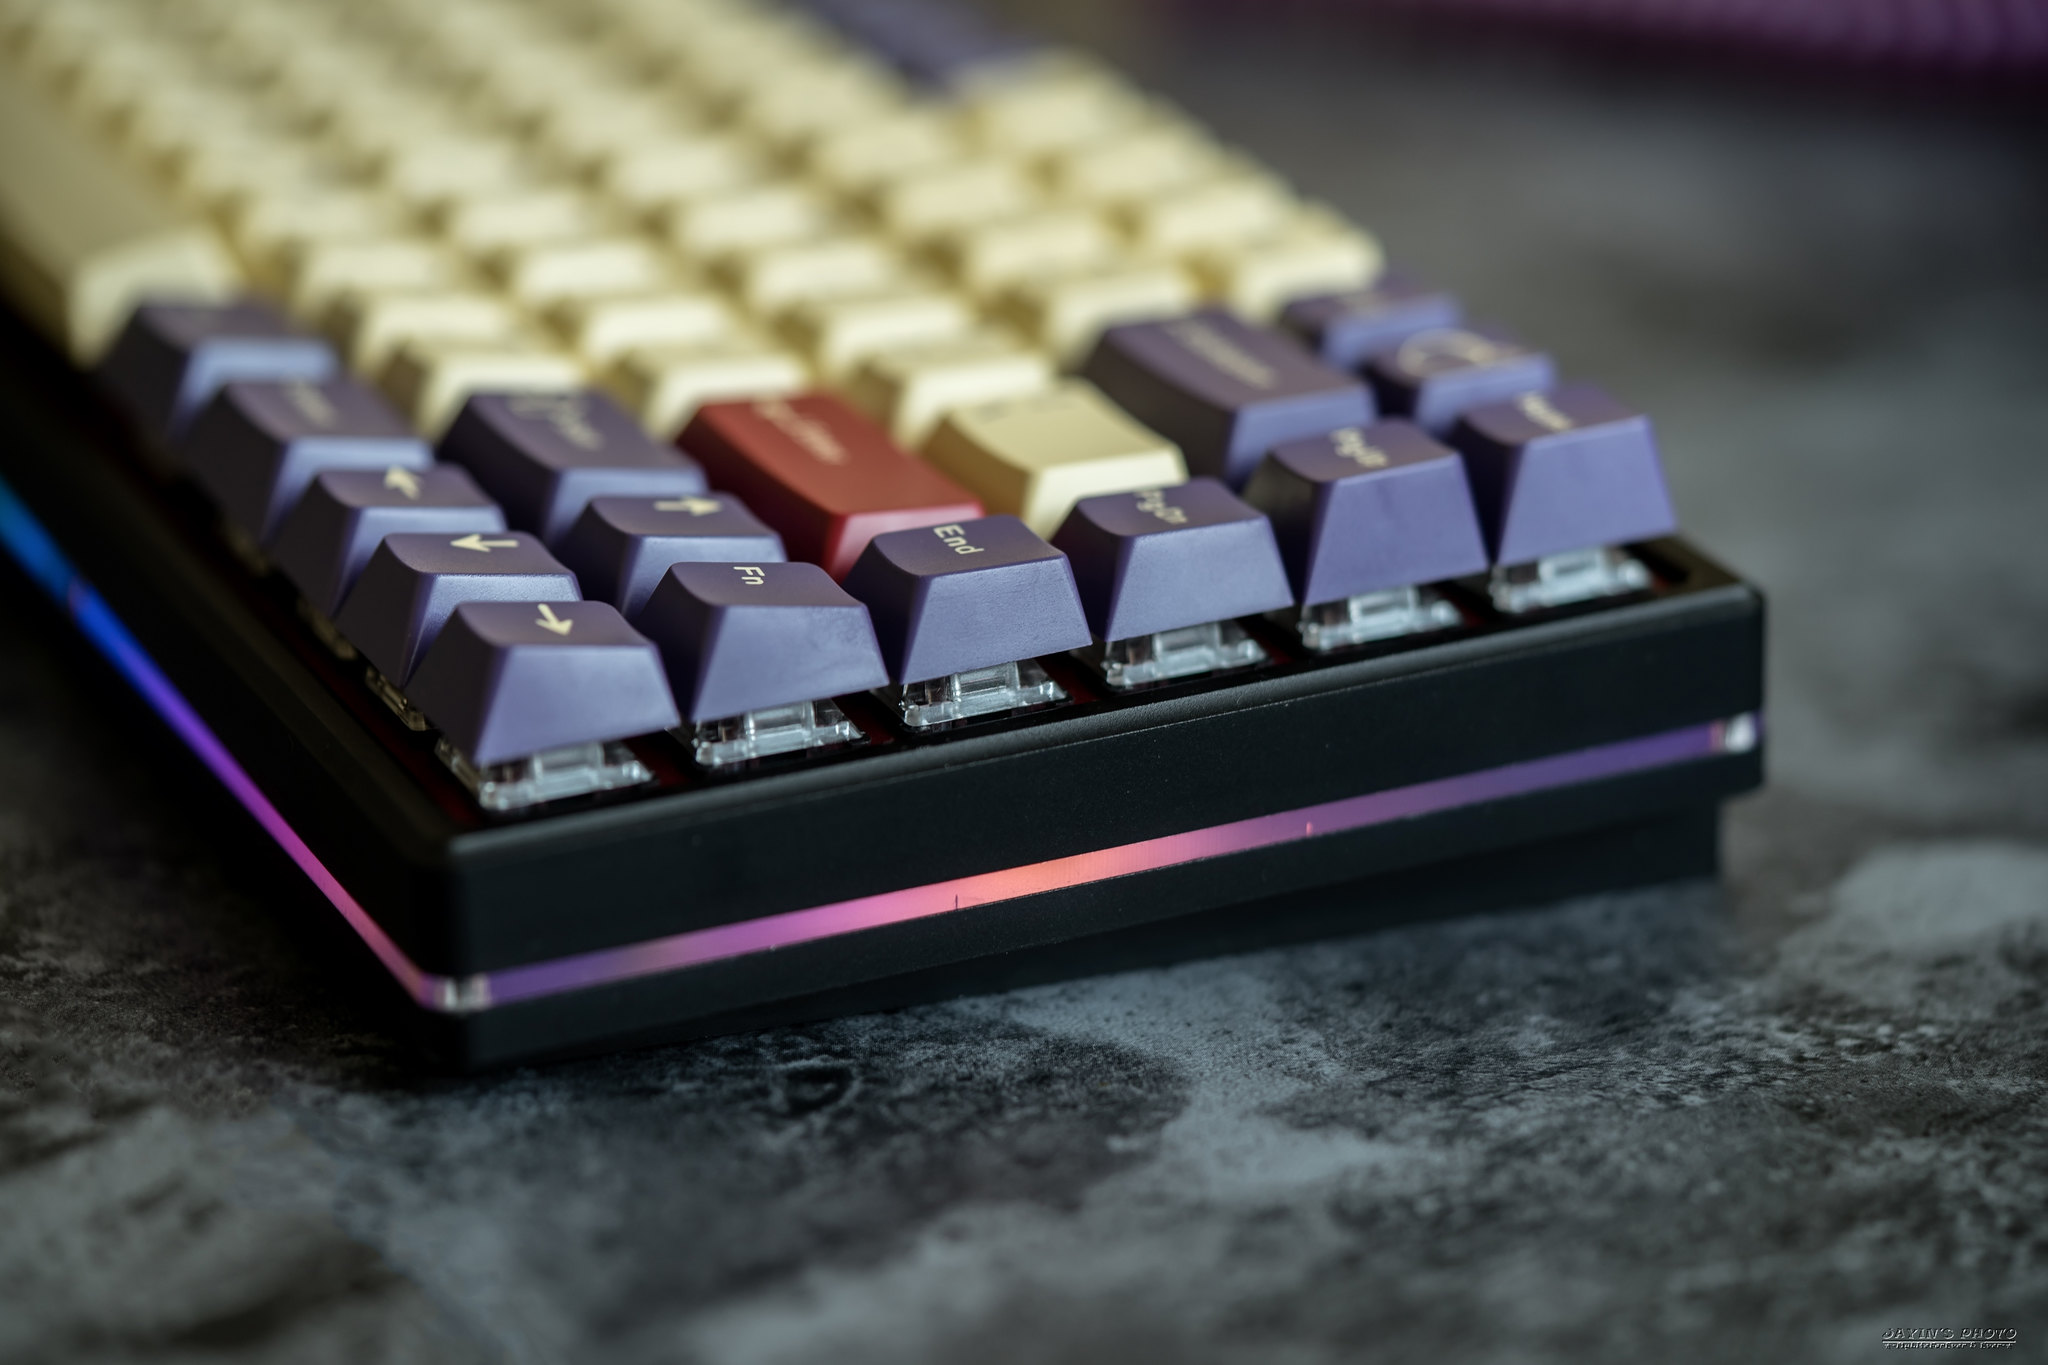
▼PCB背面中間有七顆RGB底燈,如果覺得不夠亮,這個PCB可以再加燈條。
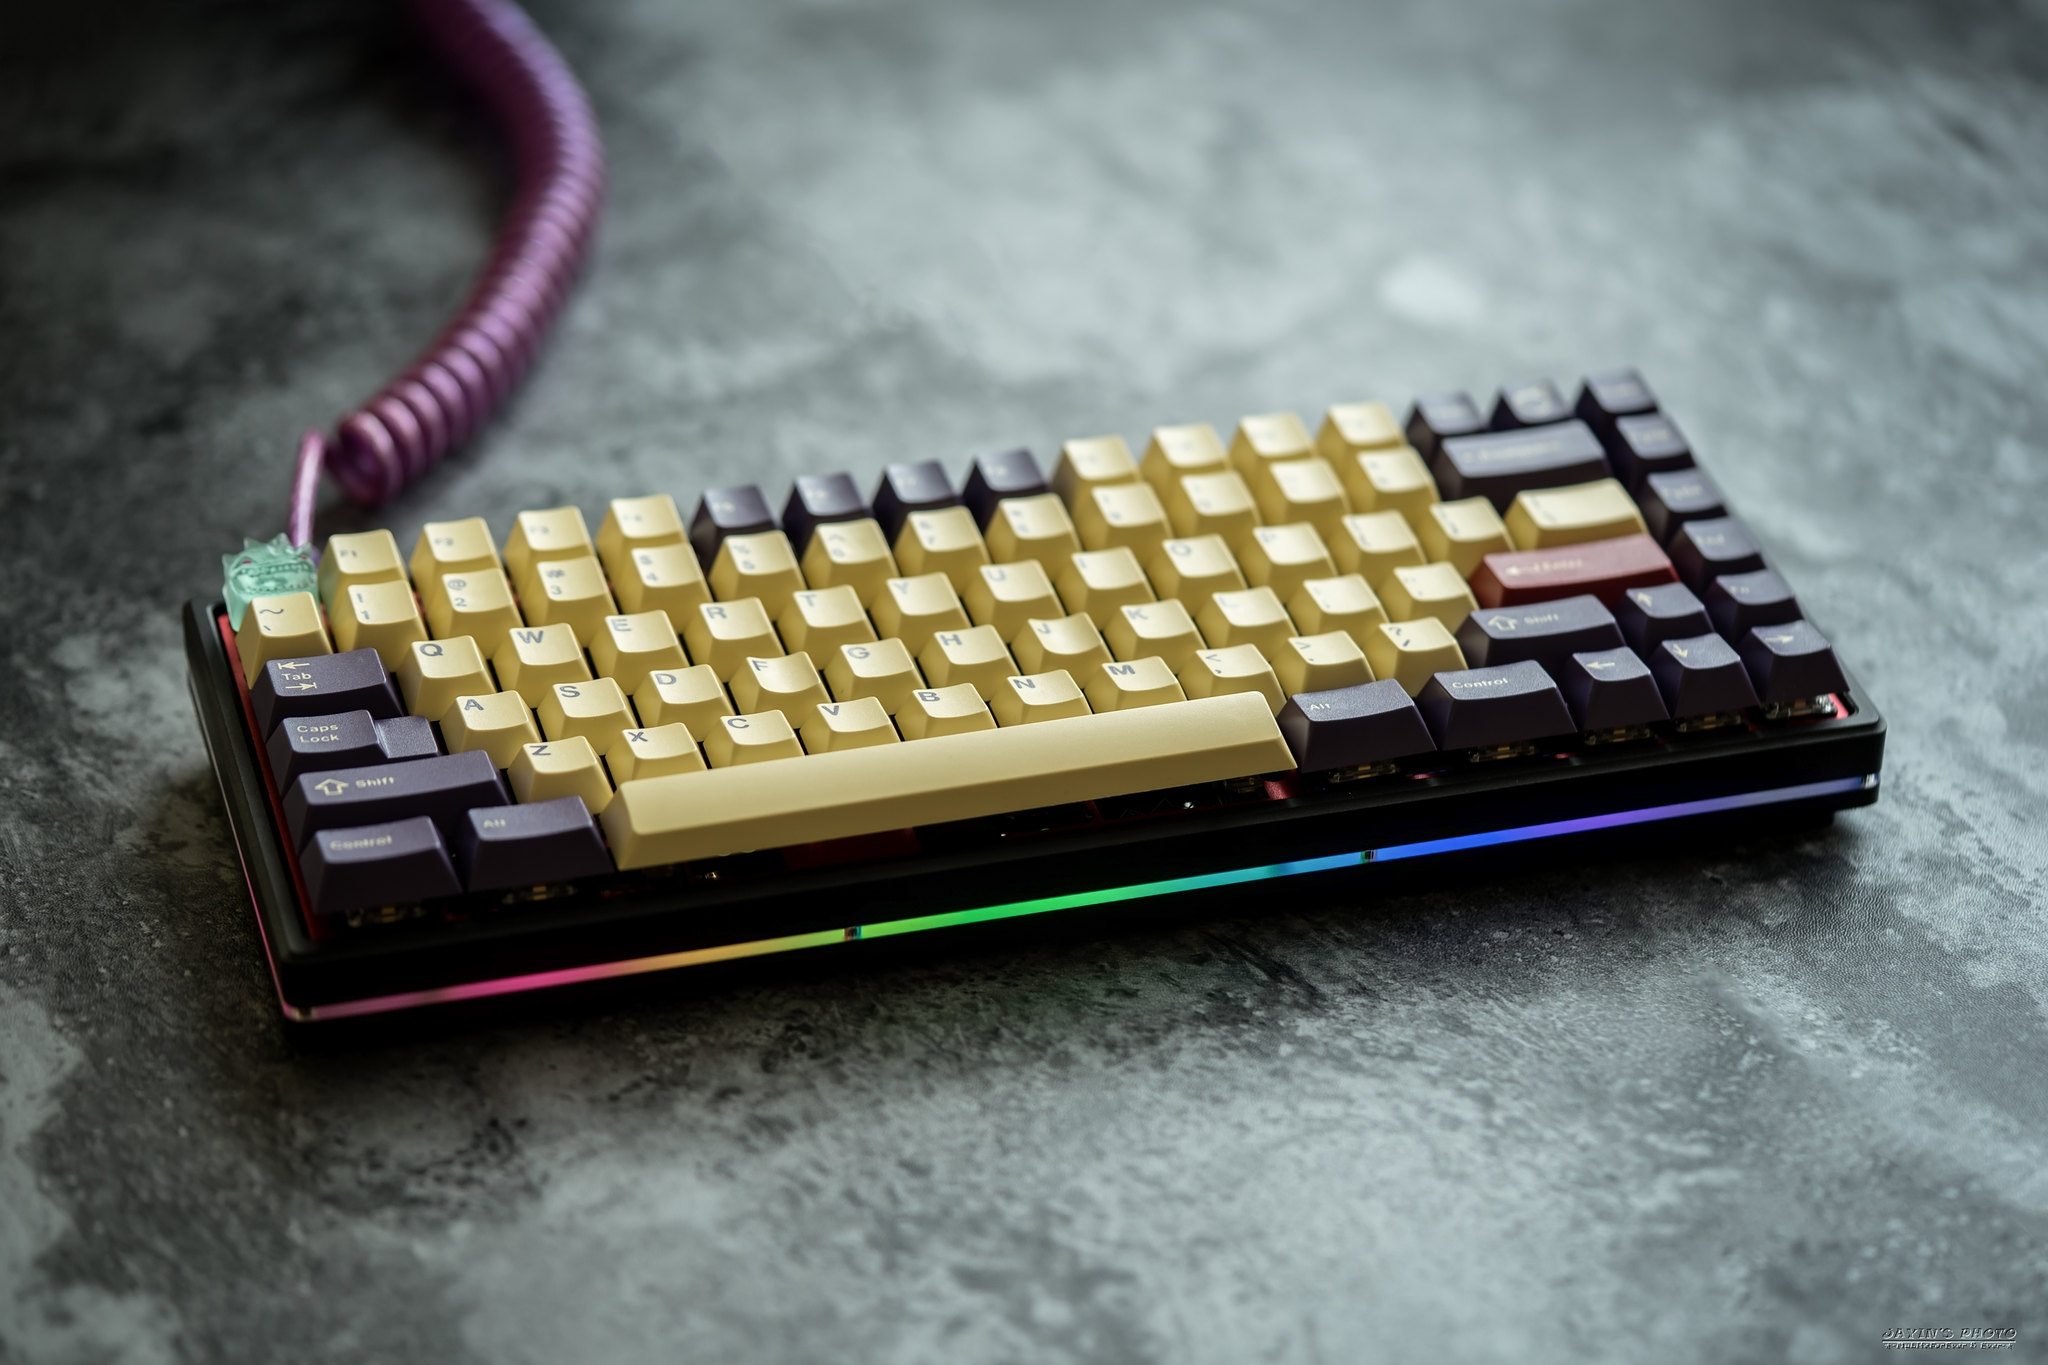
▼這次組的是從床底下翻出來的透明殼五腳茶,Gateron軸。
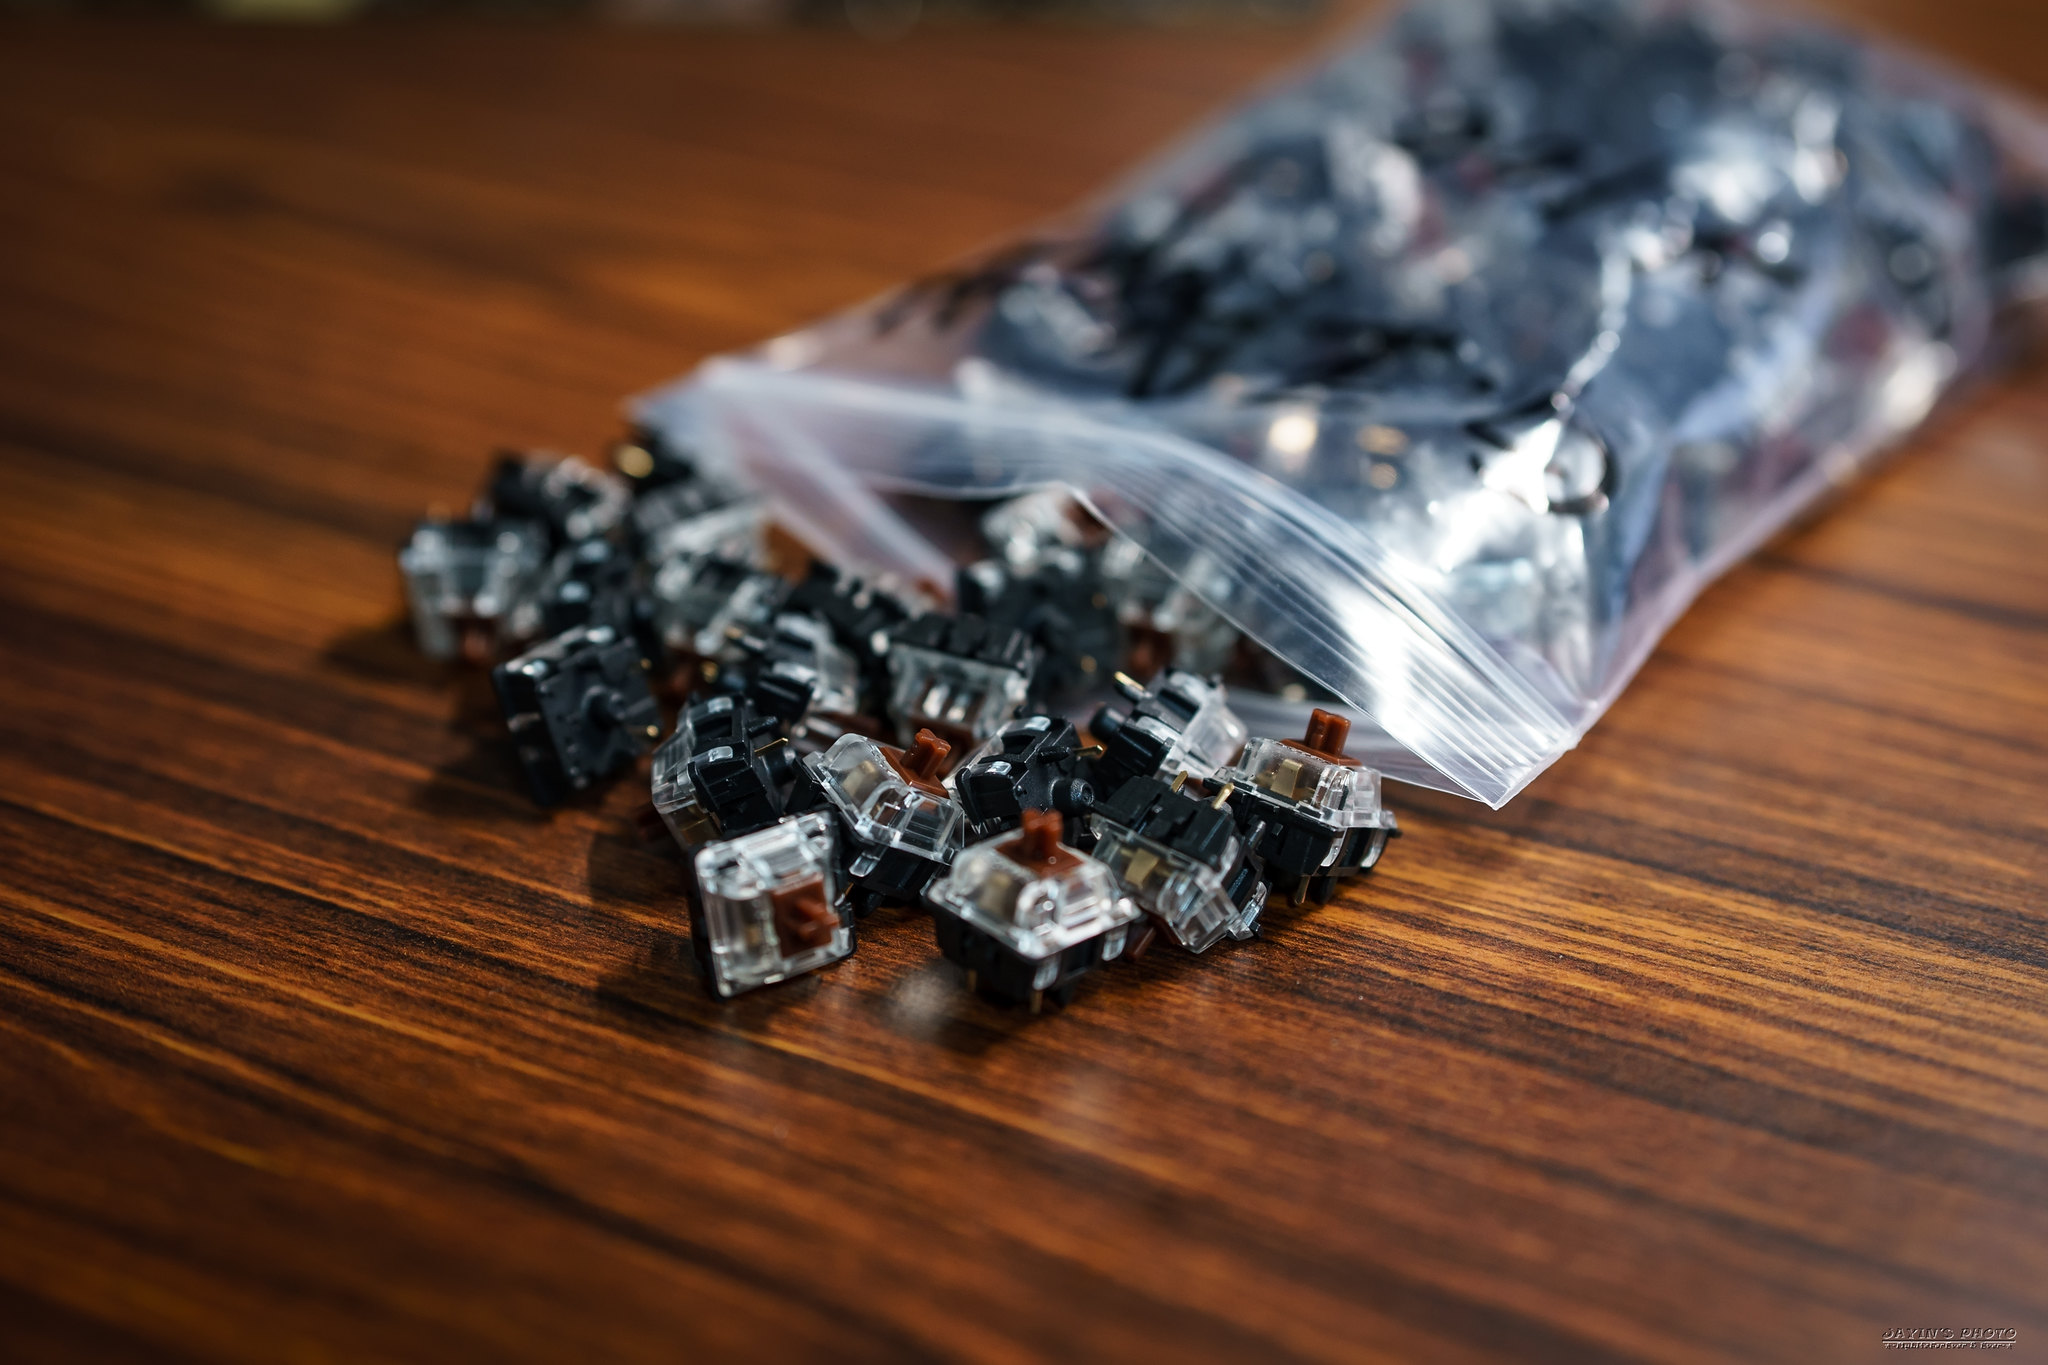
▼同樣也是從床底下翻出來,買來很久都沒用的透明衛星軸。
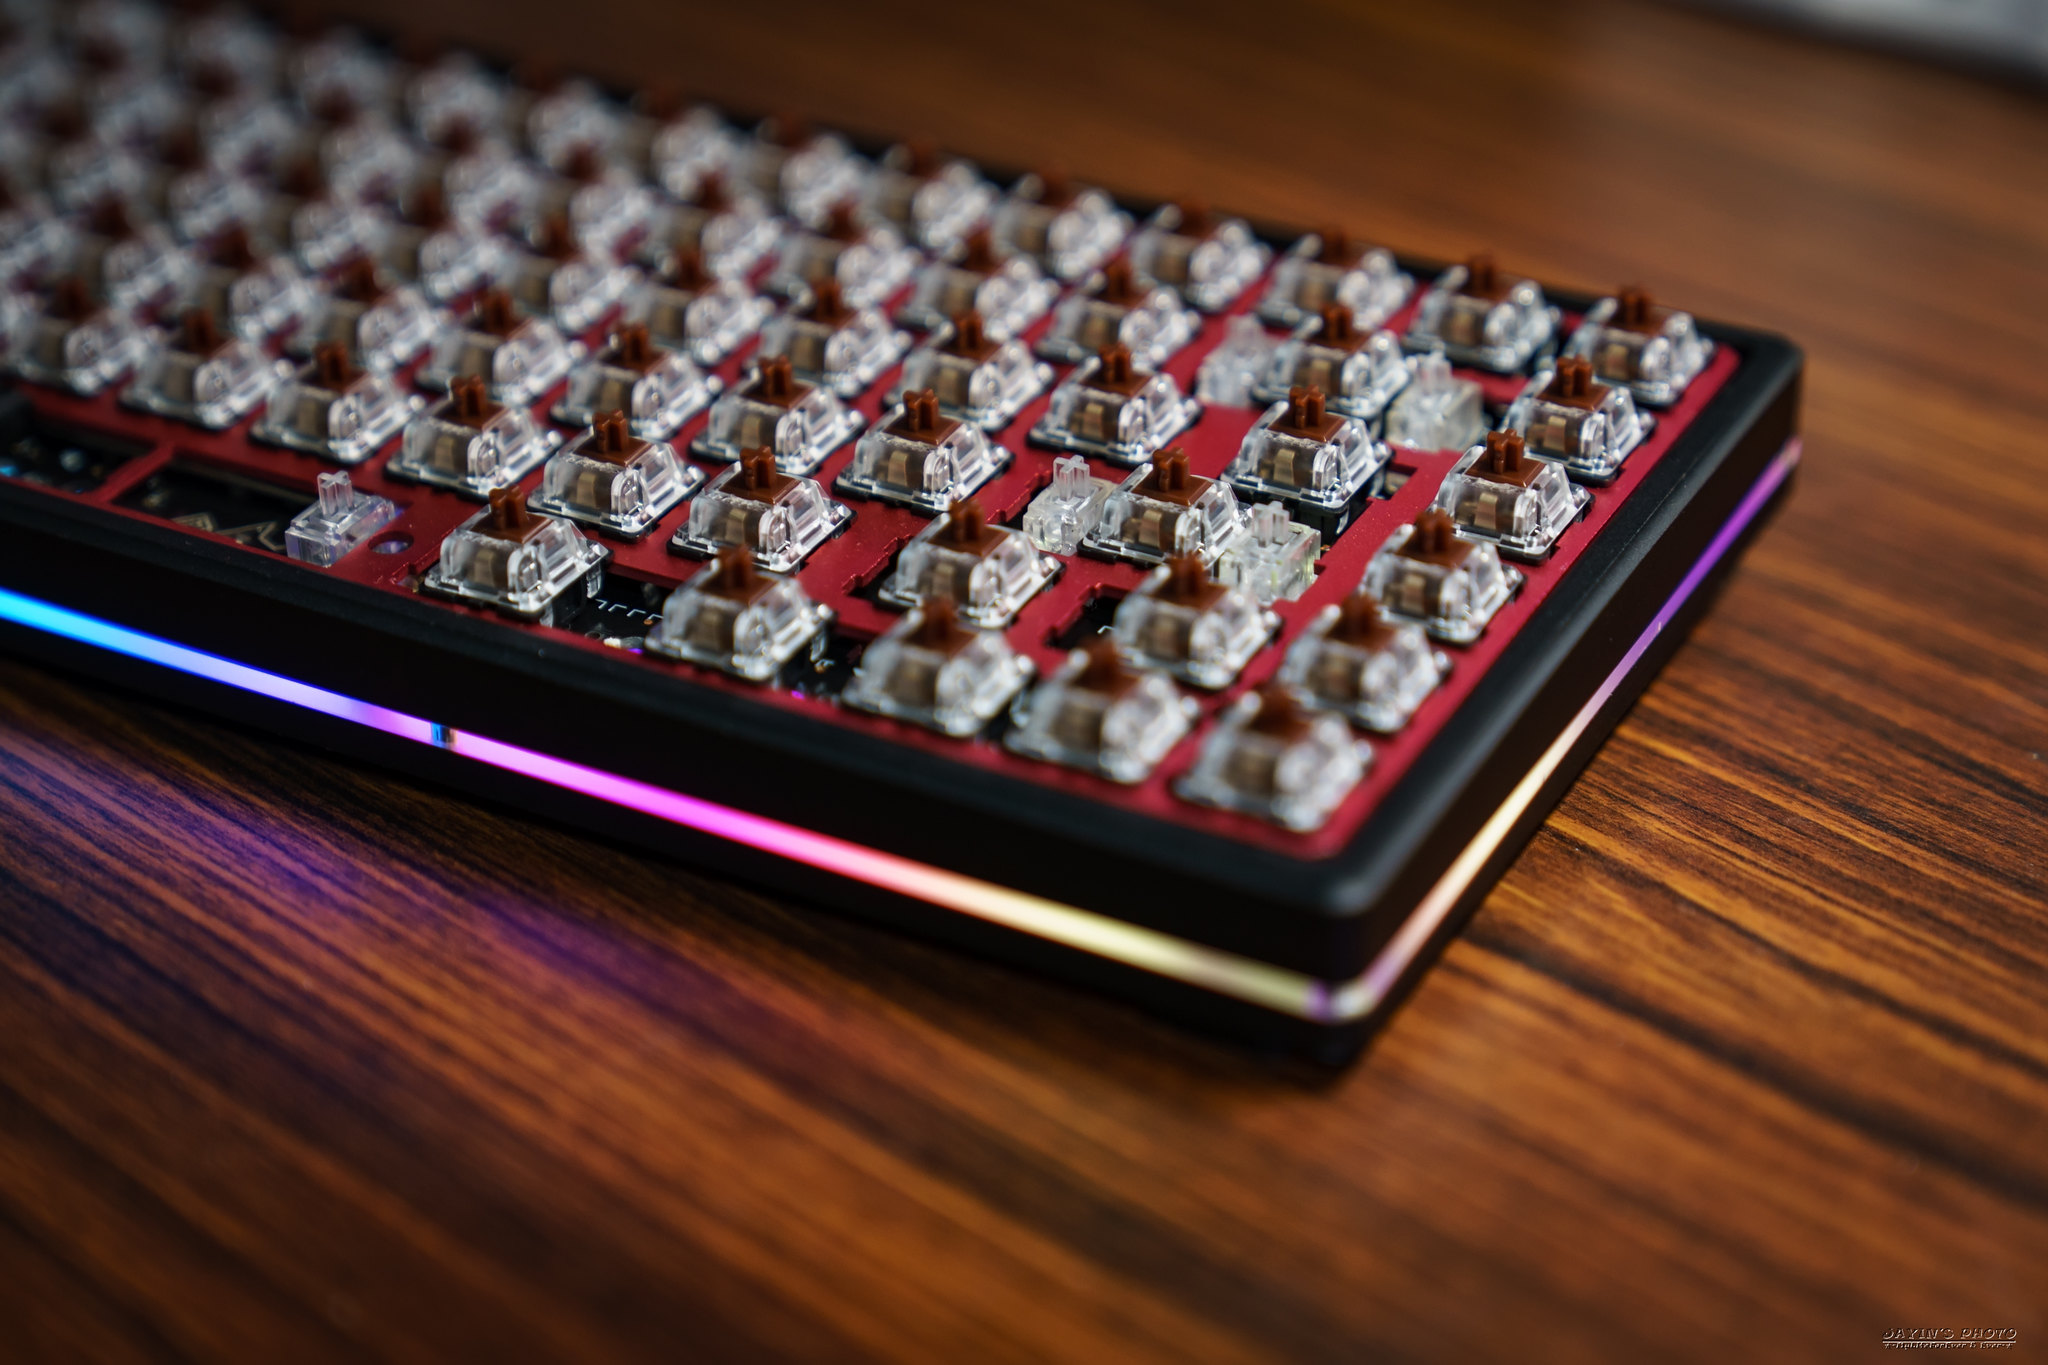
▼全部裝上,esc我選了cherry綠軸,空白鍵則是黑軸。

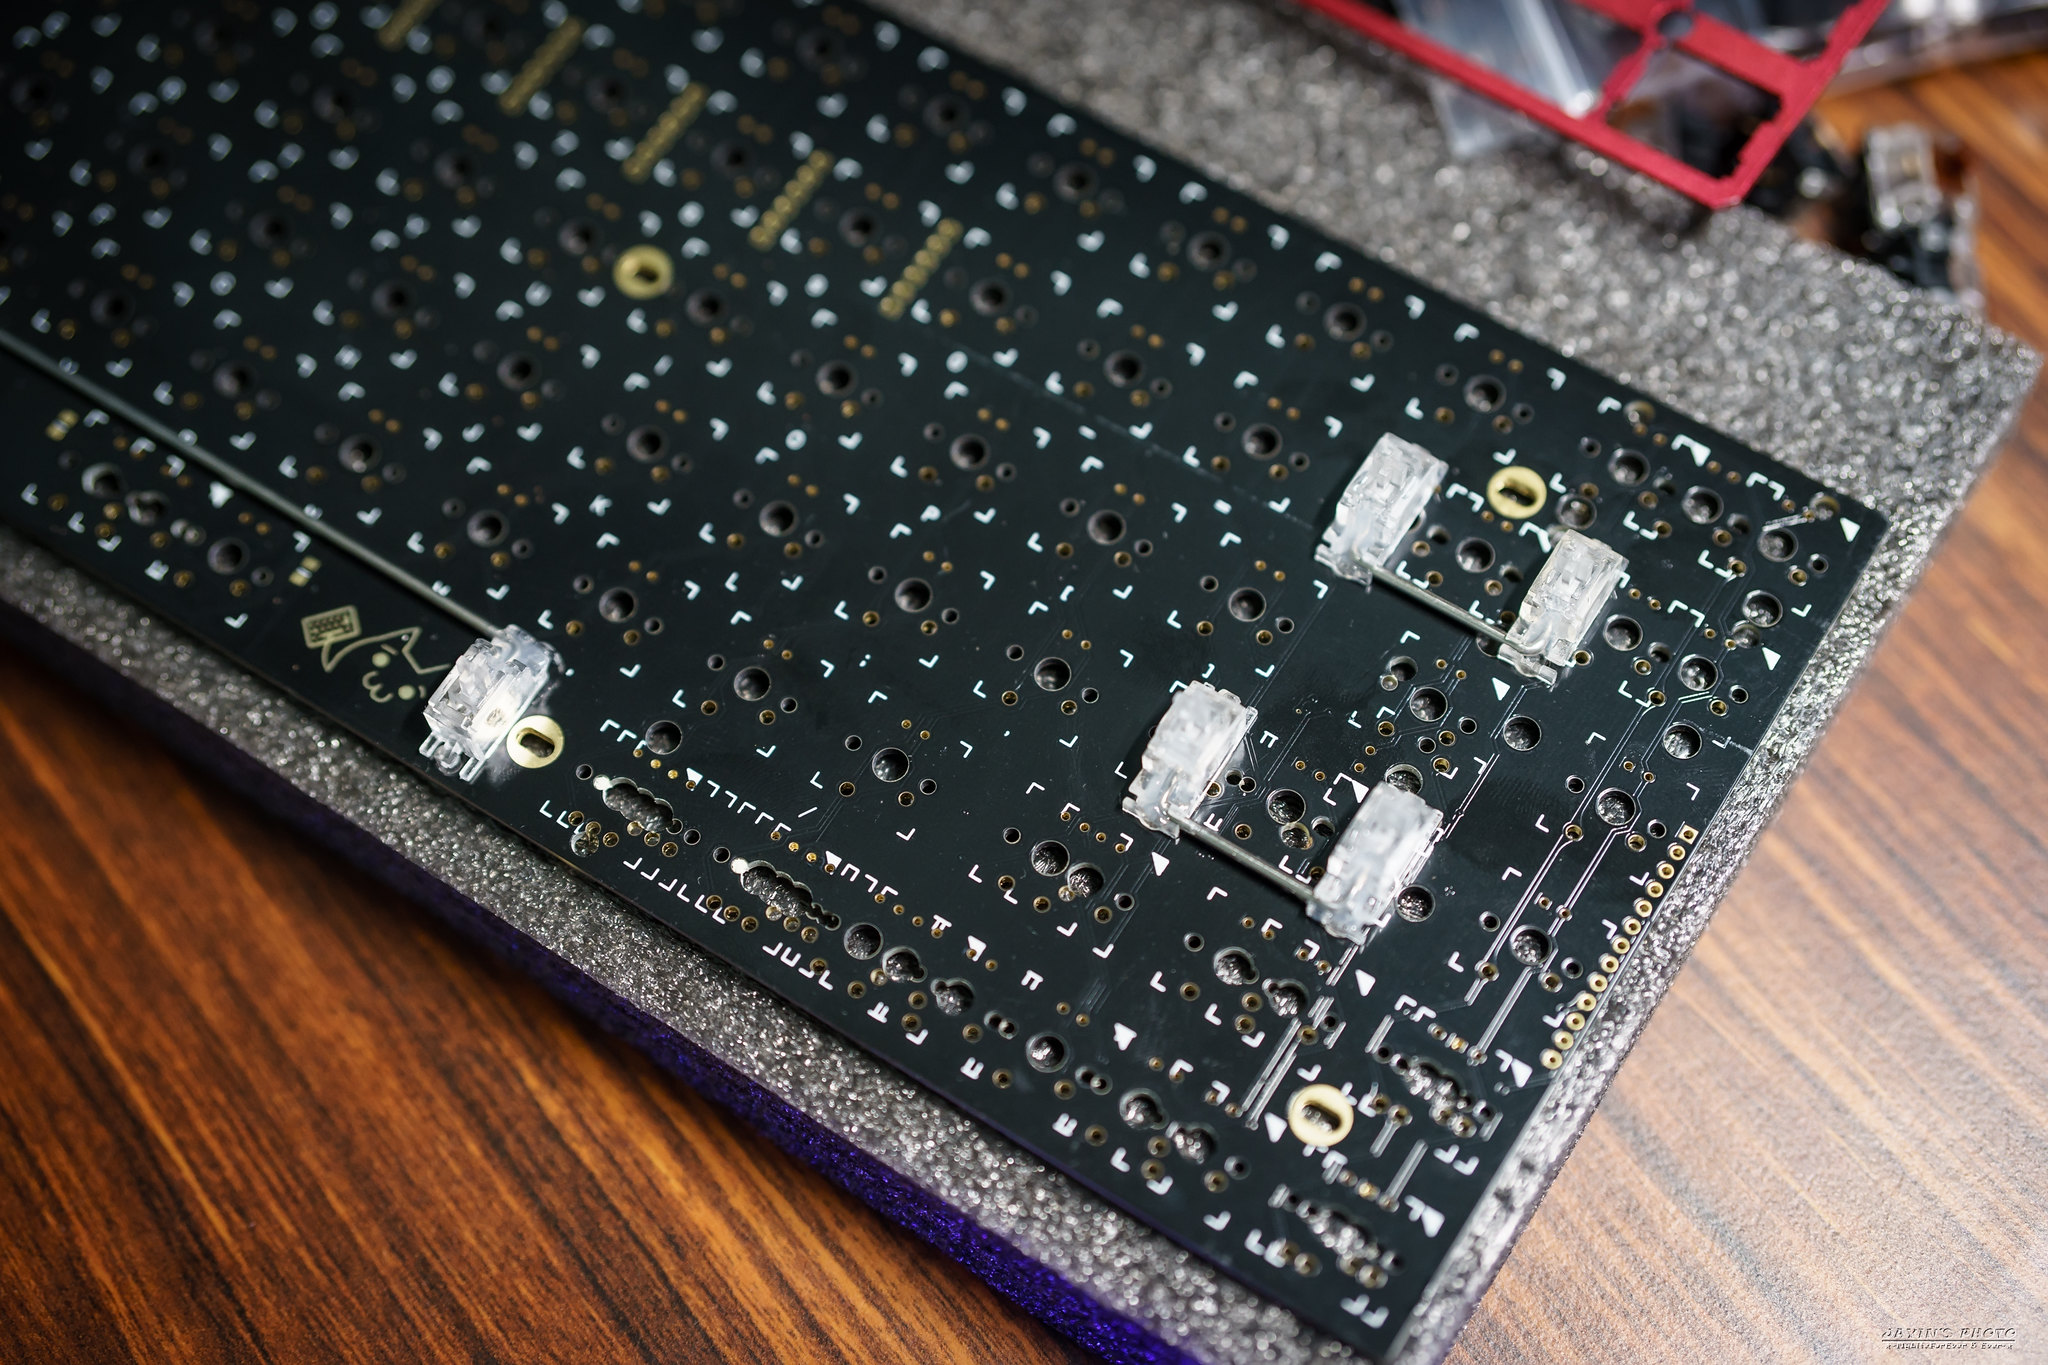
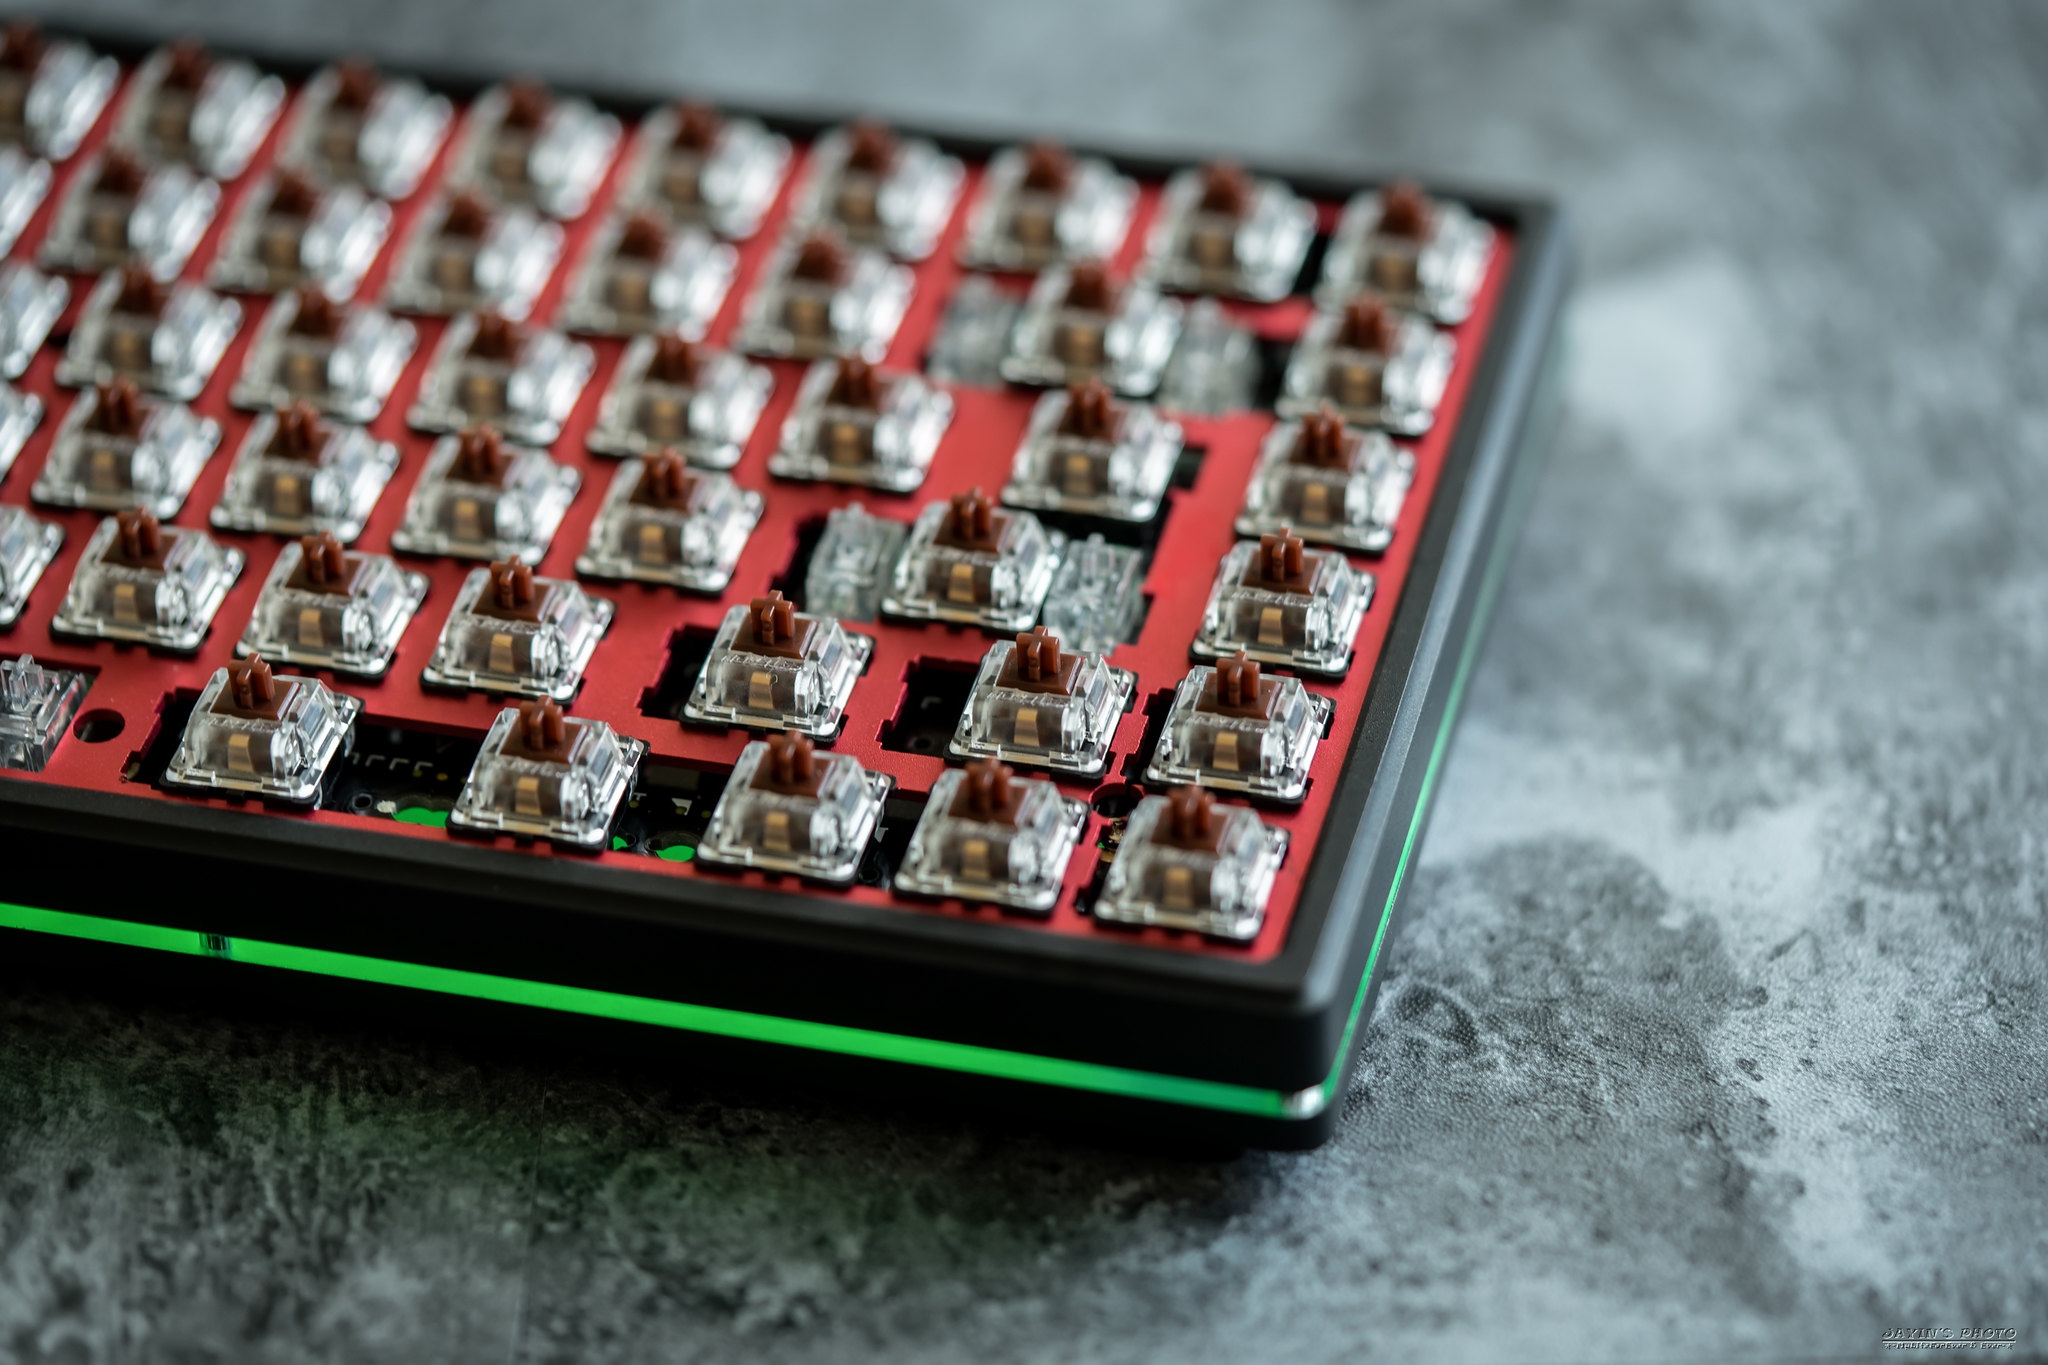
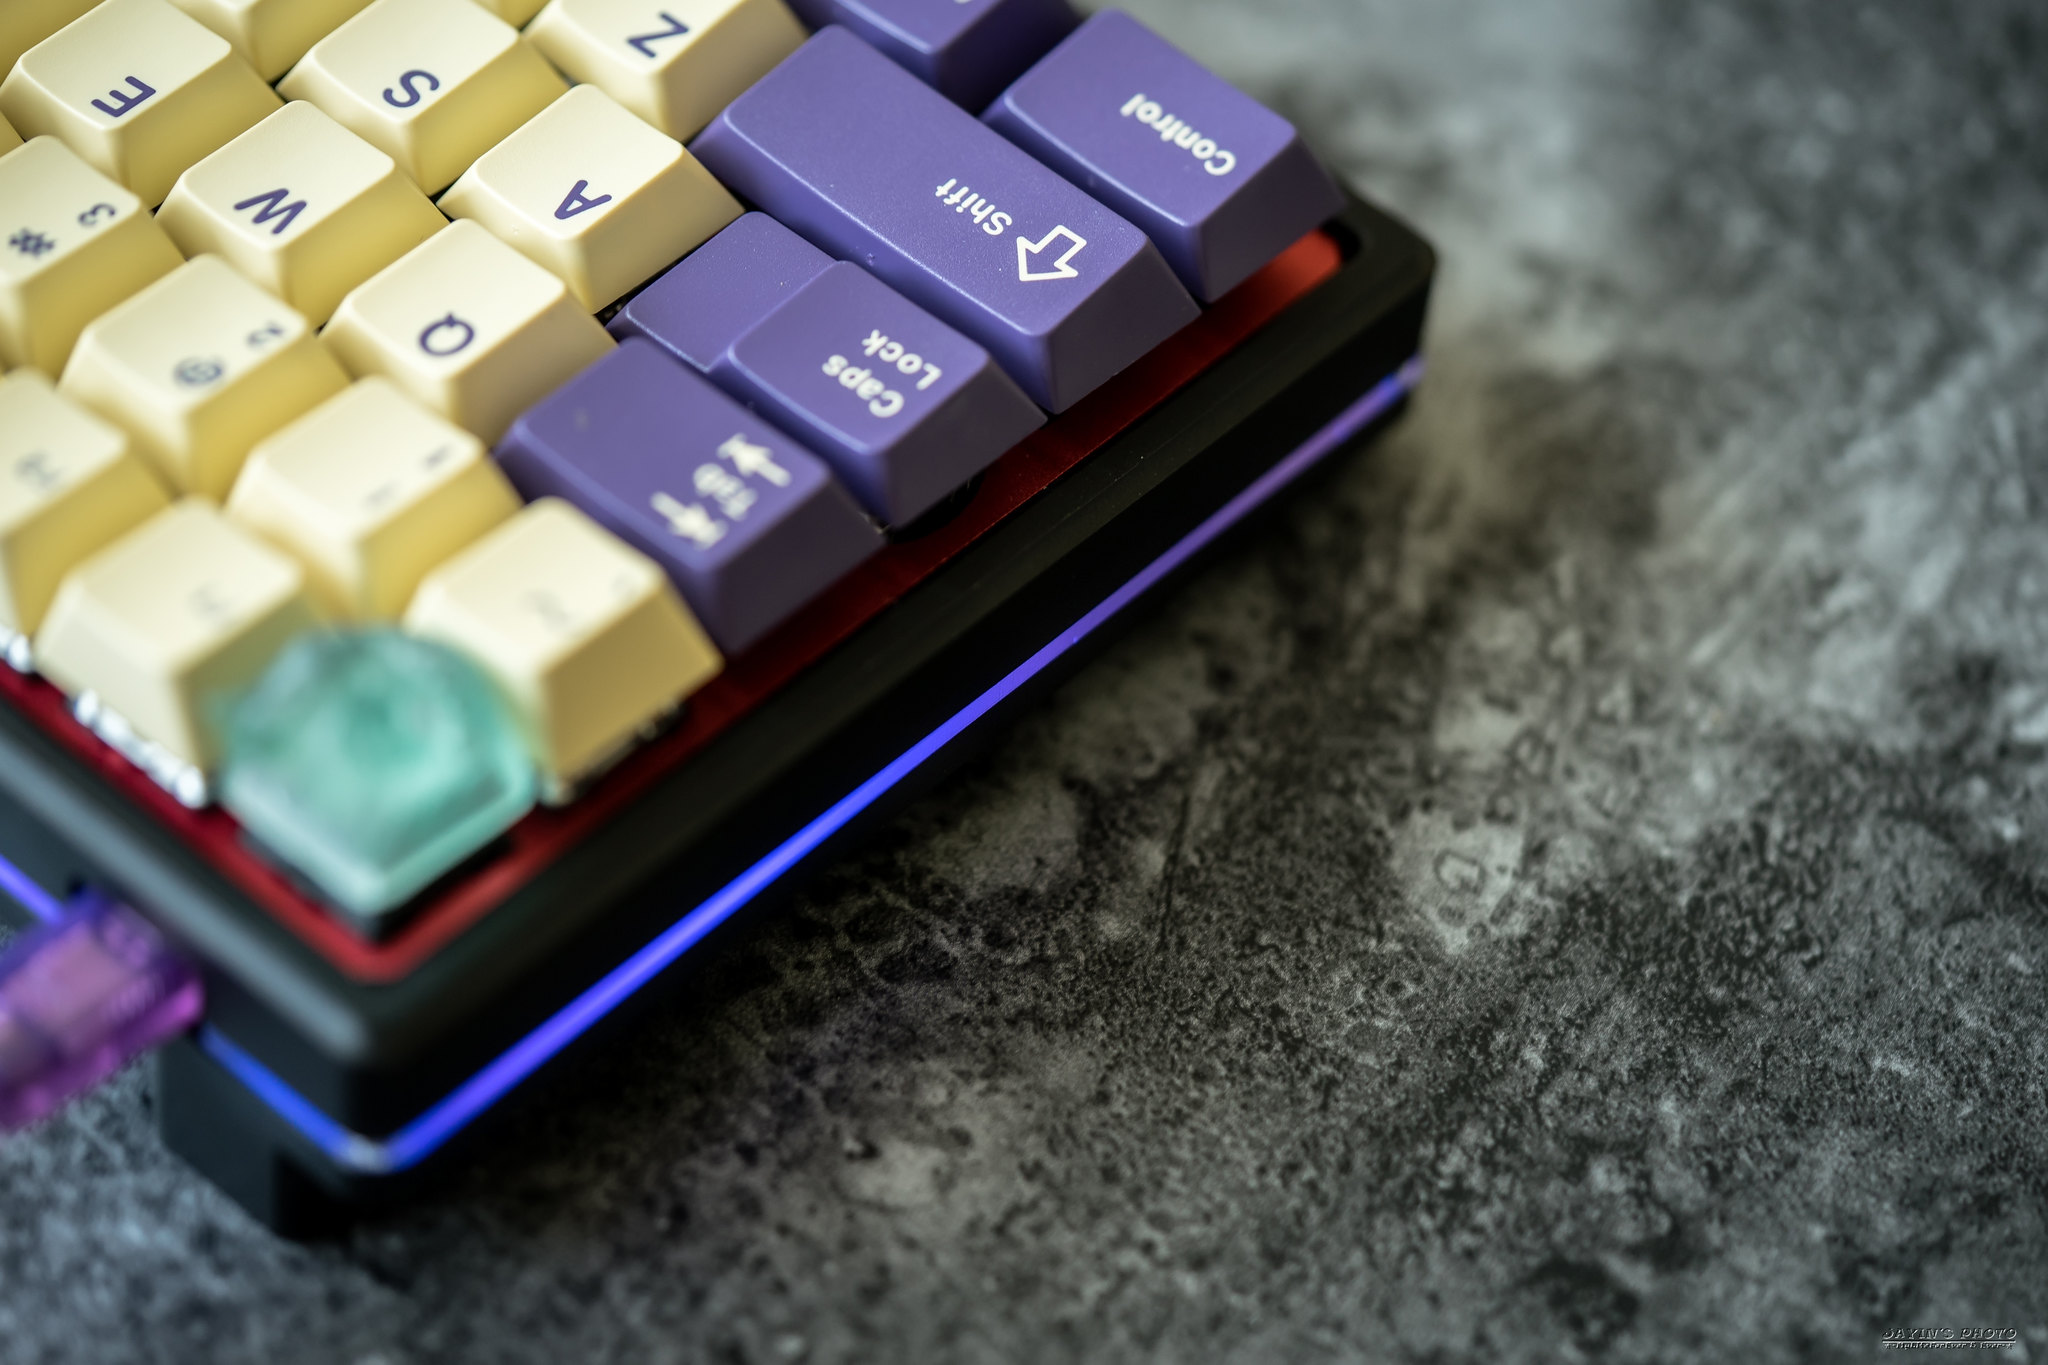
▼先來幾張無鍵帽的底燈效果。
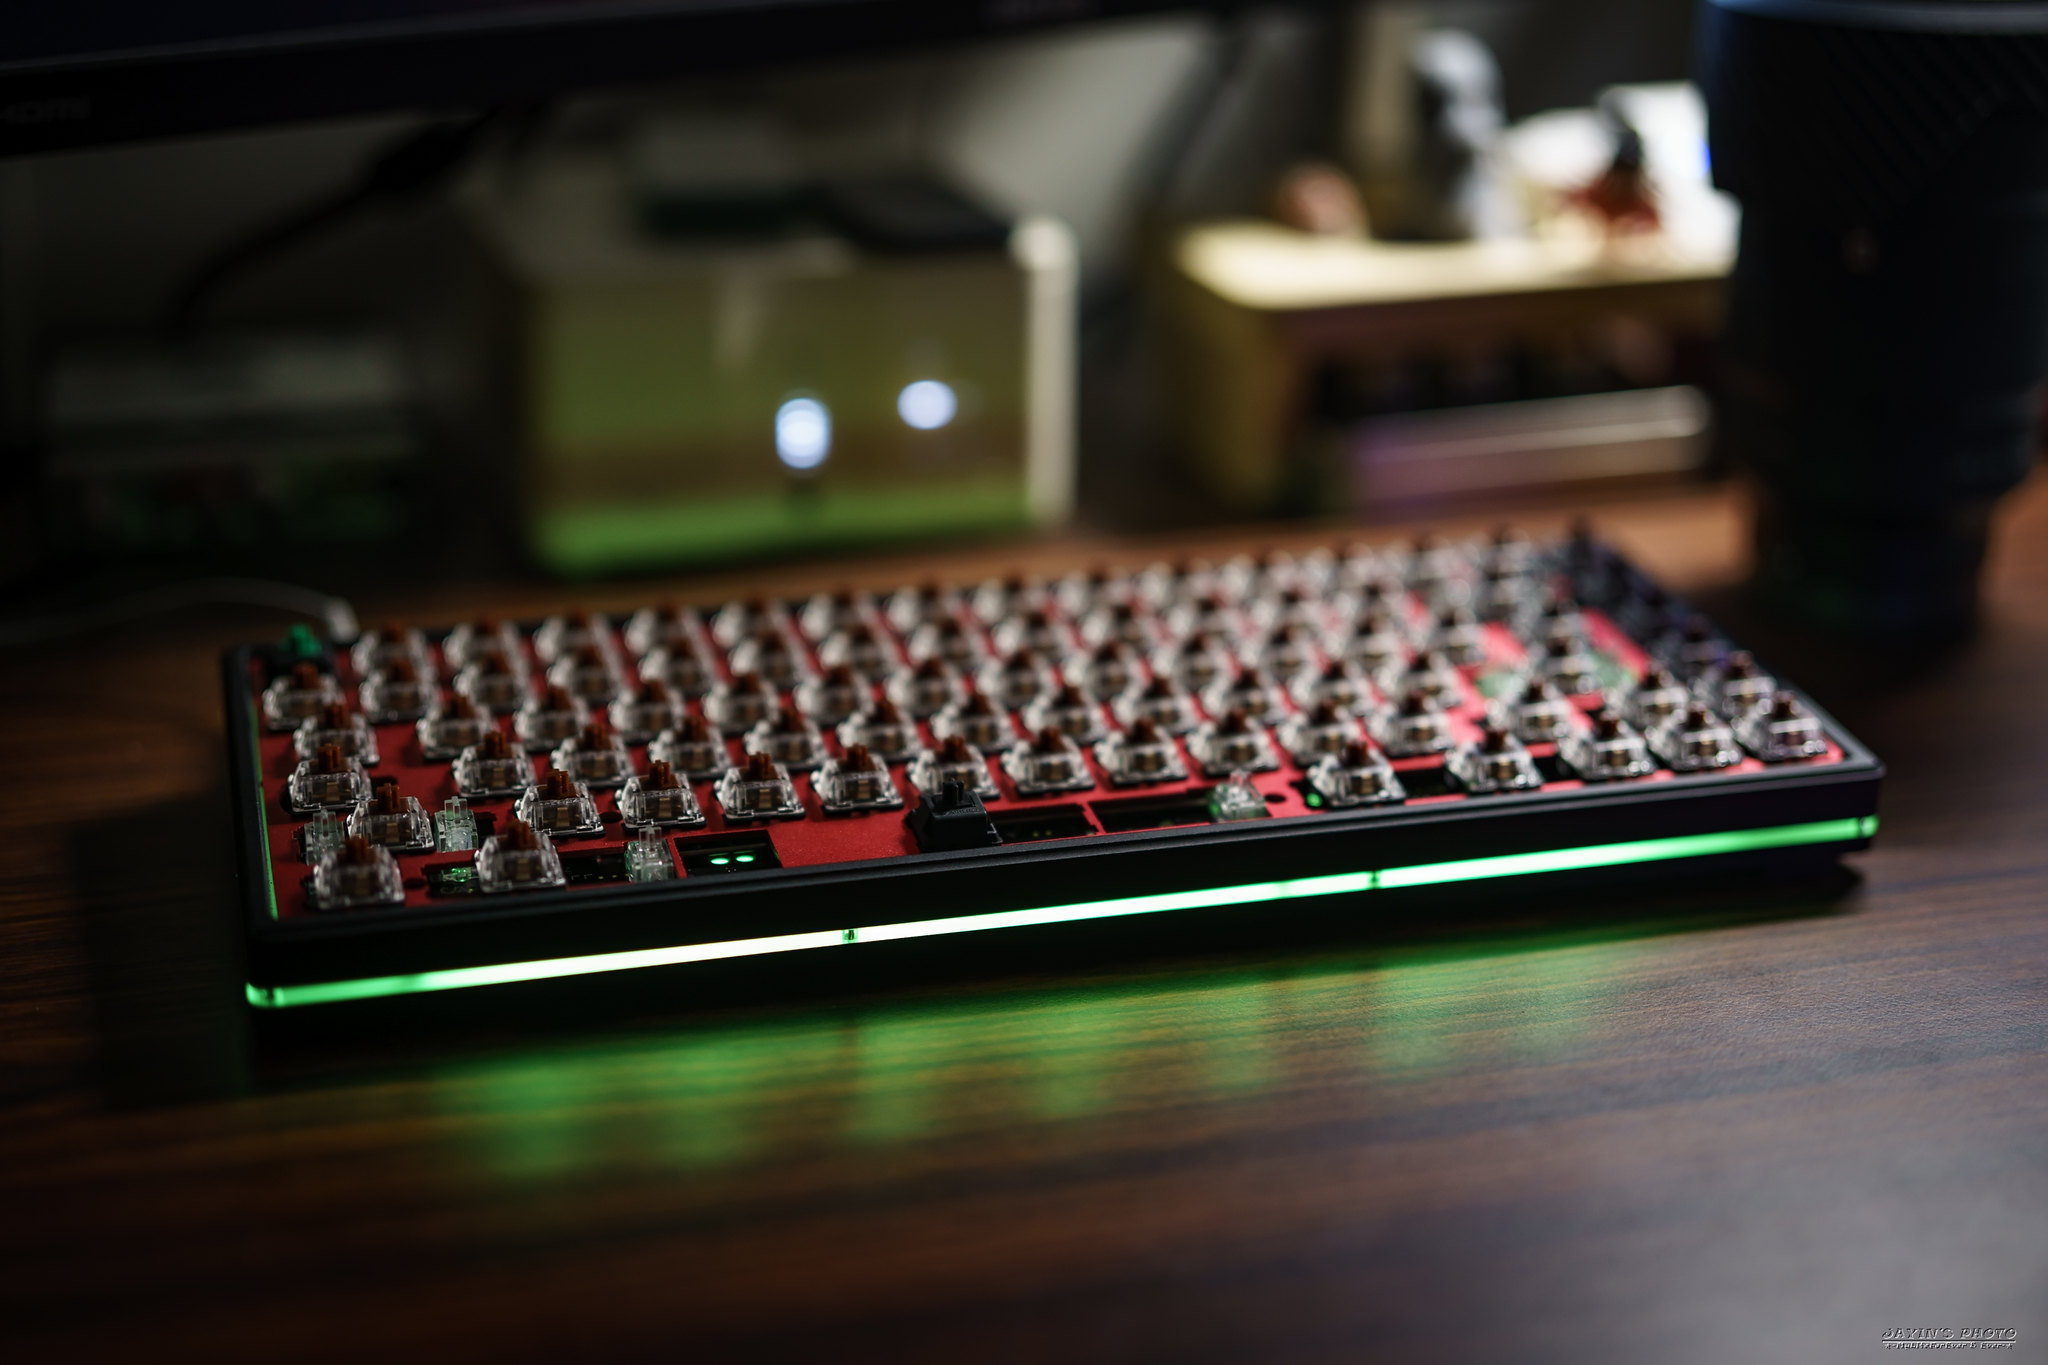
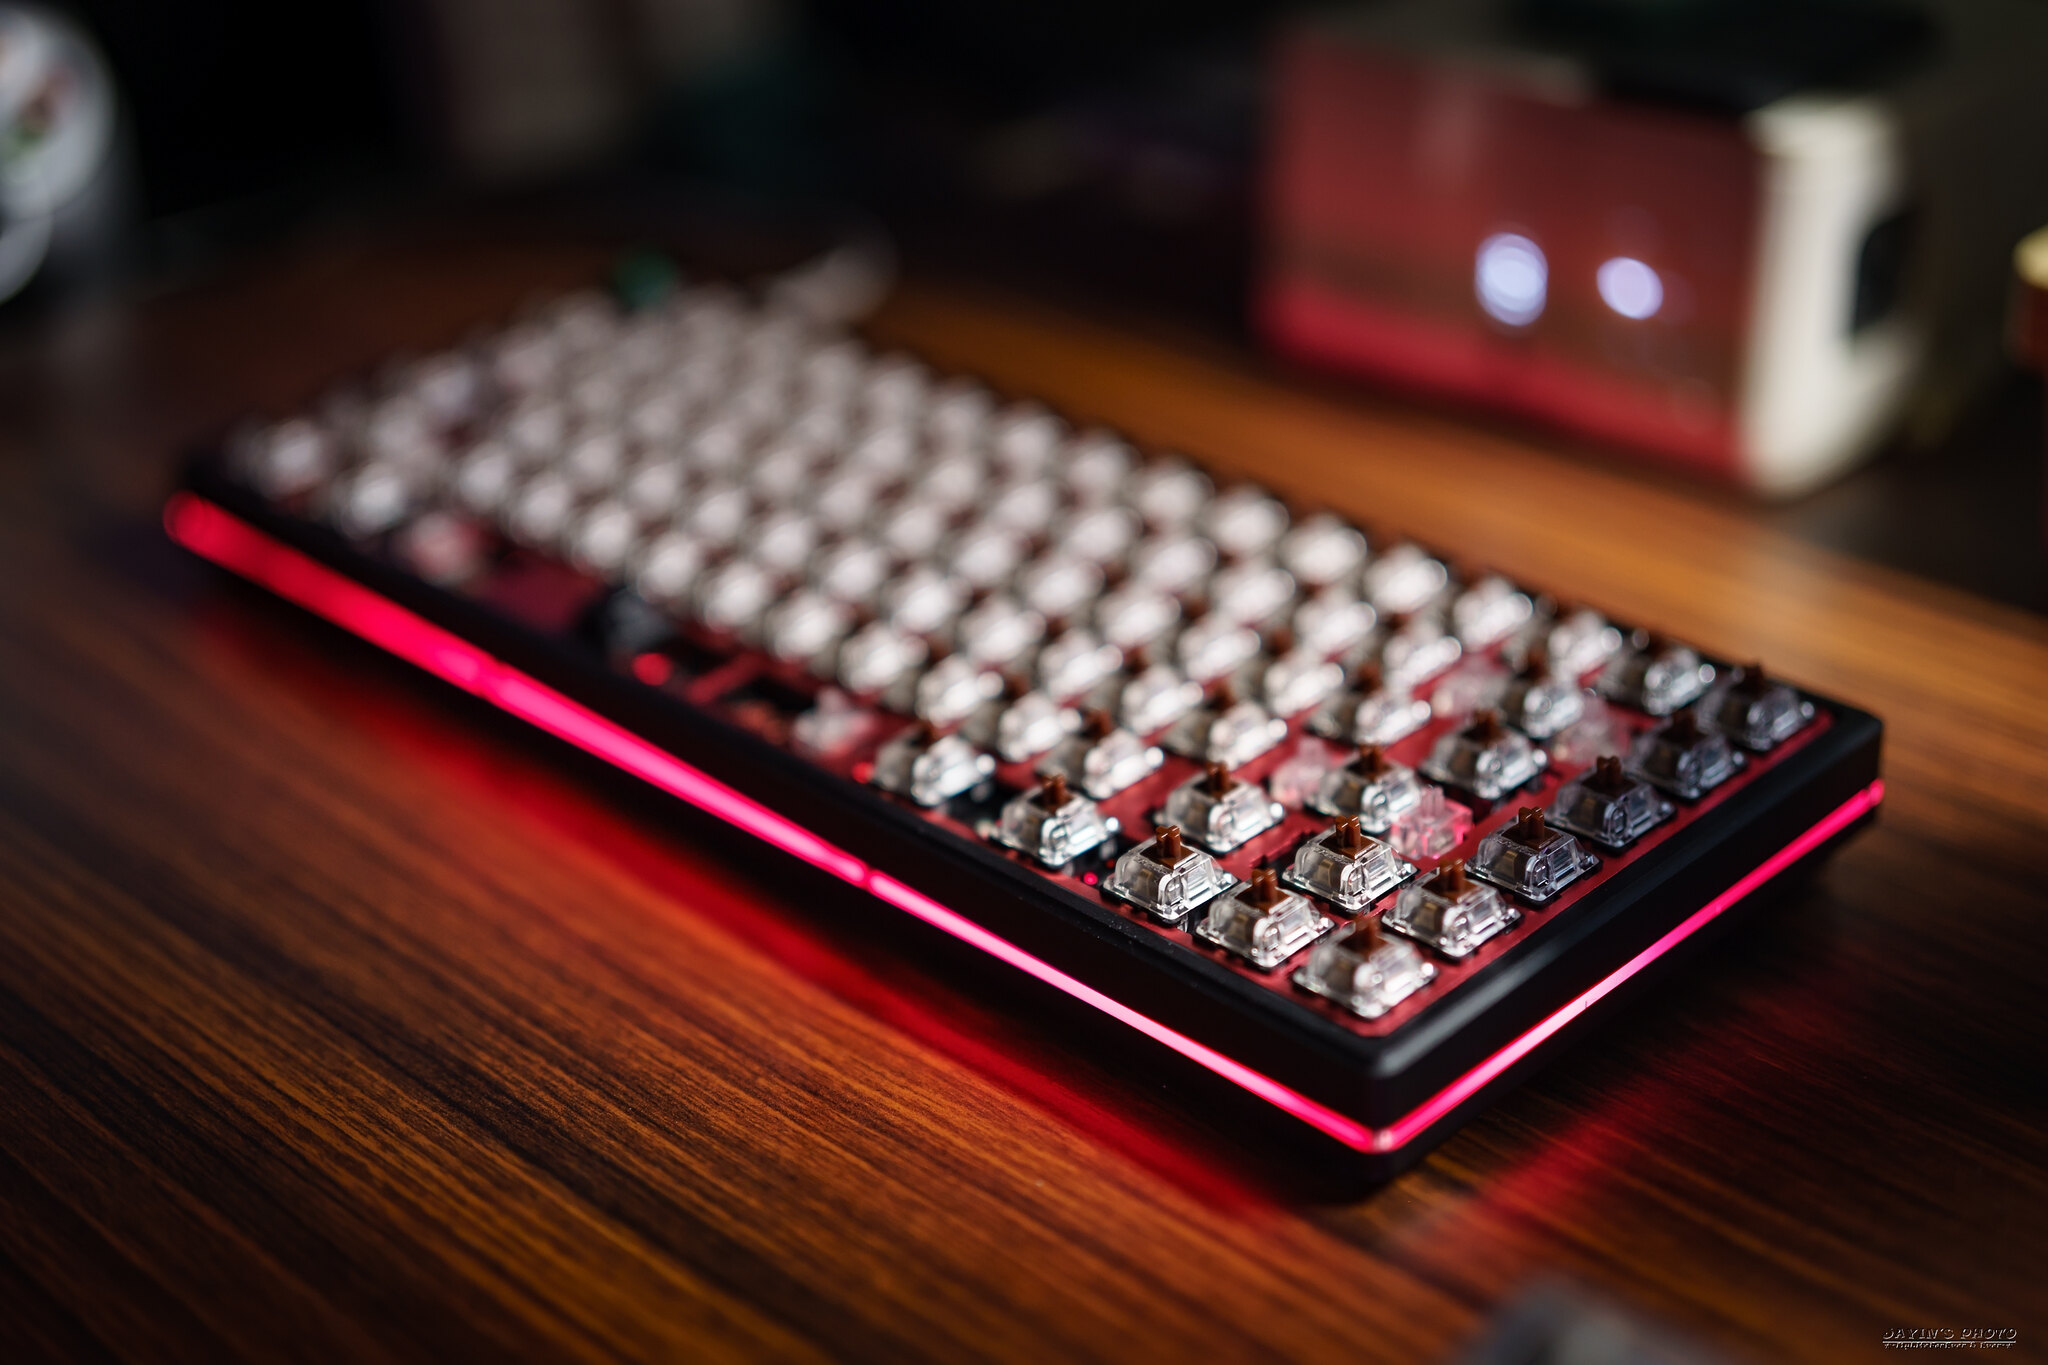
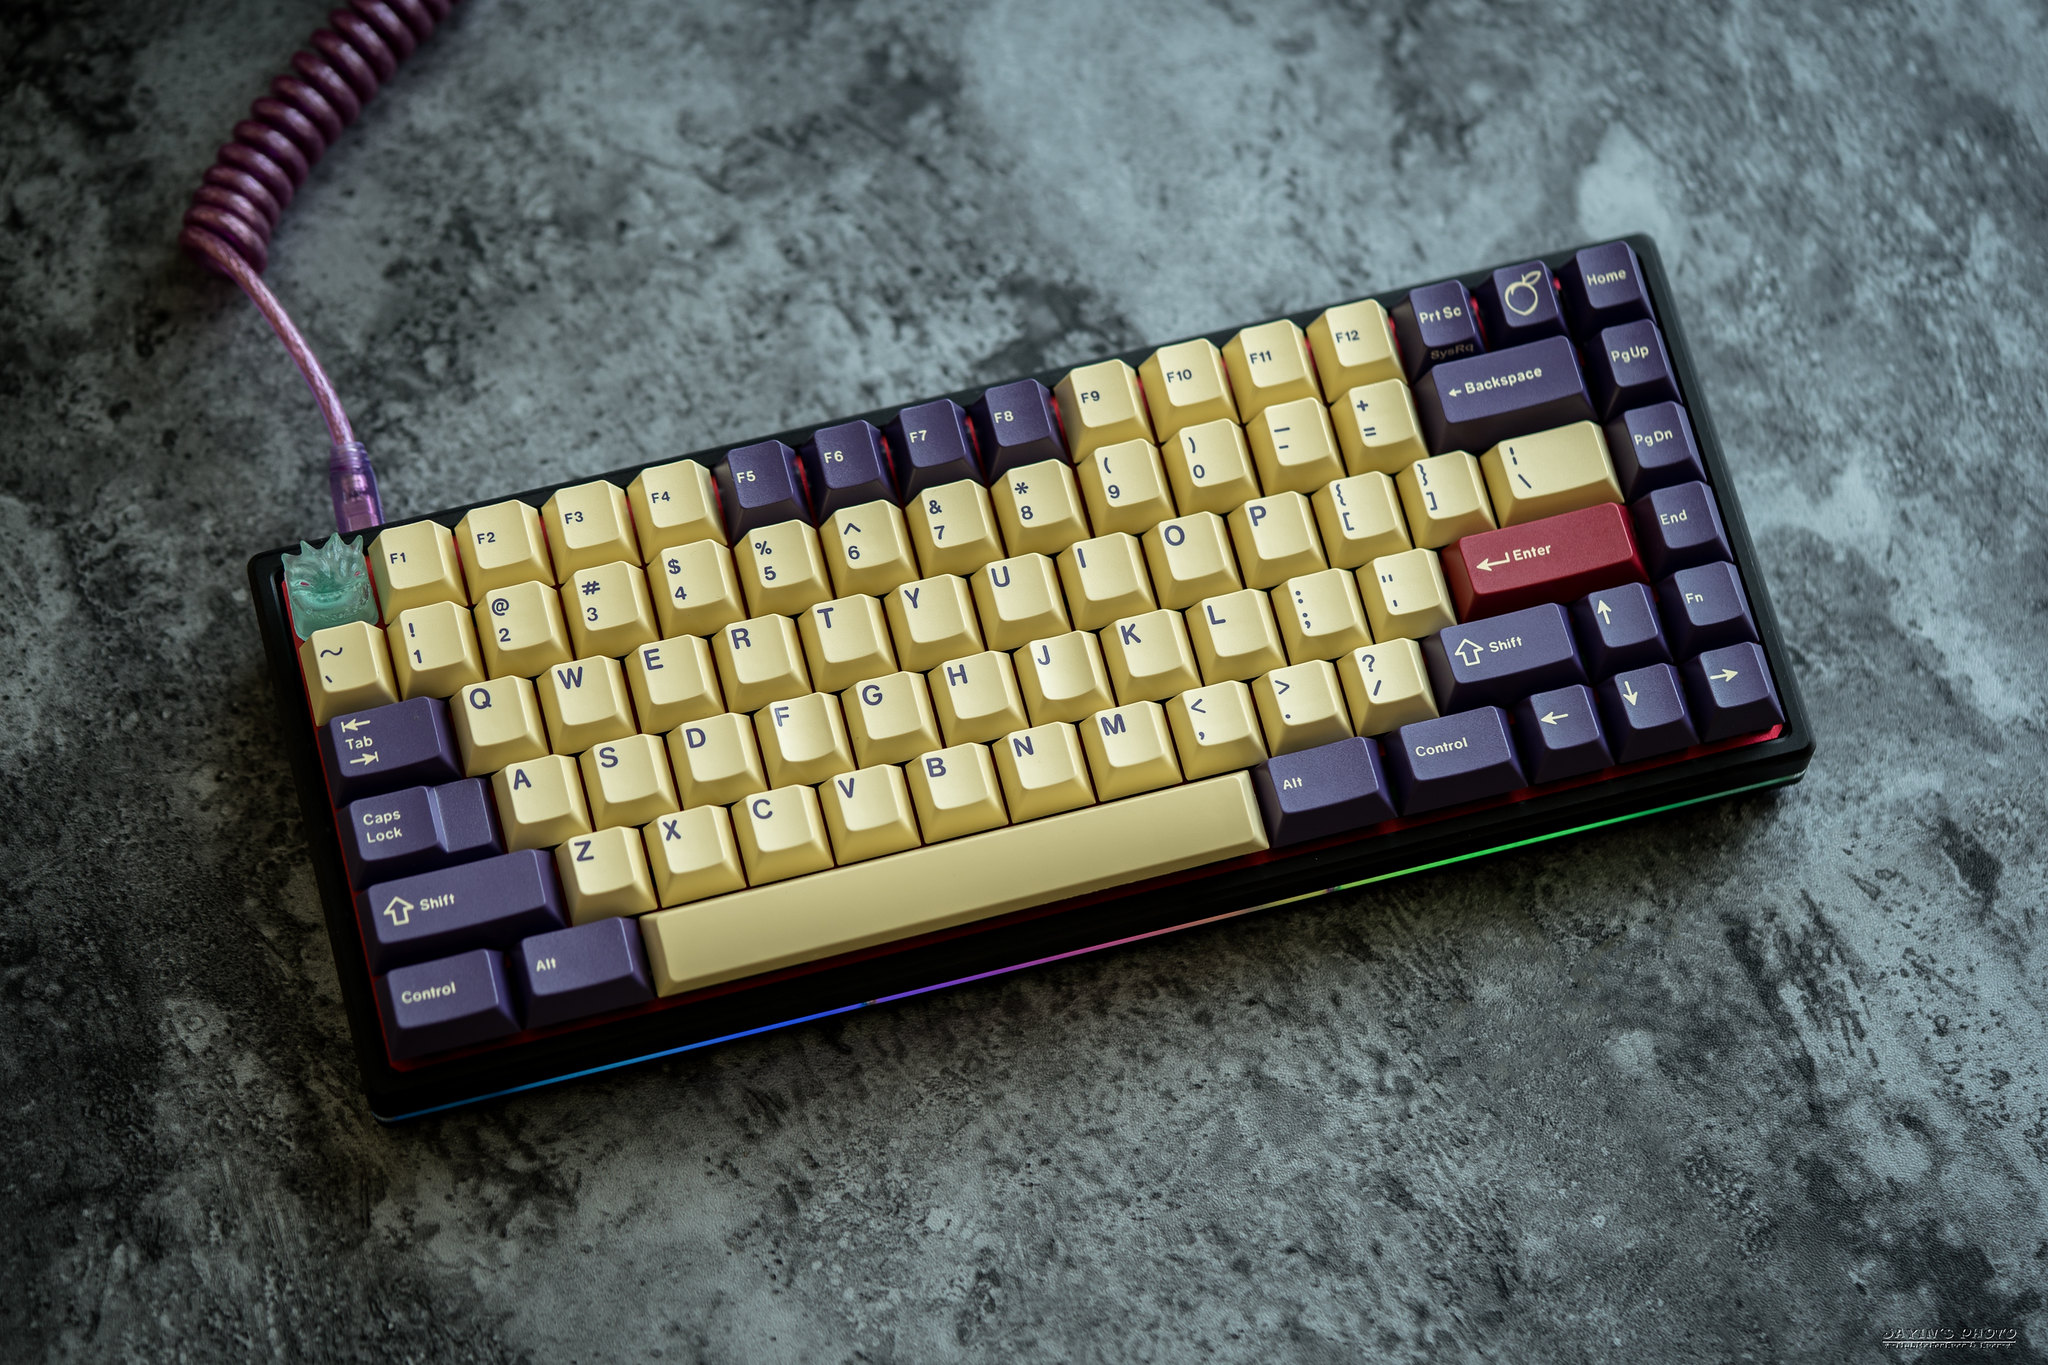
▼換個自然光看一下組好的樣子。
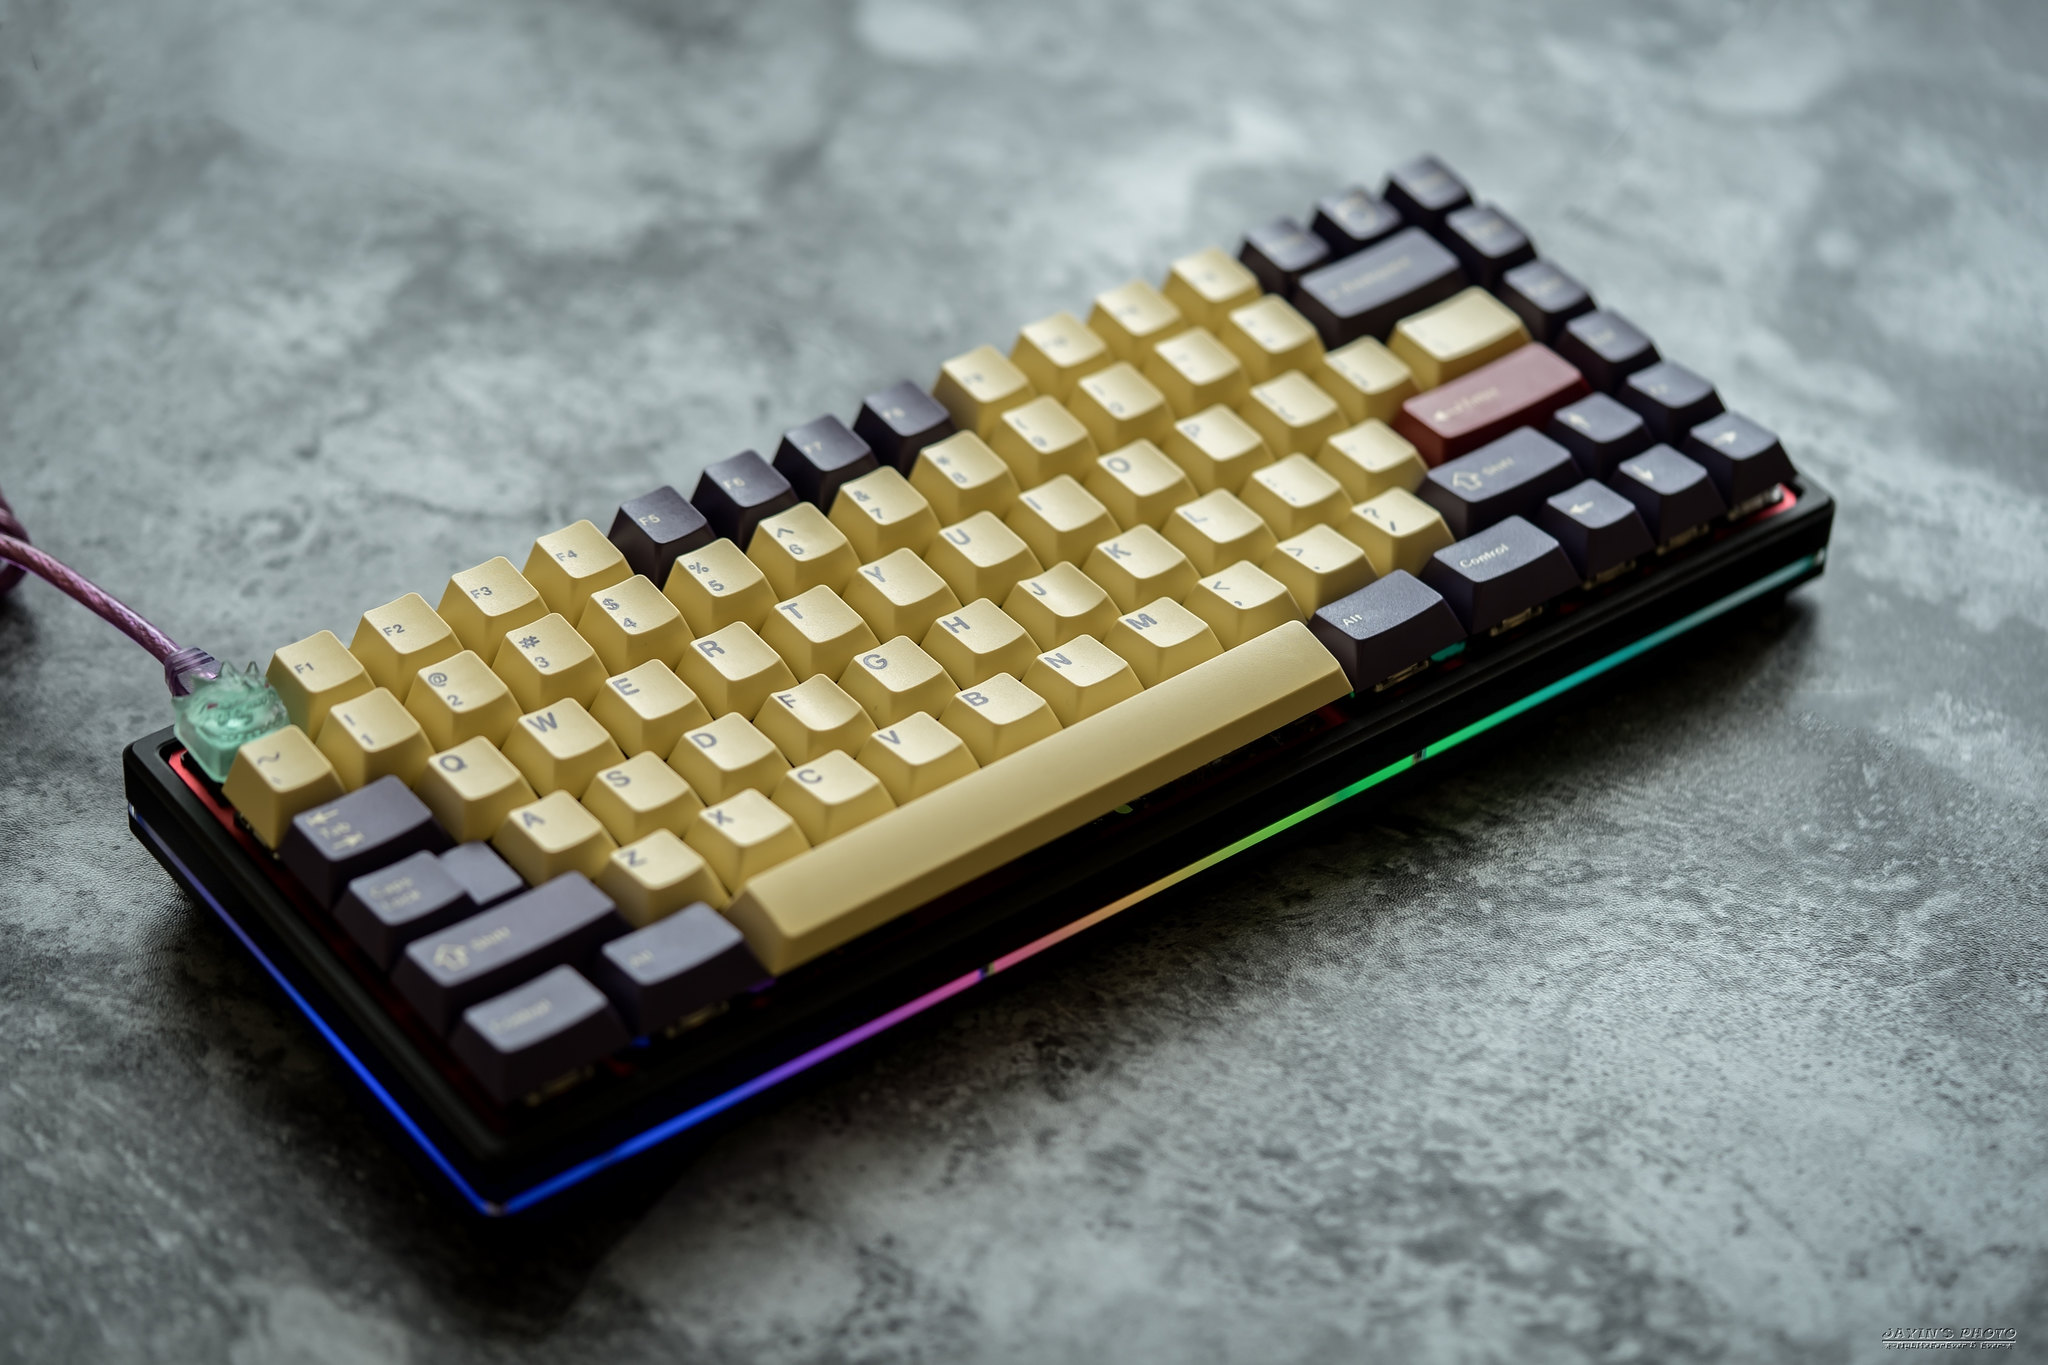
▼看一下萌萌的貓。這貓的背面是可以加SMD LED的,等我收到後再來加。
▼再來就是裝鍵帽了,這次選的是GMK Plum,以下就看照片。ESC我用的是ETF的bombking,款式是hoafrost。

75%是比80%再緊湊一點的鍵盤,但不同於60%則是保留了最上方的F row,同時也保留了部份的編輯區,
比60%大一些,但卻沒有多佔了很多空間,算是一個折衷的選擇。
有興趣的板友可以參考看看。
以上就是XD84(EEPW84)的簡單開箱
感謝閱文。
更多照片請至:https://flic.kr/s/aHsm2B4iFi
沒有留言:
張貼留言