Yoda II,一把讓人望穿秋水的鍵盤
從第一代不能自定義後,就一直等著二代出現,
Justin也聽到了玩家的心聲,所以出了成品版和DIY版給大家選擇,
而小弟當然是選擇DIY啦!
但是這樣還是不夠過癮,所以神經病的LSJ成員只好找上Justin商量,
Justin也很阿莎力地說可以,所以就在加價的條件下有了LSJ特製版的「藍灰色」。
在大家引頸期昐下,終於開始出貨了,
而我們的特製色也在最近收到惹!
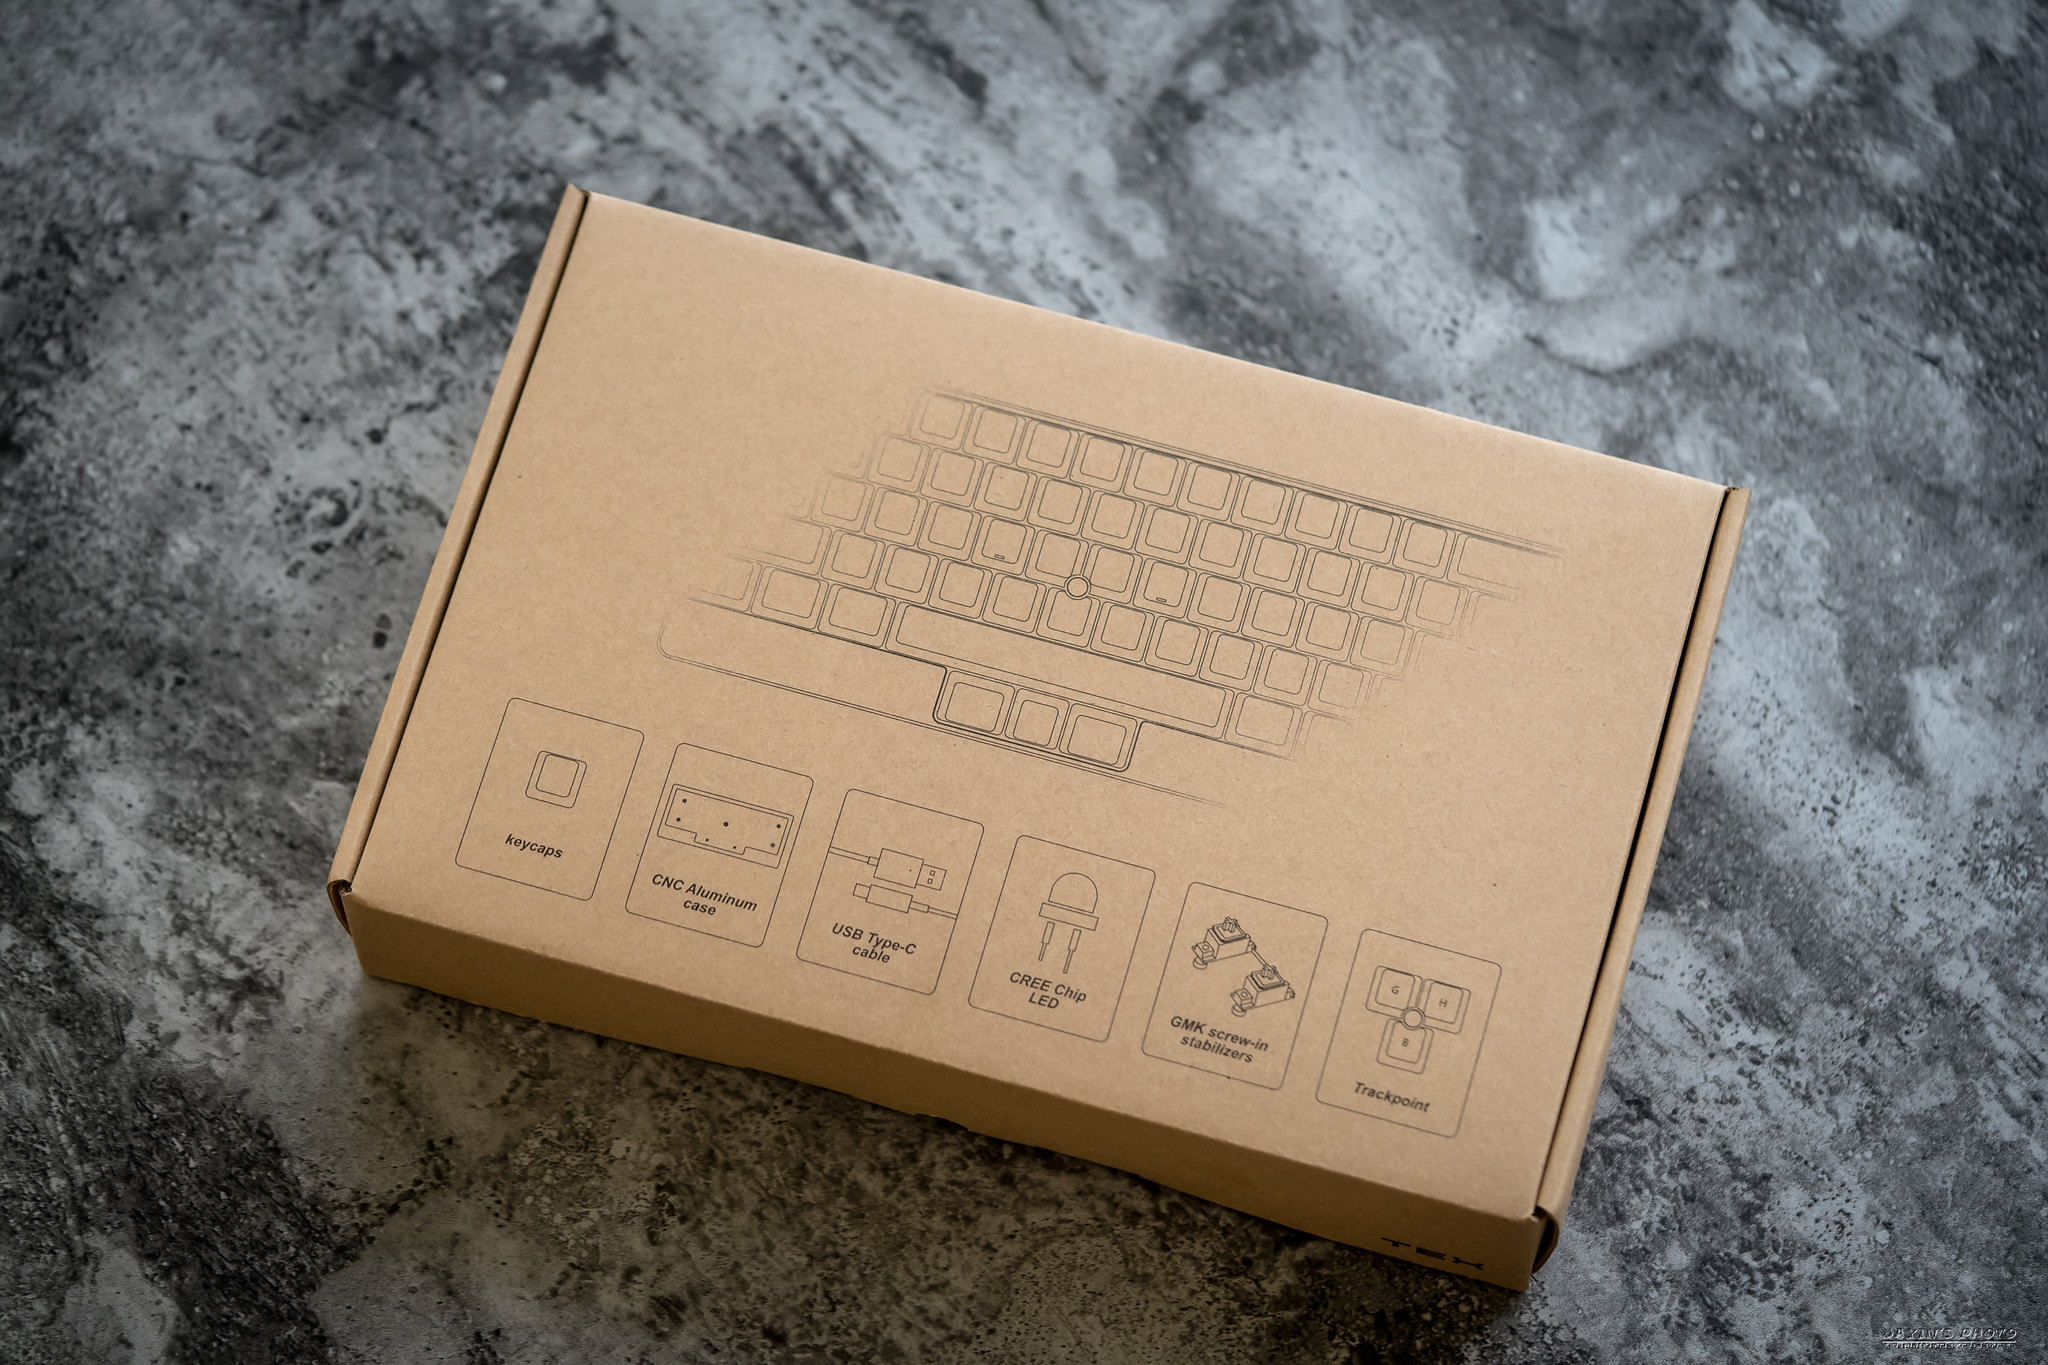
▼外盒,這個當然是和大家都一樣的紙盒,特點也全寫在上面了,包含鍵帽、CNC鋁殼、Type-C傳輸線、CREE Chip LED、GMK螺絲衛星軸、以及最重要的小紅點組件。
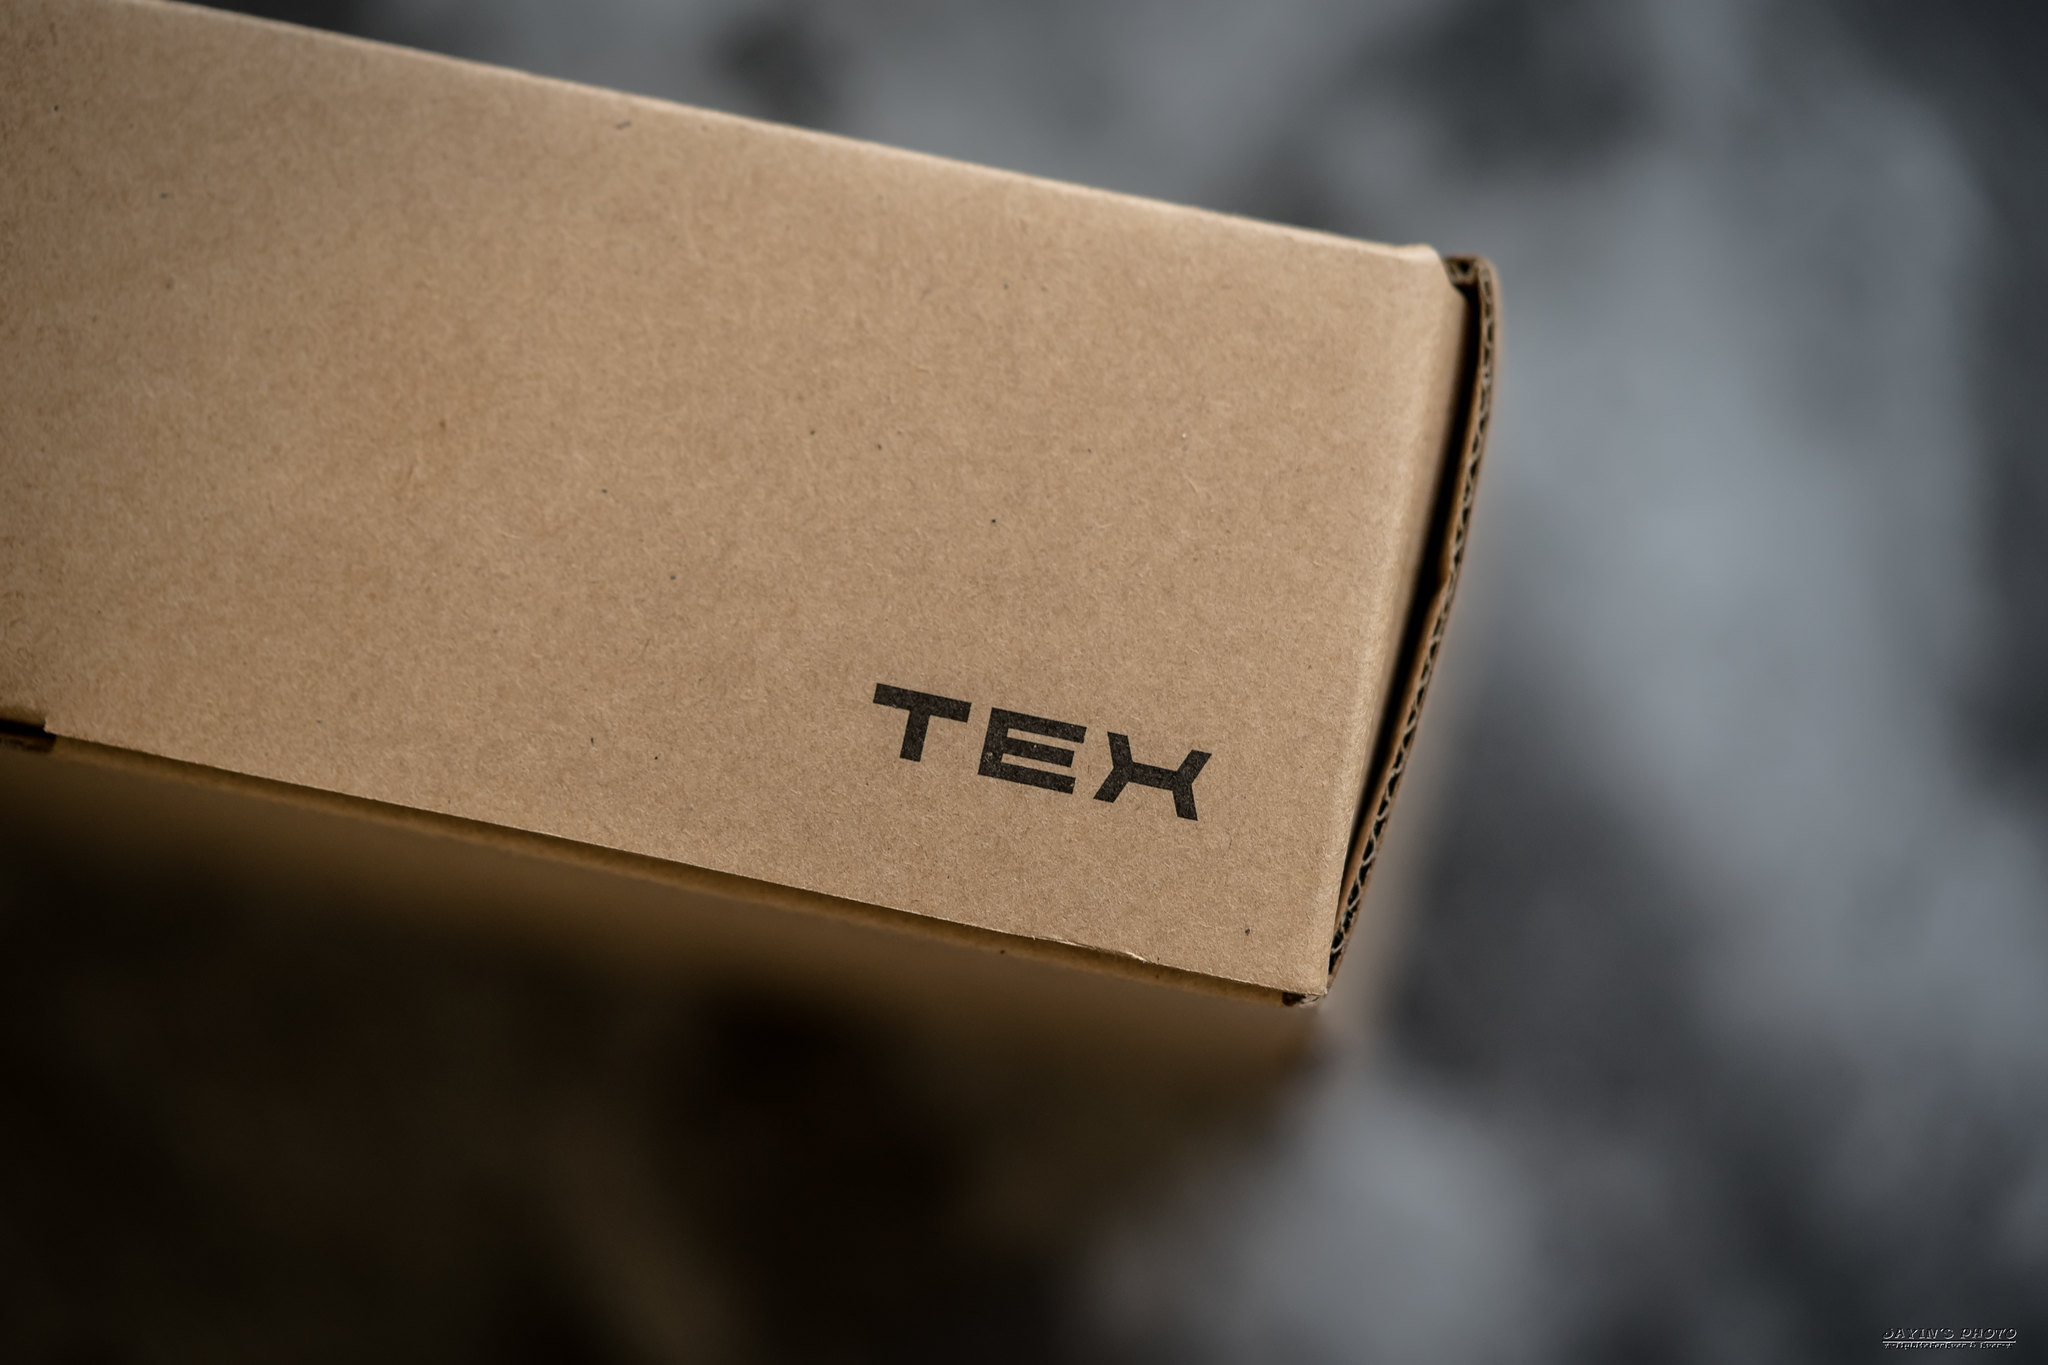
▼盒子上也是要有TEX字樣的。
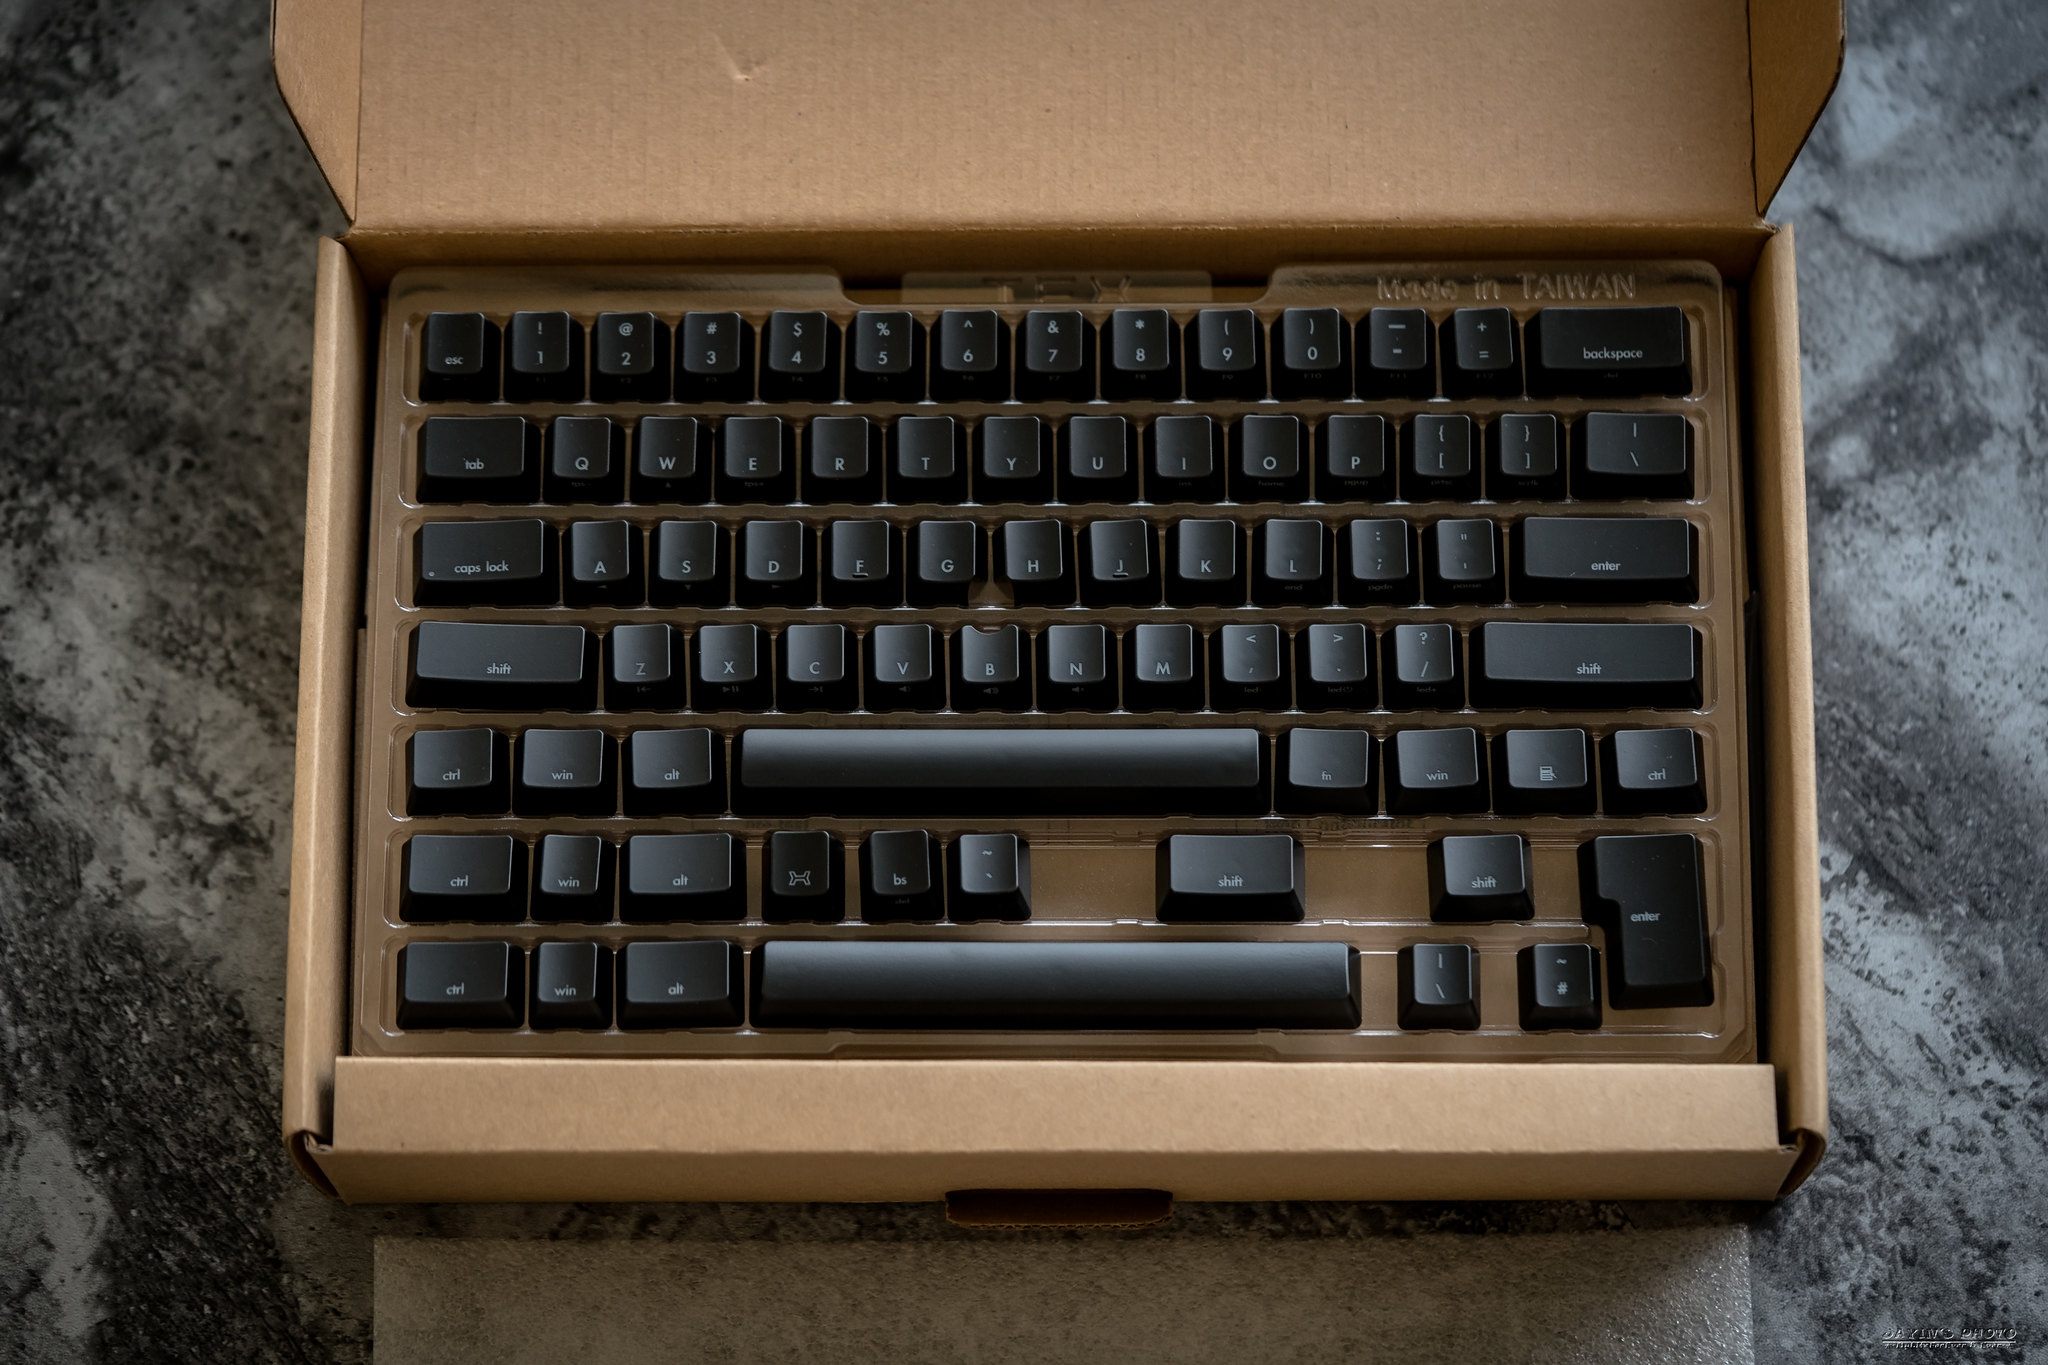
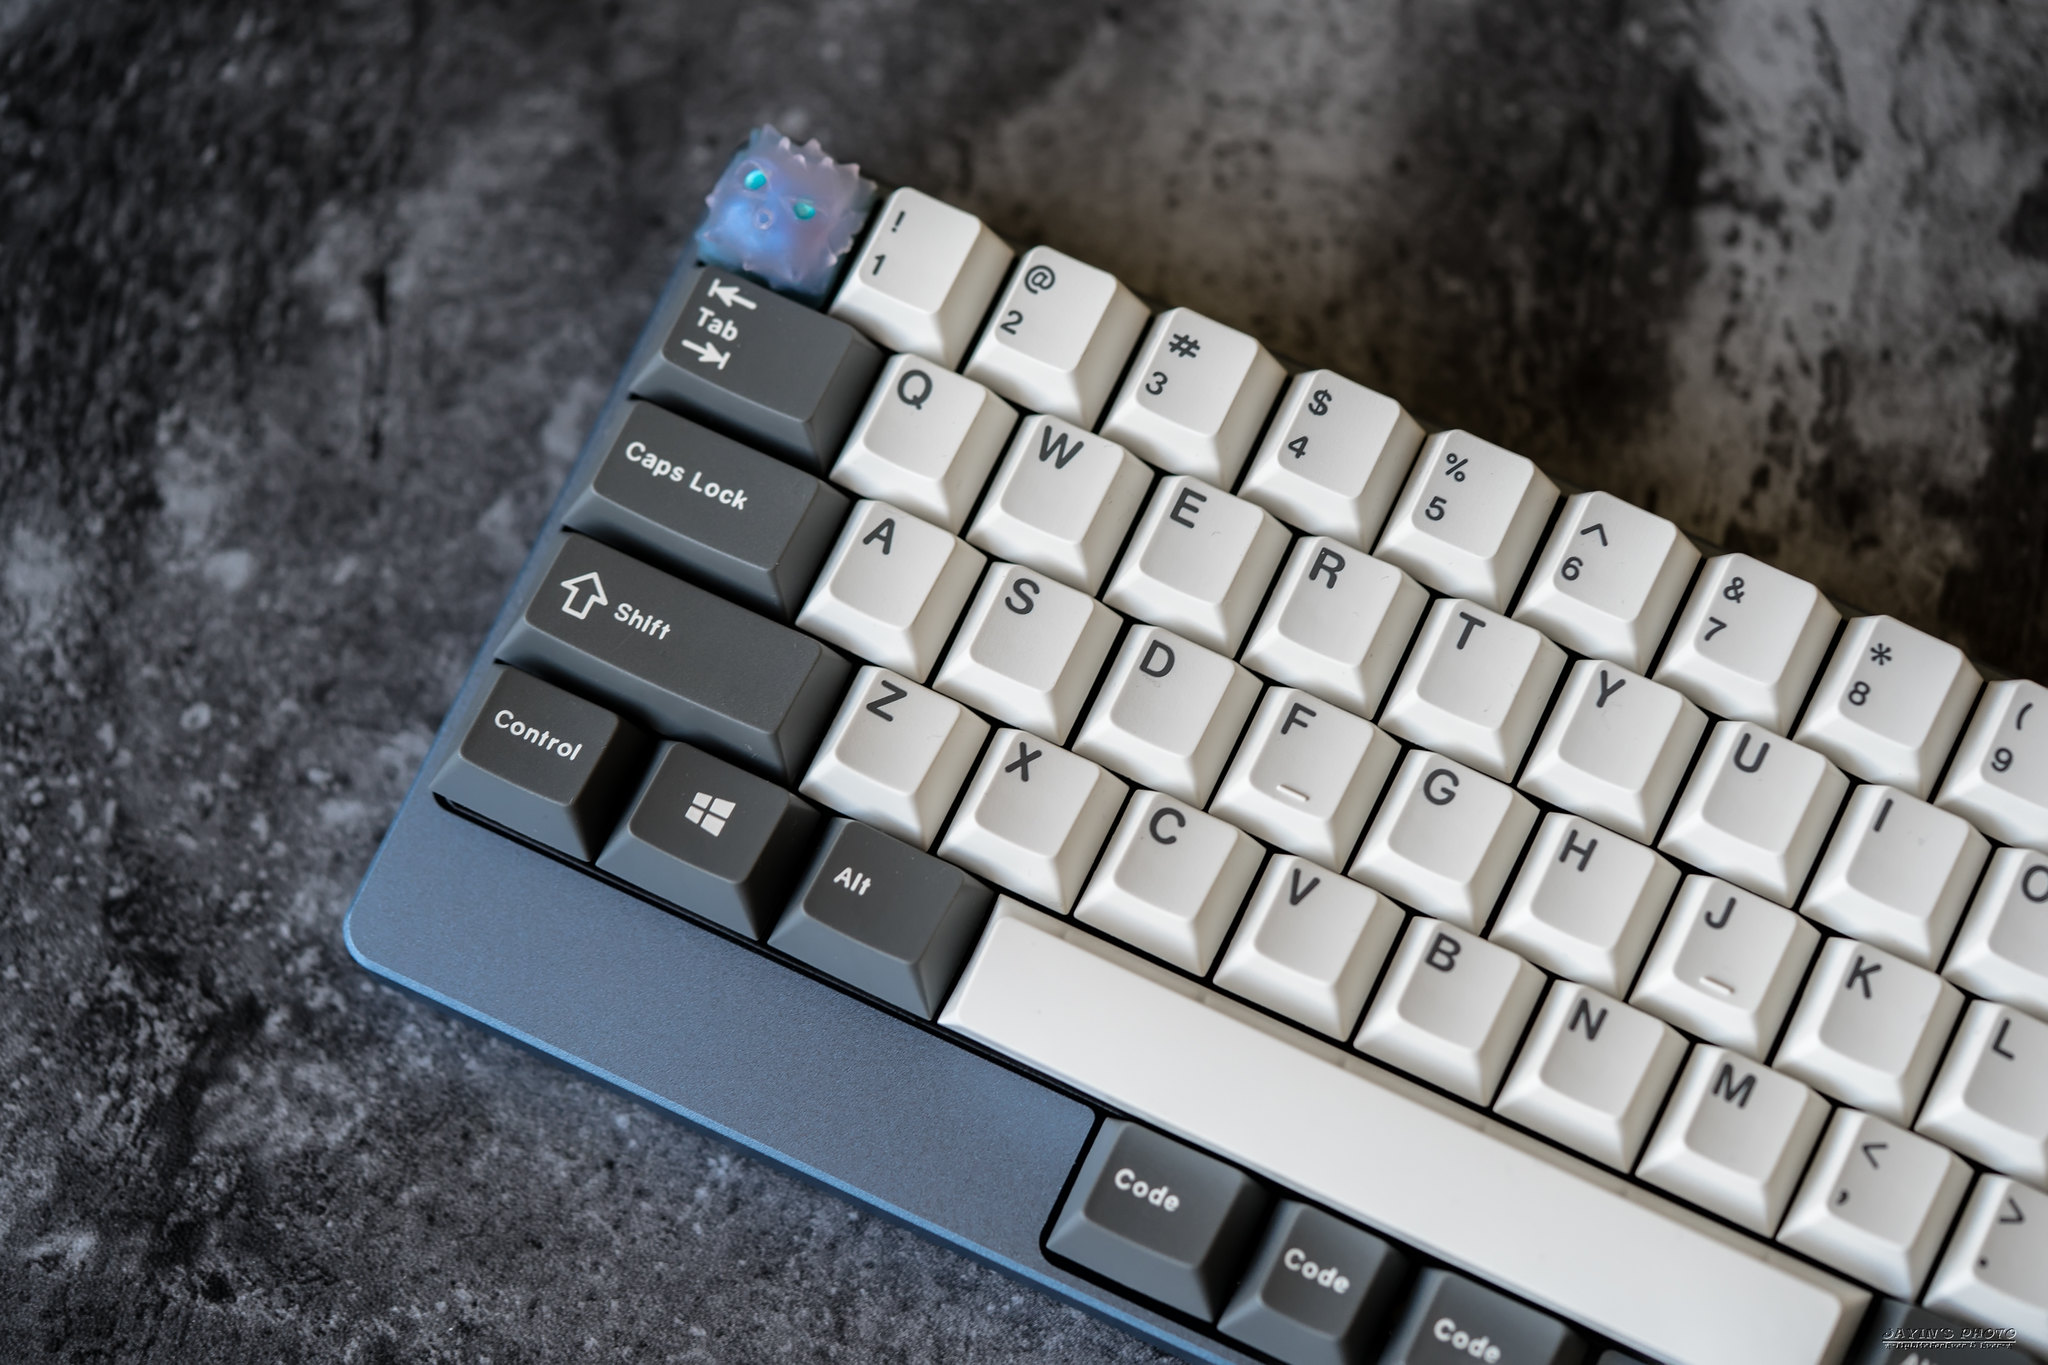
▼打開來後,最上層是附帶的鍵帽,可說是一應俱全,常見的Layout都納入了。
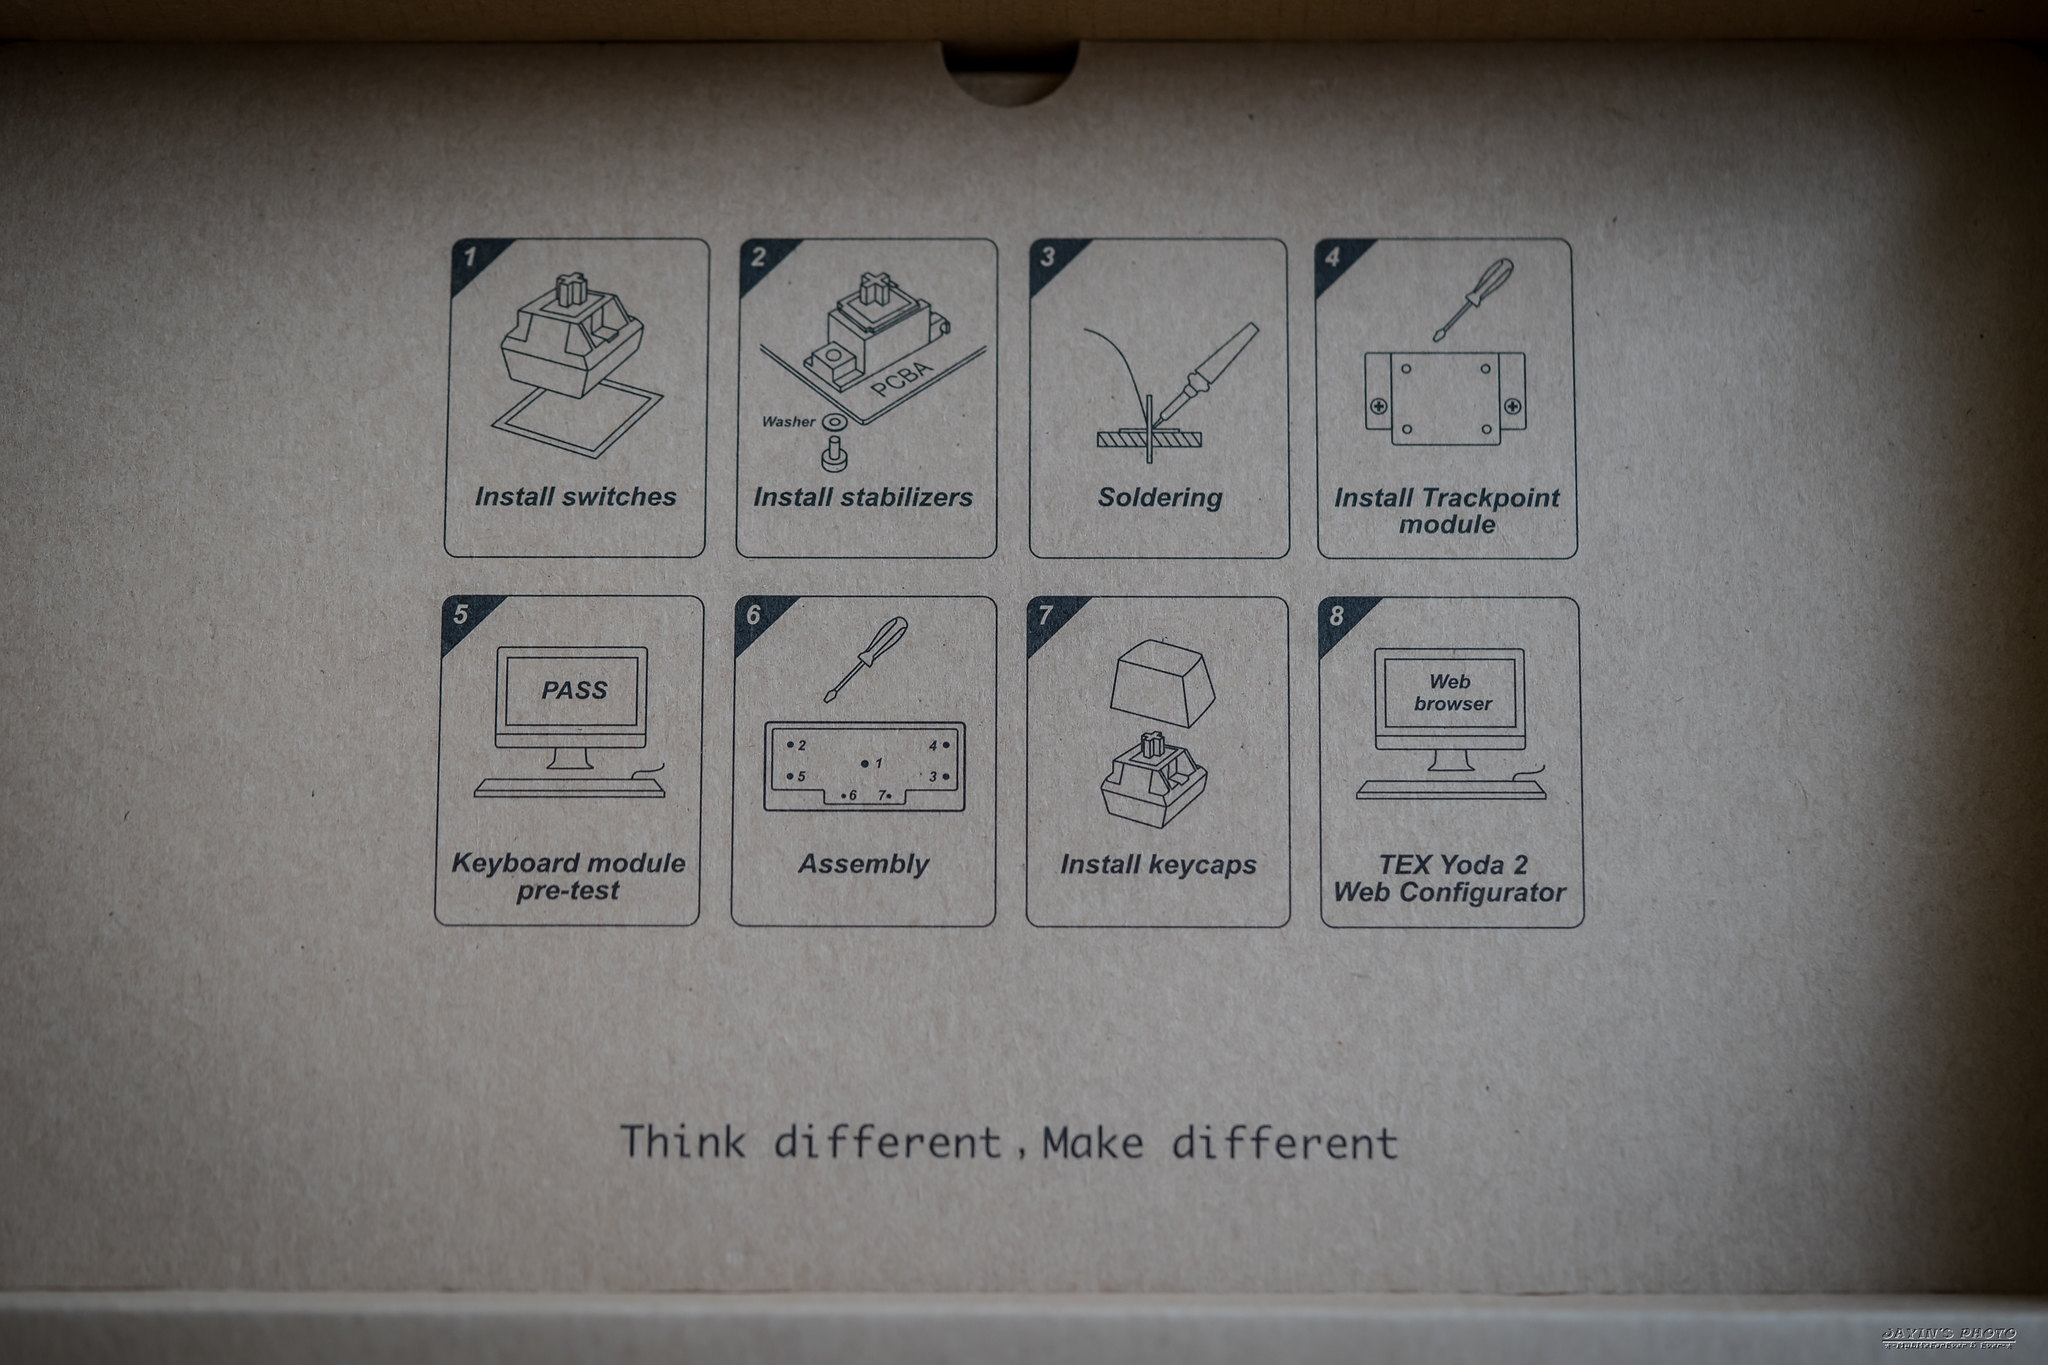
▼拿走鍵帽後,下面是組裝步驟,還有特別的Slogen - Think different, Make Different。
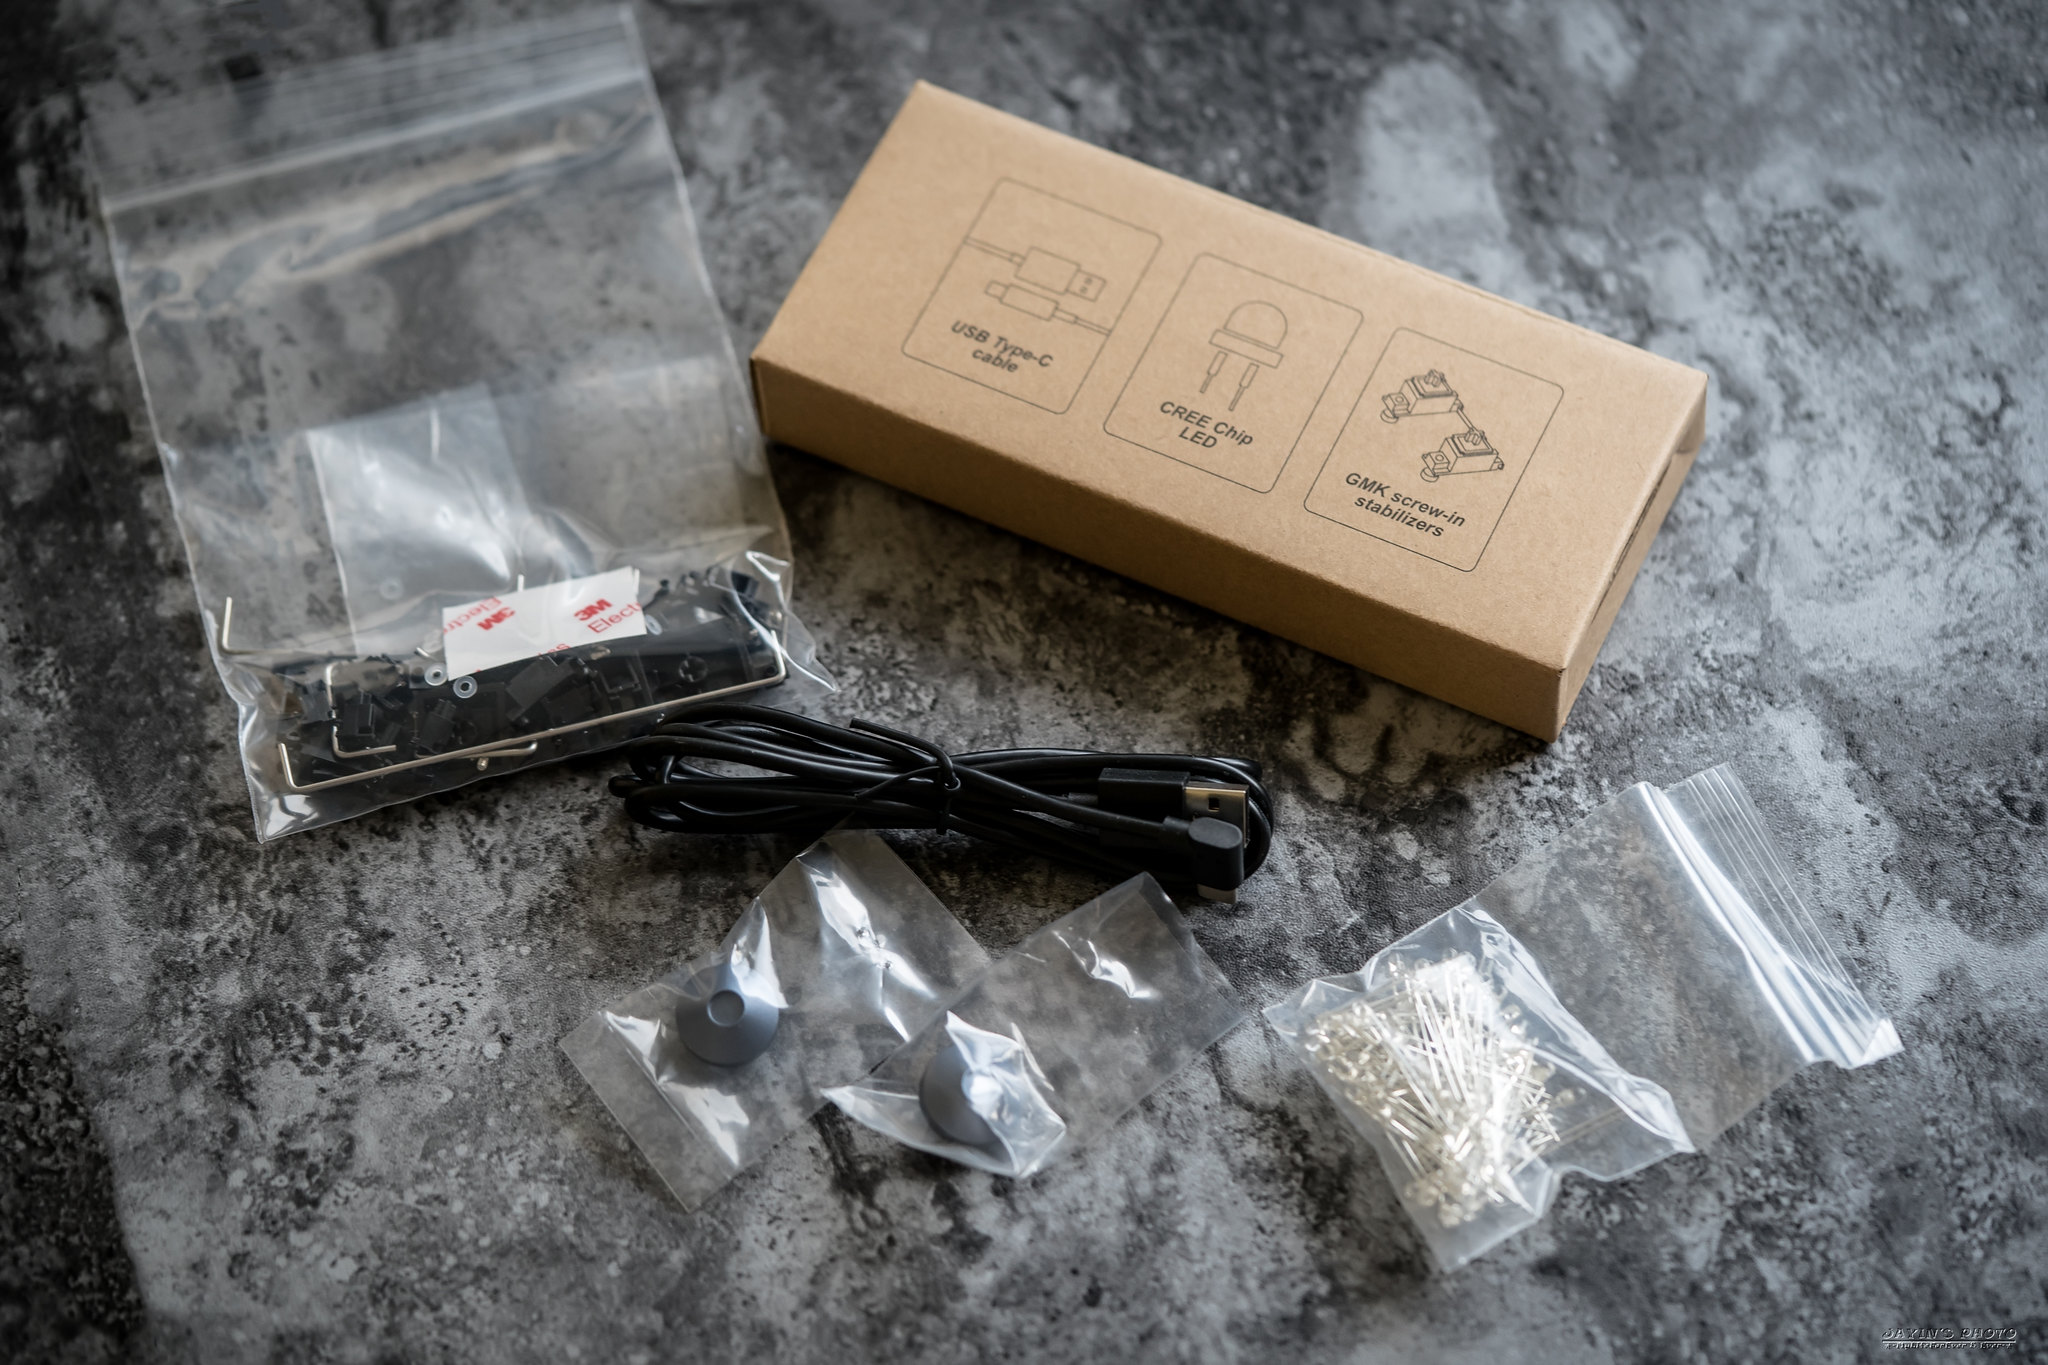
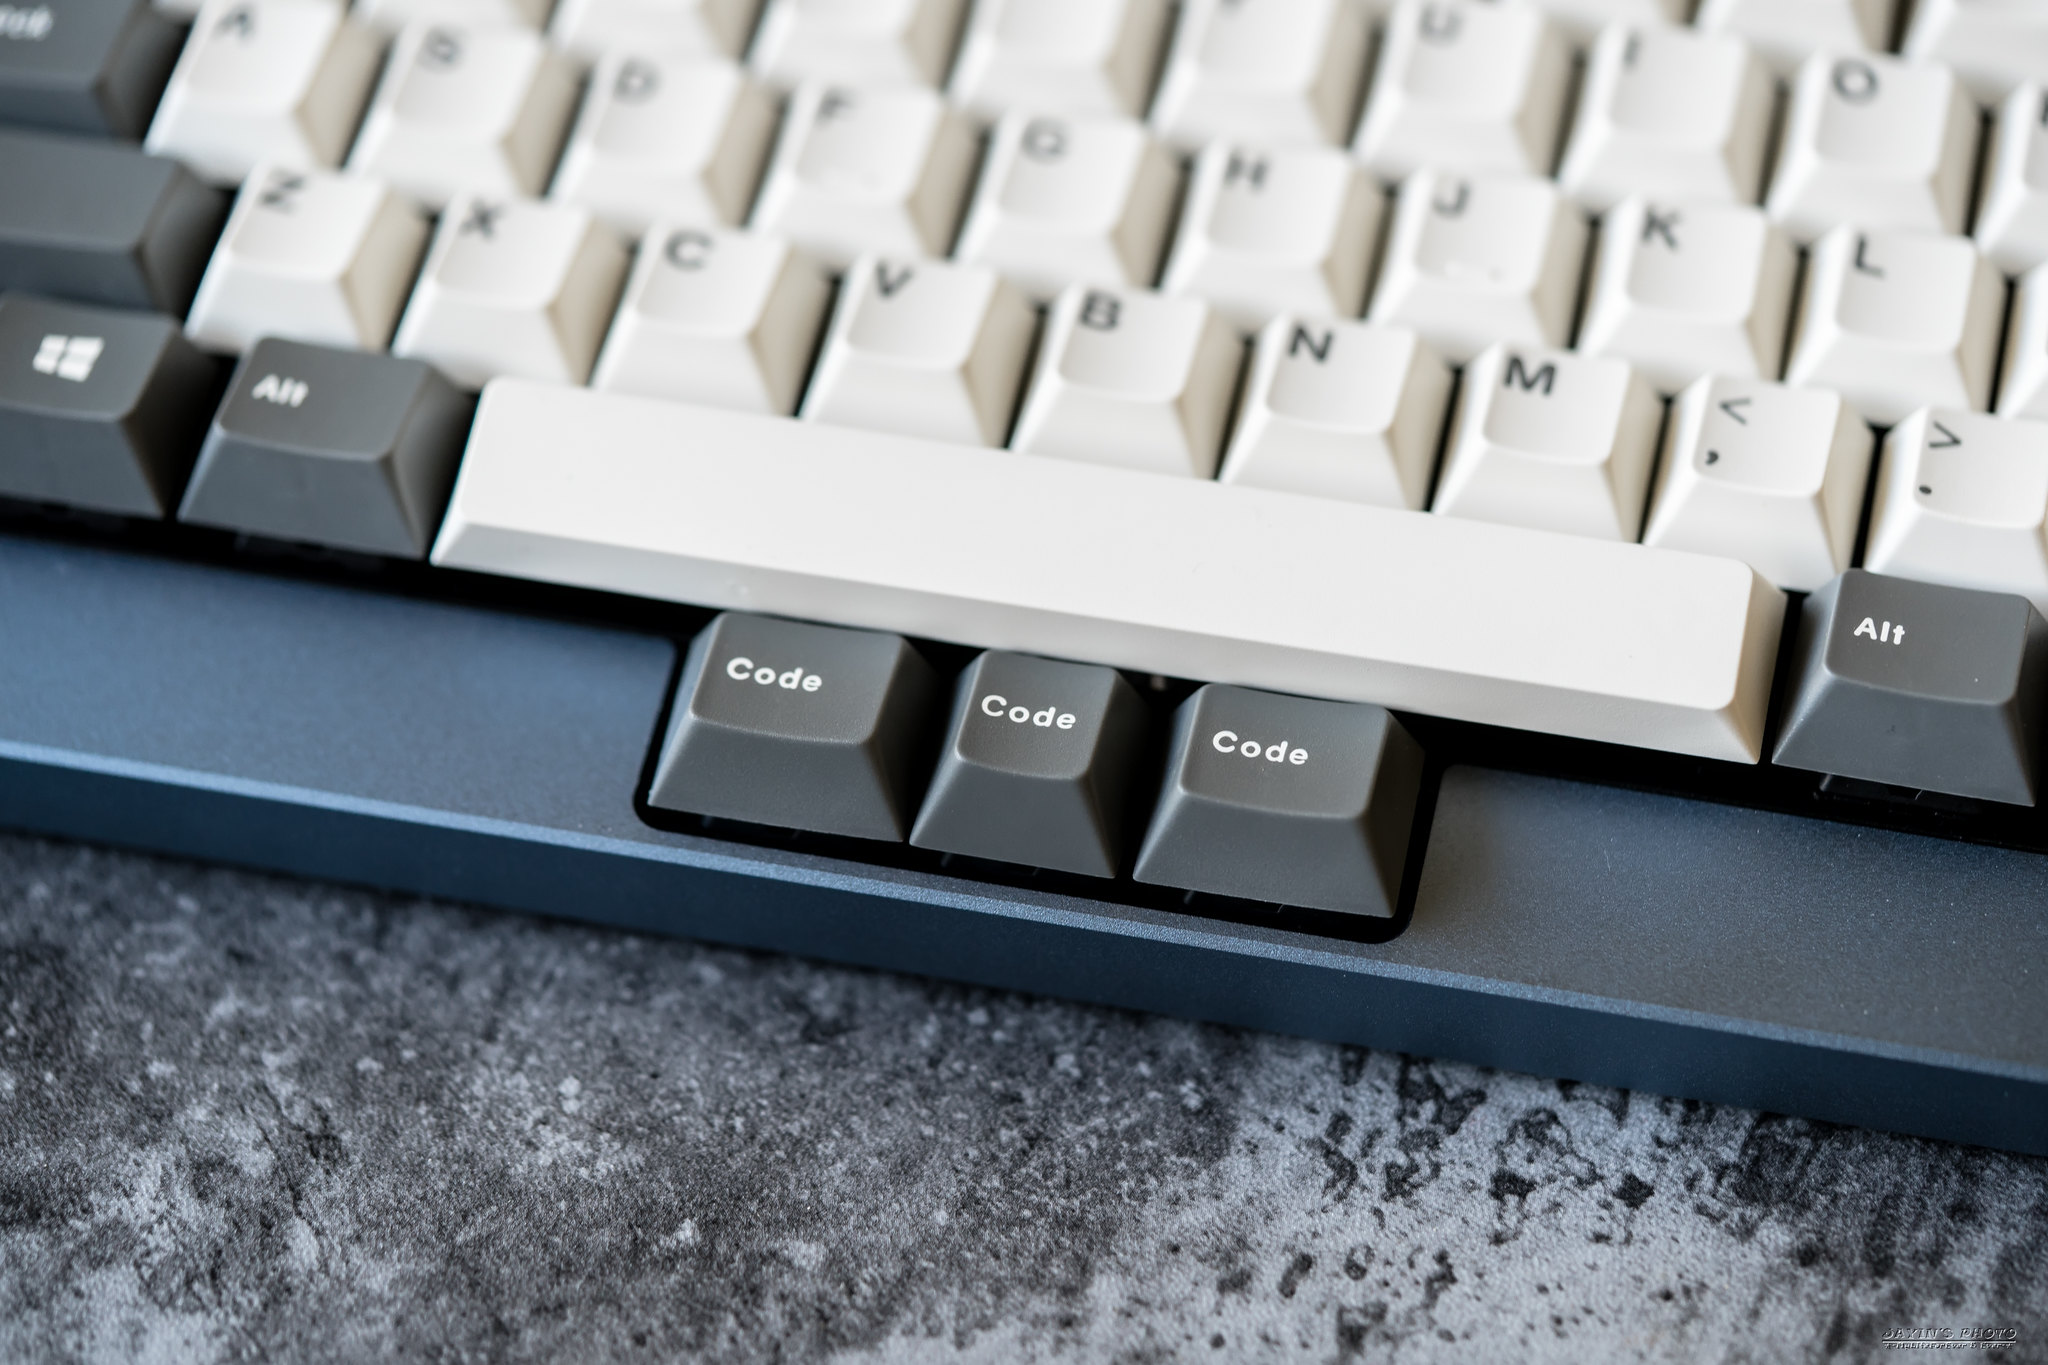
▼零件盒一:GMK螺絲衛星軸、傳輸線、鋁腳、LED燈。
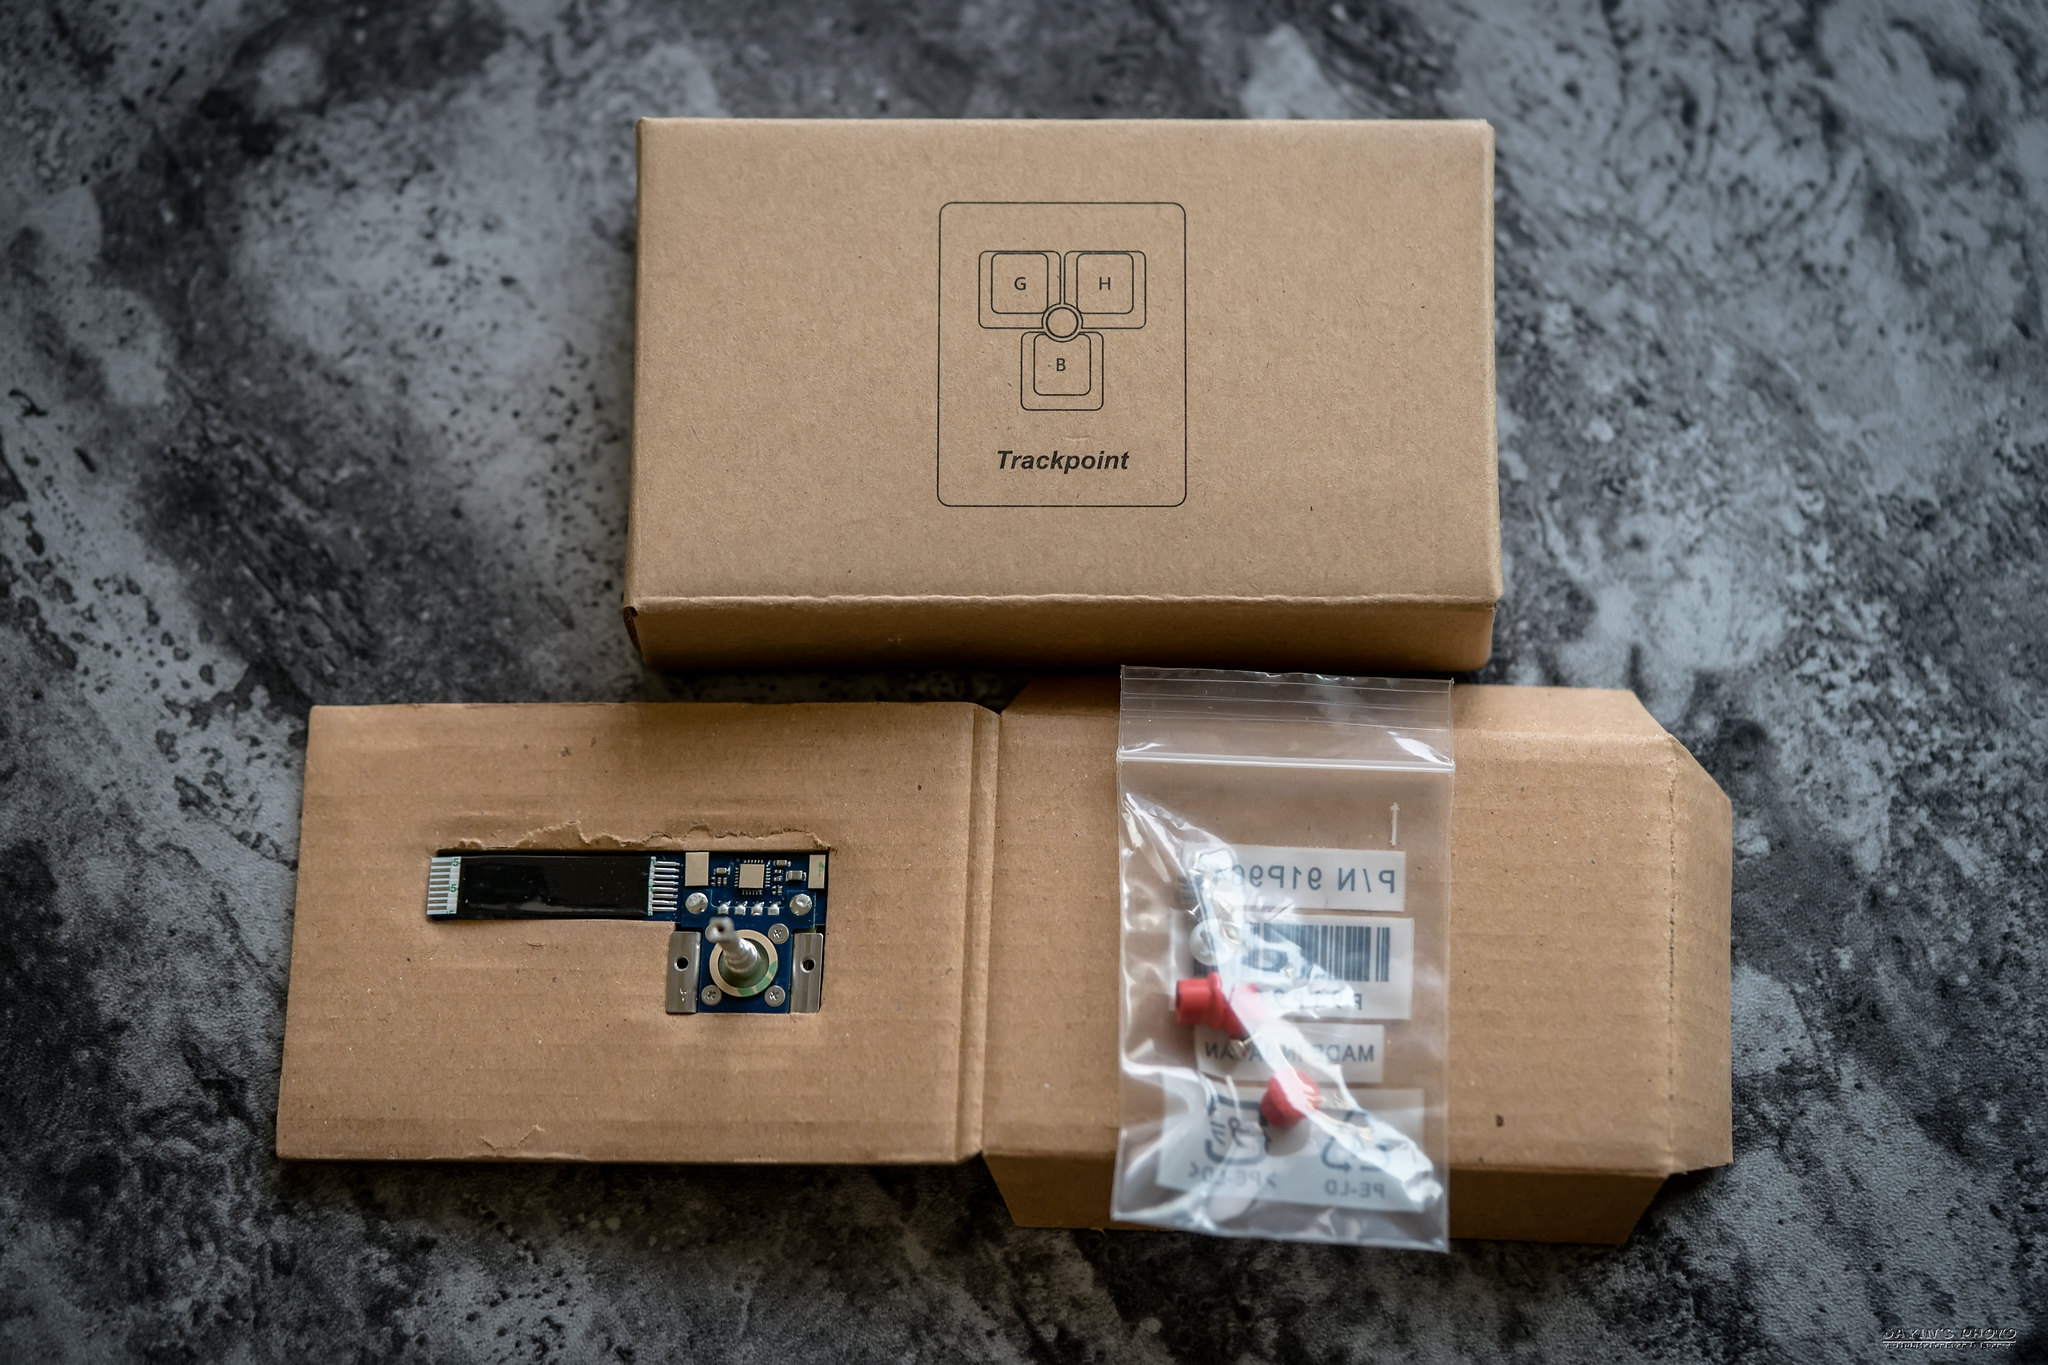
▼零件盒二:小紅點組件
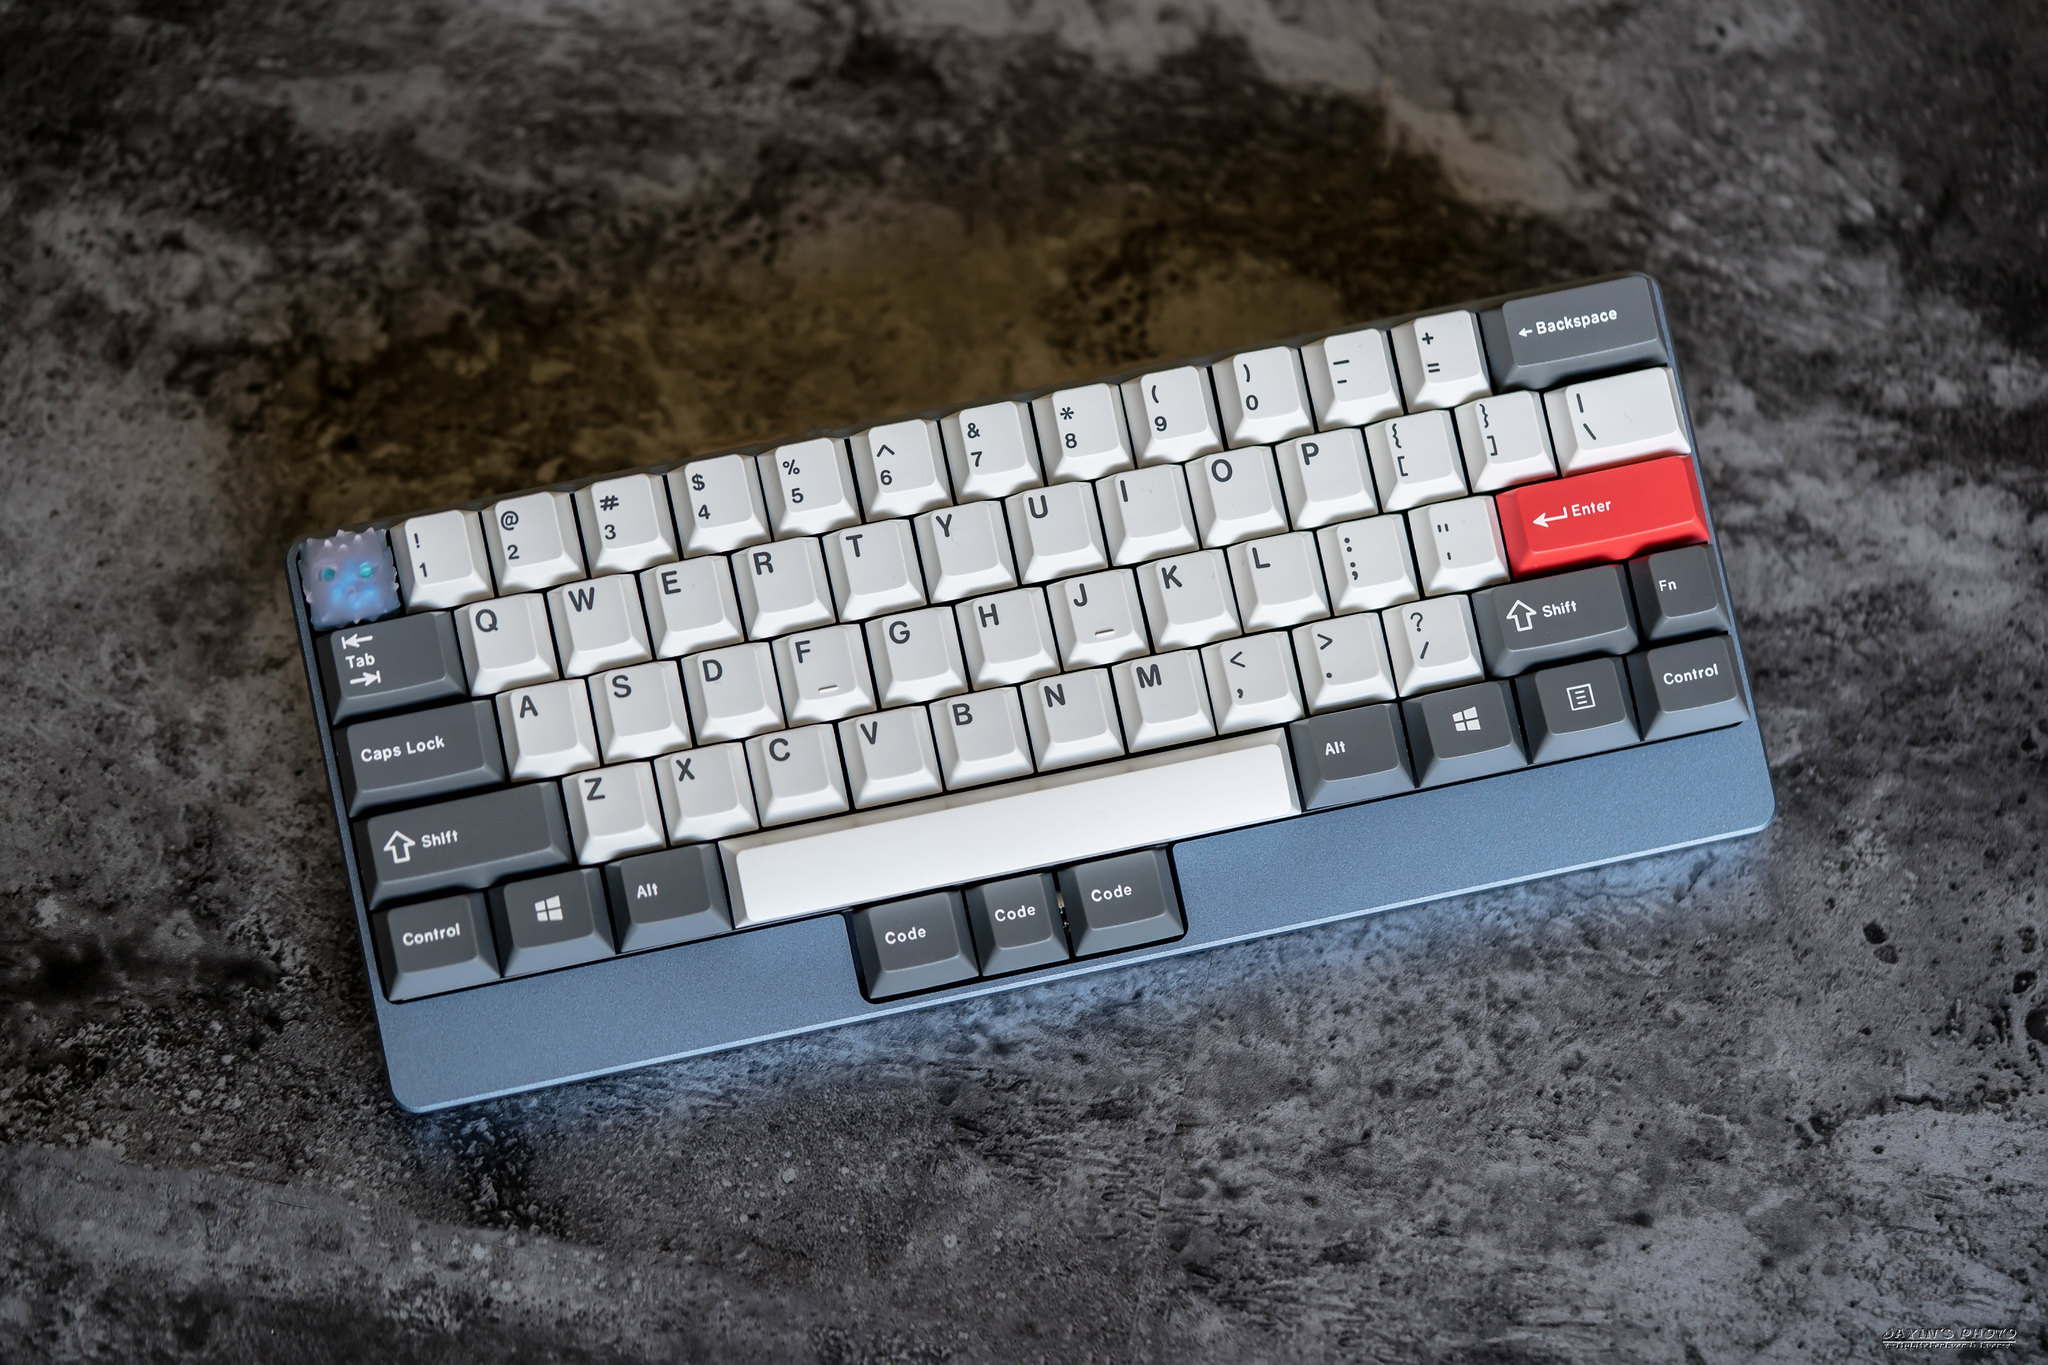
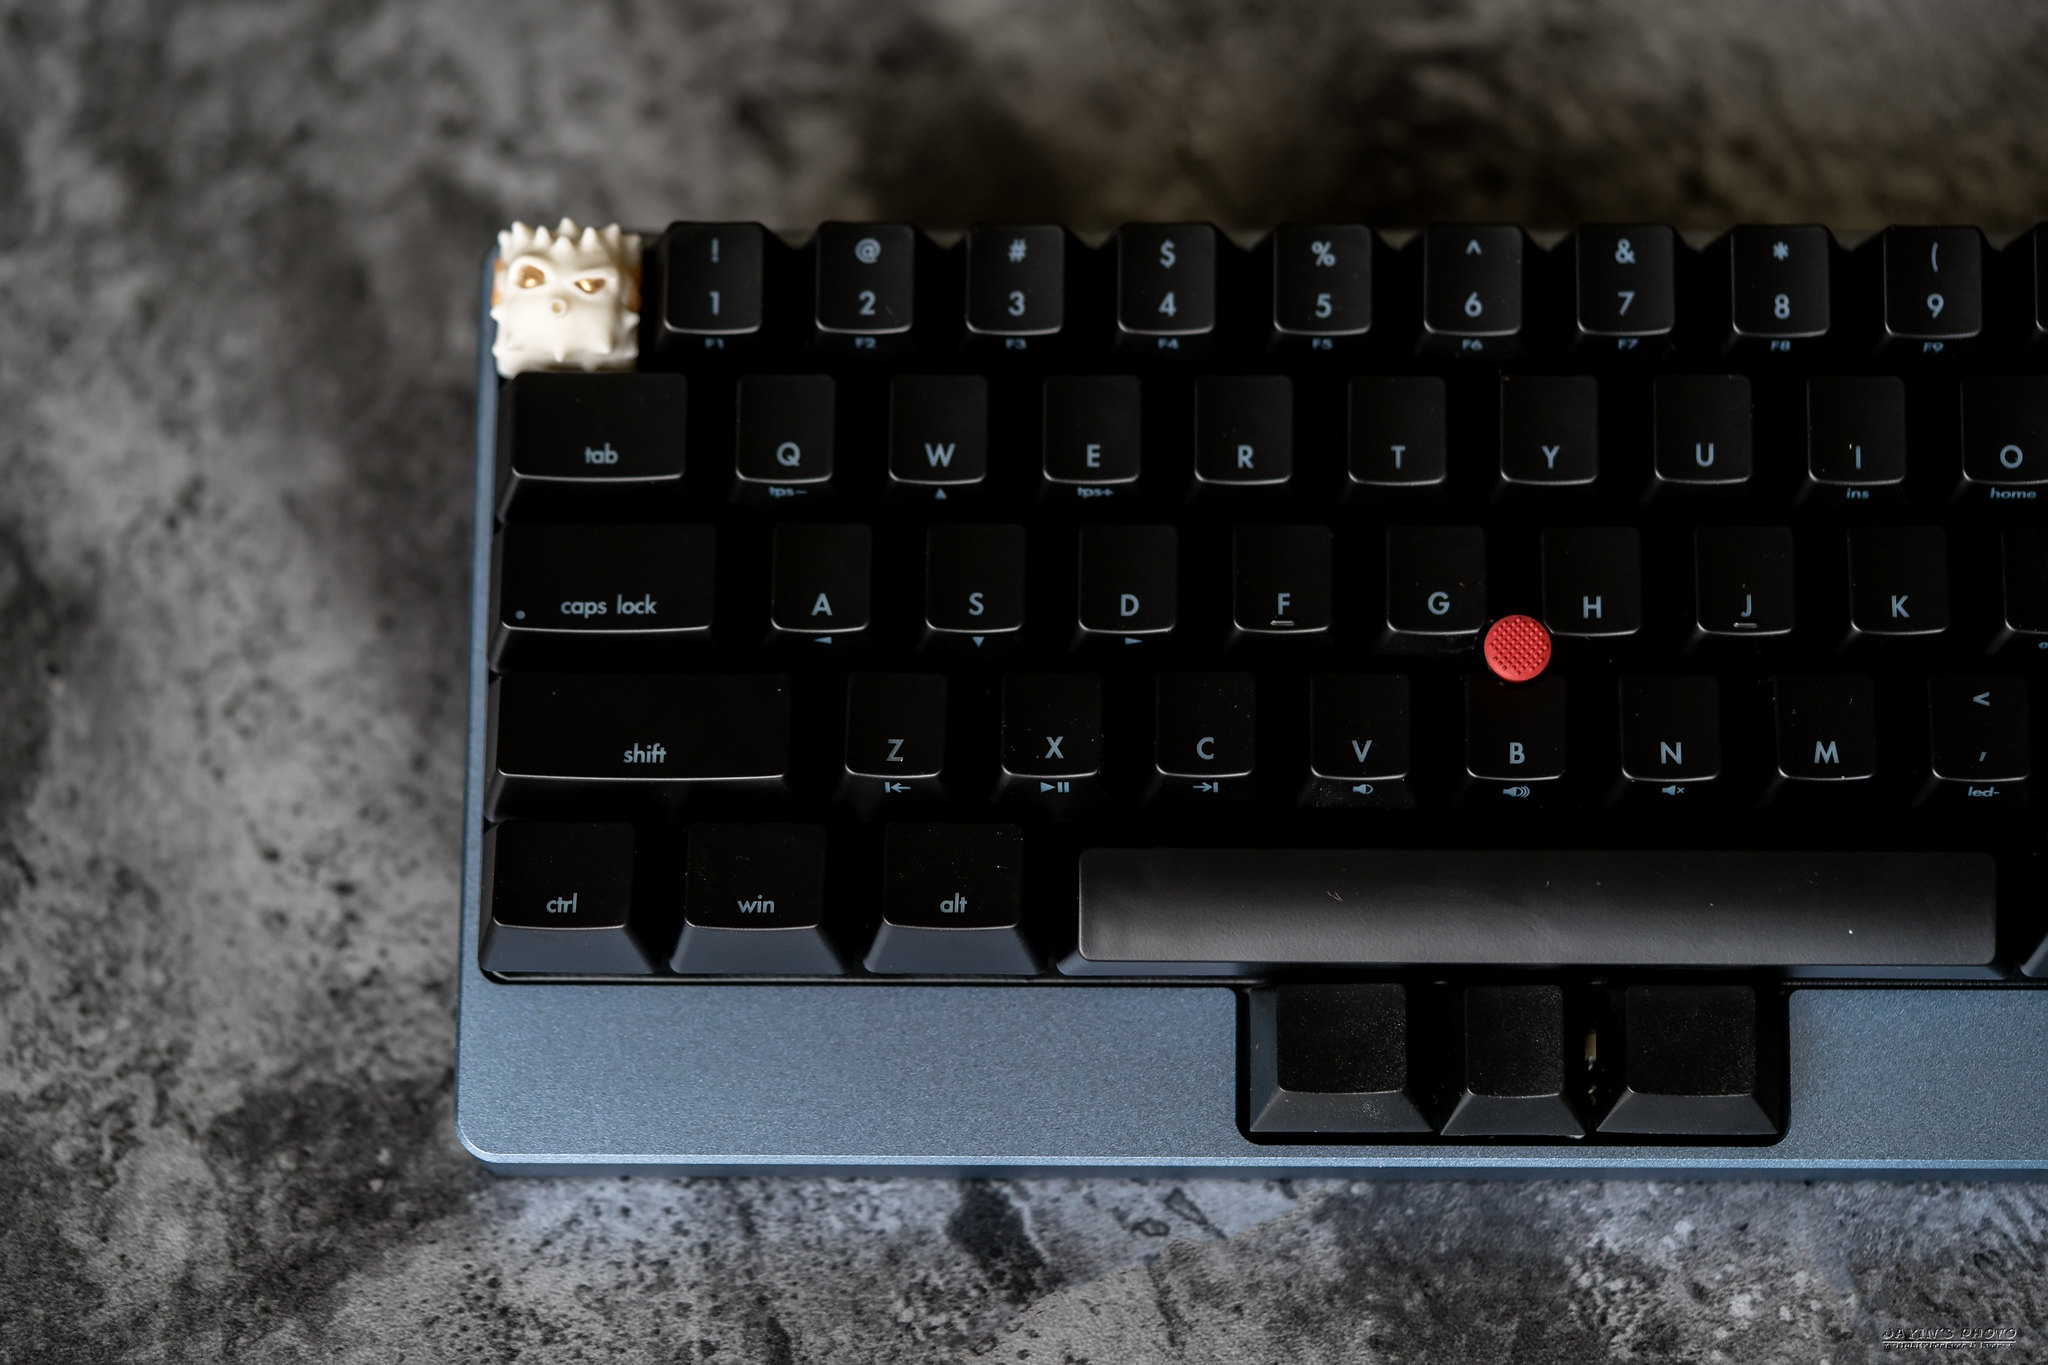
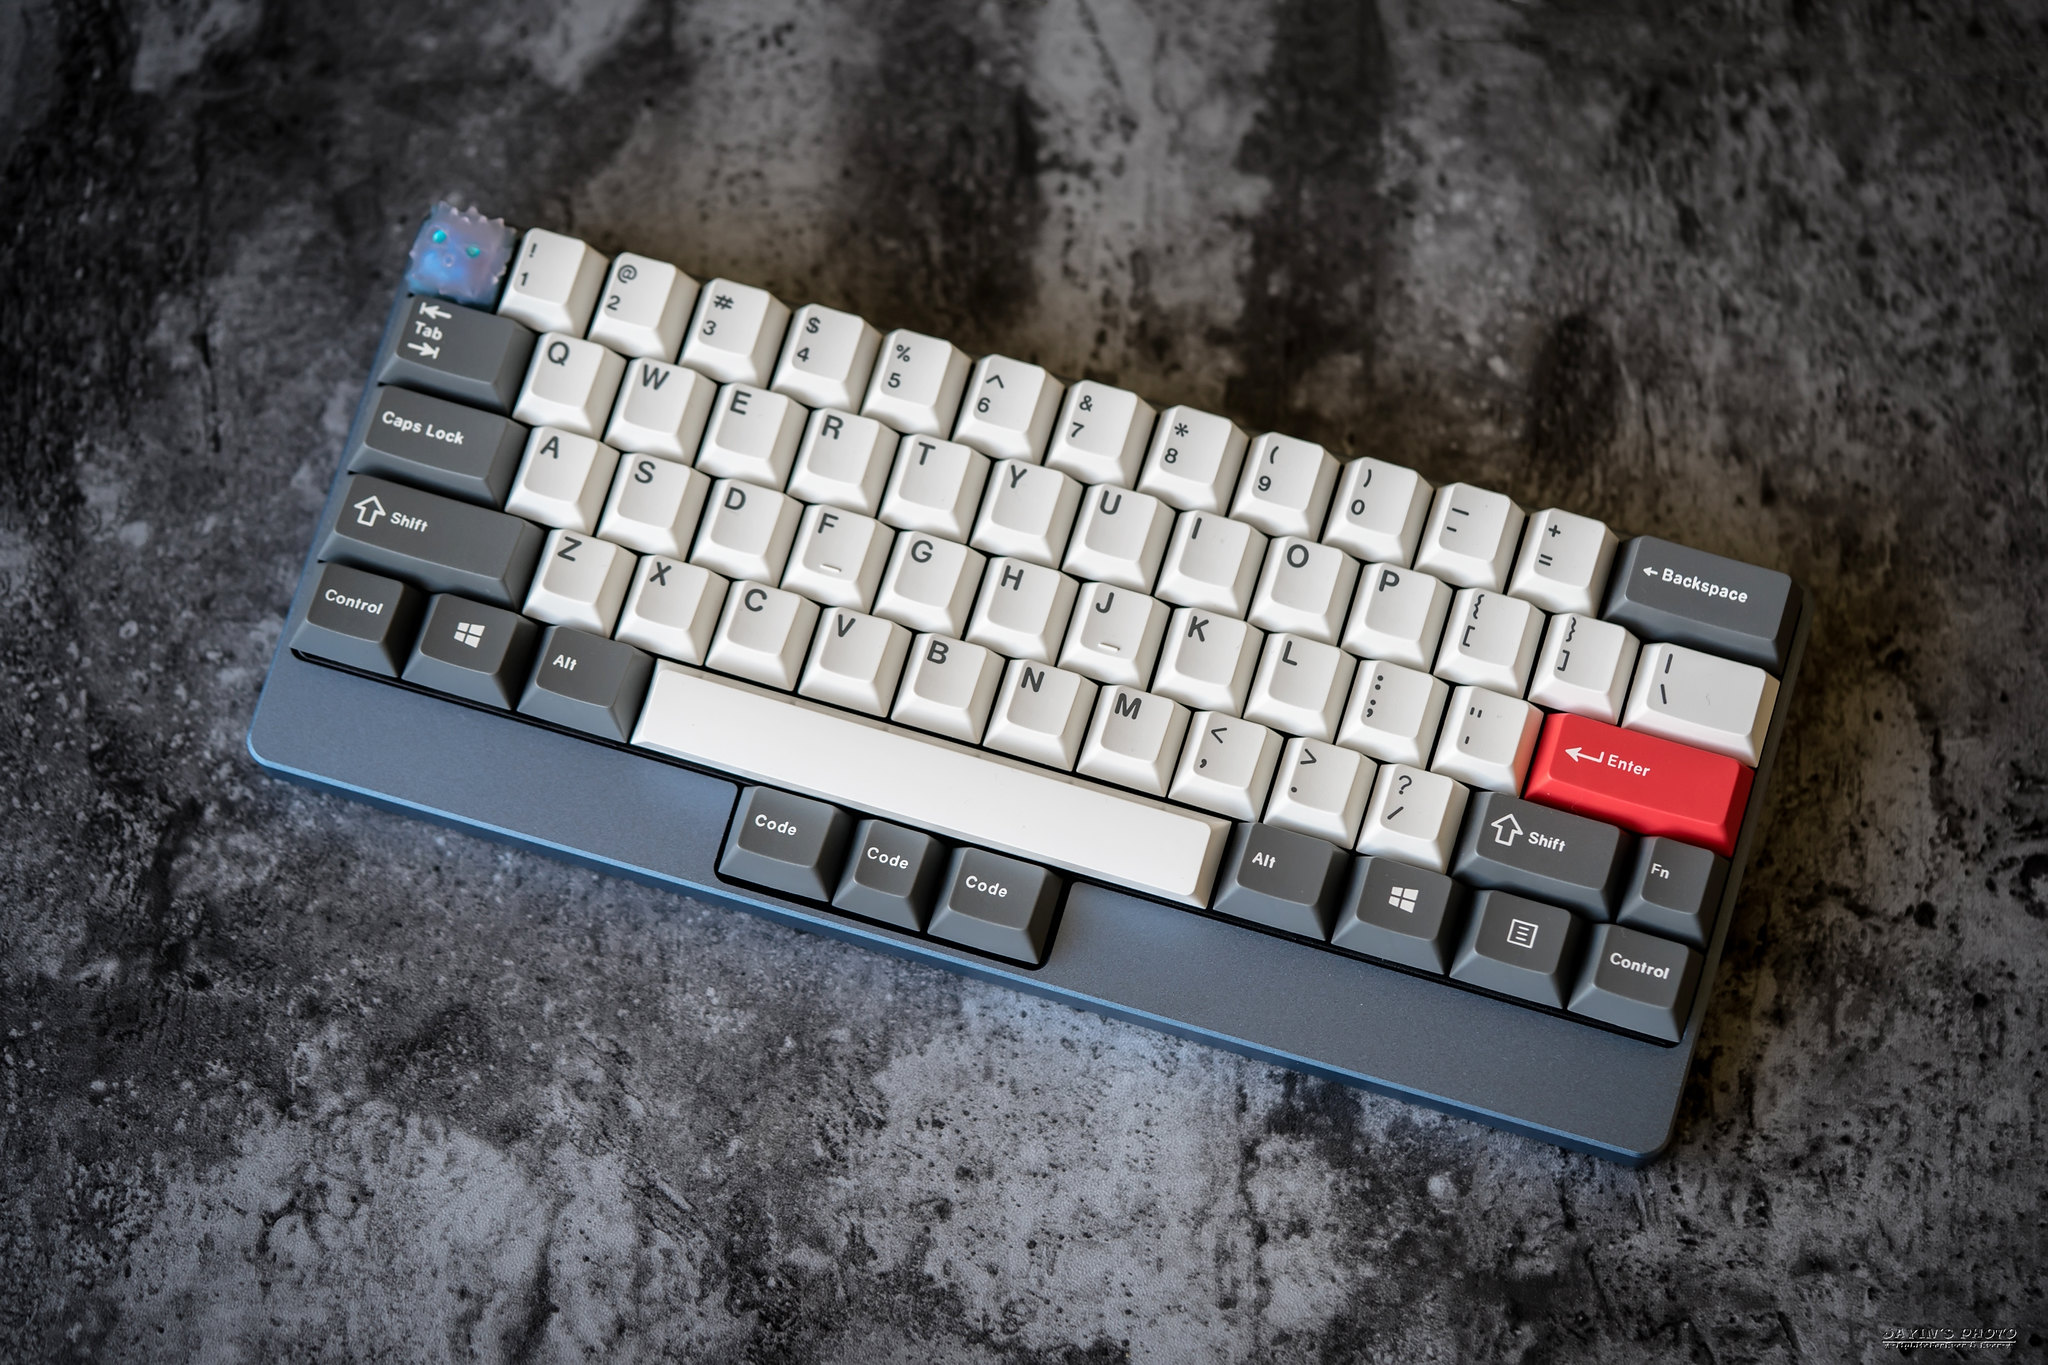
▼本體來啦!LSJ特製藍灰色限量版
▼這顏色說實在的很難拍,在不同的光線下拍起來顏色都有些差別。
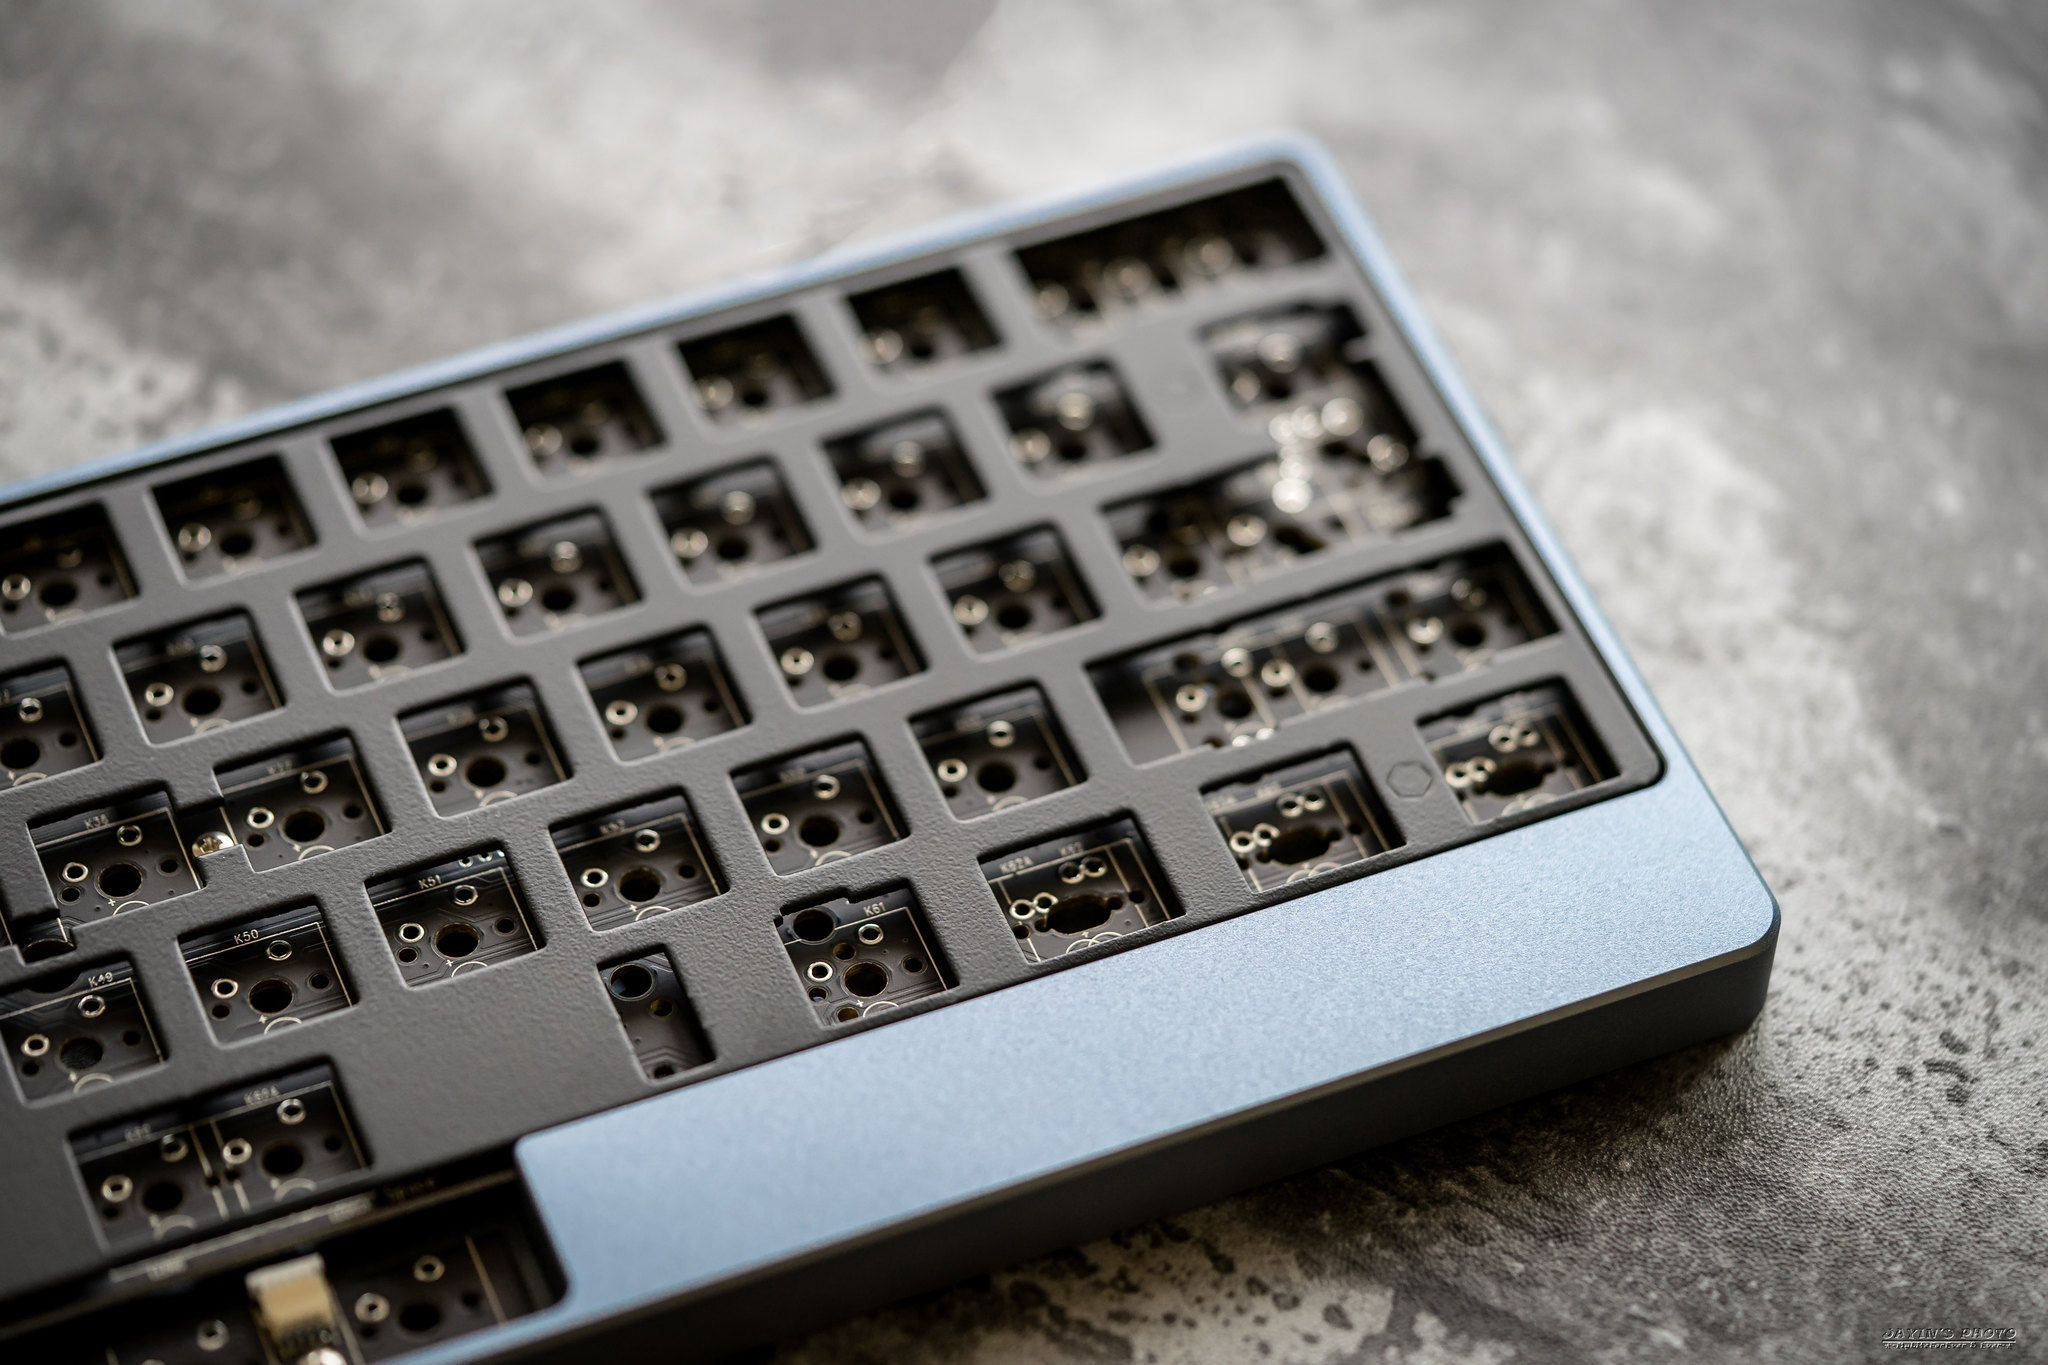
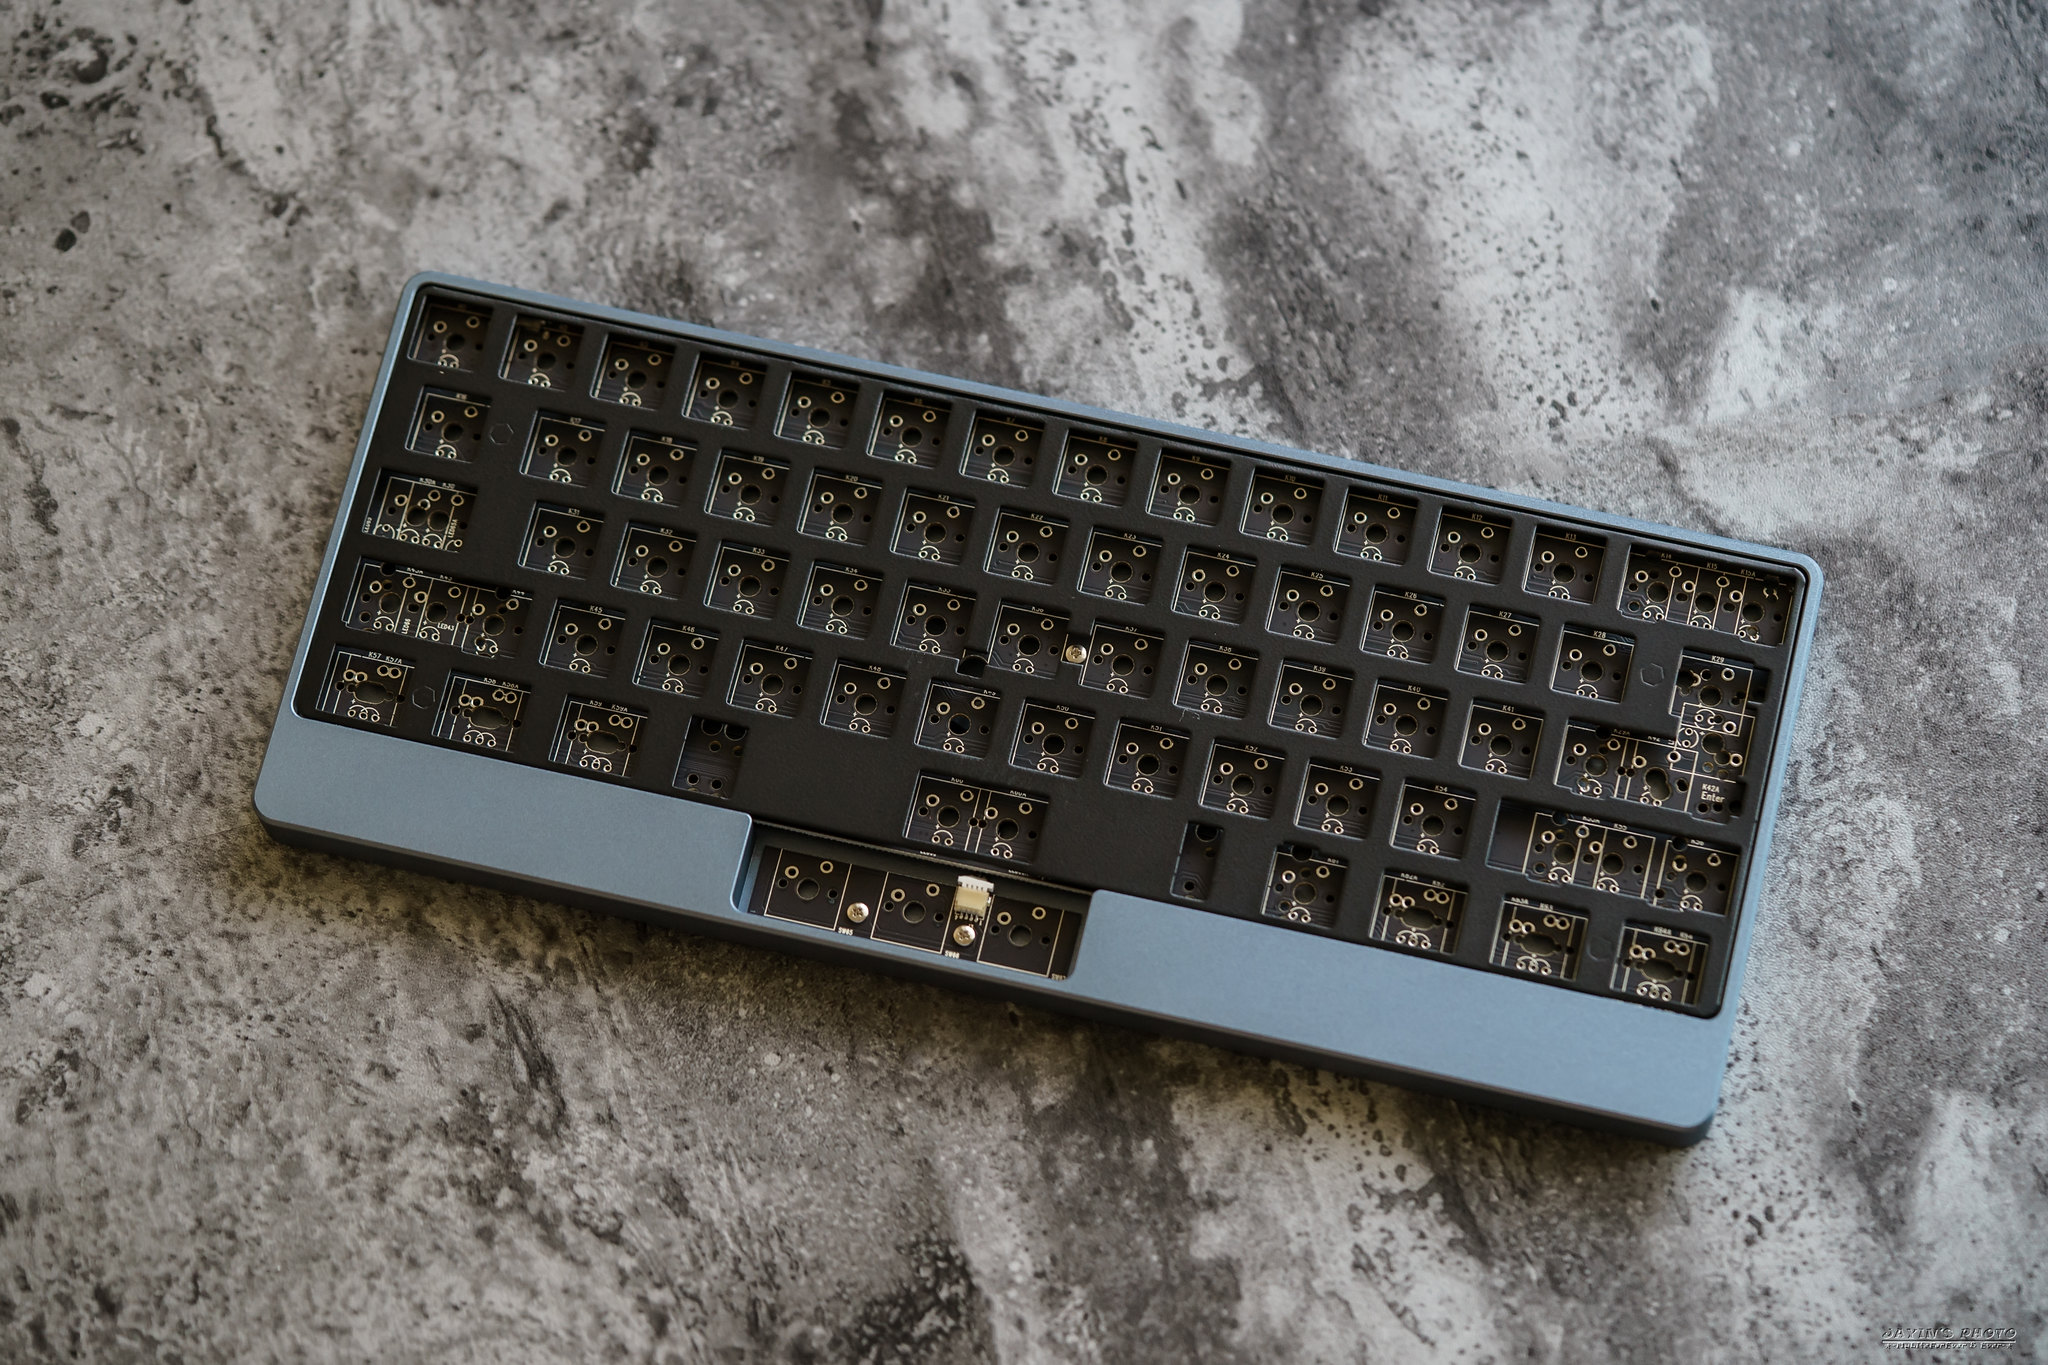
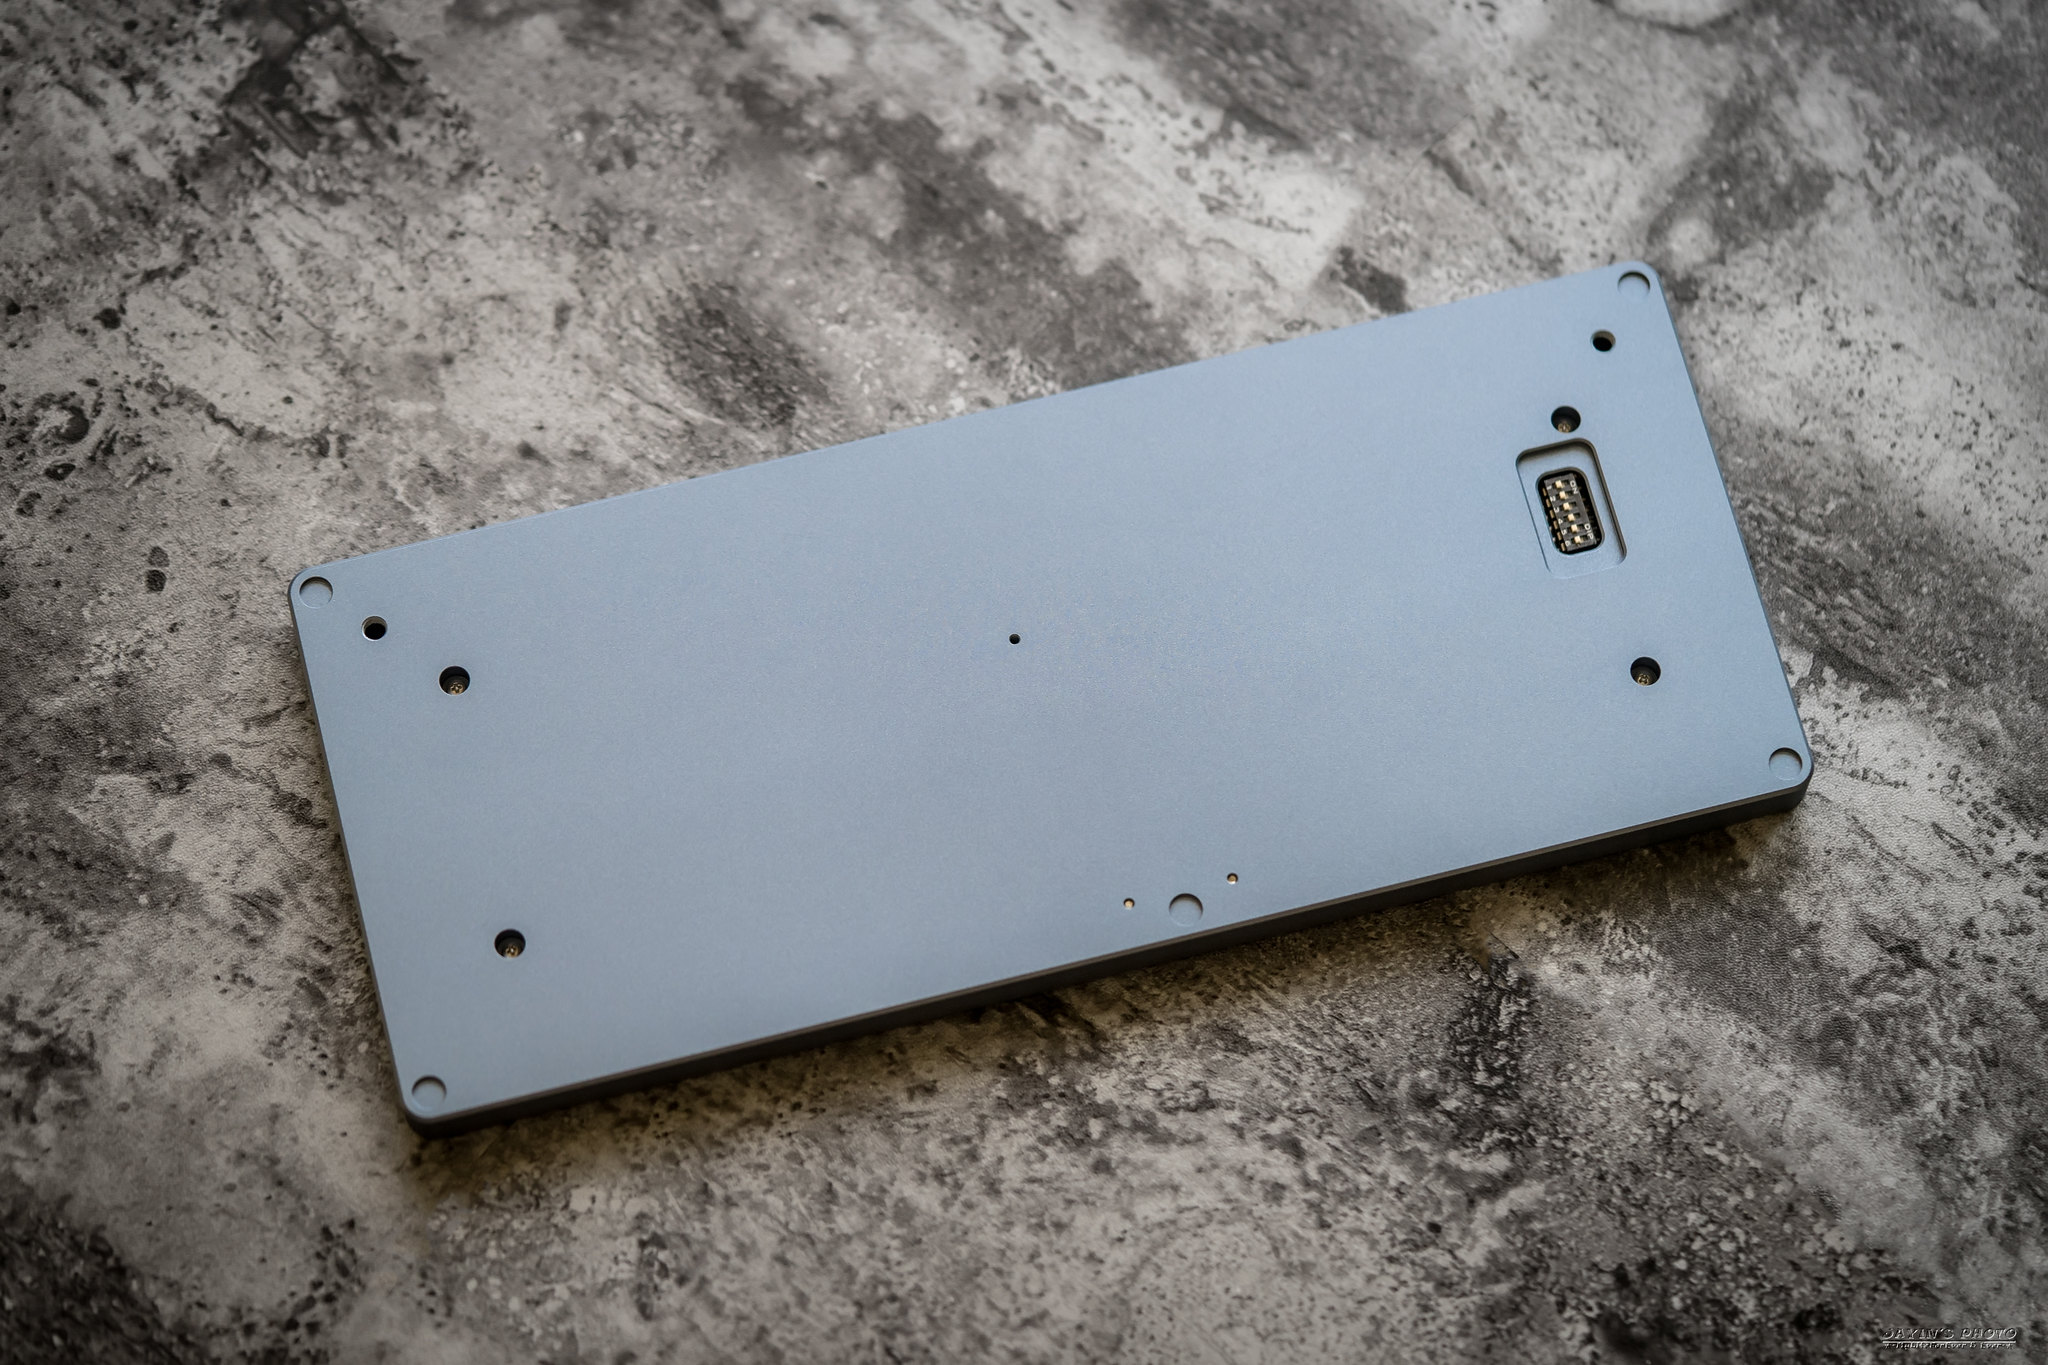
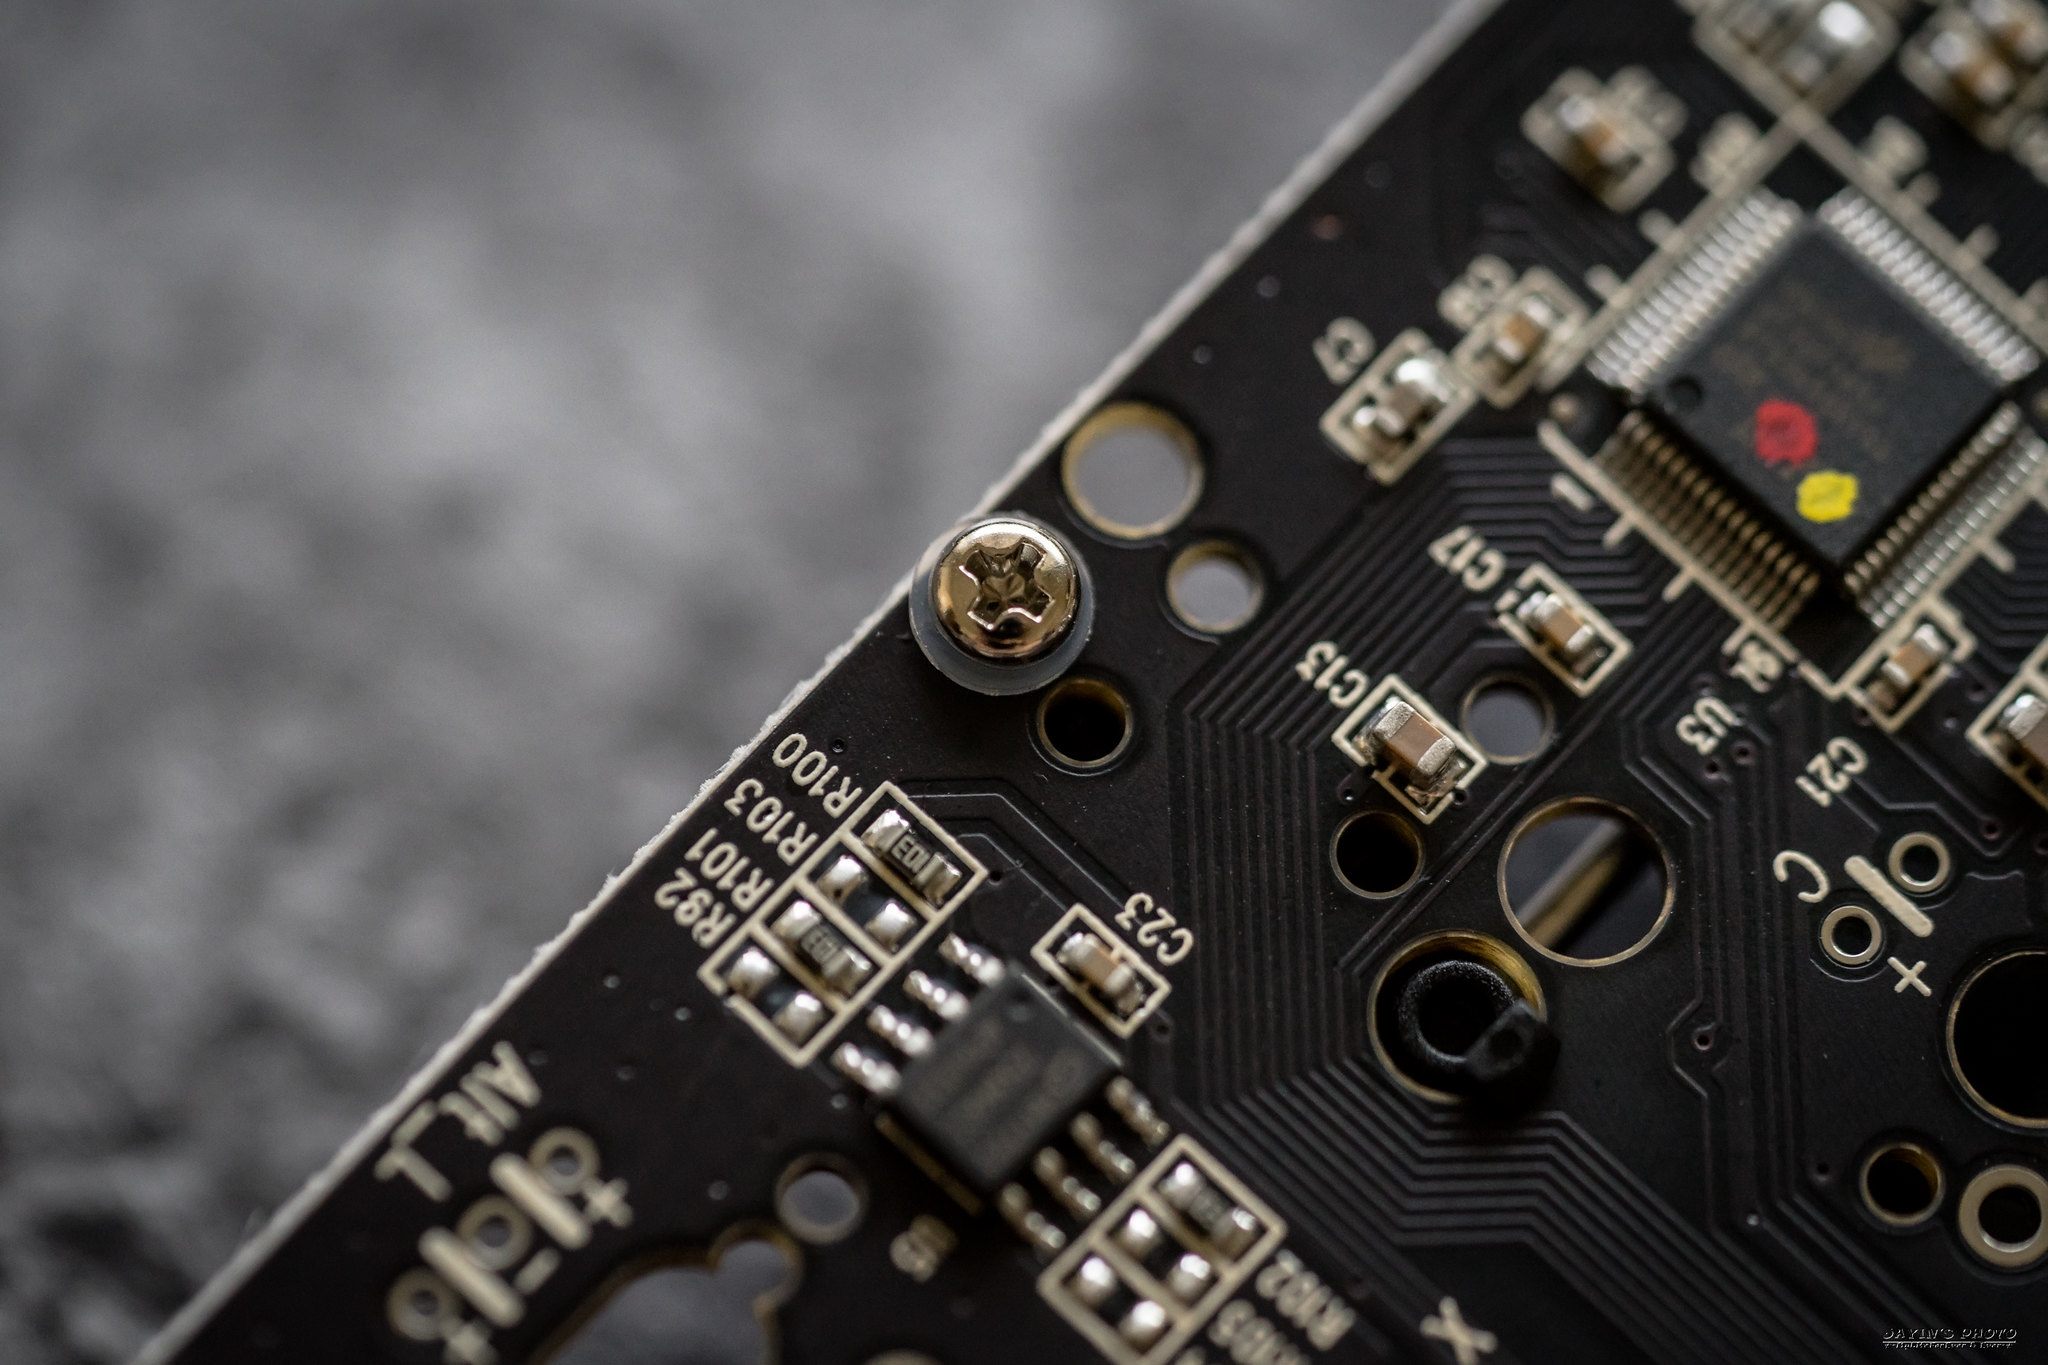
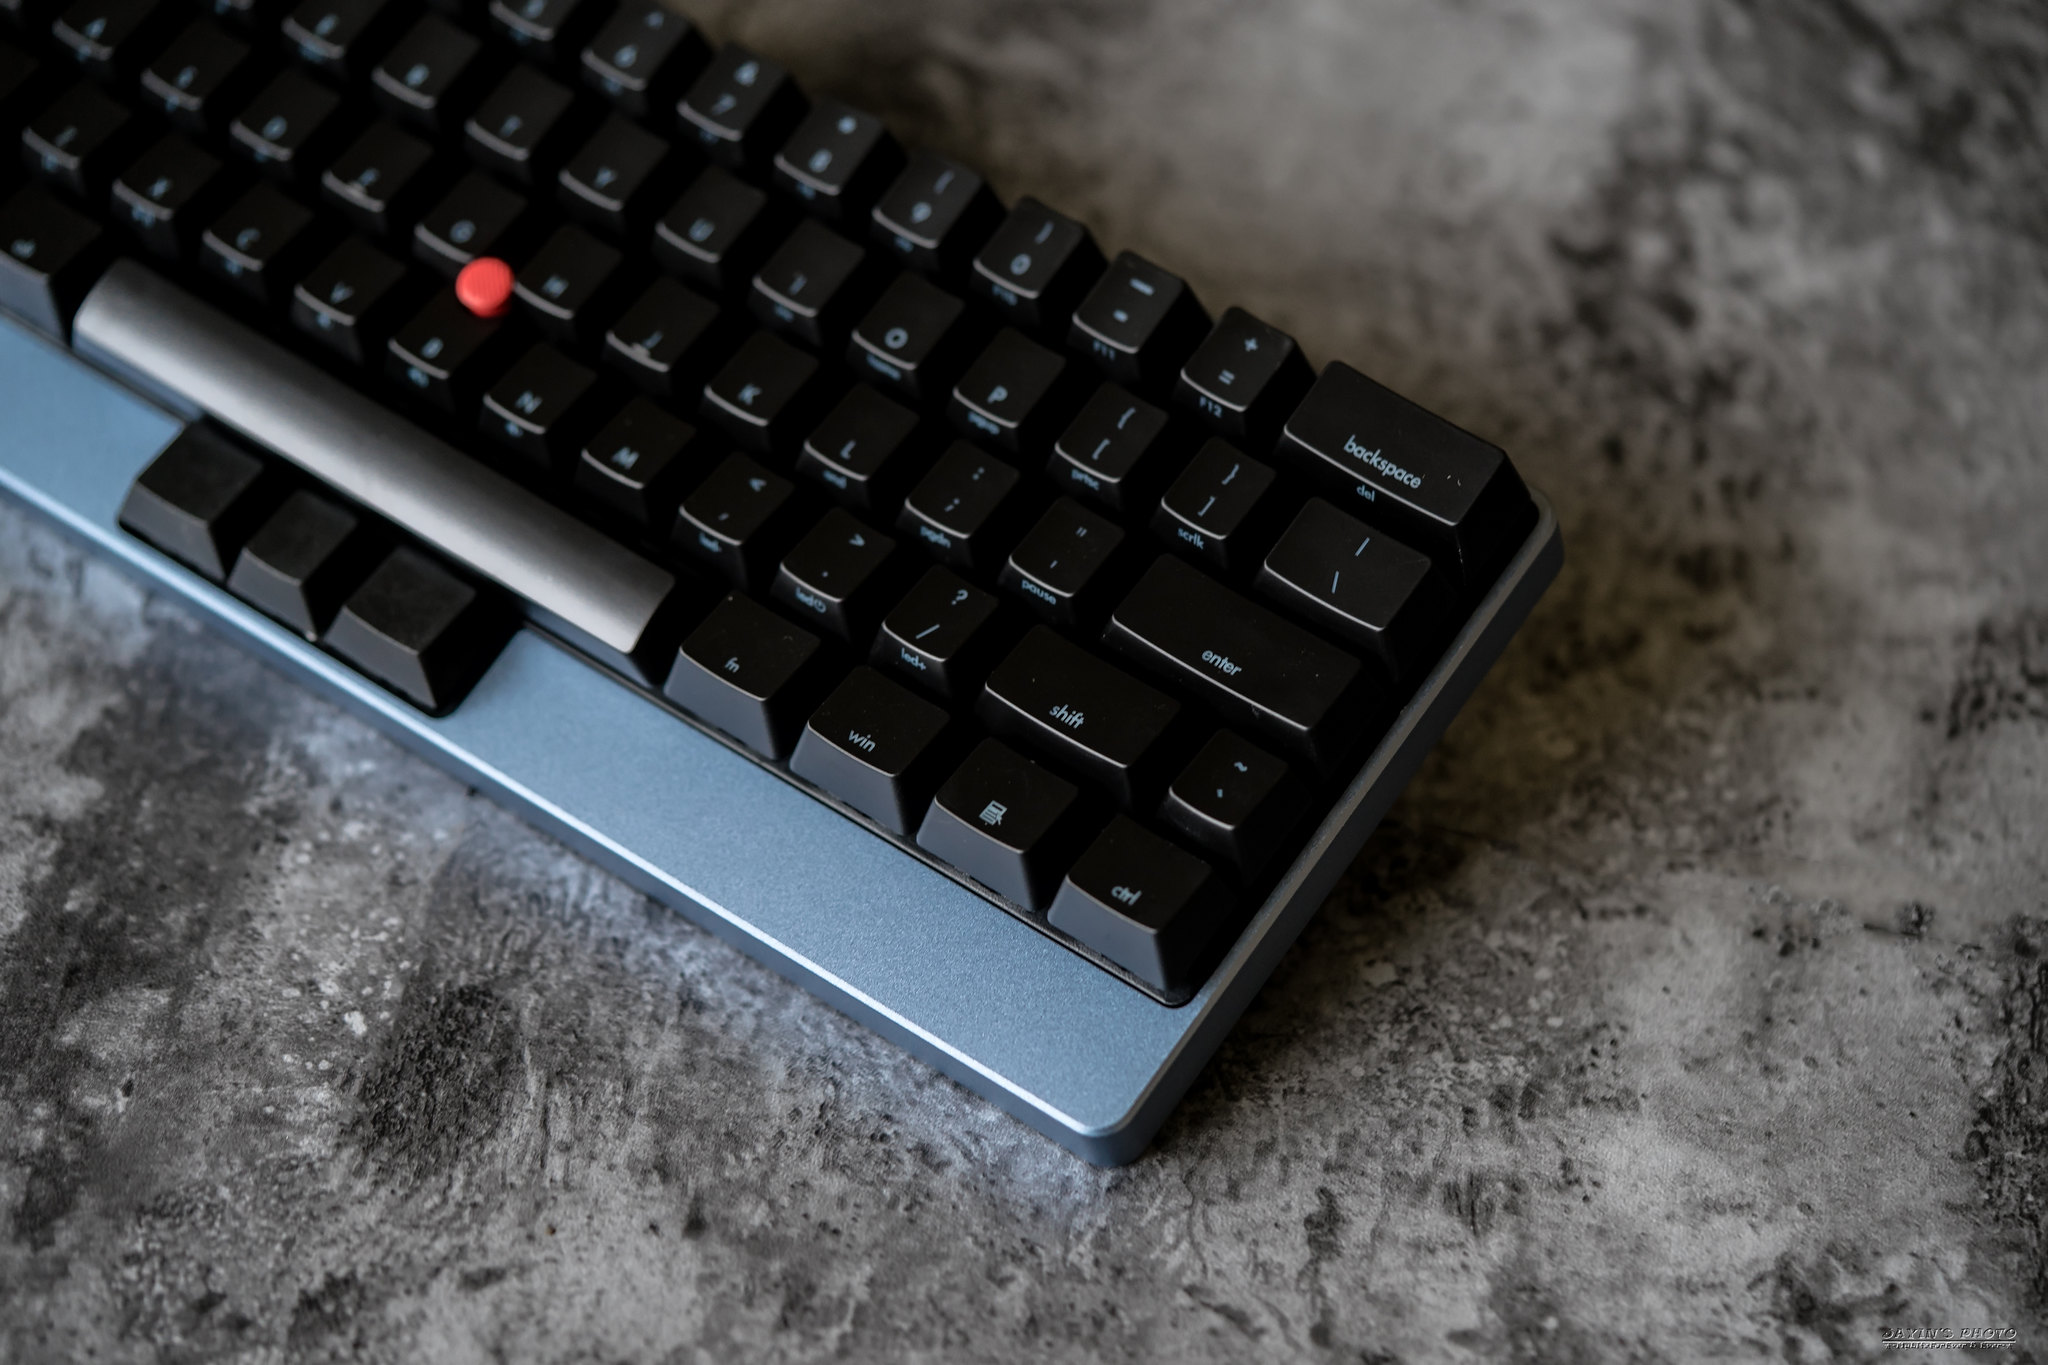
▼看看背面,靠內的四顆螺絲是用來固定PCB和定位板的、最左上和右上的則是鎖鋁腳用的。
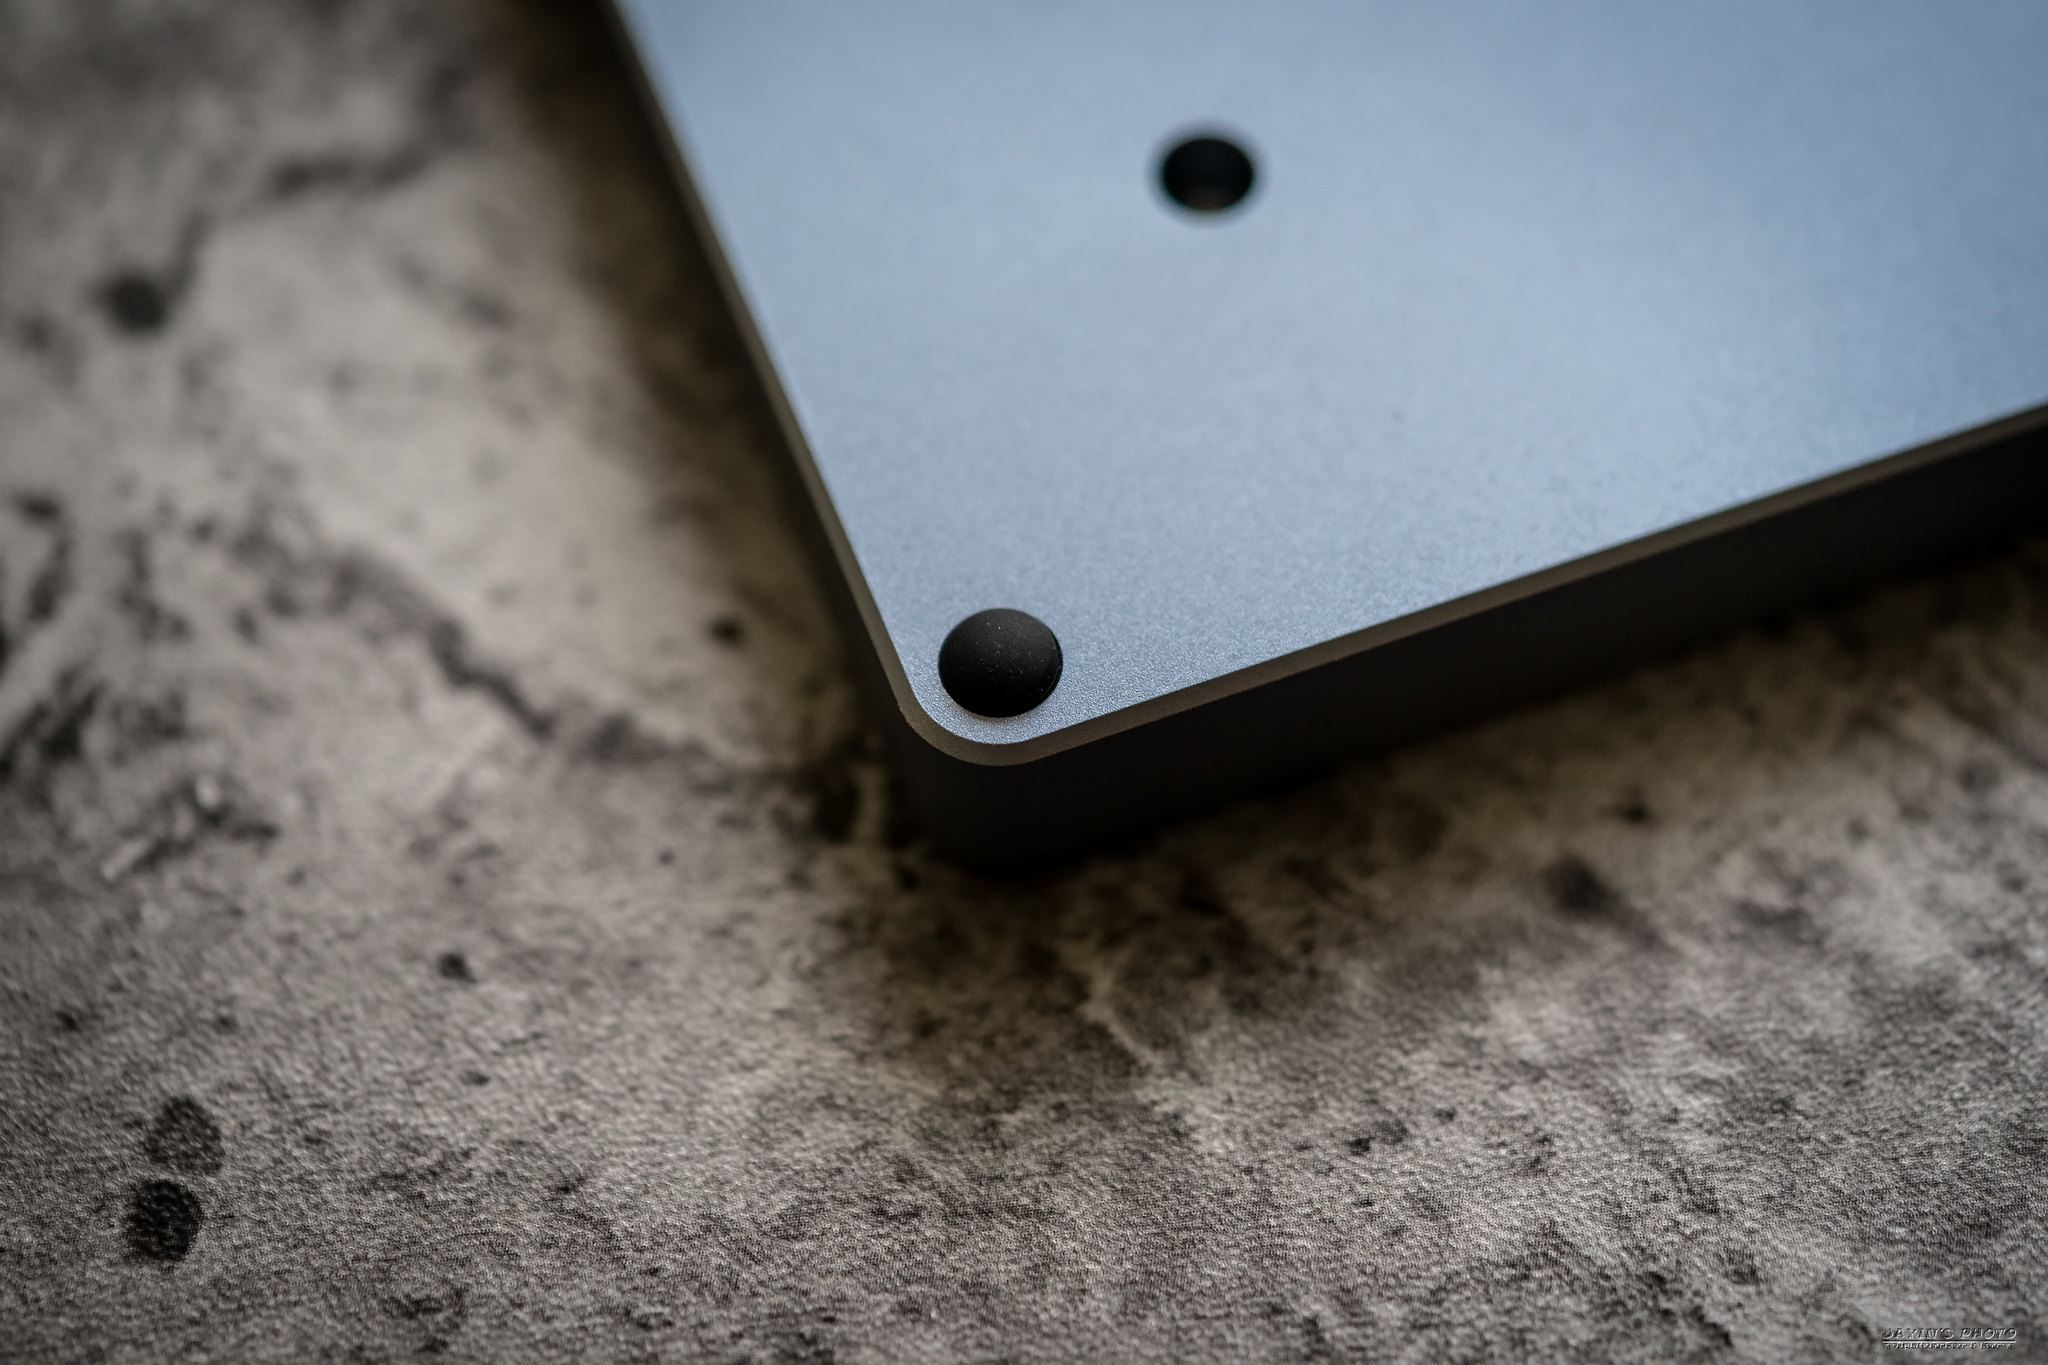
▼黏上腳墊
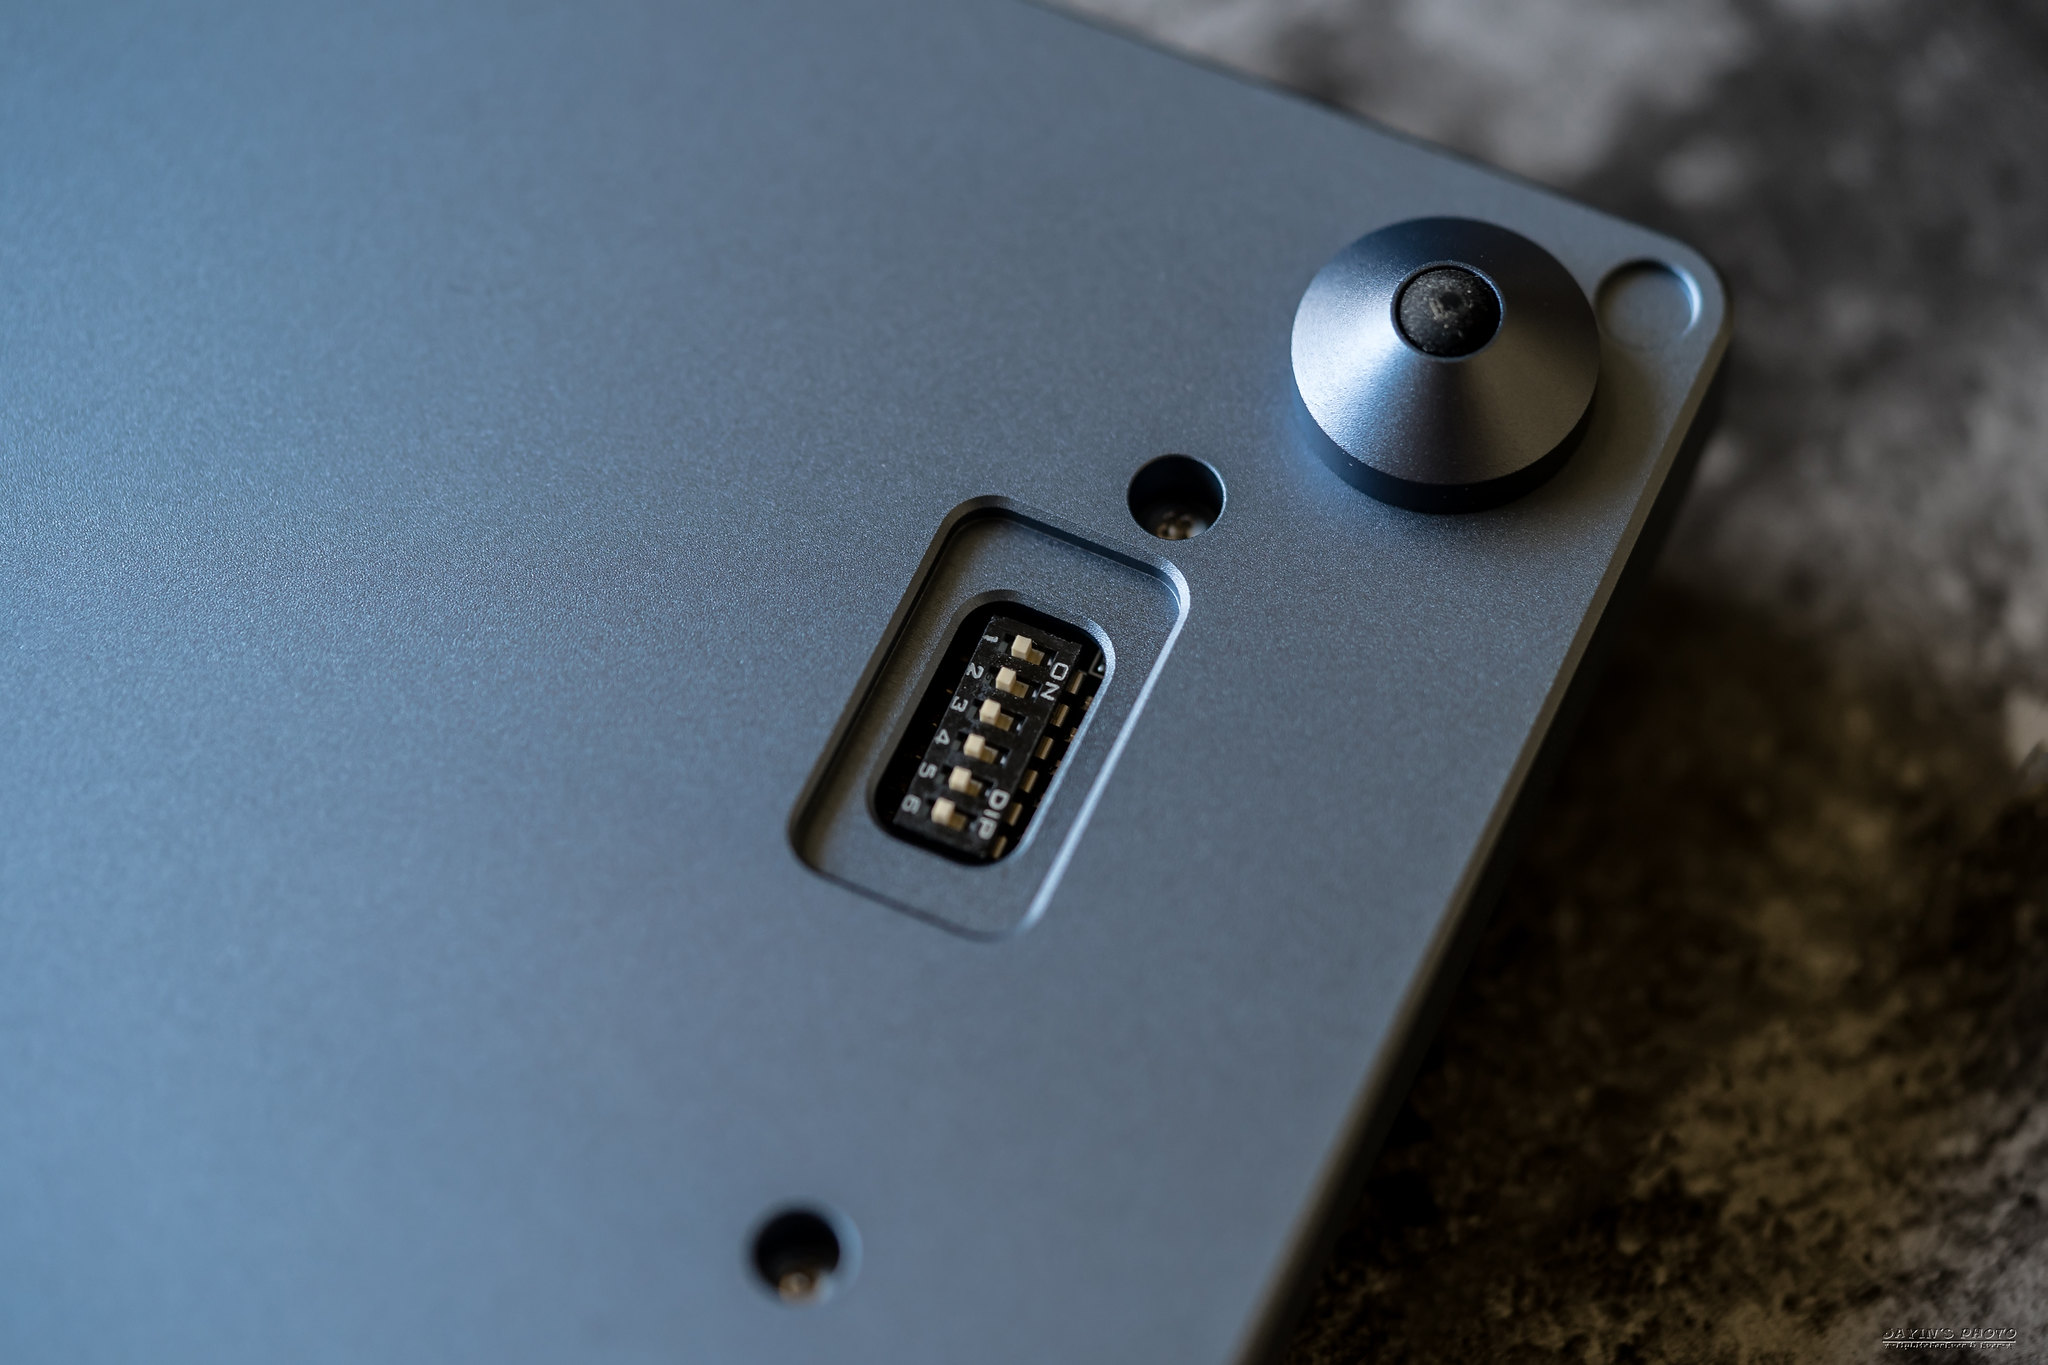
▼鎖上鋁腳,旁邊則是DIP Switch。
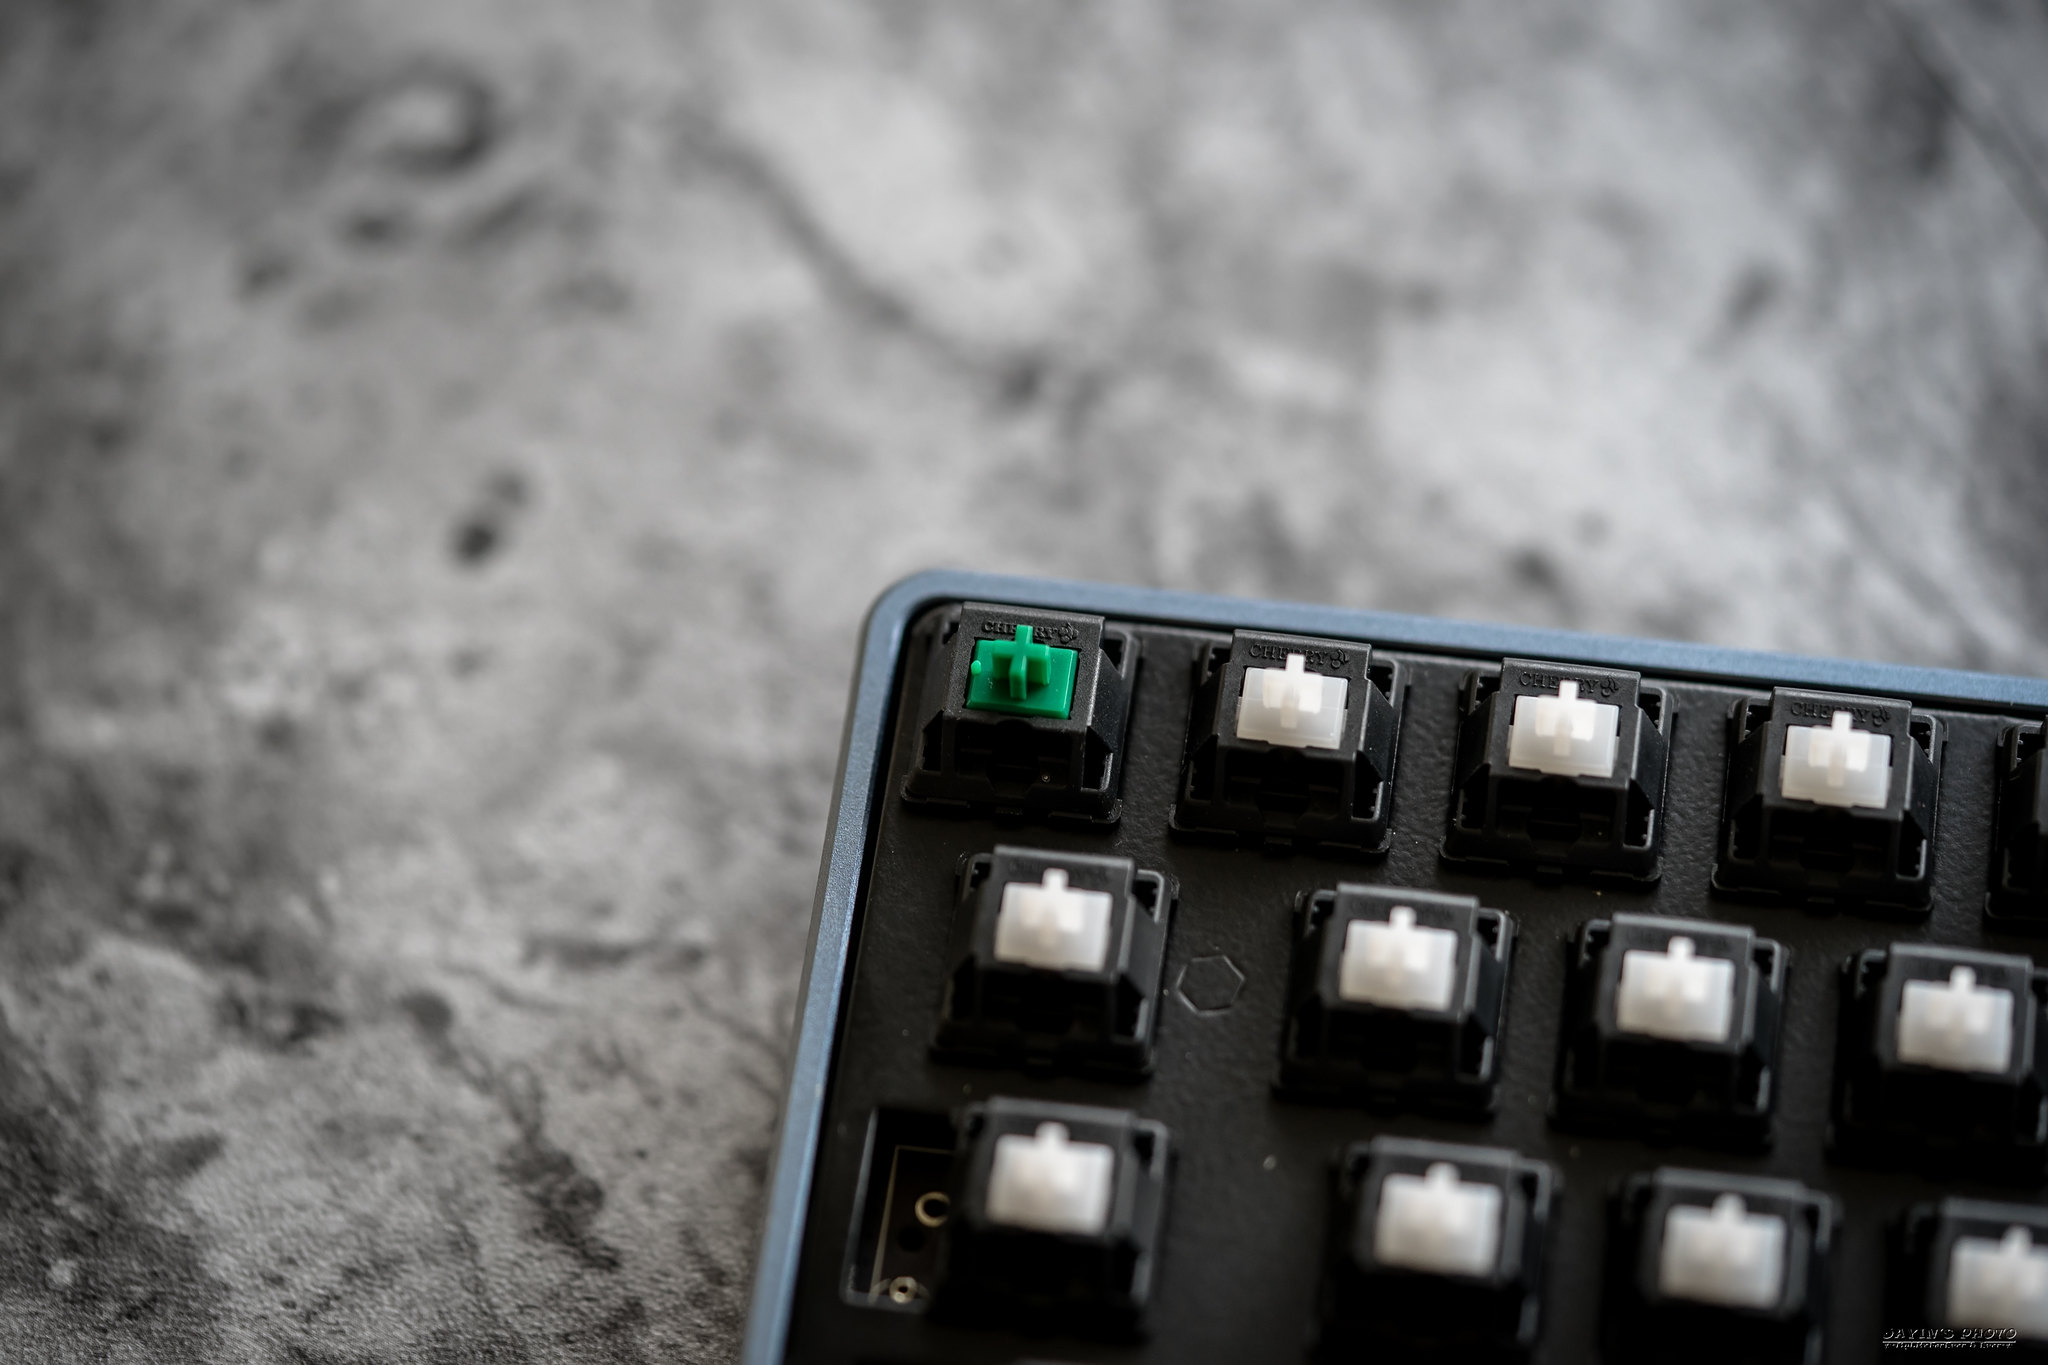
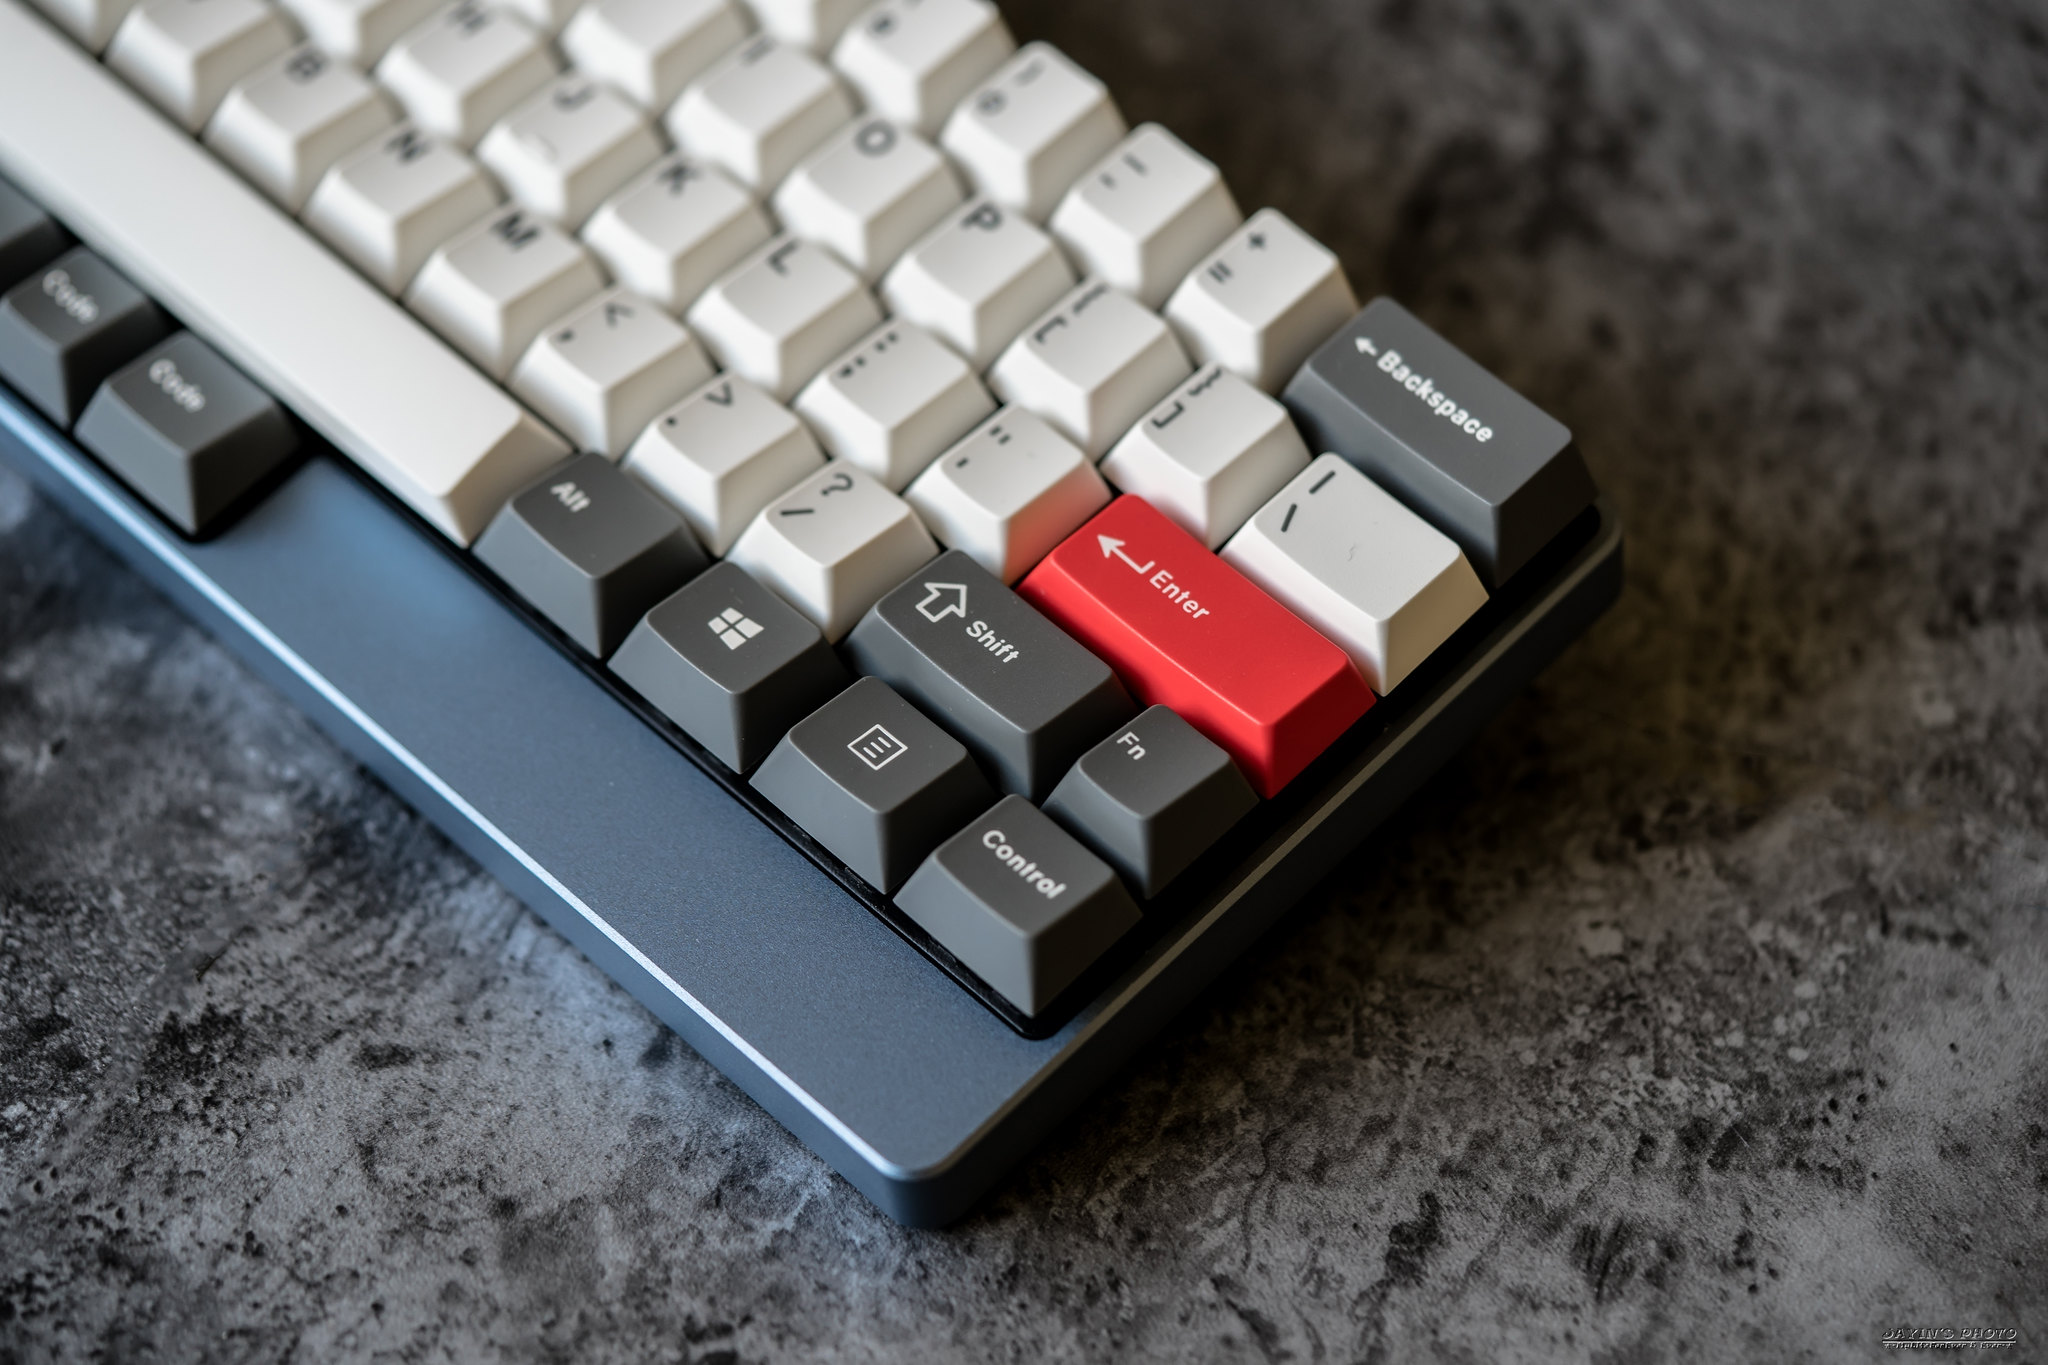
▼螺絲衛星軸,右上則是下三賤…不對,是下三鍵的鍵帽。
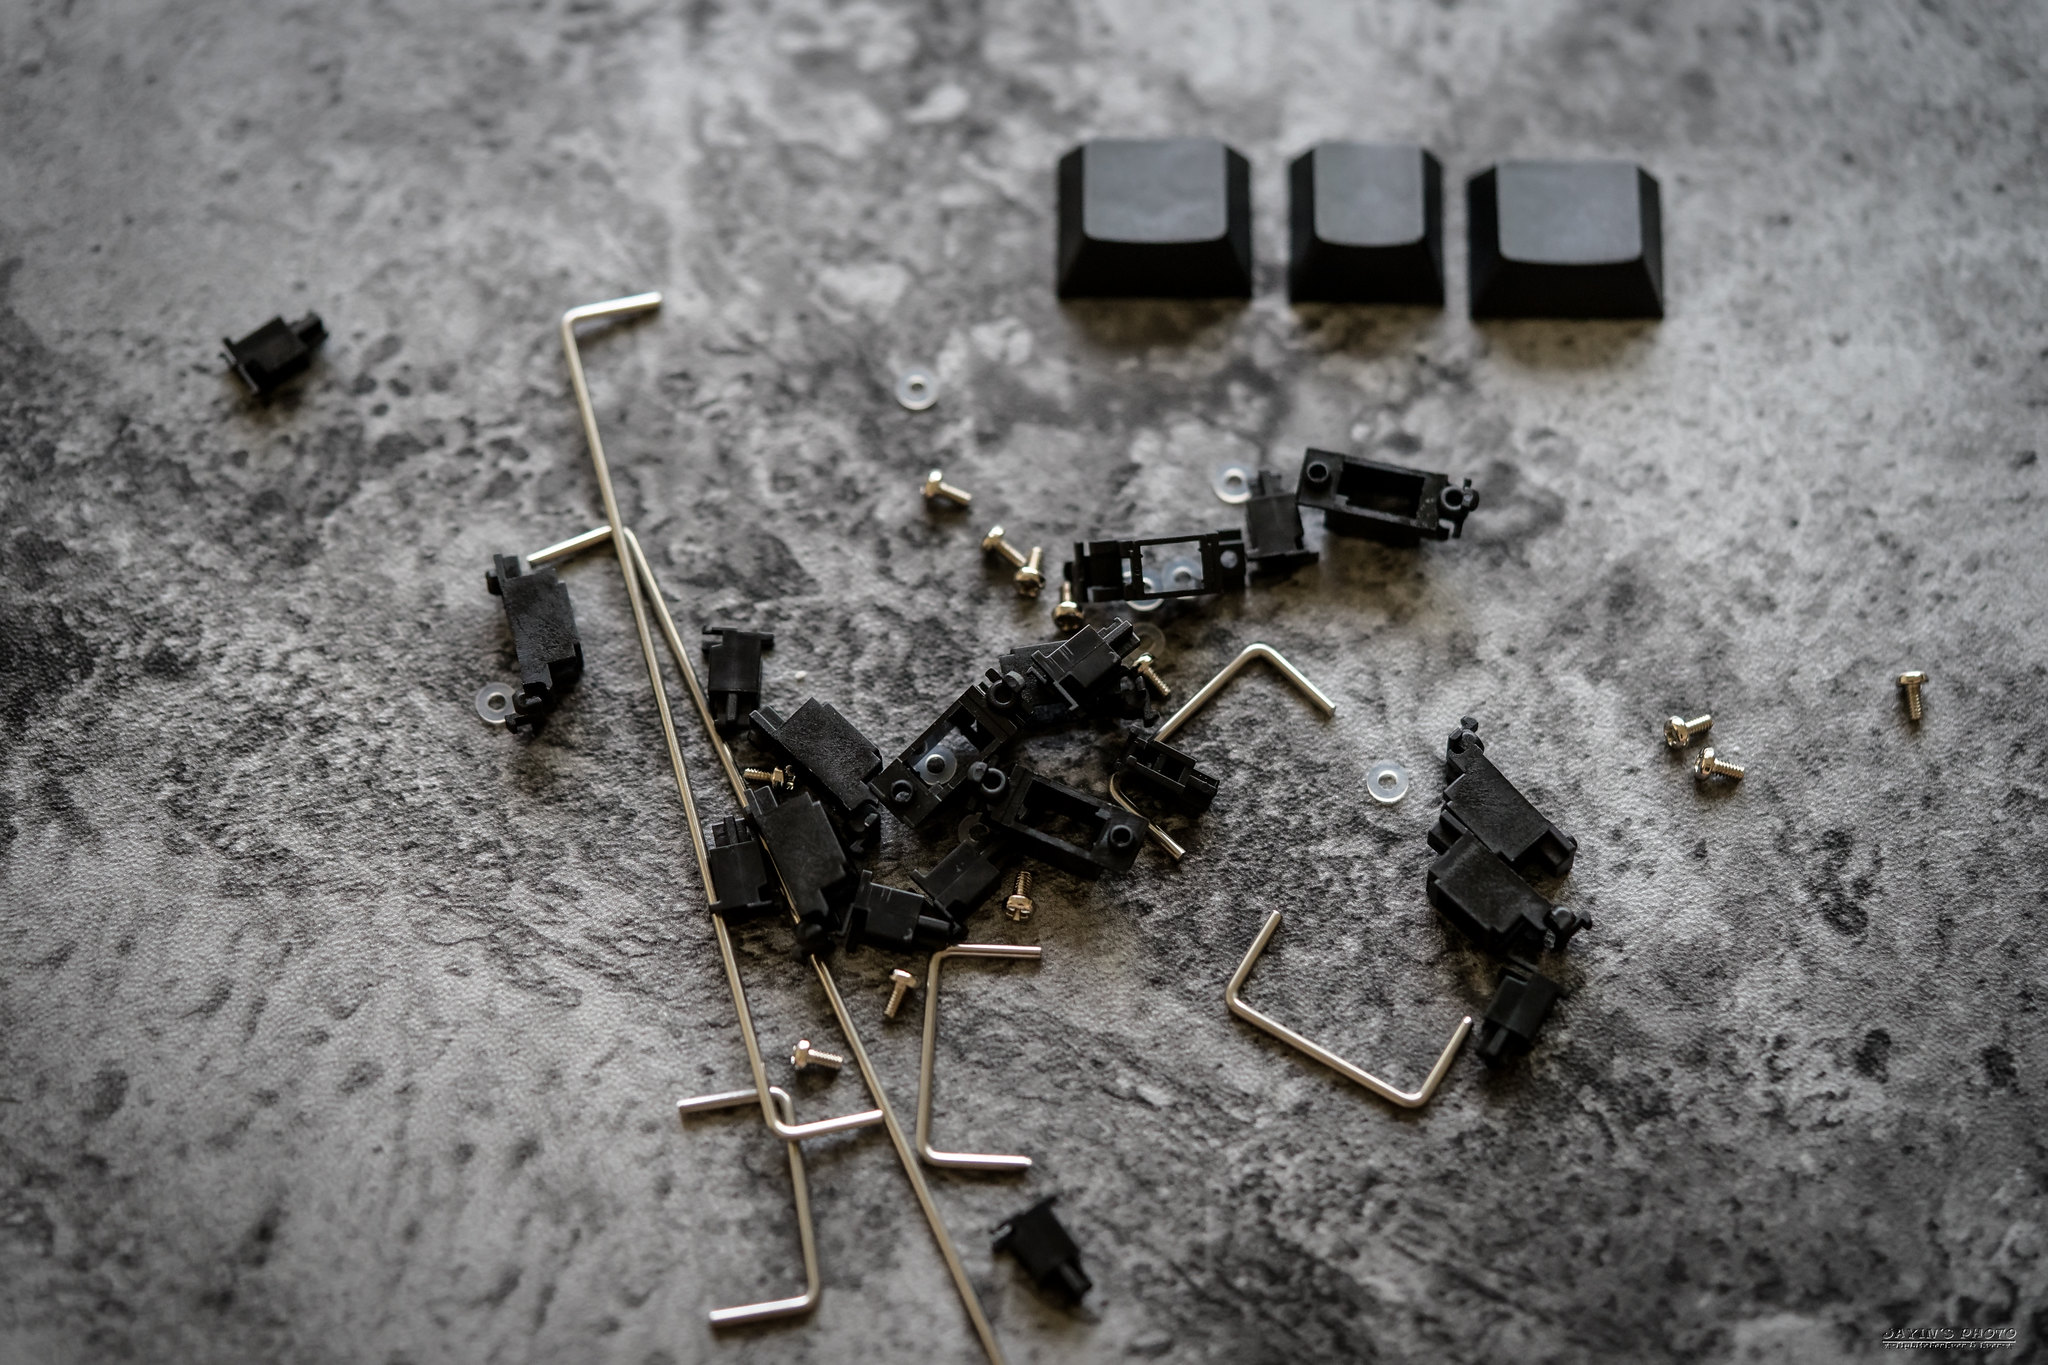
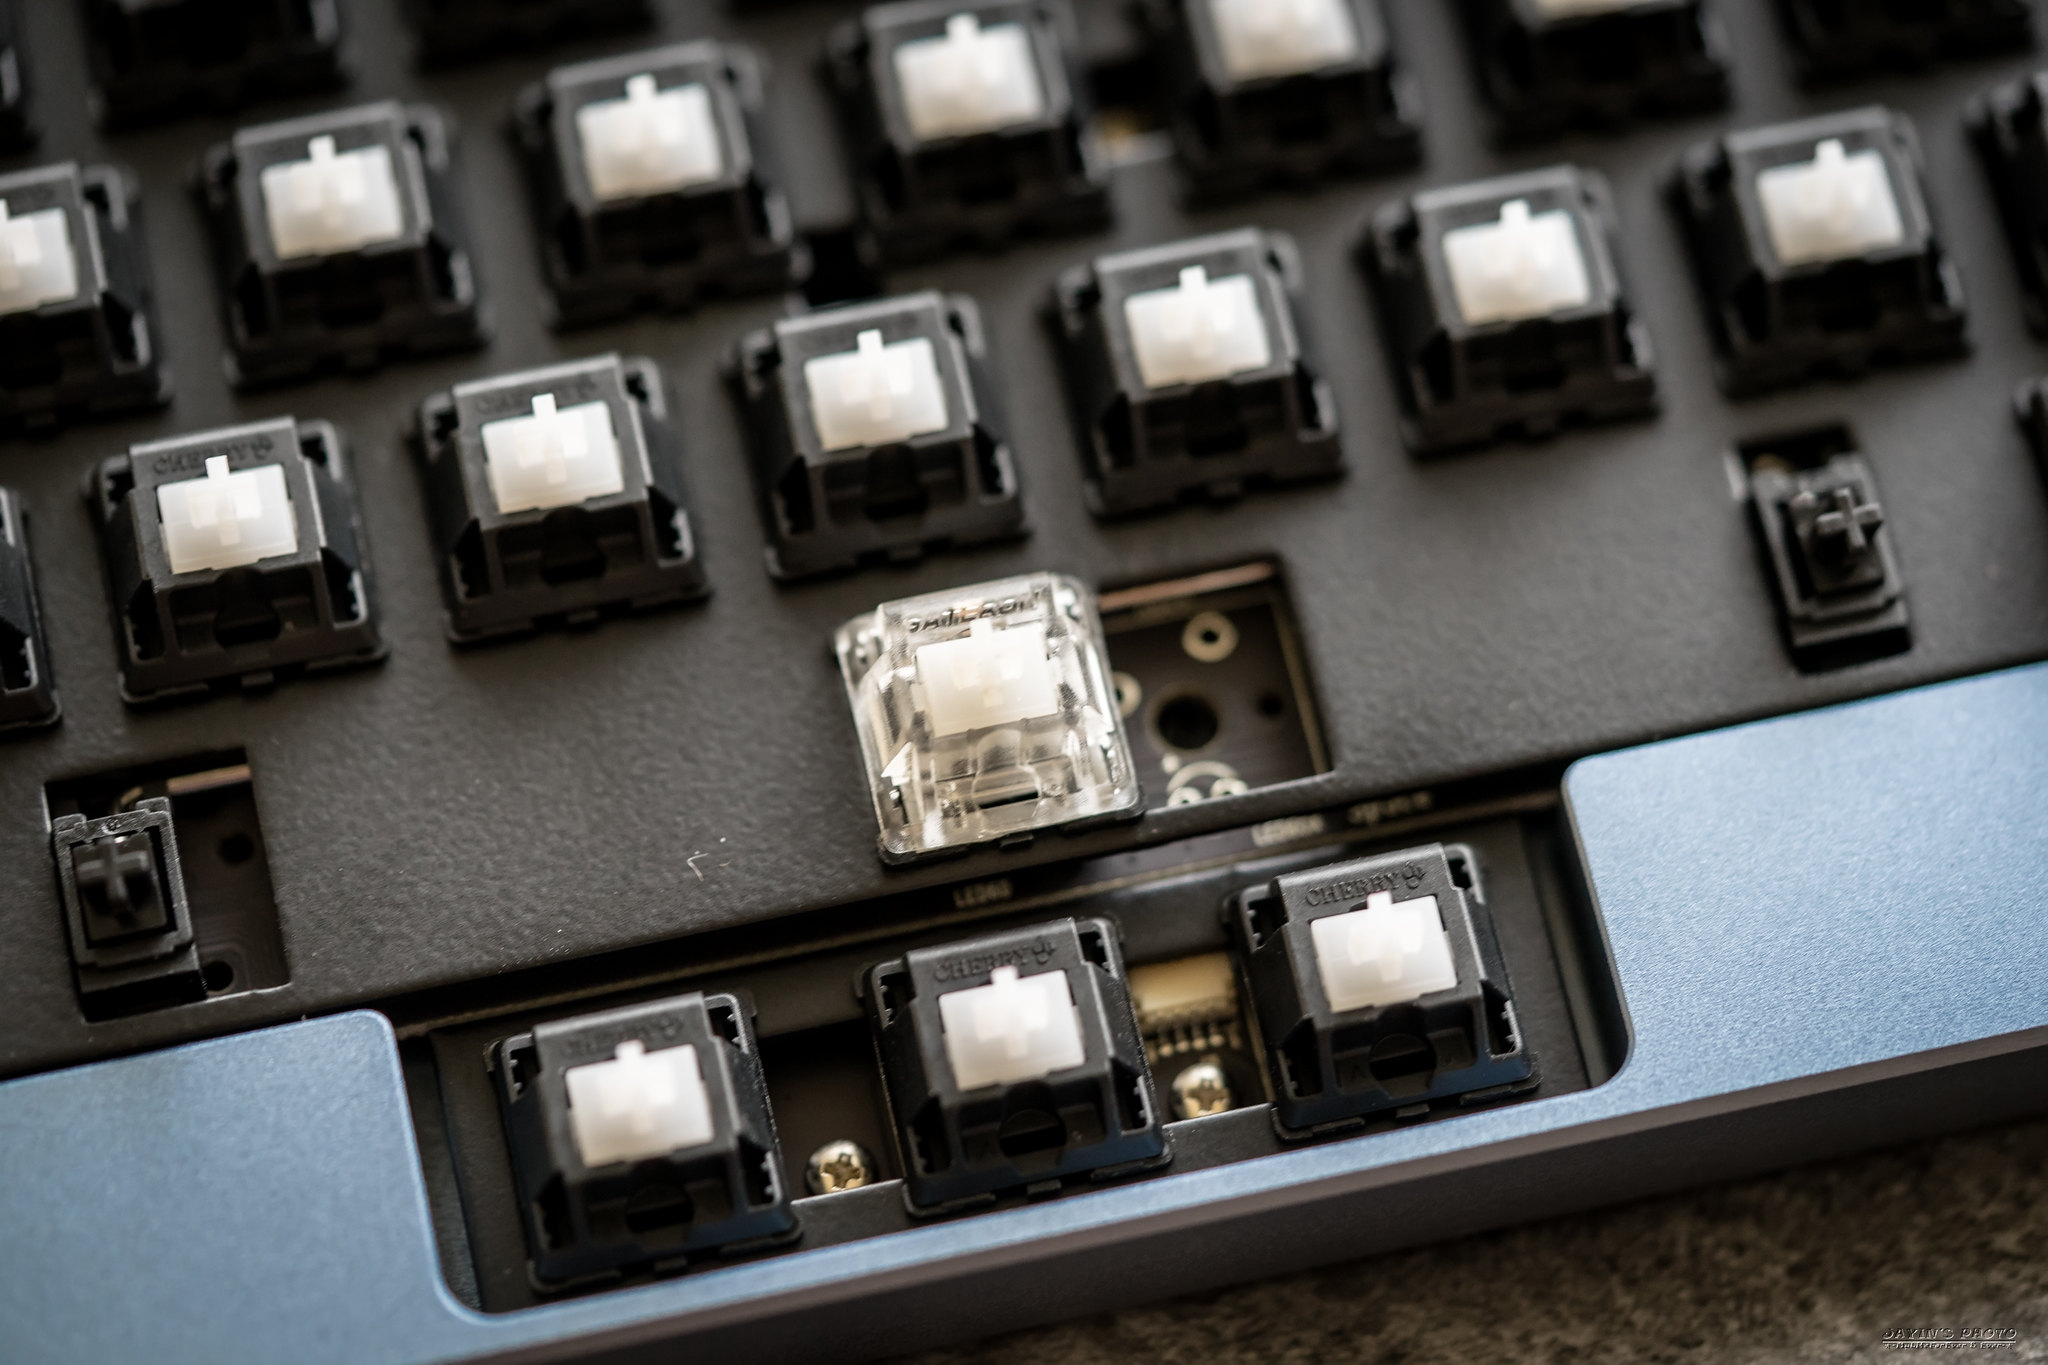
▼為了避免因衛星軸鎖上螺絲而造成短路,所以有附上墊片,真是佛心來著。
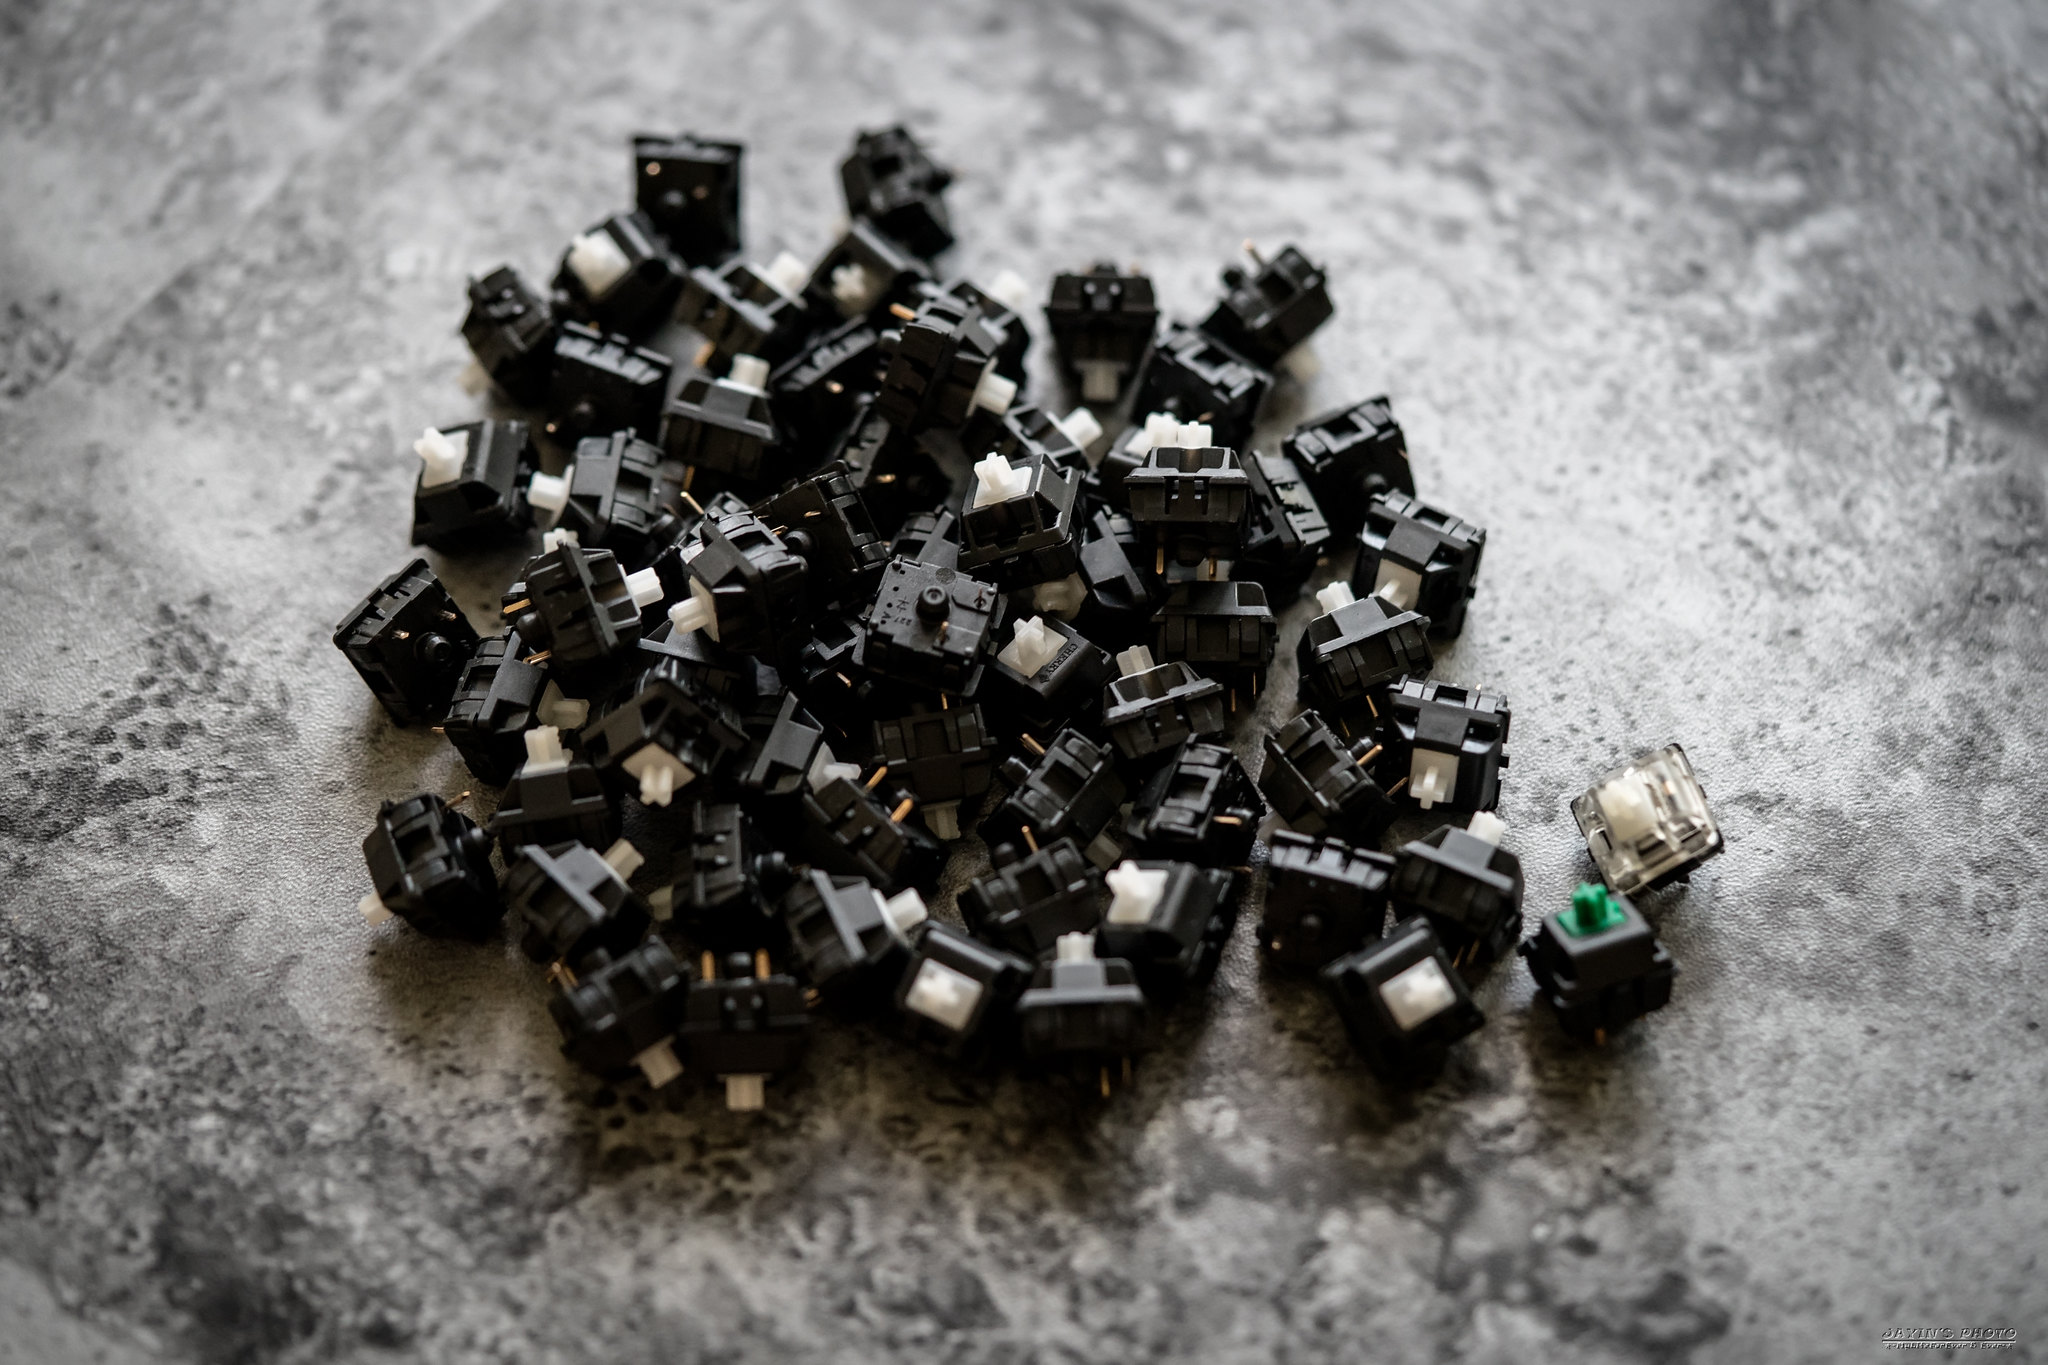
▼這次要用的是白軸改sprit 62g彈簧,esc打算用綠軸,透明軸蓋的則是白軸改黑軸彈簧,給空白鍵用。
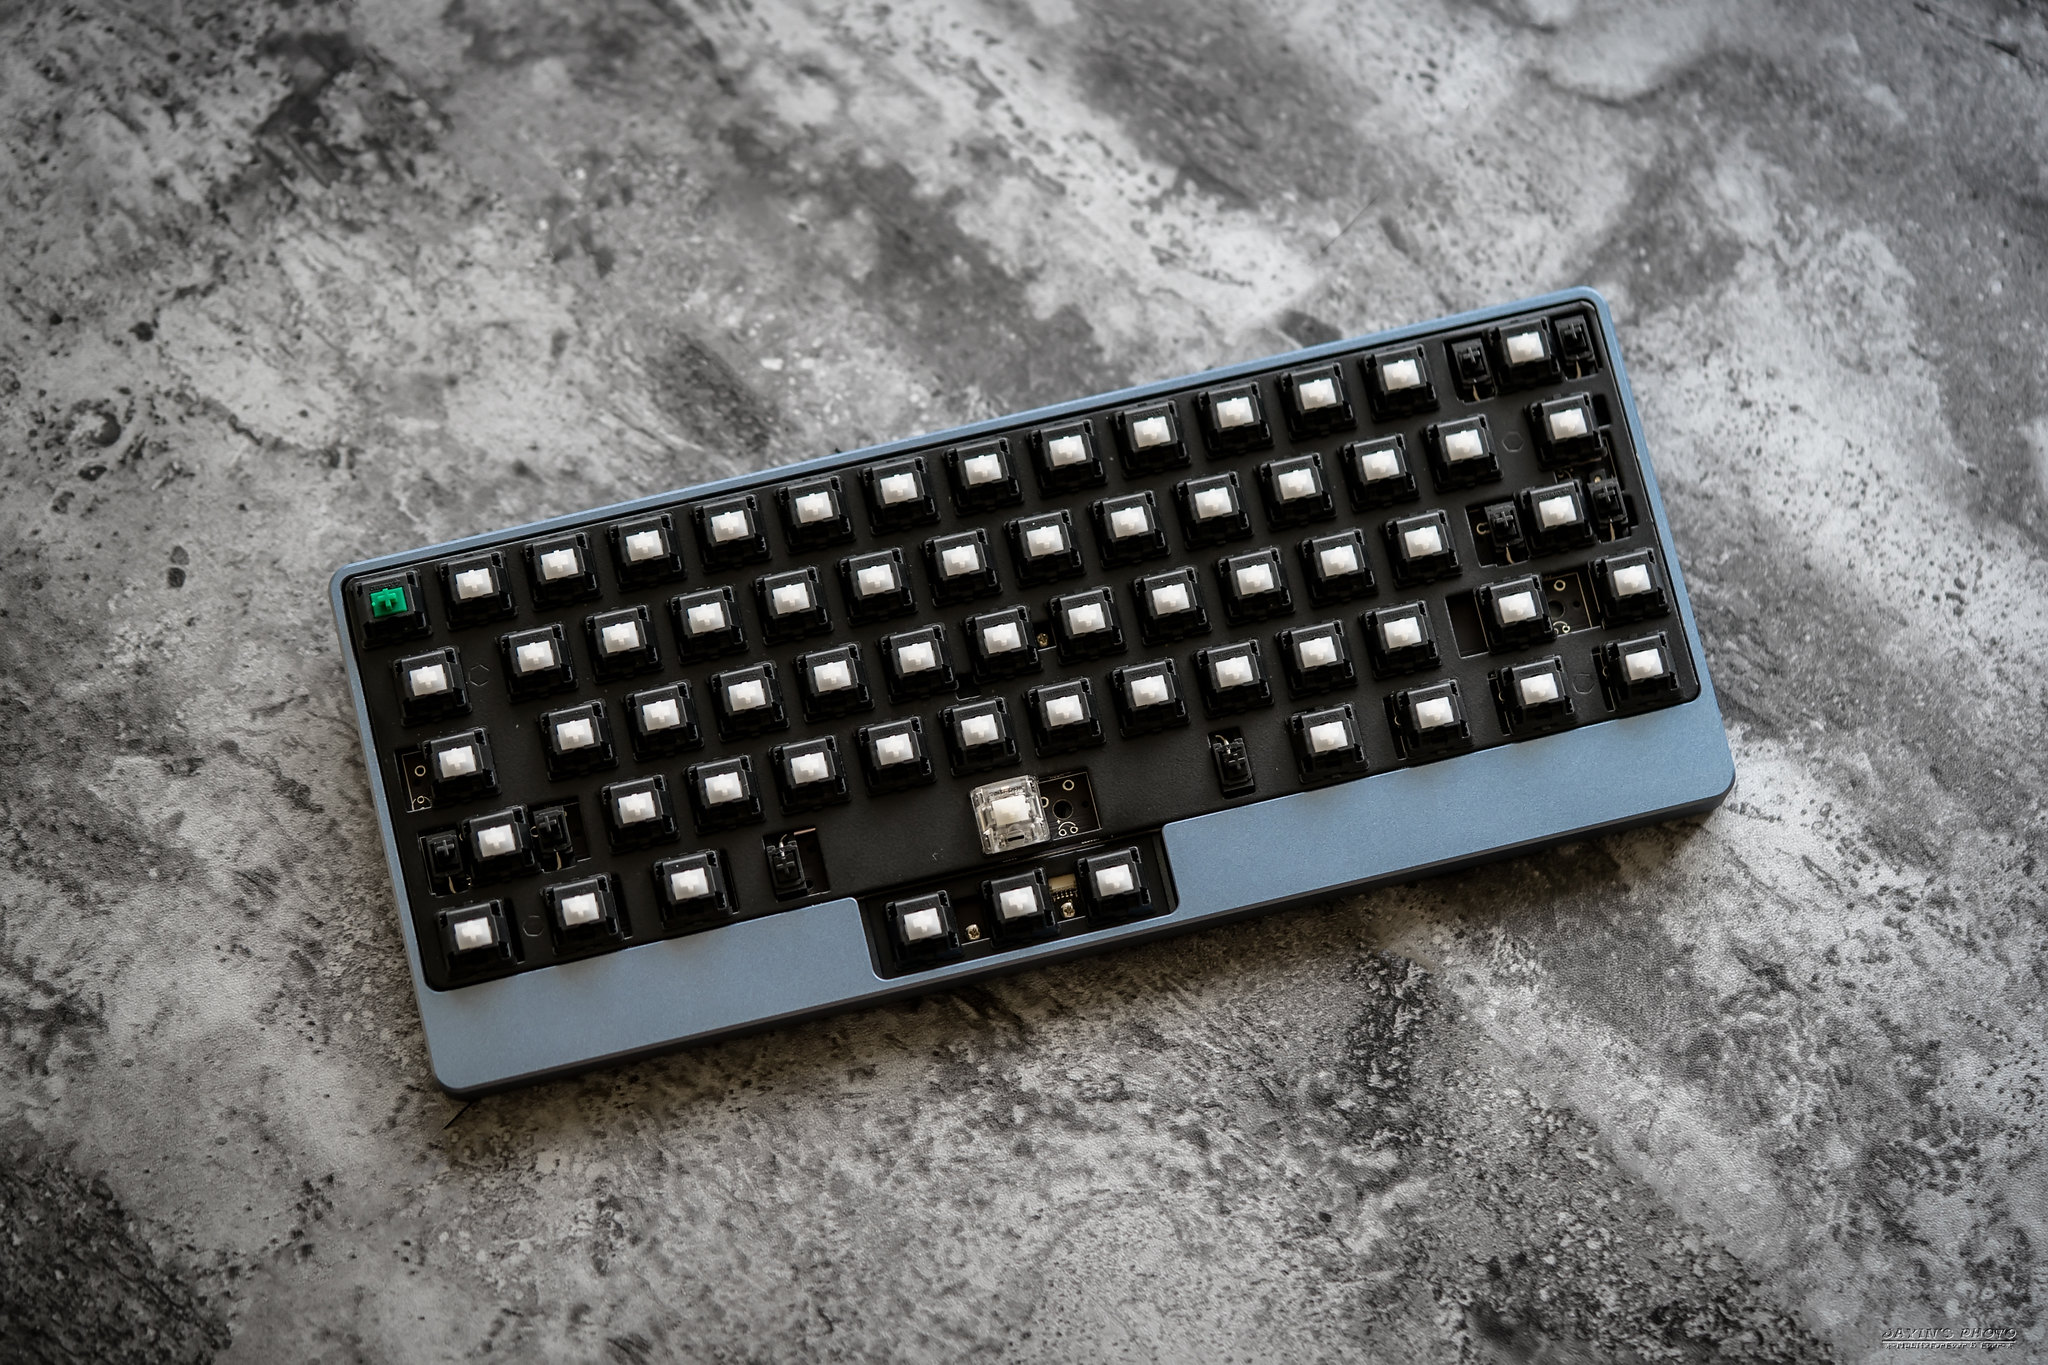
▼咻一下組裝完惹
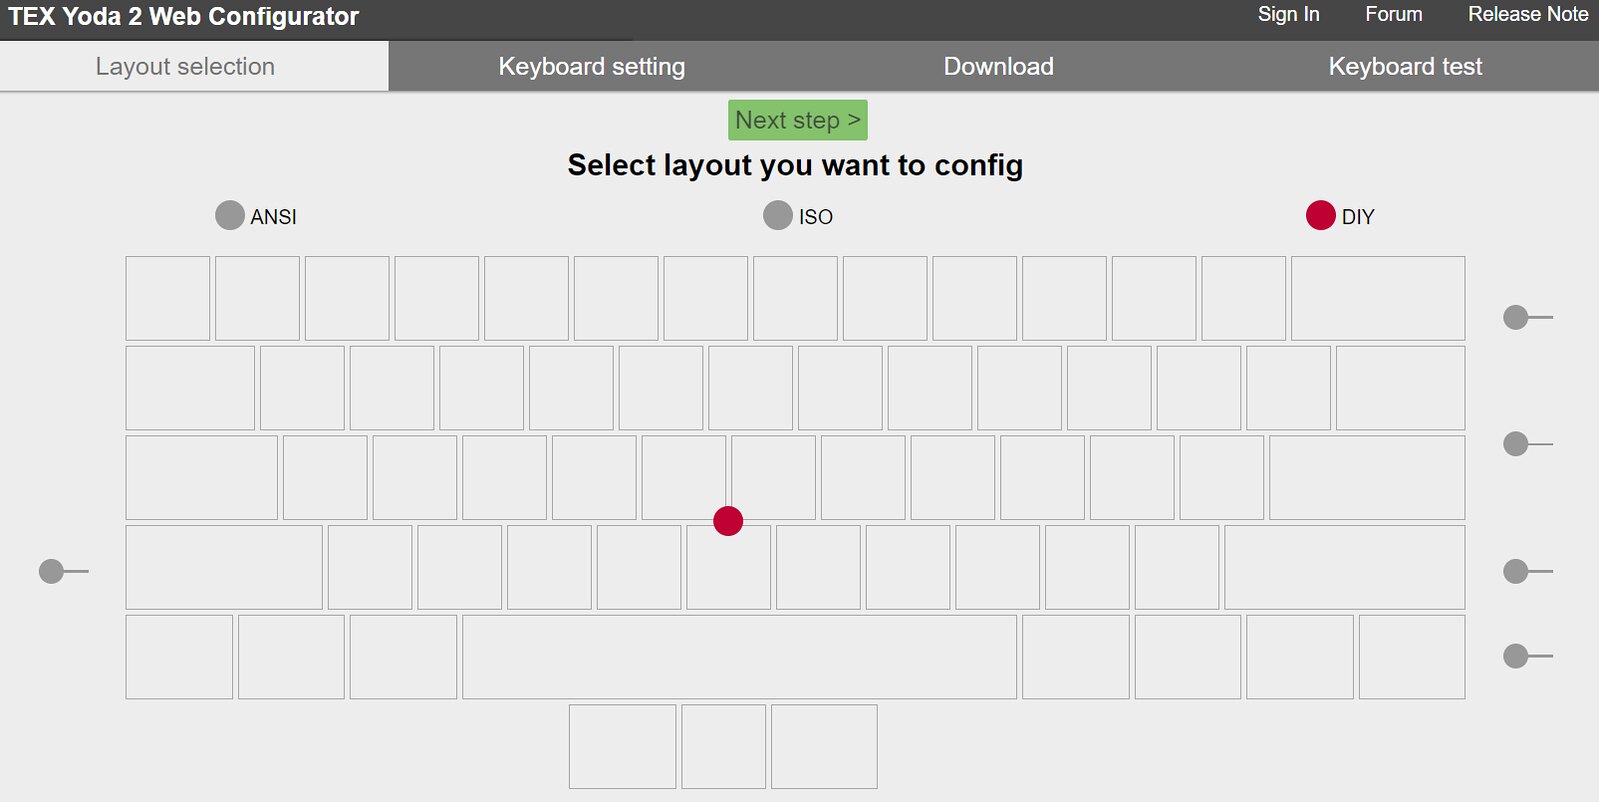
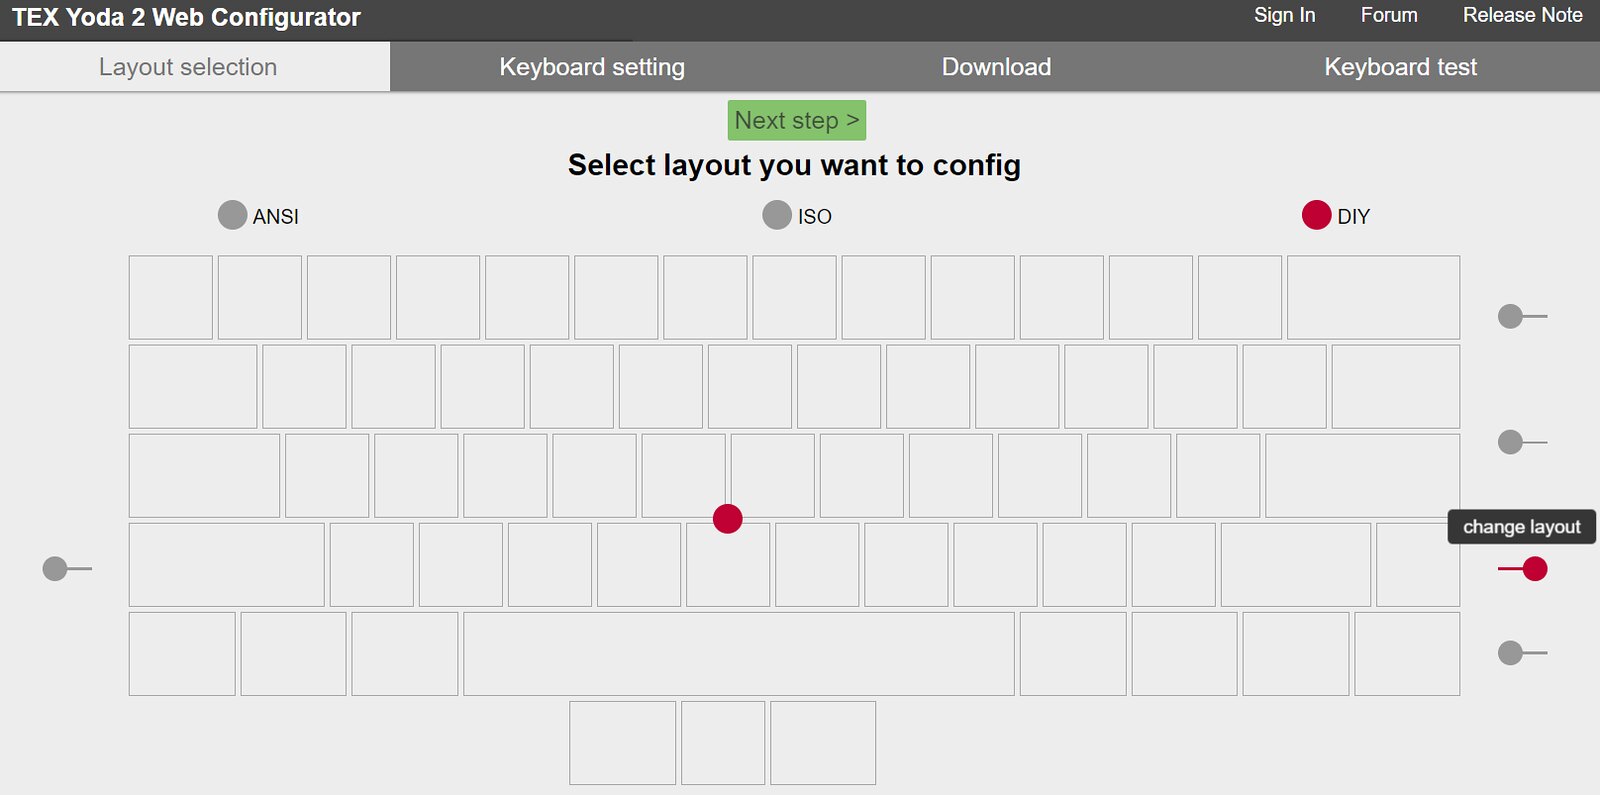
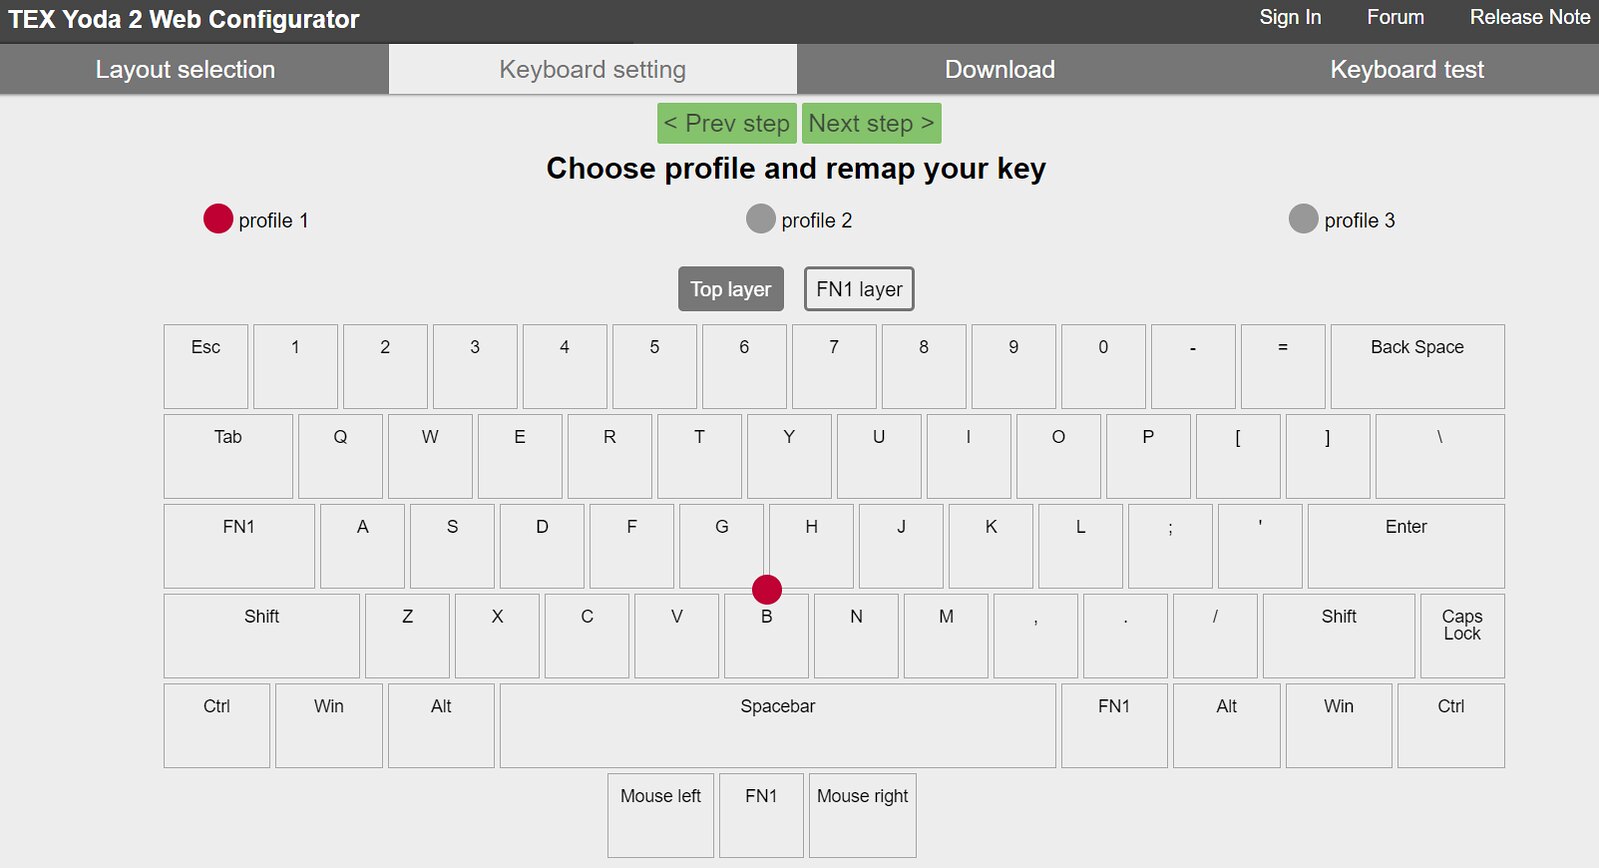
▼TEX在官網提供了Yoda II的線上編輯器,網址是:https://yoda2.tex-design.com.tw,也用心地分了幾個步驟來教學。首先是選layout,我選最右邊的DIY,如此才可以變動
▼長鍵可以也可以拆分
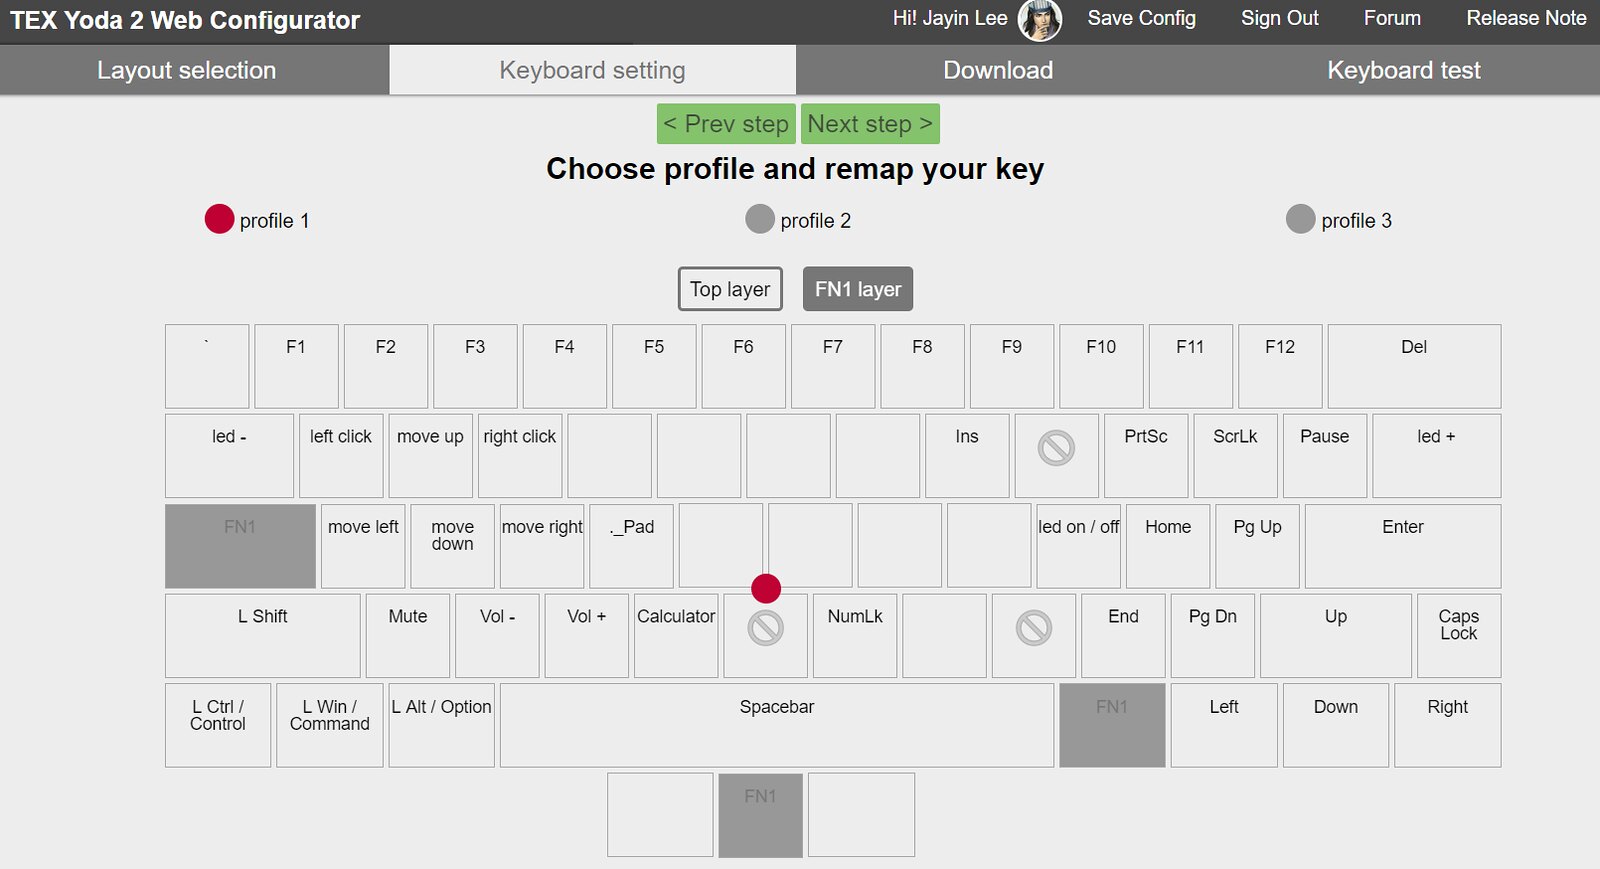
▼再來就是我的Layer0跟Layer1
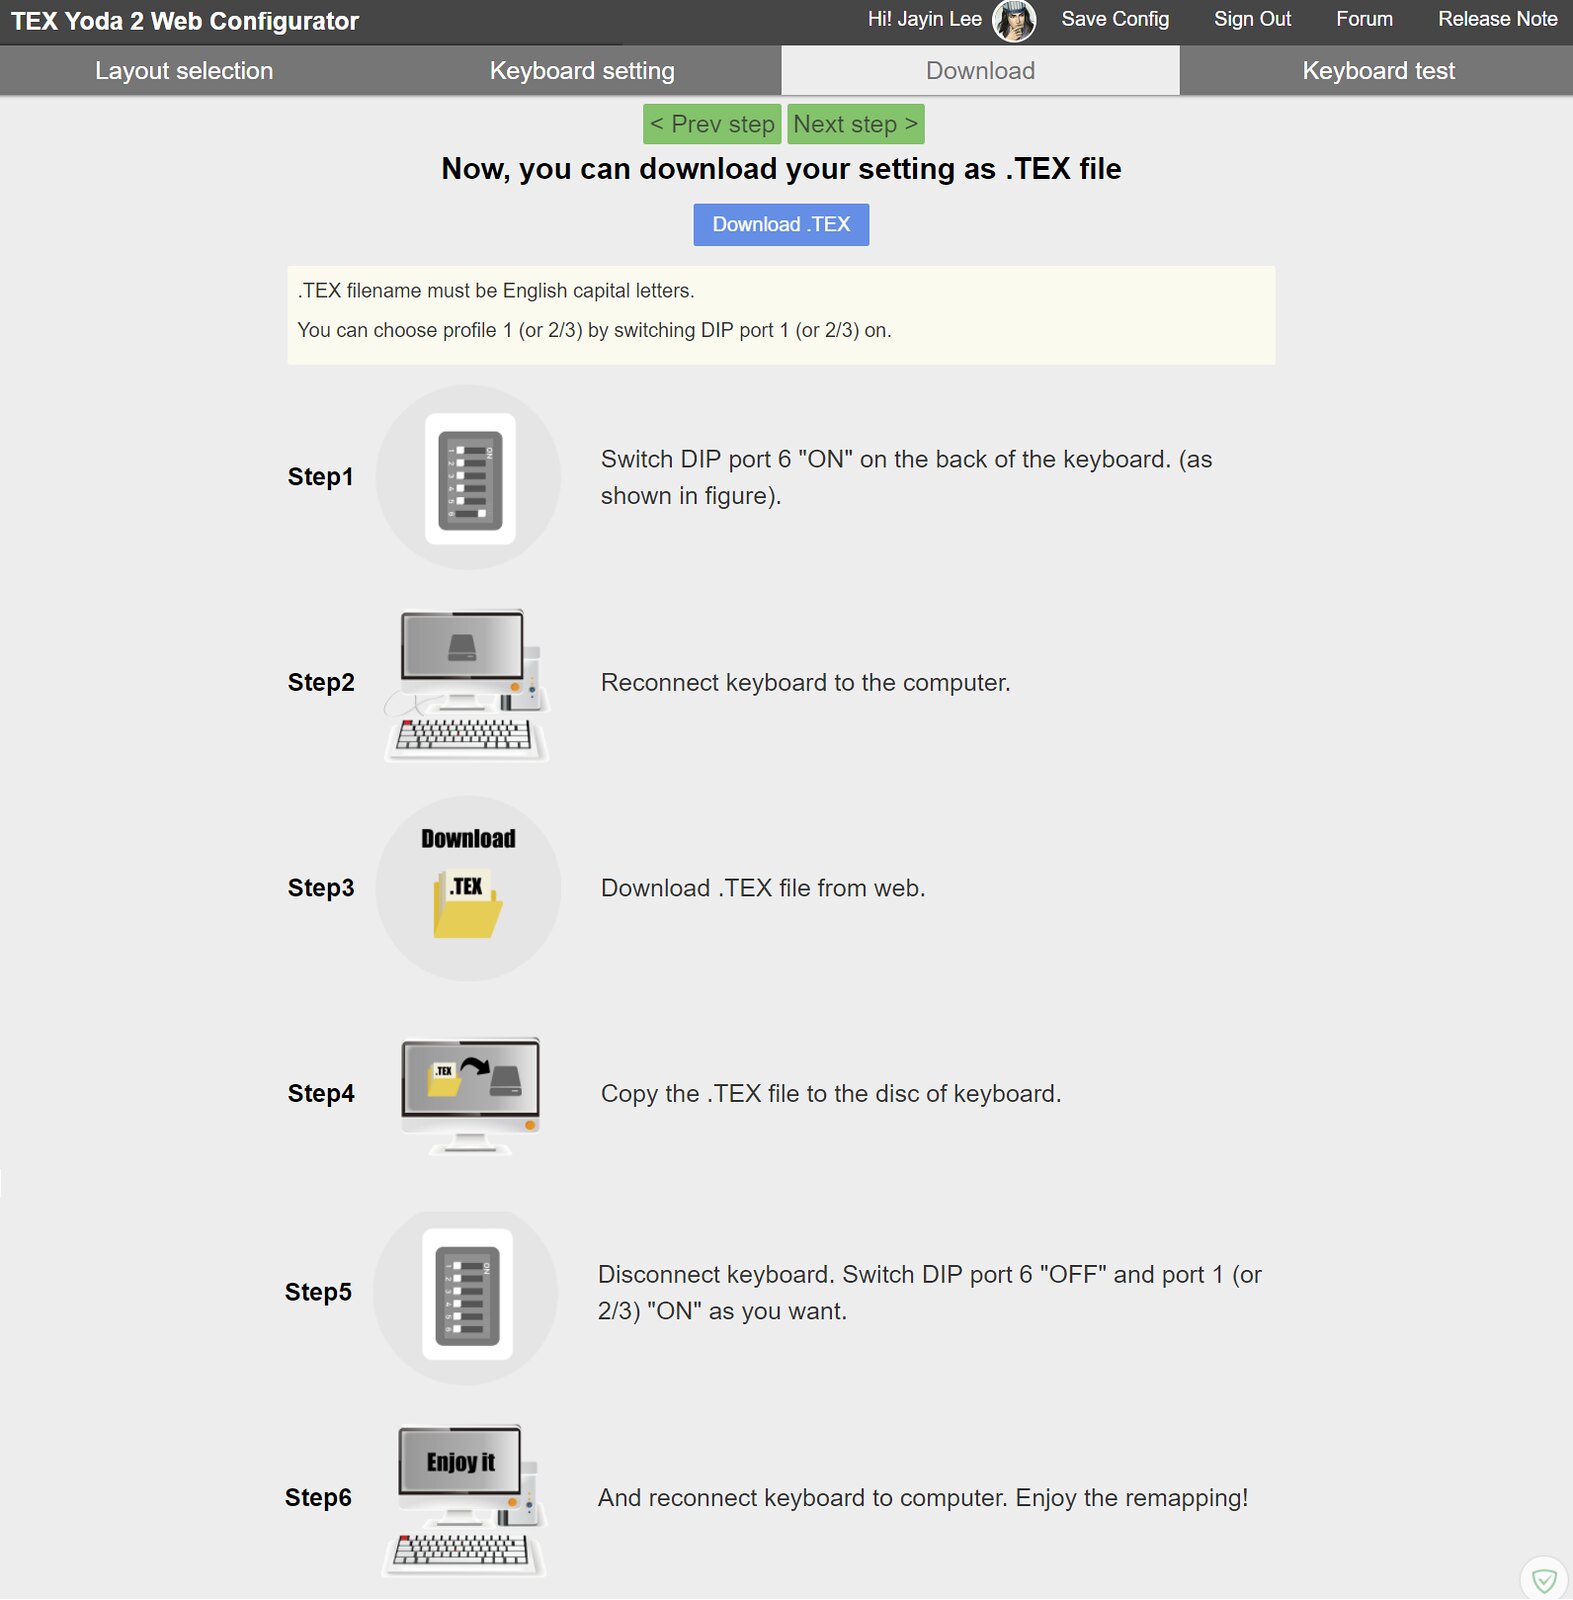
▼第三頁的Download,也有教學怎麼將keymap安裝到鍵盤中
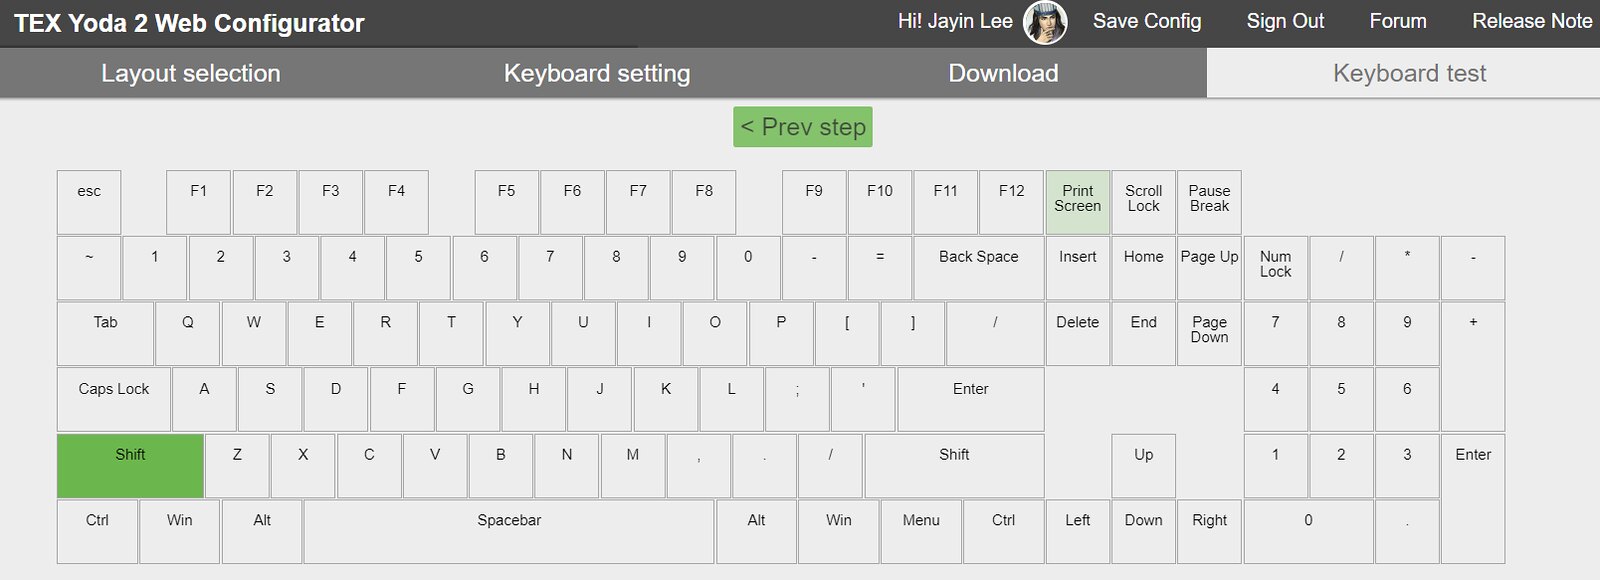
▼而最後一頁的Keyboard test還可以即時測試鍵盤功能。
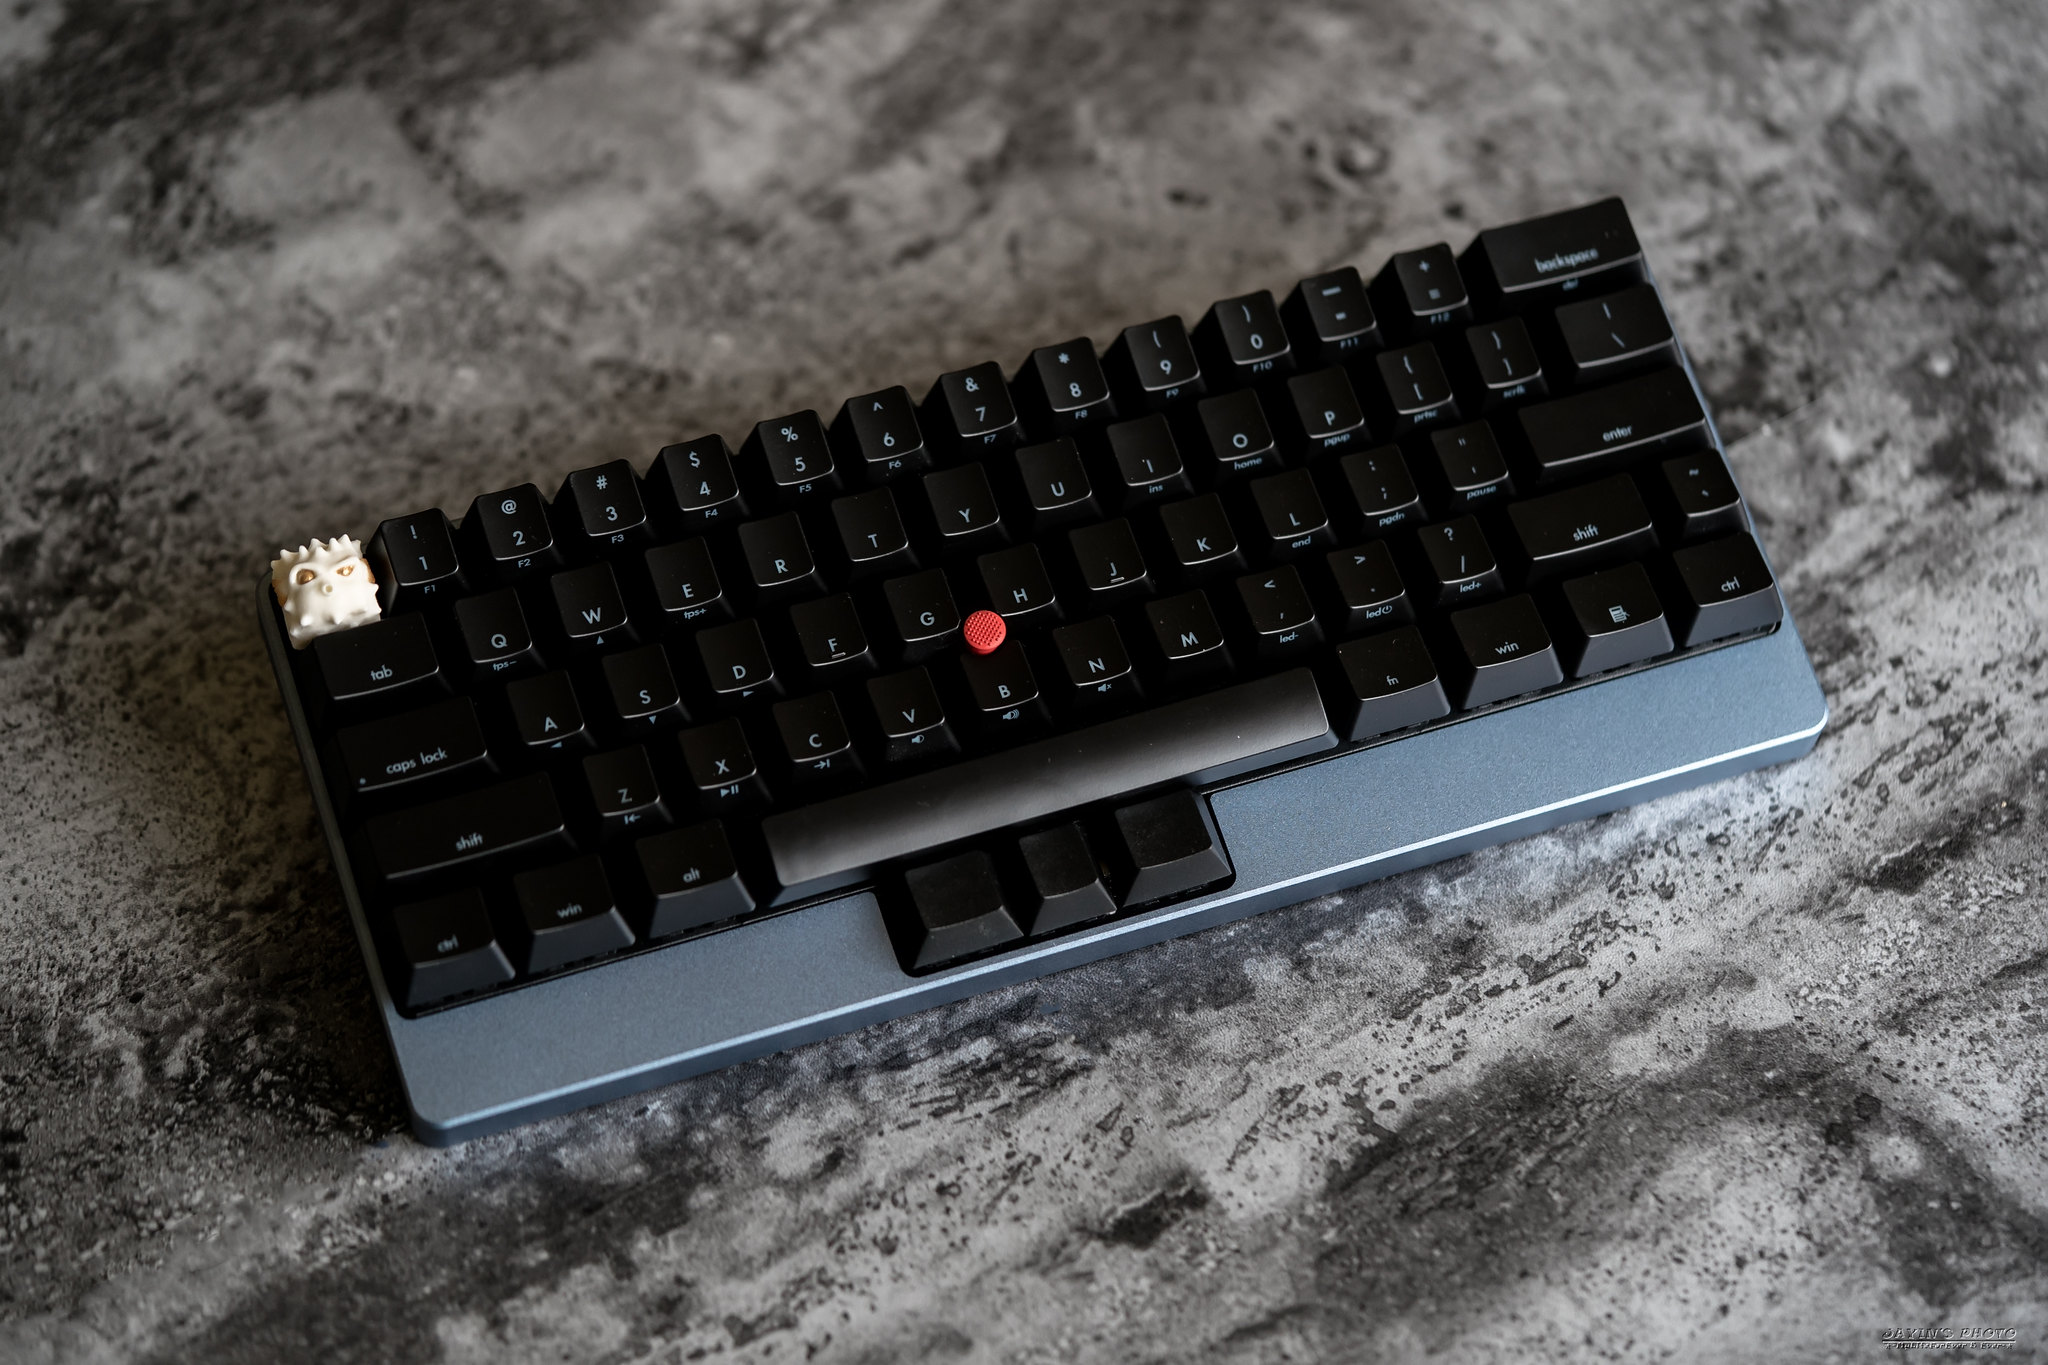
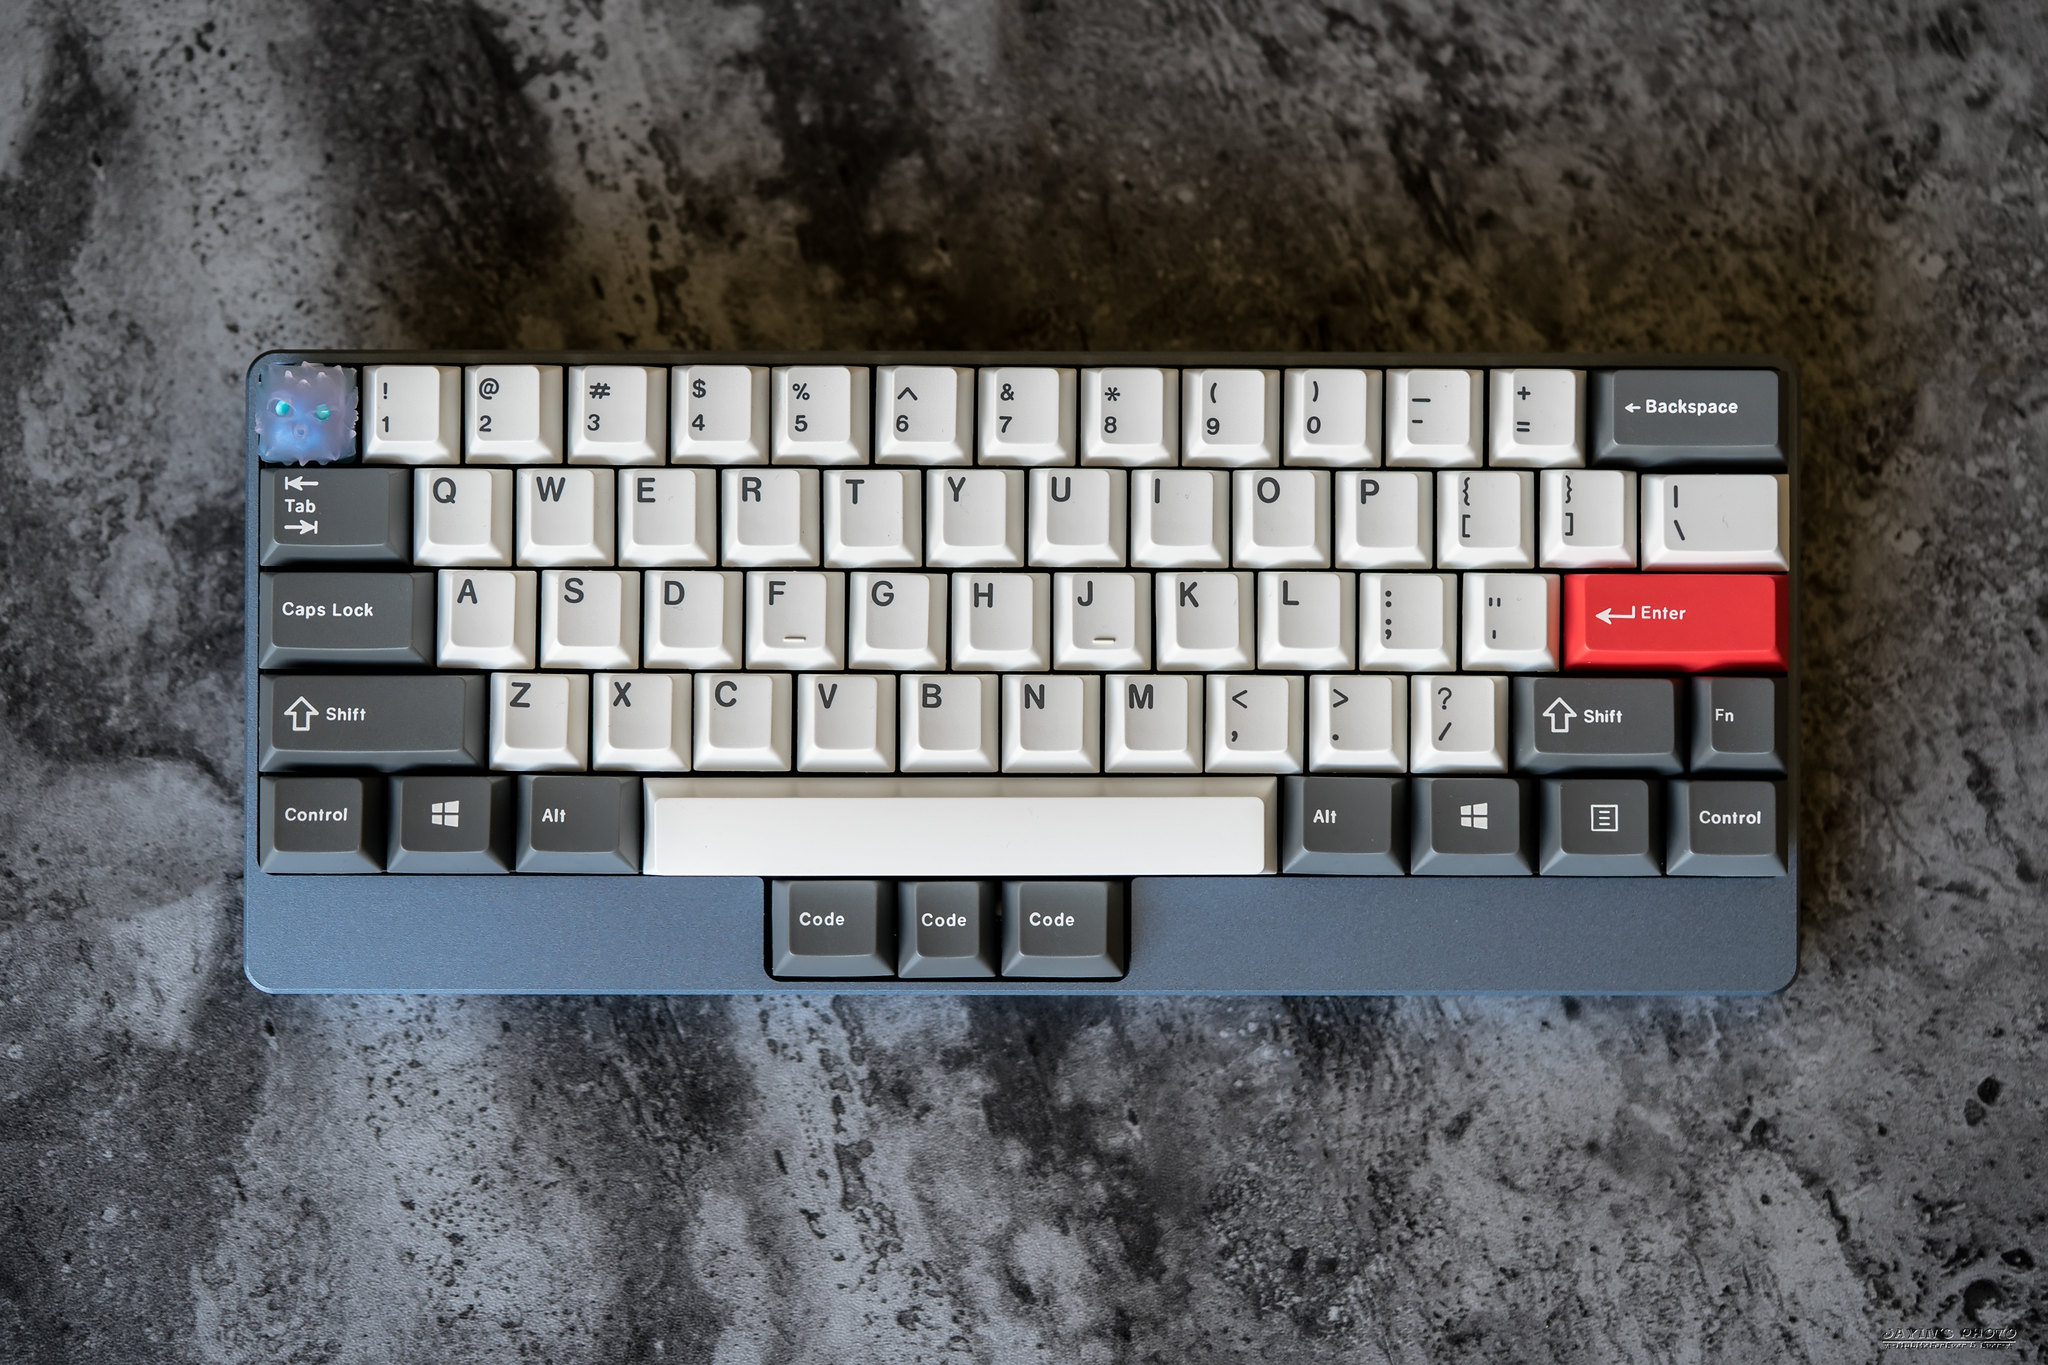
▼再來就是裝上鍵帽啦,先裝標配鍵帽看看。

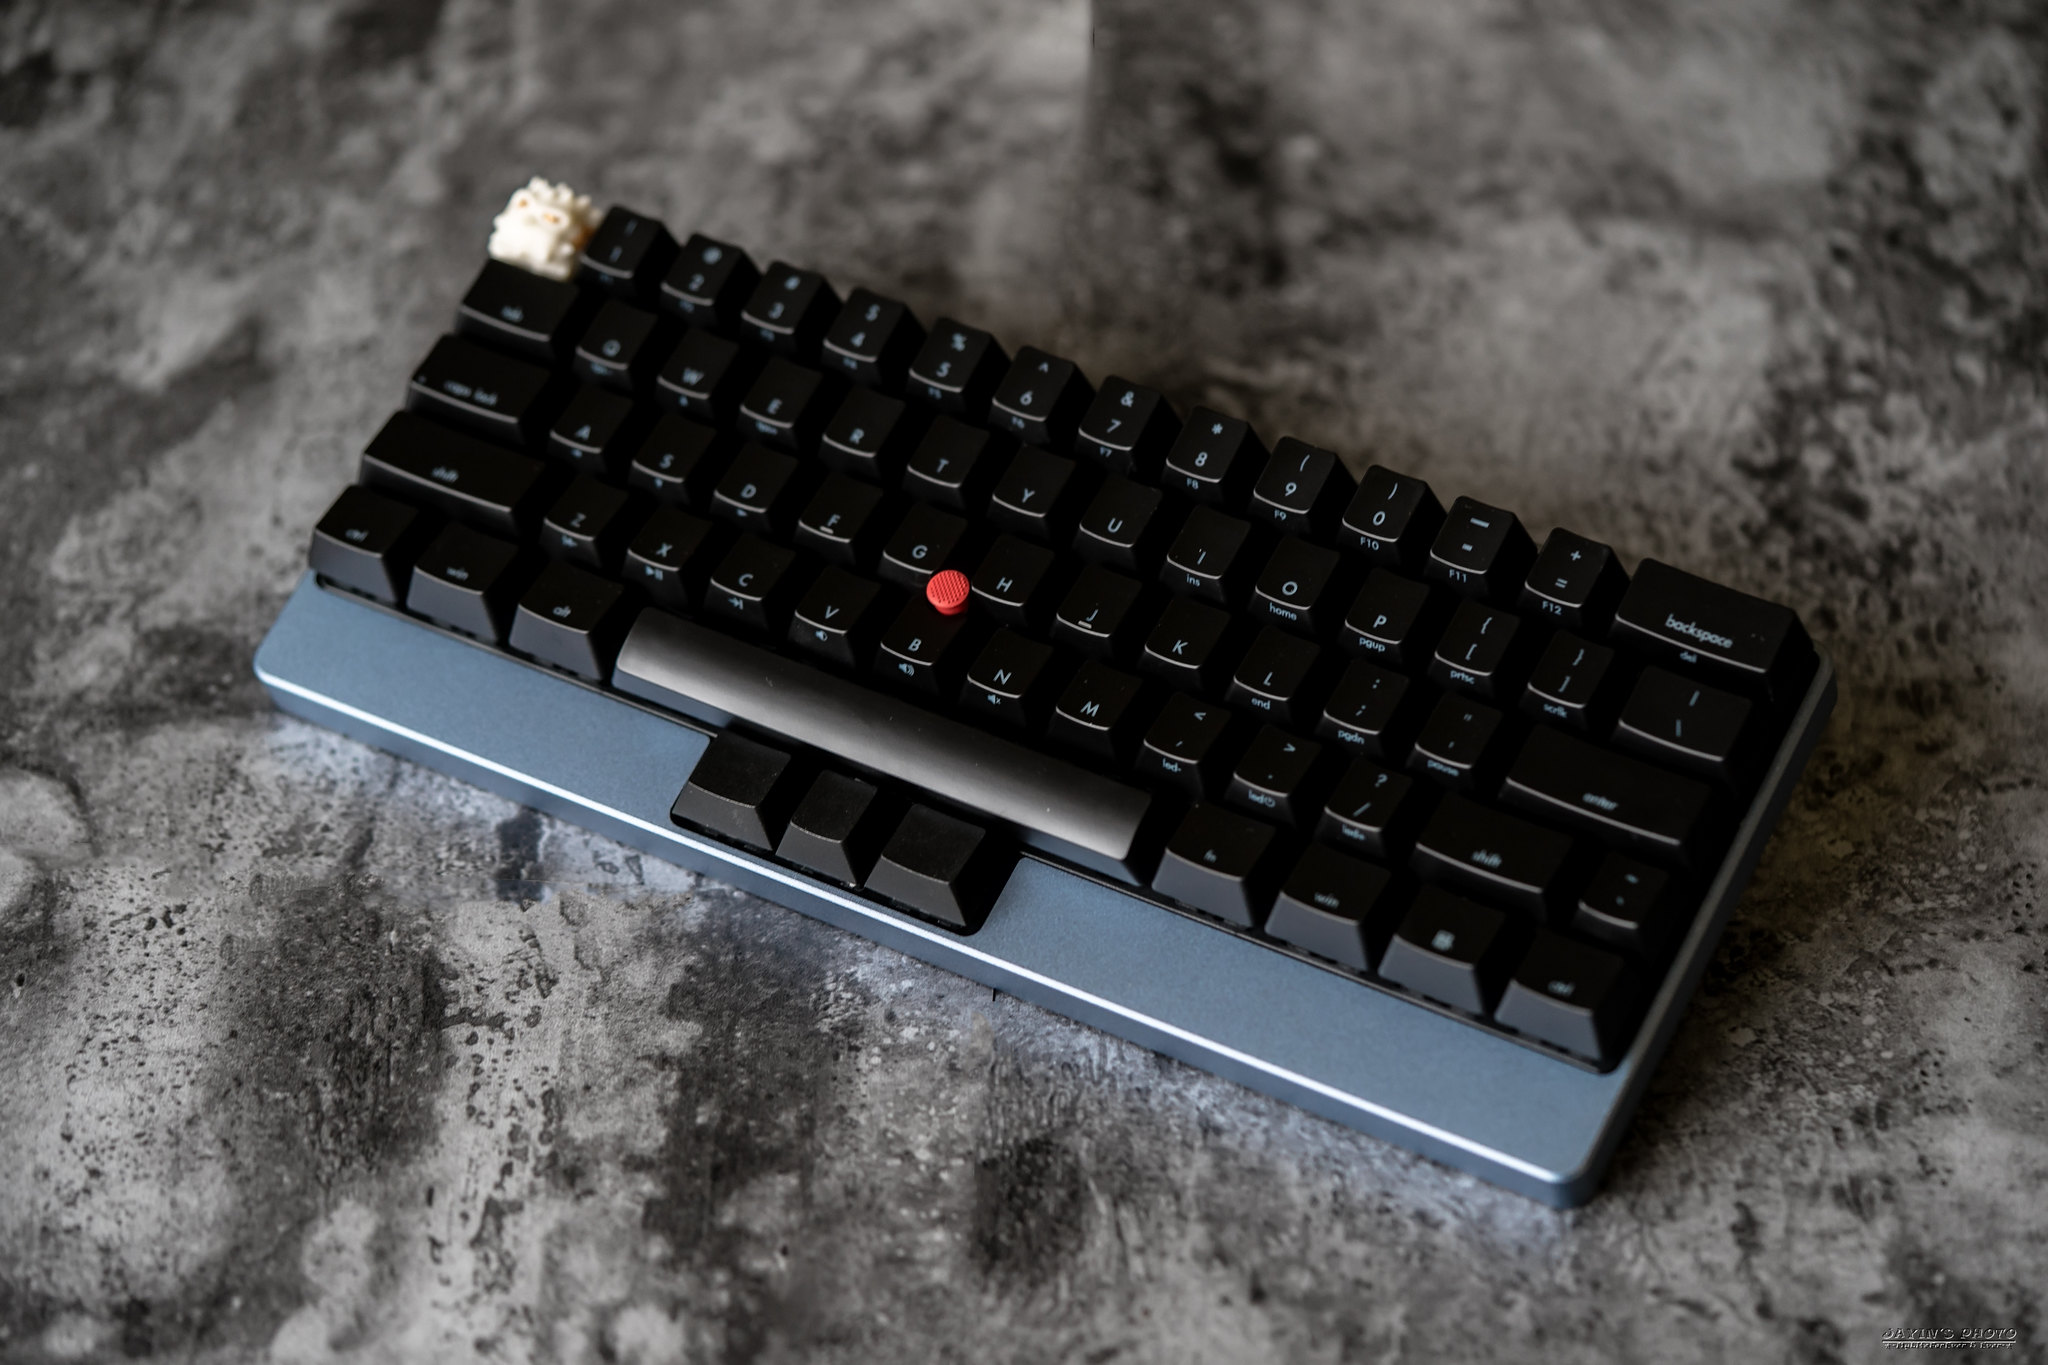
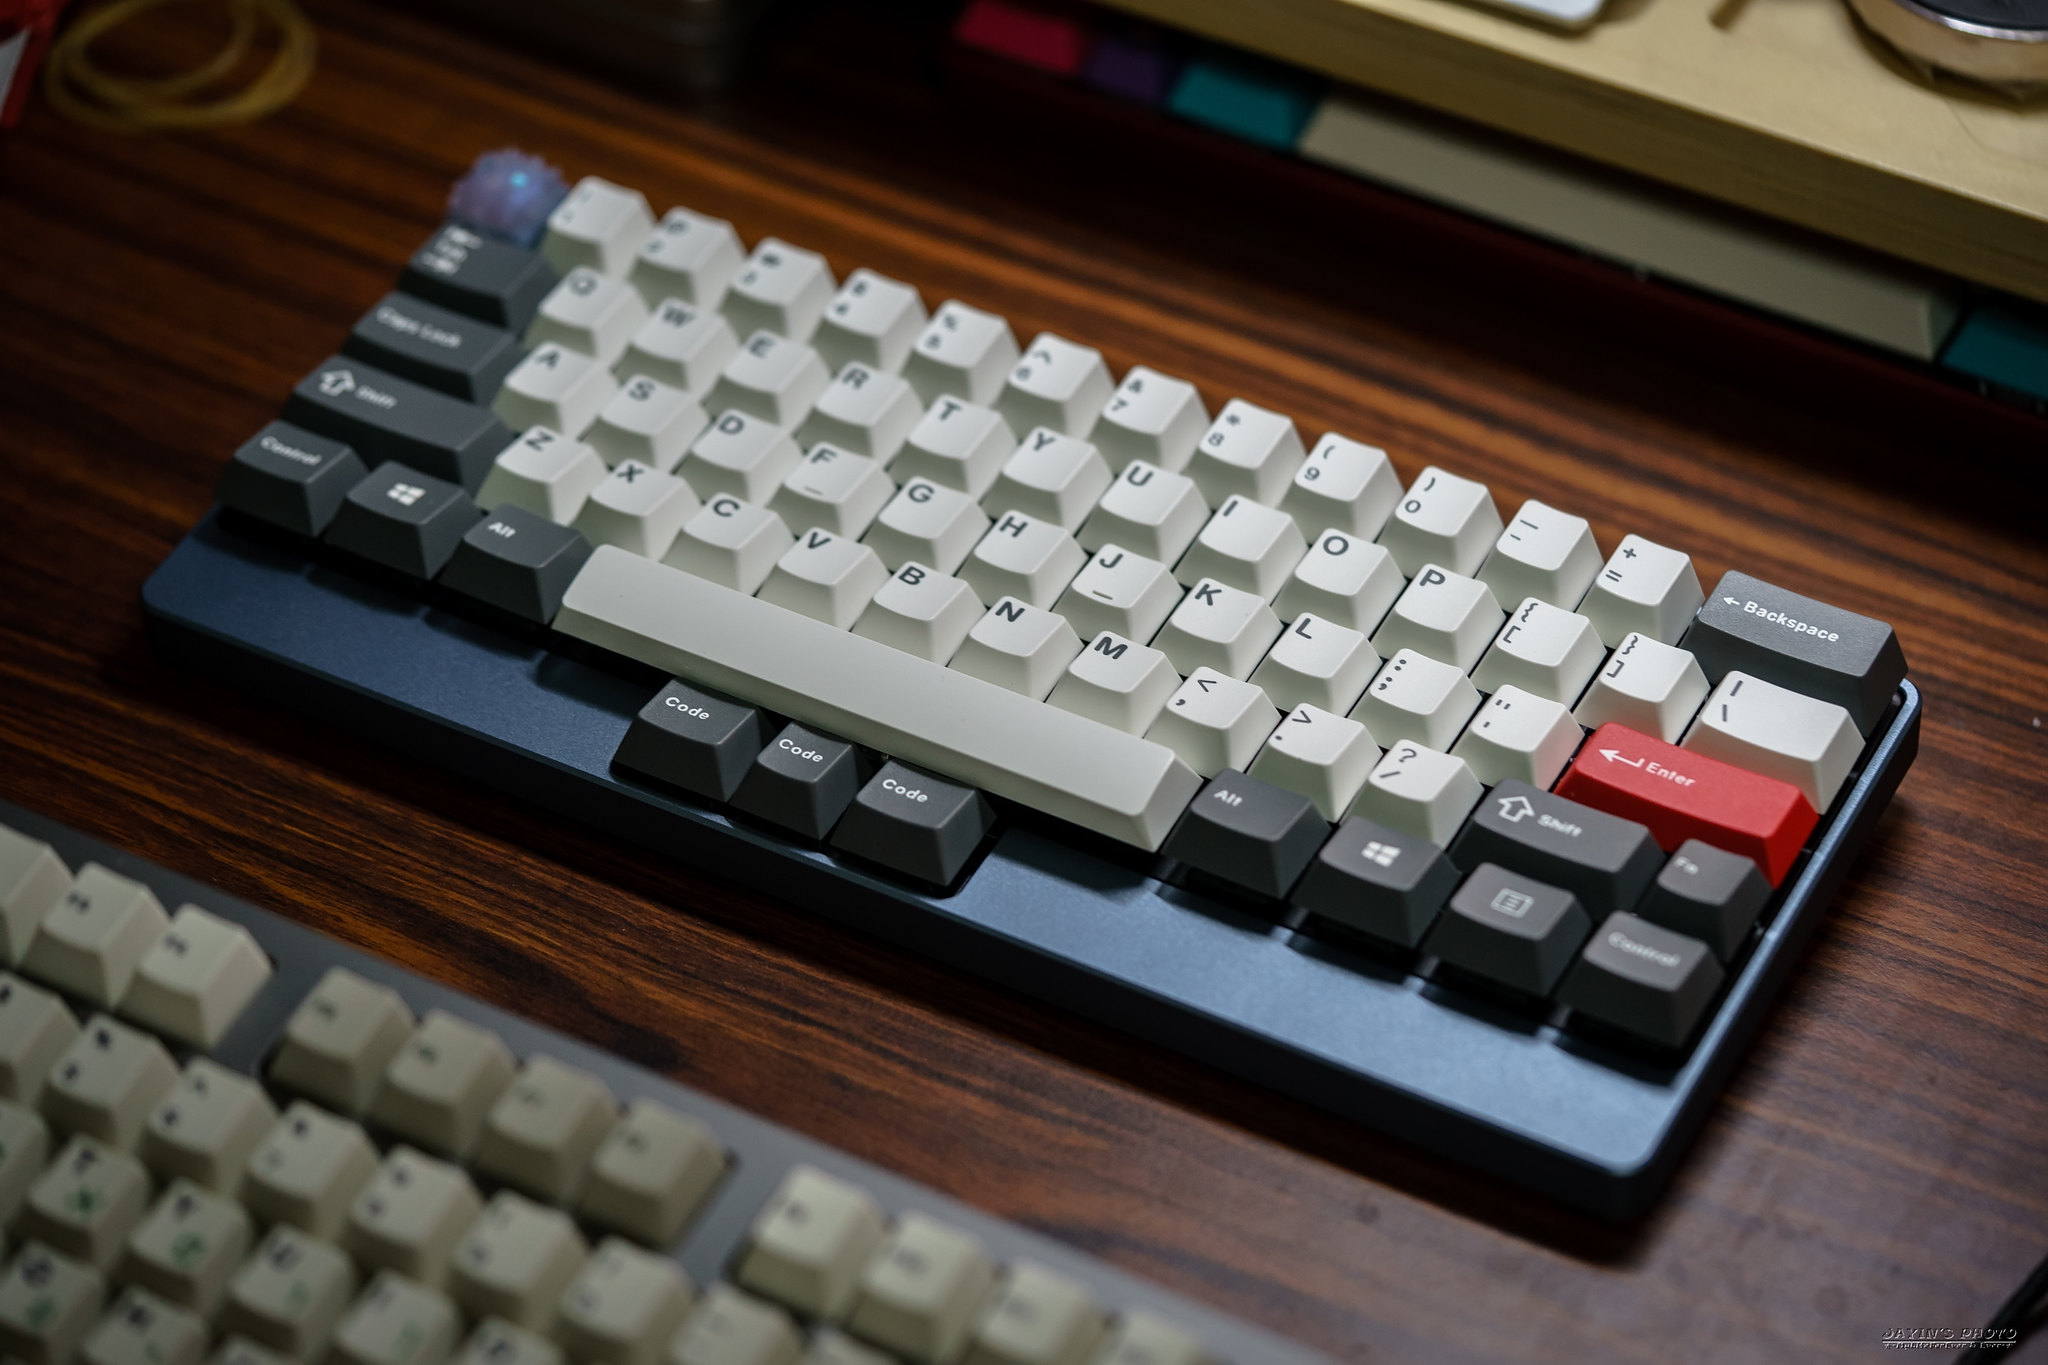
▼再來換上GMK Honeywell,因為天色暗了,所以顏色看起來又有點不同了。
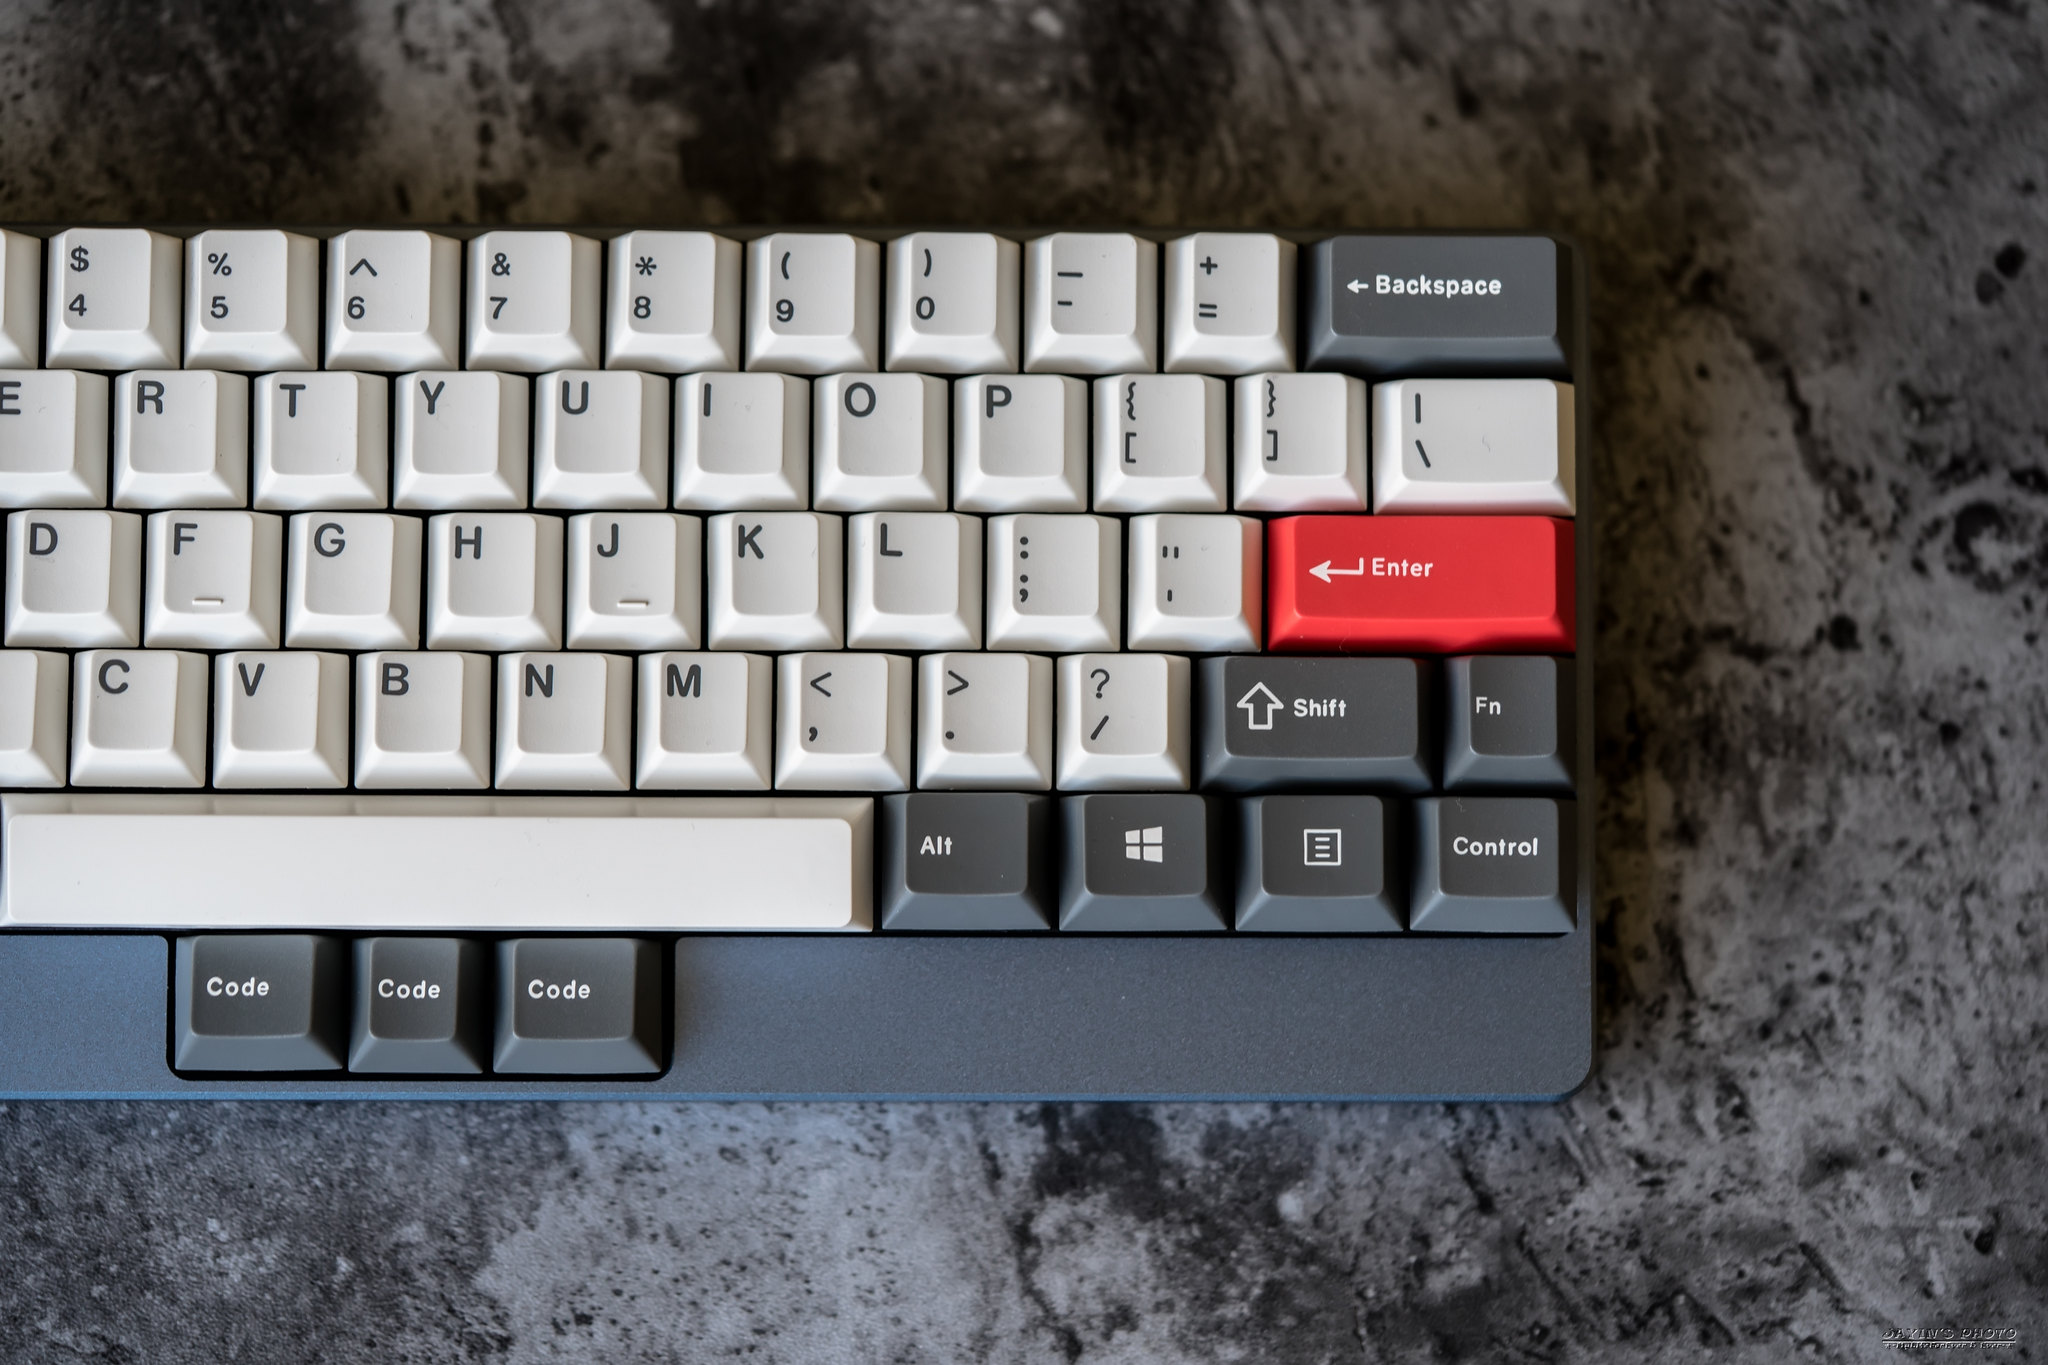
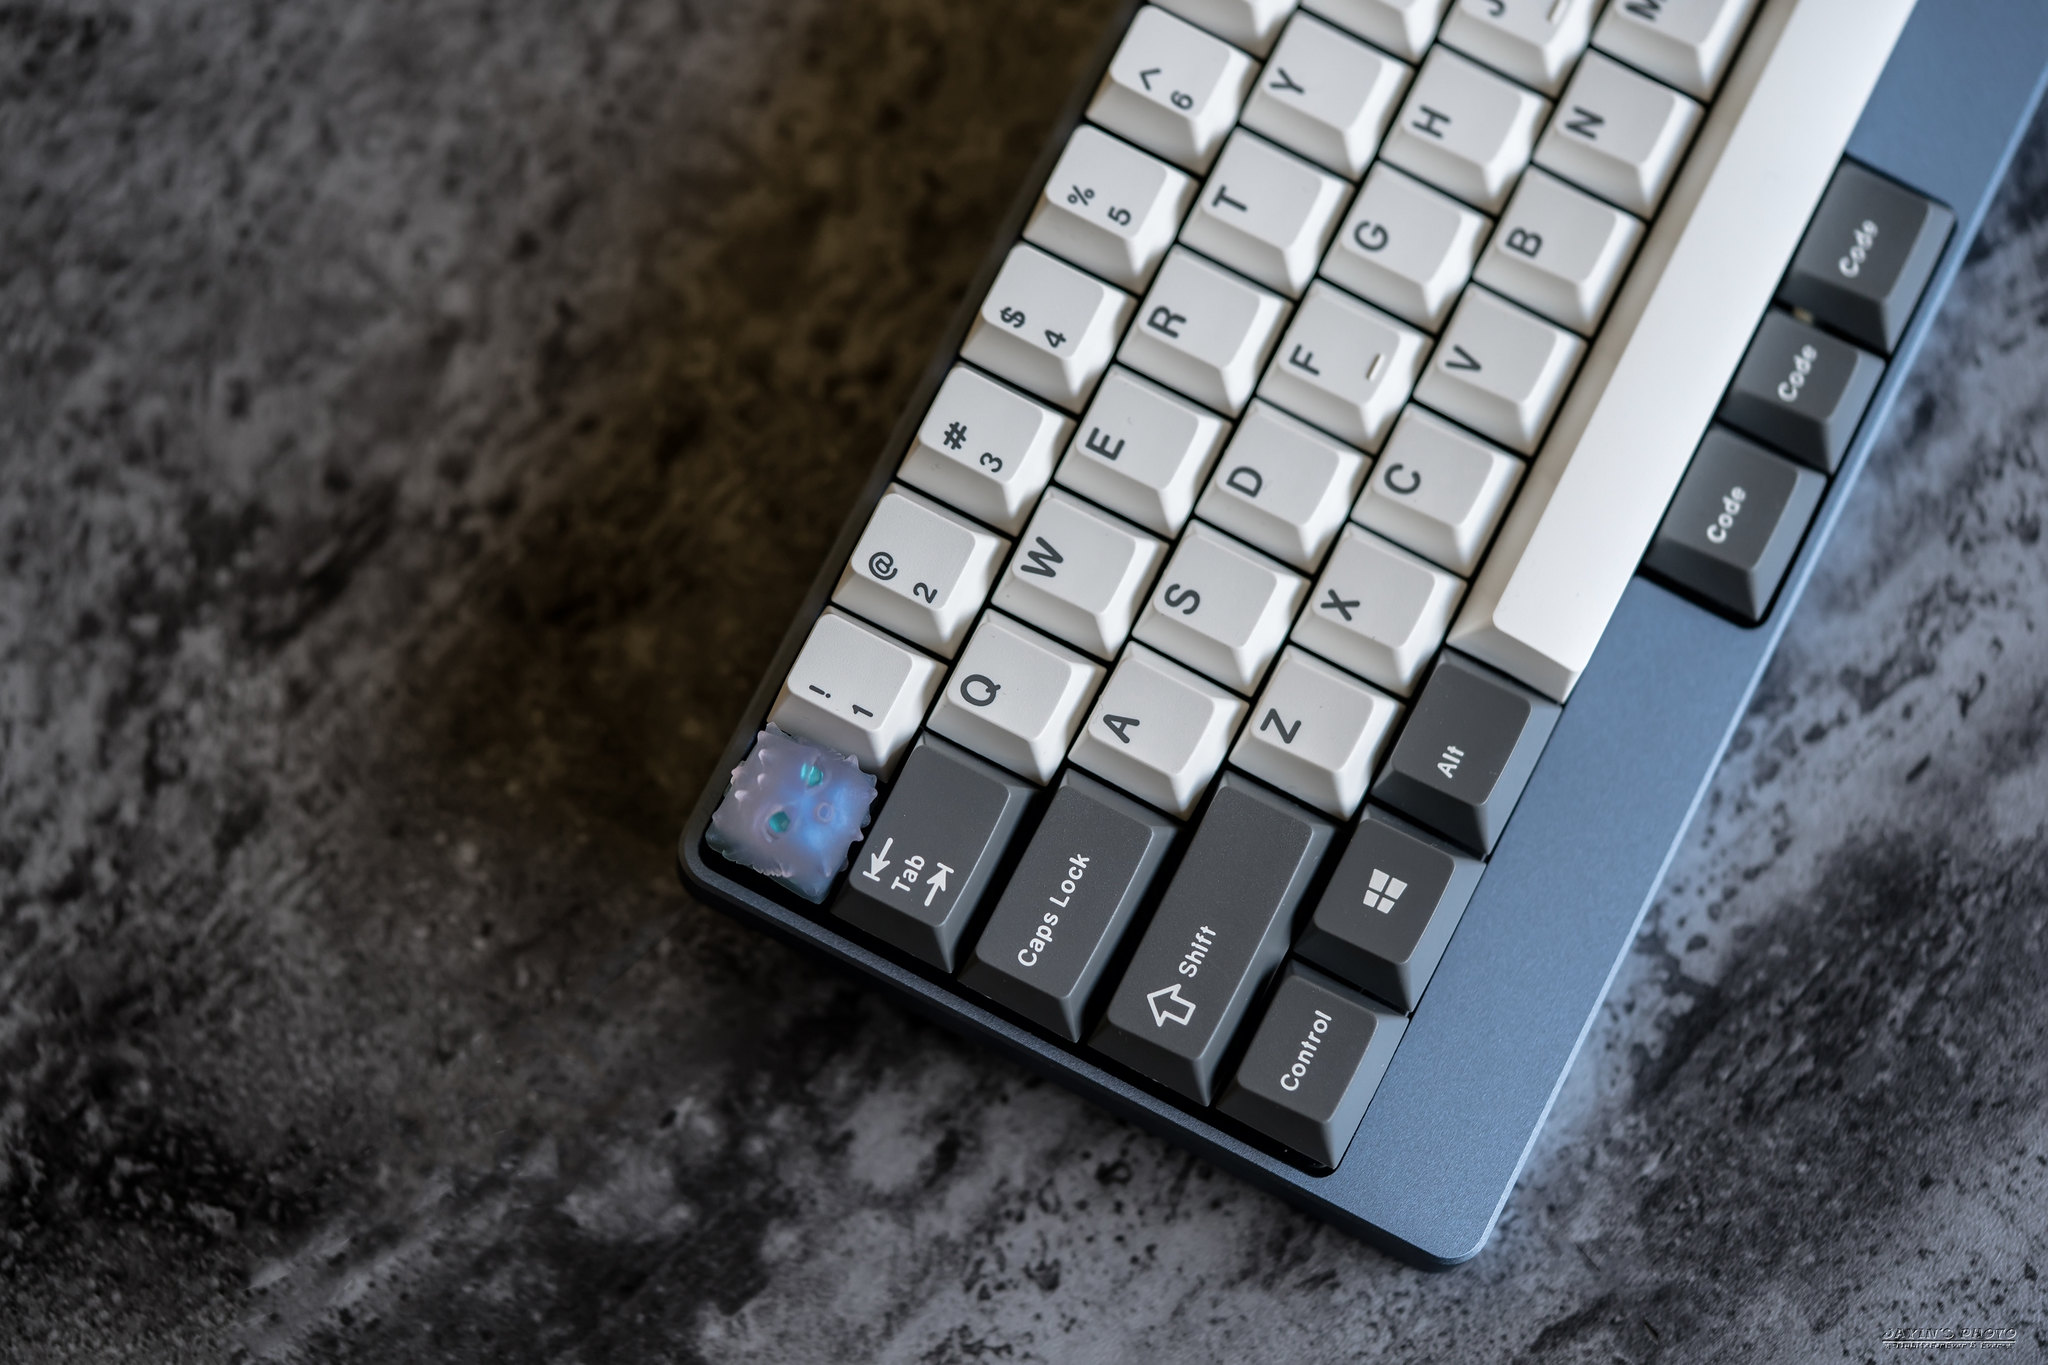
▼正視圖
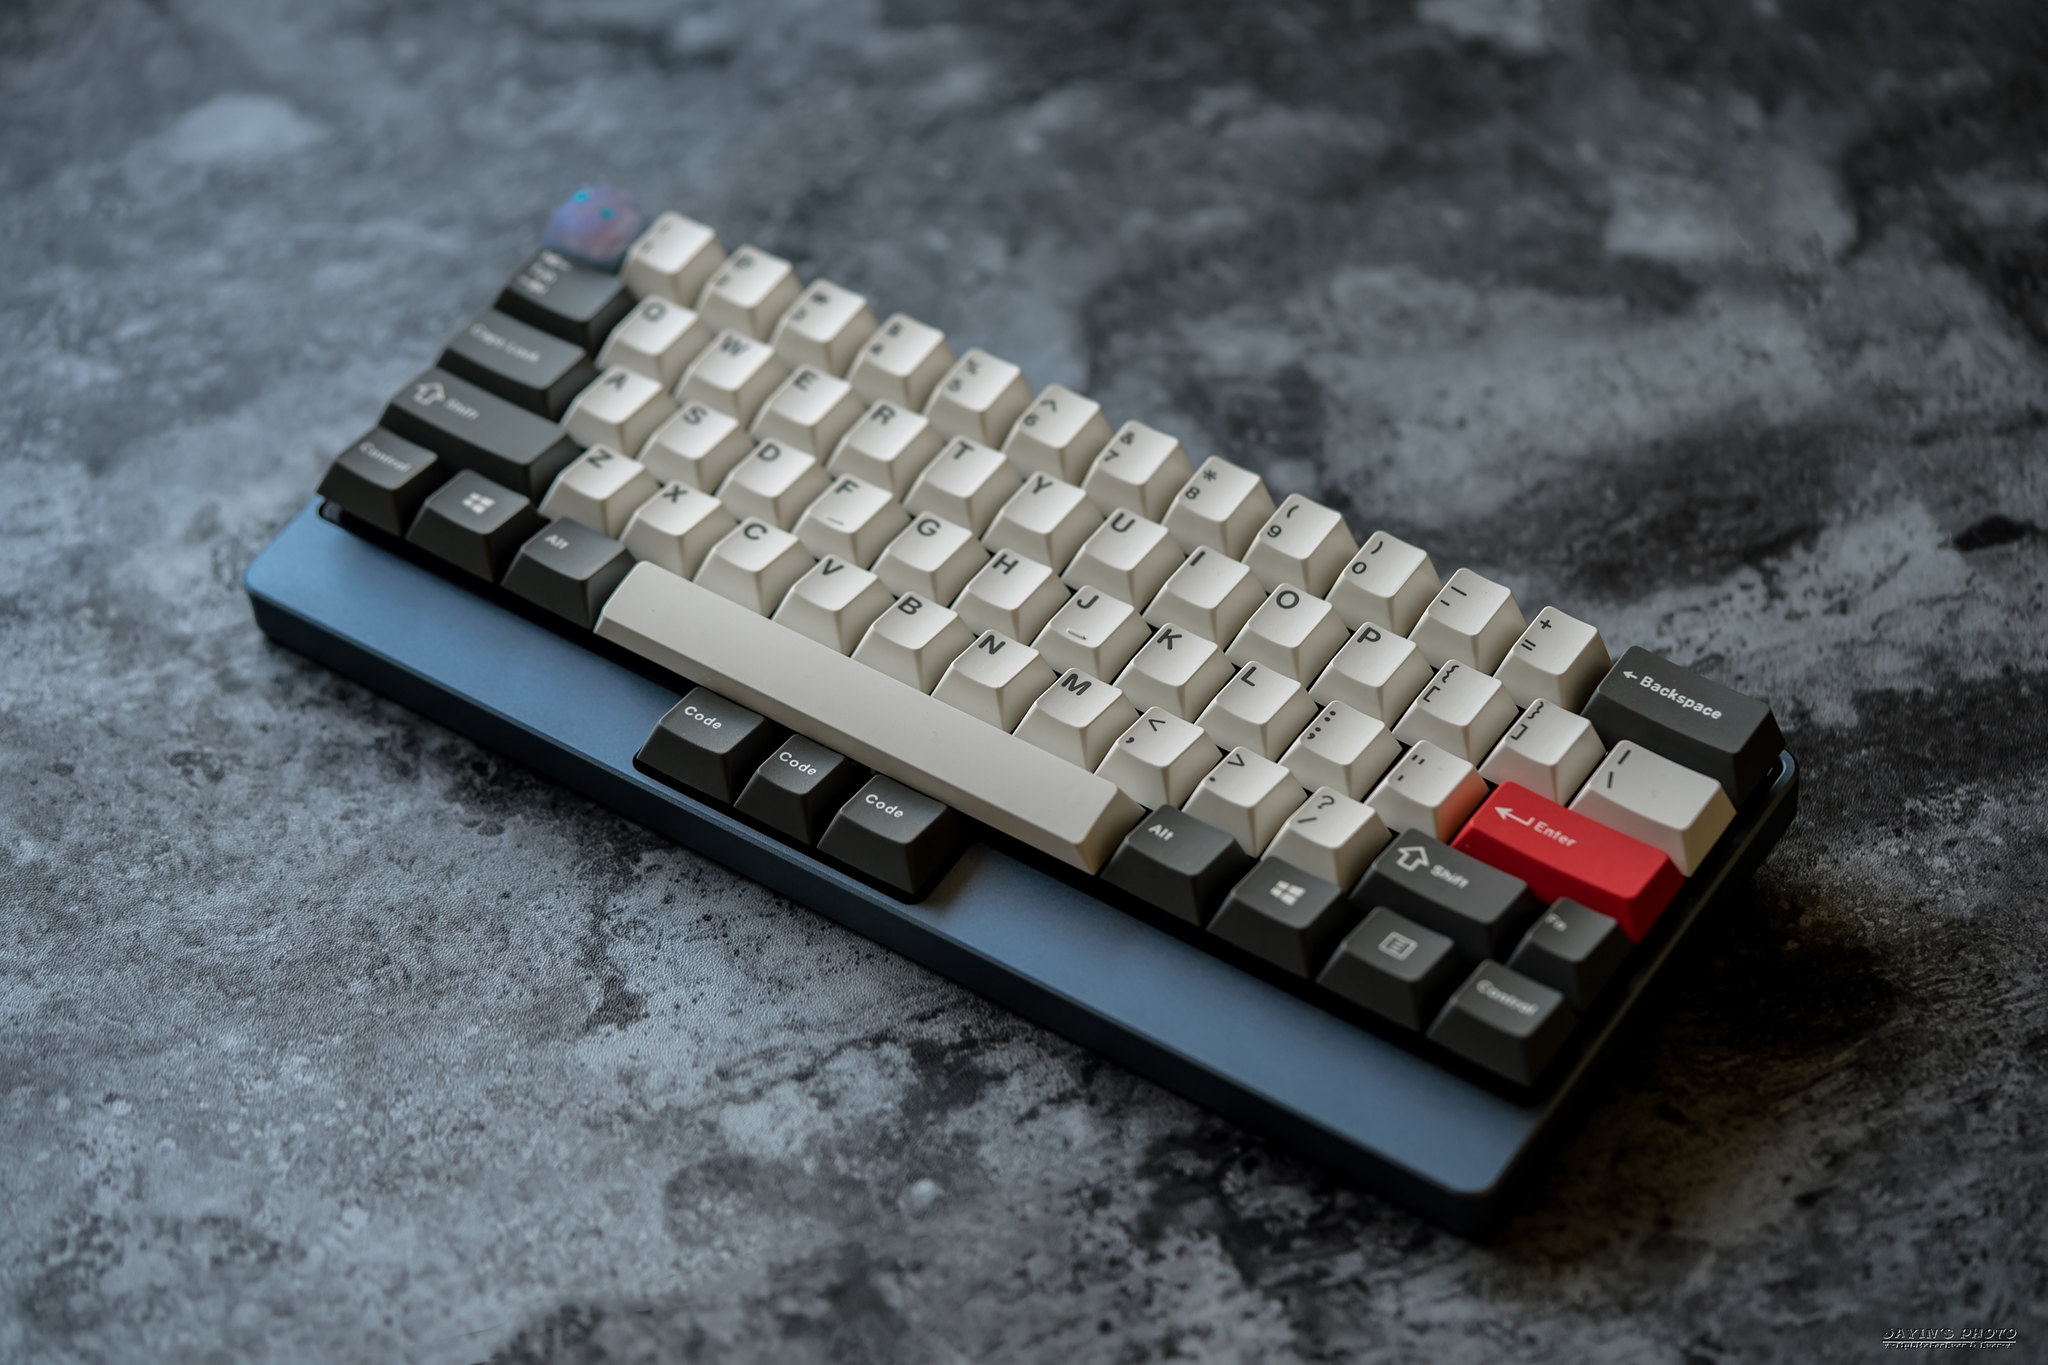
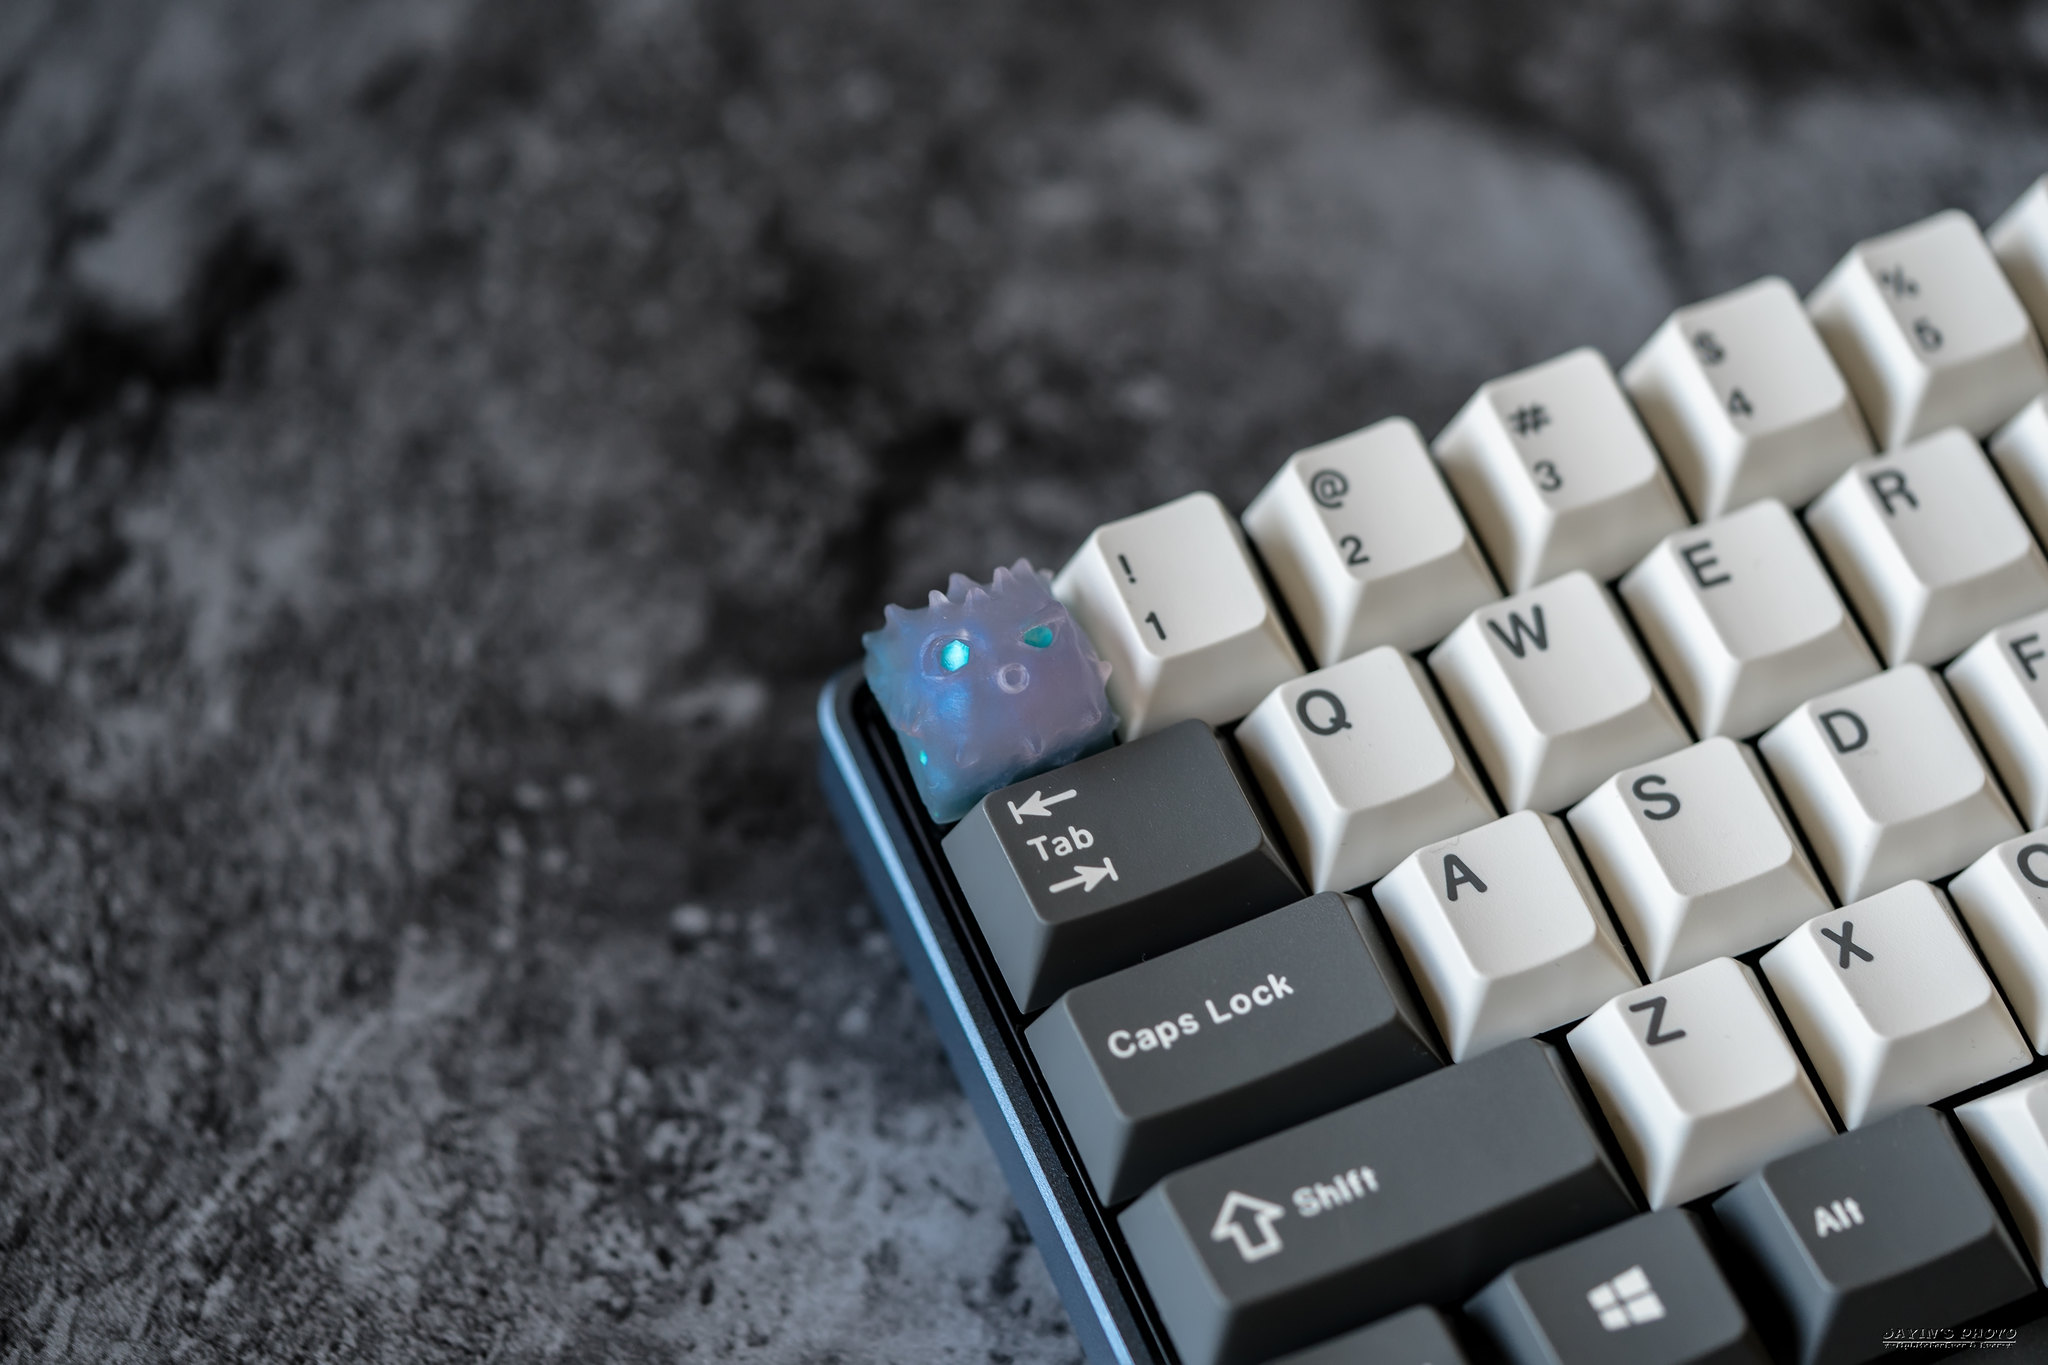
▼esc是最近剛拿到的fugu,款式是Half Light
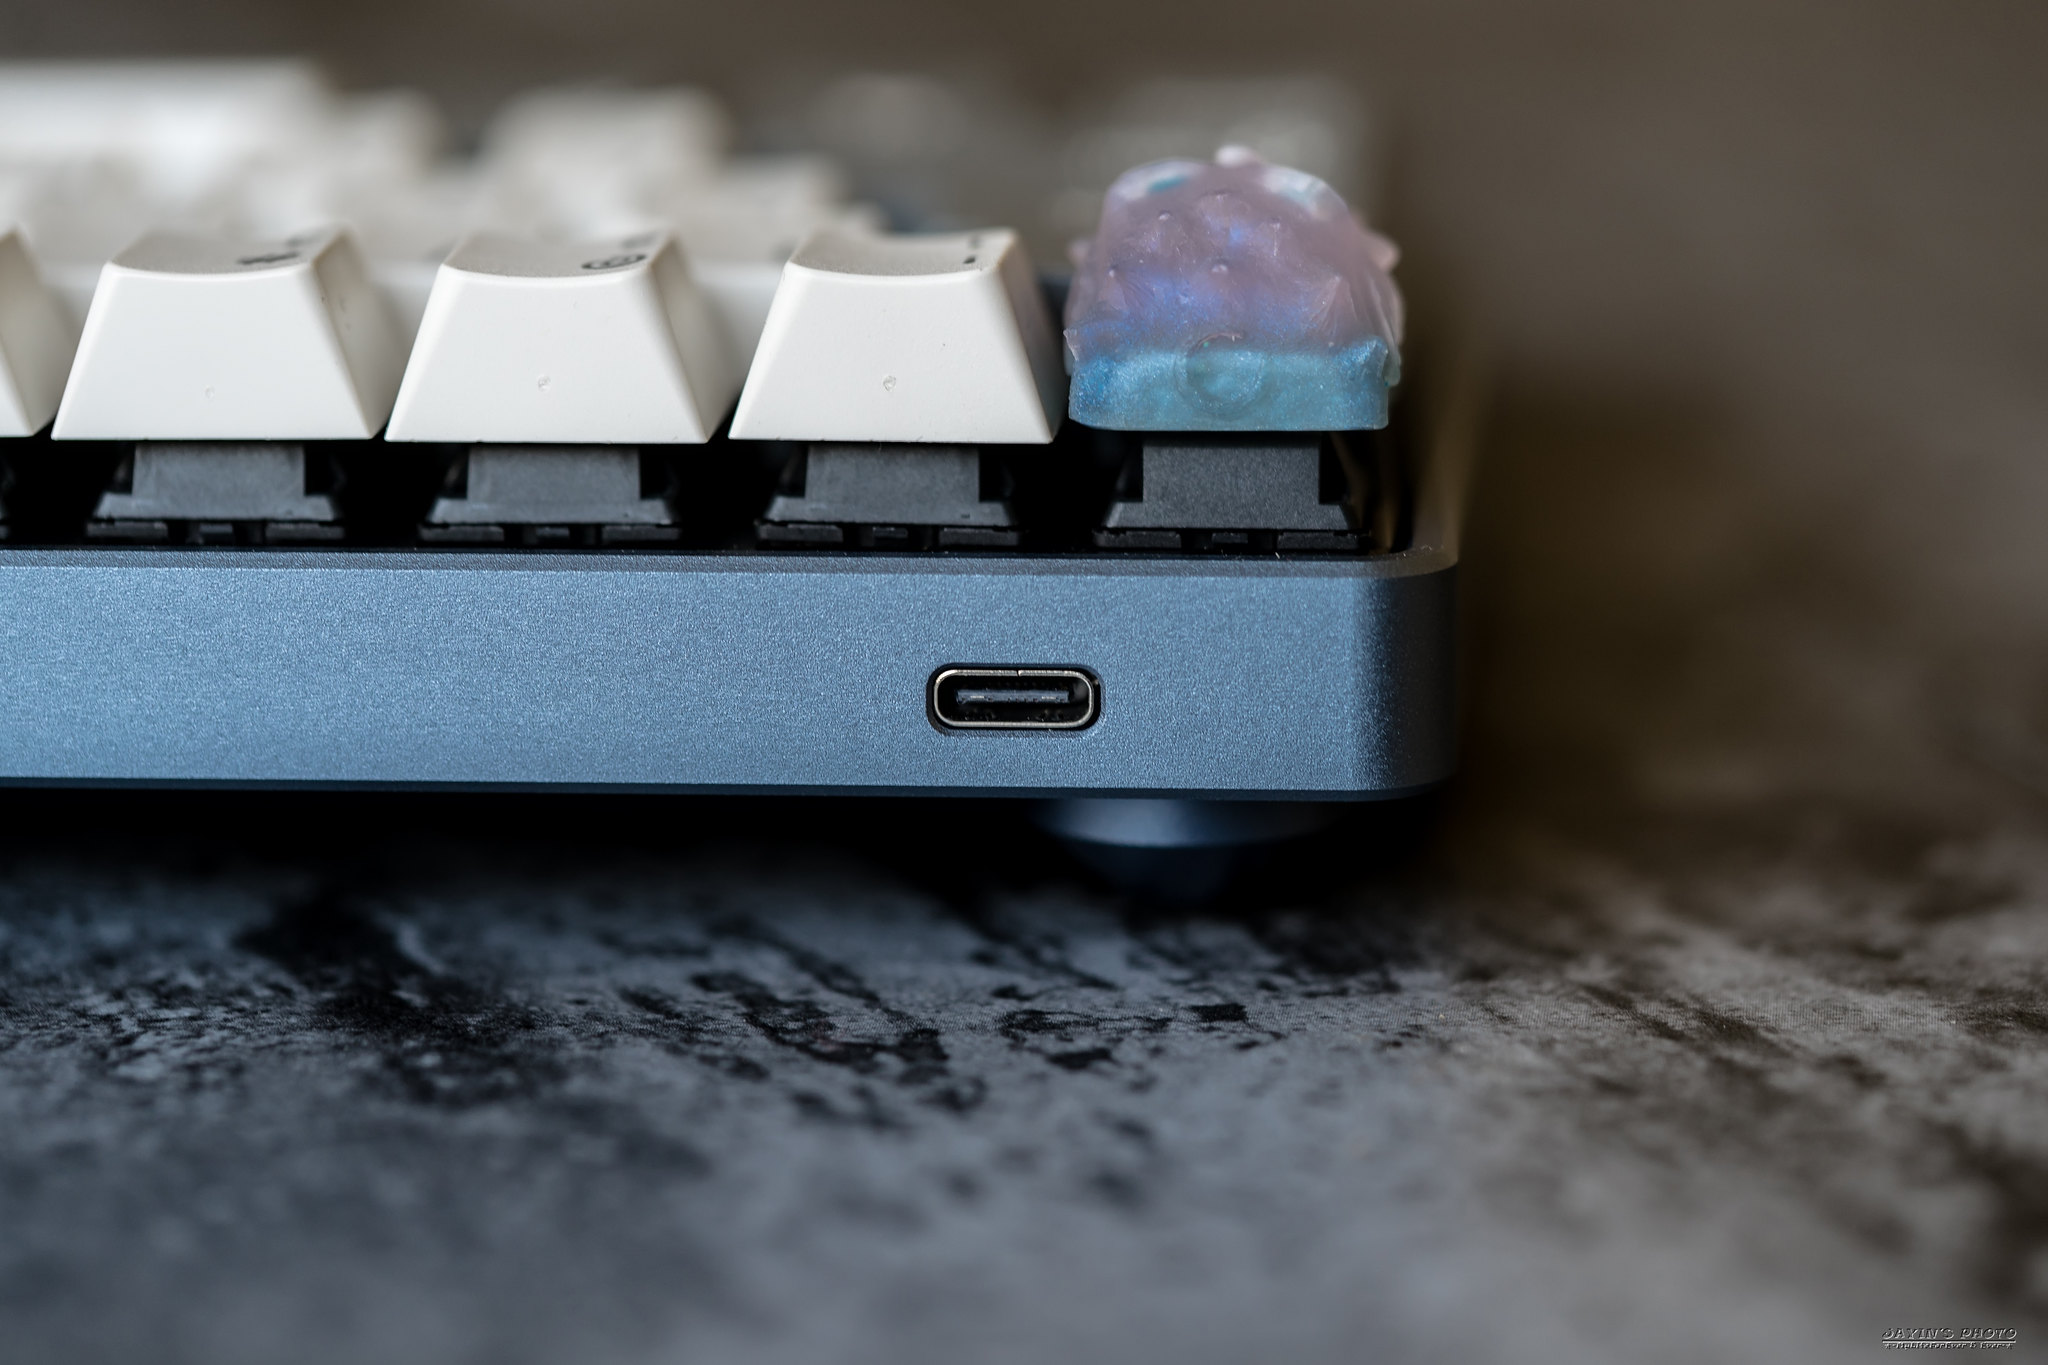
▼差點忘了拍的USB Type-C孔
▼最後來張擺在日光燈下的
以上就是TEX Yoda II LSJ 藍灰特製限量版的開箱
感謝閱文。
感恩Justin,讚嘆Bullock!
Hail TEX!
沒有留言:
張貼留言