最近公事有點多,加上有點懶,所以整個九月到現在只發了一篇開箱文,
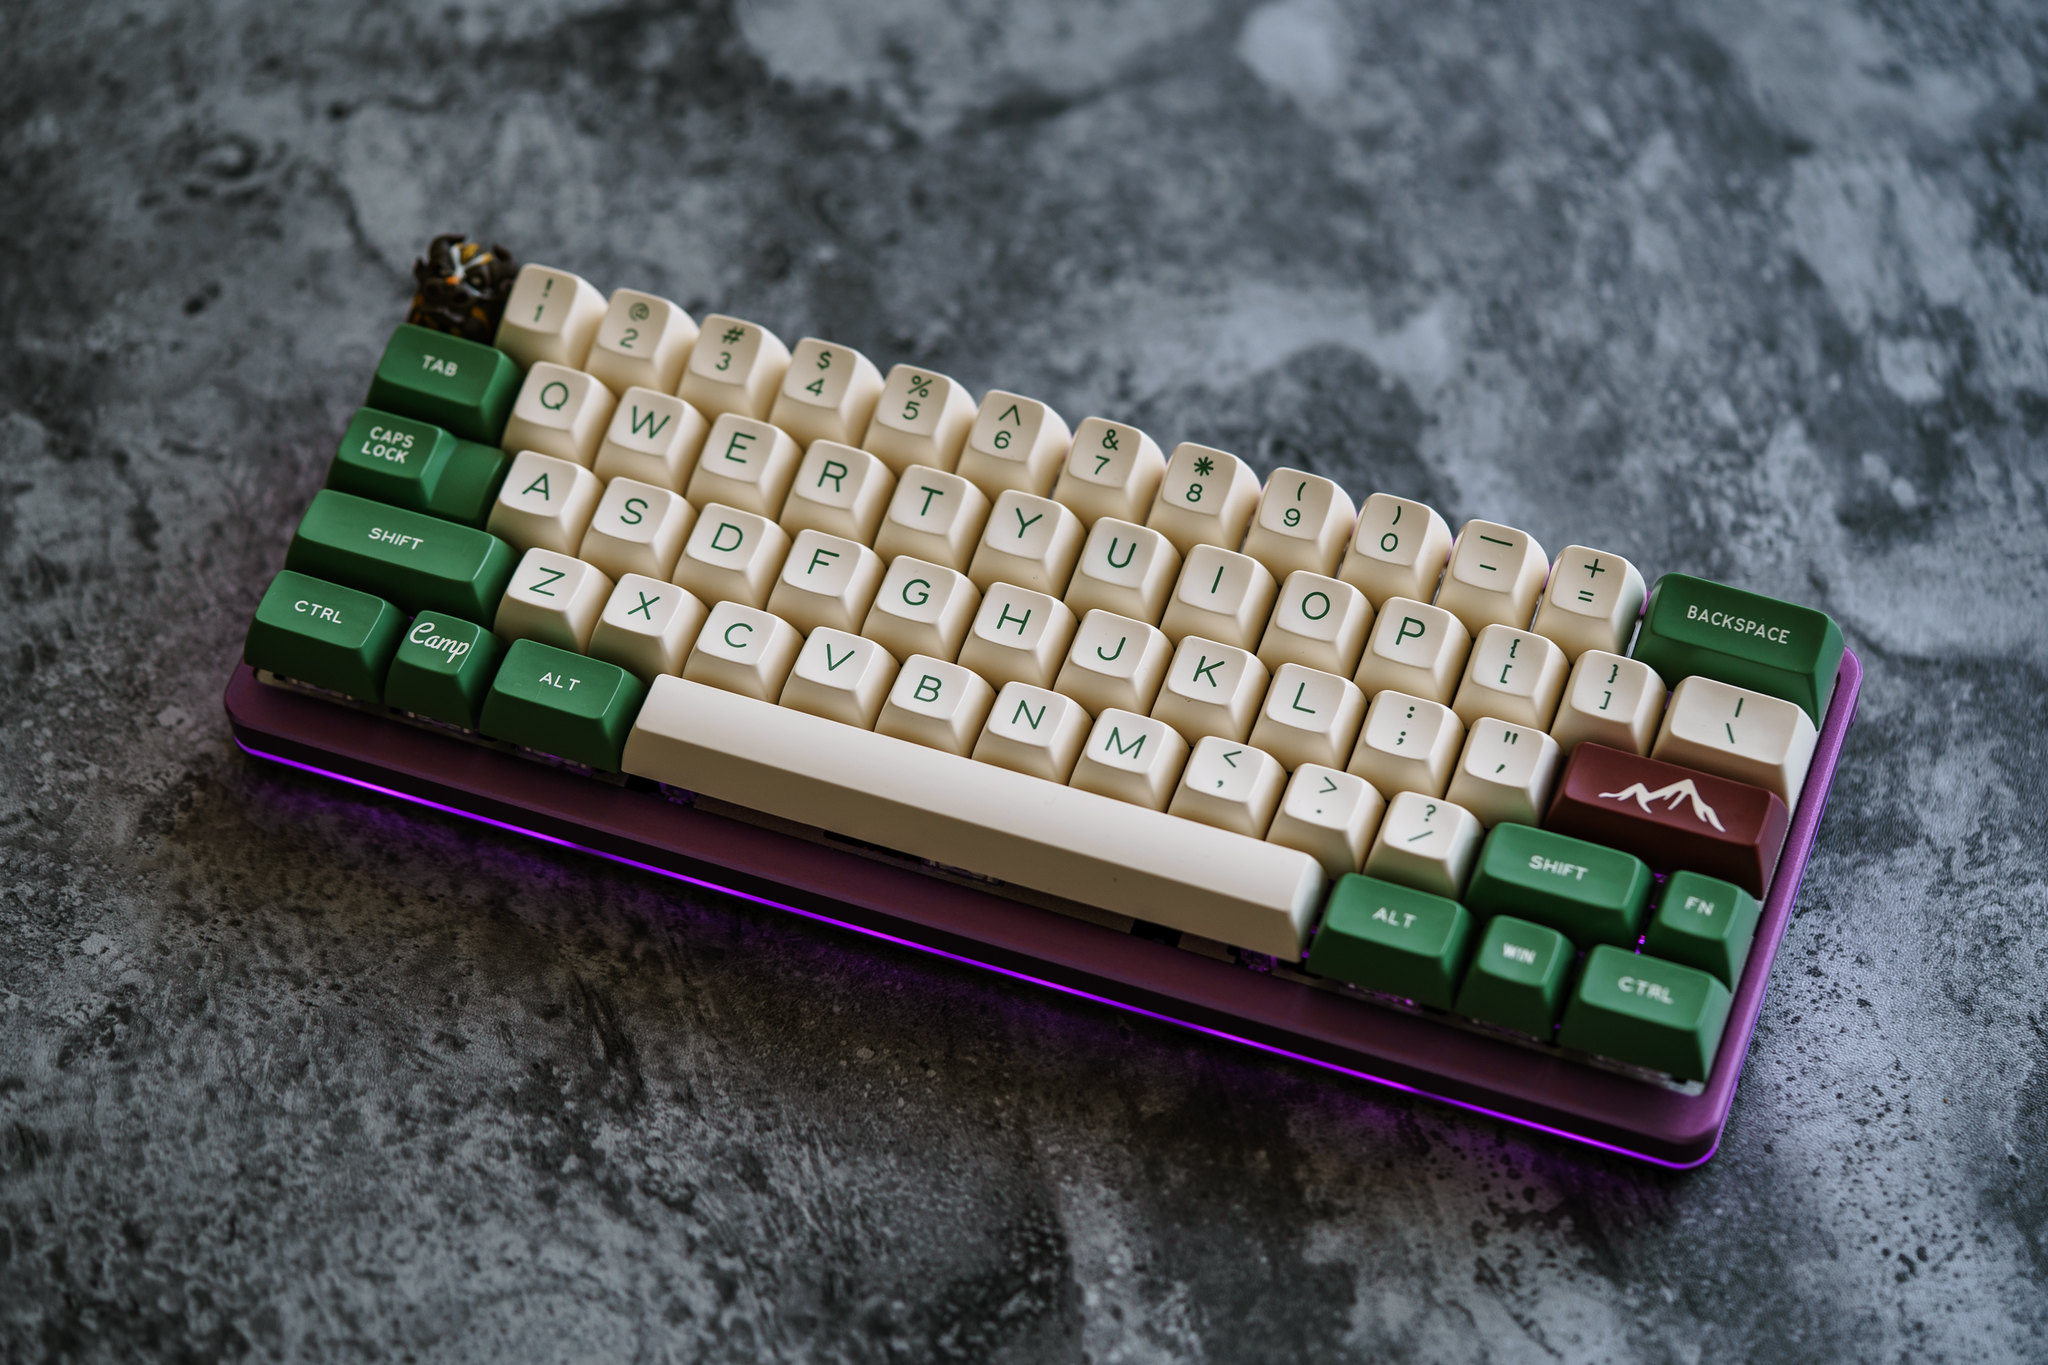
這次就來開箱「Tric60 雙模藍芽機械鍵盤」。
這把Tric60是在白楊外設開的團,主打就是有線/藍芽兩種模式
也因此必須是內建電池的,而且PCB也有底燈,外觀顏值是挺不錯的。
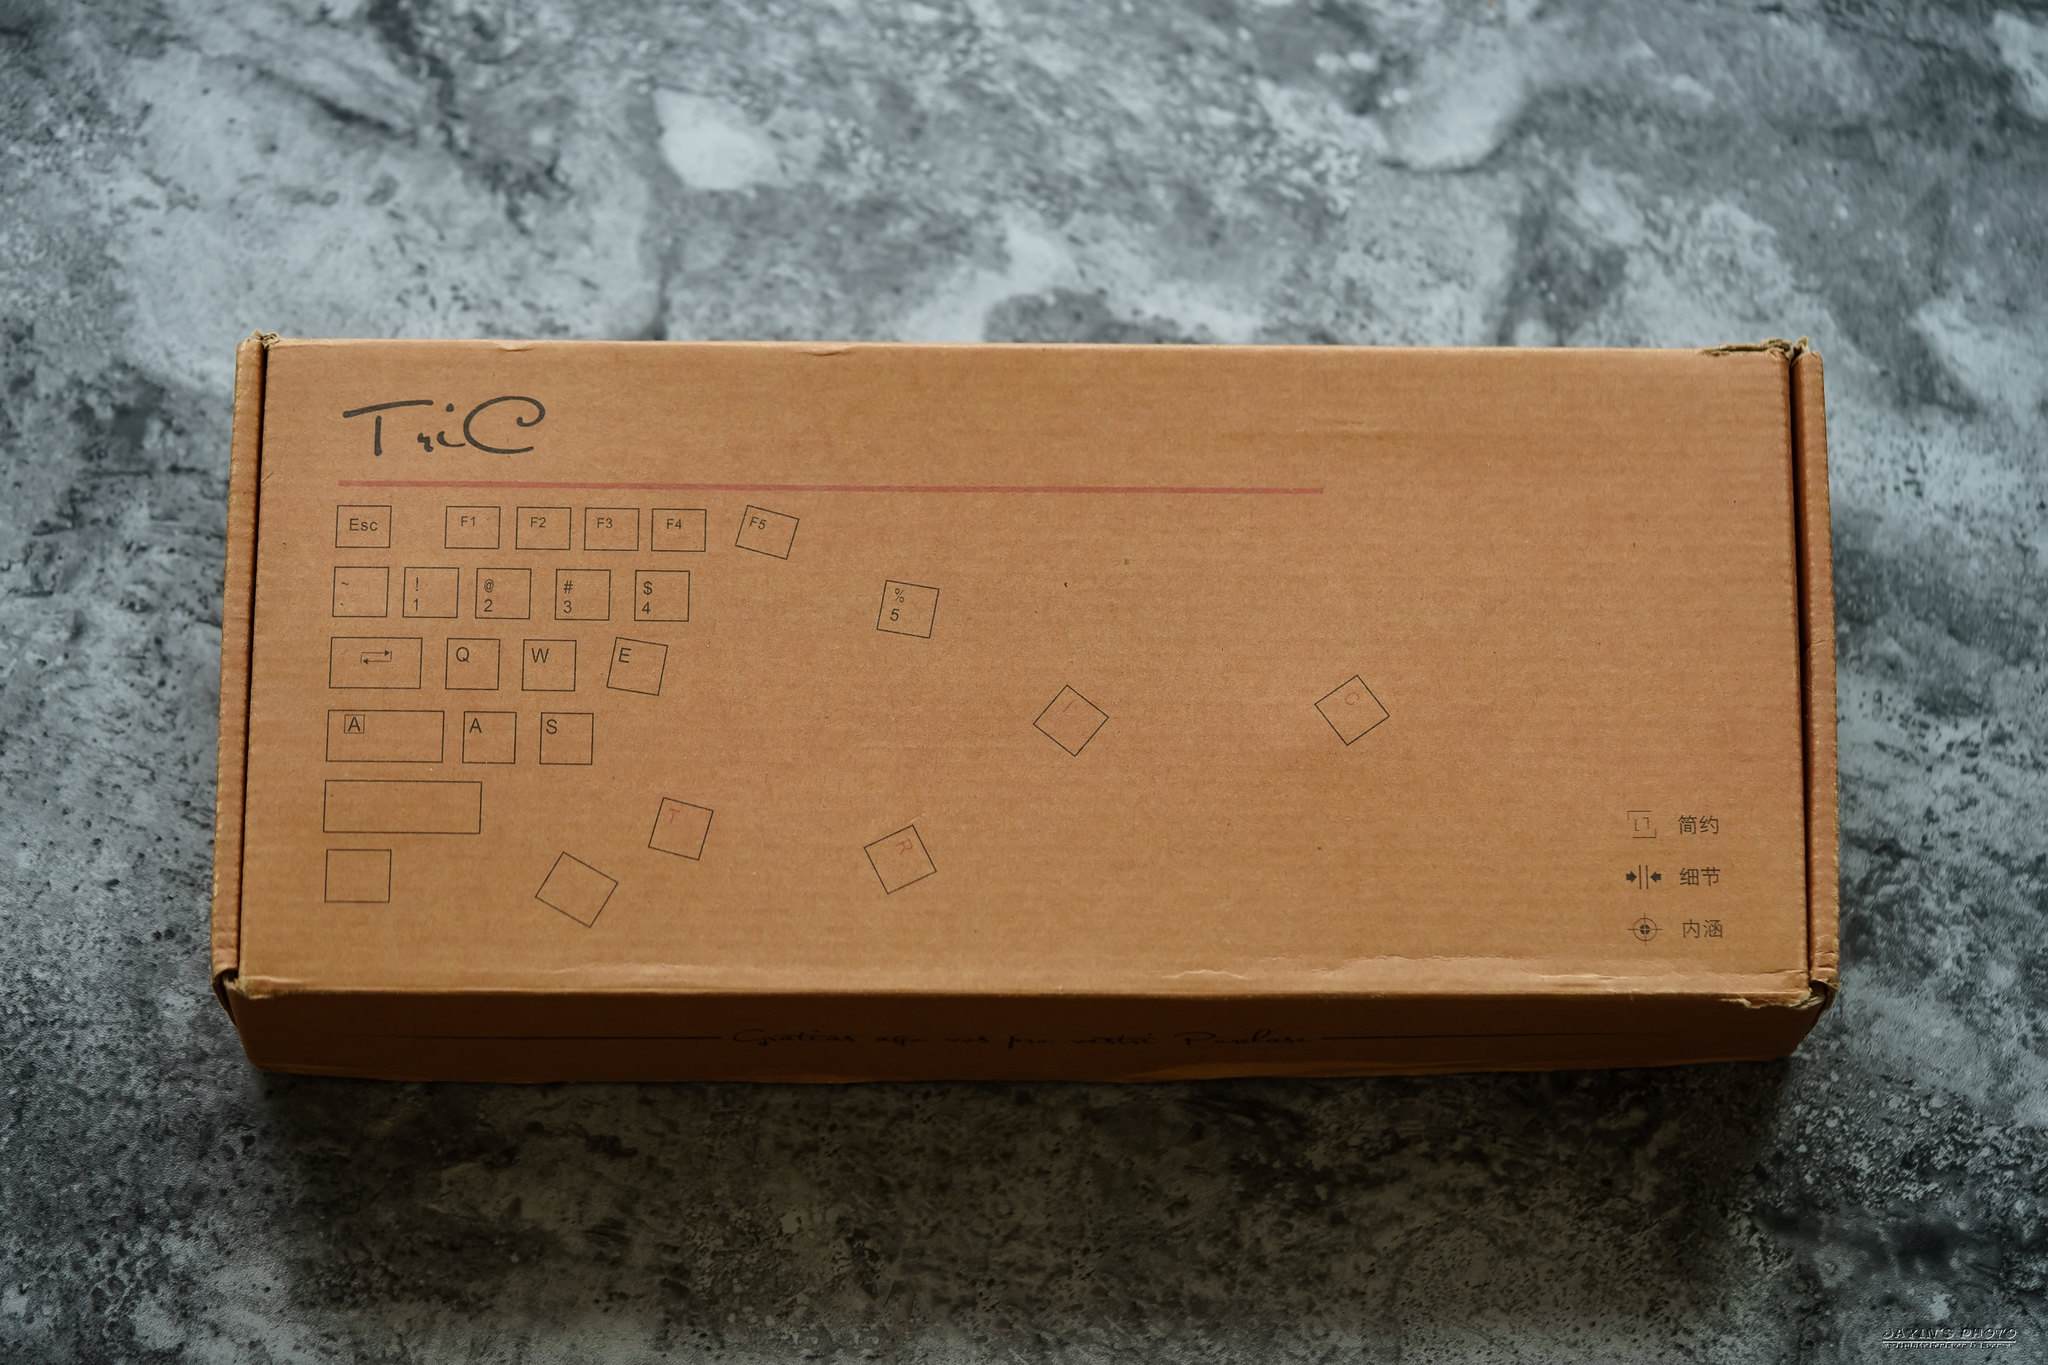
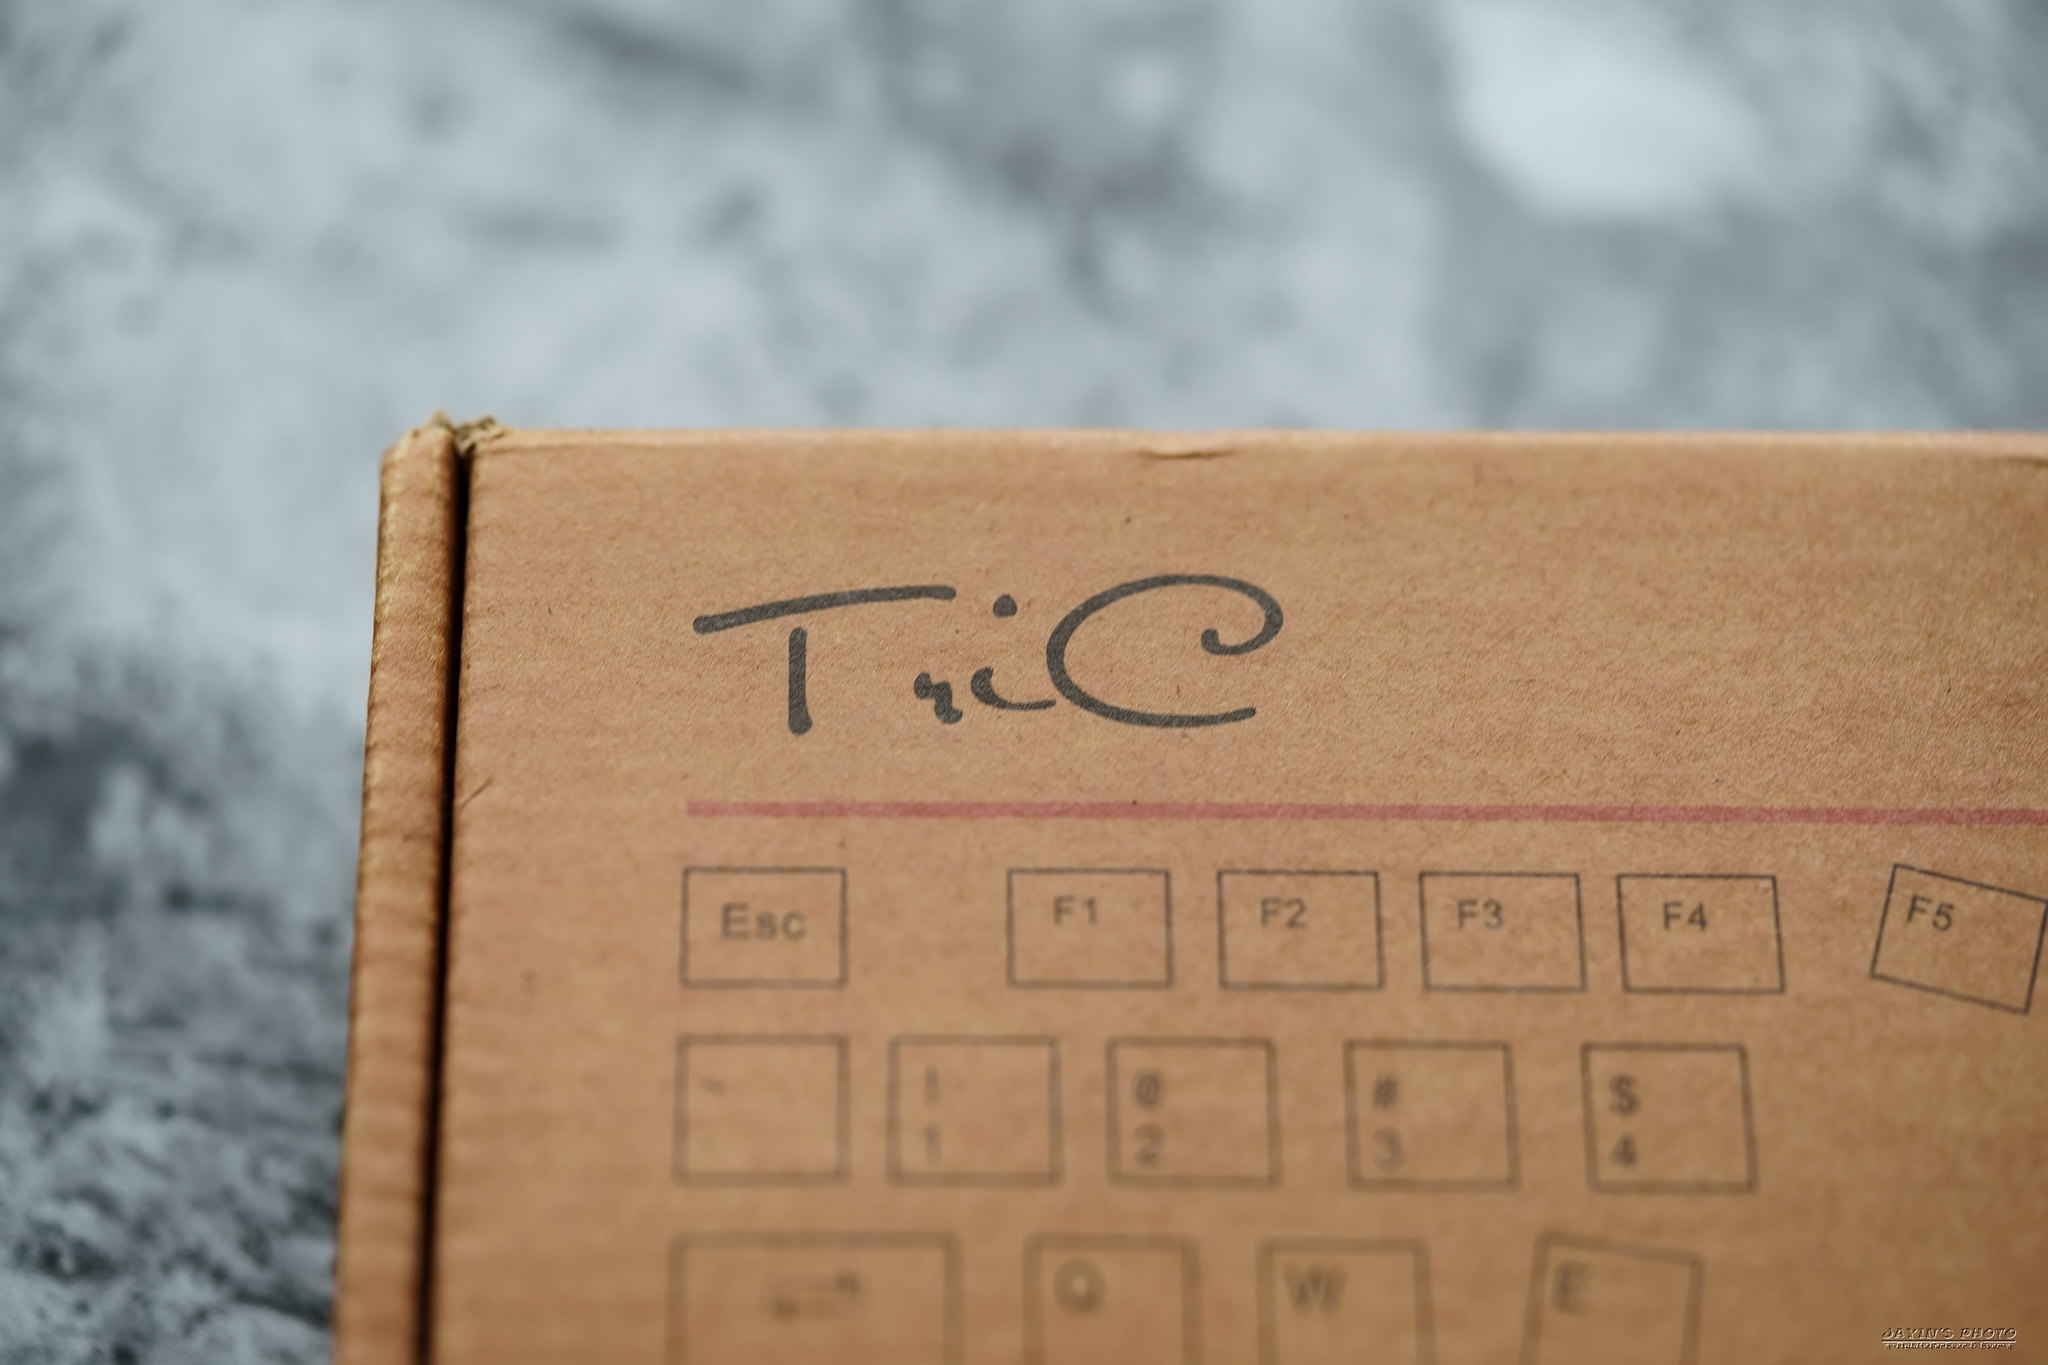
▼外盒也是為了Tric而製的,因此有印上字眼。
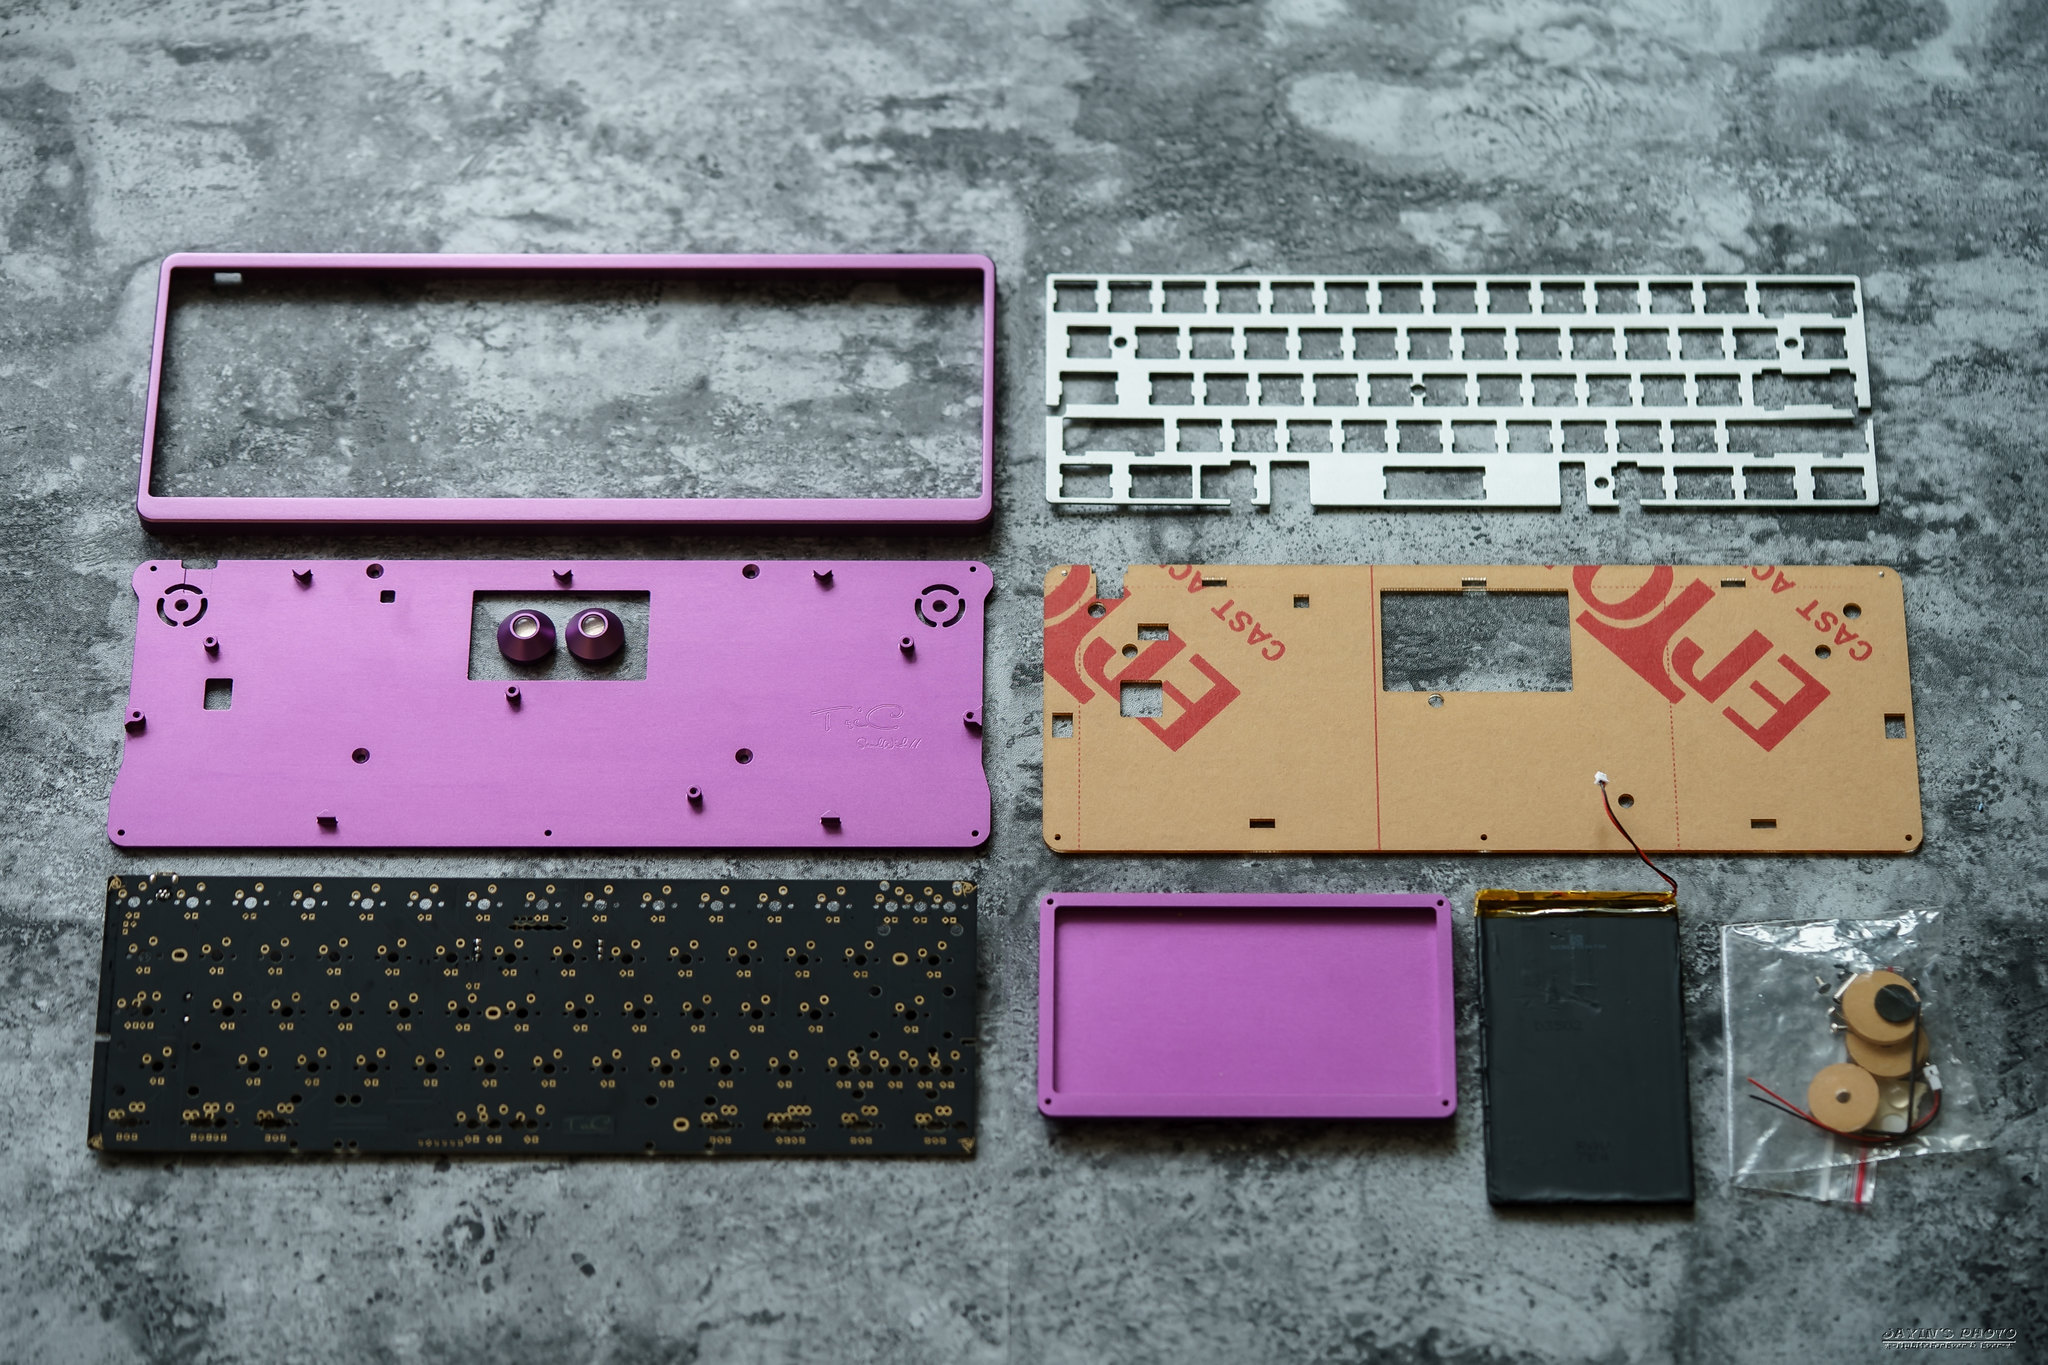
▼裡面的東西一覽,包含上下蓋、PCB、導光板、電池倉、電池、螺絲及電線,定位板是另購的,不含在套件中。
▼PCB正面,黑色板子是挺好看的,本人最喜歡的顏色。
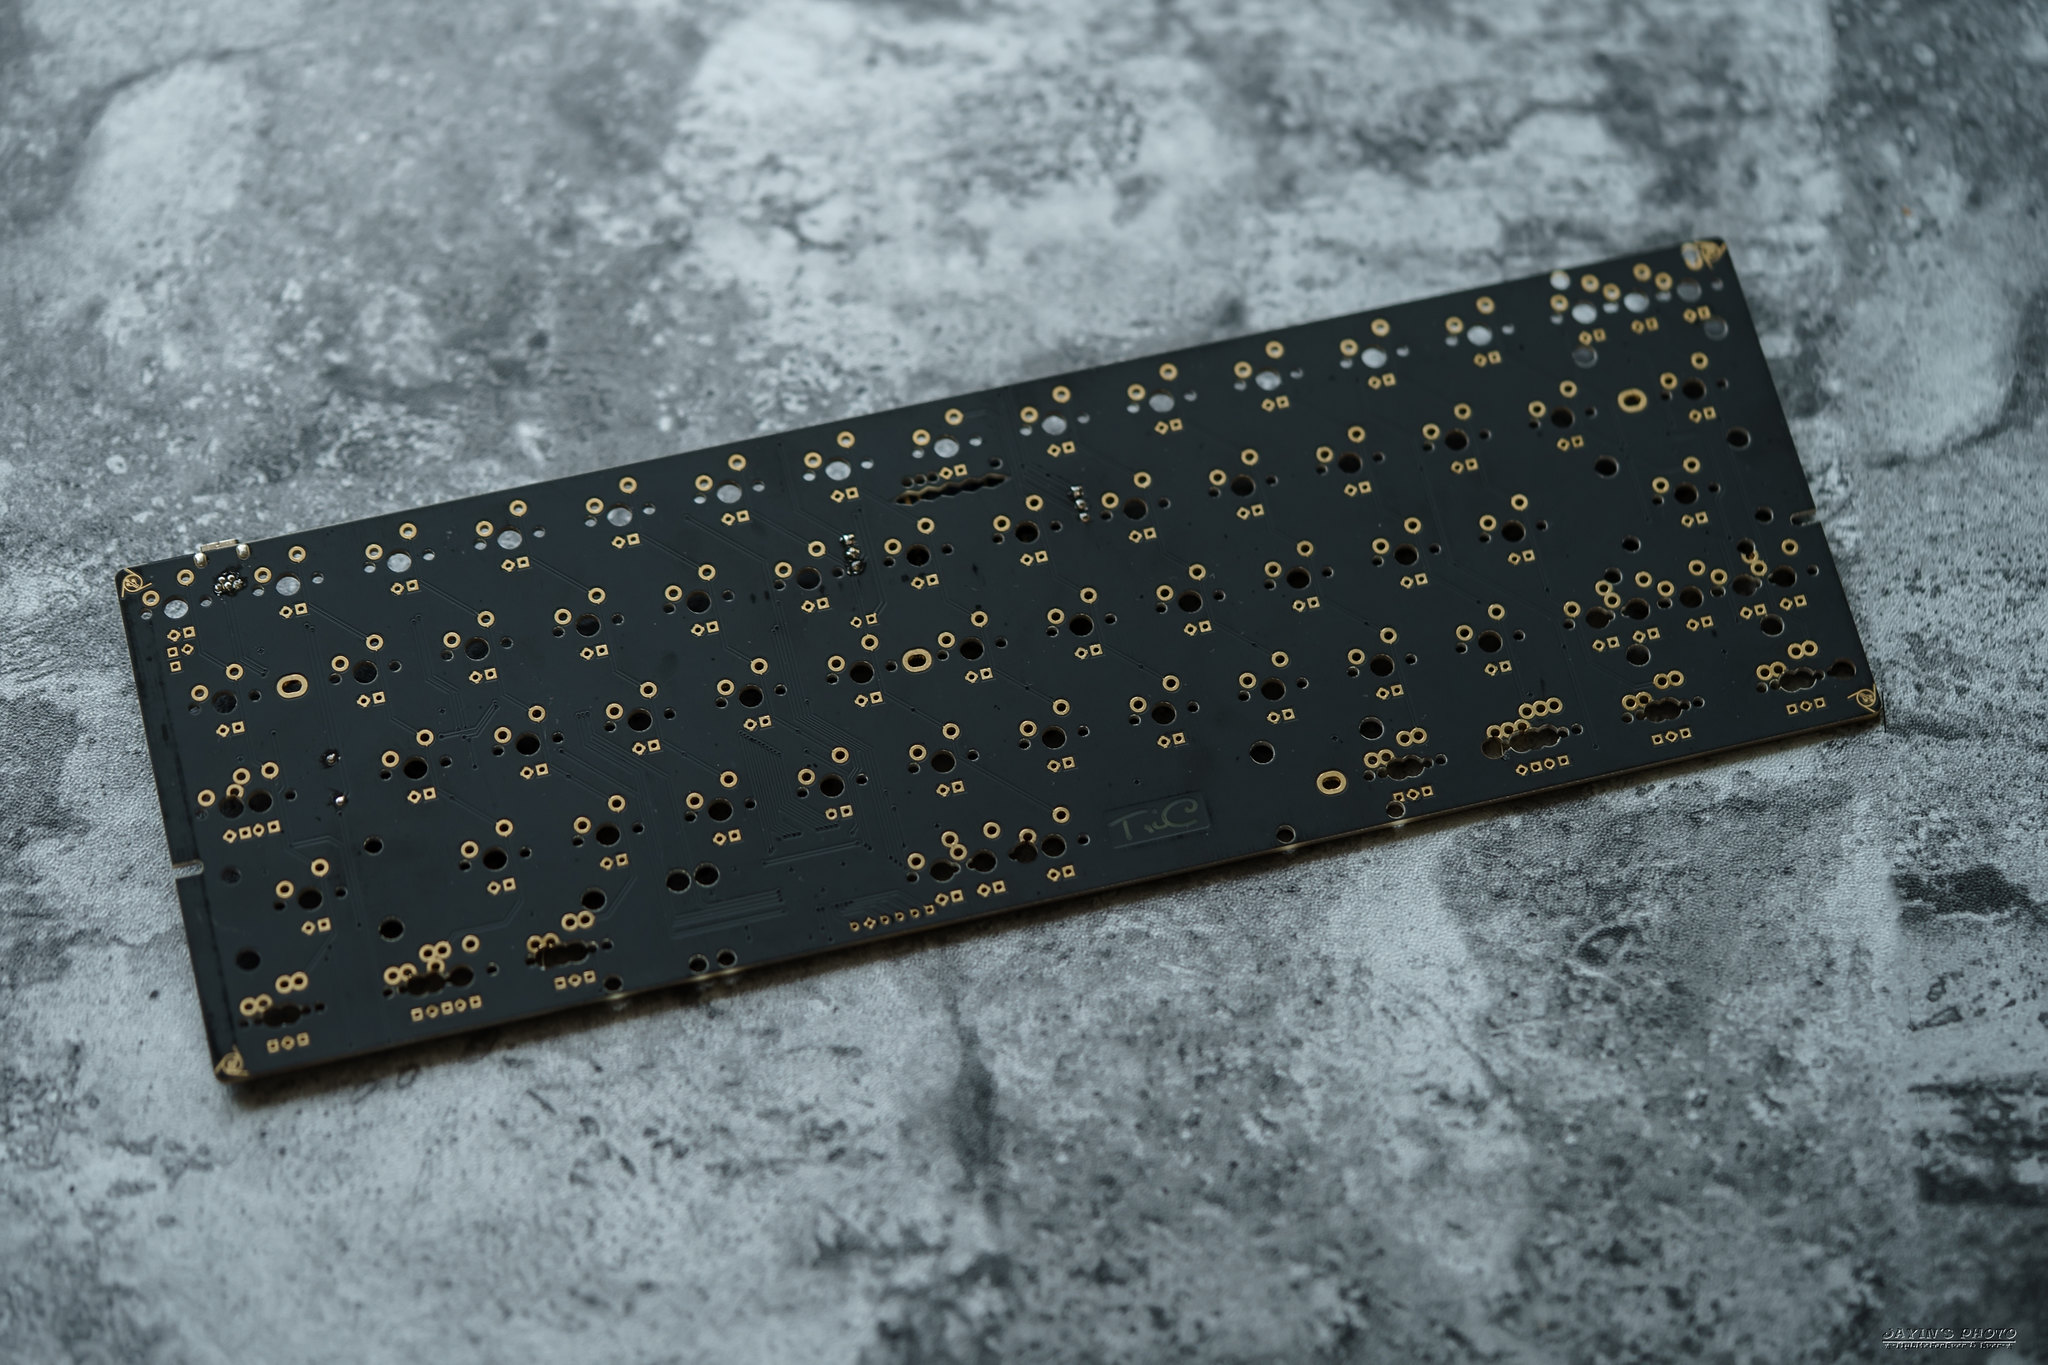
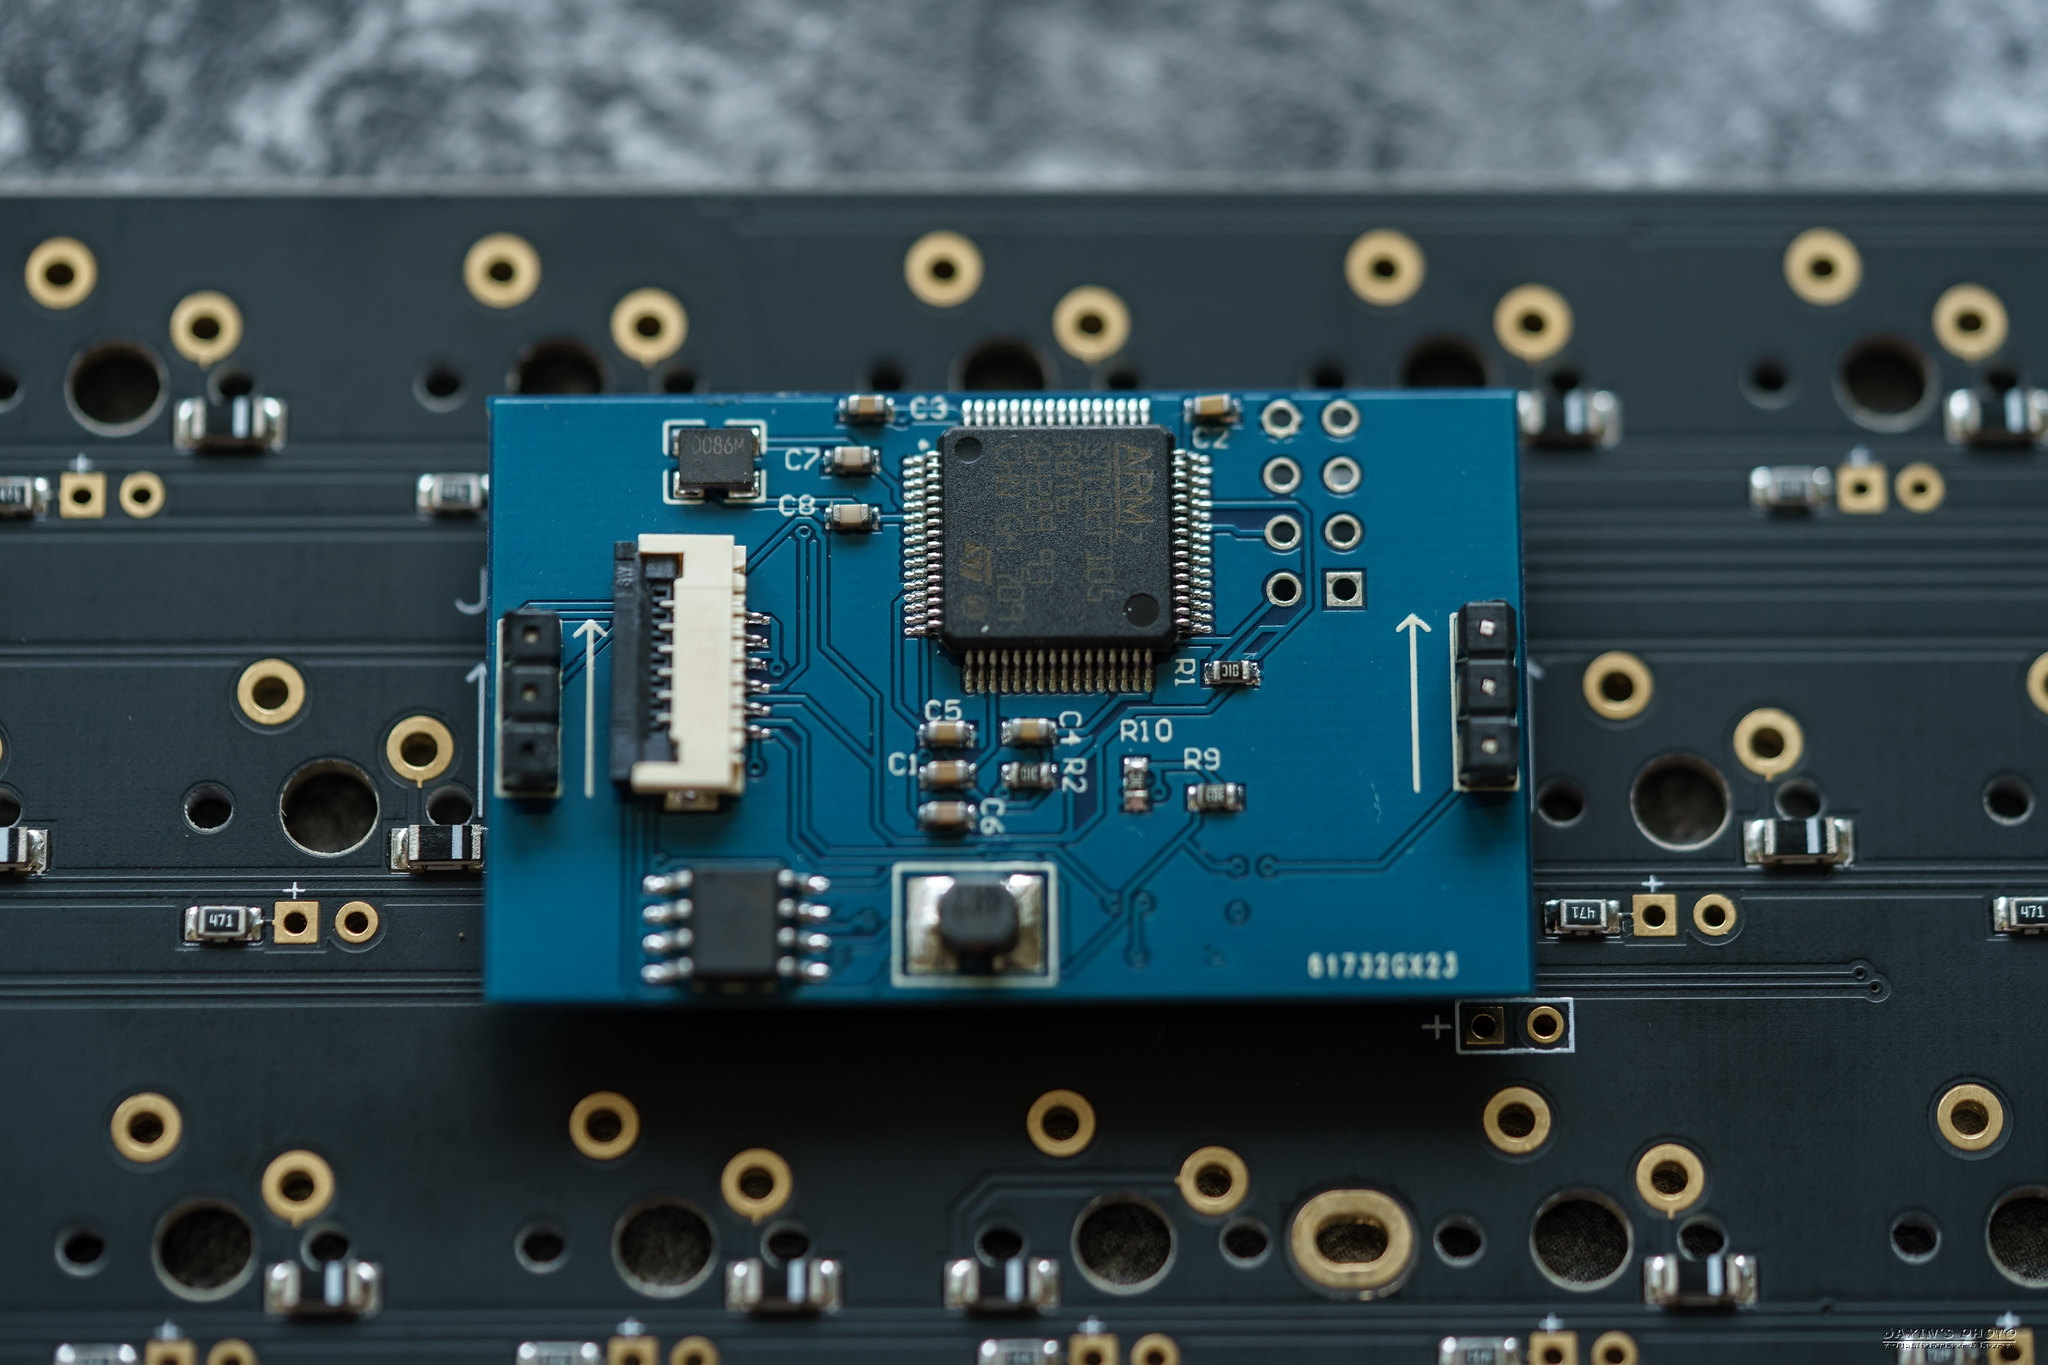
▼PCB背面,中間上方有個藍芽的小Chip,目的就是USB轉藍芽。PCB外圍也有一些RGB底燈。

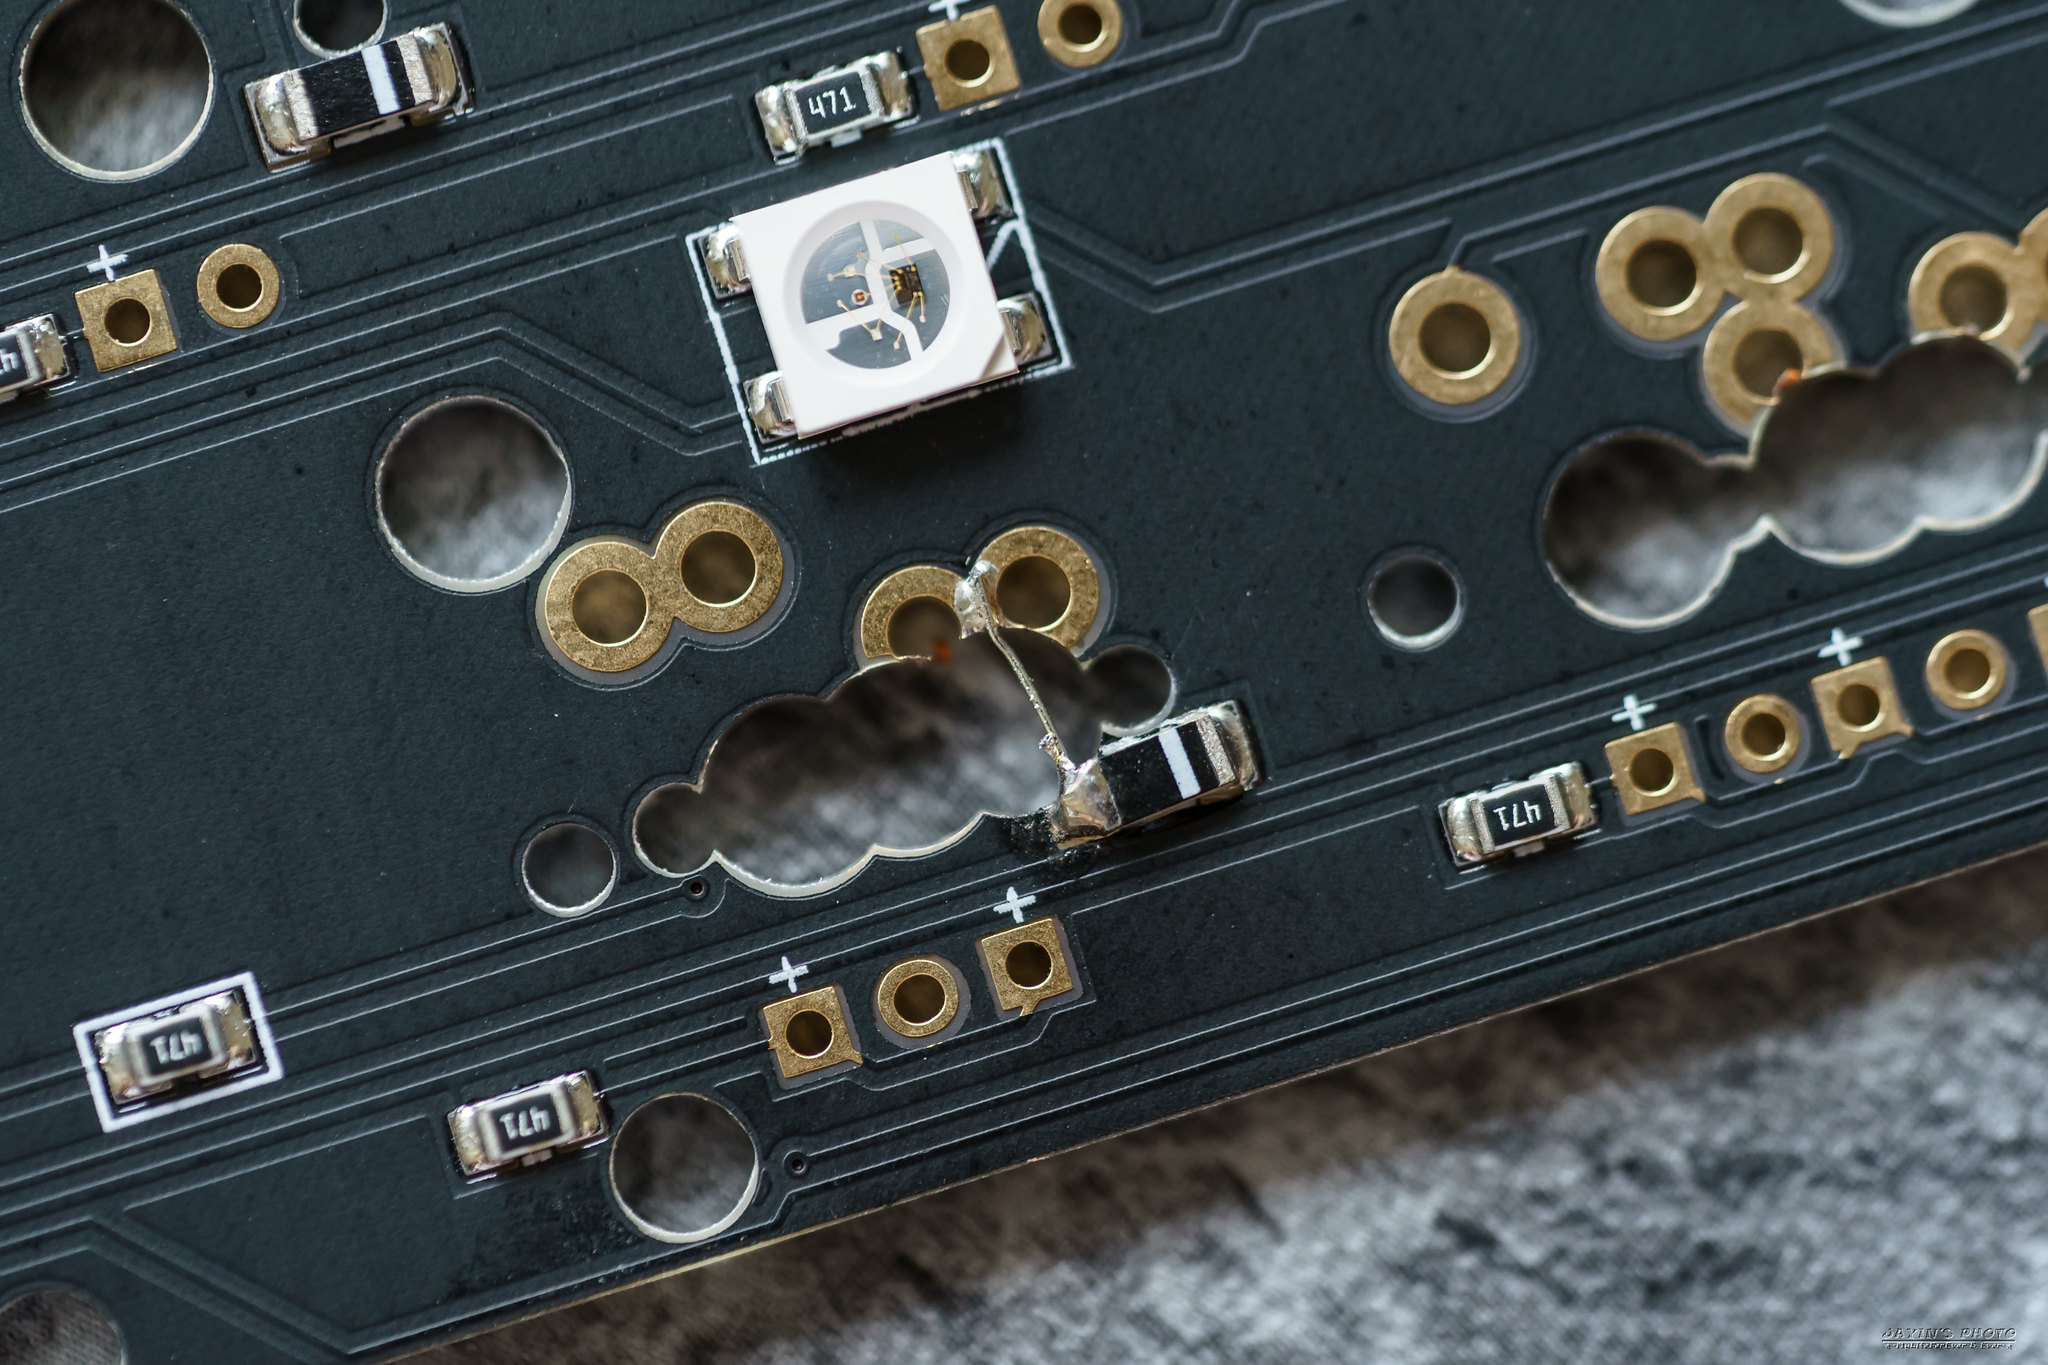
▼這邊是這次PCB讓人詬病的地方,應該是線路沒設計好,所以有飛線來連接。
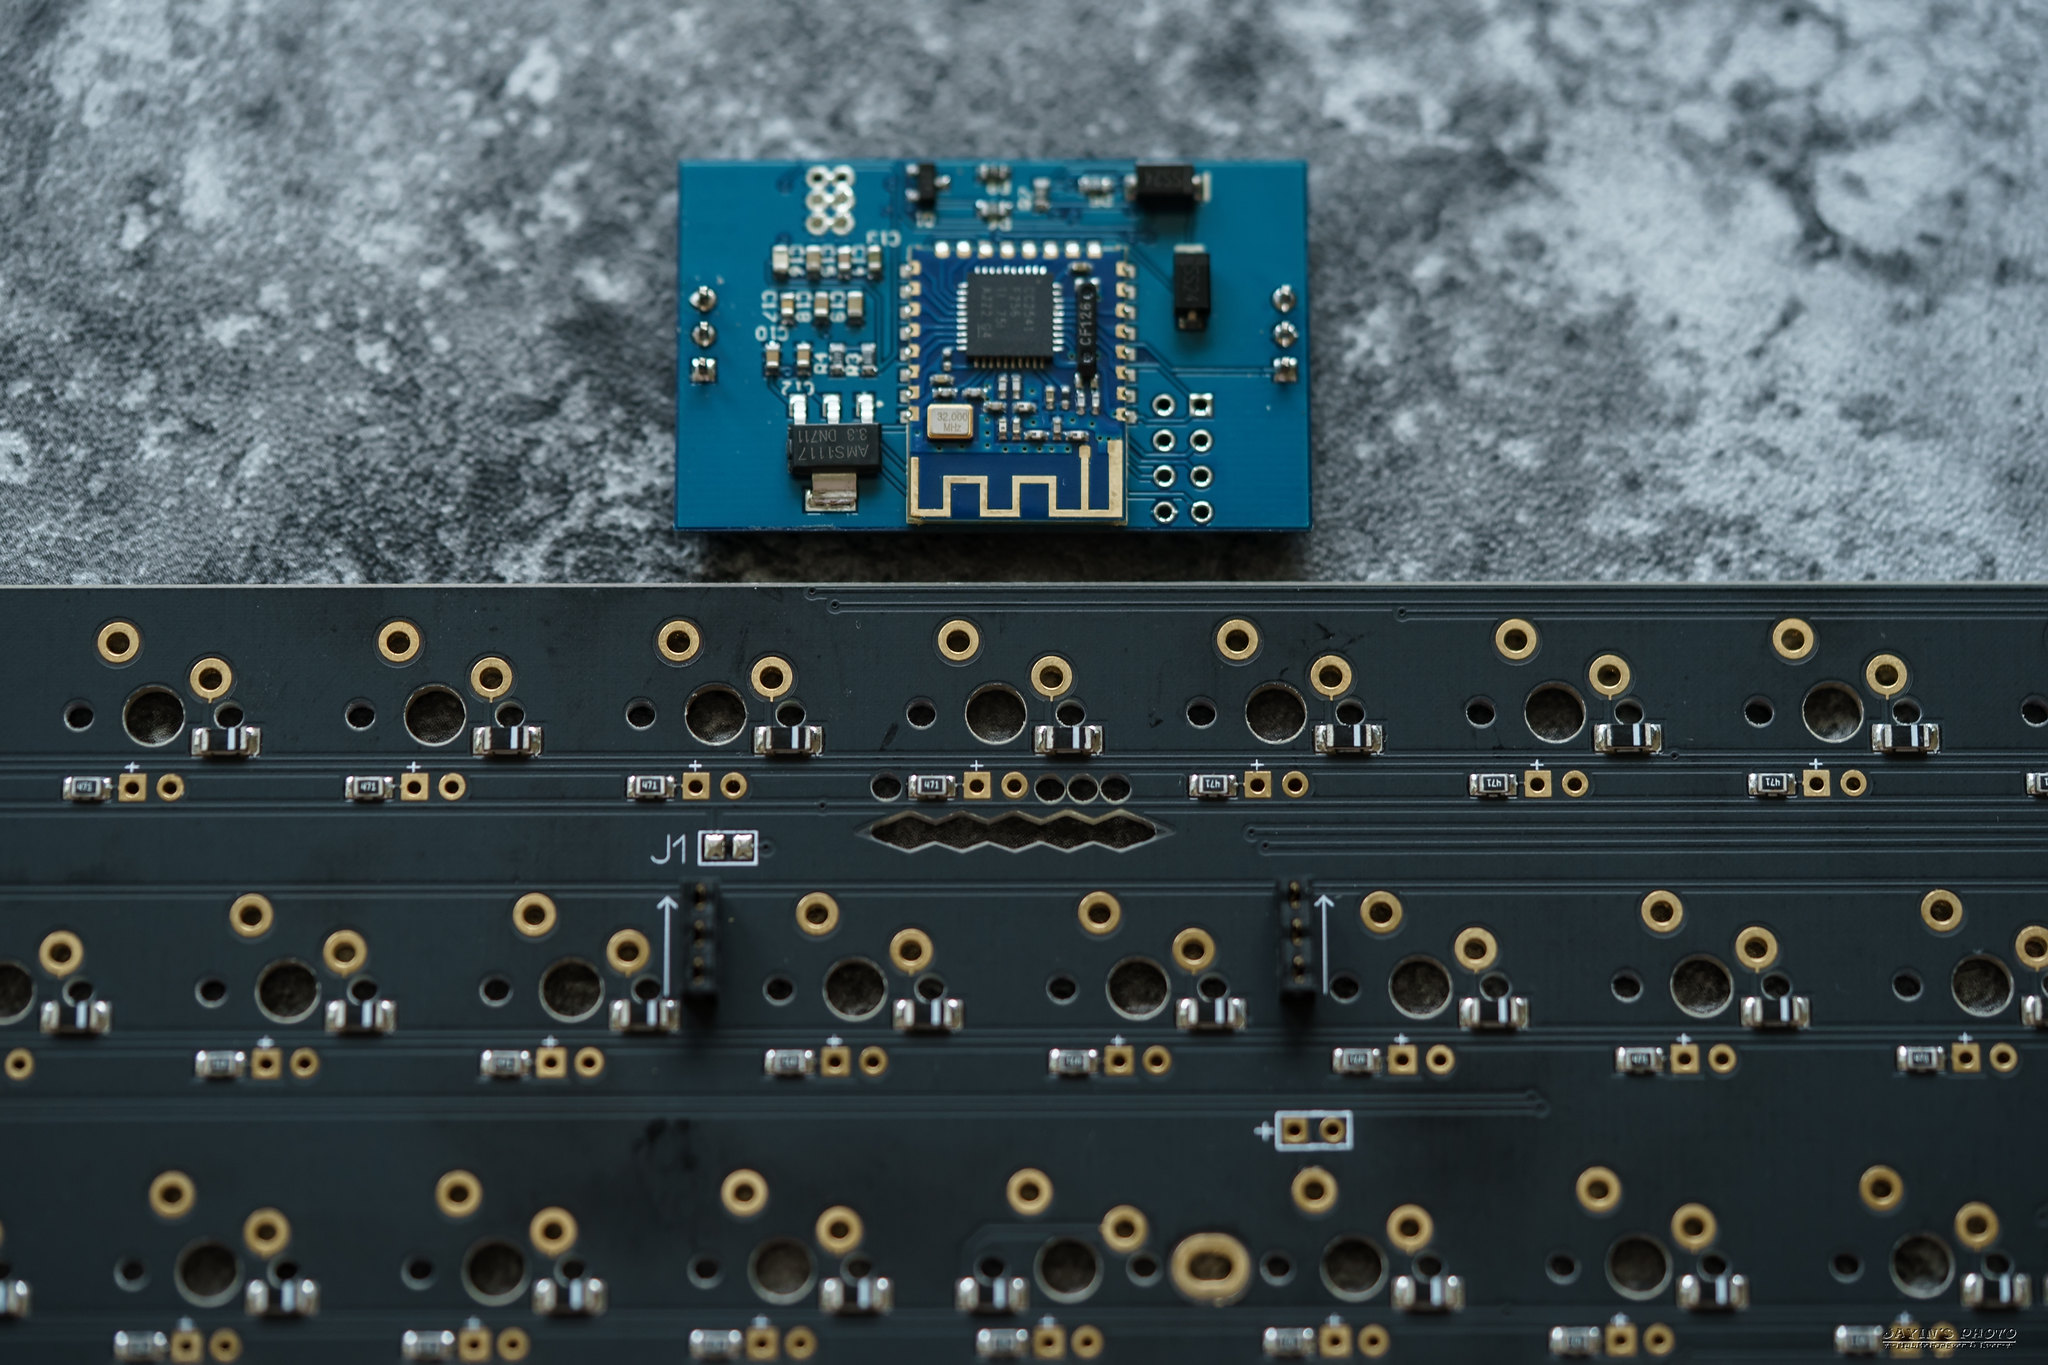
▼藍芽模組,這個模組是可以拆下的,而模組右下方有個正負極位置,用來連接電池的電線。
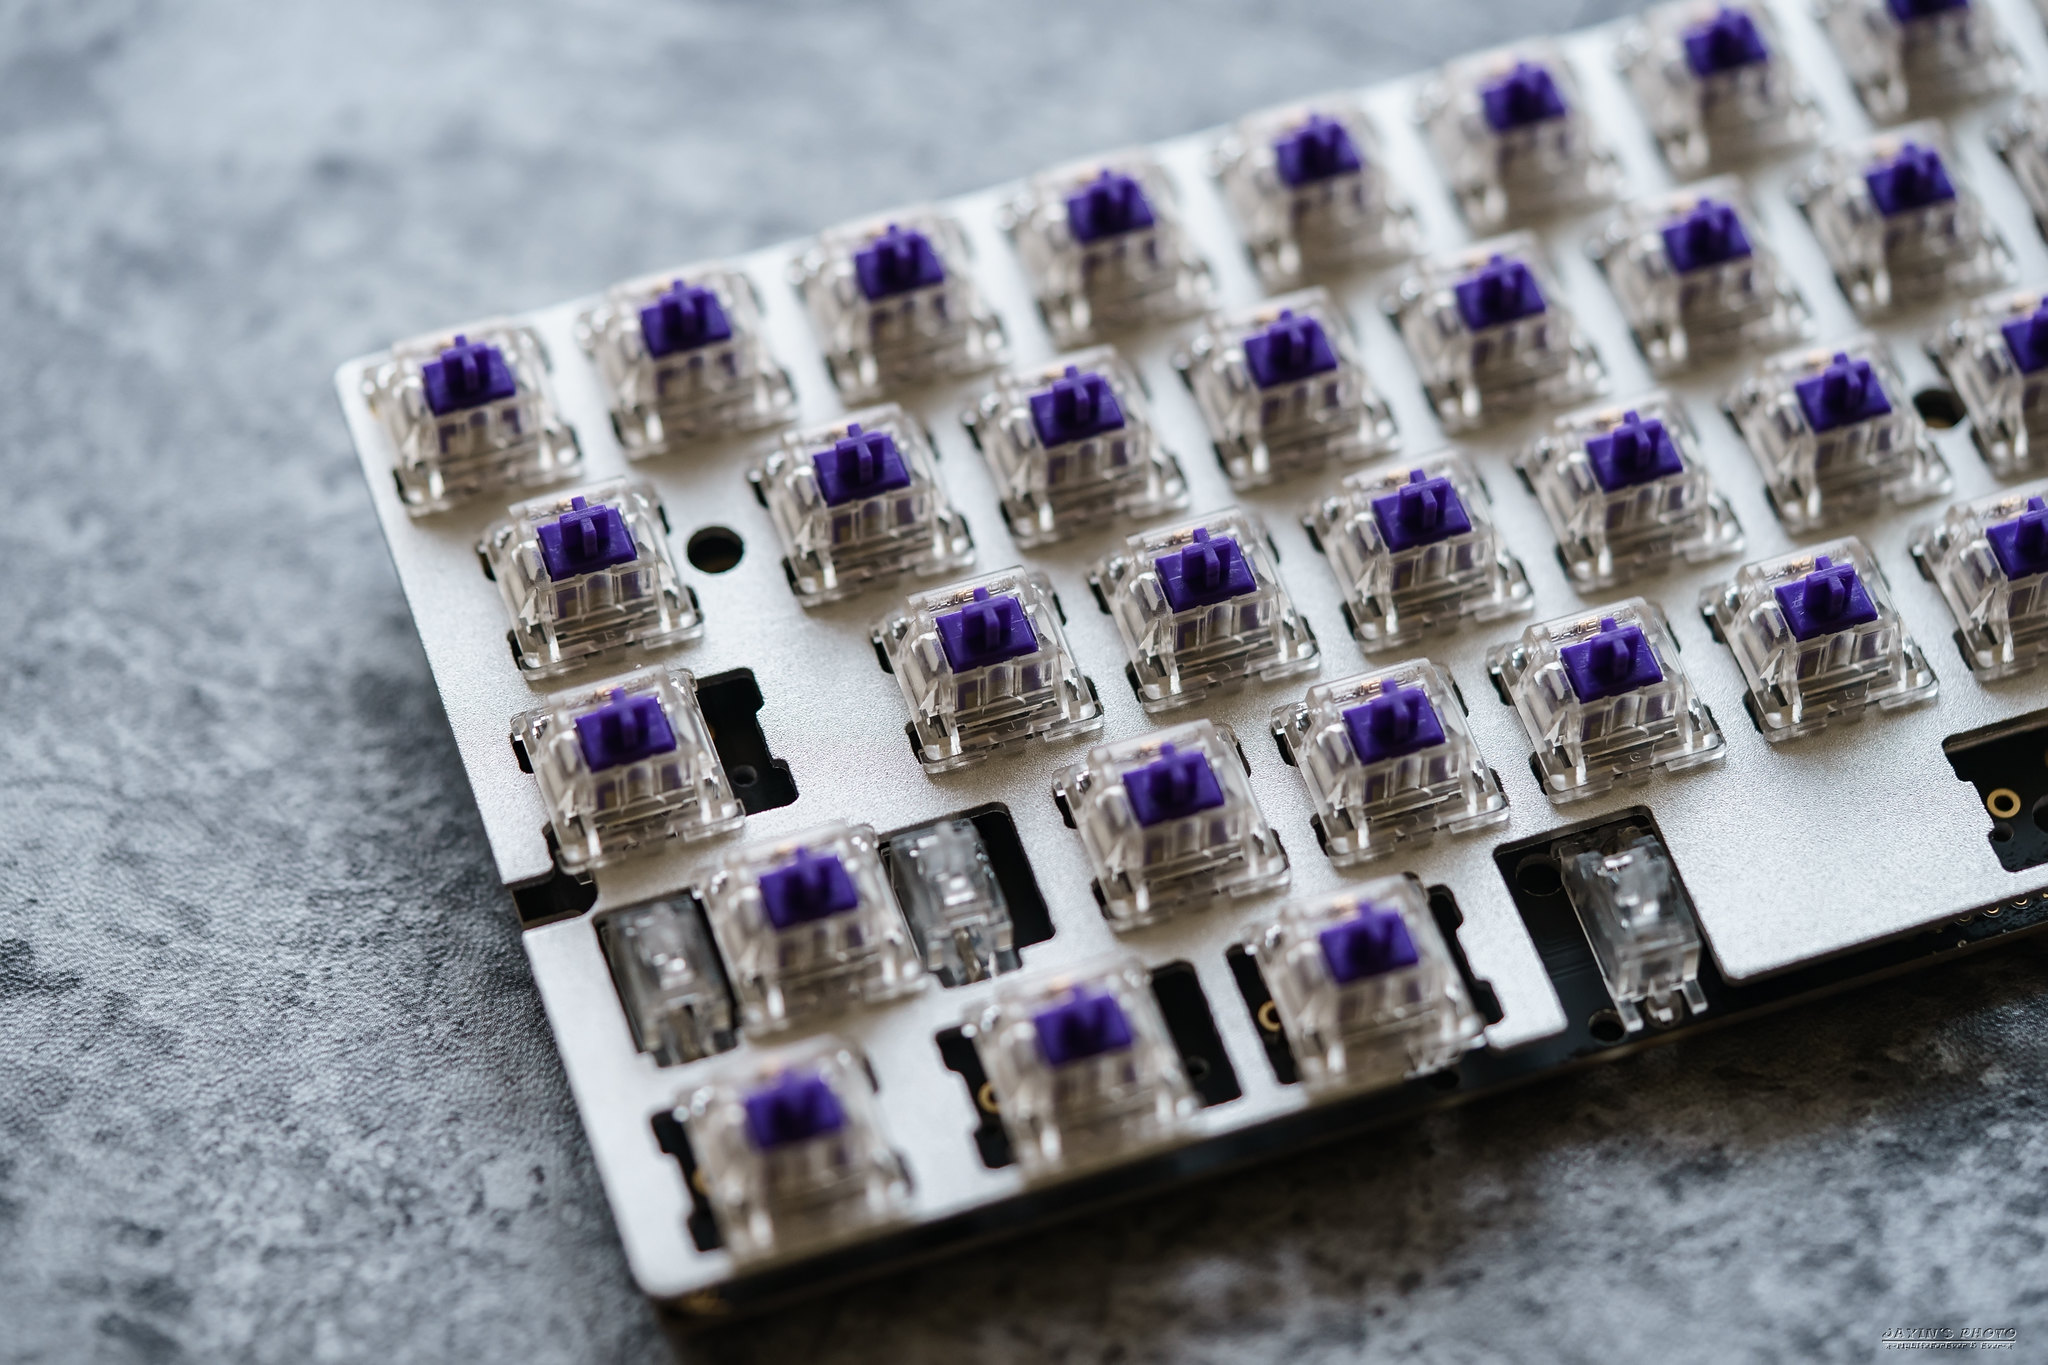
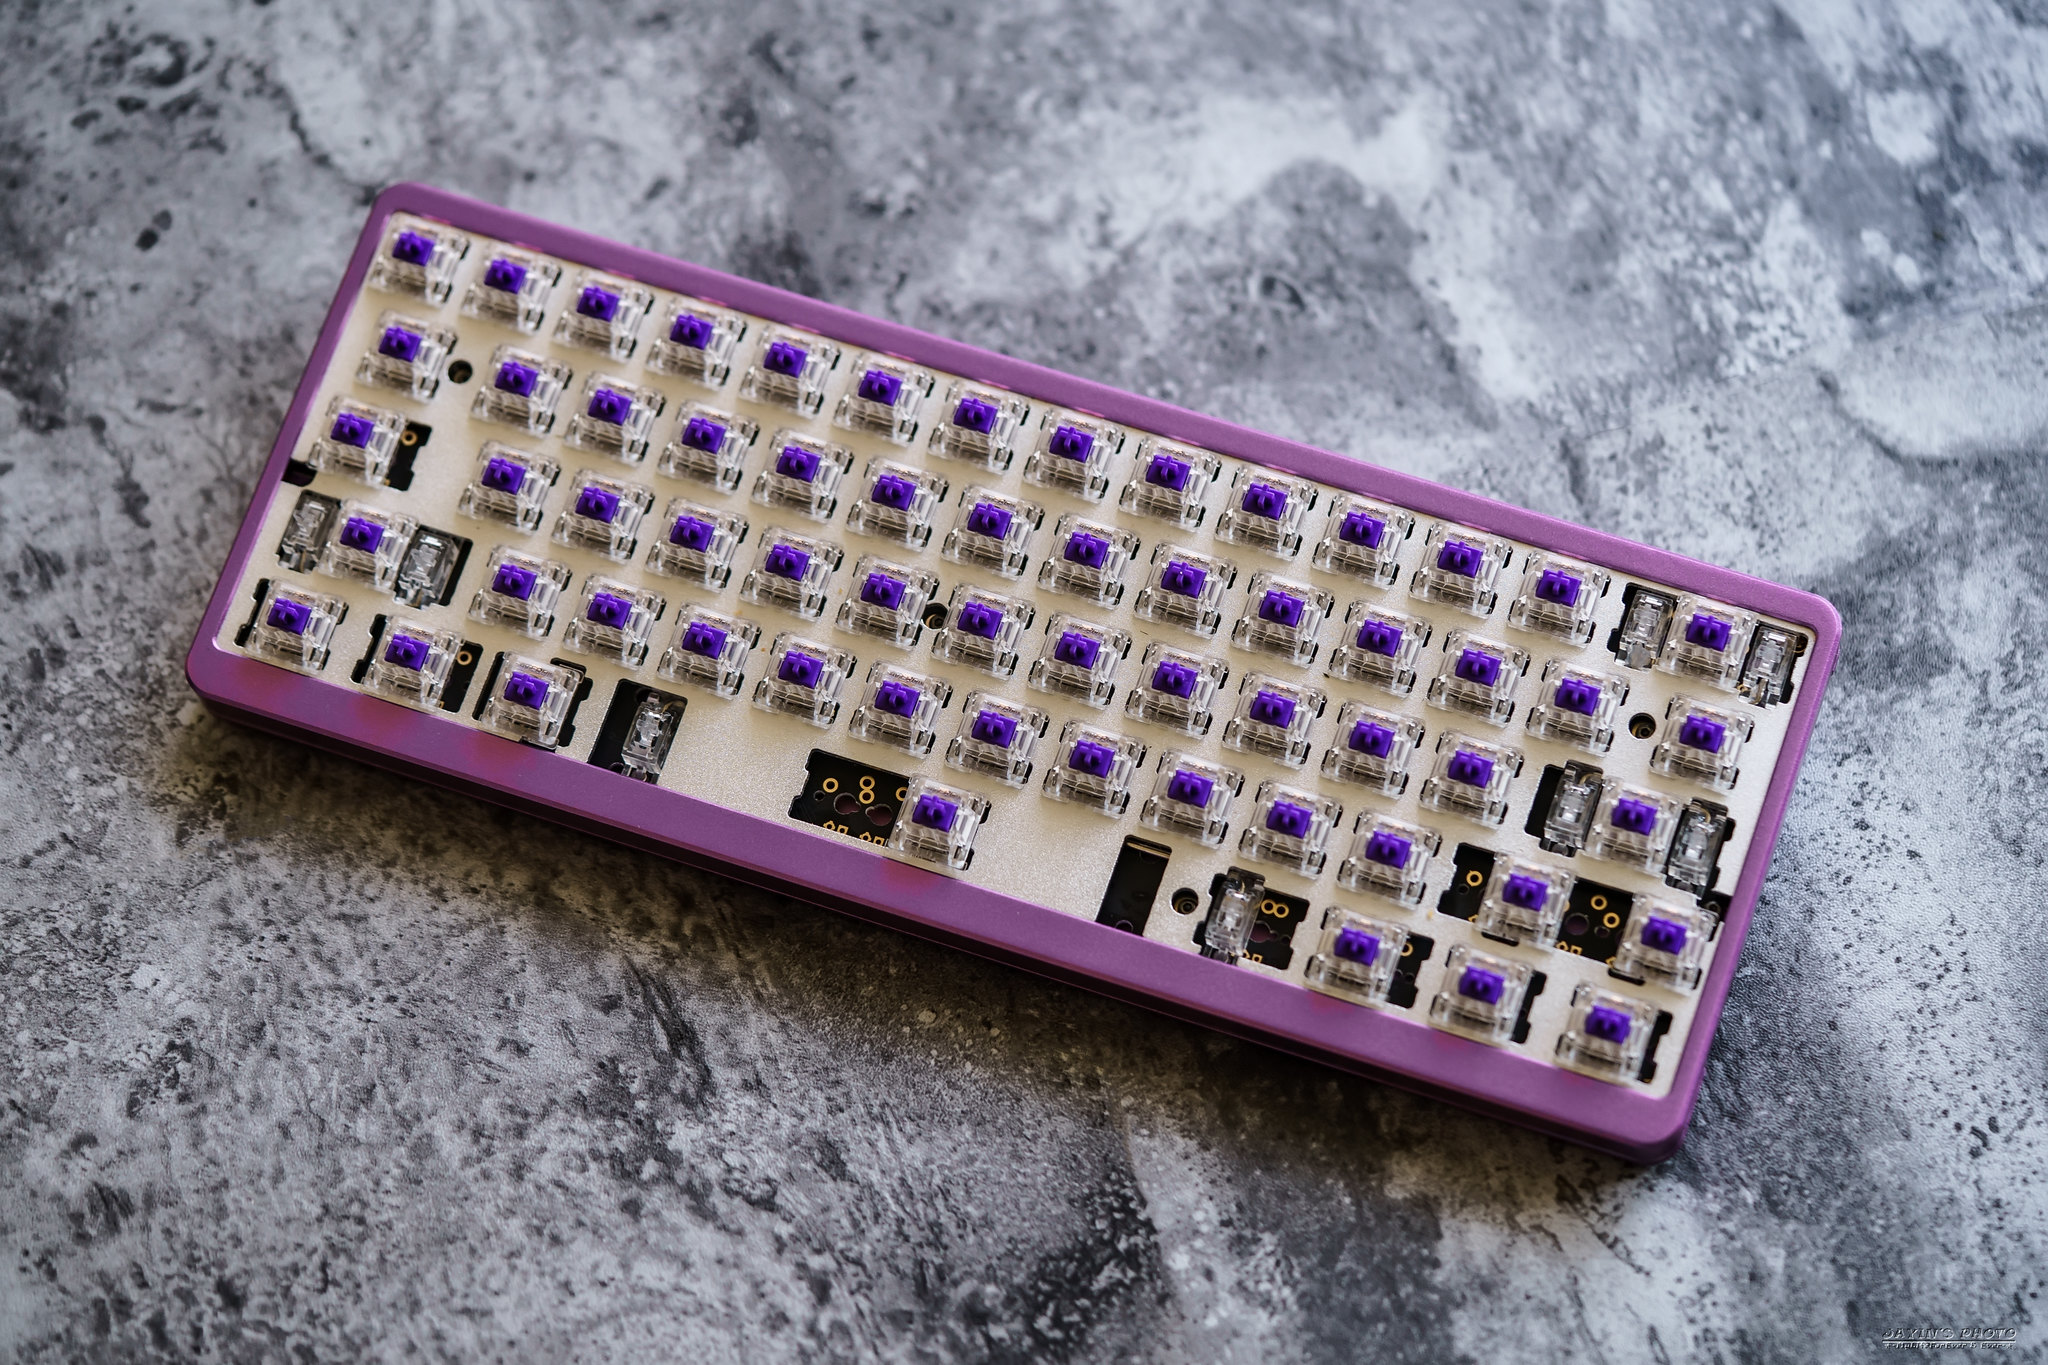
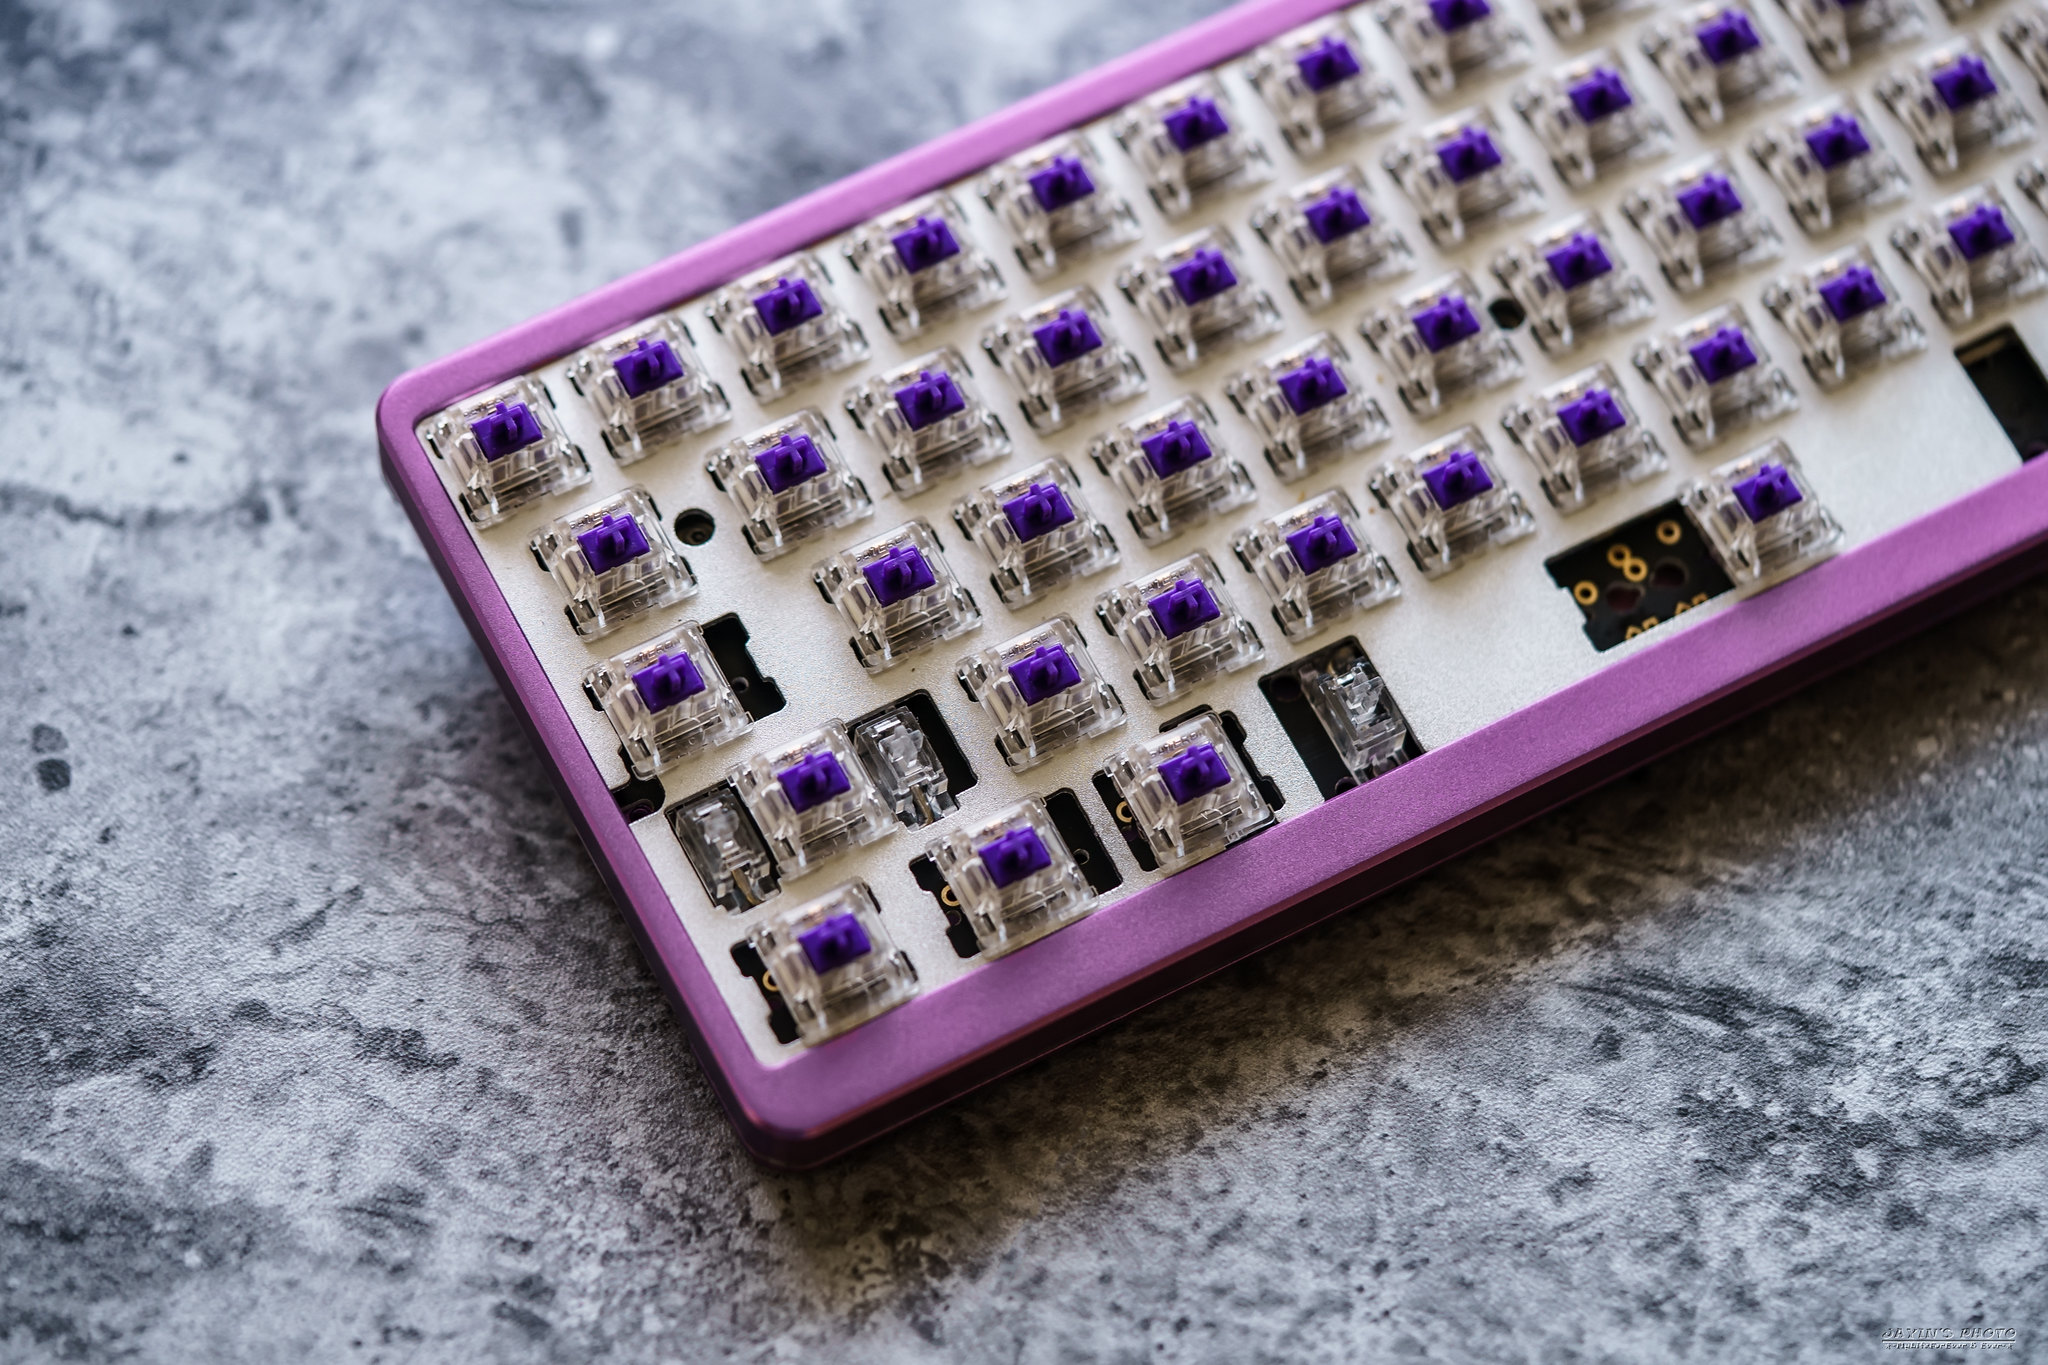
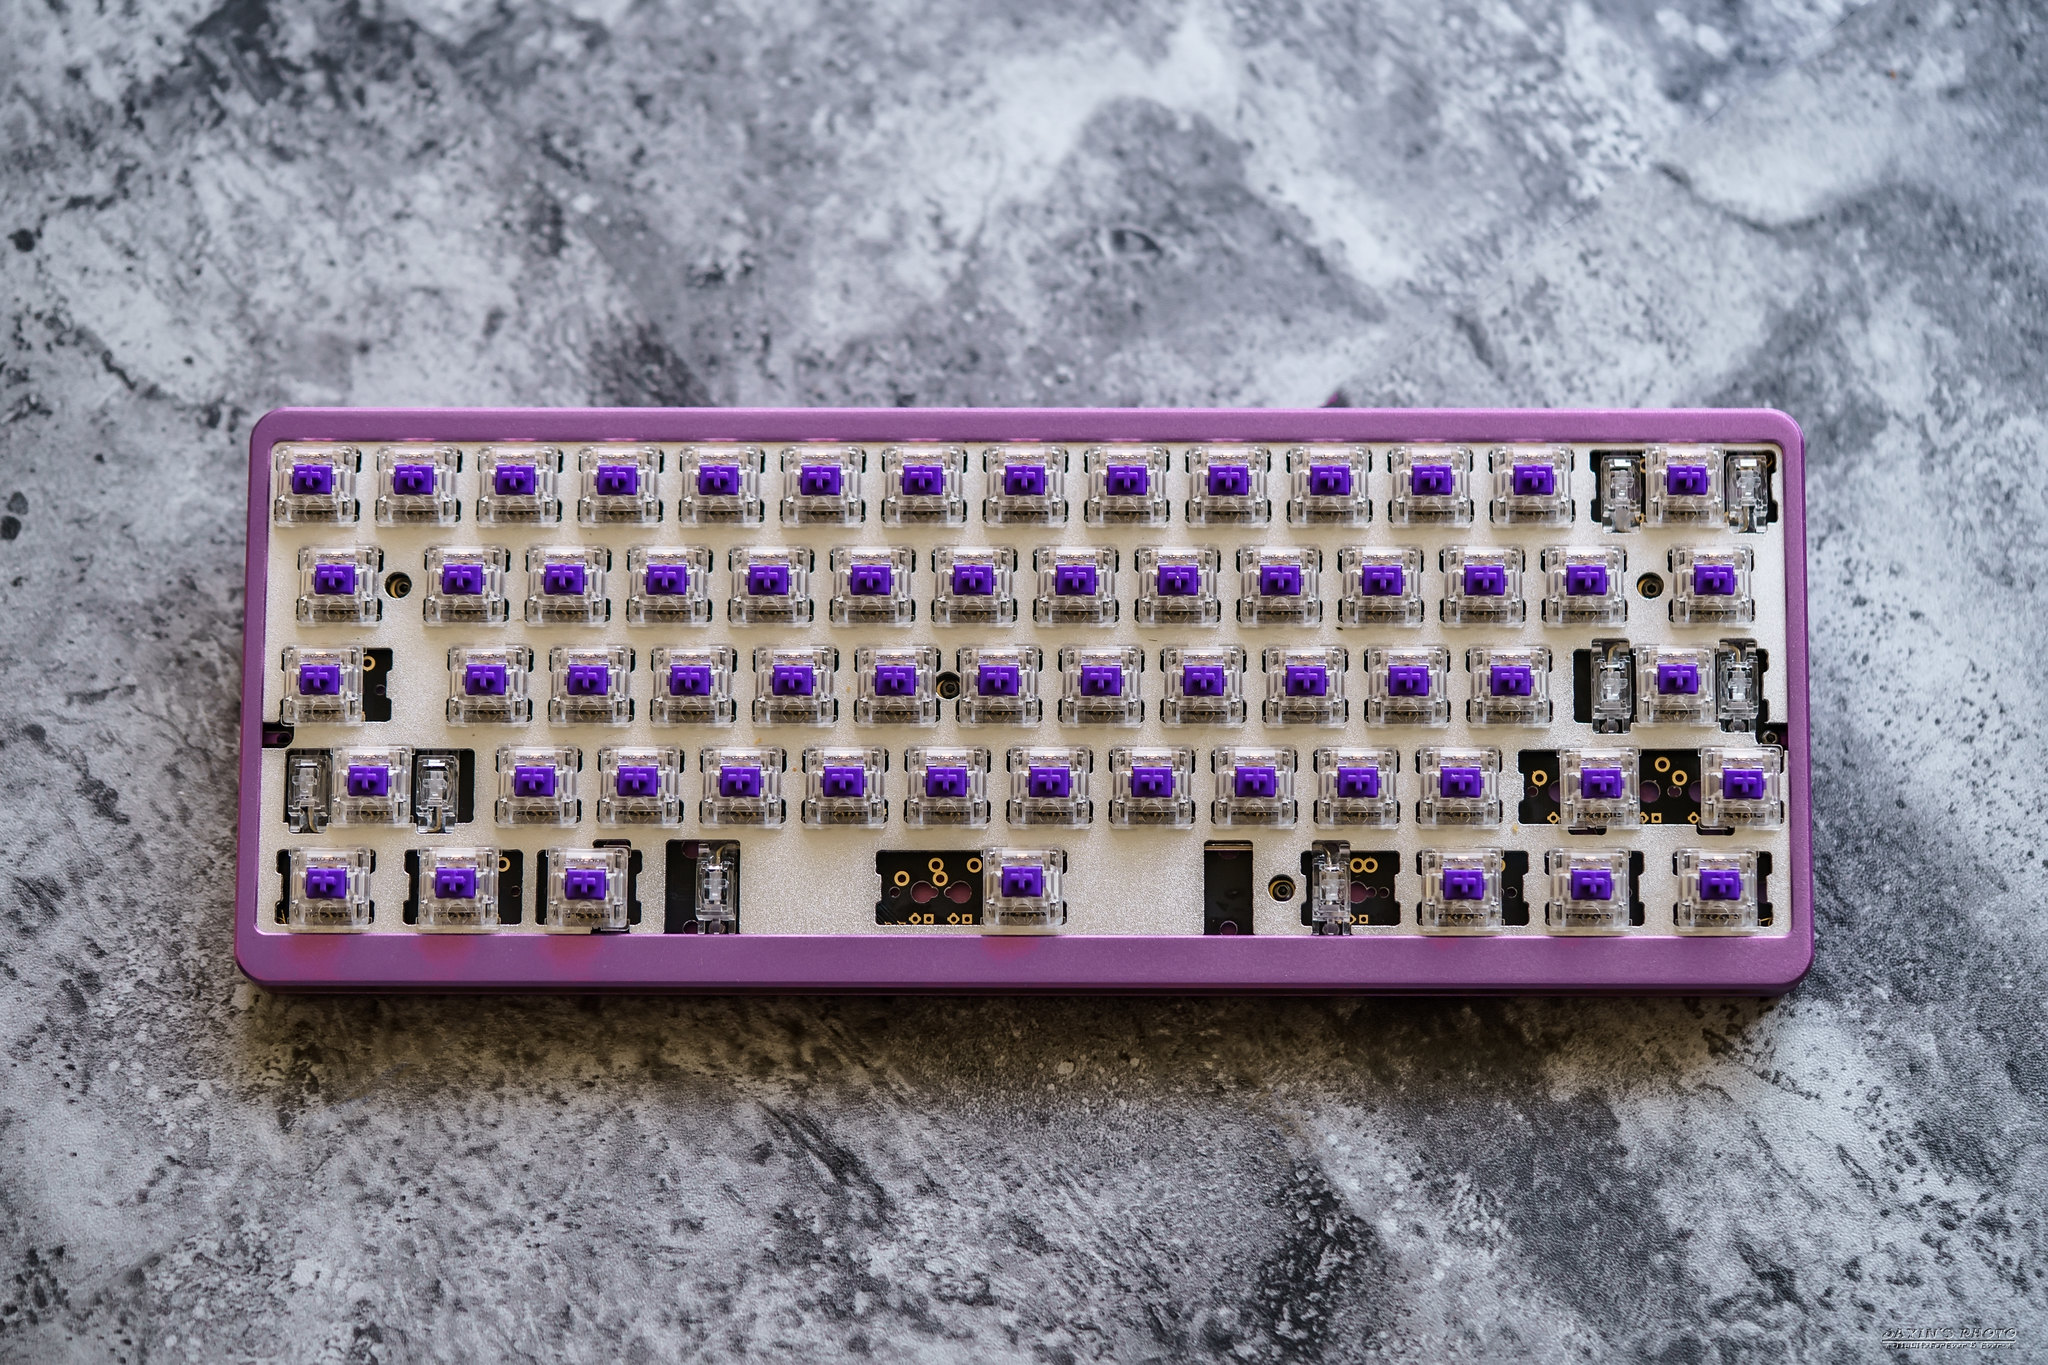
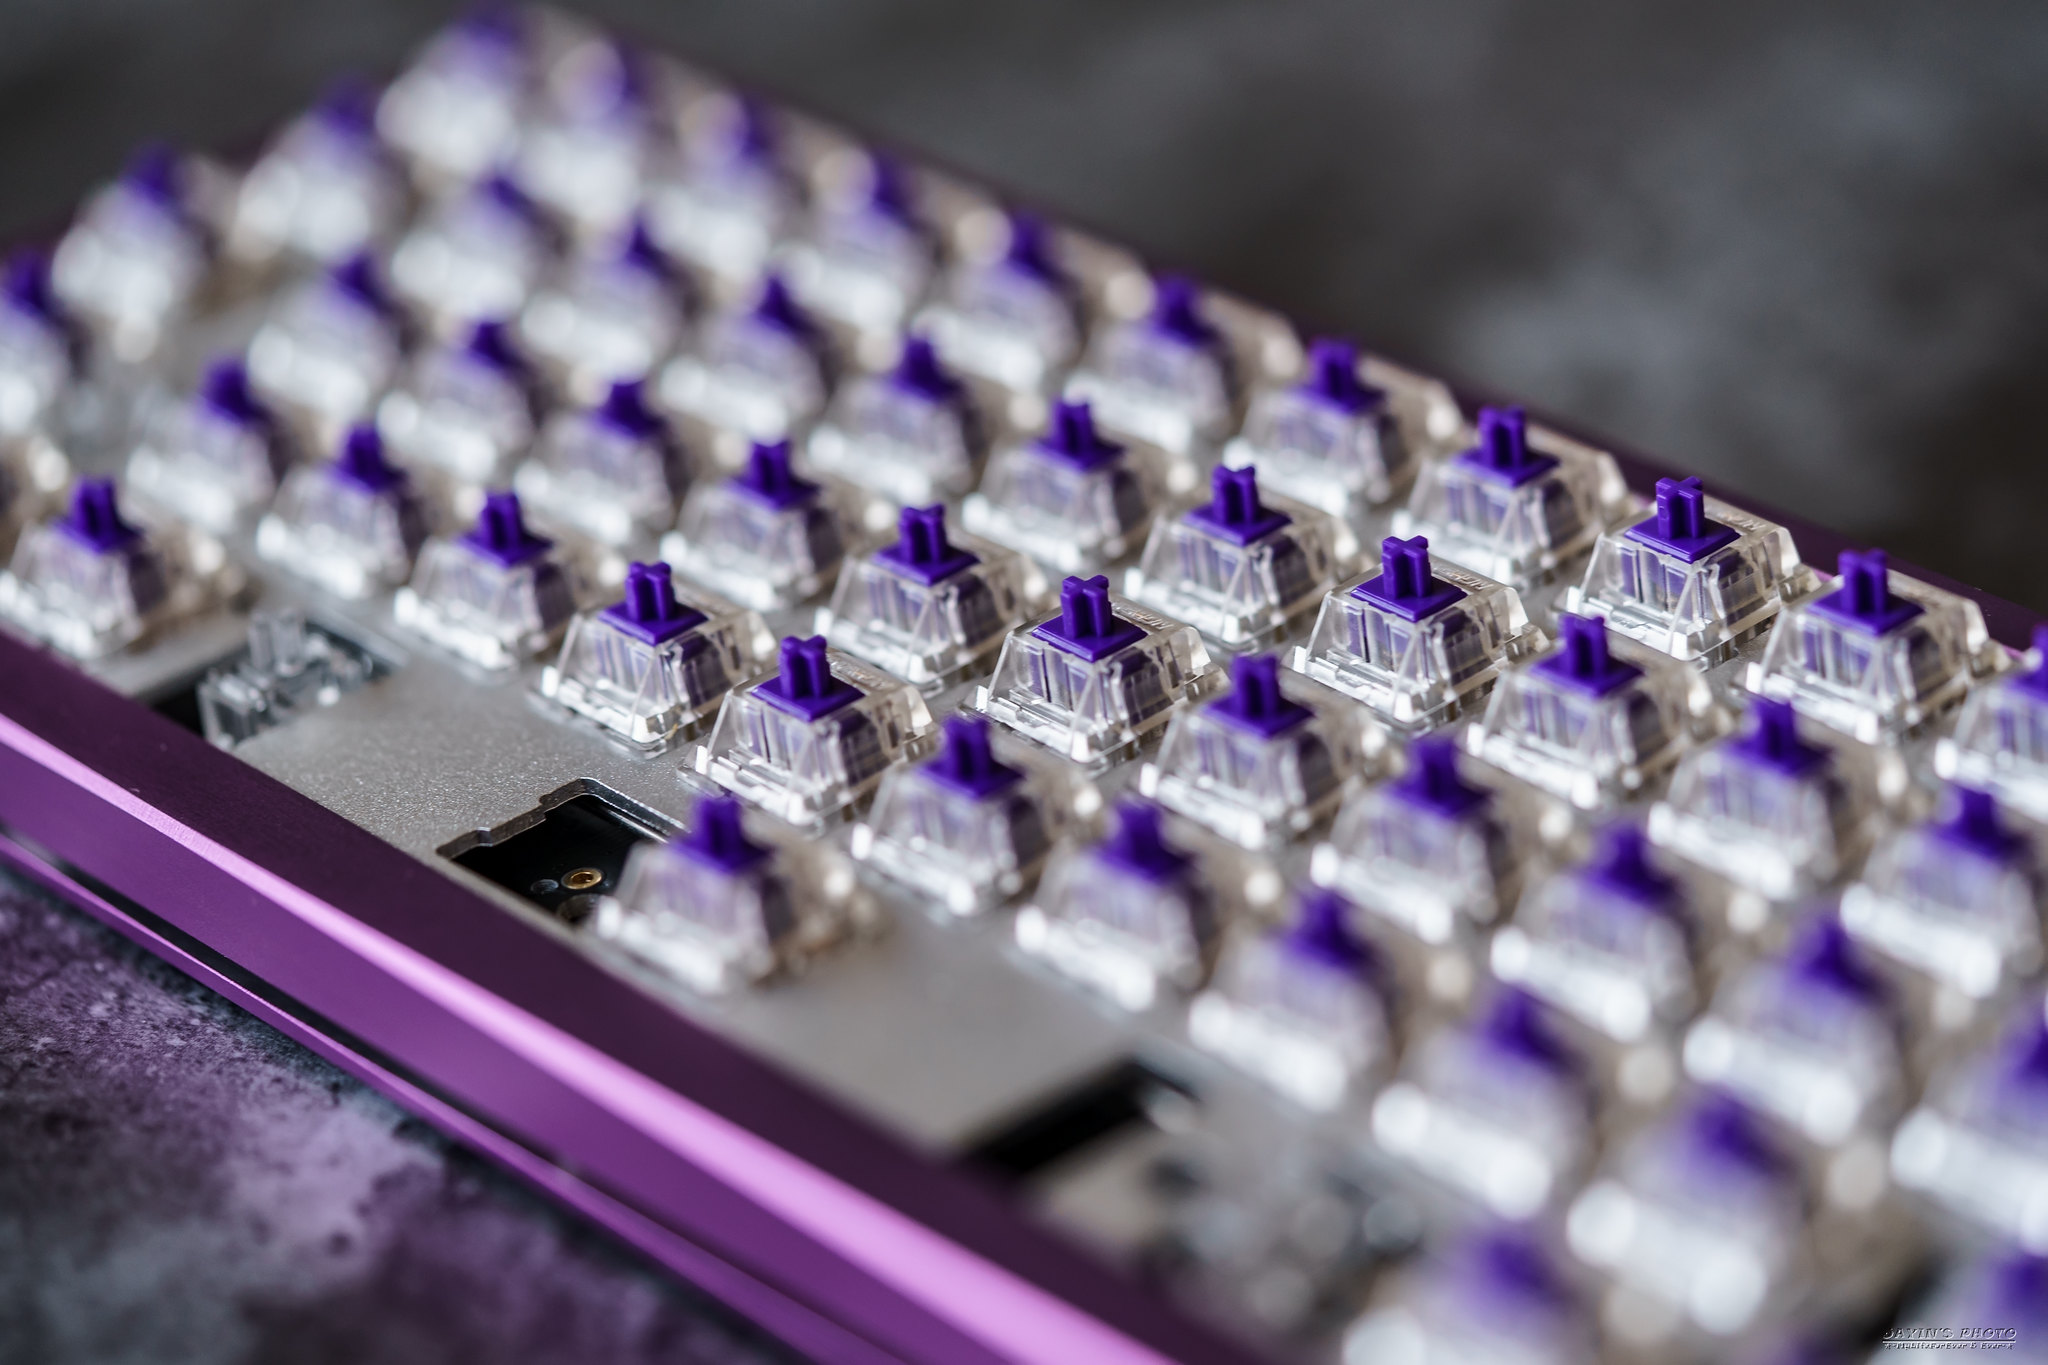
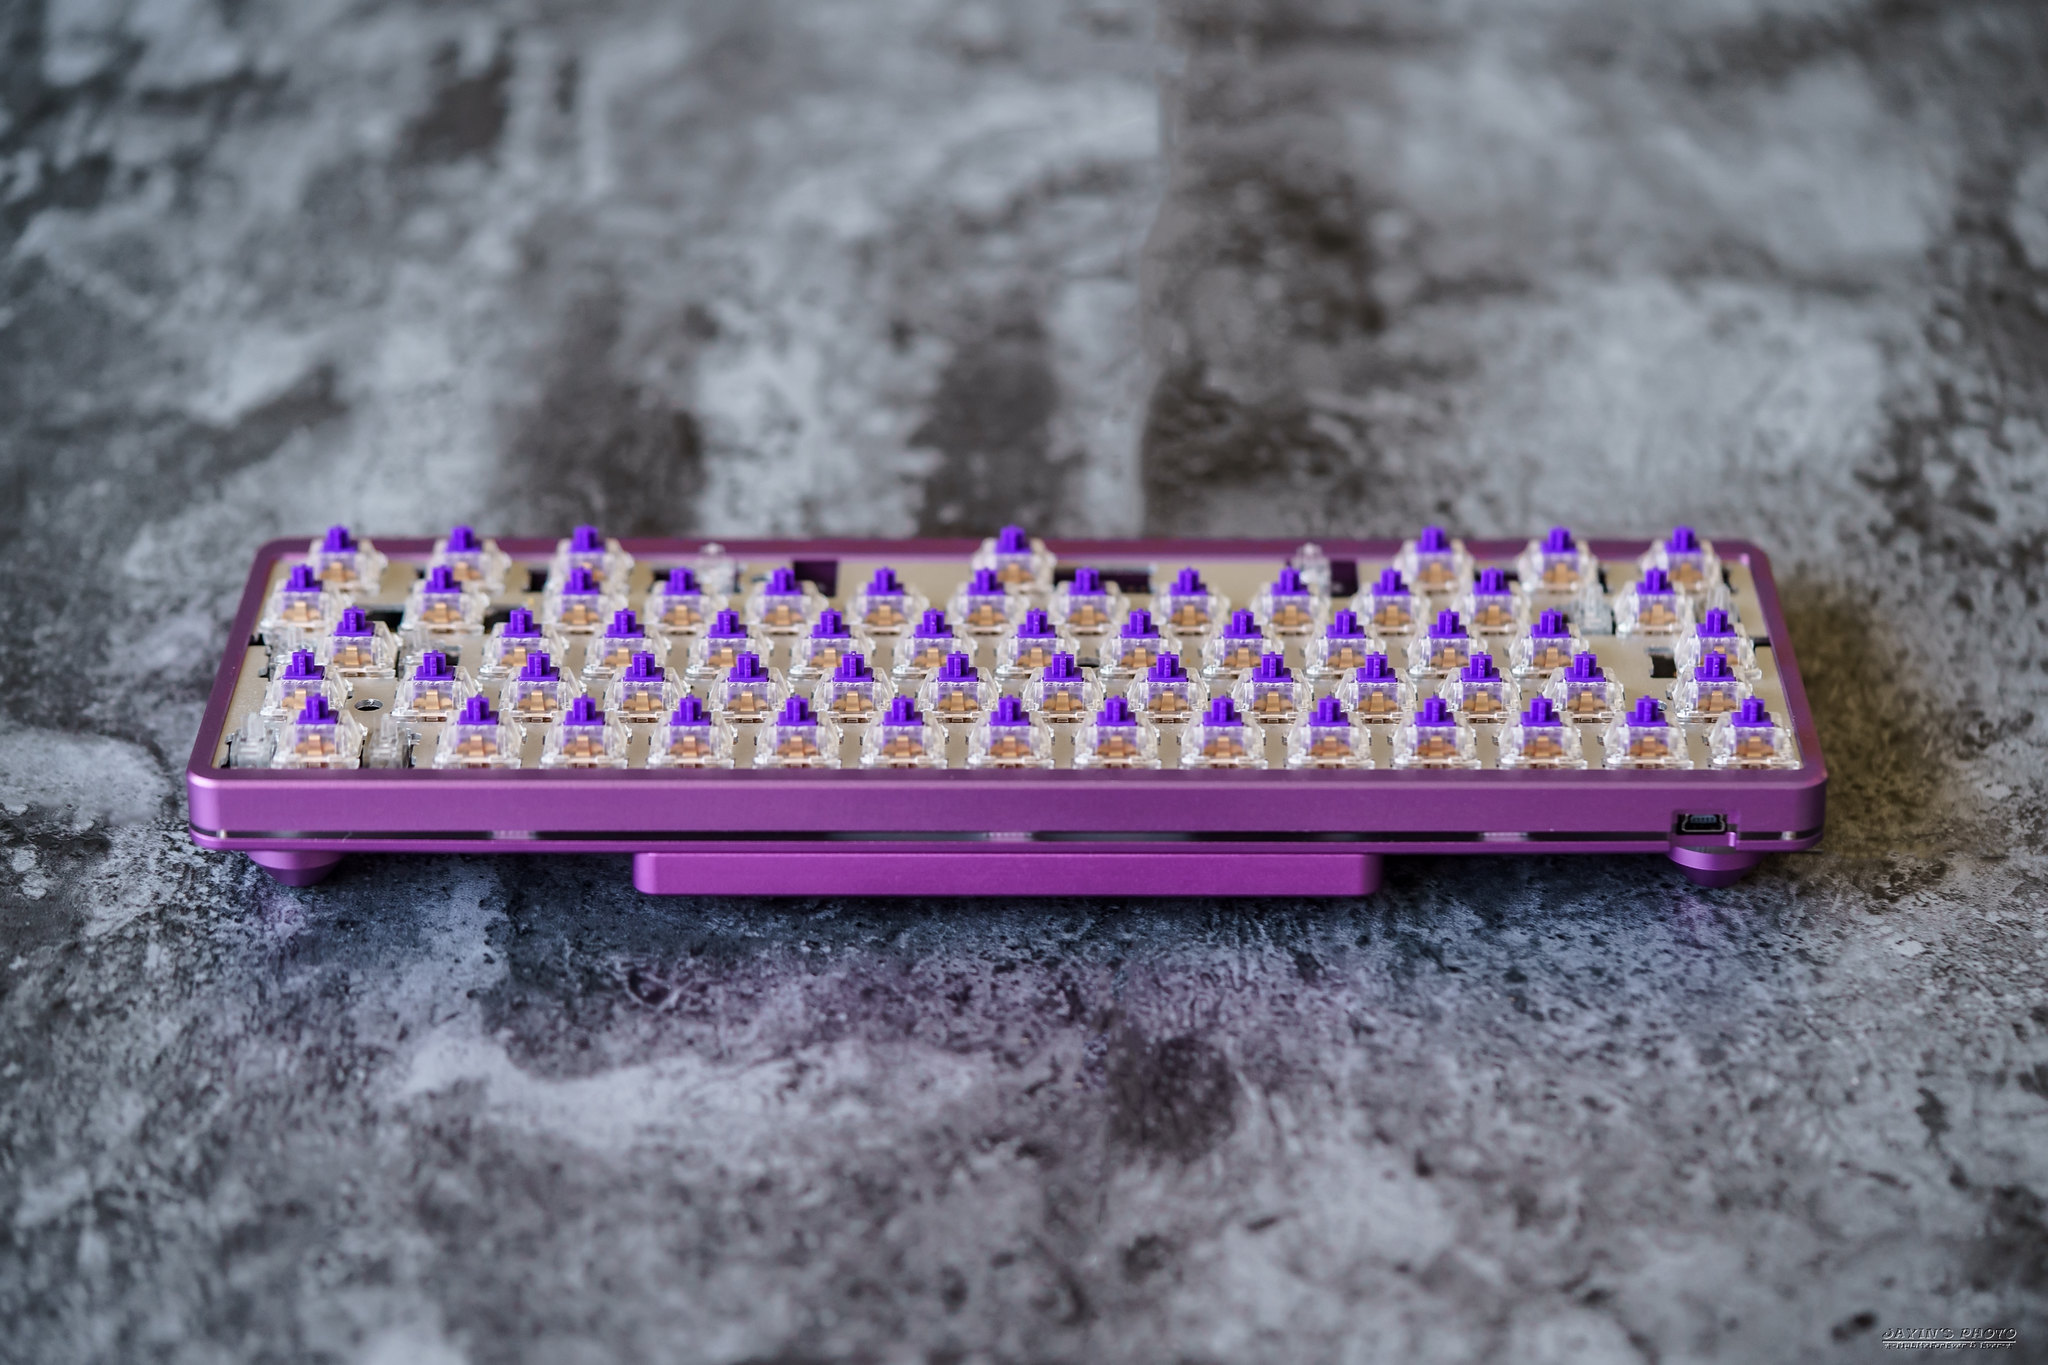
▼這次懶得改軸,就直接用Zealio紫軸上了,使用的是65g tactile。

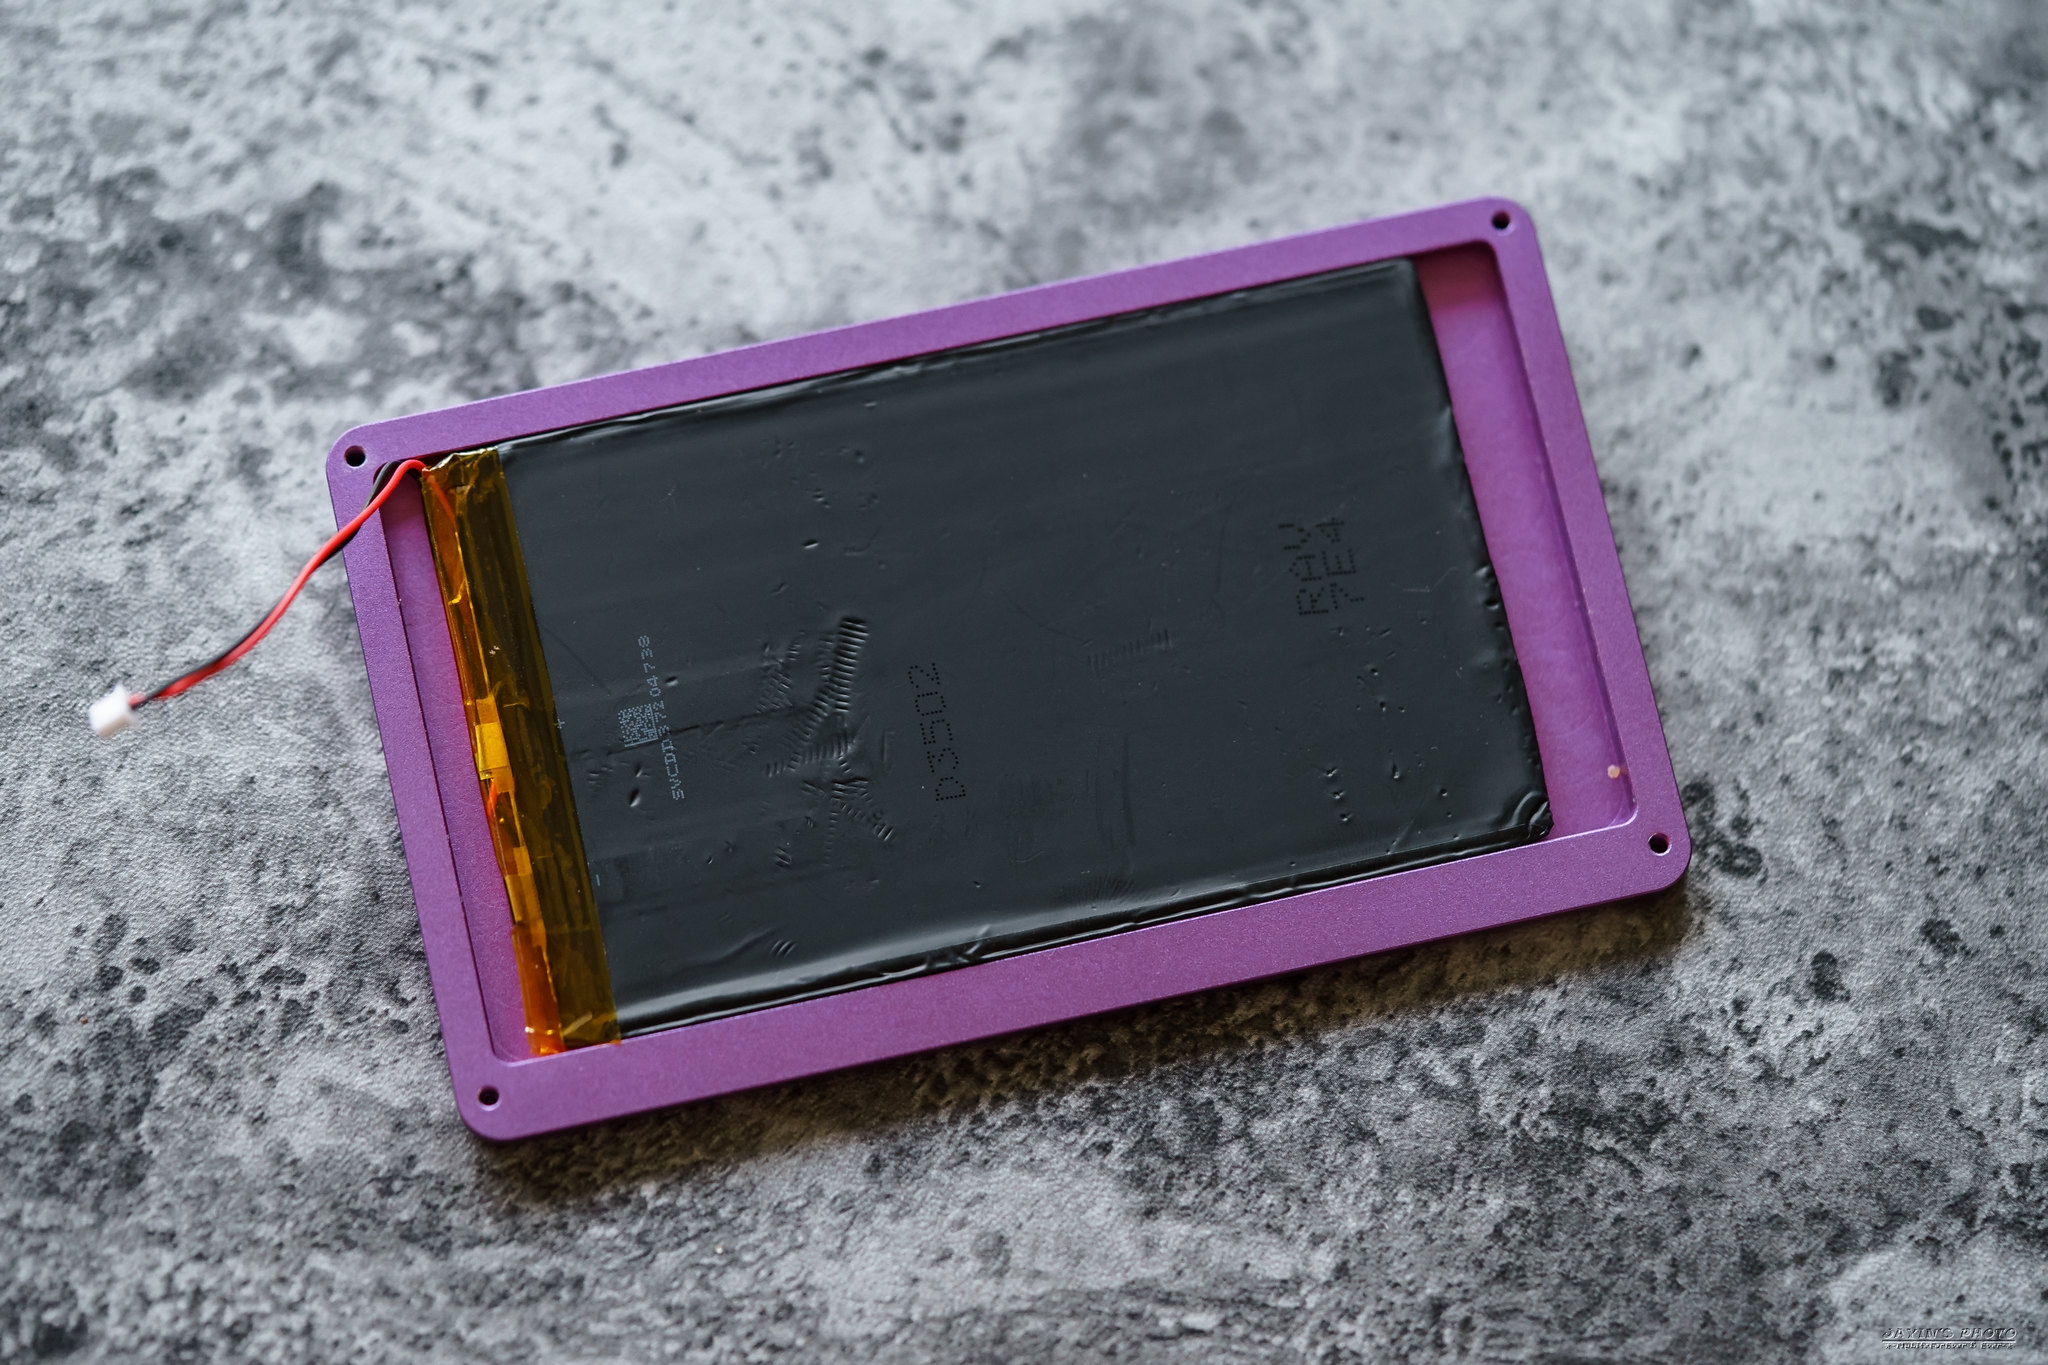
▼電池塞到電池倉中,這空間設計也不太好,電池要用點力才能塞進去,必須小心點。
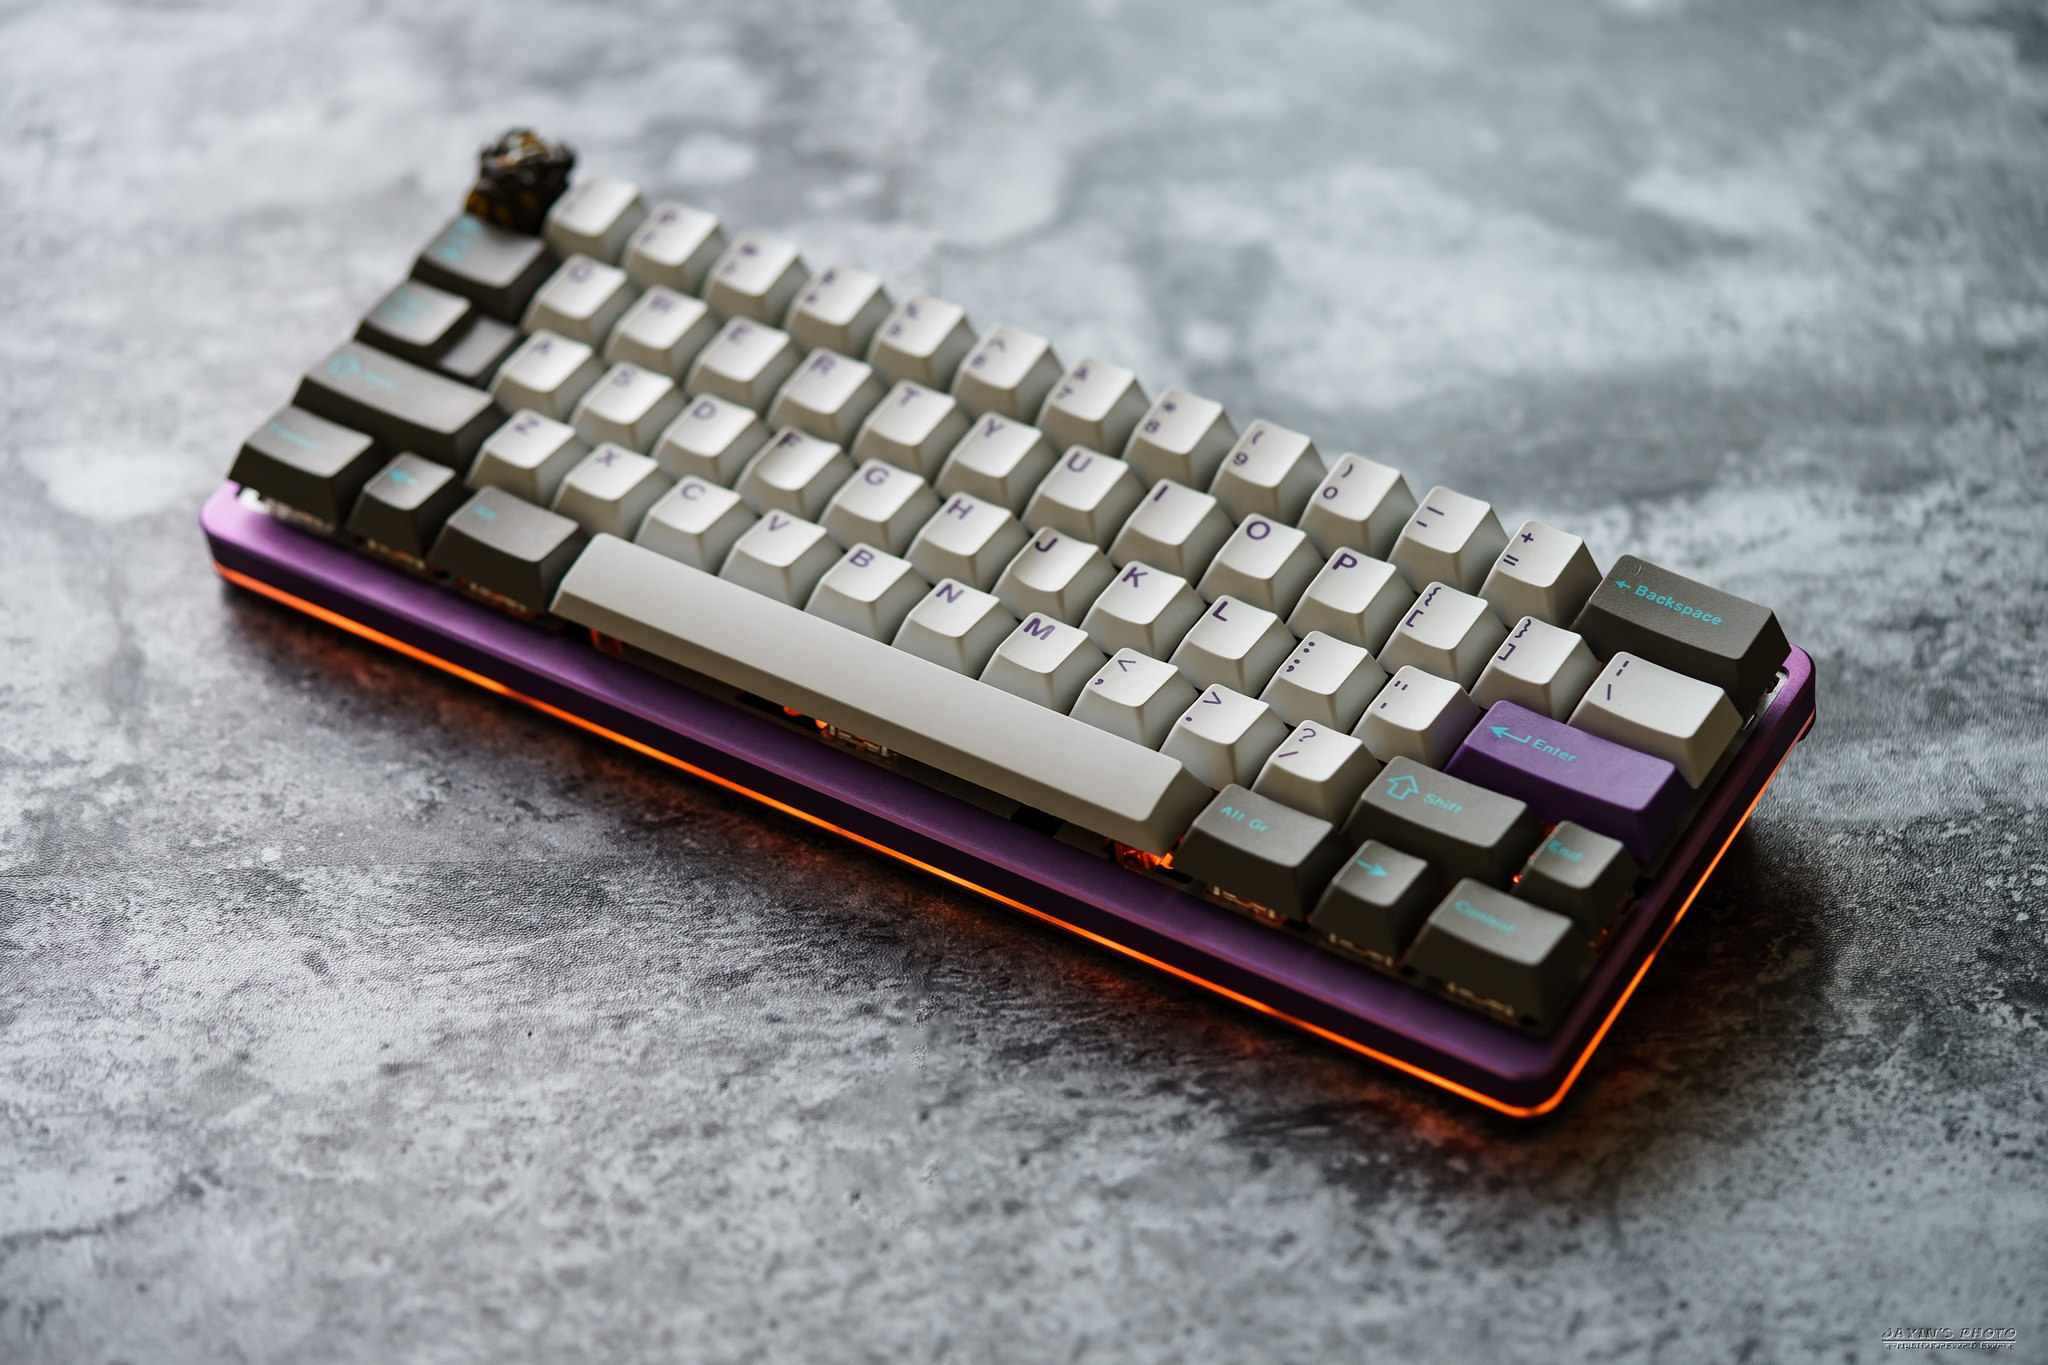
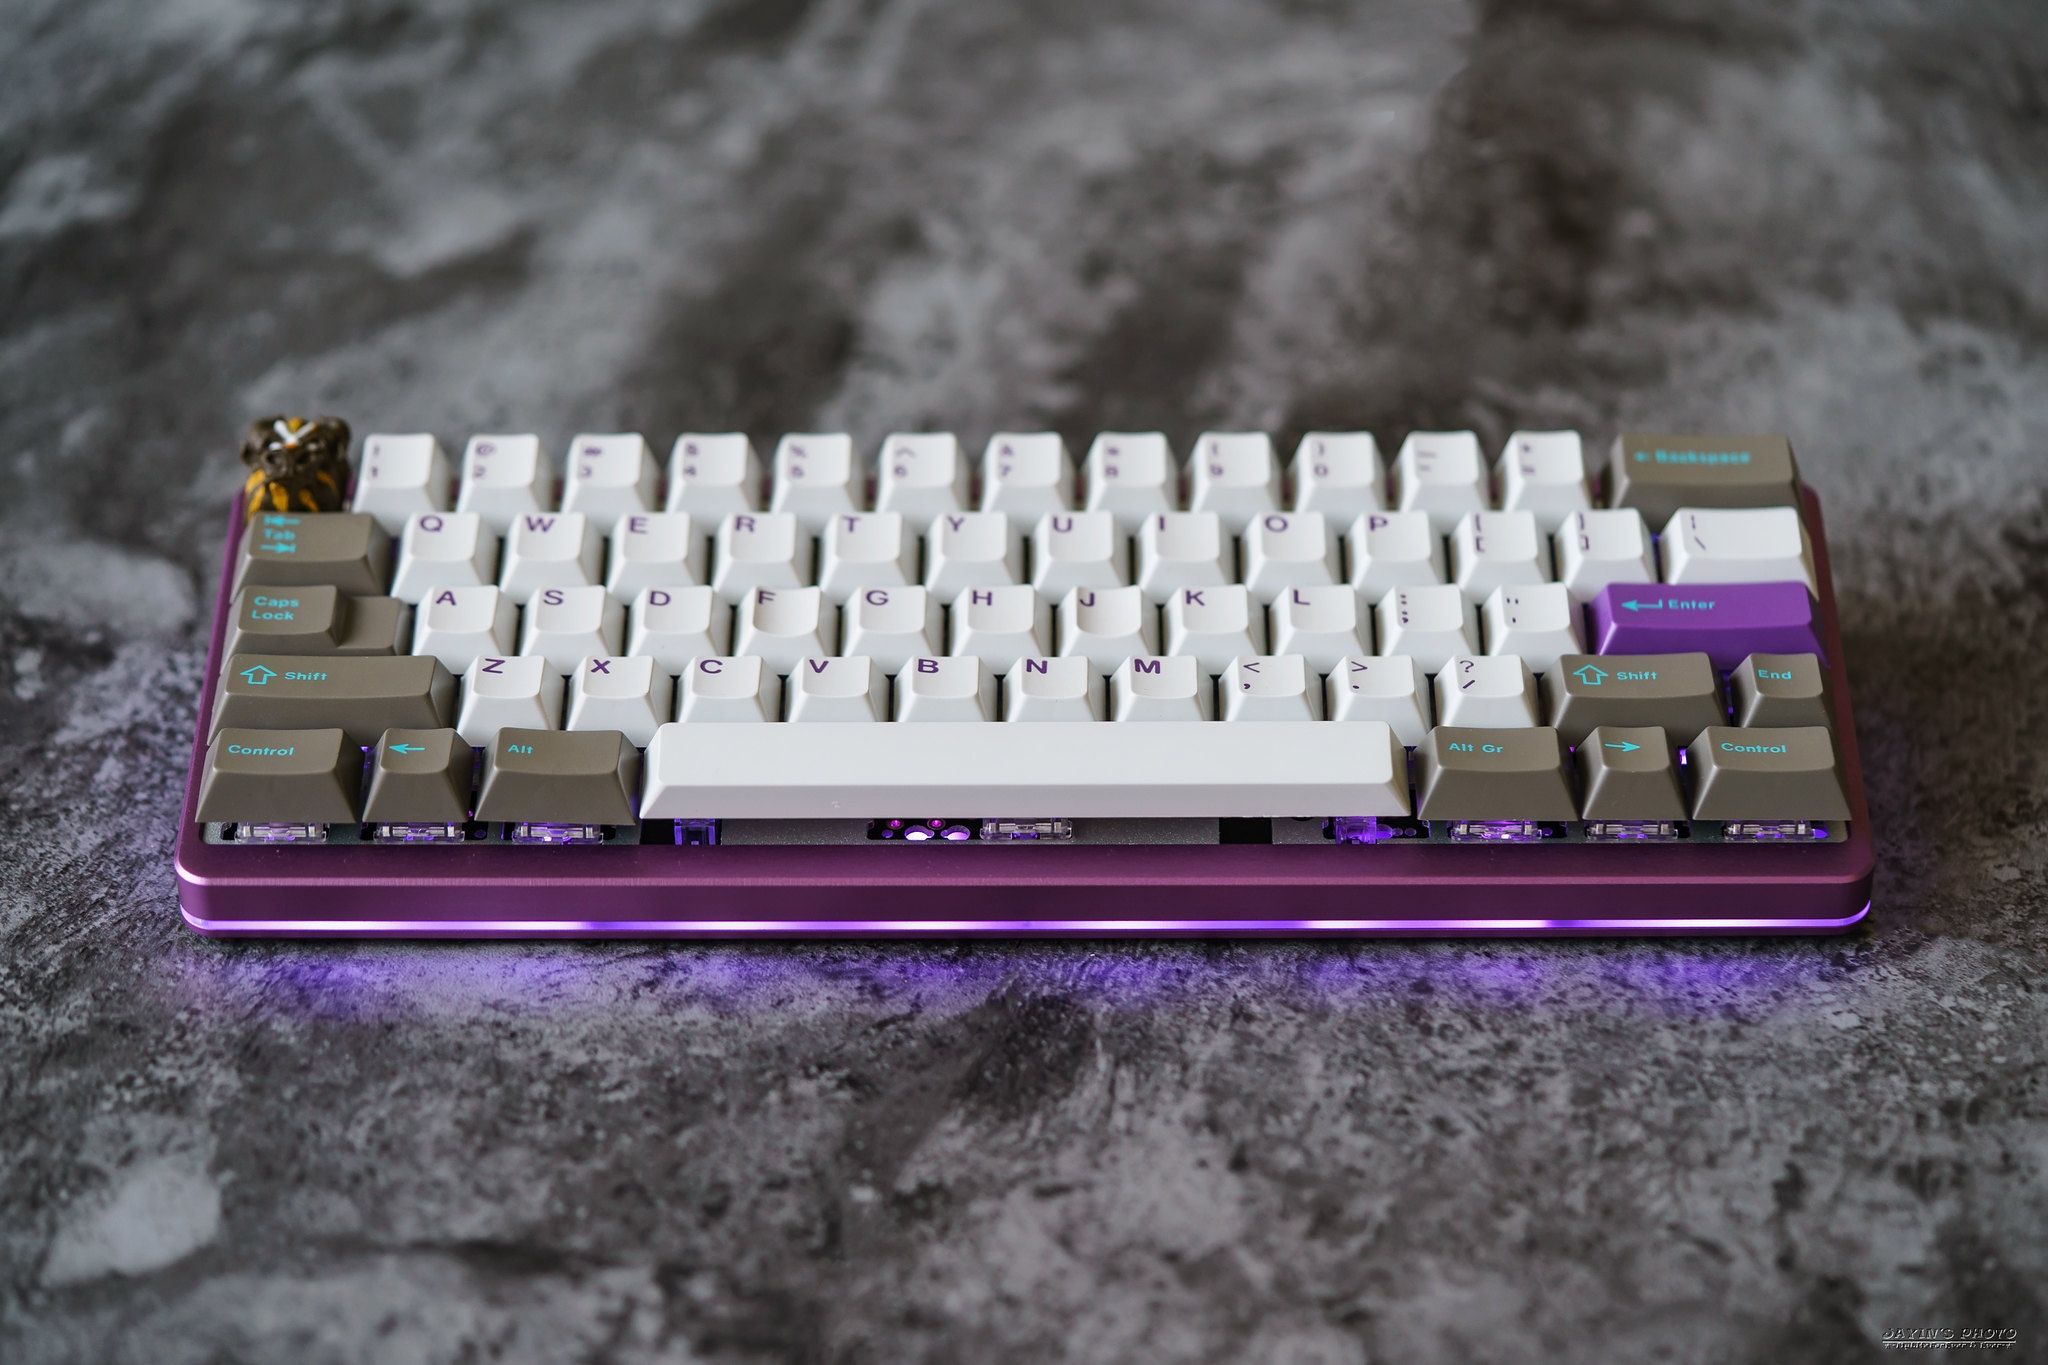
▼幾張上機照。
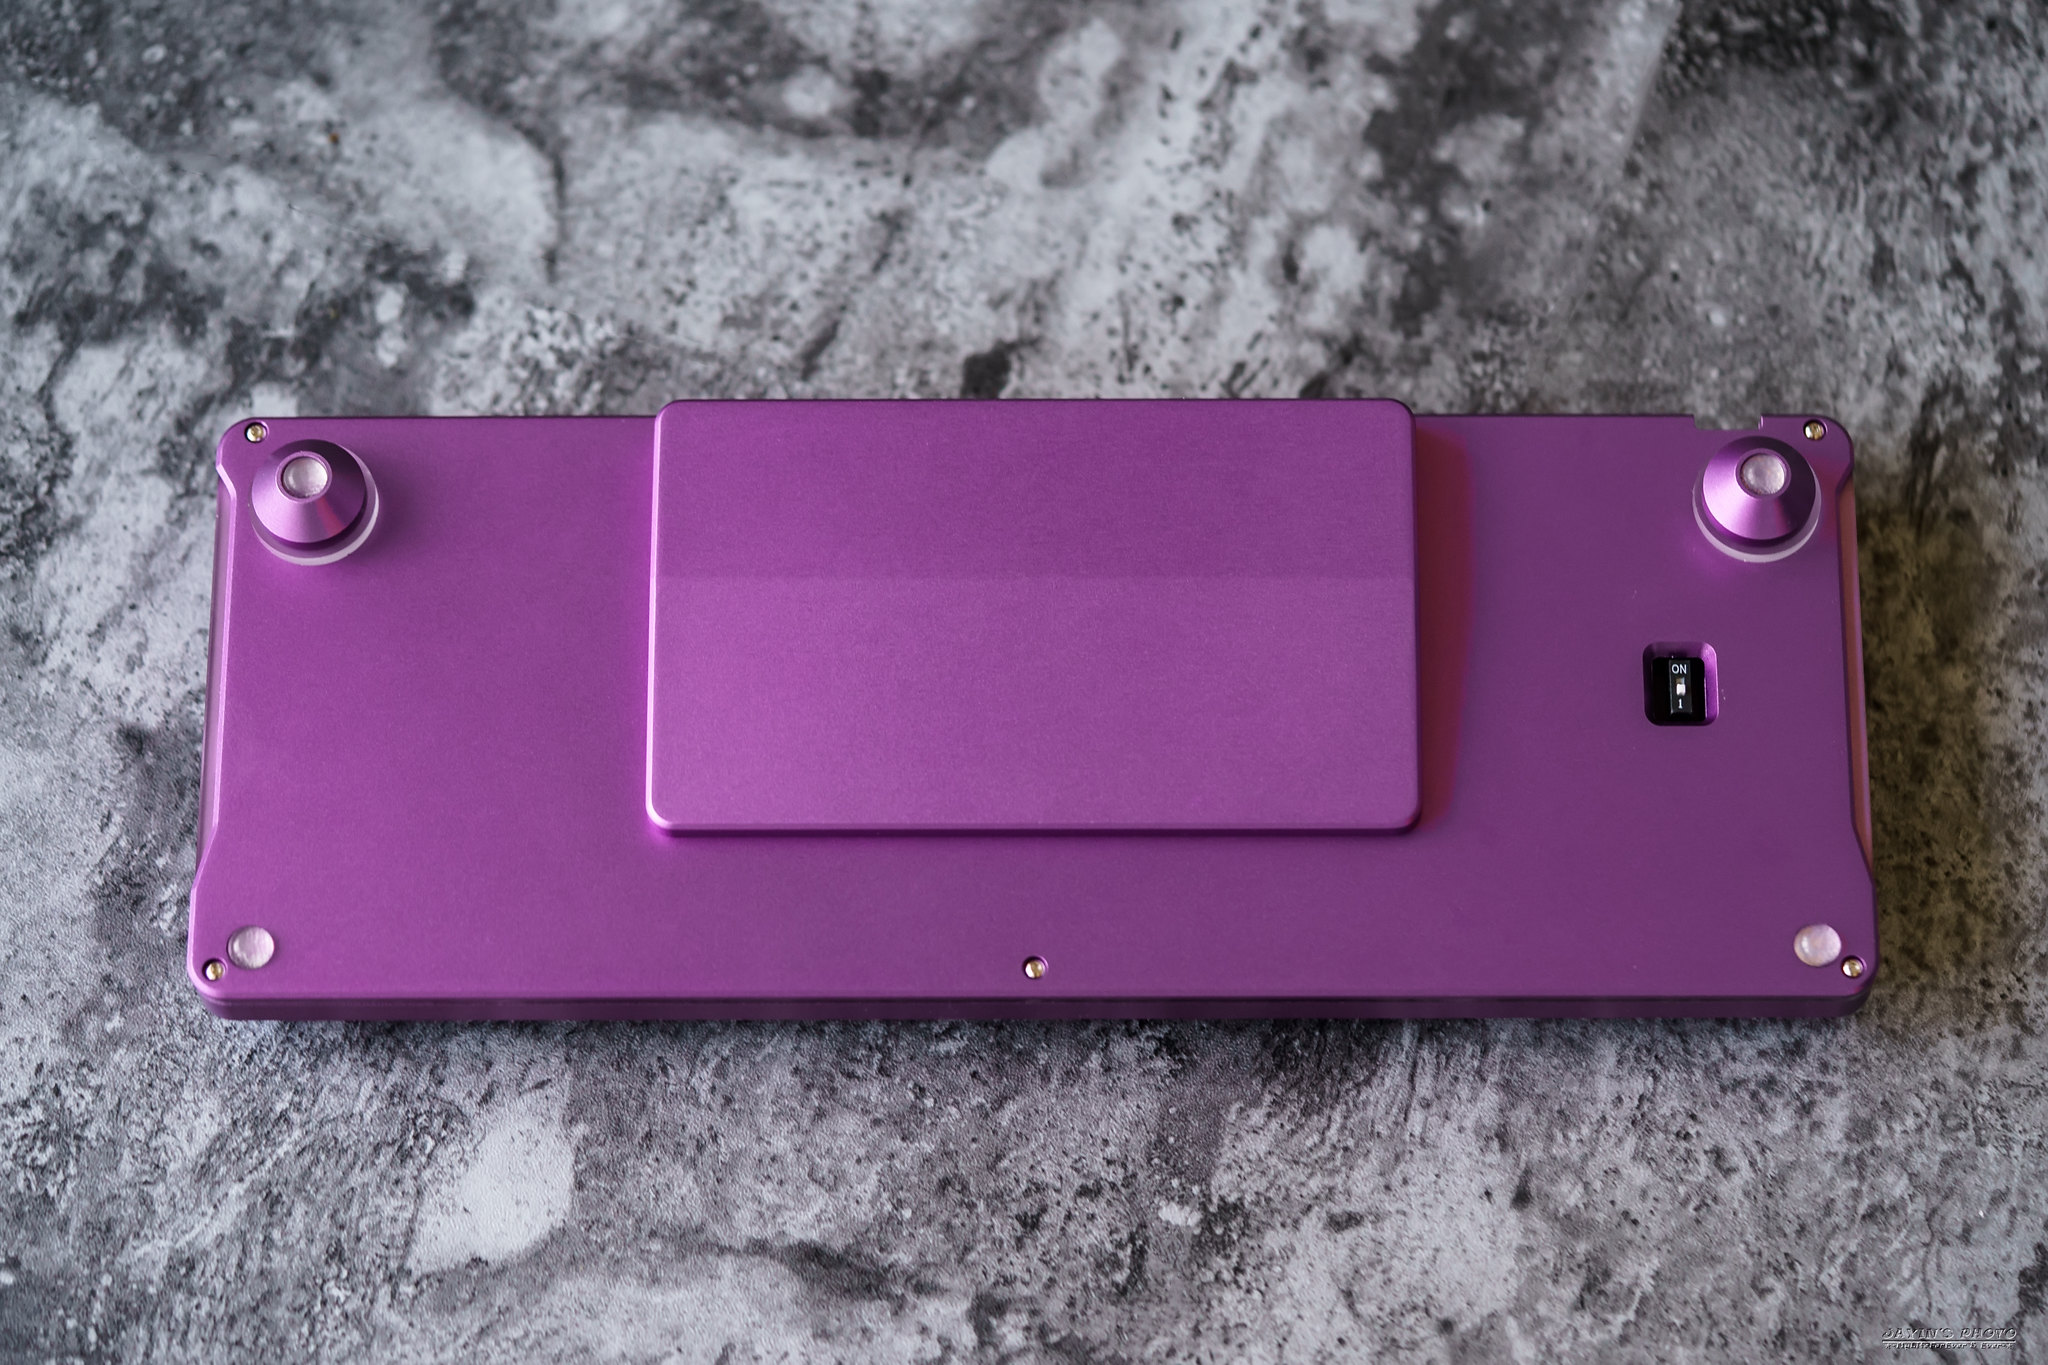
▼這張可以看出電池倉是鎖在底殼下方。
▼背面樣貌。
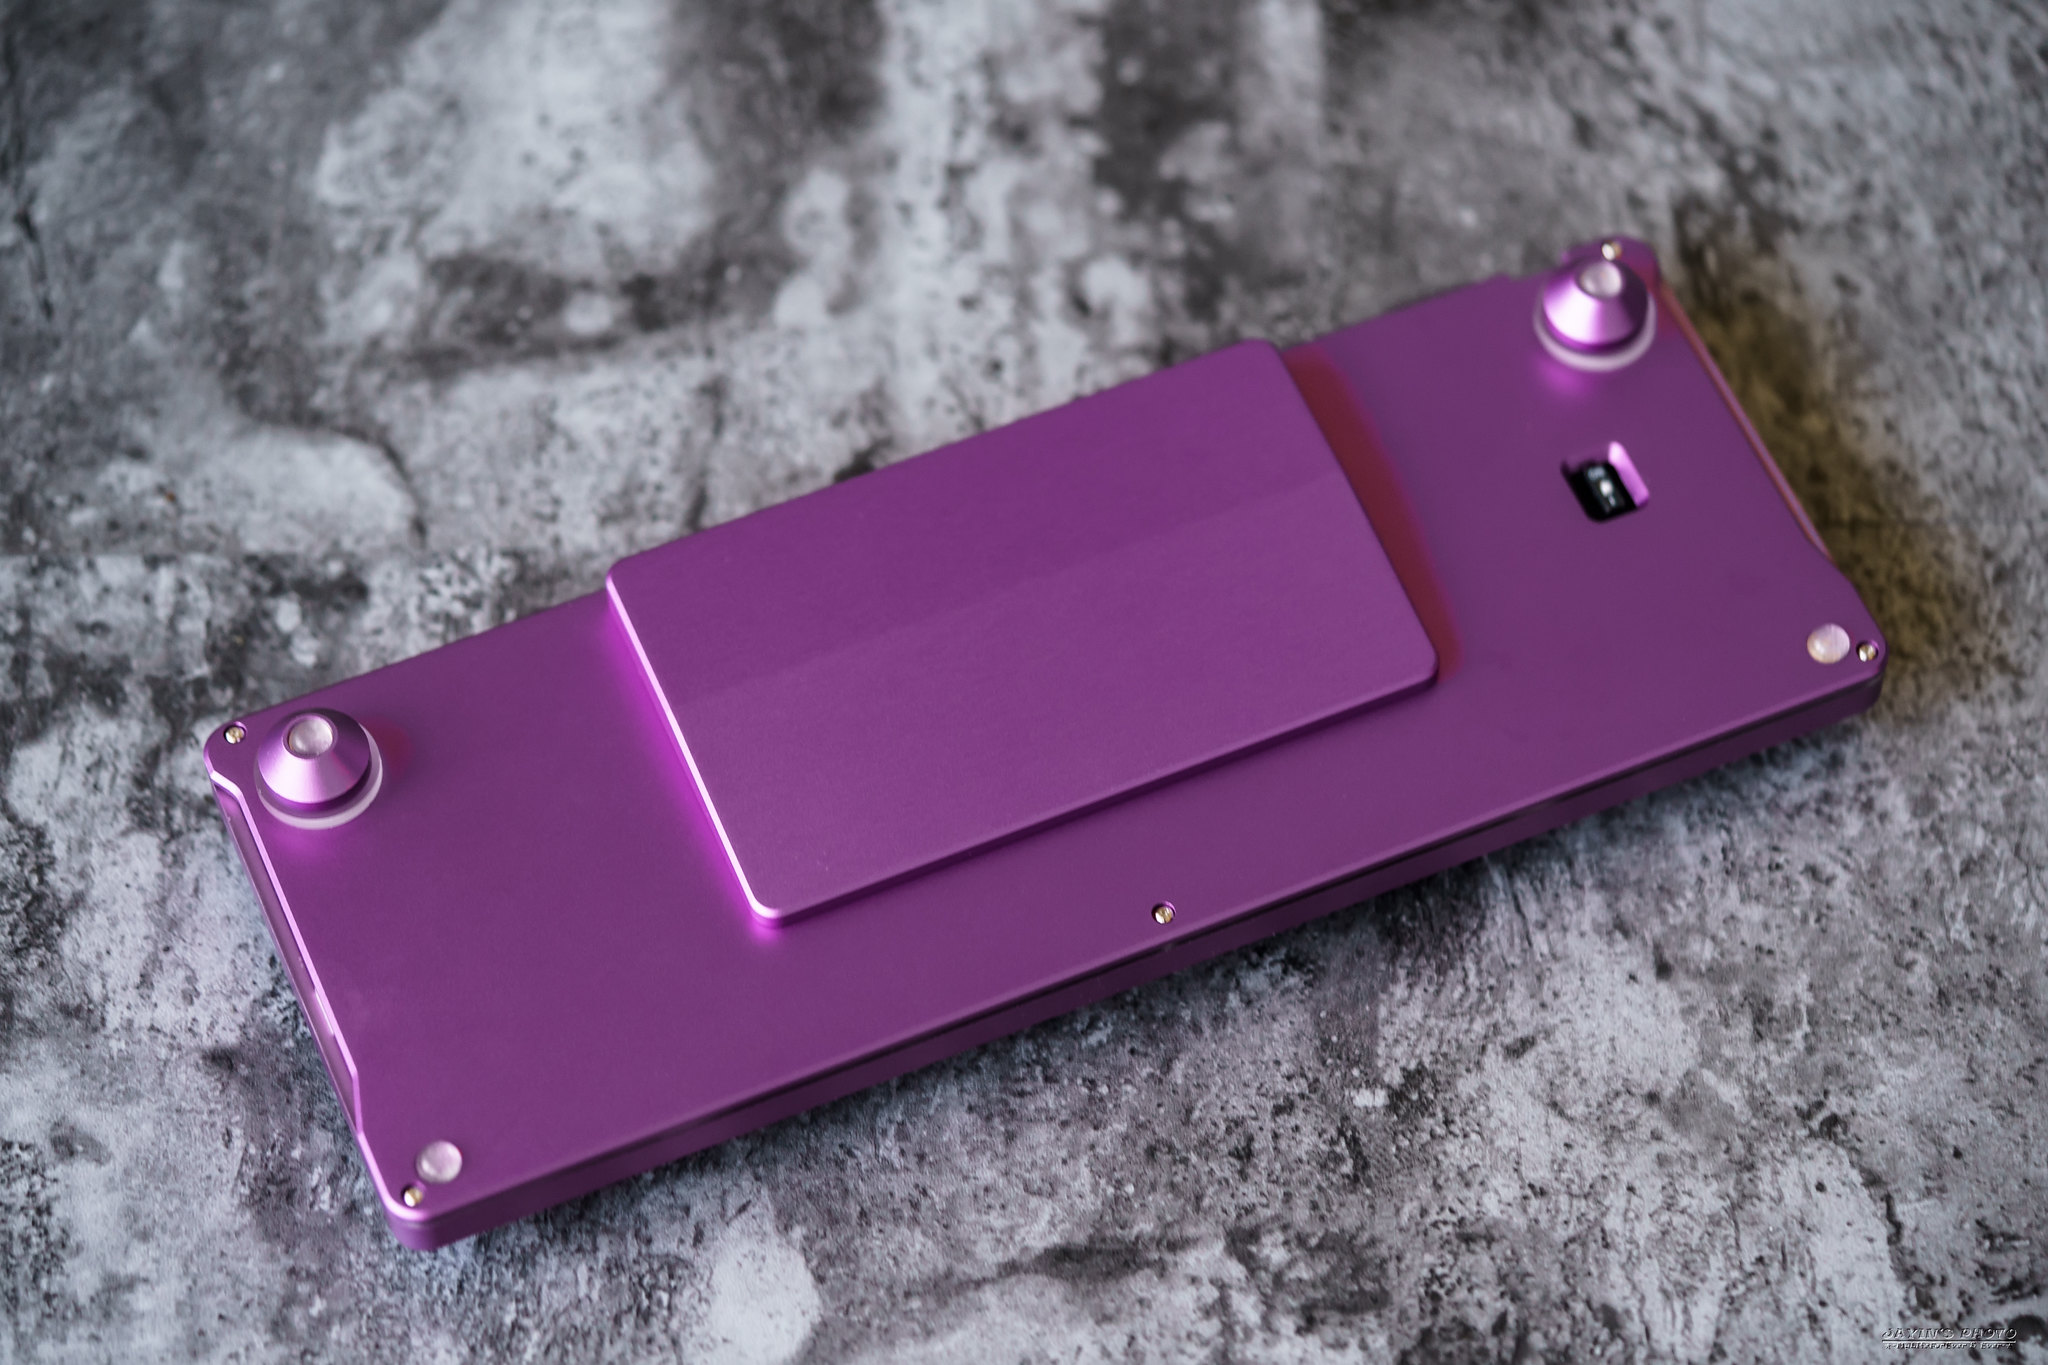
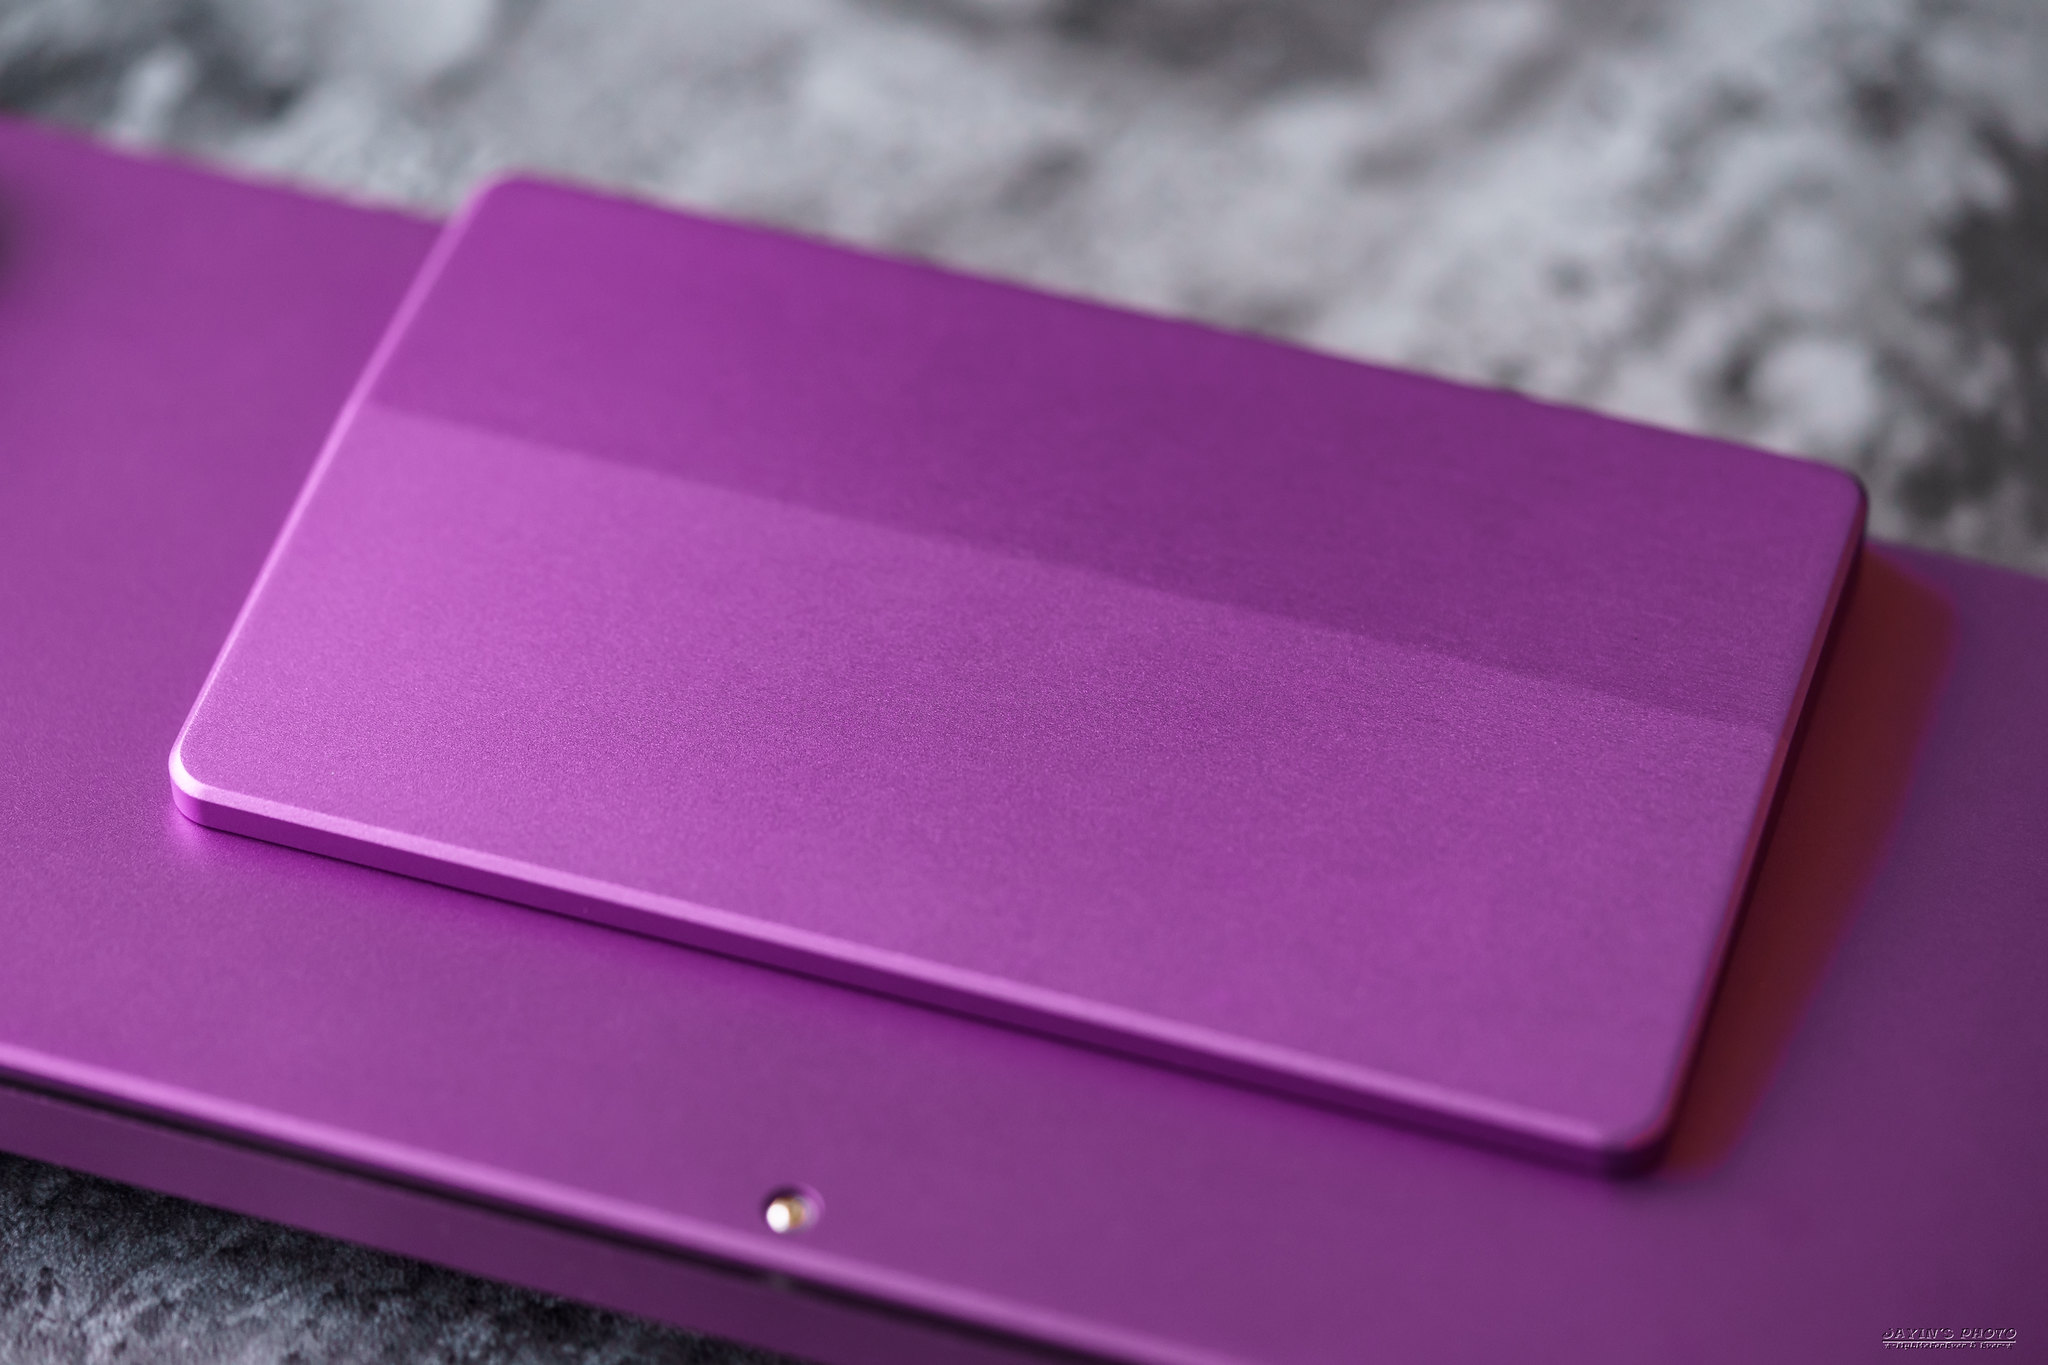
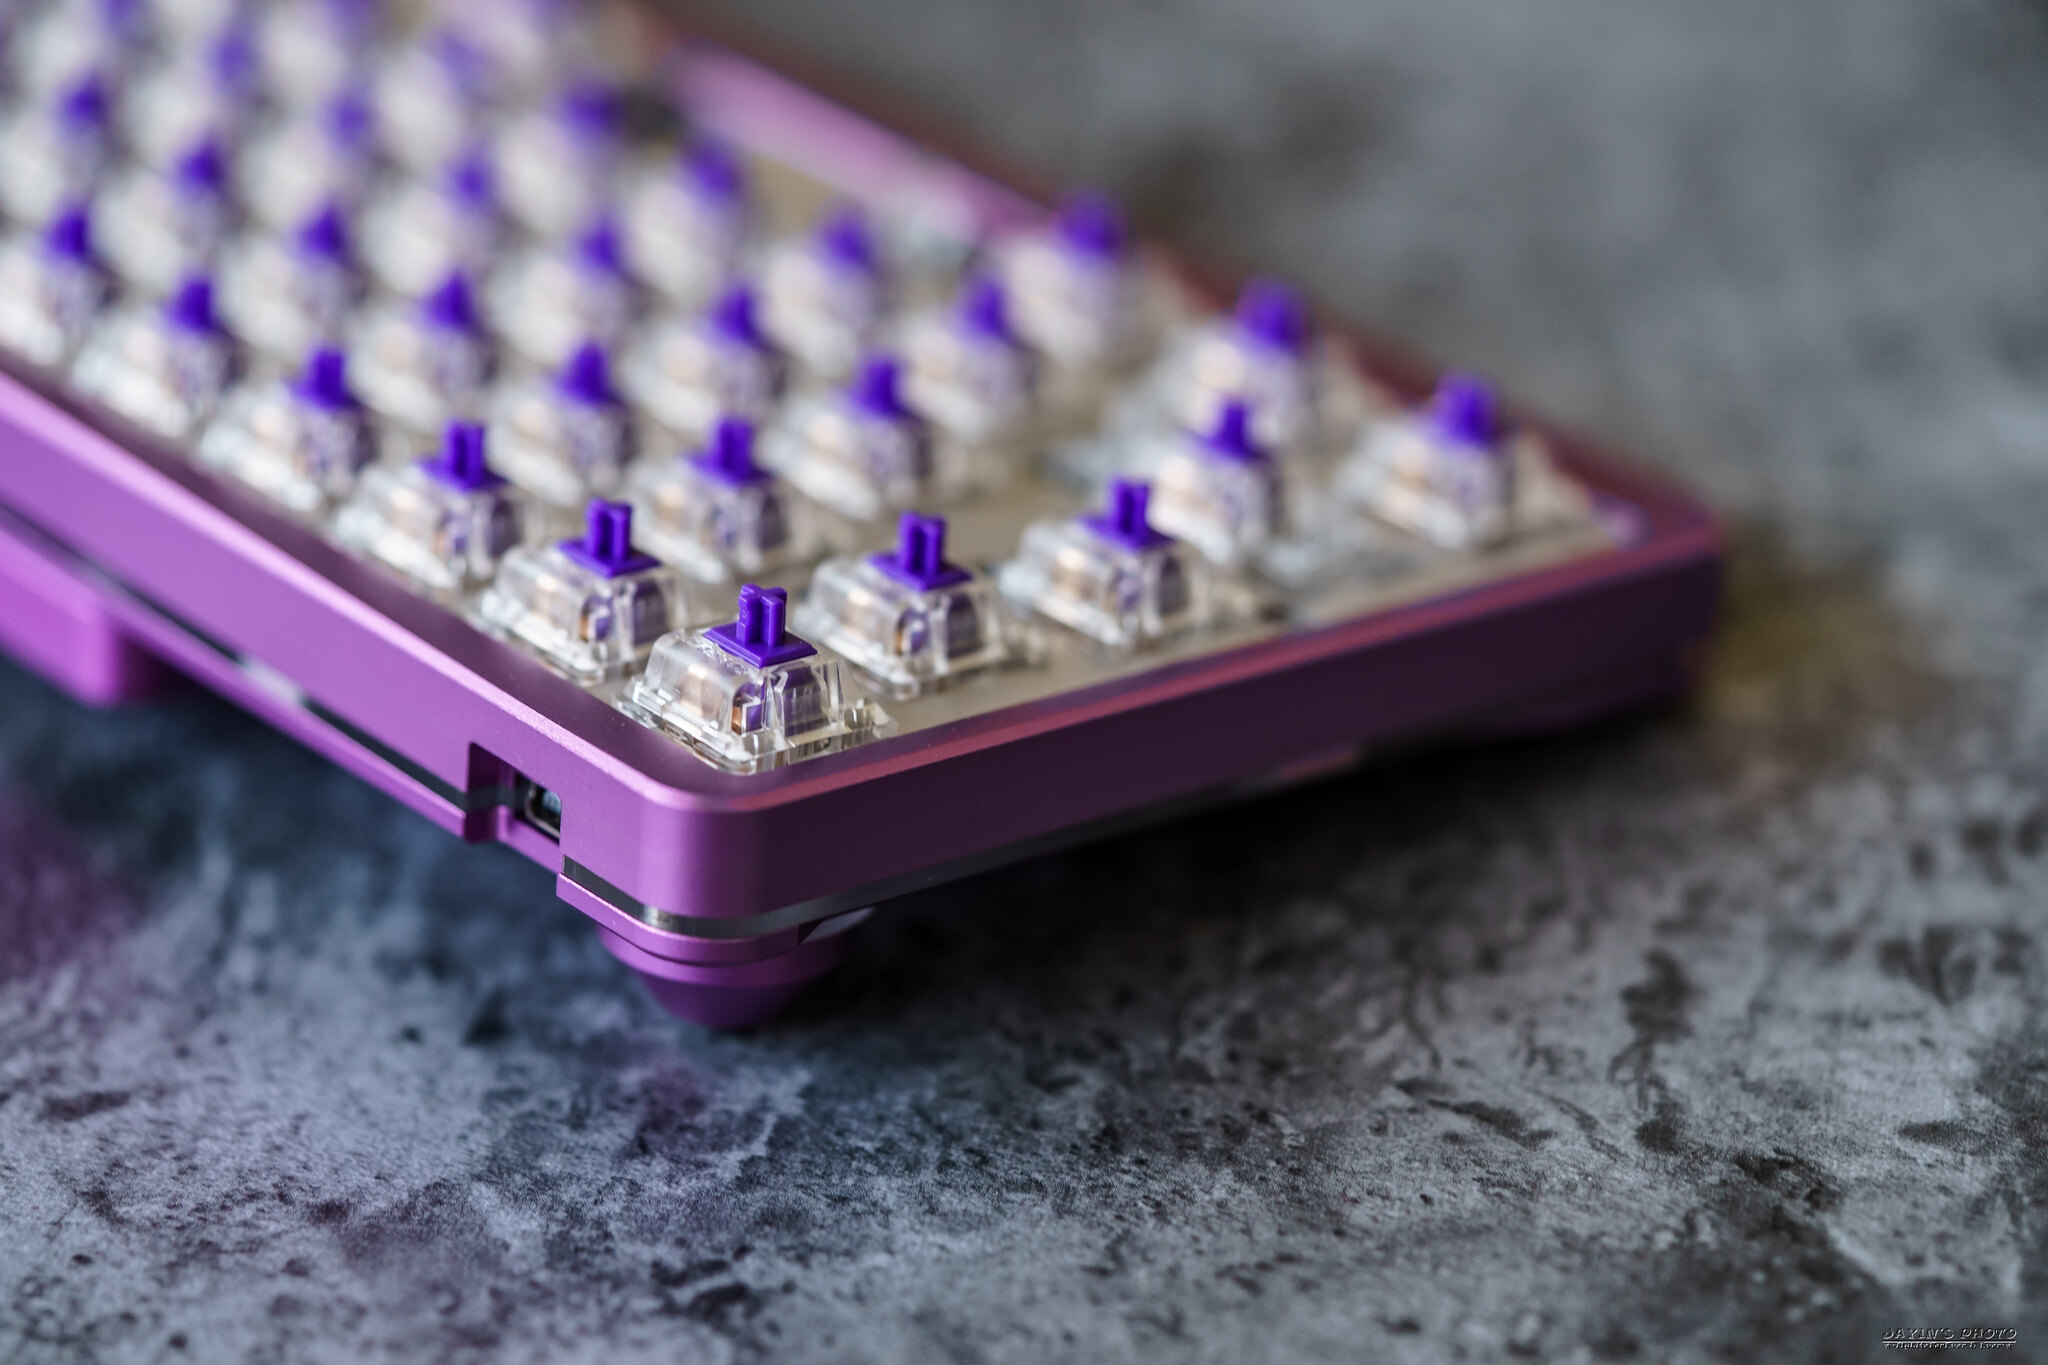
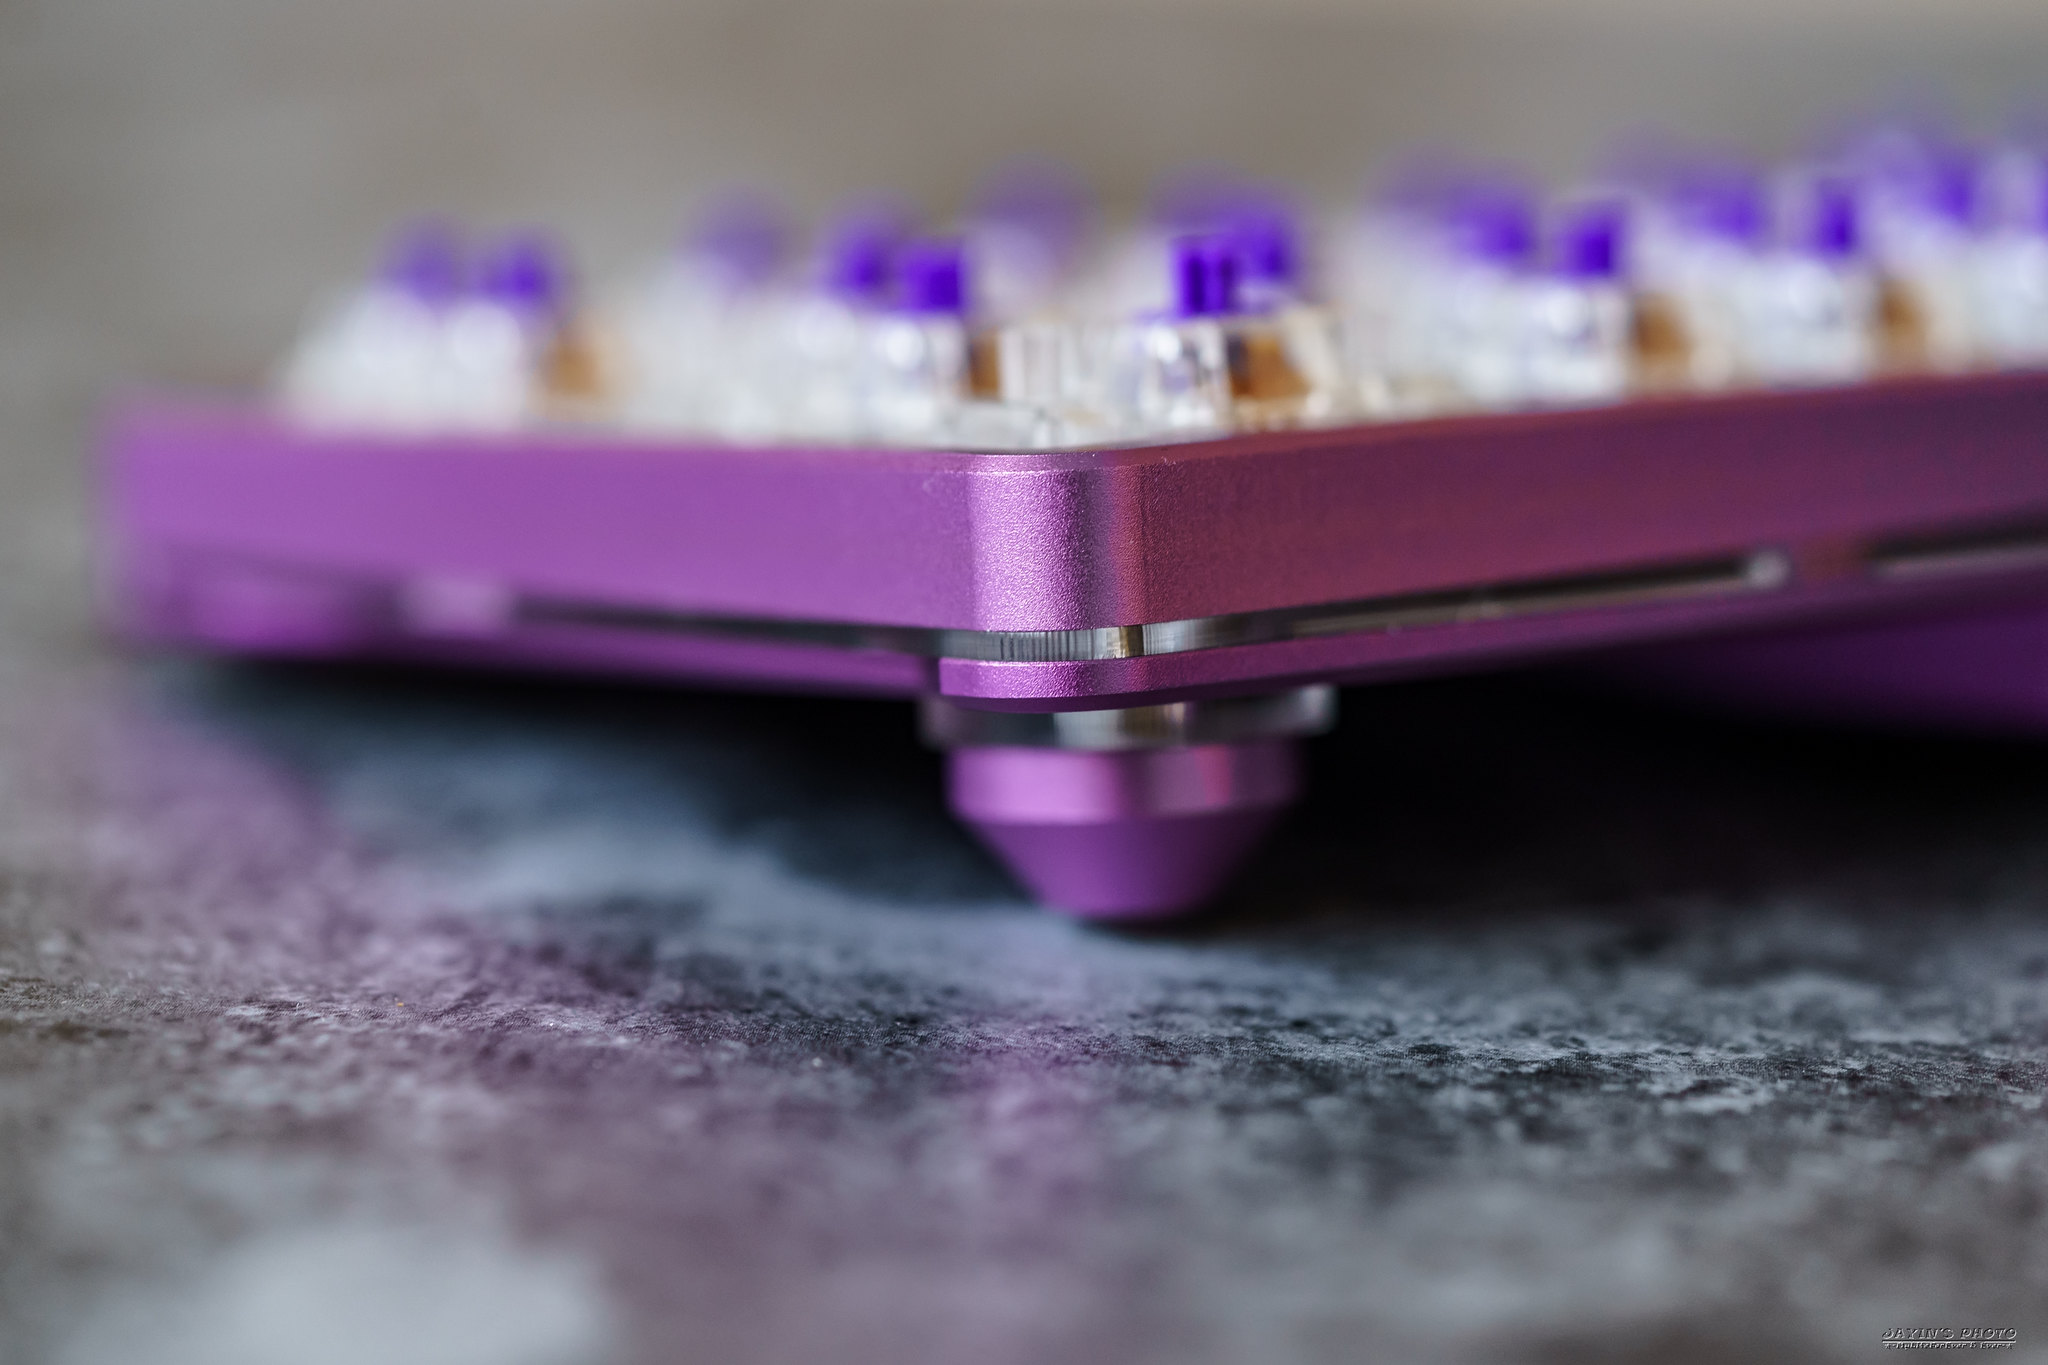
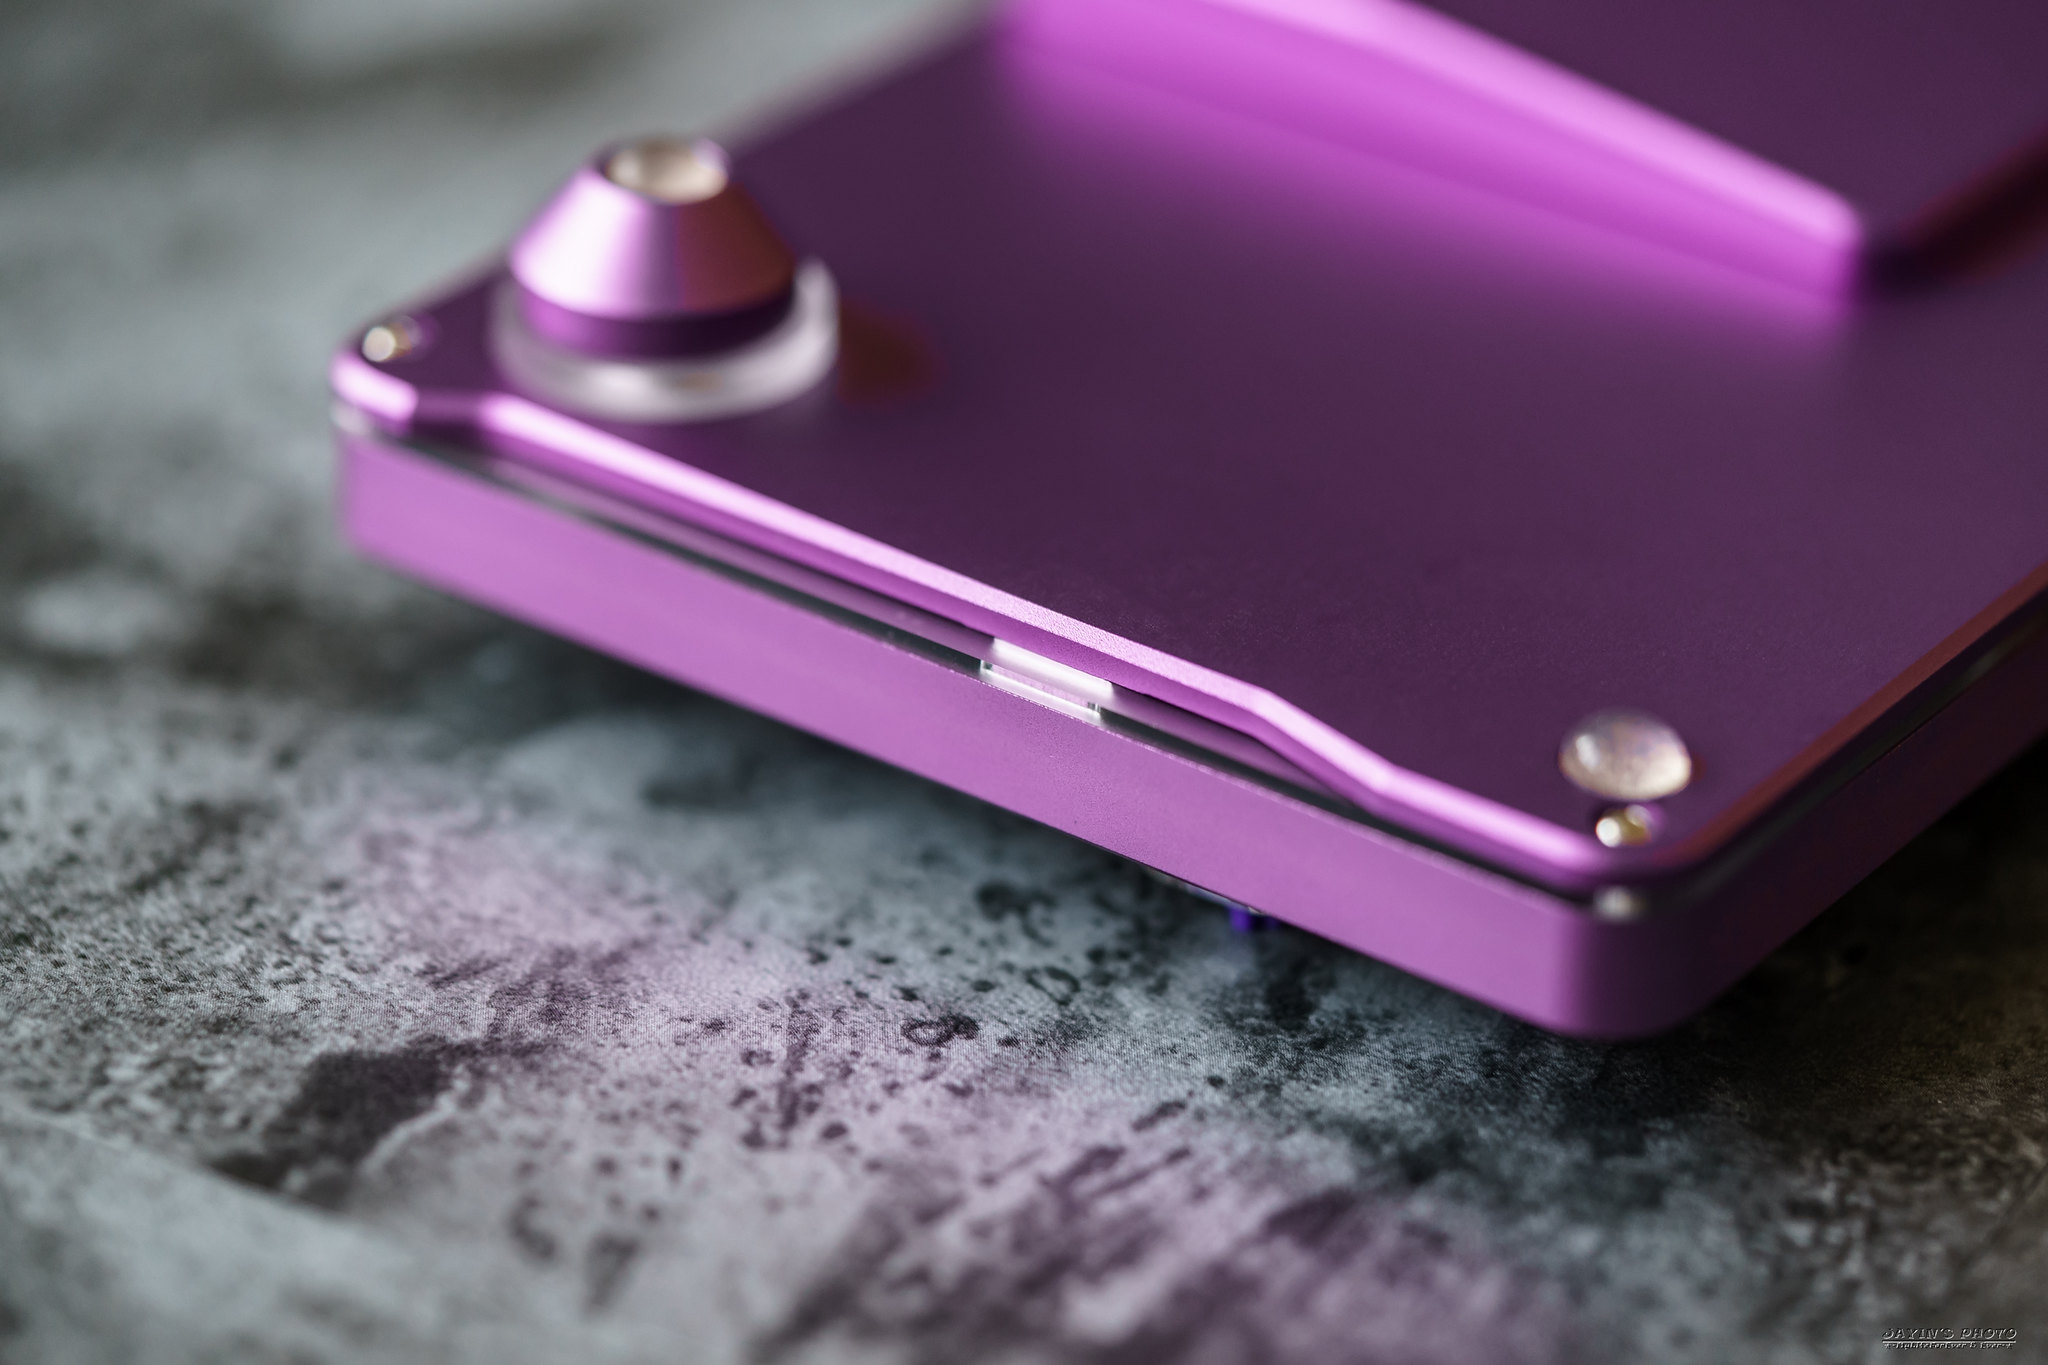
▼鋁腳和底殼之前也可以加上導光板,讓腳可以微微發光。

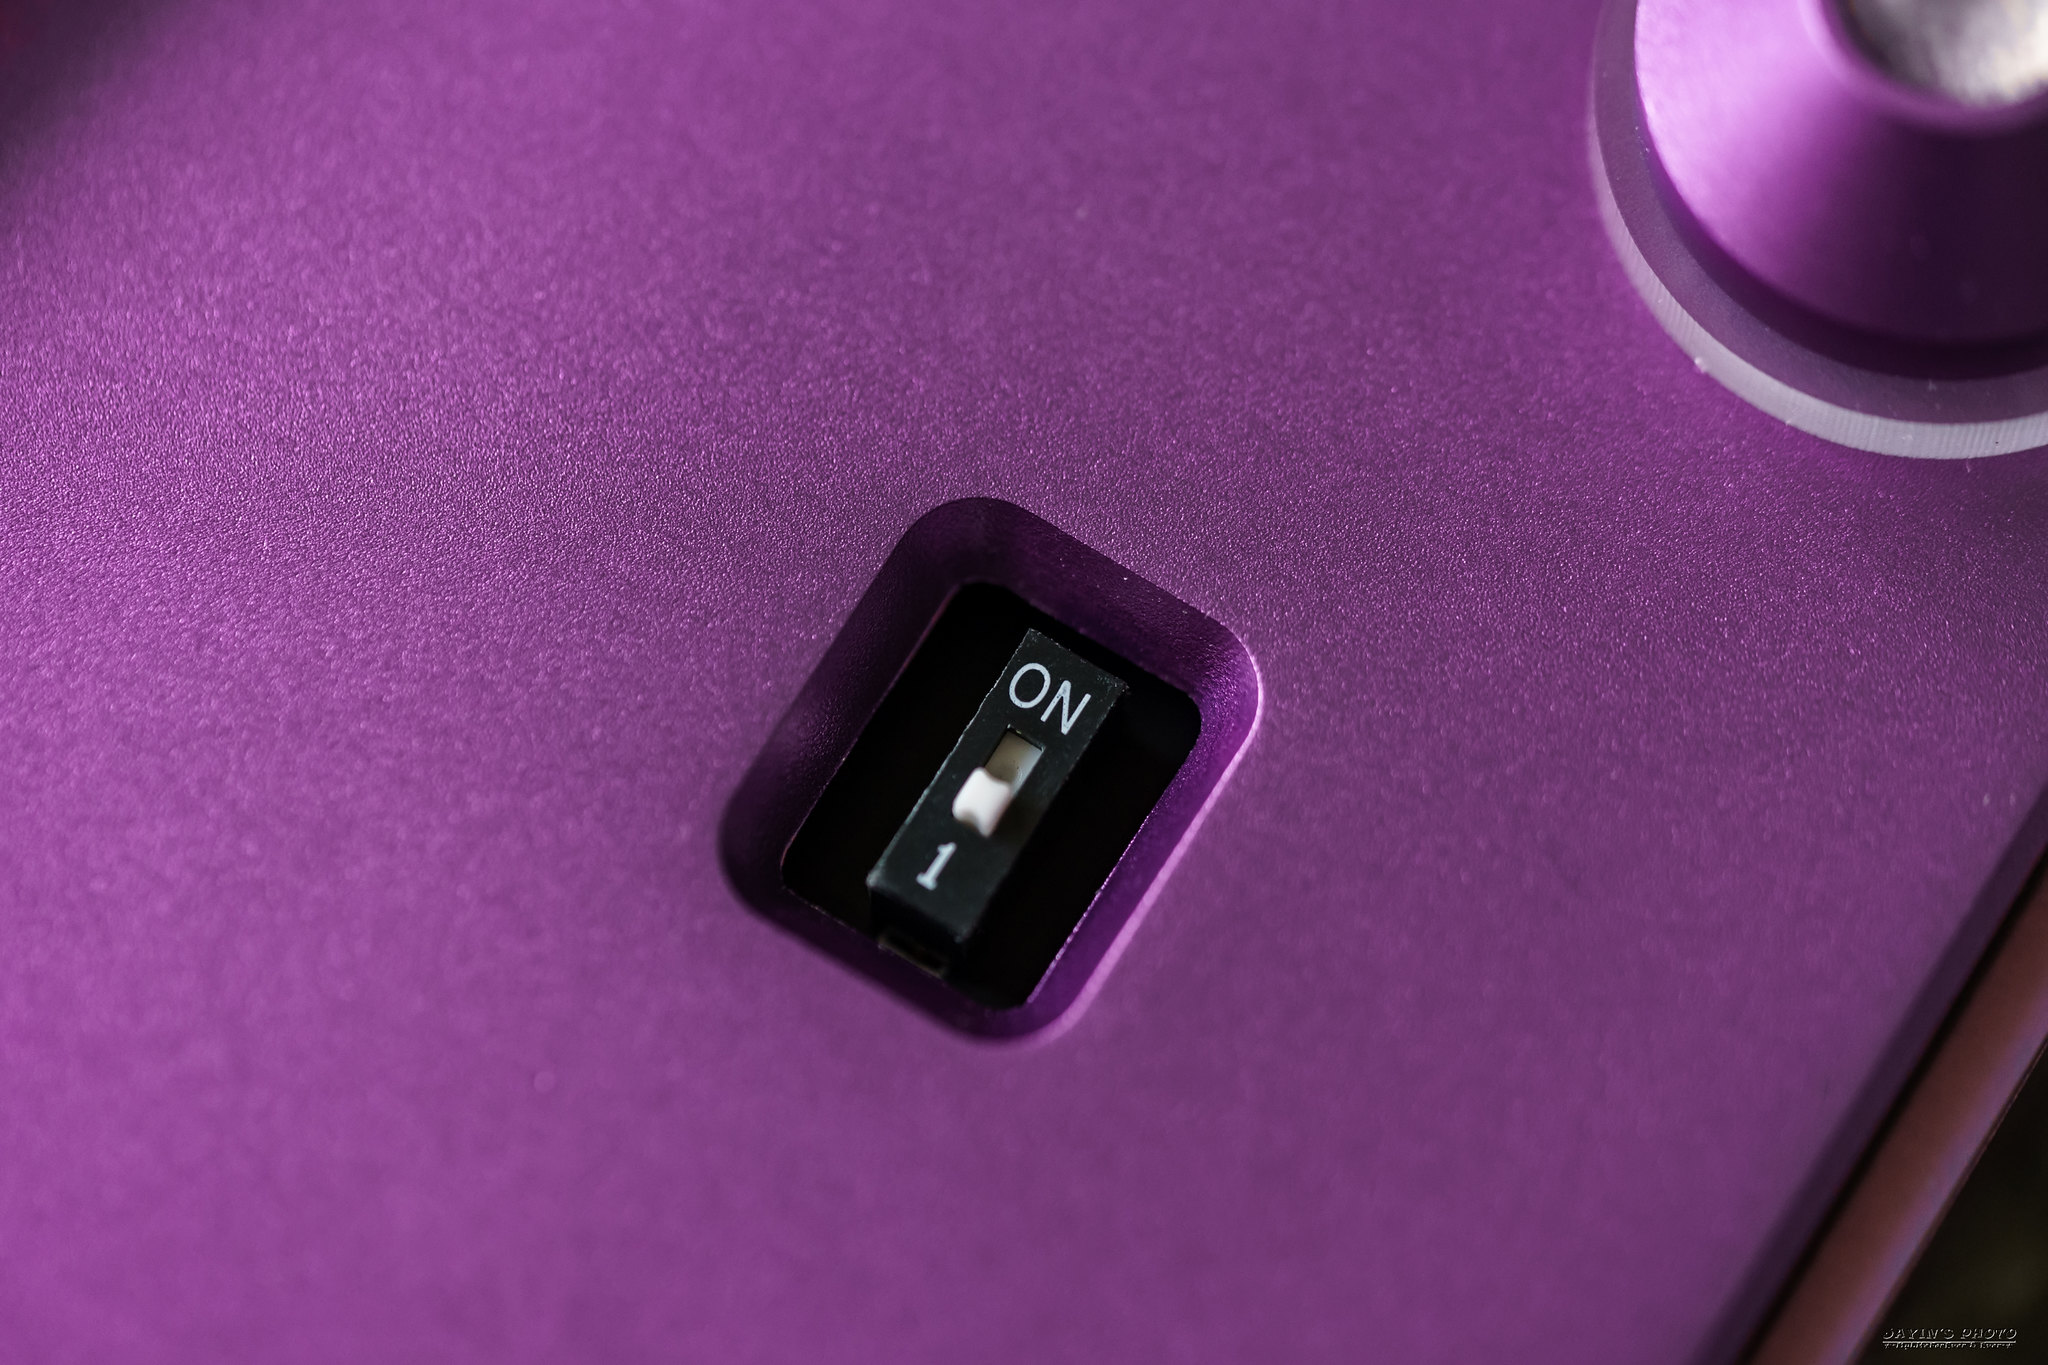
▼藍芽開關
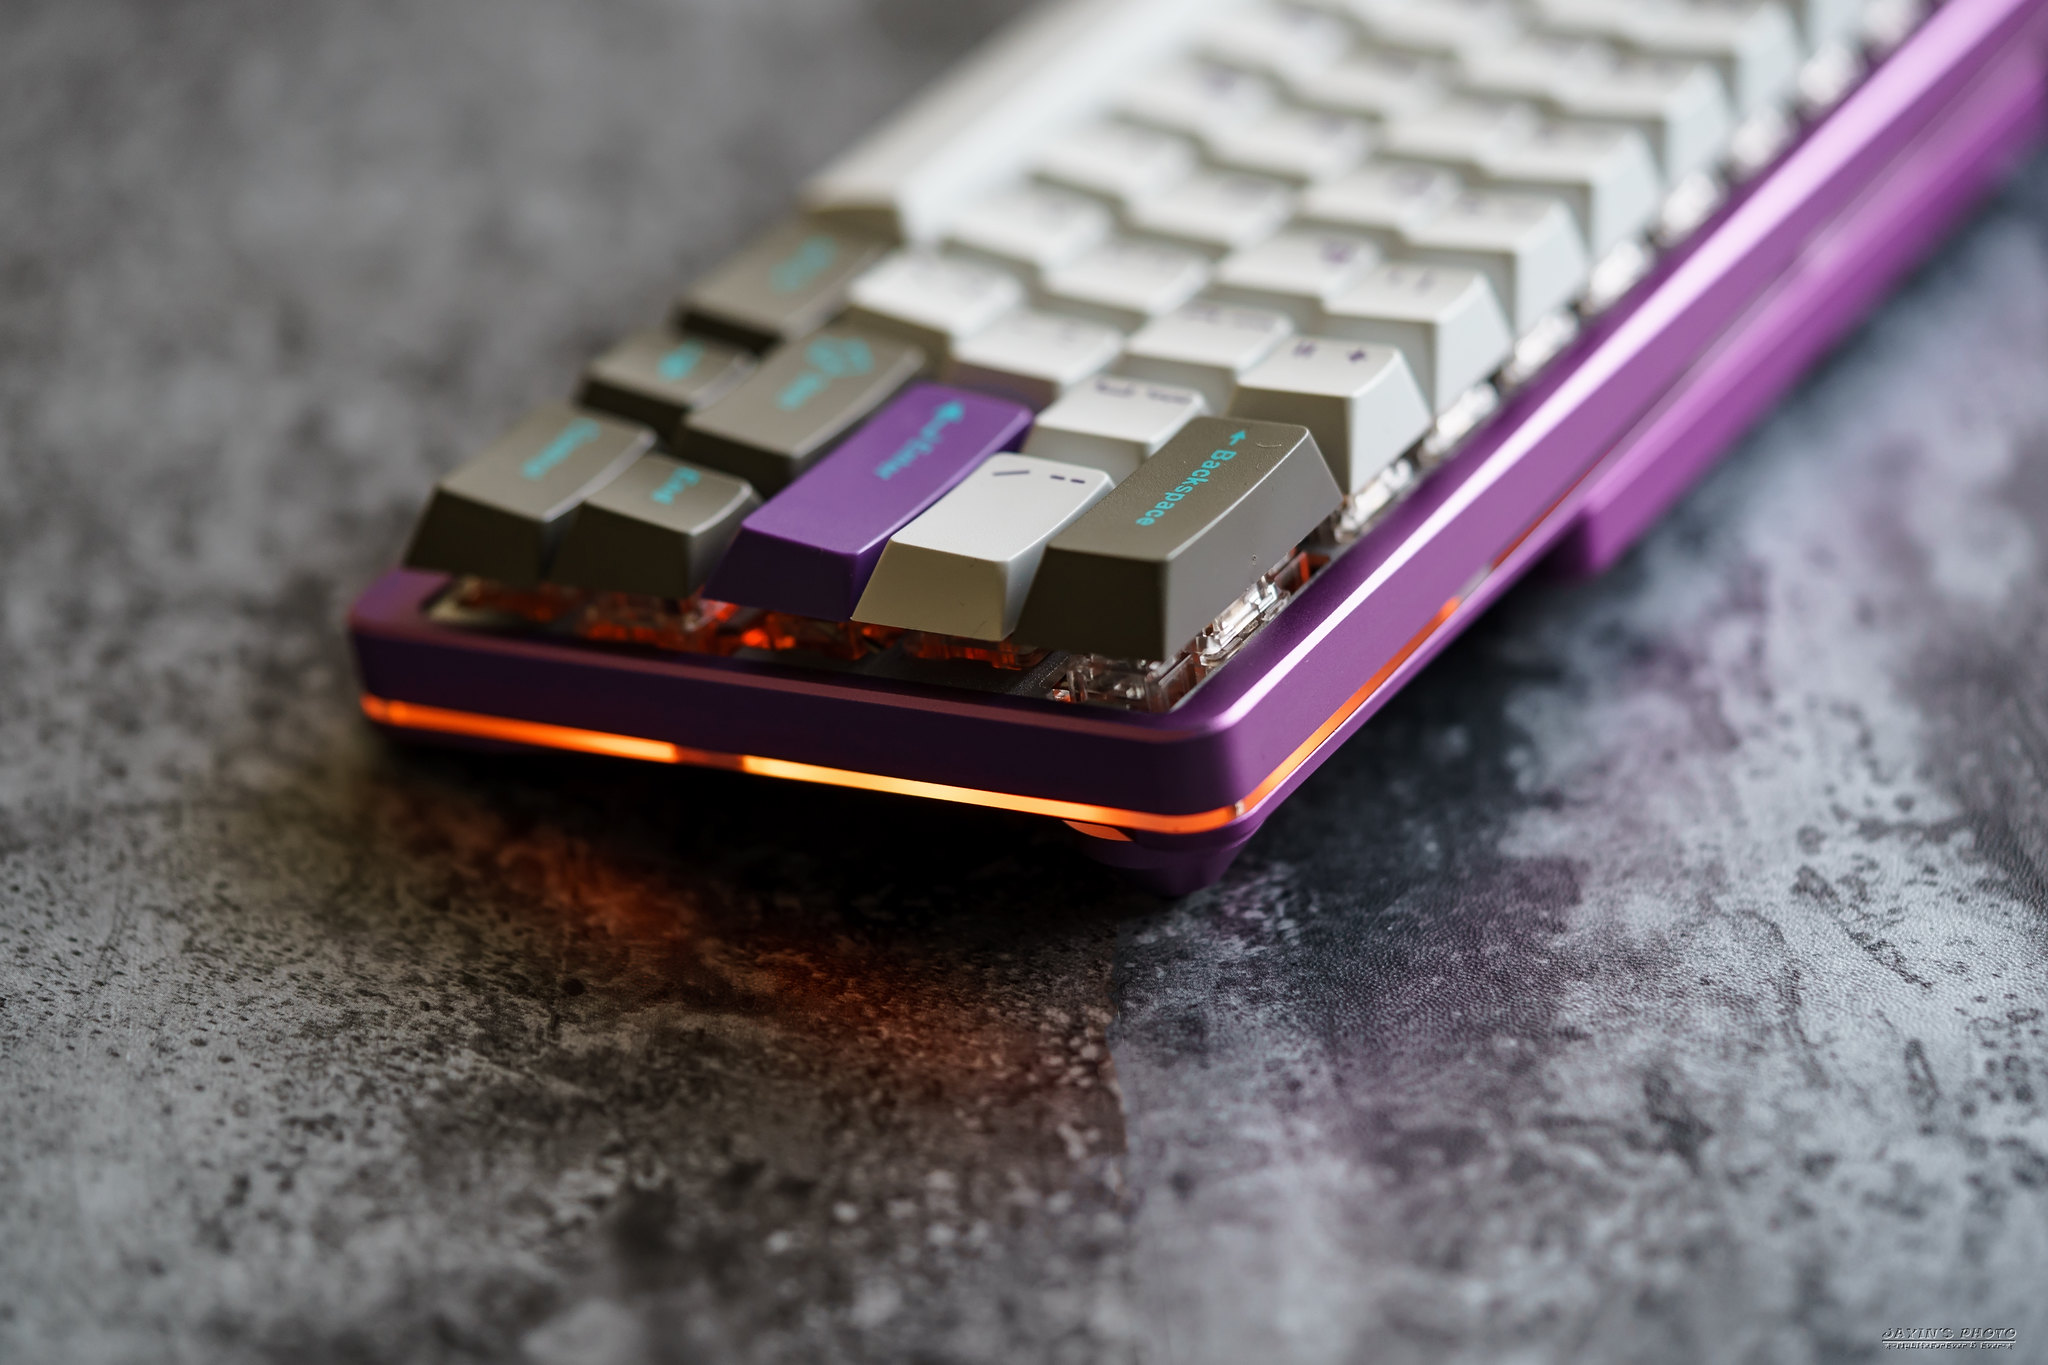
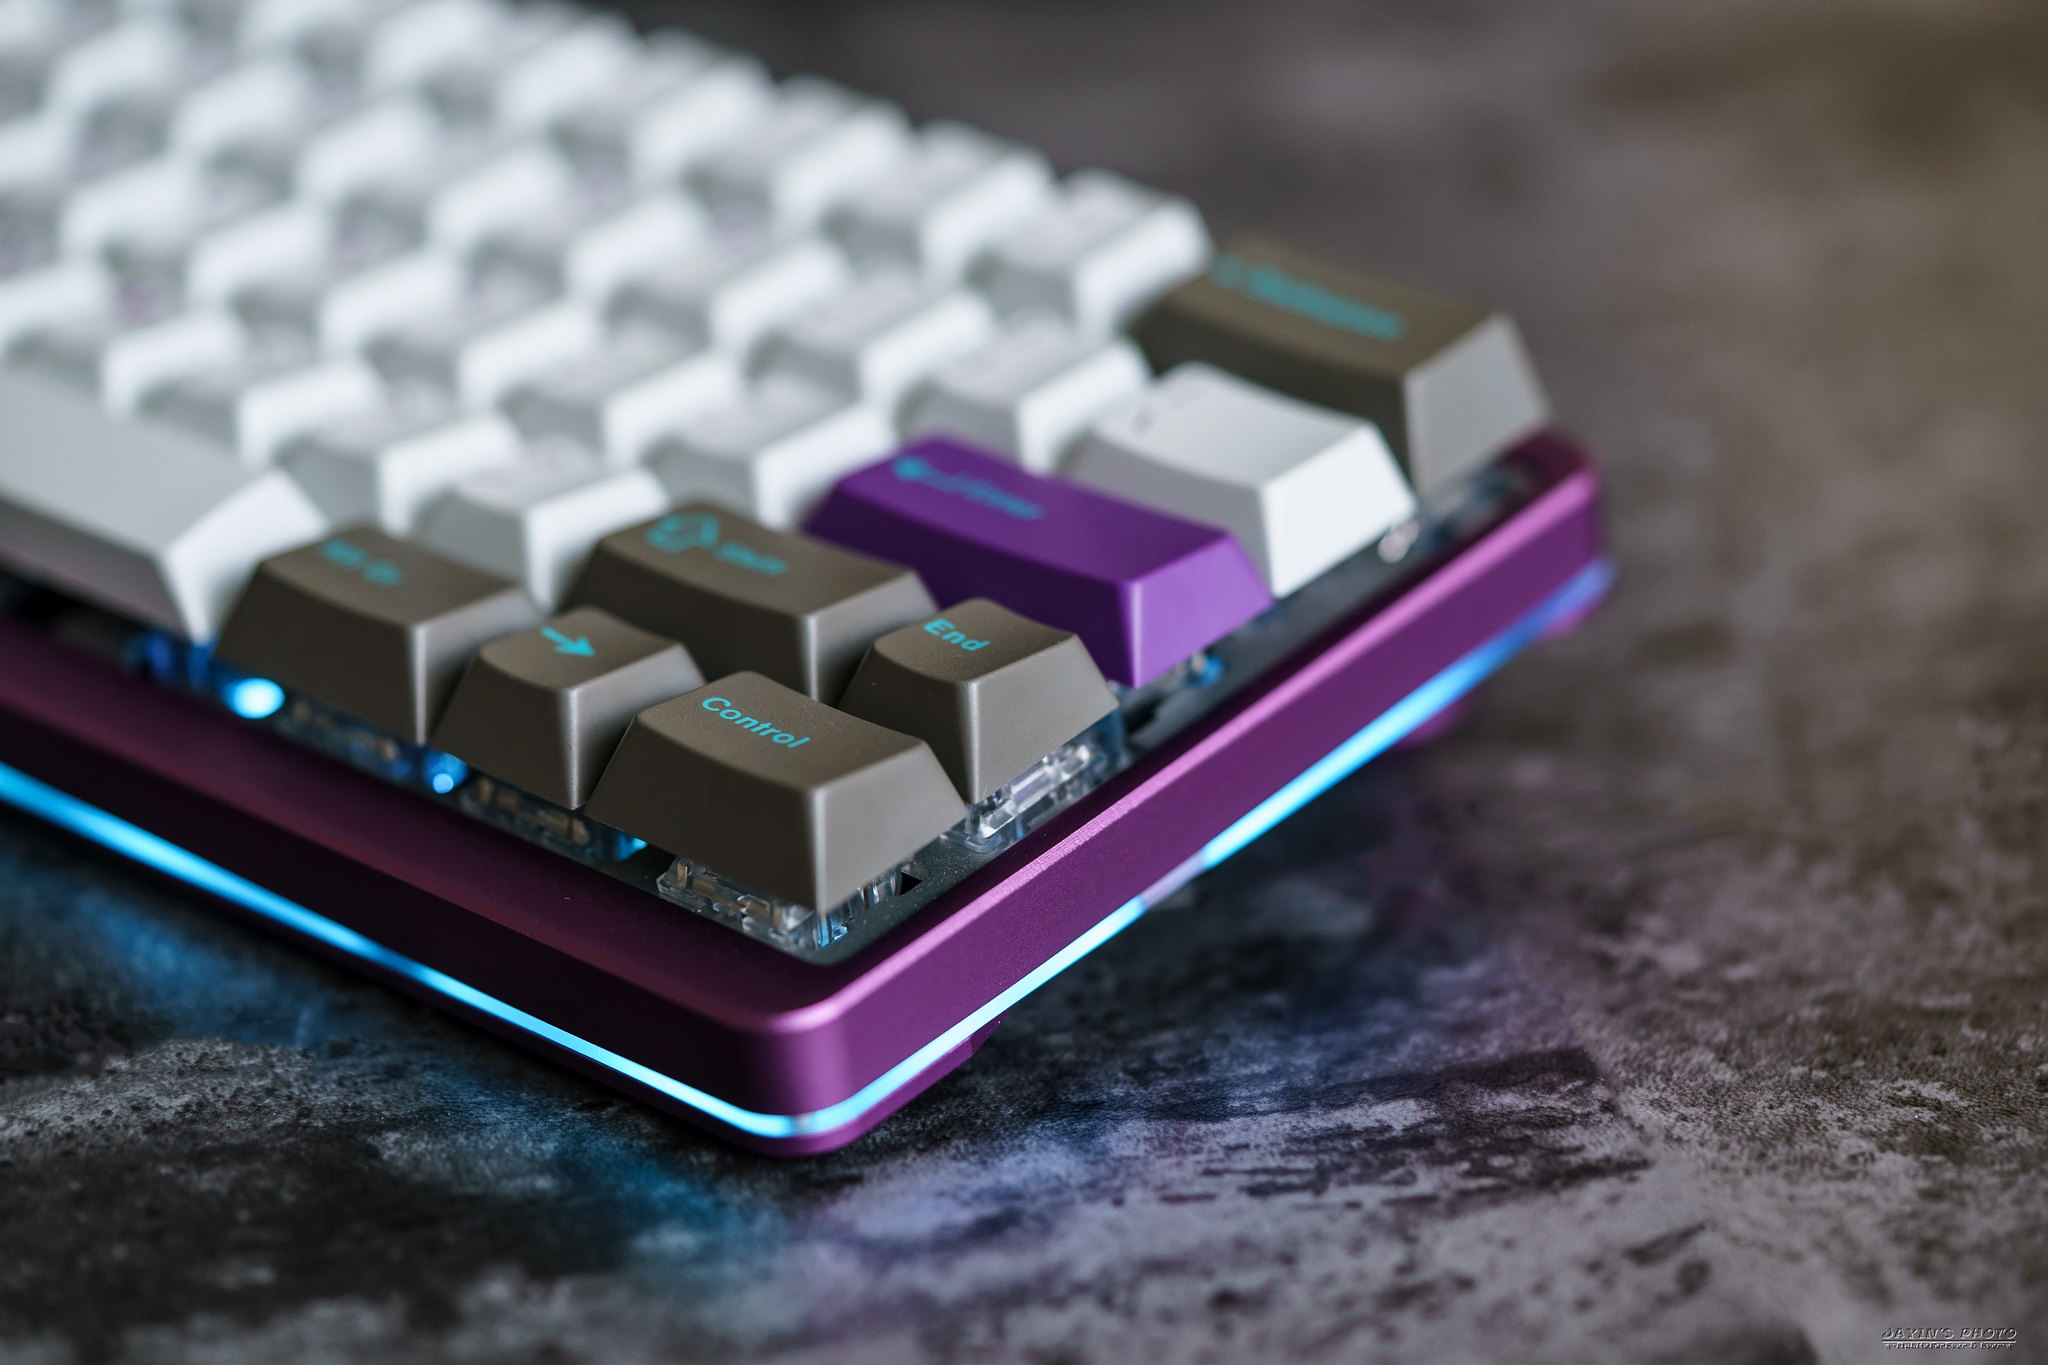
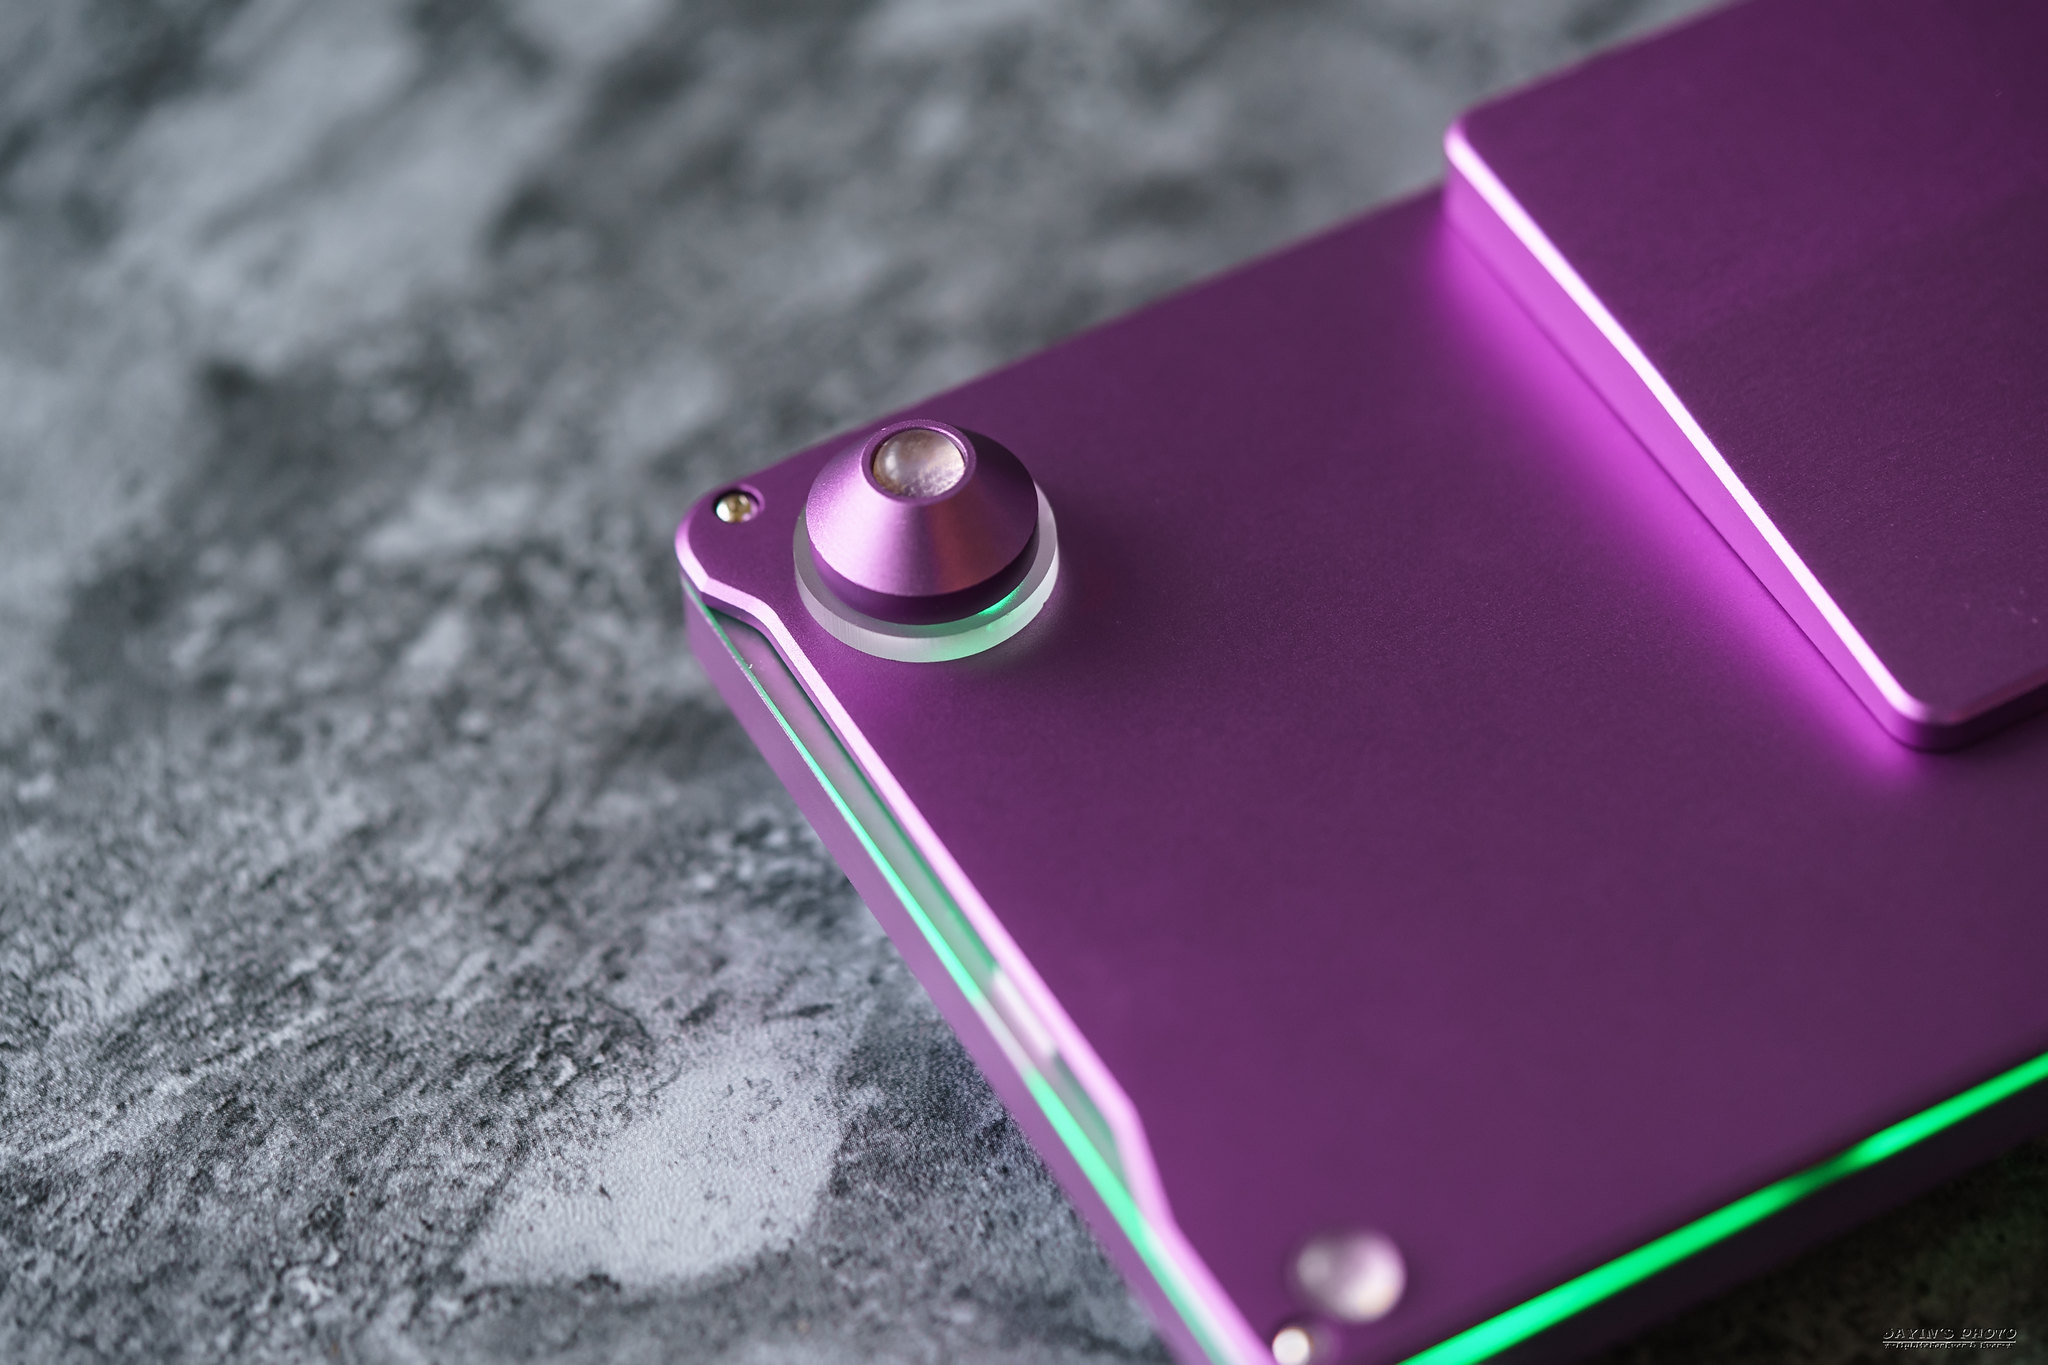
▼底殼在側邊設計上有內縮,讓可見到光的面積更大。
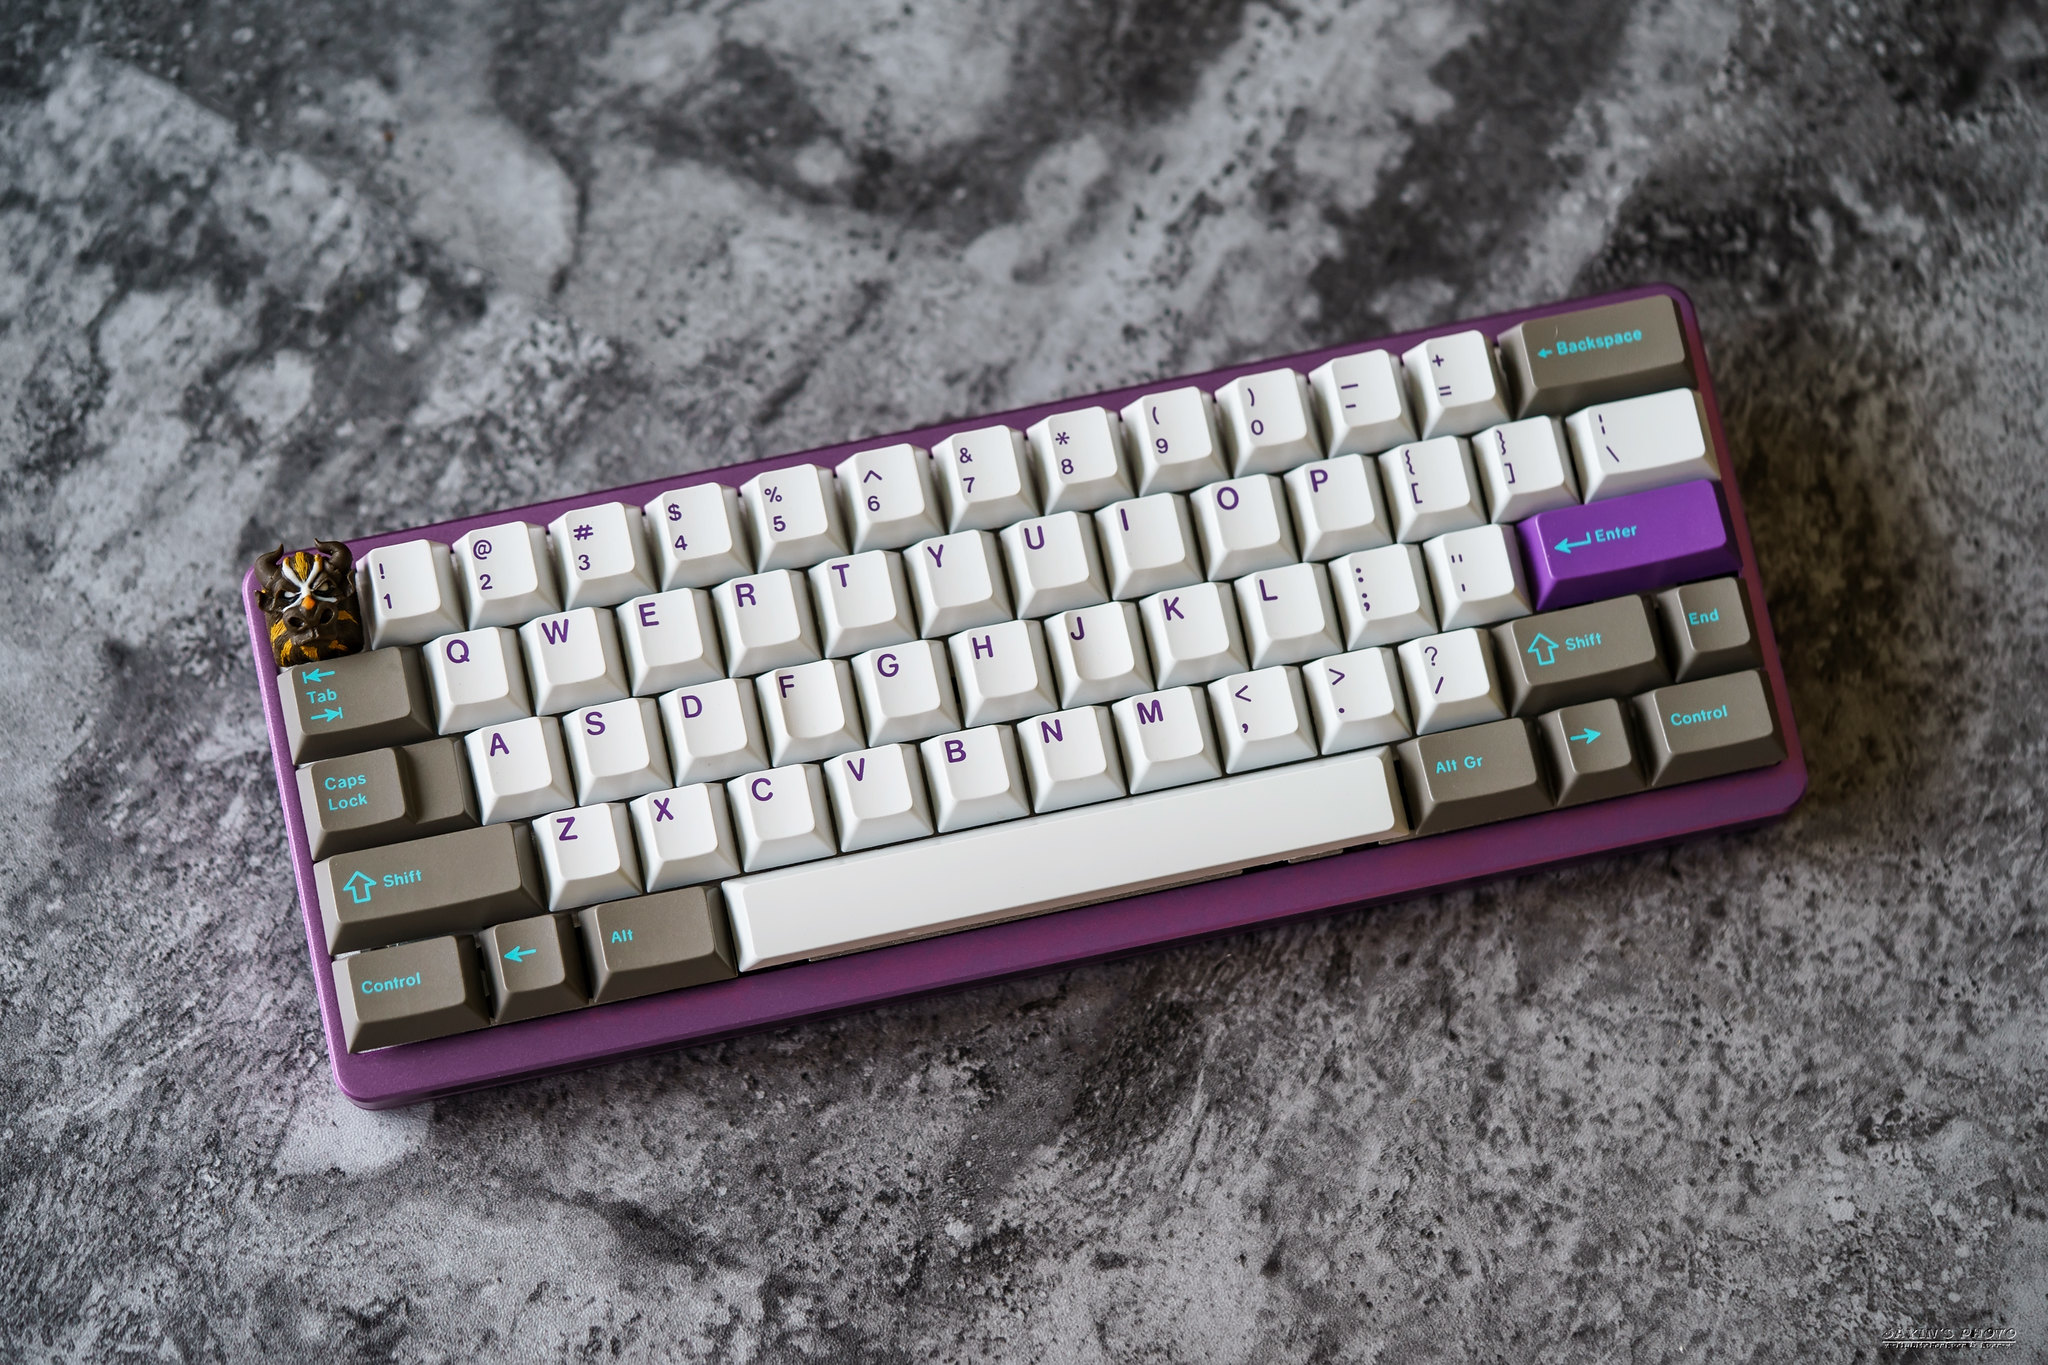
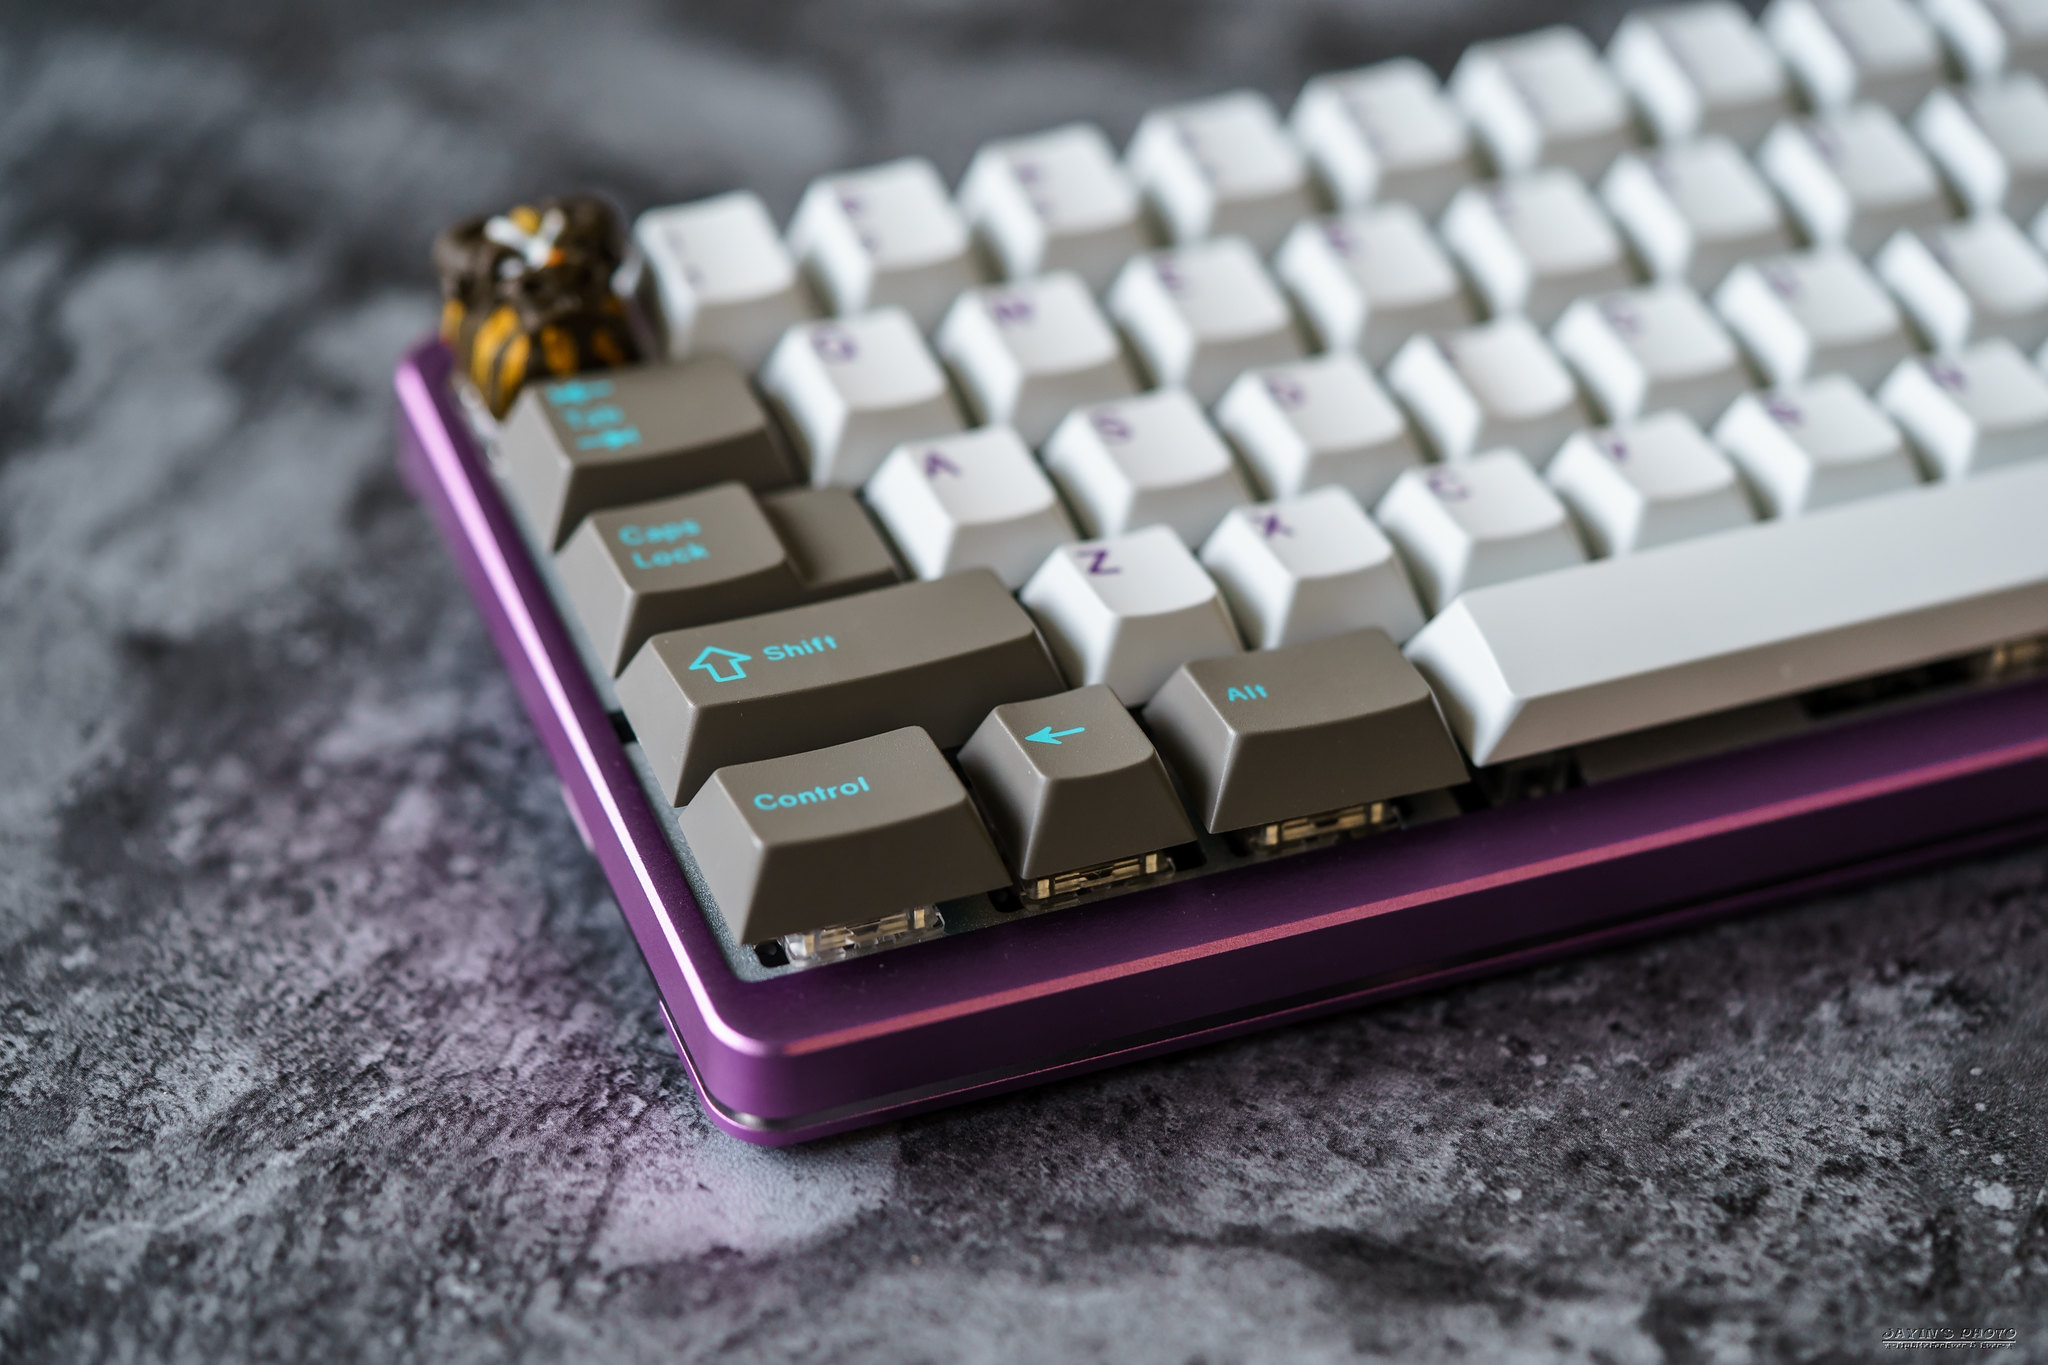
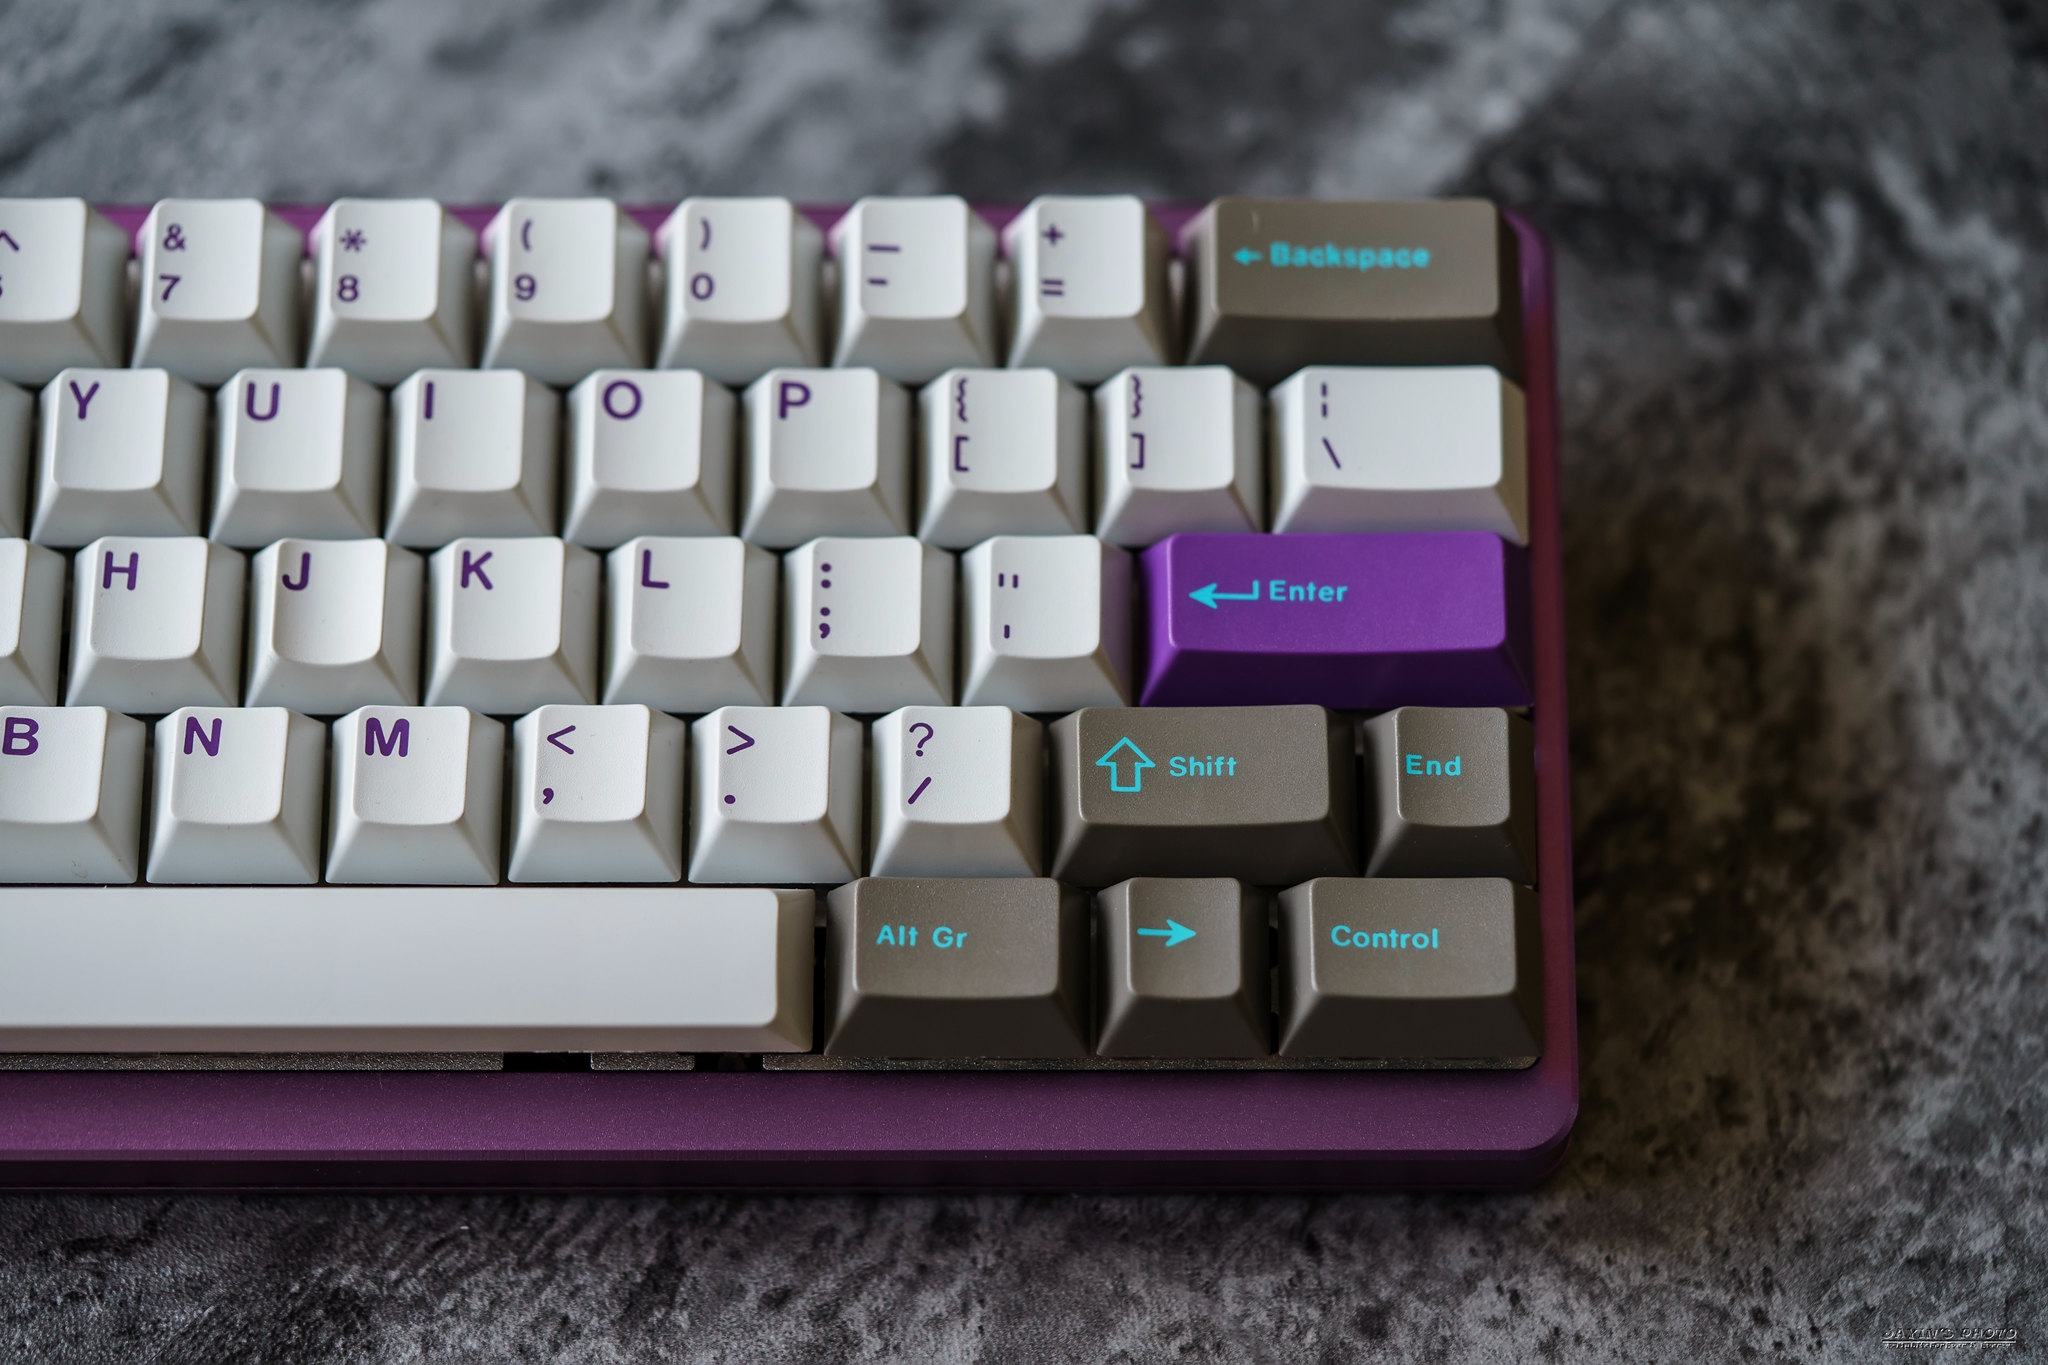
▼裝上鍵帽,用的是GMK Hyperfuse
▼再來就是重要的發光照了,不過這邊有個建議,因為這供電是用電池,常開背光的話應該續航會短很多。
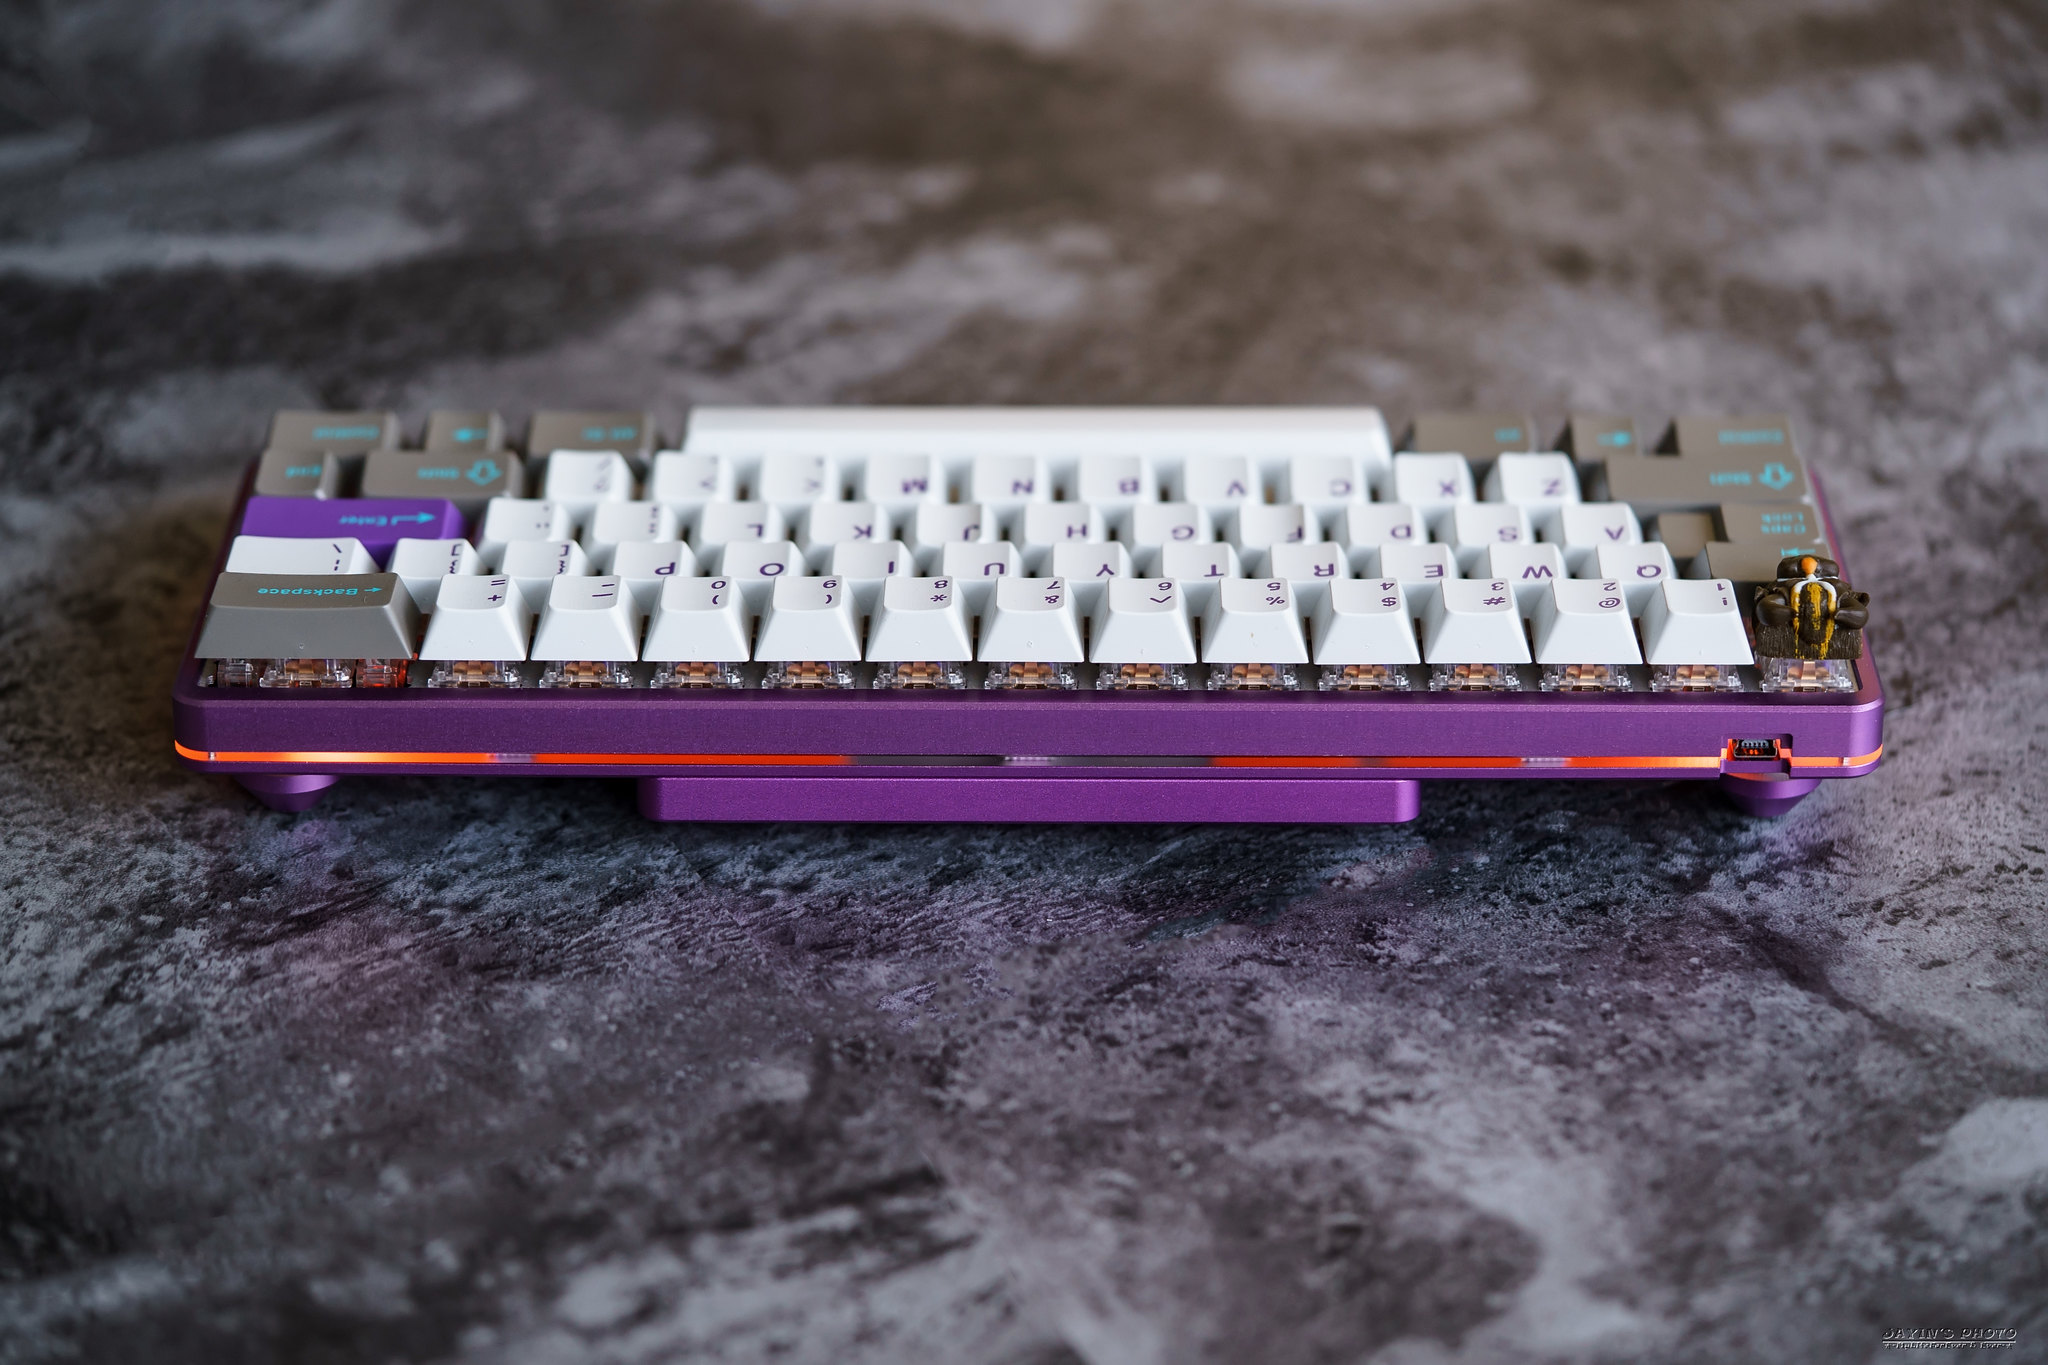
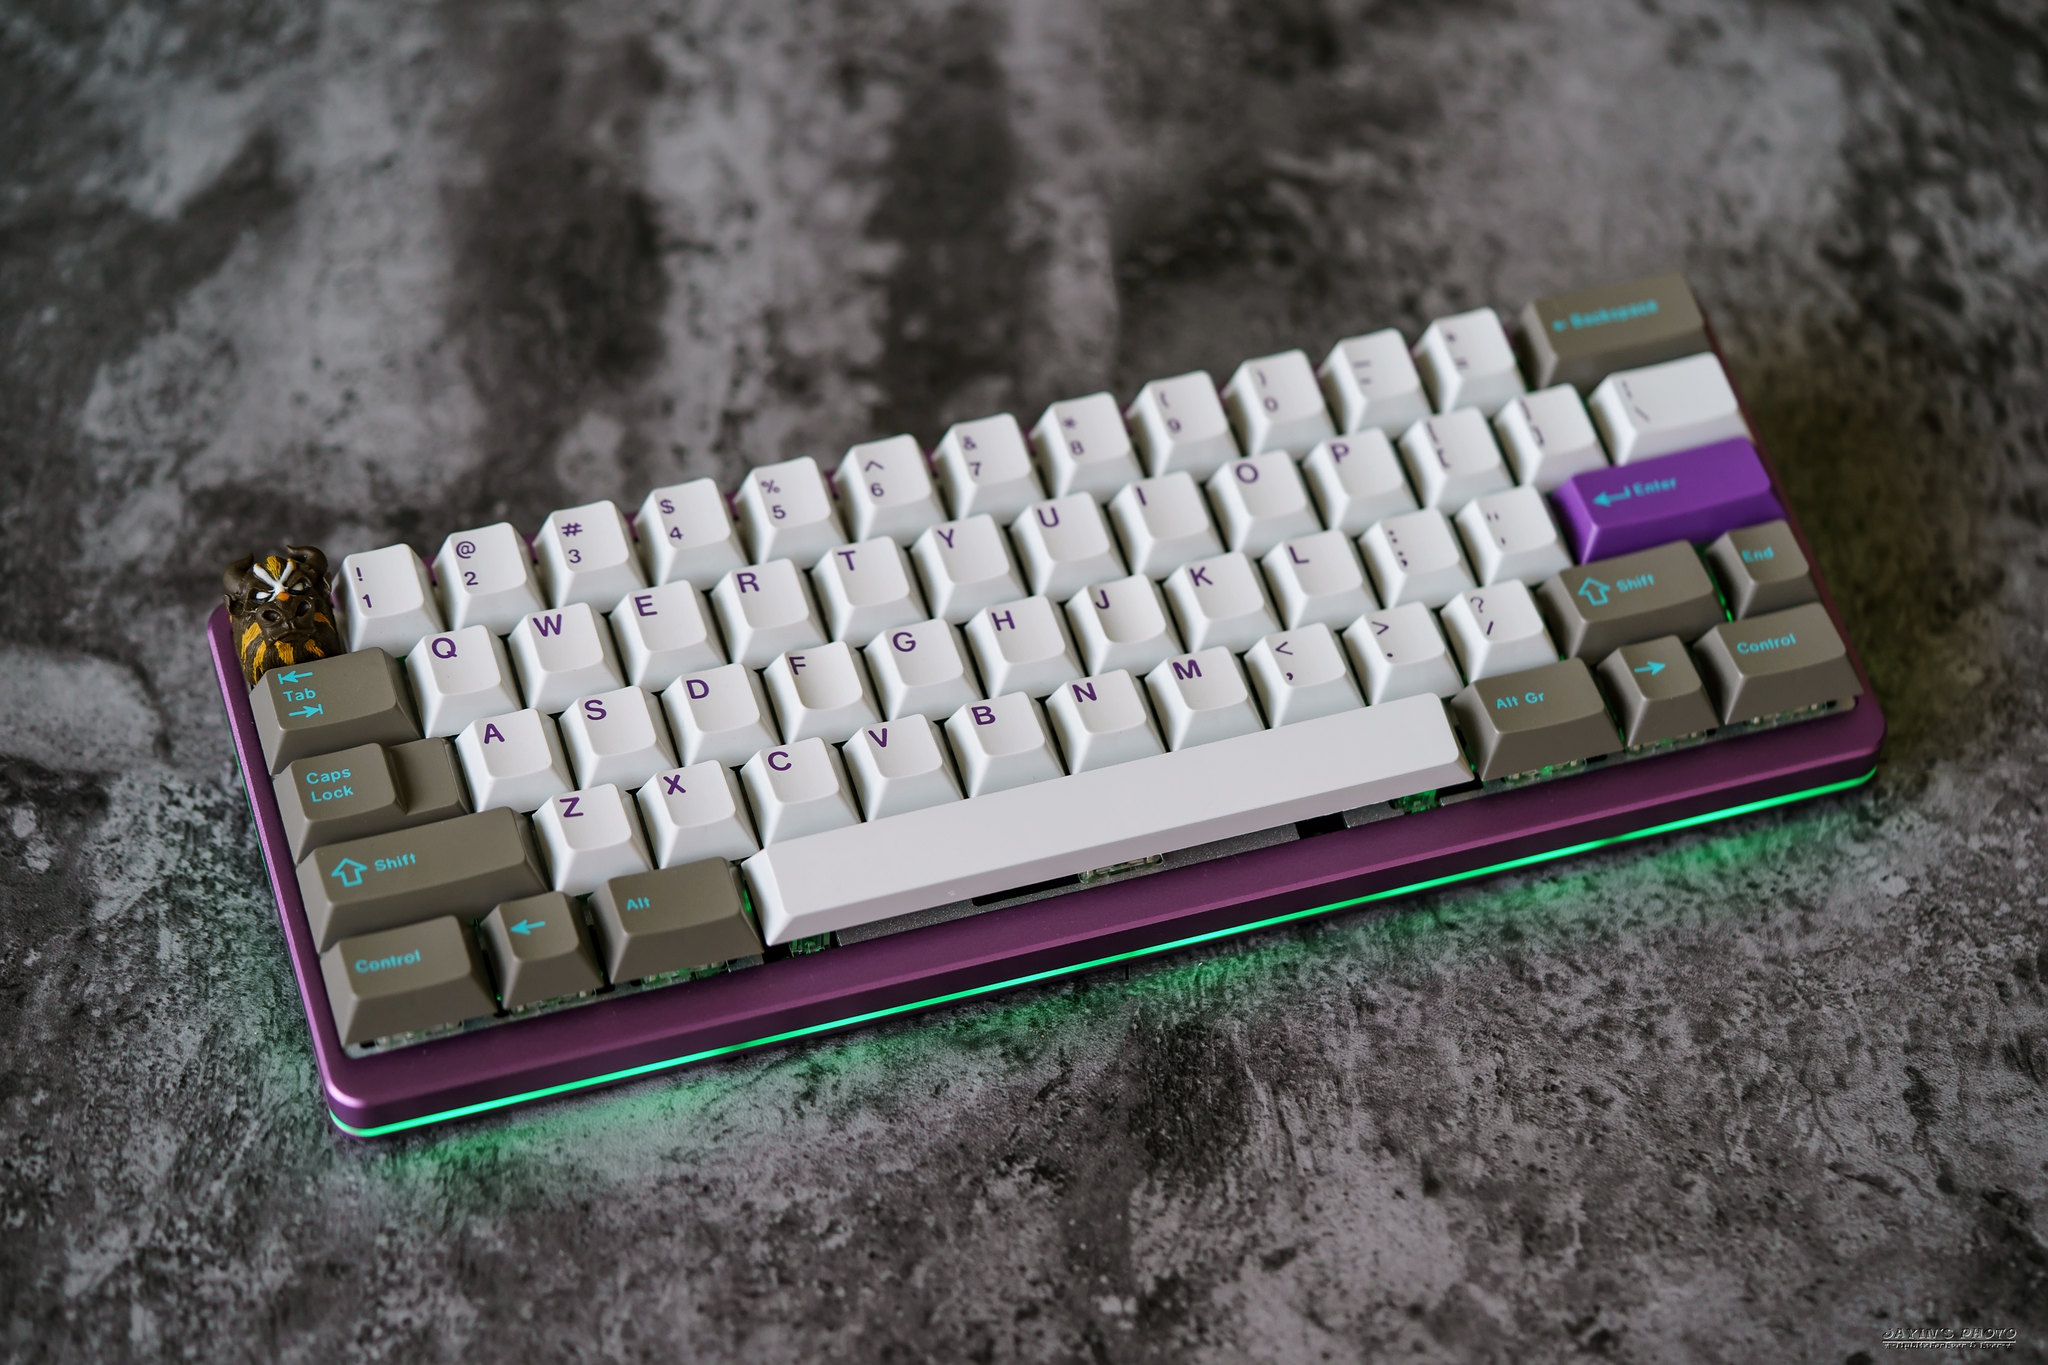
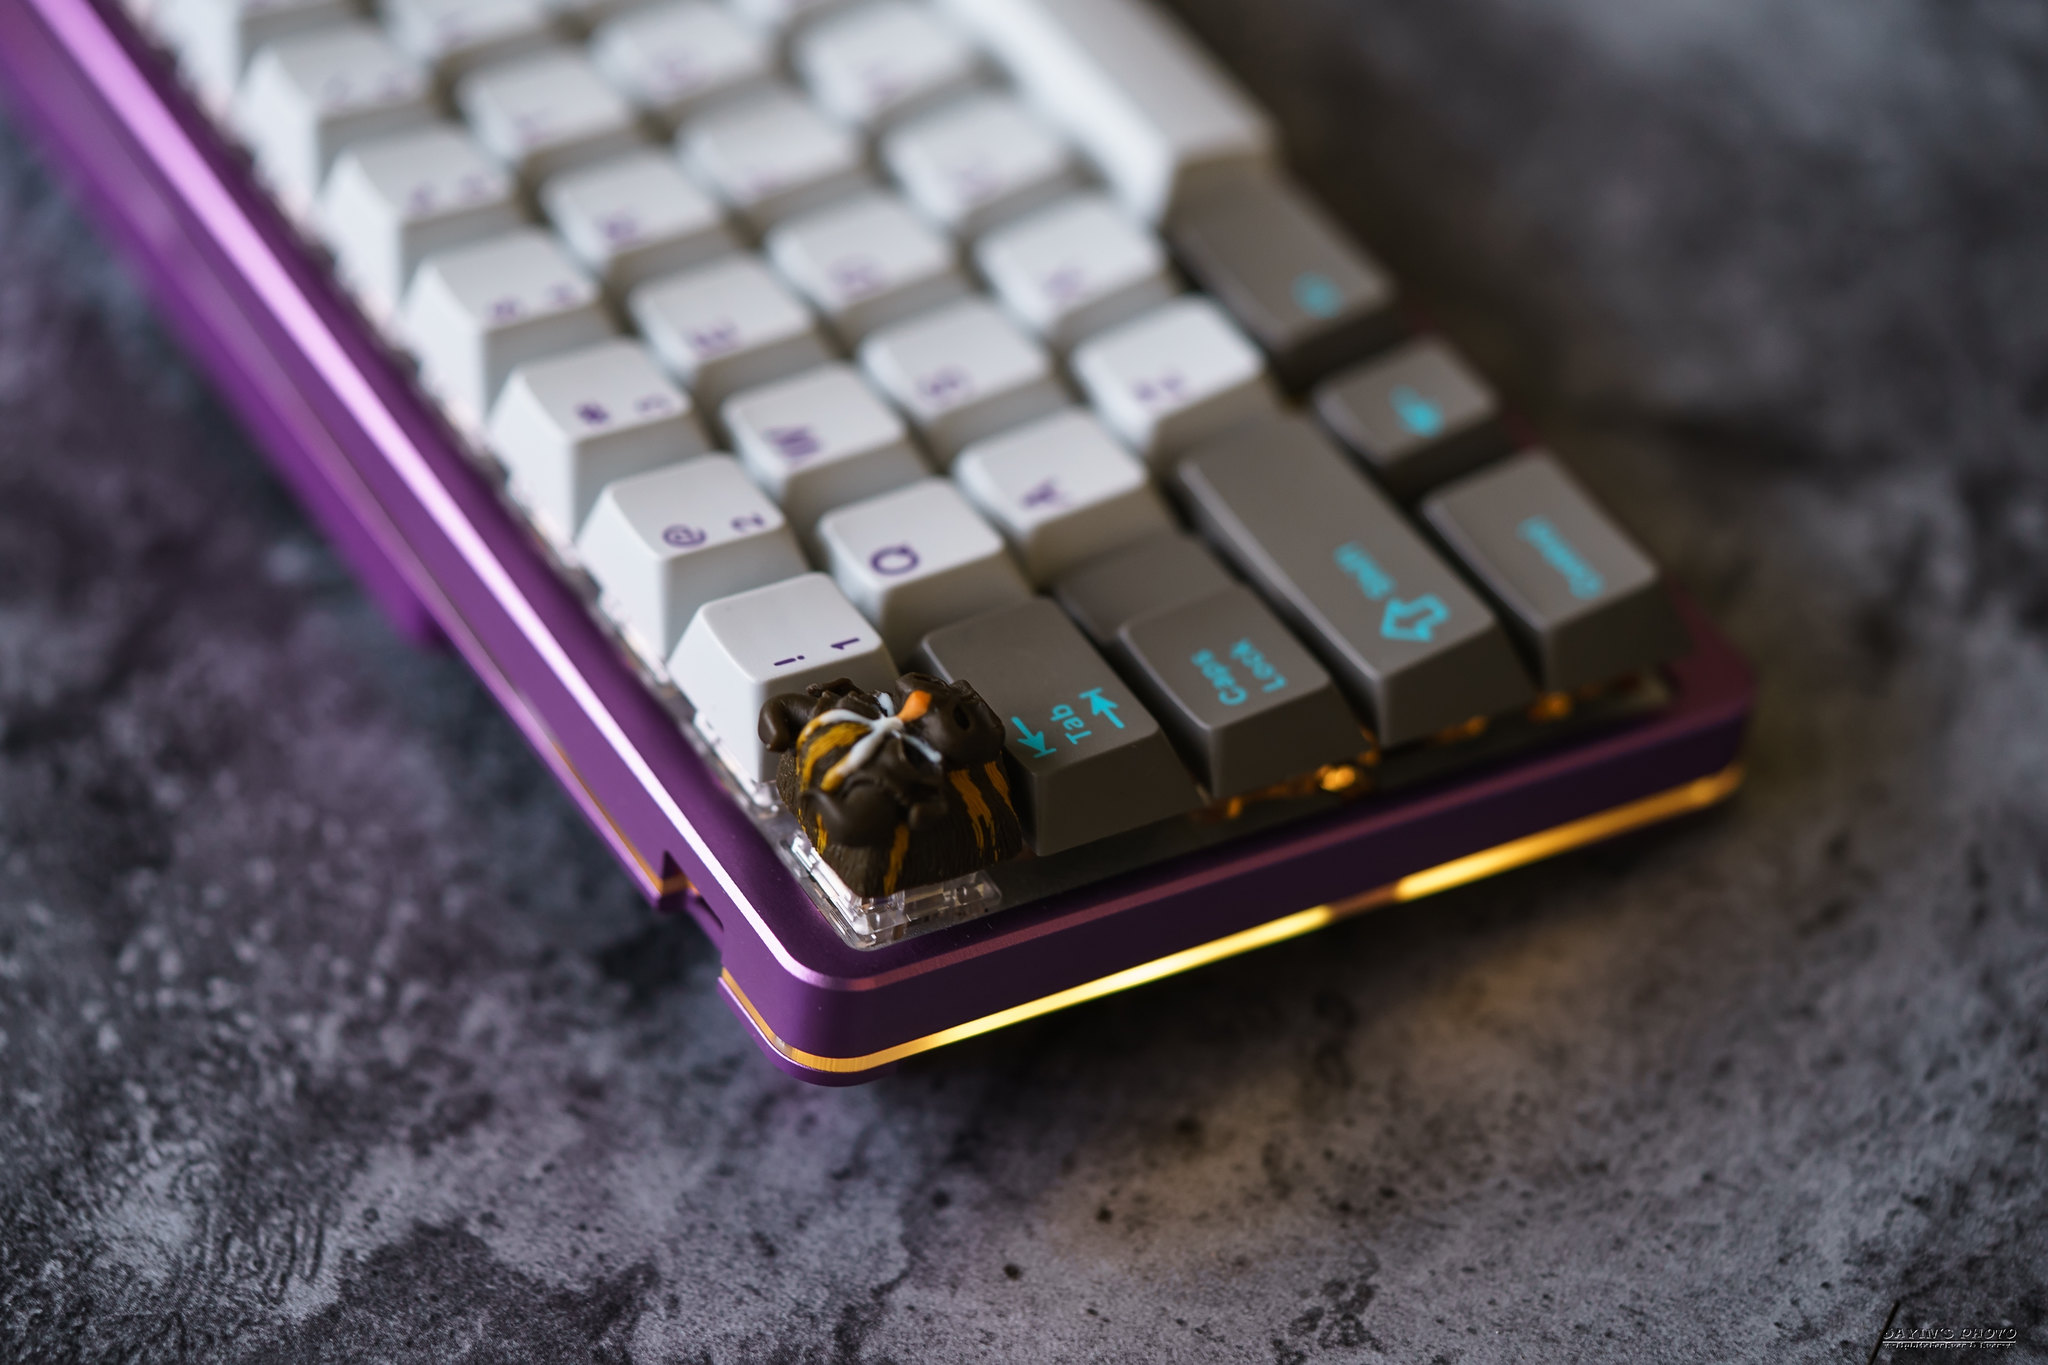

▼Esc用的是Artkey的bull個性鍵帽,款式是Maori Warrior。

1. 使用的時候只要將開關切到on,於藍芽中找到HID Keyboard再配對即可使用。
2. 這鍵盤設計上比較矮,配上可調的斜度,即使不用手托也可以輕鬆使用,
3. 整體來說不重,可攜性算是蠻高的。
4. USB孔接線時是有線模式,同時可對電池充電。
以上就是Tric60藍芽雙模機械鍵盤組的簡單開箱
感謝閱文。
沒有留言:
張貼留言